Input Devices
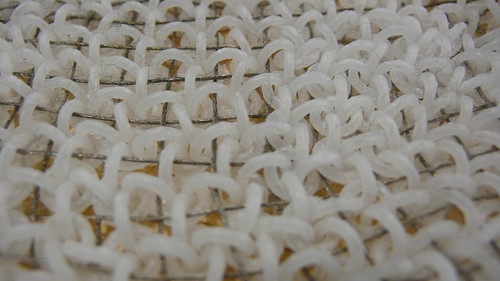
For this assignment I turned my 3D printed fabric into a sensor. The interactice is pretty basic the computer recognizes the fabric is being handled. Much thanks to Natalie and Jie for running a session on how to make a step response sensors. The move below shows the interaction at work. The box in the upper left hand corner highlights the computer's response to the fabric being picked up.
I used Neil's step response board. It was the first thing thatI've stuffed that actually worked on the first try - I'll be an electrical engineer any day now. I also learned from Brian Mayton that I needed to download a Python VCC Package to get PySerial and the FTDI Drivers.
The next step is to see if a resistance sensor will respond as the fabric manipulated and folded. I'd also like to see if I can get another piece of printed fabric to light an LED when it is held.
 |
 |
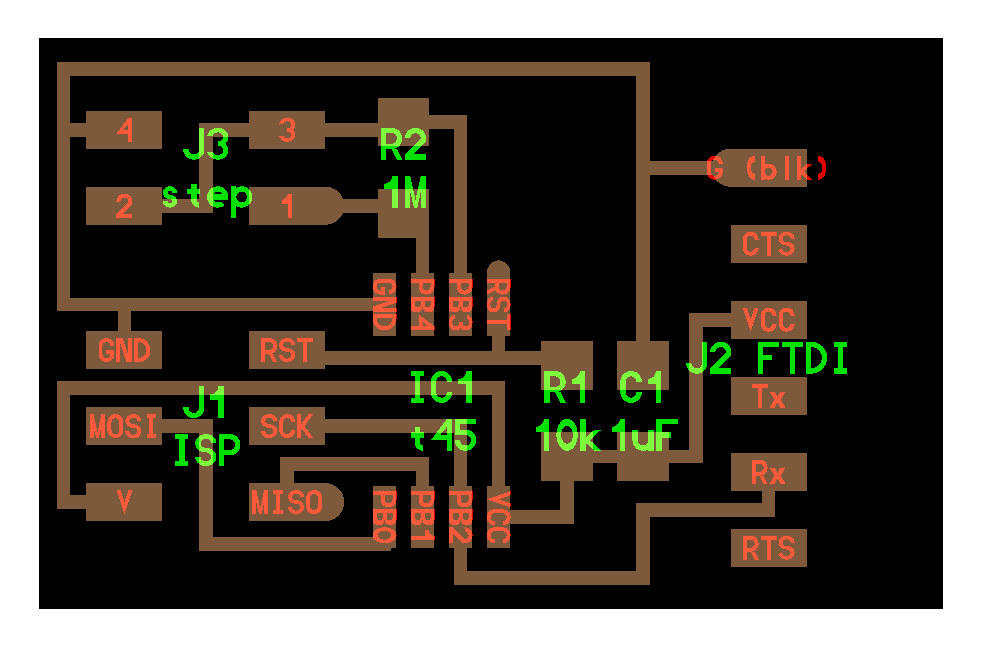
| Woven Conductive Thread | Thread + Sensor |
Final Project Preparation + Prototyping
|
|
 |
 |
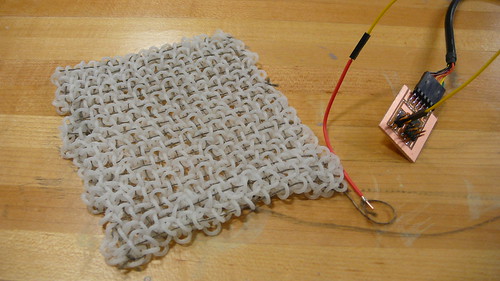
| Testing the Diameter Limits of the InVision | Attempting to 3D Print Knitted Fabric |
|
|
On the left is an image of the 3D prints I've sent to the CBA InVision printer to test the limits of the ring pipes diameters from .02" to .12" in diameter. I want to see at what point the fabric calls apart. These are currently printing.
On the right is an image of a knitting pattern that was produced with an altered Grasshopper Definition originally by Giulio Piacentino. The original .GHX file can be downloaded from his website. So far I've made small changes to the .GHX to create a 5"x5" piece of fabric over a lofted surface I created in Rhino. That .GHX can be found here. The hope is that I can produce a seamless closed fabric that encompasses a scanned object. This is also currently printing.