Massachusetts Institute of Technology
MAS 863 How To Make (Almost) Anything | Fall 2011
Vernelle Noel - vernelle@mit.edu |
WEEK 3
Monday, October 03, 2011
The day after receiving the assignment I received training by Brian on how to use the Modela Milling machine. From the images that I saw of the board, I thought the programmer was about 2"-3"
by 4" or so. In reality it was quite different. The board I had to mill was actually 3/4" x 1.75" in size. We were able to cut 3 boards out of one paper based copper plate.
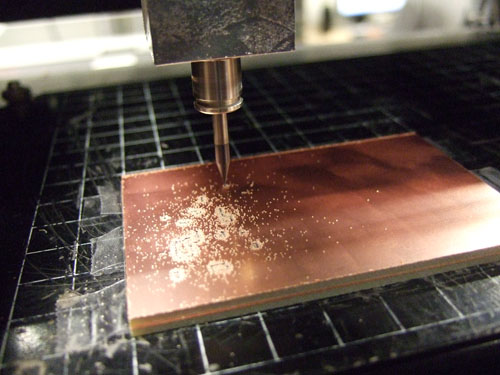
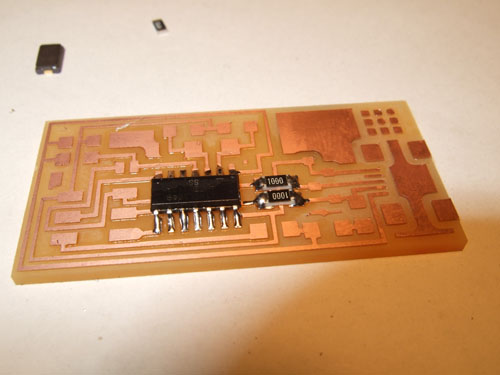
Milling of board with 1/64" sized bit
I first had to stick a "sacrificial" board onto the Modella with double sided tape, underneath the board that I would be milling. This was because when drilling out the PCB, I may drill deeper than the actual thickness of the board. Be sure that the ends of the double-sided tape goes beyond the limits of the board, so it will be easier to remove. After doing this, I then stuck 3 pieces of double-sided tape onto the back of the PCB I was now going to cut making certain not to let my fingers get on the tape that would be touching the PCB. I placed it EXACTLY over (in the same spot) the sacrifical board and pressed hard on it to ensure it was secure. To mill out the traces of the board I used a 1/64th" endmill, and to cut the board, a 1/32".
After fixing my boards to the Modela, I slid the 1/64" endmill into the Modela and tightened it just so that it was snug. I moved the location of the endmill so that it would go to the "origin" which I would then alter to suit the location of my board and where I wanted to cut. After confirming my origin I carefully released the endmill so that it touched the surface of my board lightly. Dropping it onto the board, can more than likely break the bit.
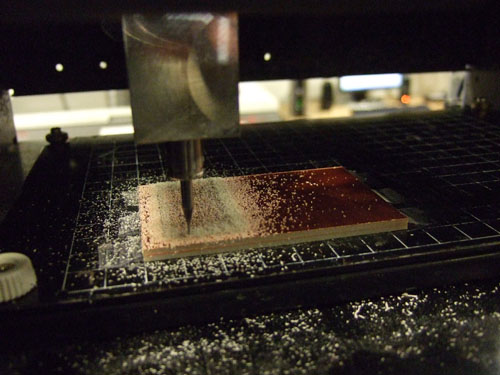
Cutting of board with 1/32" sized bit
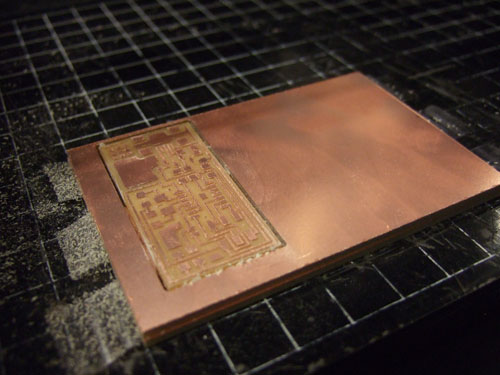
Board after being cut
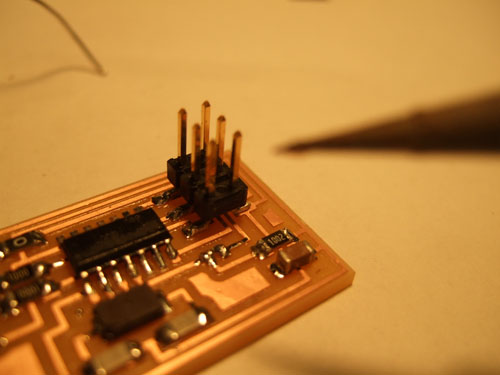
Soldering of components onto PCB.
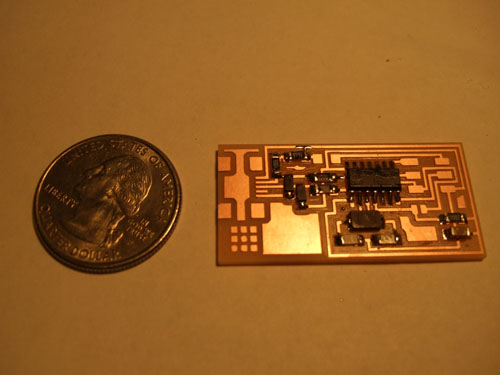
Size of the board compared to a quarter
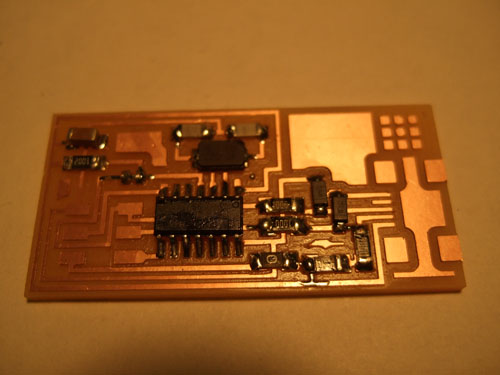
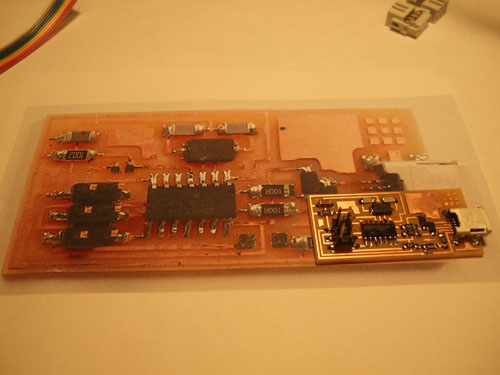
Above is my board on a photo of the board we were using to guide us in putting everything together.
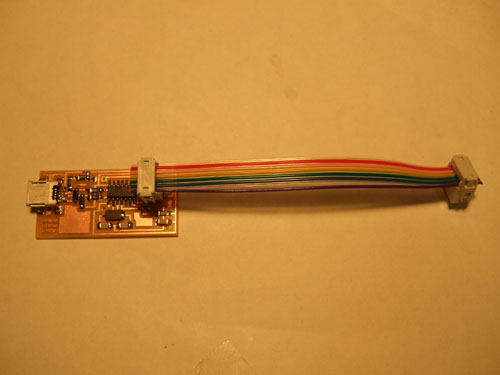
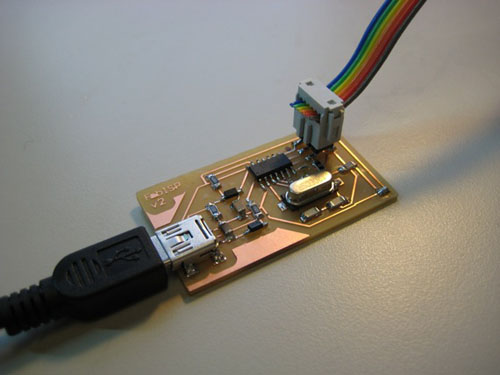
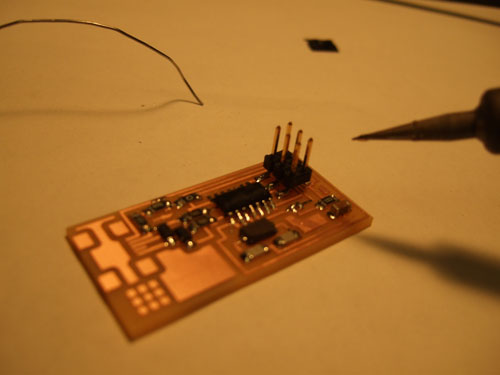
Completed PCB in-circuit programmer
After my board was programmed I removed the 0 ohm resistor and the solder bridge.
1. When soldering the USB component, be sure to solder the tiny pins onto their copper traces FIRST, then solder the four main points on the outside of the component. I made the mistake of soldering the outside first, then noticed that my tiny pins did not fall exactly on their traces. I tried using the braiding and flux to remove the solder, I even tried a solder vacuum... but none of them worked as well as the hot air gun. I removed the component and started from the smallest to the biggest which I guess is an unbrella rule of thumb to apply when fabricating boards.
2. We all learned from each other... Working with others helps you learn and see a lot. Thanks Brian, Dan, Sarah, Adam, Albert, Eyal, Lining, and Jie.