Lights and Action
THIS week led us into programming: now that we've fabricated these remarkable machines, how do you get them to do what you want? How can you begin to interact with your environment?
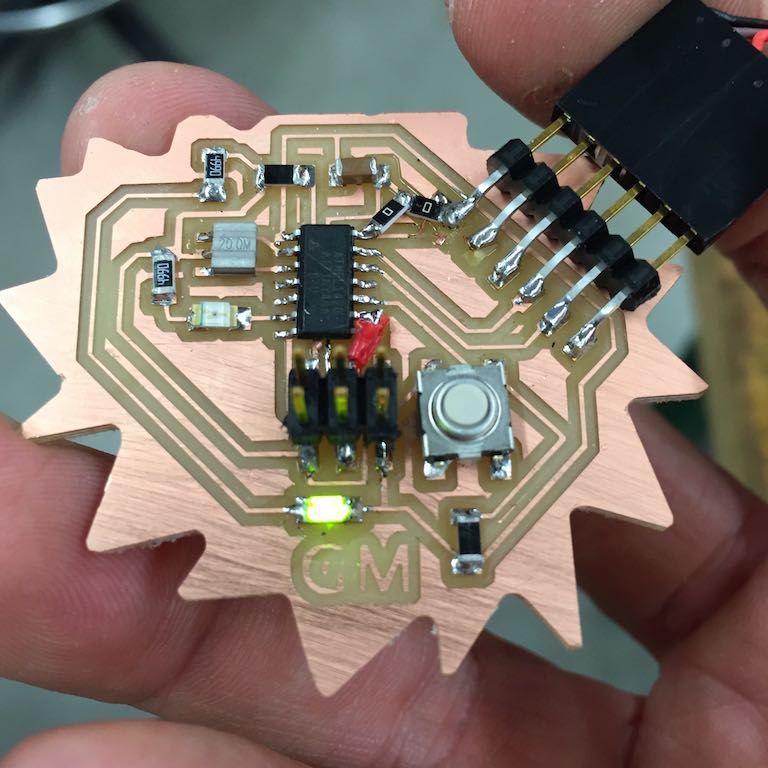
^ A few steps away from the initial designs in week 5, this iteration of the board involved re-routing the ground to reach the chip after the FTDI header (top right) ripped up and damaged the traces from the board one day.
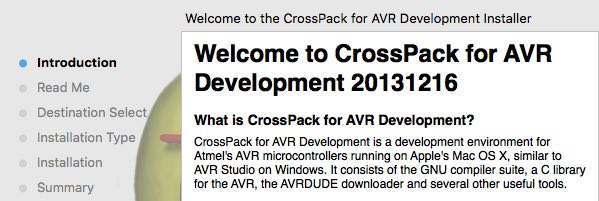
^ In order to program boards, you have several options. One is be more foundational and use command-line tools including the amusingly-named 'AVRDUDE' along with C files and make files to transfer programs to your chip. As fo this writing, the relevant AVR command line tools can be gotten for Mac OS 10.6+ in a package called CrossPack distributed by Objective Development.
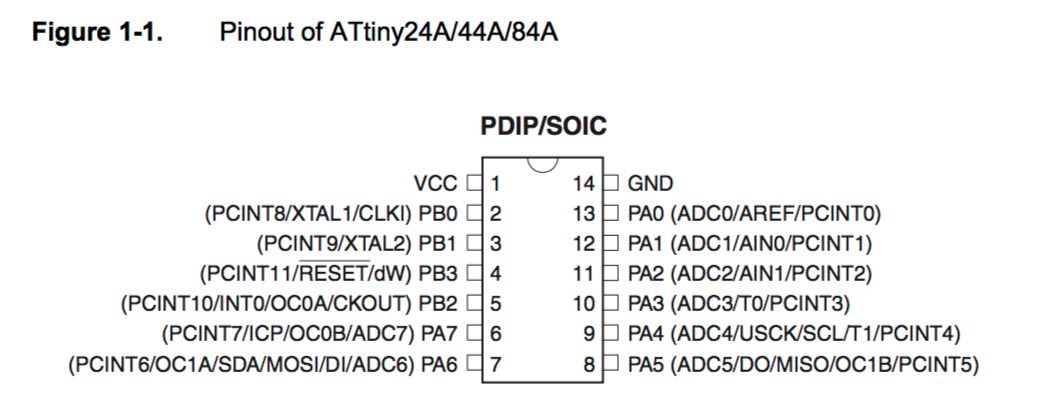
^ Although programming in C using makefiles and the command line seems great, I had difficulty this week 'setting the fuses' and adapting example code for the ATTINY44 chip vs. smaller chips used in various example boards. Instead, then, I used the pin mapping from the ATTINY44 datasheet to program the chip using the Arduino environment. In Arduino, setting fuses and other things happen as a result of simple menu settings (for example identifying your chip and clockspeed.) David Mellis has a very helpful tutorial about setting up attiny chips on the Arduino platform.

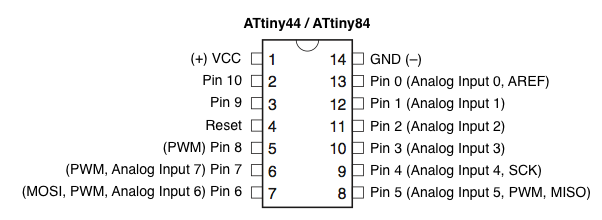
^ Once your board is properly configured with Arduino software, it's relatively simple to push programs to get 'lights and action' (I suppose your phone has to provide the 'camera' to complete the trio). Sample arduino programs have frameworks for blinking LEDs and reading button control. The only remaining challenge are the pin numbers, which are special in arduino versus attiny lingo. This is a common stumbling block for many, but luckily completely surmountable with this figure (again from David Mellis)!
^ Success! Amazing blinking and button pressing... although seemingly not important, learning to use chips to read the state of an input device (like a button) to trigger given outputs (like an LED) is the beginning of any project.