Week 9: Input Devices
09 Nov 2016 · 2 min readThe assignment for this week was to design a microcontroller that measures something in the physical world.
I decided to make a microcontroller that measures ambient light. I have a small nightlight in my room that I built a couple months ago, and I thought it would be cool to modify it so that it automatically turns on when it’s dark. Here’s my nightlight:
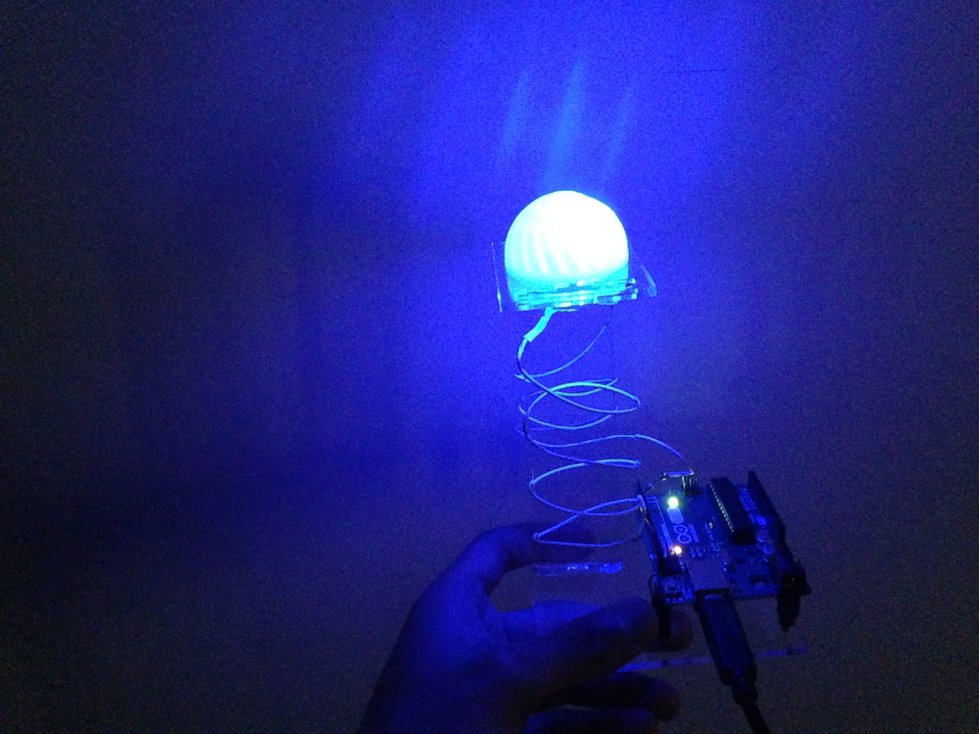
I didn’t actually modify my nightlight for this week’s assignment, but I did get some practice working with phototransistors.
Design
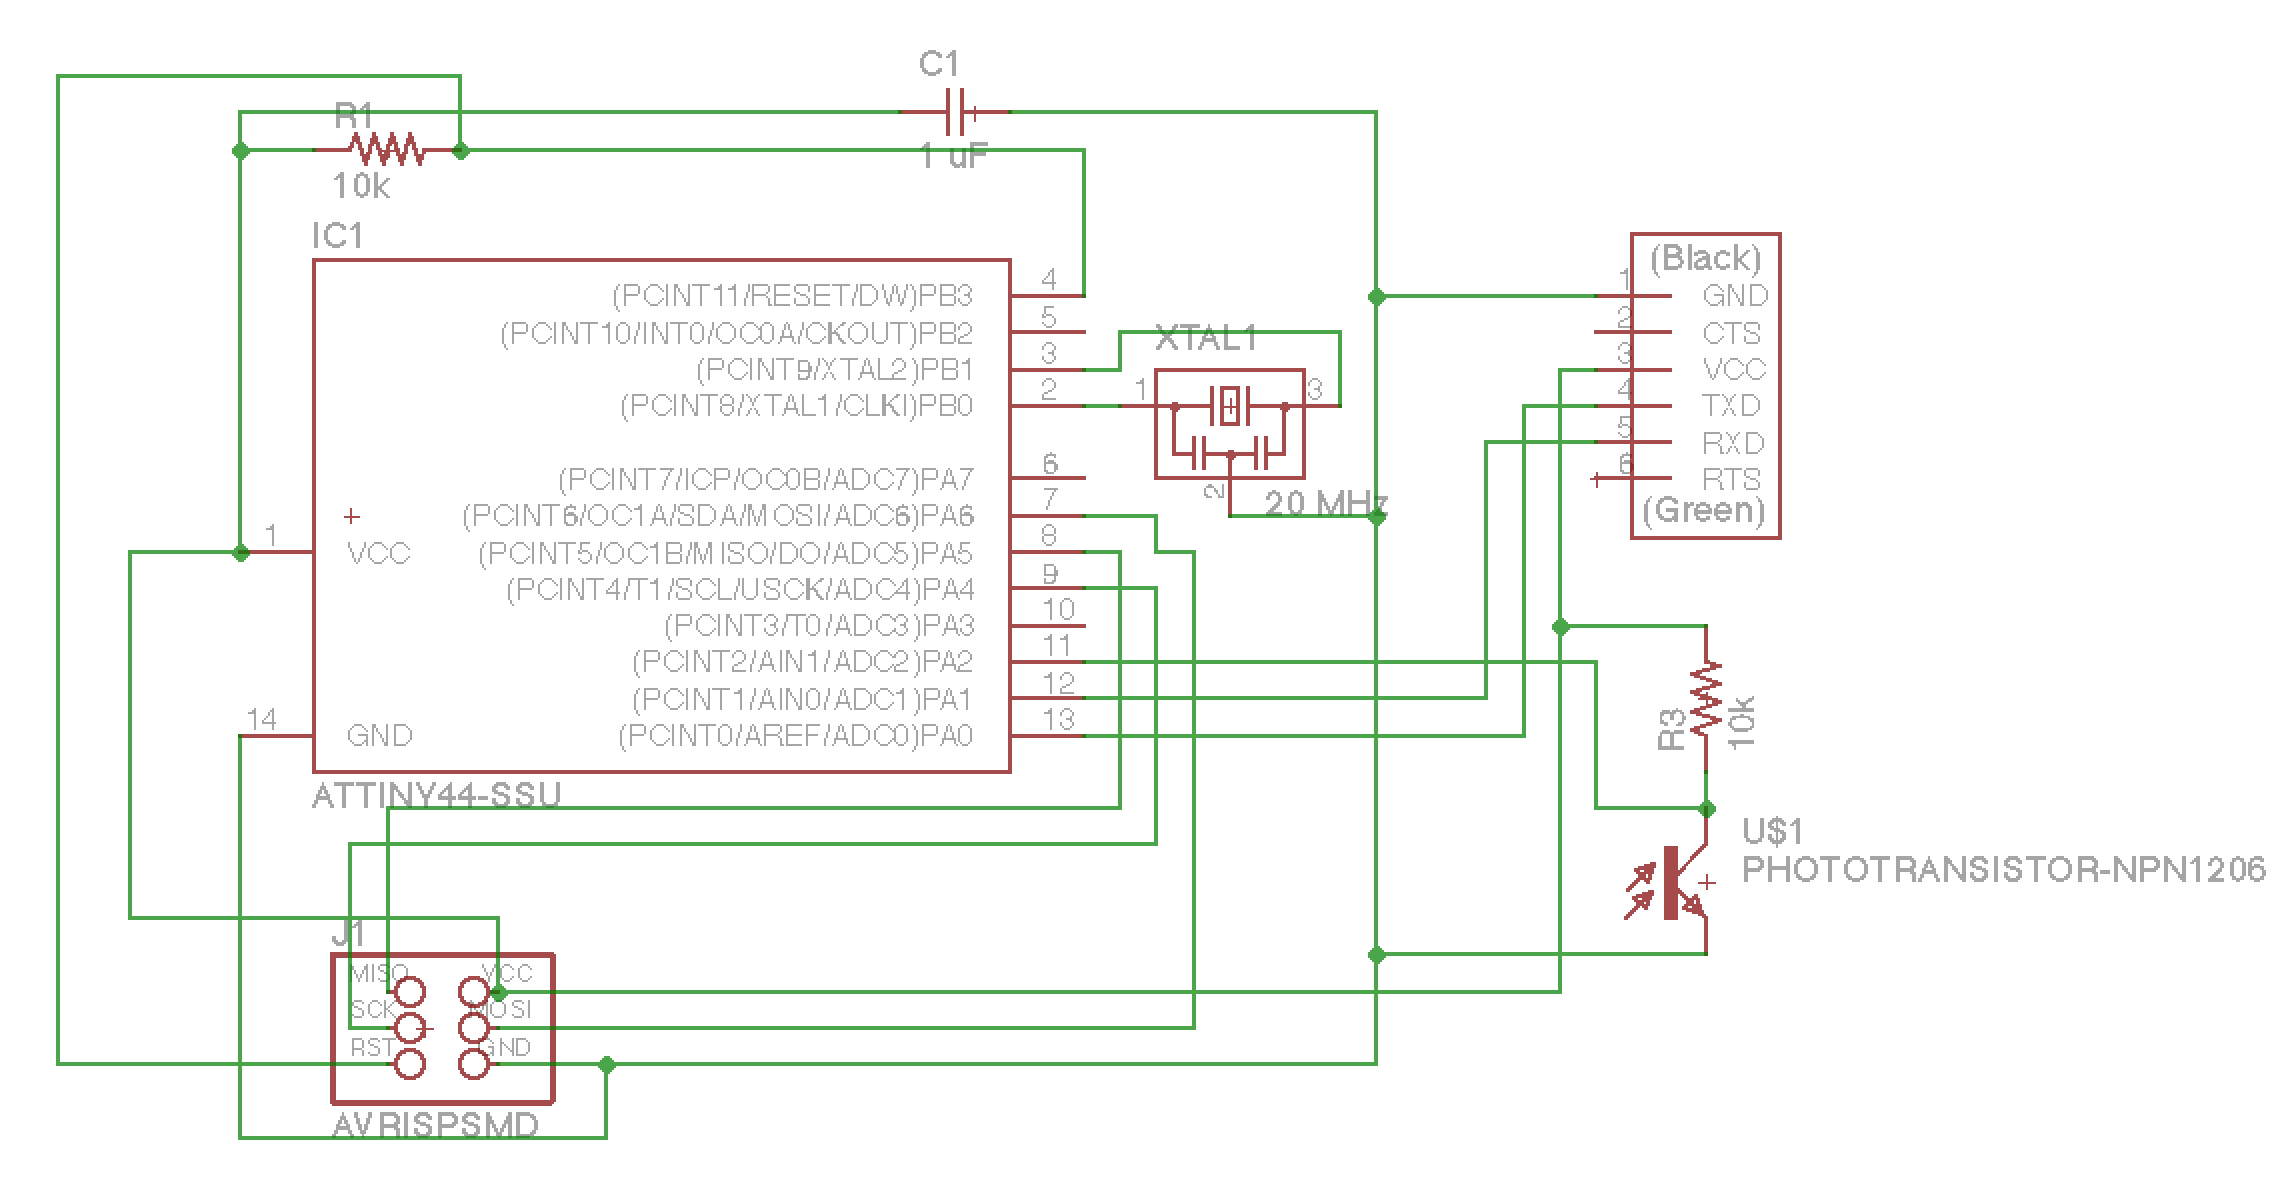
Using the skills I learned a couple weeks ago, I designed a schematic for an ATtiny44 with a visible light phototransistor:
After designing the schematic, I placed parts on a board and let the autorouter do its job:
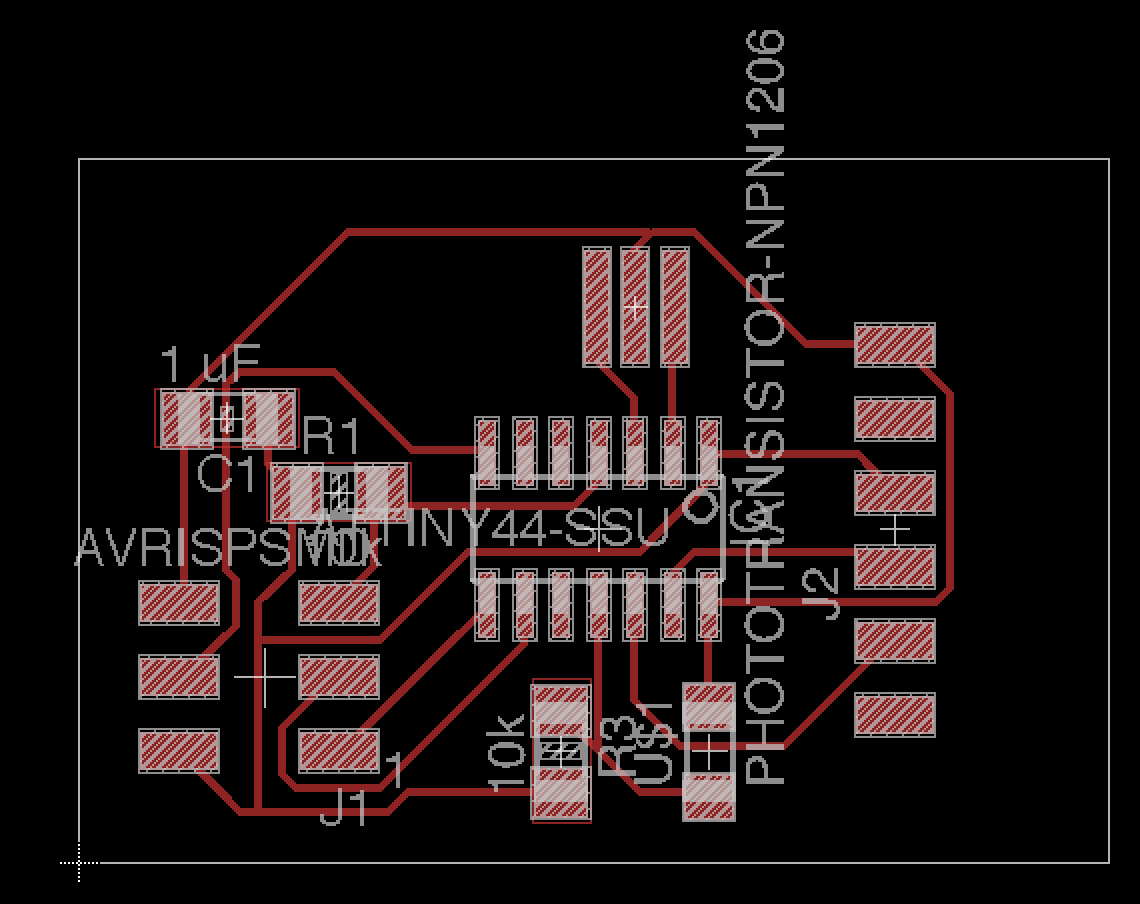
I made sure to leave enough space in front of the FTDI connector so that the SMT component would be supported. This is something that I didn’t do last time I designed a board with an FTDI connector, and then I had to be super careful about not putting any load on the connector to avoid breaking the board.
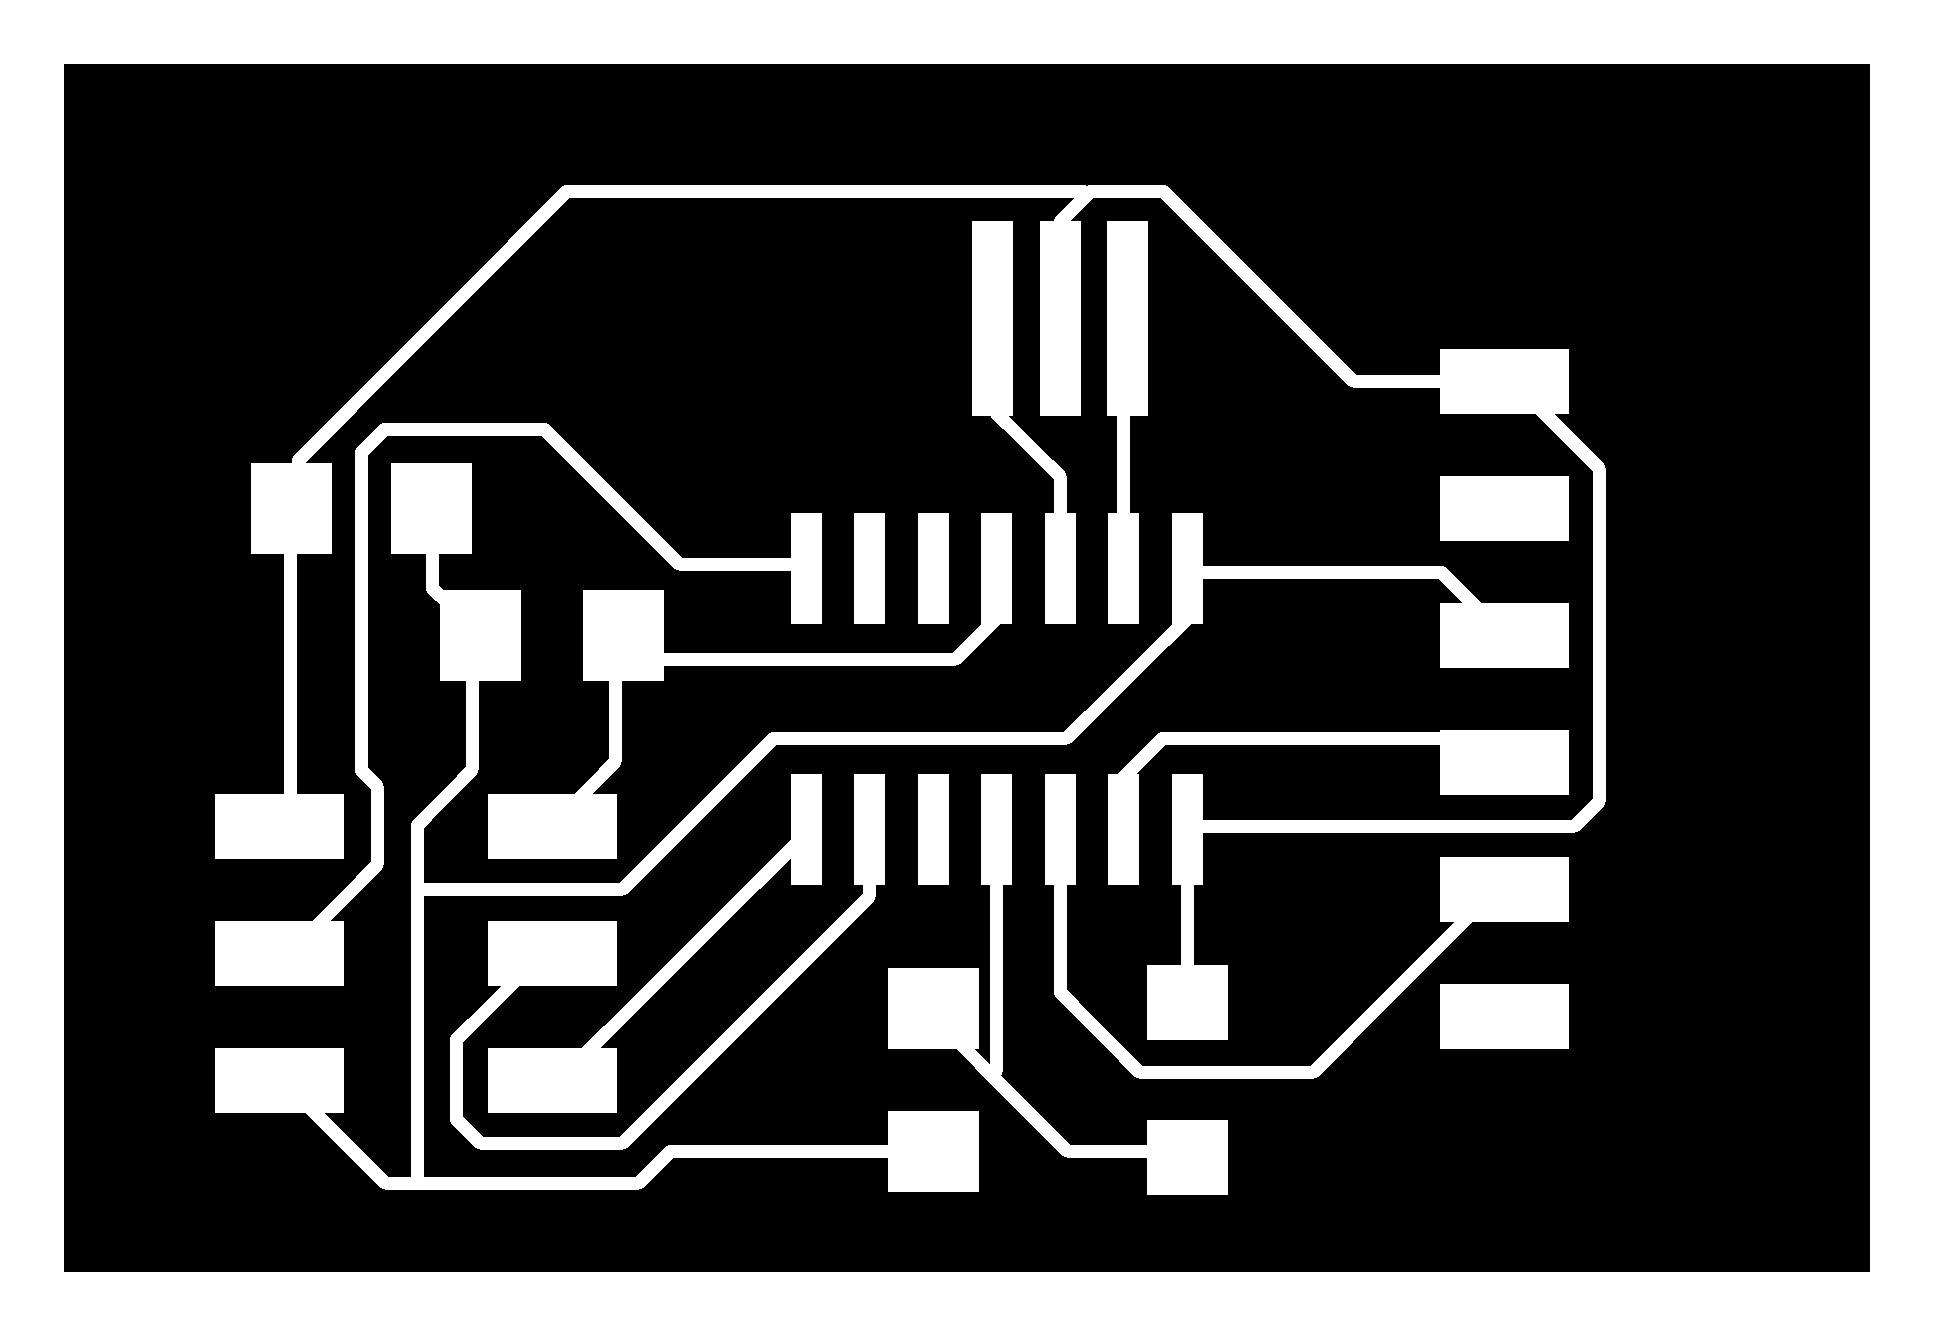
I exported the board design and created traces and an outline to mill.
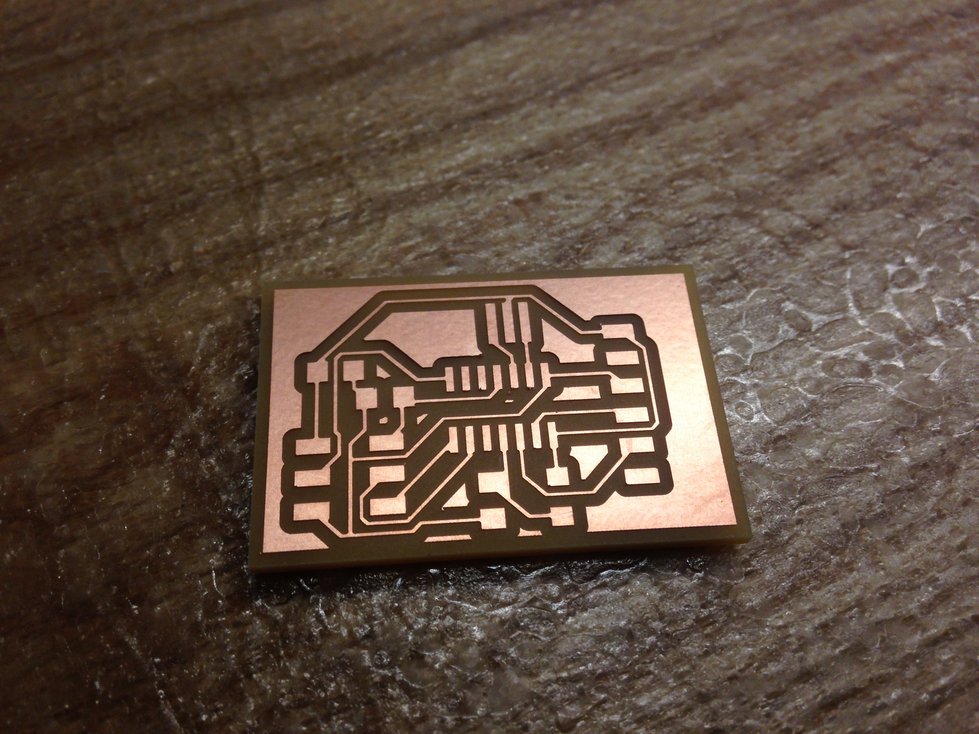
Production
Producing the PCB was pretty straightforward. Here’s the milled PCB:
And here’s the finished PCB with all the components:

Programming
I adapted code from here for the ATtiny44. Here’s my Makefile and light.c.
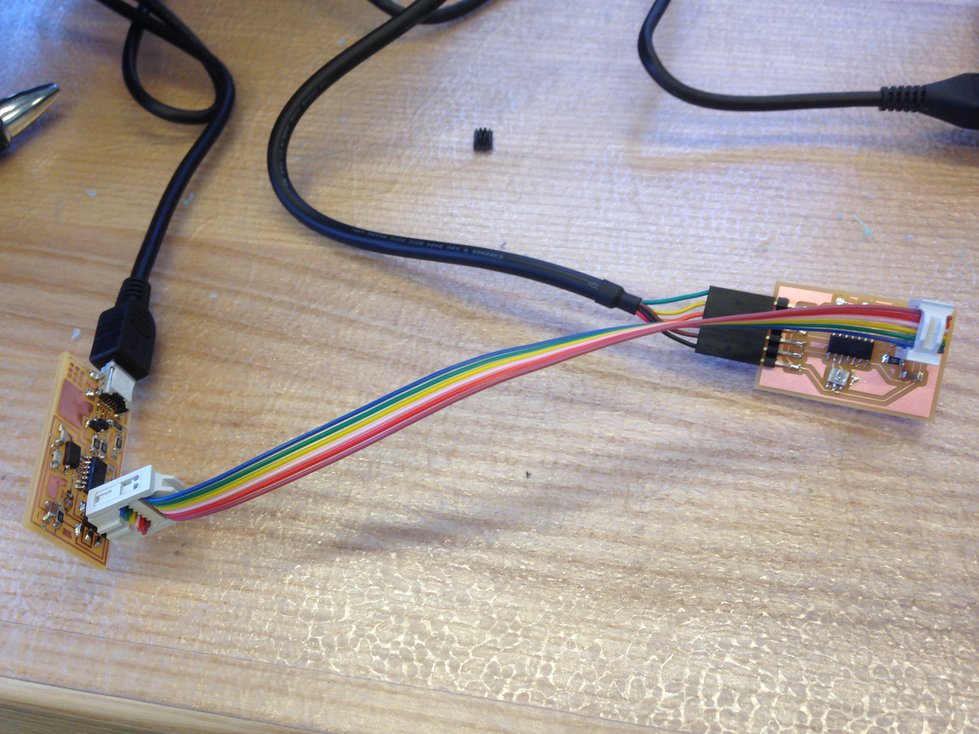
I programmed the board using my FabISP:
Result
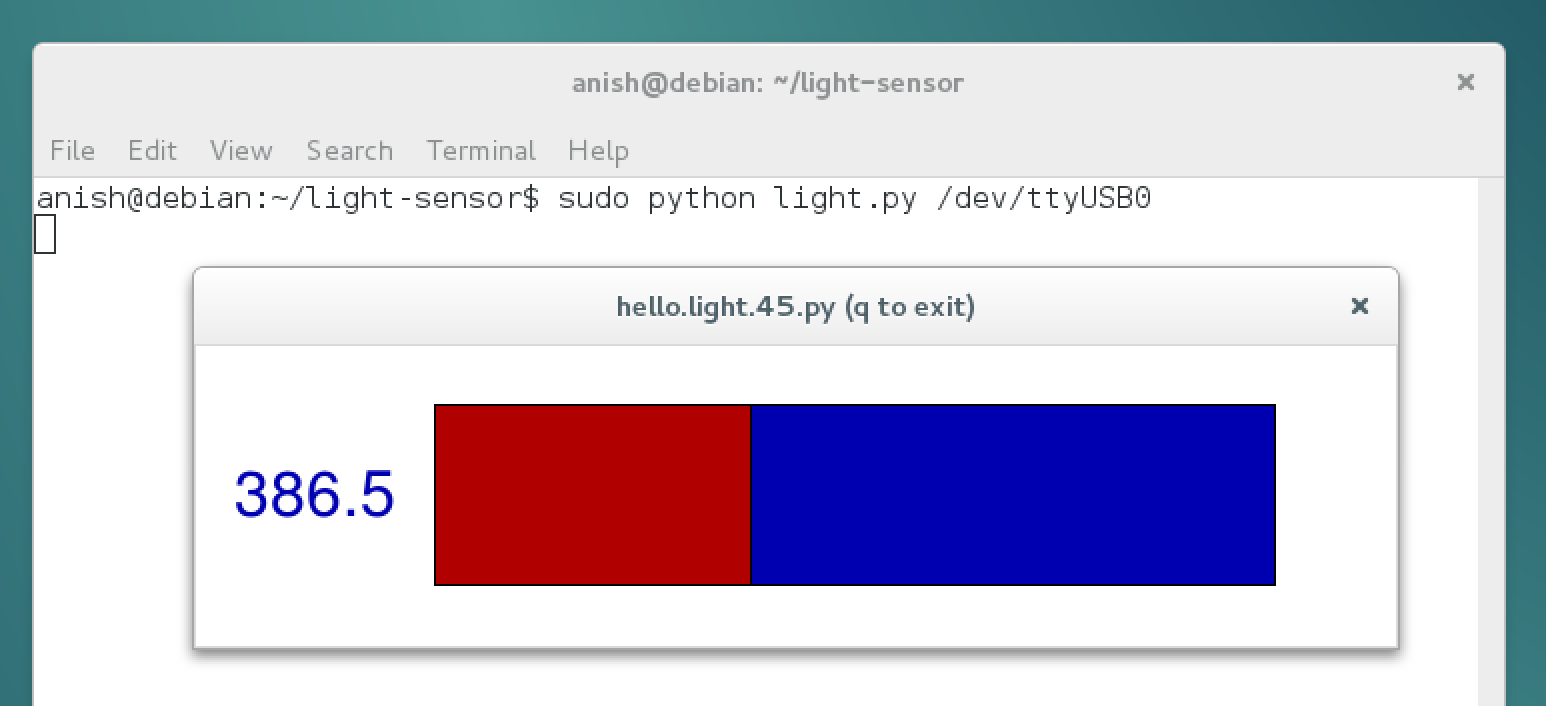
Running the light.py script on my computer, I could verify that the board worked as expected: