In lecture, we talked about different types of press-fit joints . The bistable connection in particular caught my attention, because it seemed the most secure for the least effort (mainly I didn't want to deal with making tiny pins). Especially with a roller coaster, the pieces need to be as tight fitting as possible to keep energy loss down. Since I planned to have a loop-de-loop on my coaster, energy loss was an important variable to take into account.


Sketchup and some napkin math
The base design I came up with has three main components. The most important component is the railing, which is assembled out of various angles. In my original design, I had railings that corresponded to slopes of 0, 1/2, 1, and 2. When actually CAD'ing it, I forewent the m = 2 piece for a vertical m = ∞ piece because I wanted to use fewer pieces and a vertical railing is necessary for the loop-de-loop. The idea behind the rail pieces is that you can snap them together to define the path of the roller coaster. Then, you add the track and leg supports after the rail path has been defined.
The next important component in the design is the actual track itself. I decided to use a flexure design to allow the track to stretch and bend. The length of the hypotenuse of each rail piece is not equal because the width needs to be a certain length to fit the leg supports. As such, the track needs to adjust based on what railings are part of the track, and create the curves in what would otherwise be a very angular roller coaster.

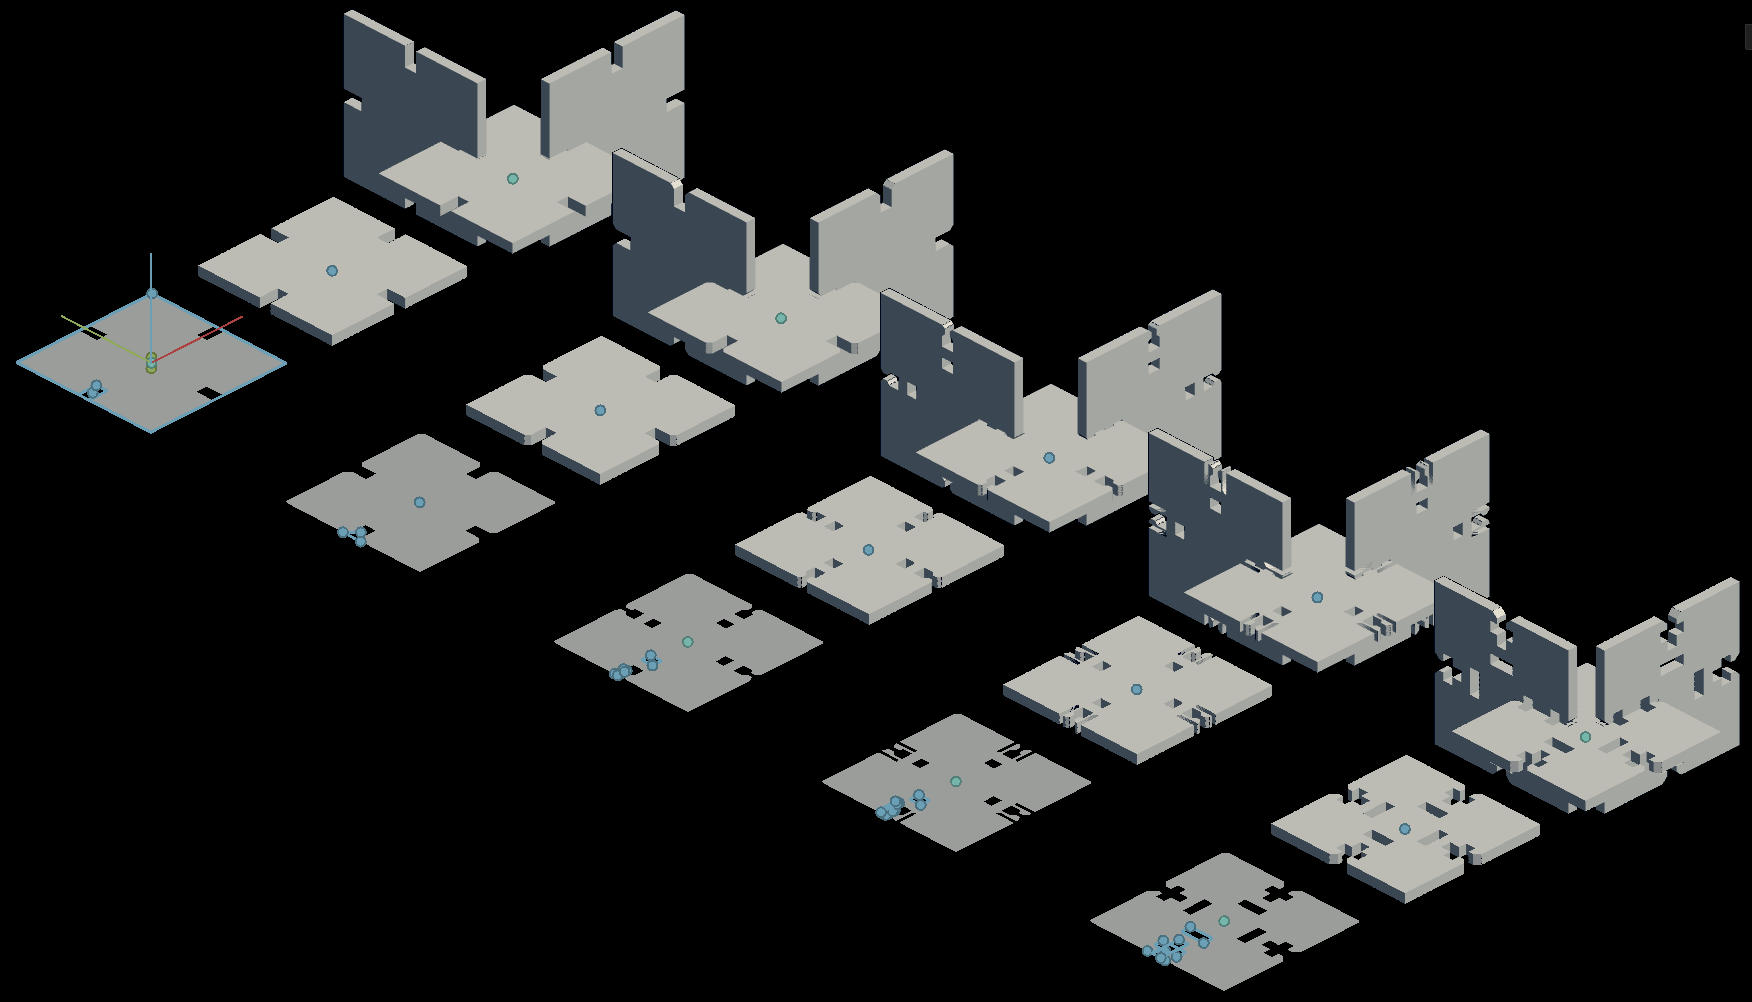
Each unique piece lovingly spaced apart (Ver 2)
The last component is the leg supports. They hold the roller coaster physically upright and help keep the roller coaster static. These pieces especially need to be strong and tight, because they are the easiest path for energy to be lost. My first design only had one slot on either side, so together the legs formed an X shape when viewed vertically. Similarly, each rail piece had to connect to an addaptor piece (because there are two parallel rail pieces on each side of the track). Before laser cutting the rest of the coaster, I wanted to test how the bistable joints would fit and how strong the legs were when stacked.
It was thankfully at this point when I realized that only having one leg stacked on top of each other was very flimsy, and would have made my roller coaster unable to stand. I changed my entire design to fit supports that have two legs at each level (they intersect to make a # shape). This second iteration can be seen above.


Test cut of leg design
Now with a design I was happy with, I went and laser cut all the parts for my roller coaster. Now, using Antimony to laser cut things is very annoying depending on the software you are using. The EECS section used CorelDRAW , which worked best with DXF, so I first had to use fabmodules to get my .png file to a .gcc file (which CorelDRAW accepts) and then use CorelDRAW to export it to DXF. That was an annoying process that took me two days to figure out :/
It took me three packed sheets, taking half an hour each. Unfortunately, the cardboard was curved, so parts of the cut were unfocused and got singed. I tried to unbend the cardboard, but that only ended up creasing the cardboard, which didn't affect the cut pieces much but is still undesireable. Fortunately, creasing the cardboard fixed some of the singeing.
Another problem I ran into was that the software for the universal laser reset settings between each print. When cutting my second sheet, I accidentally left it on the default settings, which are for acrylic, so it burned the first few pieces. I quickly stopped it, changed the settings, and continued. Thankfully, the singed pieces still worked well.

You can see a few of the pieces are singed
Finally it was time to put the roller coaster together. I finally understood the pain of bistable joints, especially since the new leg support design required me to attach each piece to two others simultaneously. It took me ~3 hours to fully construct the roller coaster. In the next iteration I think I could get away with using only pressfit joints, which would make my life easier.

TOO MANY PIECES!!!
Thgrough trudgery, I succeeded in building the final roller coaster. I ended up not cutting enough legs, but I simply found things to prop up the last leg (like the fire alarm in the below picture). Does it work? In a certain sense, yes. I didn't actually have a marble, but one of my hallmates (Calvin Zhong, an Architecture section TA) gave me a ball bearing. The ball bearing gets from one end to the other, but when it gets to the first 45° angle at the foot of the loop-de-loop, it jumps onto the other side and continues forward. In my next iteration, I need a mechanism for having smoother curves. I think I could achieve this by having several slots on each rail piece that the track can fit into, depending on which slot makes the track smoothest.

Looks pretty cool
Here is the Antimony file of the second iteration. It will look cool but probably can't handle 45° angle changes. Use the m = 1/2 piece between m = 0 || ∞ and m = 1 pieces. Use Antimony to array the track pieces beforehand.
Here are the png files of my roller coaster design. It will fit in a 3'x2' laser cutter.