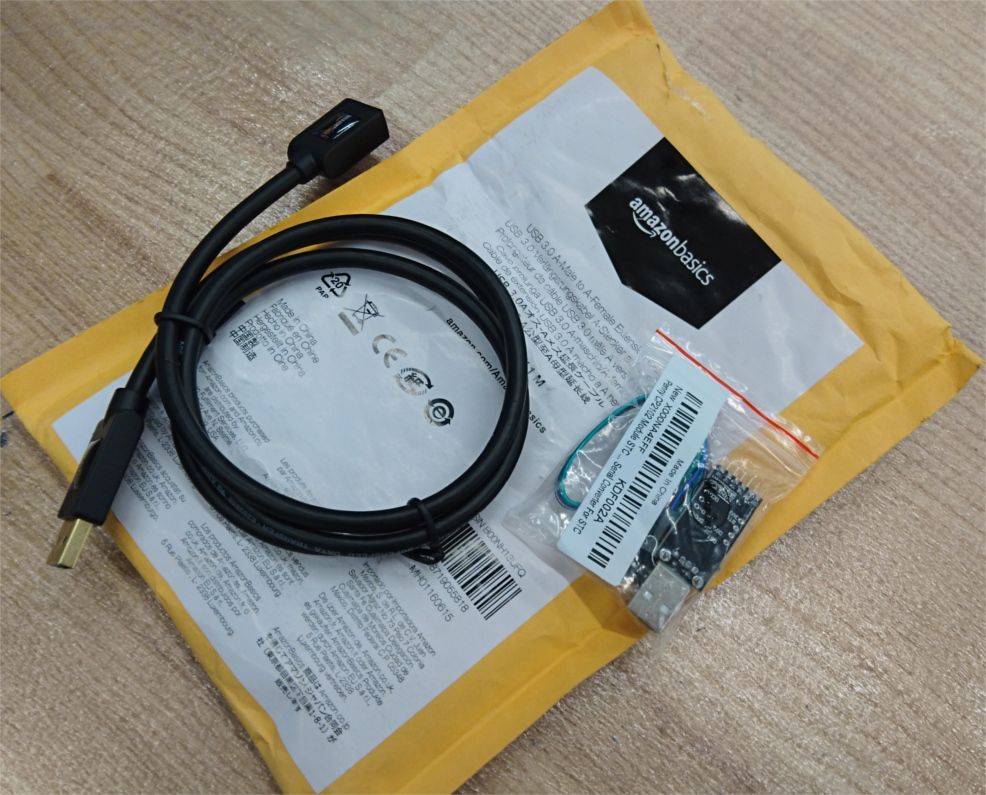
During this week's lecture, Gershenfeld told us everything we needed to program our boards from home. So then I bought them off amazon during lecture. Namely, this ftdi cable and this USB extension cable . I really got tired of spending hours in lab, so being able to spend those hours at home was a slight improvement

Thanks Amazon!
Before I started programming, I wanted to make sure that all my wires and cables were up to snuff, so I pestered the TA's in my section about the 6-pin connectors. Then I heat shrunk the ribbon cable that came with my fdti board, because it came to me with each pin separated, which made plugging it in annoying.
Pimpin' my cables
Now onto the actual programming. The first thing that everyone did in the EECS section was try to flash one of Niel's hello.c programs onto their circuit to make sure that it actually could be programmed. And this was where I faced my first obstacle: the lab programmer worked, but my FabISPKey didn't. To make things even more confusing, when I tried to reset the fuses on my programming, everything continued working fine! It turned out that some of the solder bumps on my programmer were too small (See edits to week2), so I buried resistor leads into the solder to increase the height of the bump.
Am I an engineer now?
With that taken care of, I could now program entirely at home, which was the only reason I went to lab for this week. The first architecture that I used was arduino, because I was used to programming arduino and it was the easiest in my opinion. However, it did take a lot of time to figure out how to flash programs to the attiny via arduino. I used the ATtiny board manager URL from this arduino help page and I used this page for a stop-by-step tutorial and for the arduino pin numbers. I first tried for several hours to burn the bootloader onto my board, but was never successful. In my google searching, it did remind me to install the ftdi serial driver, but I'm not sure if it'd be useful now since I'm programming not via serial but via the programmer.
Blinking Green LED
The first step I took was to convert the arduino blink tutorial to my board. Pretty successful! I chose to blink the green LED because I'd need to flip one of the switches to use the red LED (due to lack of pins)
Alternating Colors
Next, I tried to see if the RGB LED could use all three primary colors by switching between the colors instead of blinking the colors.
Adding button functionality
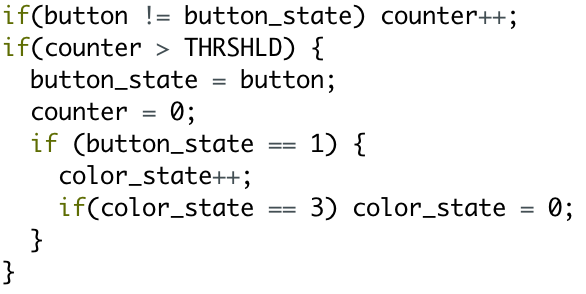
Afterward, I tried to implement the color change upon button presses. I'm glad I went to the recitation for this class, where we learned how to program buttons in such a way that is resilient to button springiness using a counter

code for button counter
Using Touch Sensor
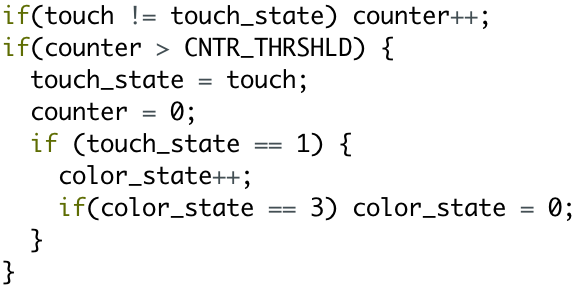
And this was my final step, to take the previous button code, and replace the input with the touch sensor. One of the biggest reasons for using arduino first besides ease was the fact that a capacitive sensor library already existed for arduino.

code for touch counter, startlingly similar to button counter
And now to talk about switching the code to C. At first I thought it would be quite scary, but it actually turned out to not be too bad! With Niel's macros set up, all I had to do to port the blink code to C was replace:
digitalWrite(pin, LOW) with clear(PORTA, pin),
digitalWrite(pin, HIGH) with set(PORTA, pin), and
delay(ms) with _delay_ms(ms).
the alternating colors code was also similarly easy! For anyone who does not want to read the entire datasheet for the ATtiny44, I found page 55 onward (titled Ports as General Digital I/O) most useful!

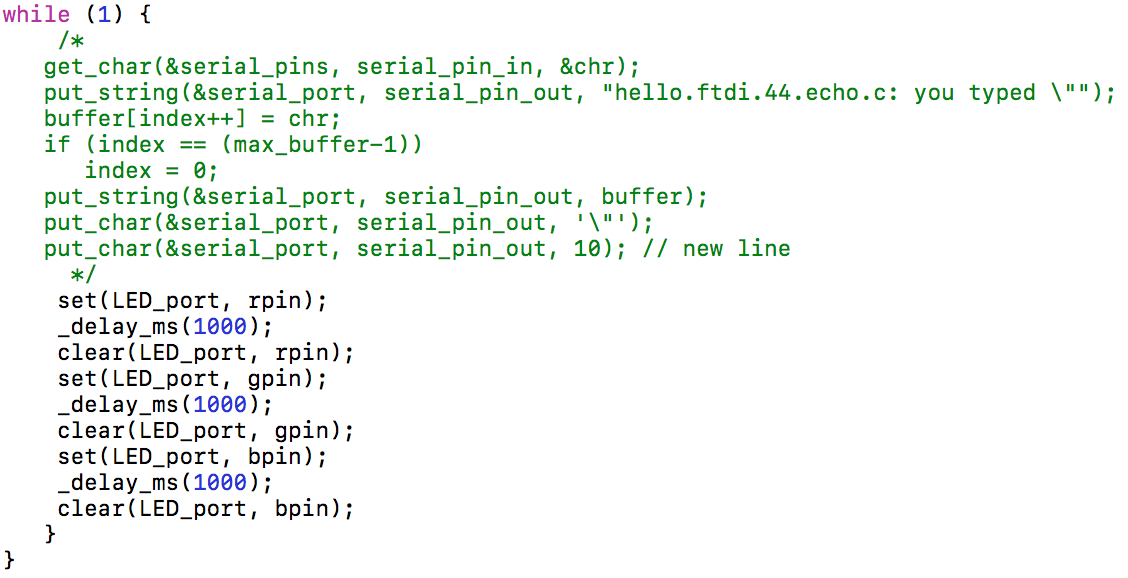
just kept Gershenfeld's echo.c code for kicks :P
Lastly, I ported the button code to C, making the substitution:
digitalRead(pin) with (BTTN_pins & bttn) != 0
Besides some setting pins as input or output, which is as simple as using the output macro iff the pin is an output, I only needed to make the above substitutions to program in C. That is to say, anything that doesn't need an arduino library can be easily ported to C!
I didn't port the touch sensor code because I ran out of time, and I would have had to make my own touch sensor library. I think I could have done it, but it'll have to be saved for when I have more time.
Here is a .zip with the arduino files and here is a .zip with the C files.