Though laser cutting and vinyl cutting isn't new to me, the specific machines at the GSD most certainly are. Thus, it became imperative to understand how the machines worked, what their settings were, and how best to operate them.
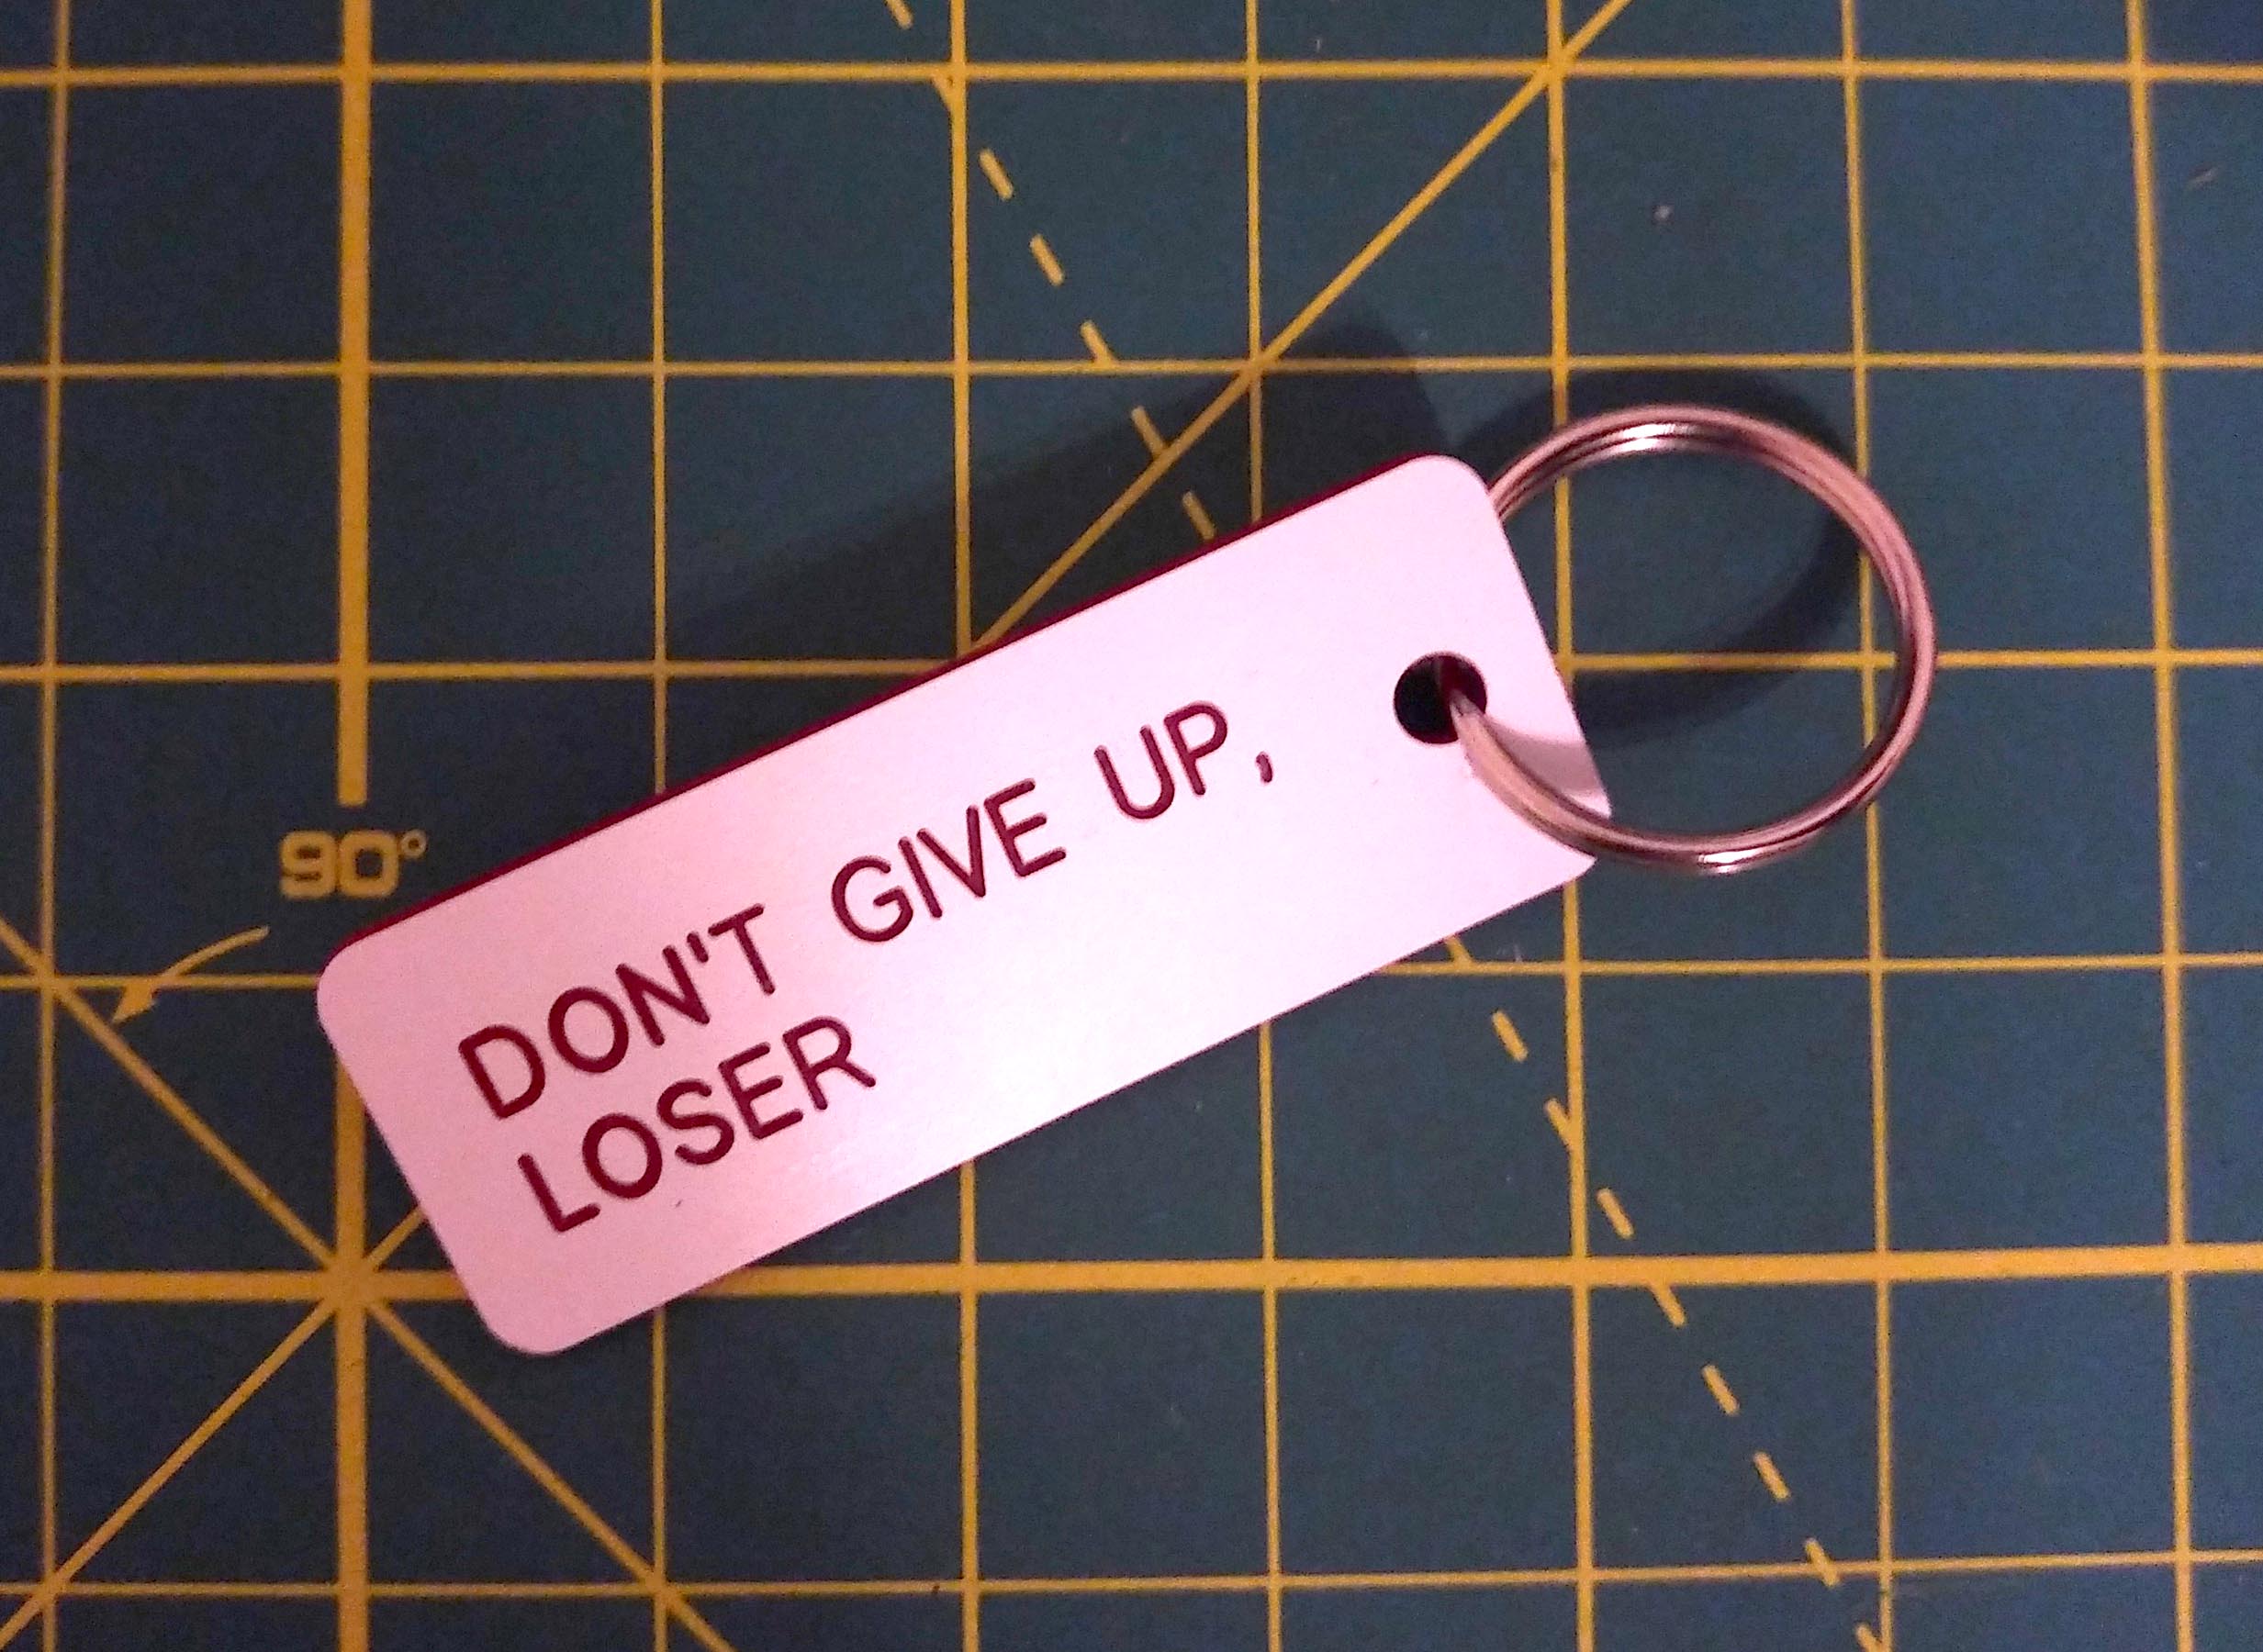
We first started with the vinyl cutter. One of my close friends' birthdays is coming up super soon, and she has a particular sense of humor. I decided to vinyl cut her a sticker, which I then placed on a laser cut red acrylic backing. A bit silly, and a bit disturbing. But I sort of wish I had made one for myself, too.
The group that I was working with was evenly divided with people who wanted to zap their personal projects out of cardboard and those who wanted to use acrylic. We decided to experiement with the tolerances afforded by 1/8" acrylic by designing and zapping identical "combs" which offered varying offsets from nominal 1/8" thicknesses.
In this way, we were hoping to ascertain an appropriate thickness threshold for our personal projects. Since I was one of the students in my group who wanted to use acrylic for Assignment 01, this part of the group work proved very helpful to me.
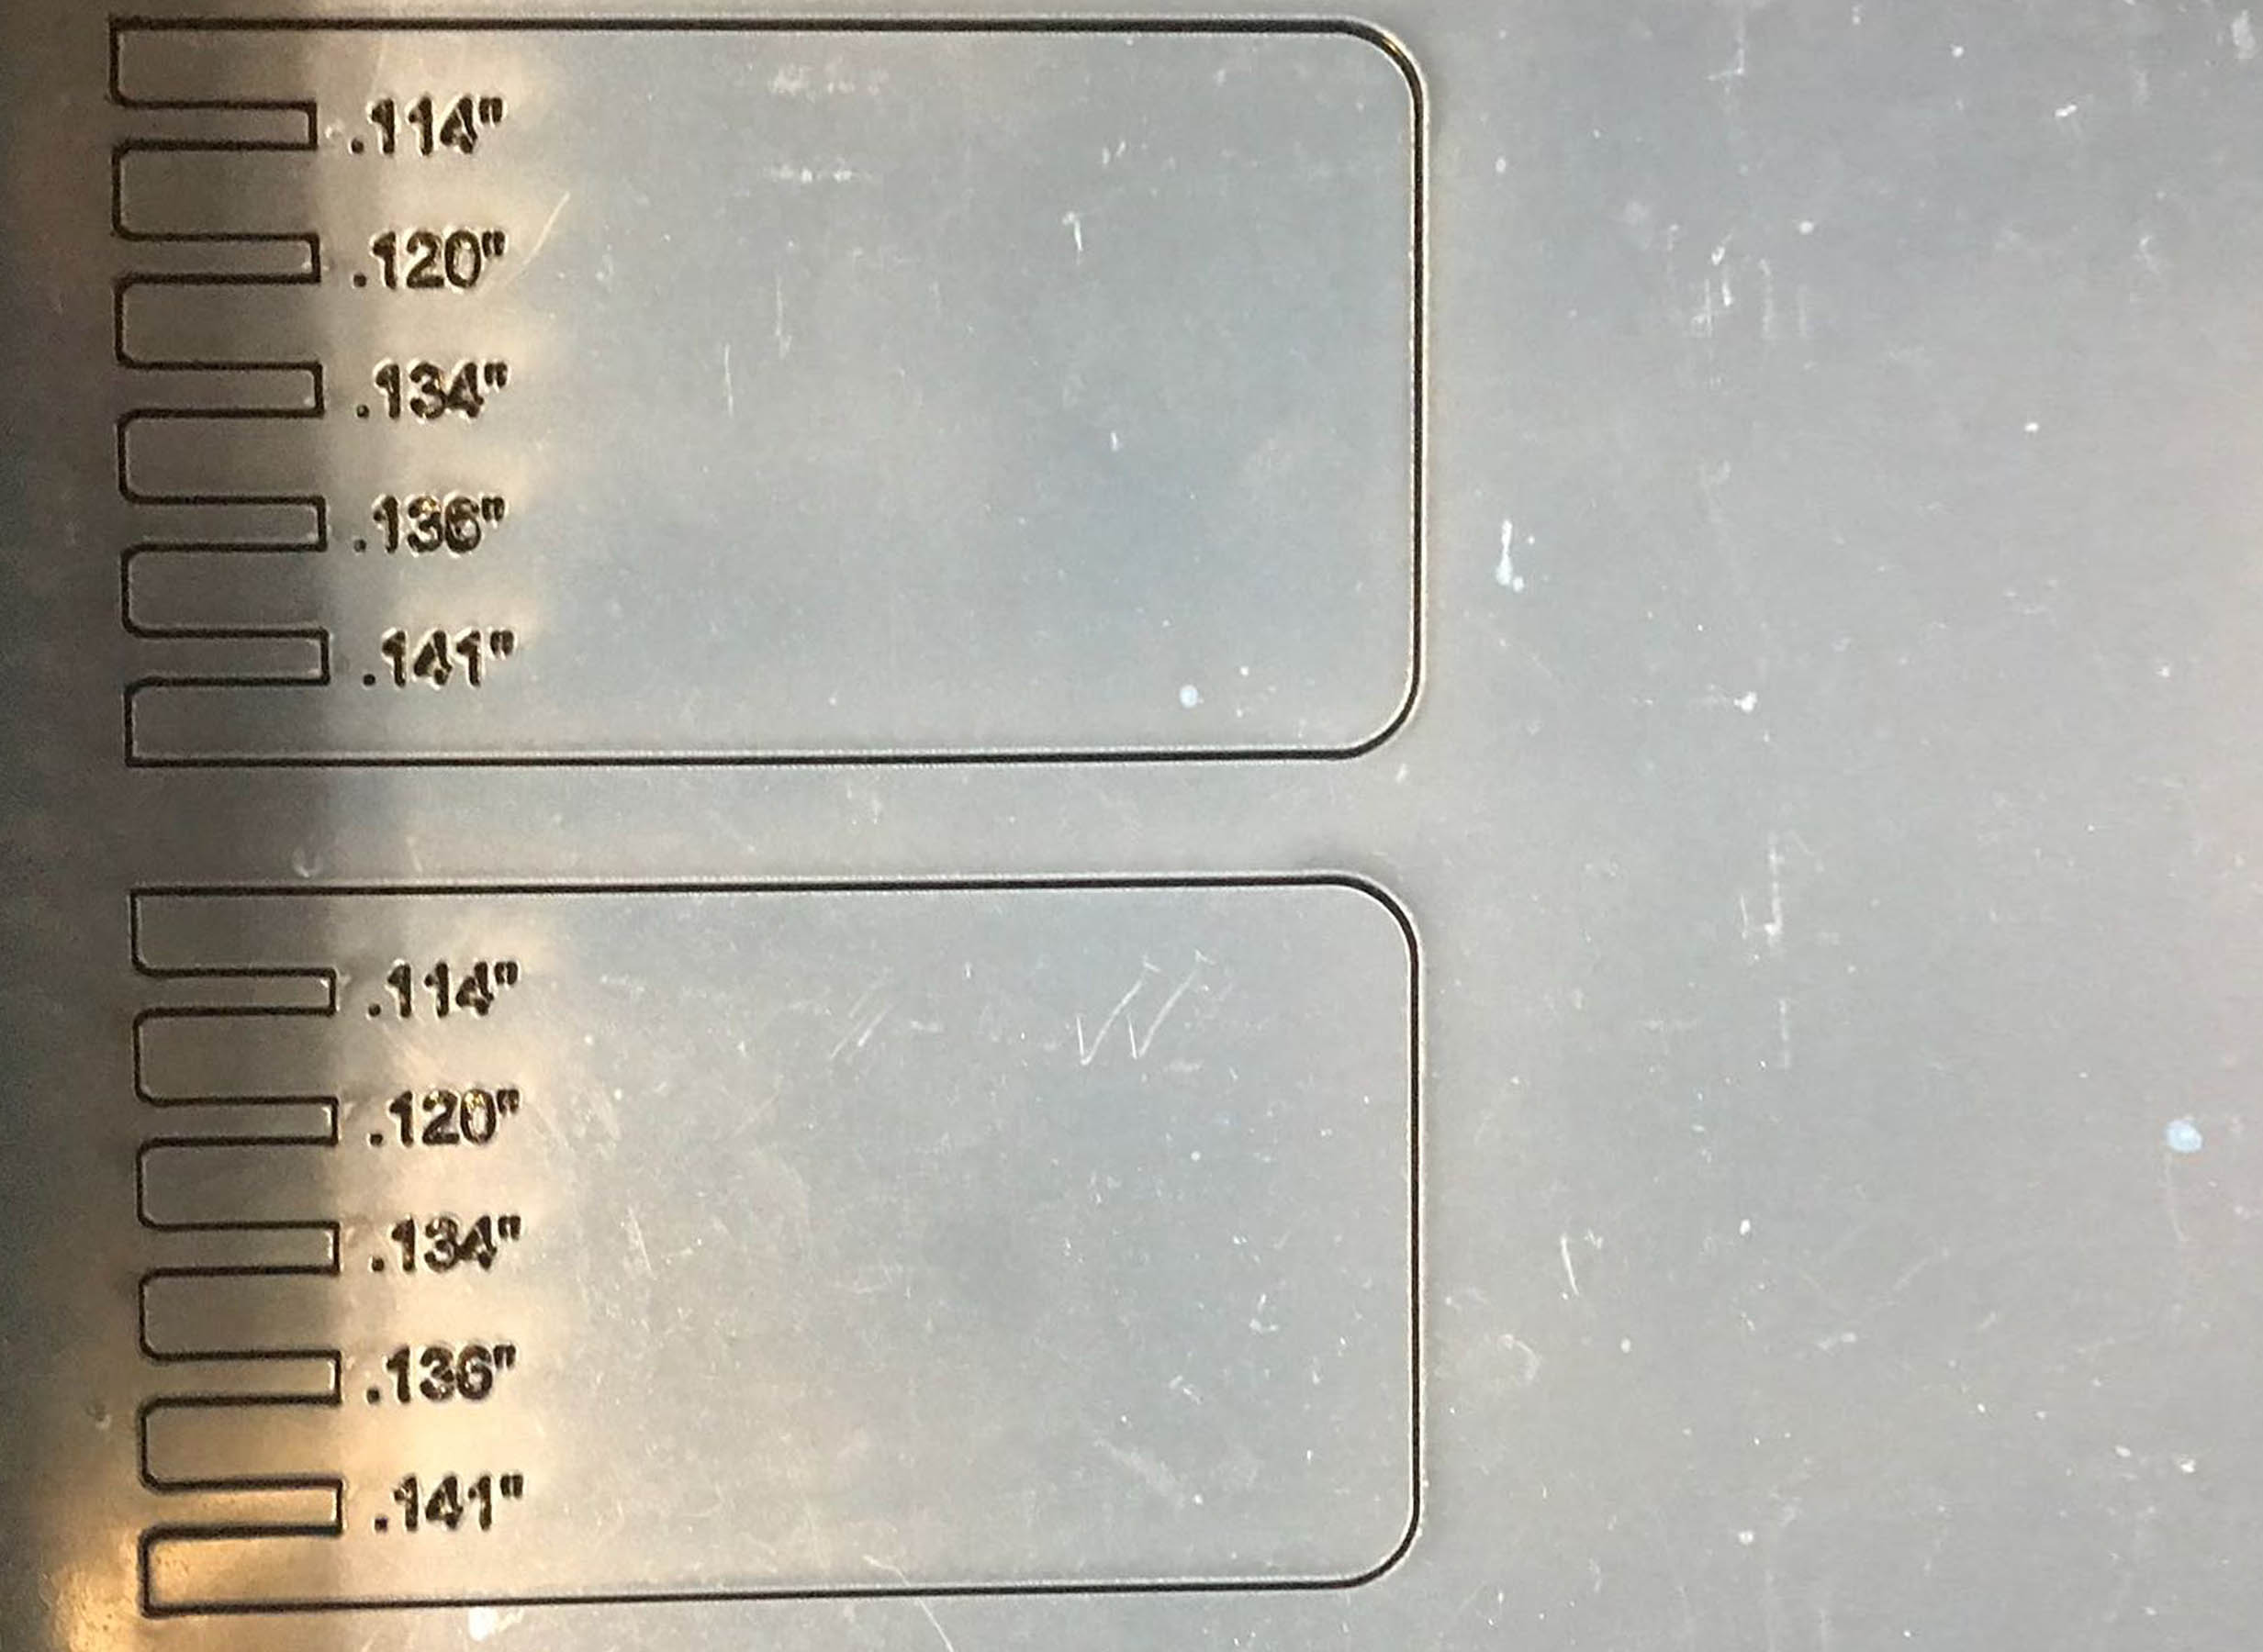
The combs intentionally had both cutting and etching passes, not only to create a readable and helpful tool, but also aquaint us with the varying settings to zap stuff with the lasers.
Because we were working with 1/8" acrylic, we thought it best to run at around 90% power, 4% speed, and 1000% frequency for the cutting pass. Next time, we would've probably used the "light" pass suggestion for the etching, as our etching settings cut through the acrylic at times.
As you can see here, we correlated each comb with its duplicate to find the best fit. In the end, we found that an offset of around a few hundreths of an inch gave us the best half-lap and snug fit.
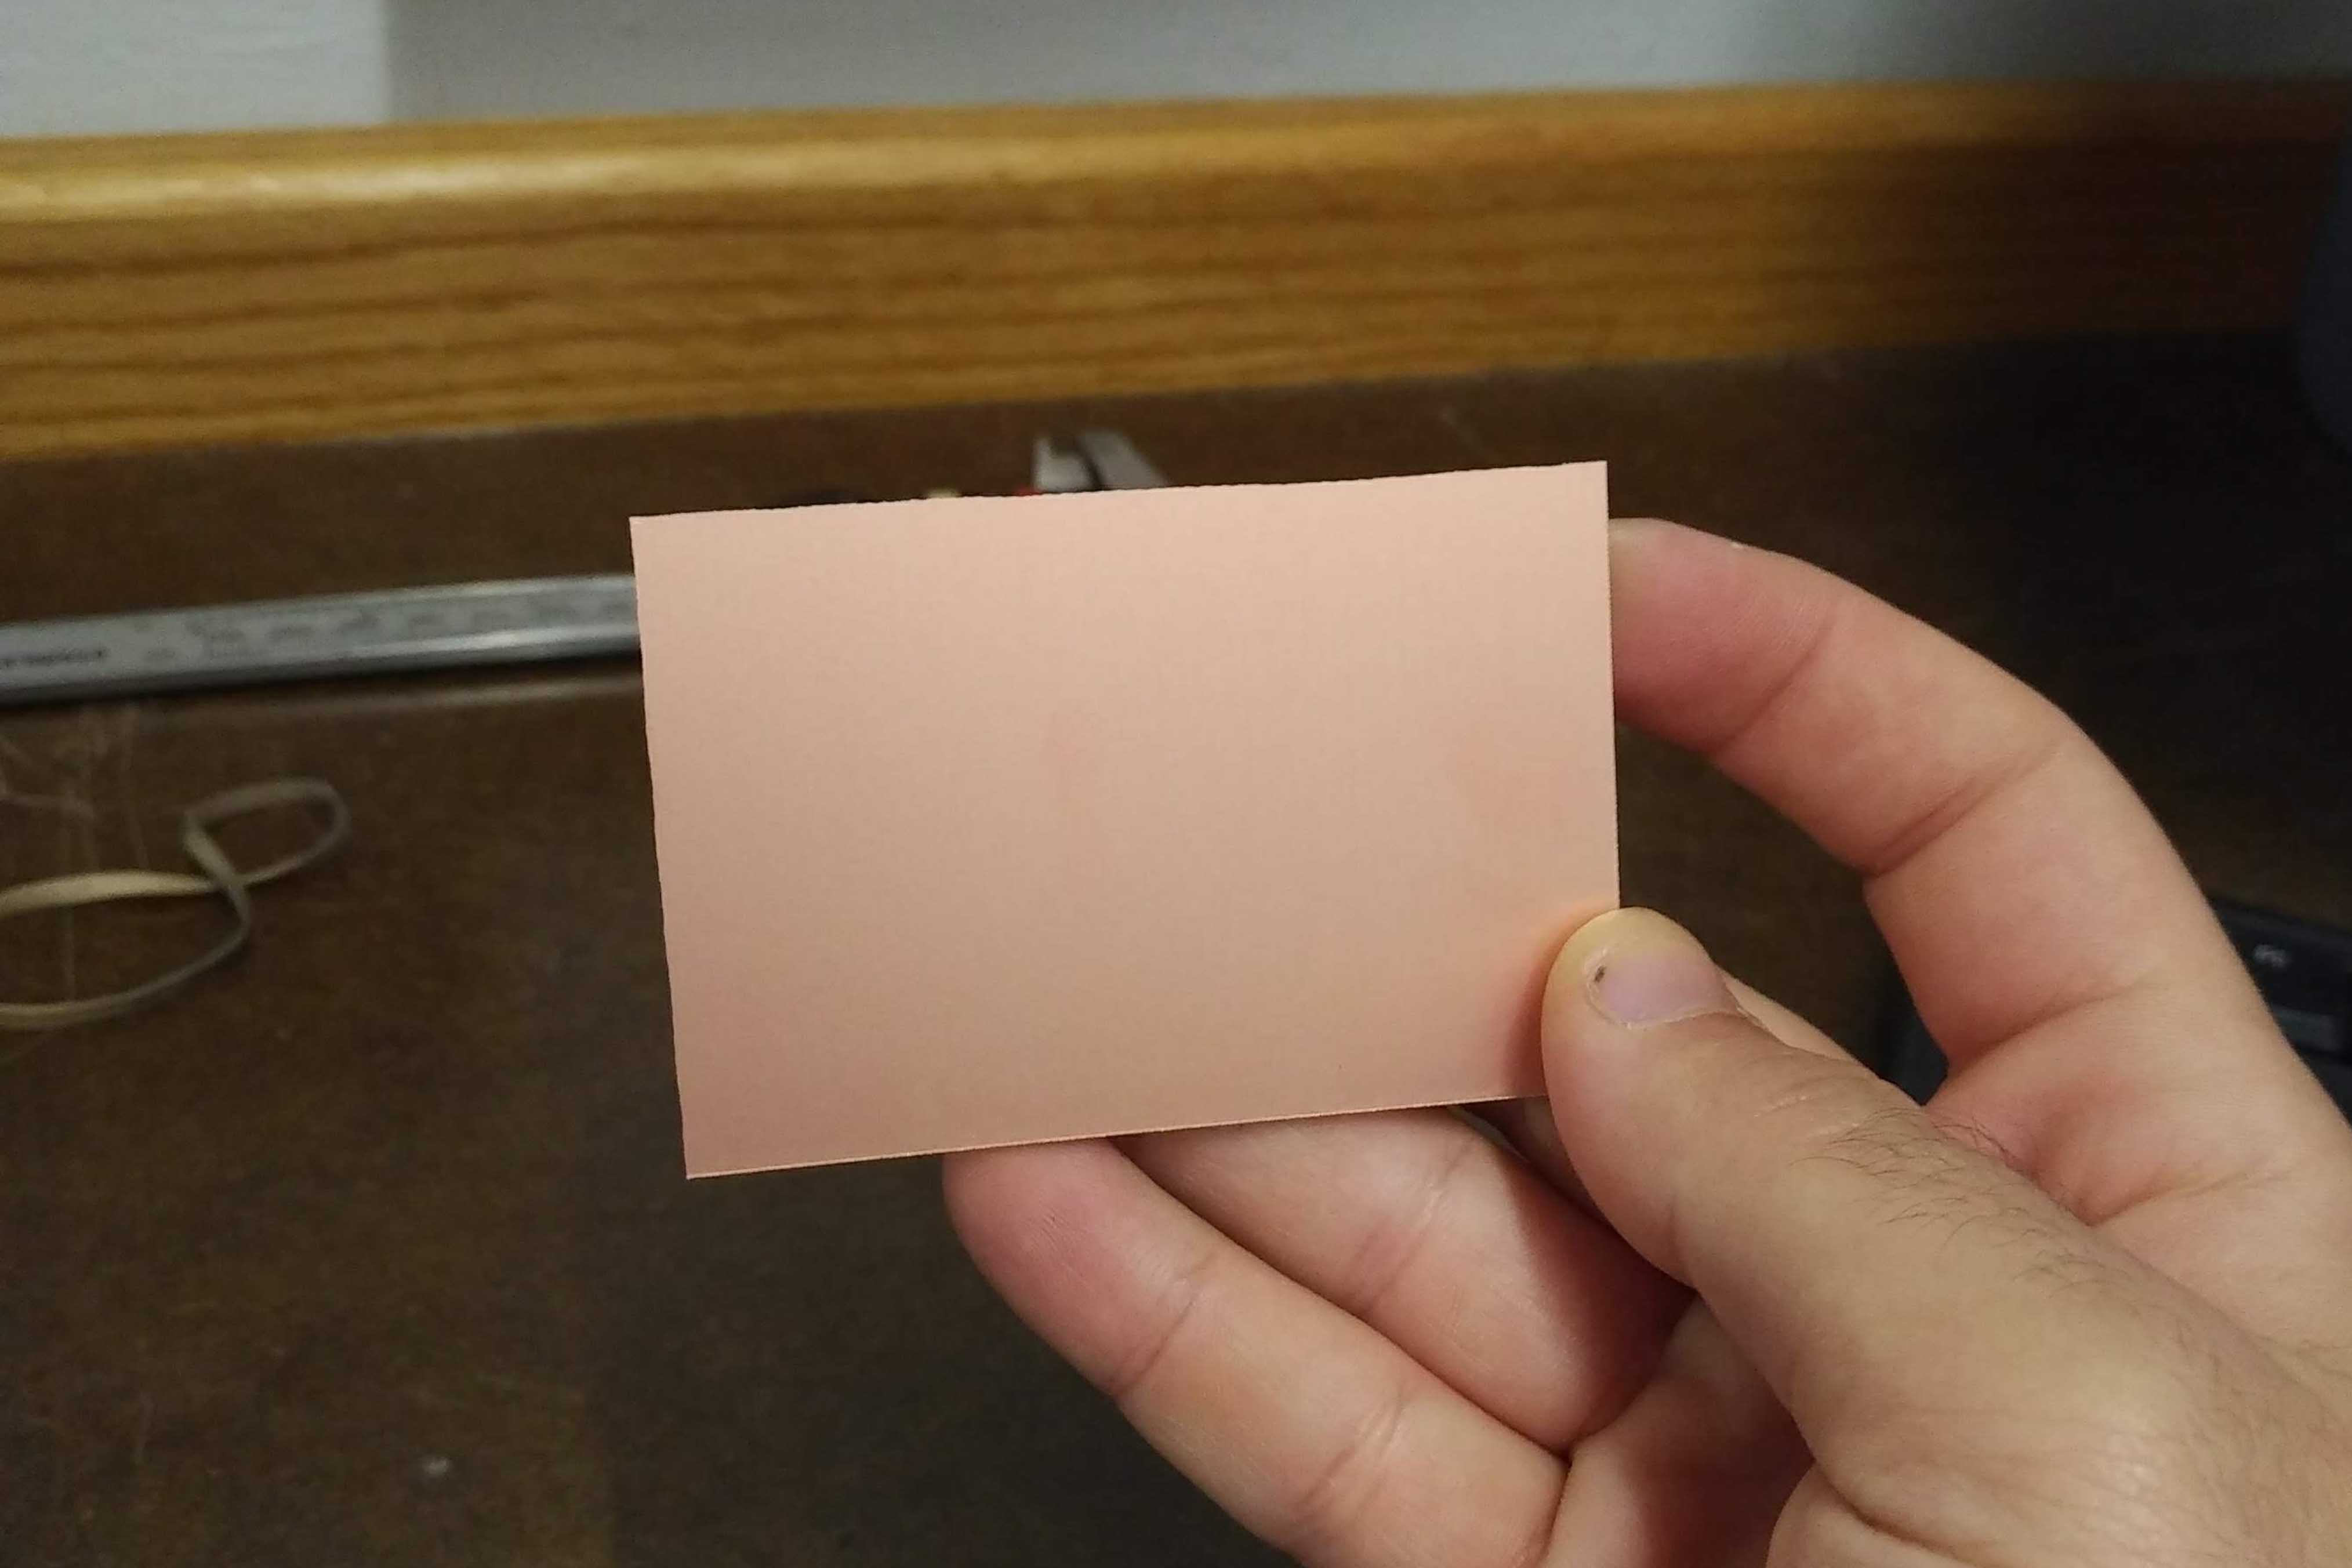
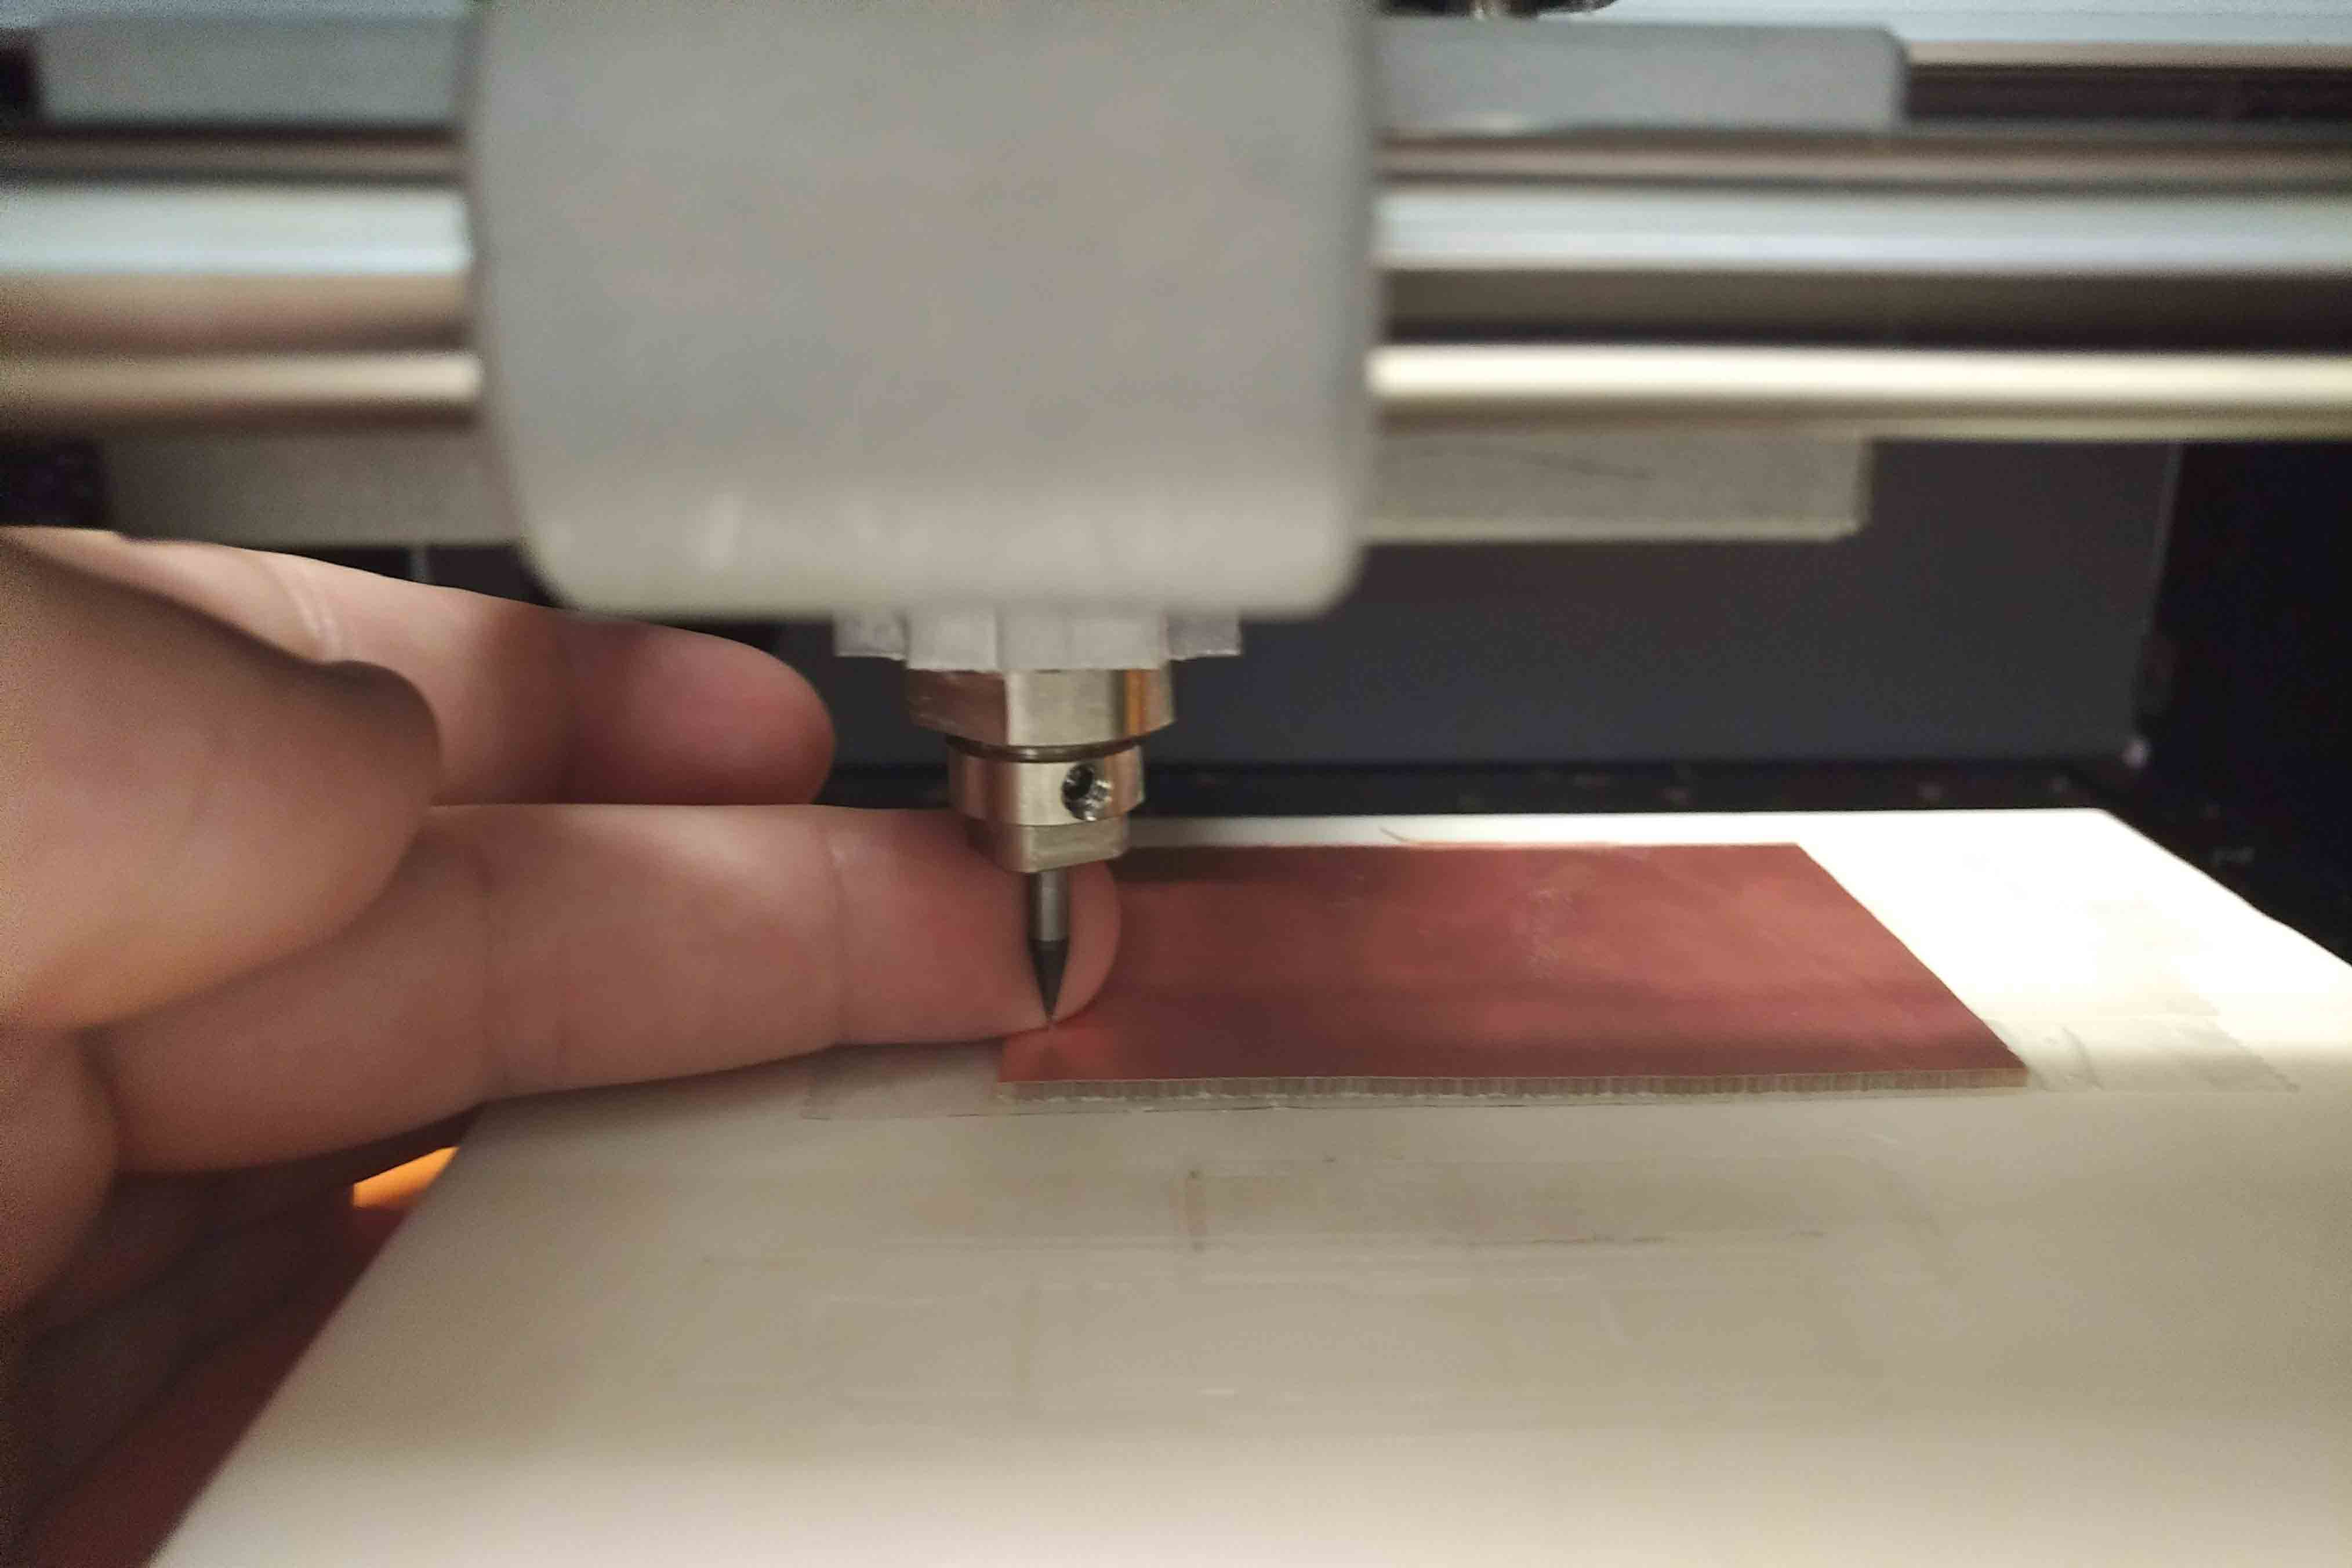
After obtaining a copper blank, covering its back with double-sided tape, and placing it on the spoil board inside the Roland SRM20, I uploaded the PNG of the board’s traces onto the MODS program in a fresh Mozilla browser. It was at this time that I also ran a command prompt to connect the computer to the Roland SRM20.
The traces need to be milled out of the smaller bit size, so I set the bit size setting in MODS to 1/64.” Then, I brought the chuck as close to the spoil board and blank as I possibly could by manually jogging over through the MODS program. Once I was happy with a good X,Y coordinate to start from, I replaced the 1/32” bit which had been in from a previous user with a 1/64” bit.
This process, in and of itself, required a lot of finesse. If you let the big fall down, it is likely to break. As such, I had to let the bit slide out and into my hand, and insert the new bit very carefully. When tightening the bit with the chuck key, I made sure to apply some downward pressure to ensure that the physics of the tightening screw didn’t inadvertently pull up on the bit.
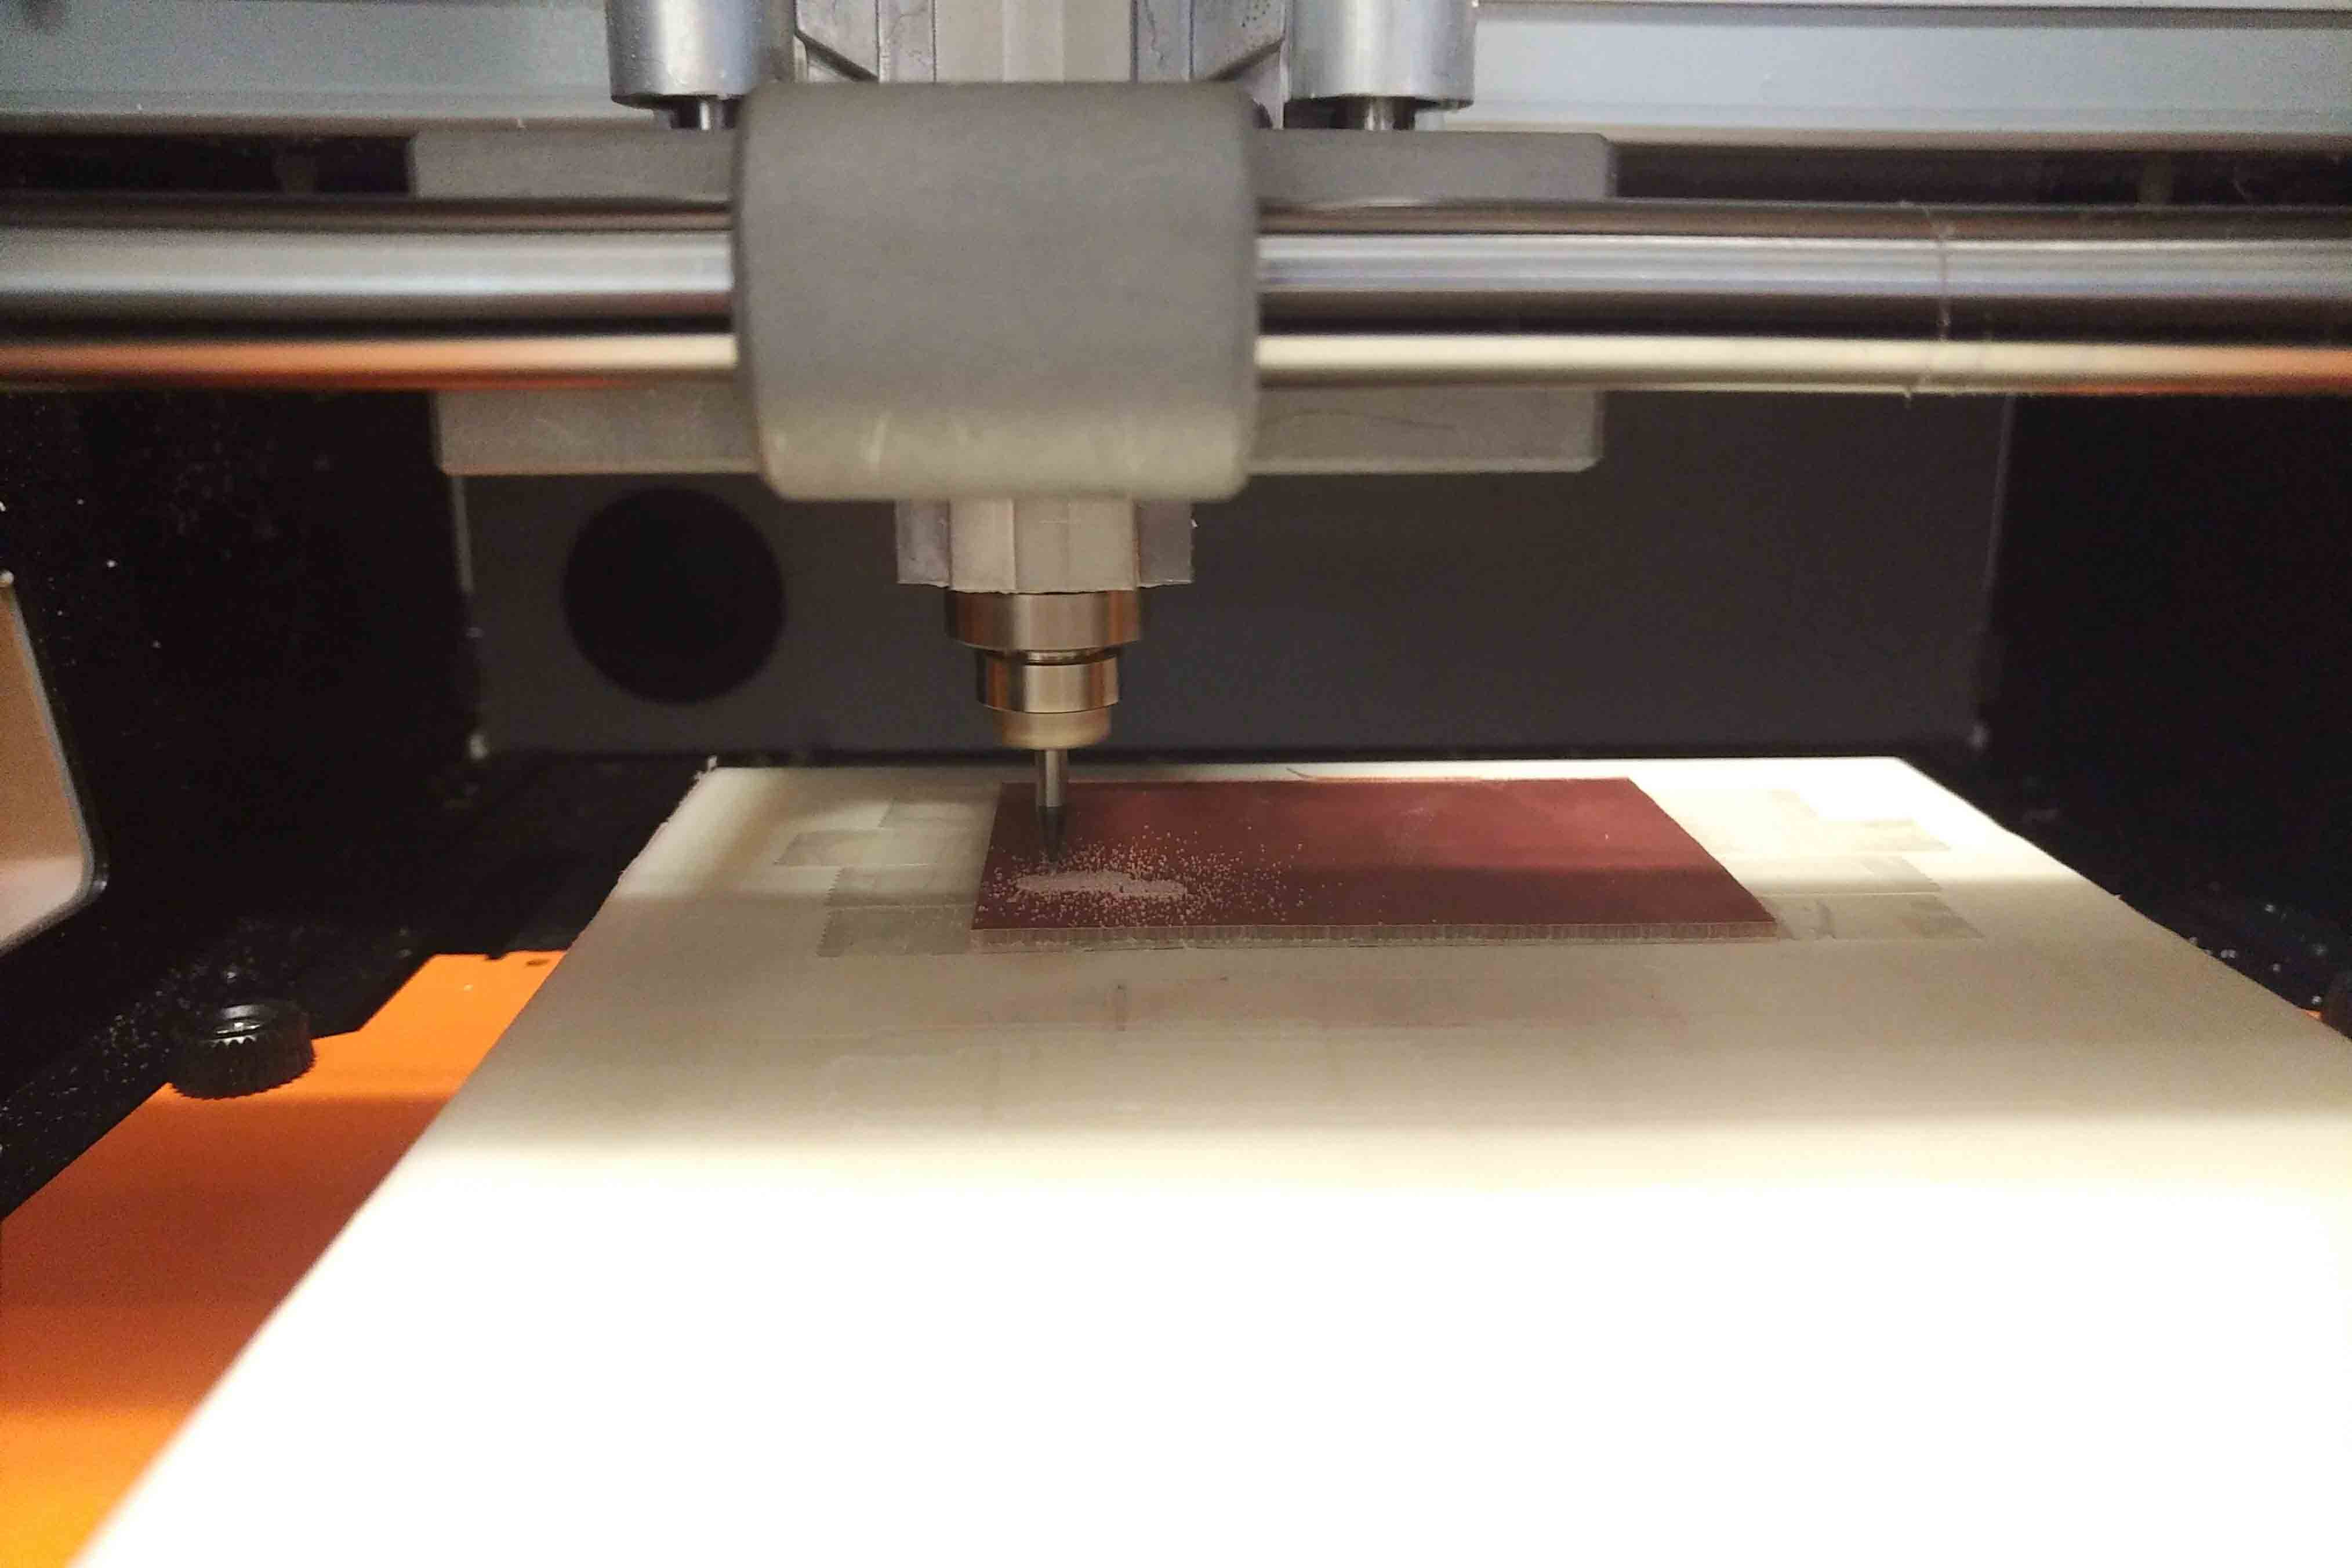
At this point, the Roland SRM20 was ready to mill. After triple-checking my mill settings, XYZ coordinates, and closing the Roland SRM20’s window, I clicked “send to machine.” The job took only about 5 minutes.
It was then time to mill out the profile of the board itself. Because the bit would need to cut through the whole thickness of the blank, it made most sense to mill with the larger and stronger bit. As such, using the same processes I had before to change my bit, I replaced the 1/64” bit with the 1/32” bit. After clicking “1/32” for the bit size, uploading the new PNG of the profile job, and verifying the paths, I was ready to send to the machine. Note that I didn’t have to change any XYZ settings, since all I had to do was use the settings from the previous job. Nice!
After both mill jobs were complete, I scraped the scrap material and PCB off the spoil board with a spatula and cleaned up the powdery residue left over from the operations. I used a knife to take off any excess sticky tape from the bottom of the PCB, and used some steel wool to sand off any burrs.
This week, we ventured into the exciting world of 3D printing and scanning. In a small group, we first set out to try to scan in a hand holding a Dewalt drill.
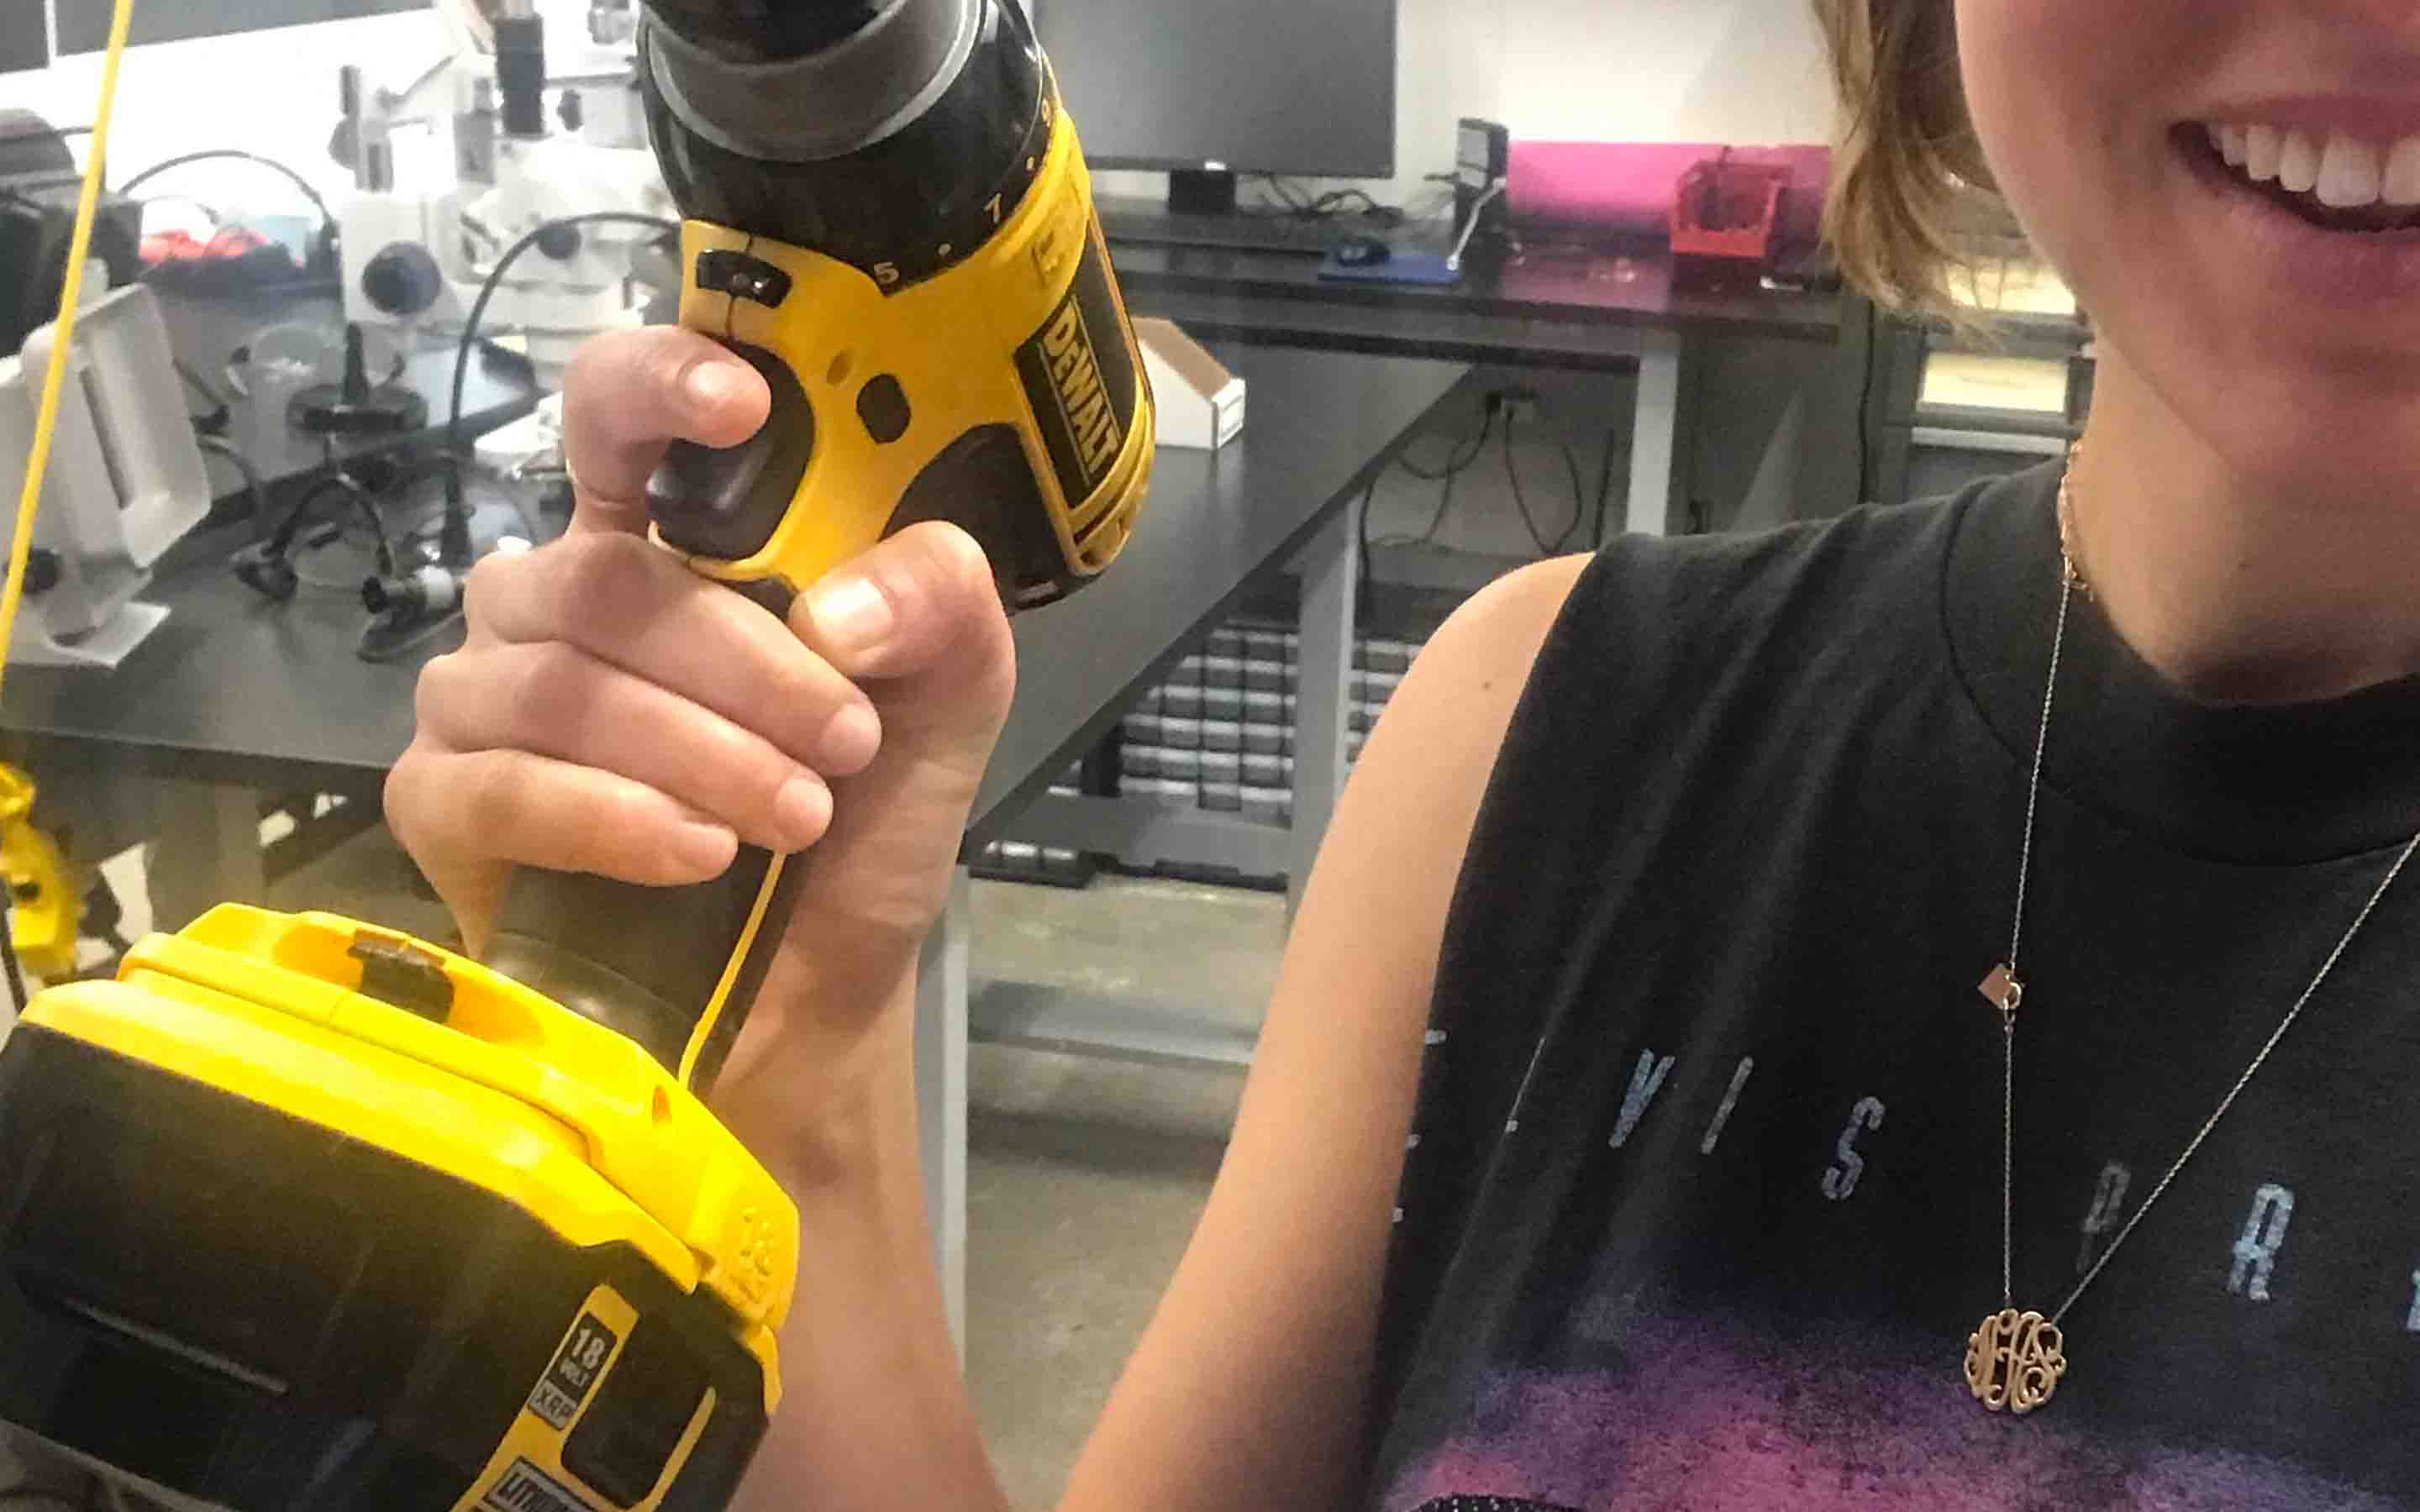
We used a simple hand-held scanner connected to some pretty rad software that made scanning super easy. After only about 1-2 minutes, we had a solid OBJ and STL file to work with!
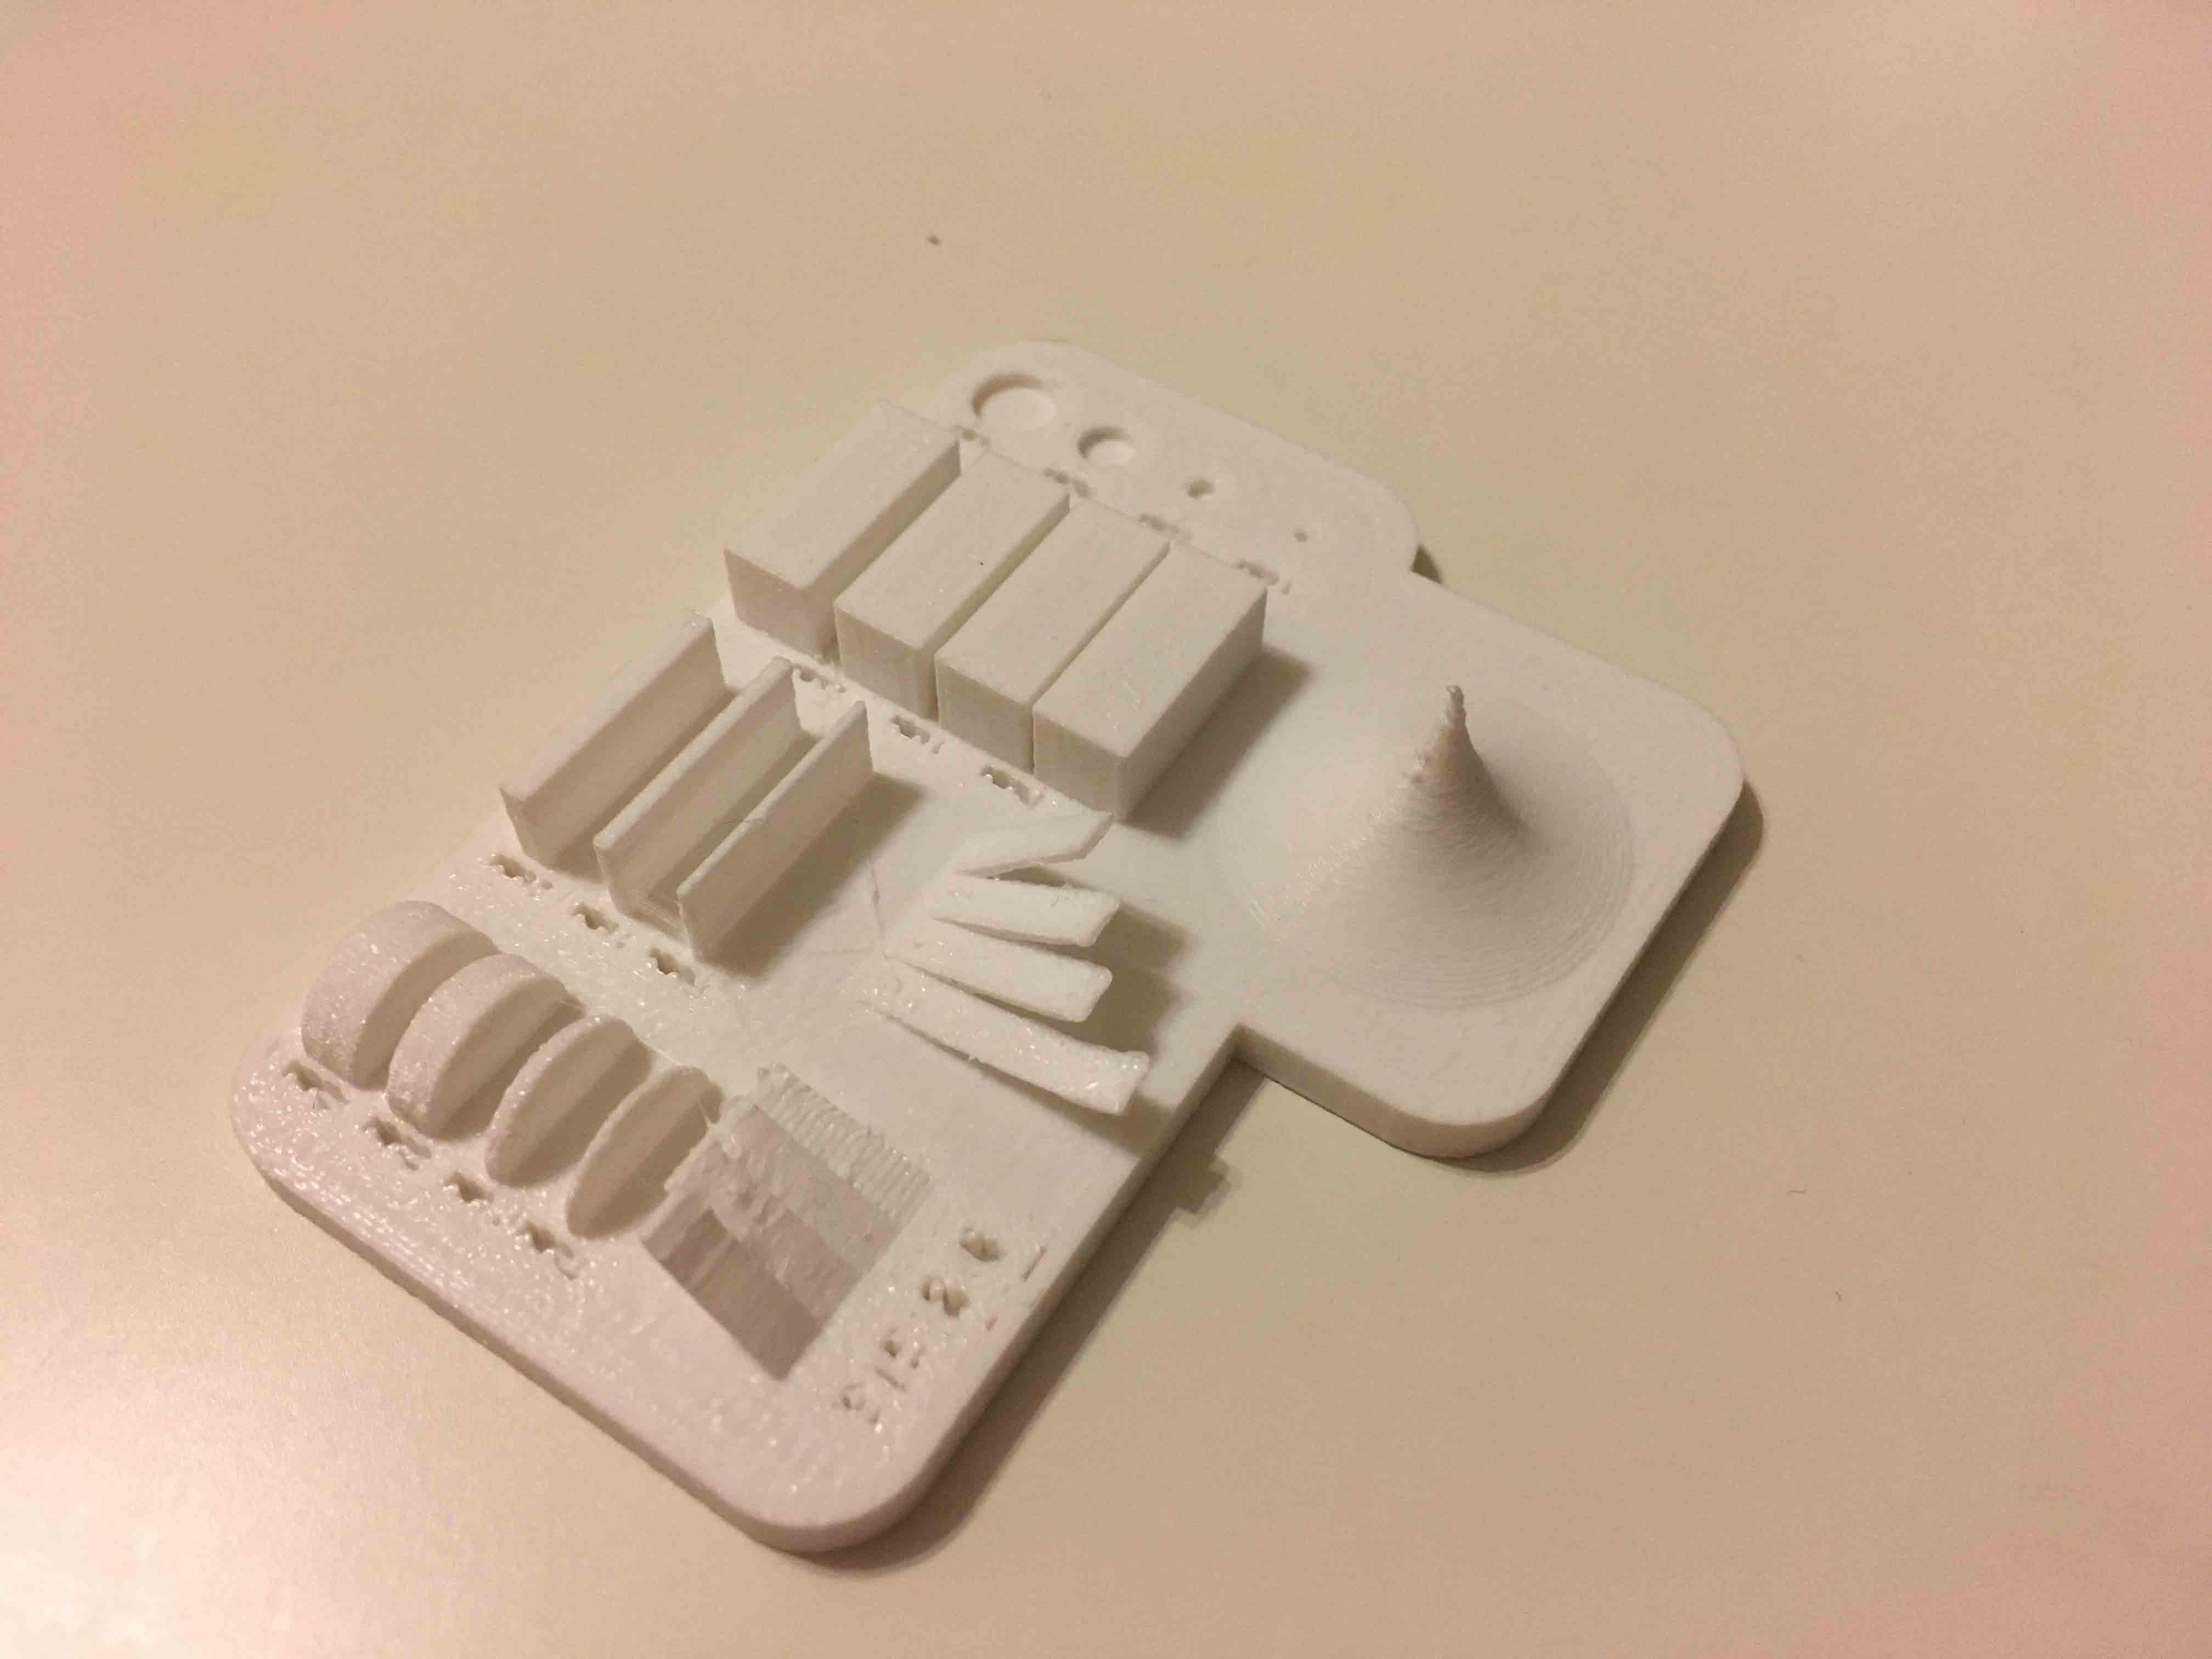
Then, it was time to test the design rules for our 3D printer. In our case, we wanted to look at the limitations of the Dremel PLA printers that are so ubiquitous at the GSD. We quickly designed a simple template that investigated precision relating to drill hole sizes, material thickness, slopes, curvature, and steepness.
The print took about 3.5 hours to complete, under 25% infill and 50% wall thickness, with 0.1mm layer thickness. Obviously, we wanted to test the limits of the printers without depending on support material, so we had to bump these values considerably.
The end result demonstrated to us that small, text-based elements under 1-2mm in thickness simply will not be readable. Amazingly, all structural elements were precise and intact, though! As horizontal members started to cantilever, some chipping and warping developed, but all our tests still technically worked.
All in all, these was pretty informative in getting acquainted with the Dremel printers at the GSD.
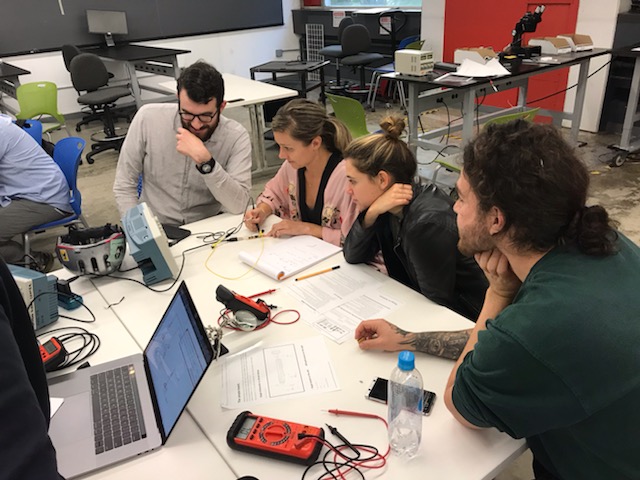
This week, and in preparation for another exercise of design/mill/stuffing, we were introduced to the oscilliscope.
In small groups, we worked through a packet/exercise that allowed us to meter the flows throughout the terminals of a prototyped board.
Though preliminary, this exercise proved quite helpful for me - especially considering the issues that I had to hash out with my personal design and soldering work. Rob and I ultimately went through a process similar to that which the group followed during recitation, so in the case that you're interested, be sure to check out my work on my personal page for Assignment 04, as well.