mechanics
A walk through of design process can be found here!The Apfelstruder consists of:
- rotary axis
- carriage
- toolhead
- passive apple-holder
- bed
START TAKING SHAPE!
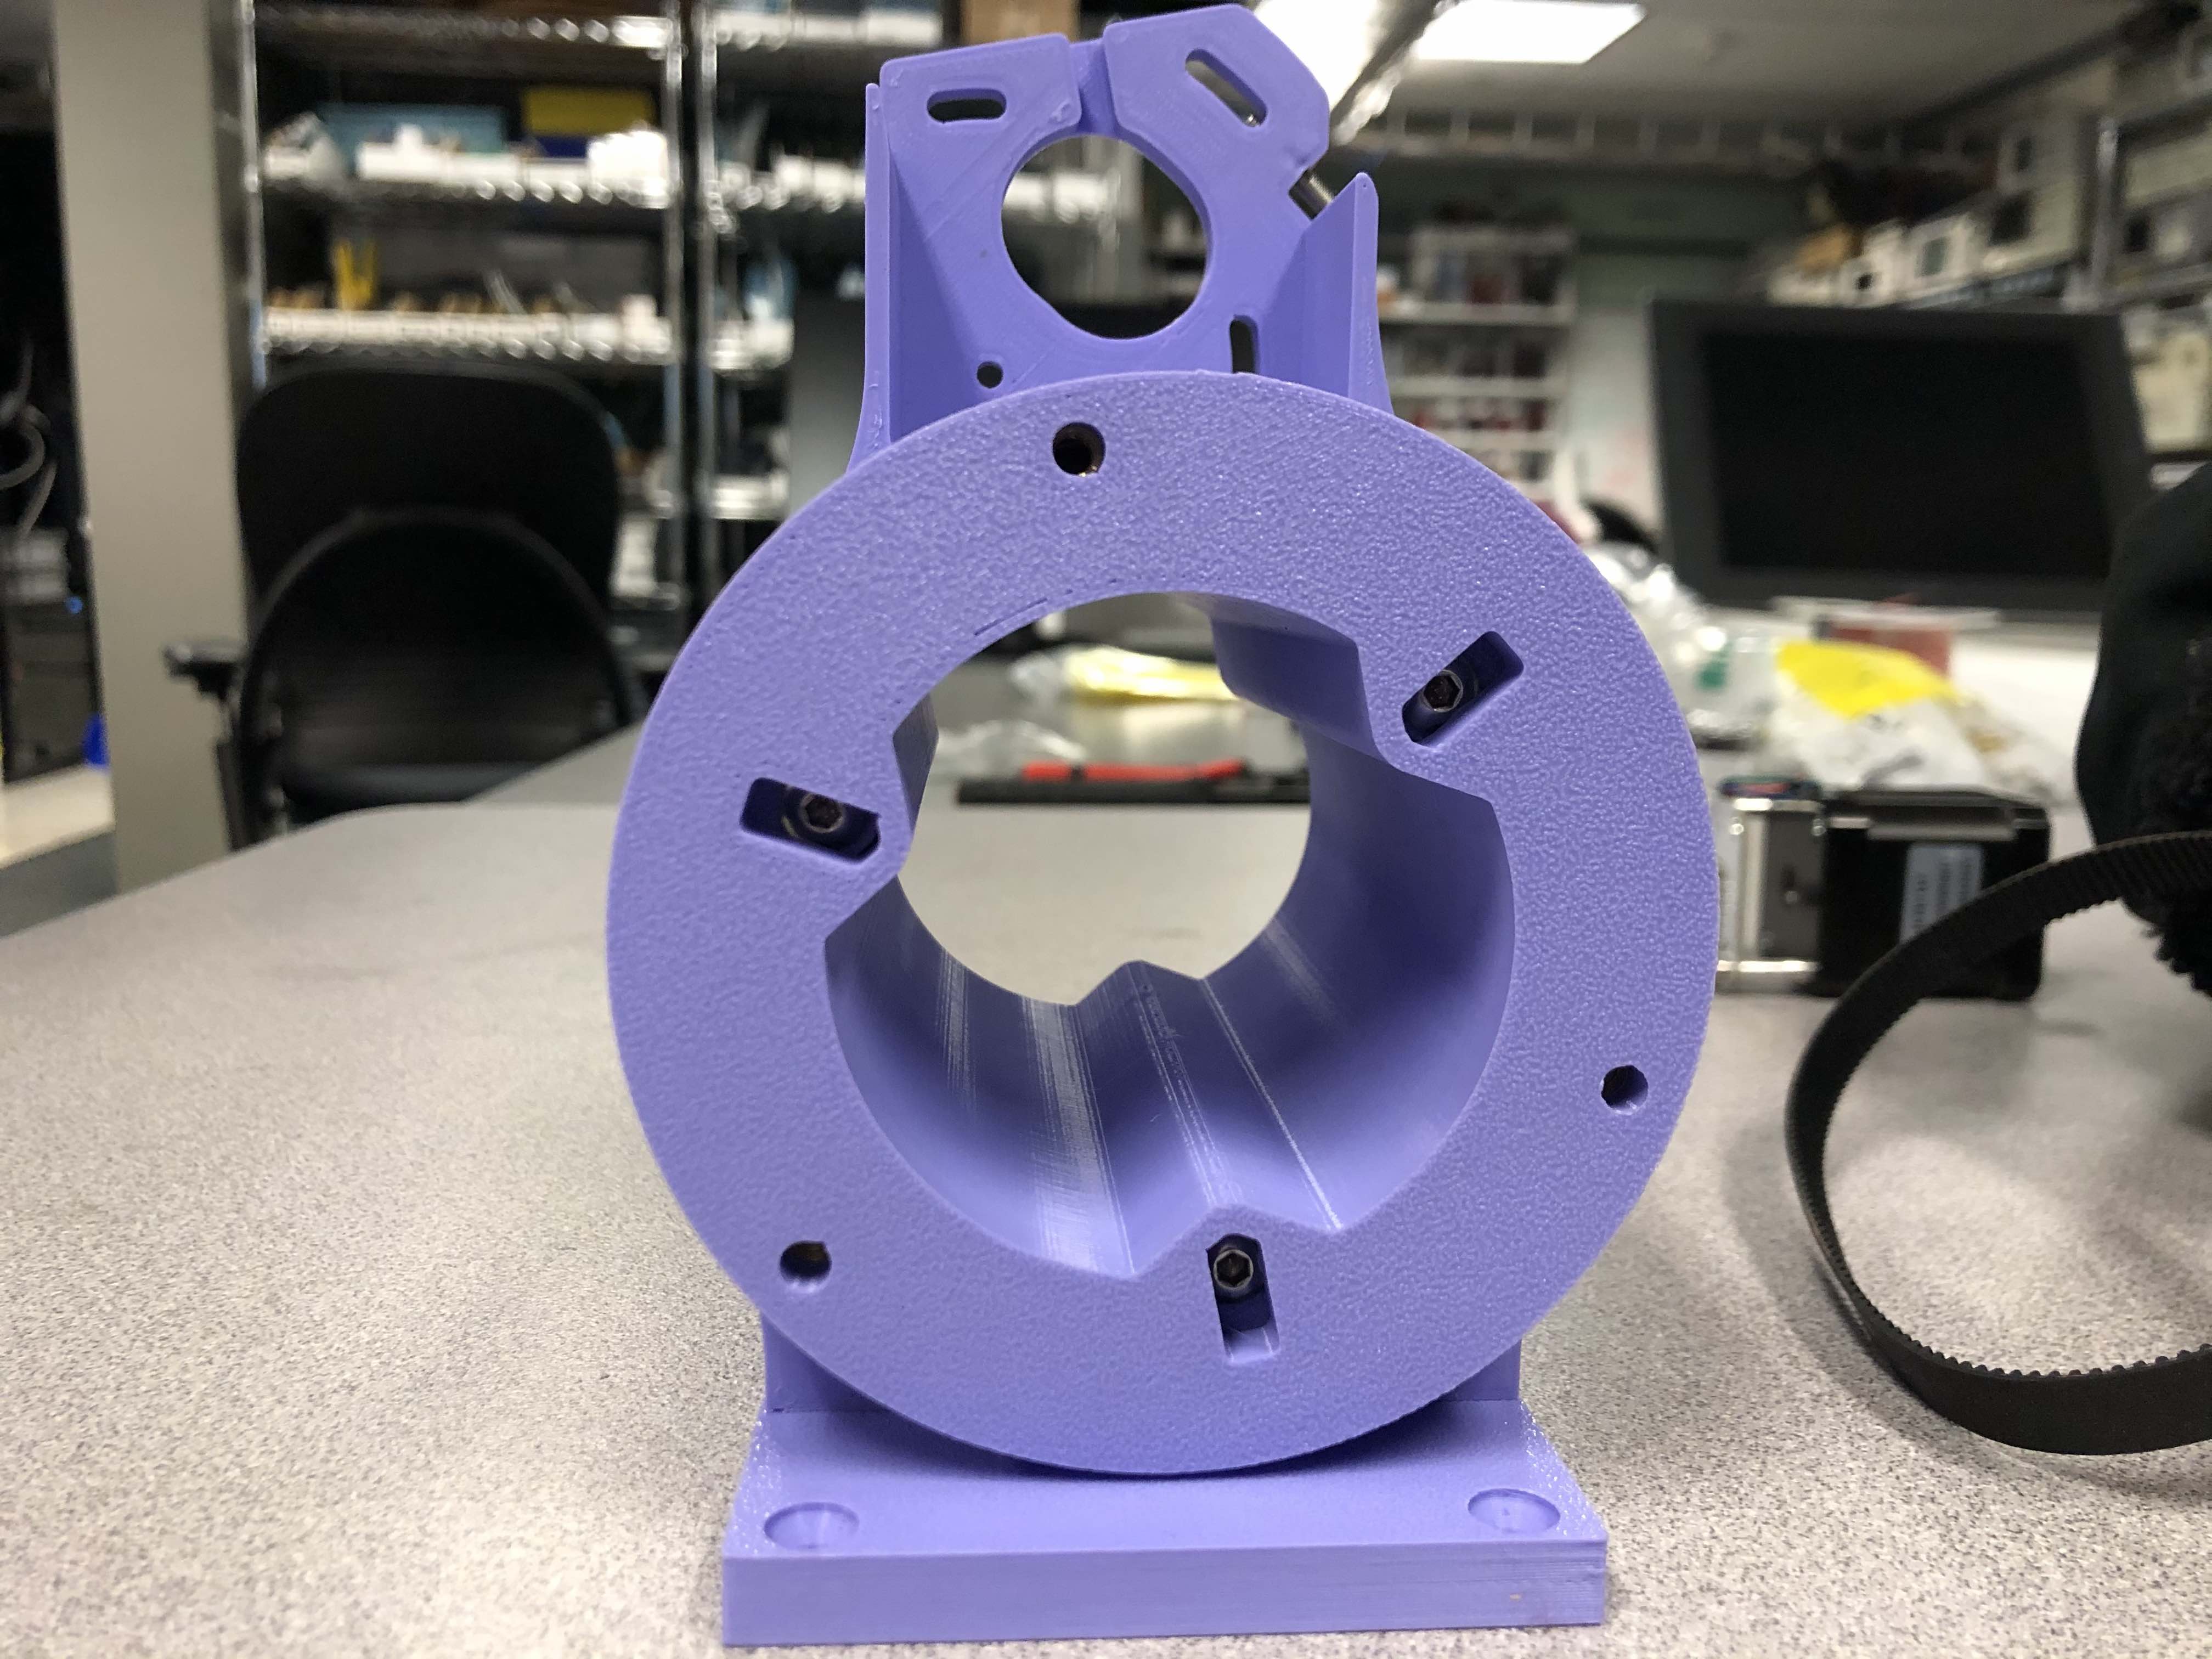
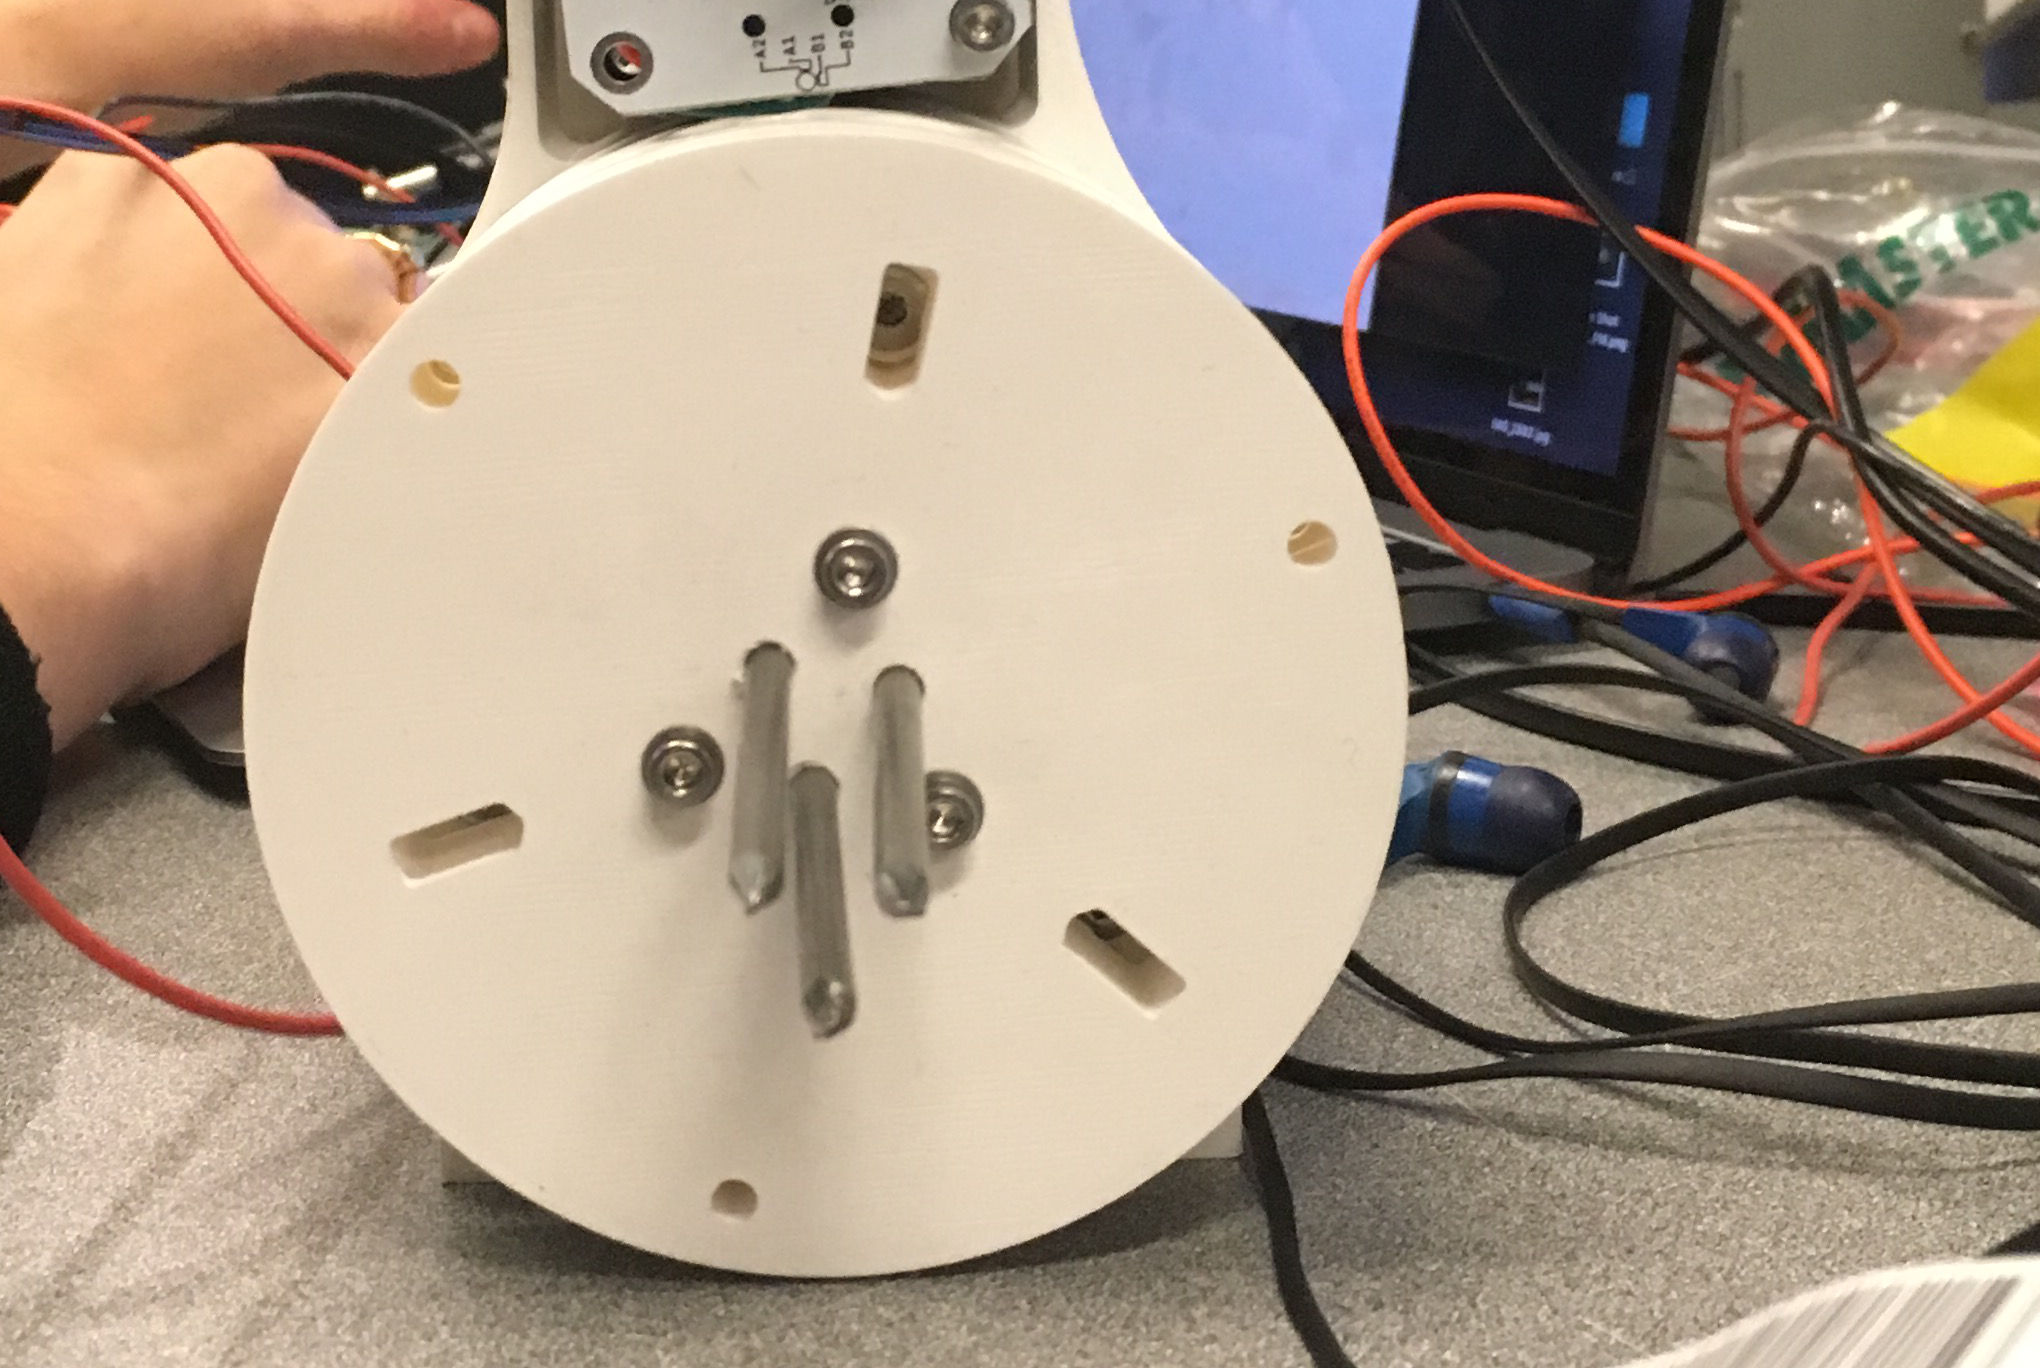
We spent this night designing the first version of the lathe, so that tomorrow the manufacturing could be started. We also already started printing some stuff which would be necessary anyways. We also took inspiration from Jake's rotary axis design to design and print our own apple spinner. We decided that the apple would be held on the rotary axis with three nails, which would skewer the apple, and a passive component which would stabilize it on the other side. The rate-limiting step, surprisingly, was finding nails anywhere to measure and use to create nail holes on the axis. It was funny that both the CBA and the Tangible Media labs had zero nails, but we eventually found some in the CBA shop.
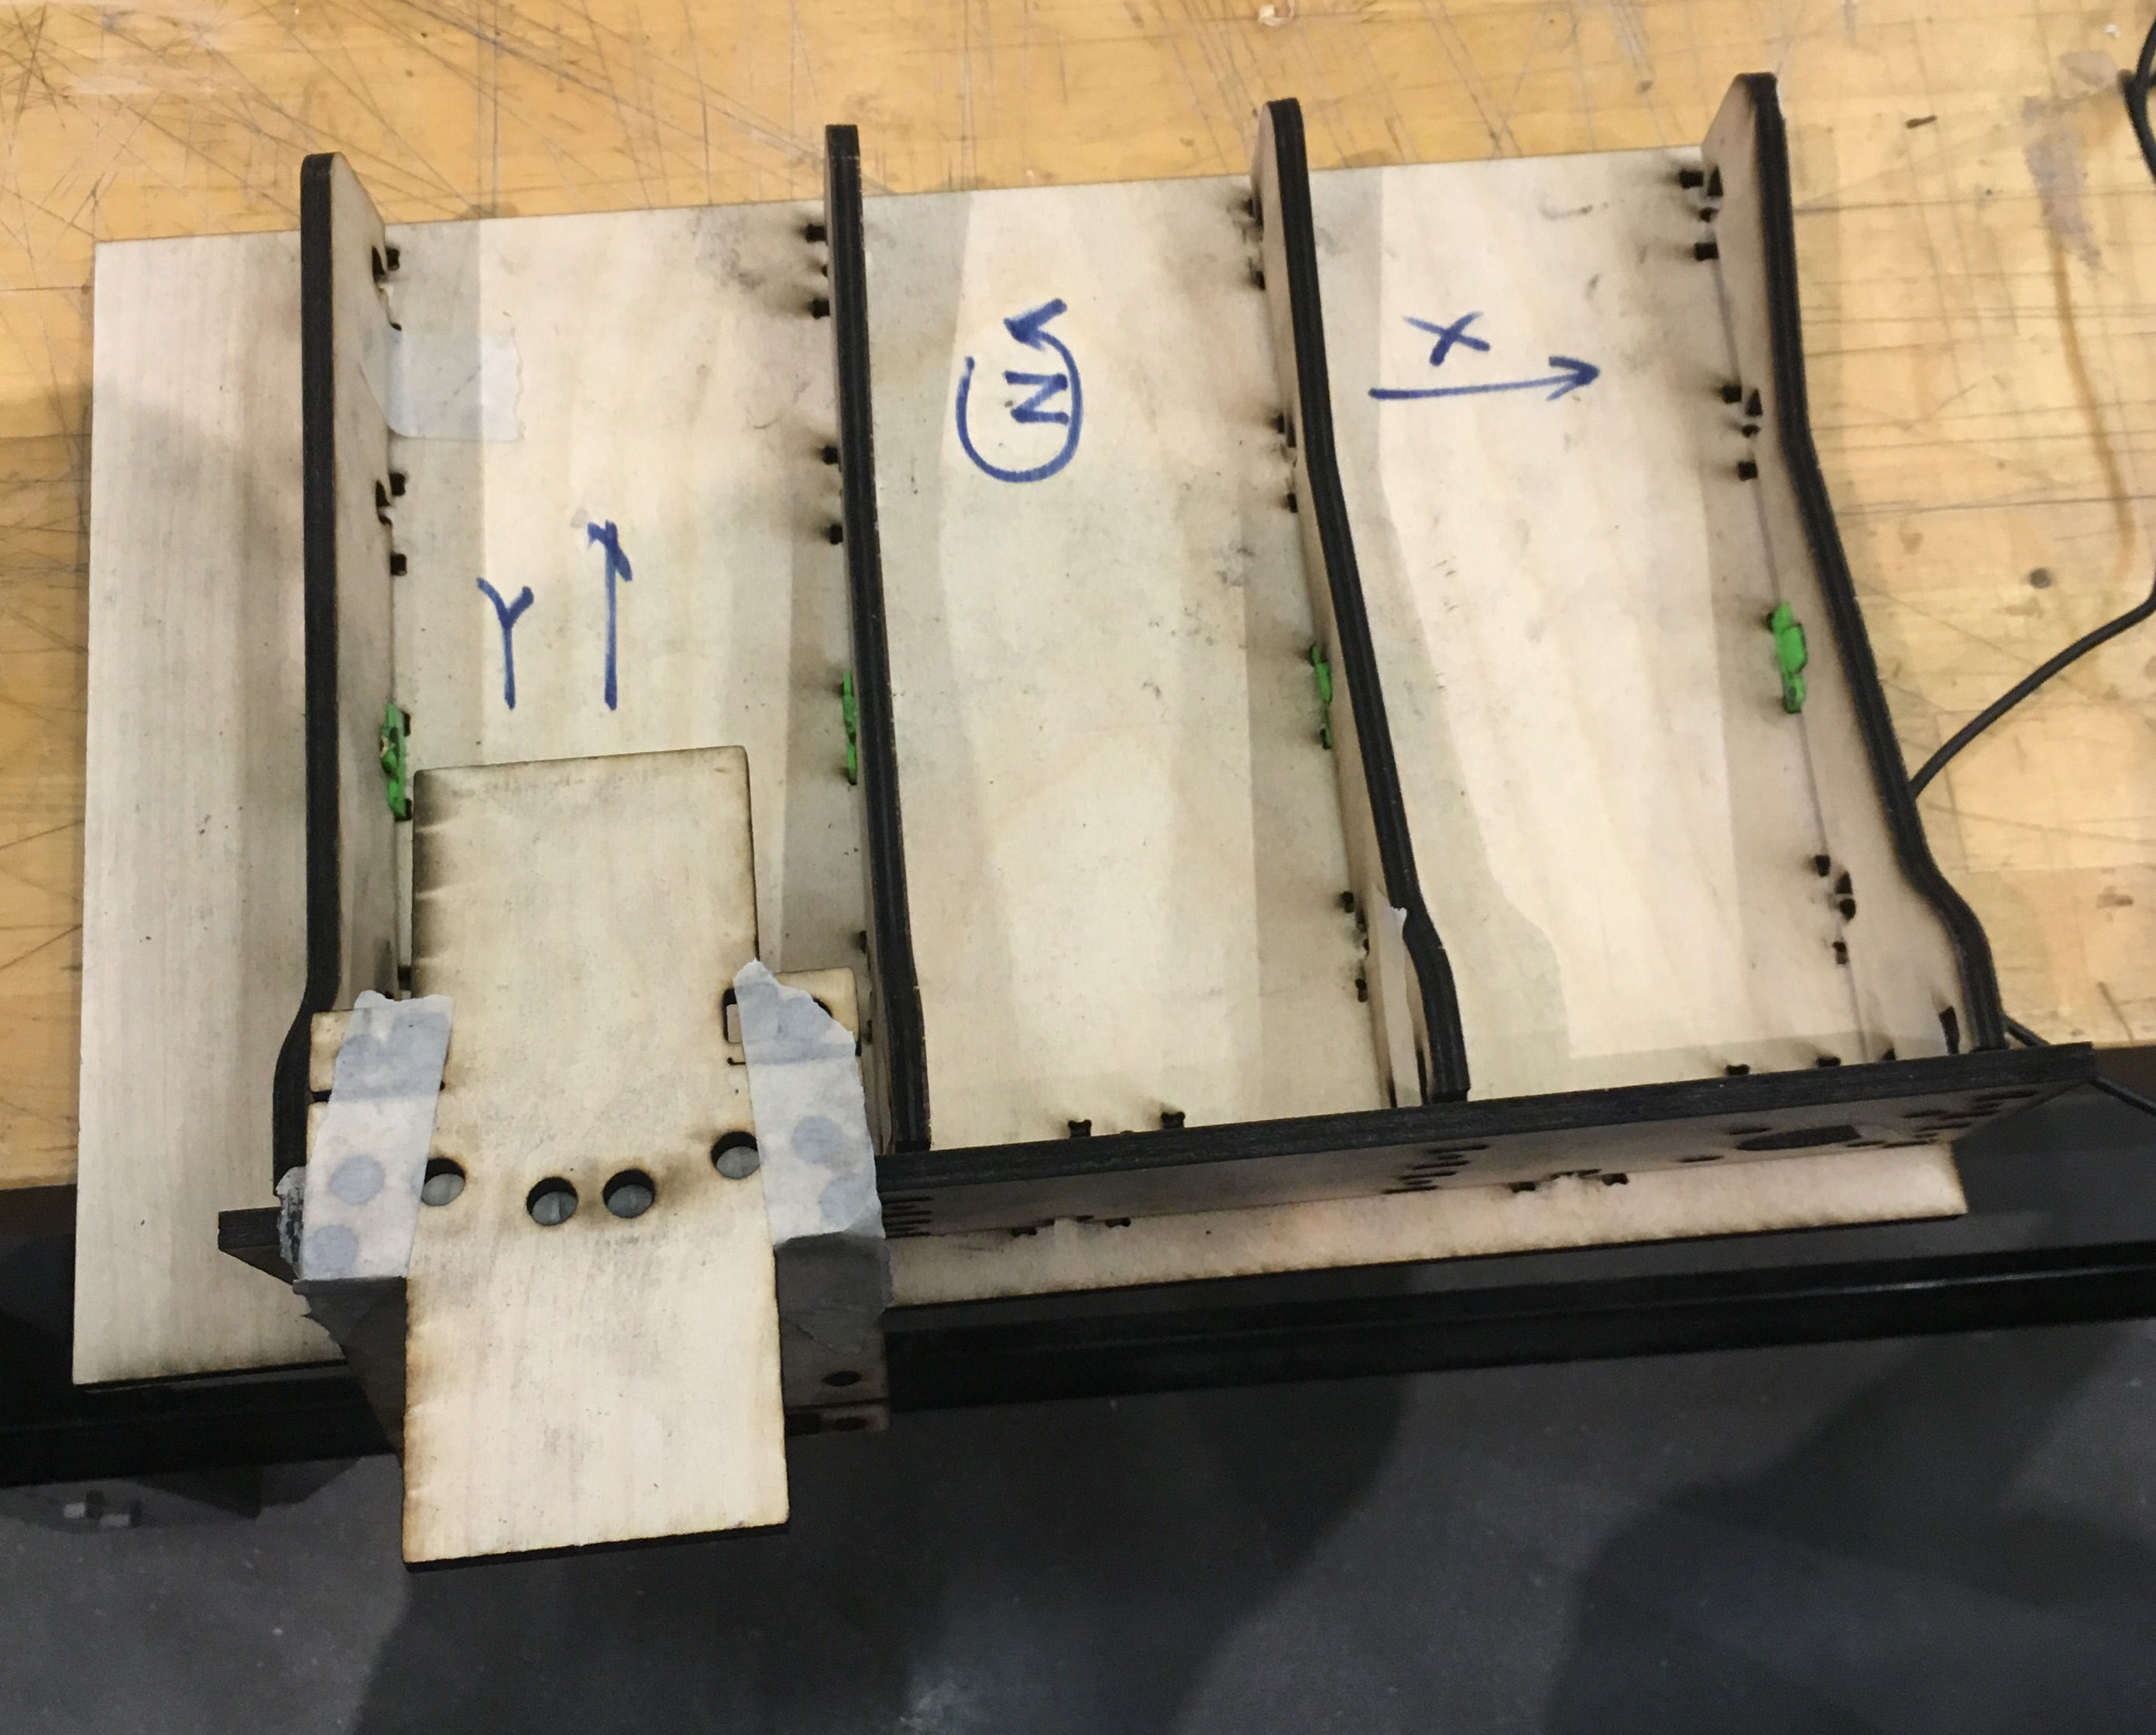
By Saturday, we were replacing our wood parts with acrylic. We also put together the passive end that would hold the apple from the other end and stabilize it.
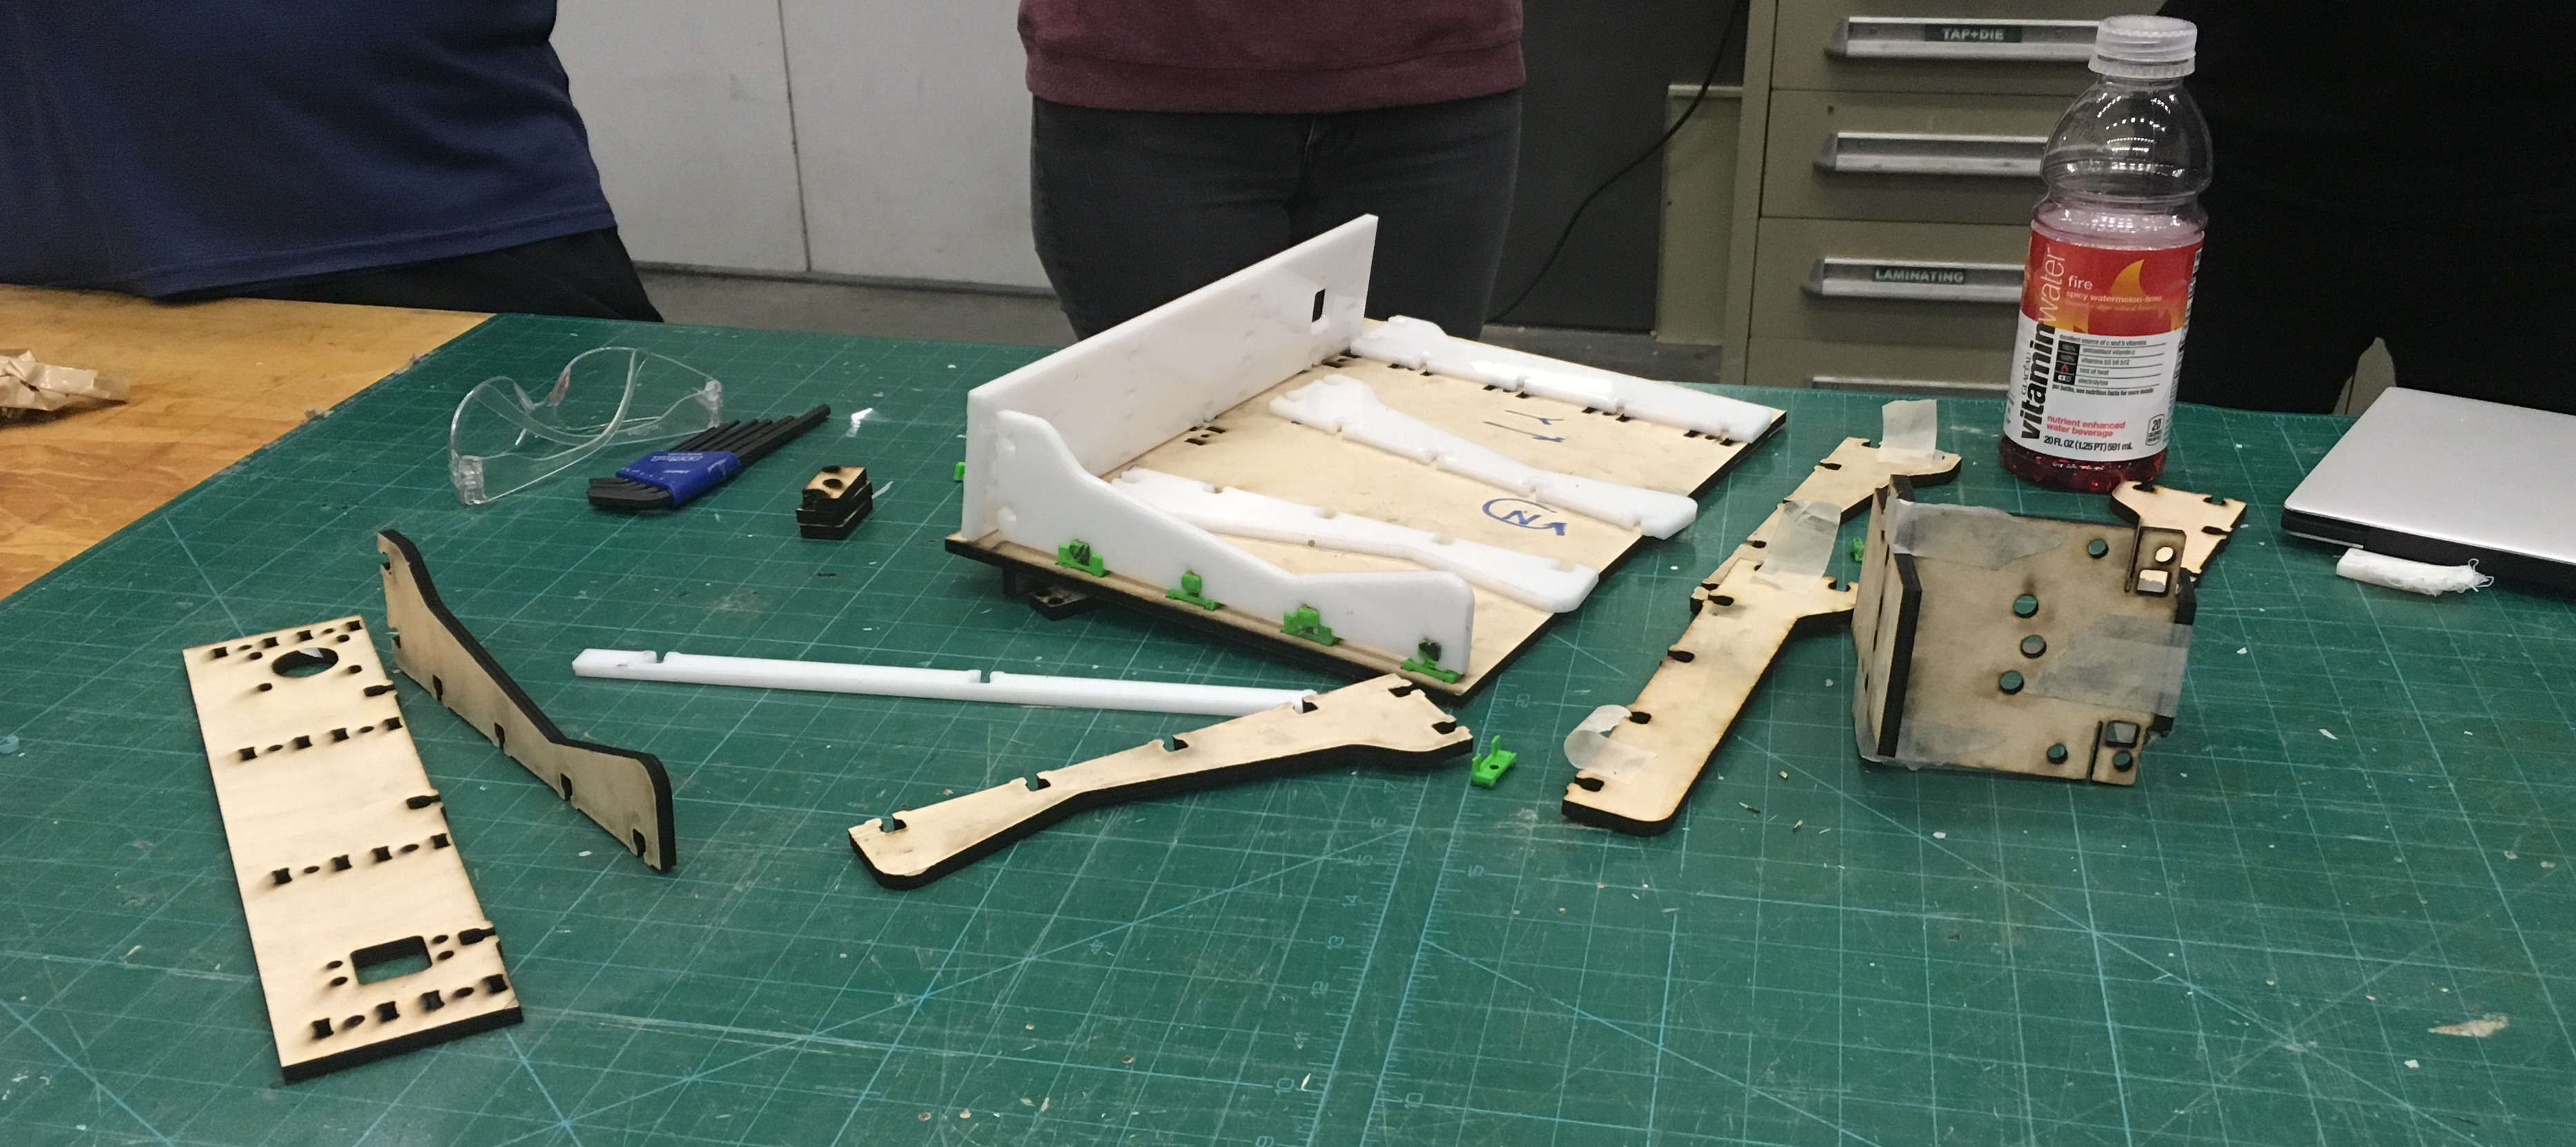
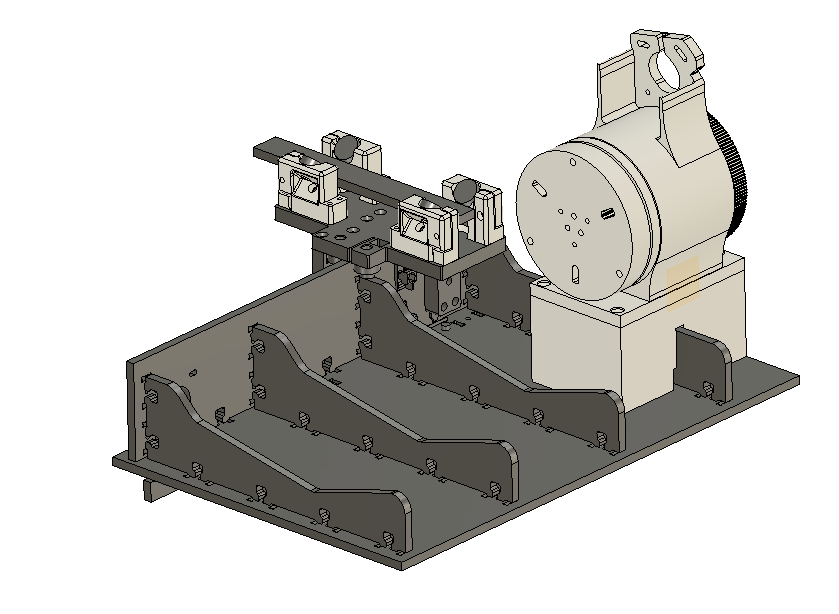
By Sunday, we had our final CAD files for the body of the machine, and the first test of our end effector.
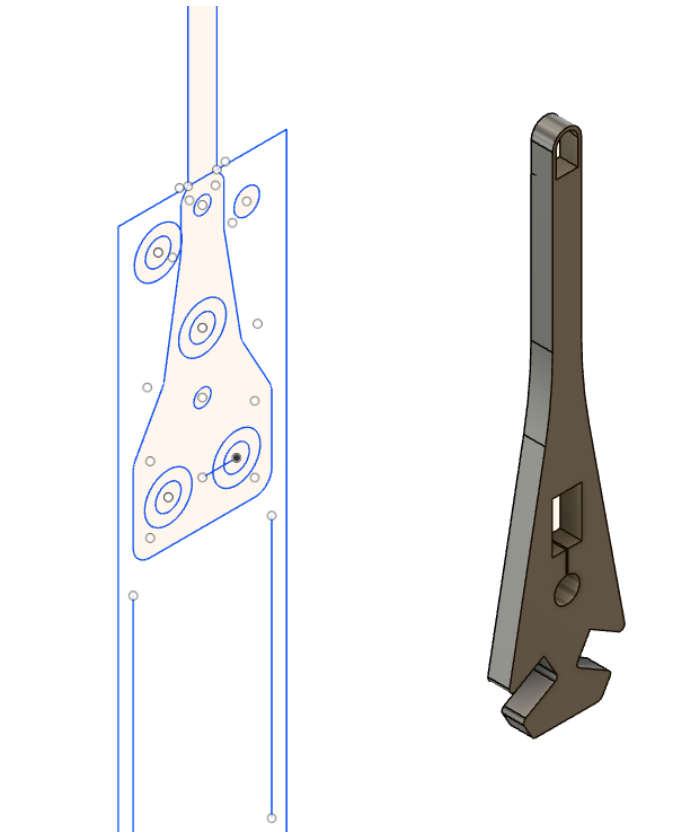
The square holes are kinematic mounts. If we have time, we can make multiple end effectors and change the tool manually.
We also realized that laser cut acrylic had weird, sloped edges when cut in one or two passes. This is most likely because the laser has a wedgelike shape at its tip, so will cut more into the top part of the acrylic than the bottom. To rectify this, we changed the settings on the laser cutter to have a high number of passes, and the end result (8 passes later) was noticeably straighter than what we had before.
Final CAD files for the main body of the machine
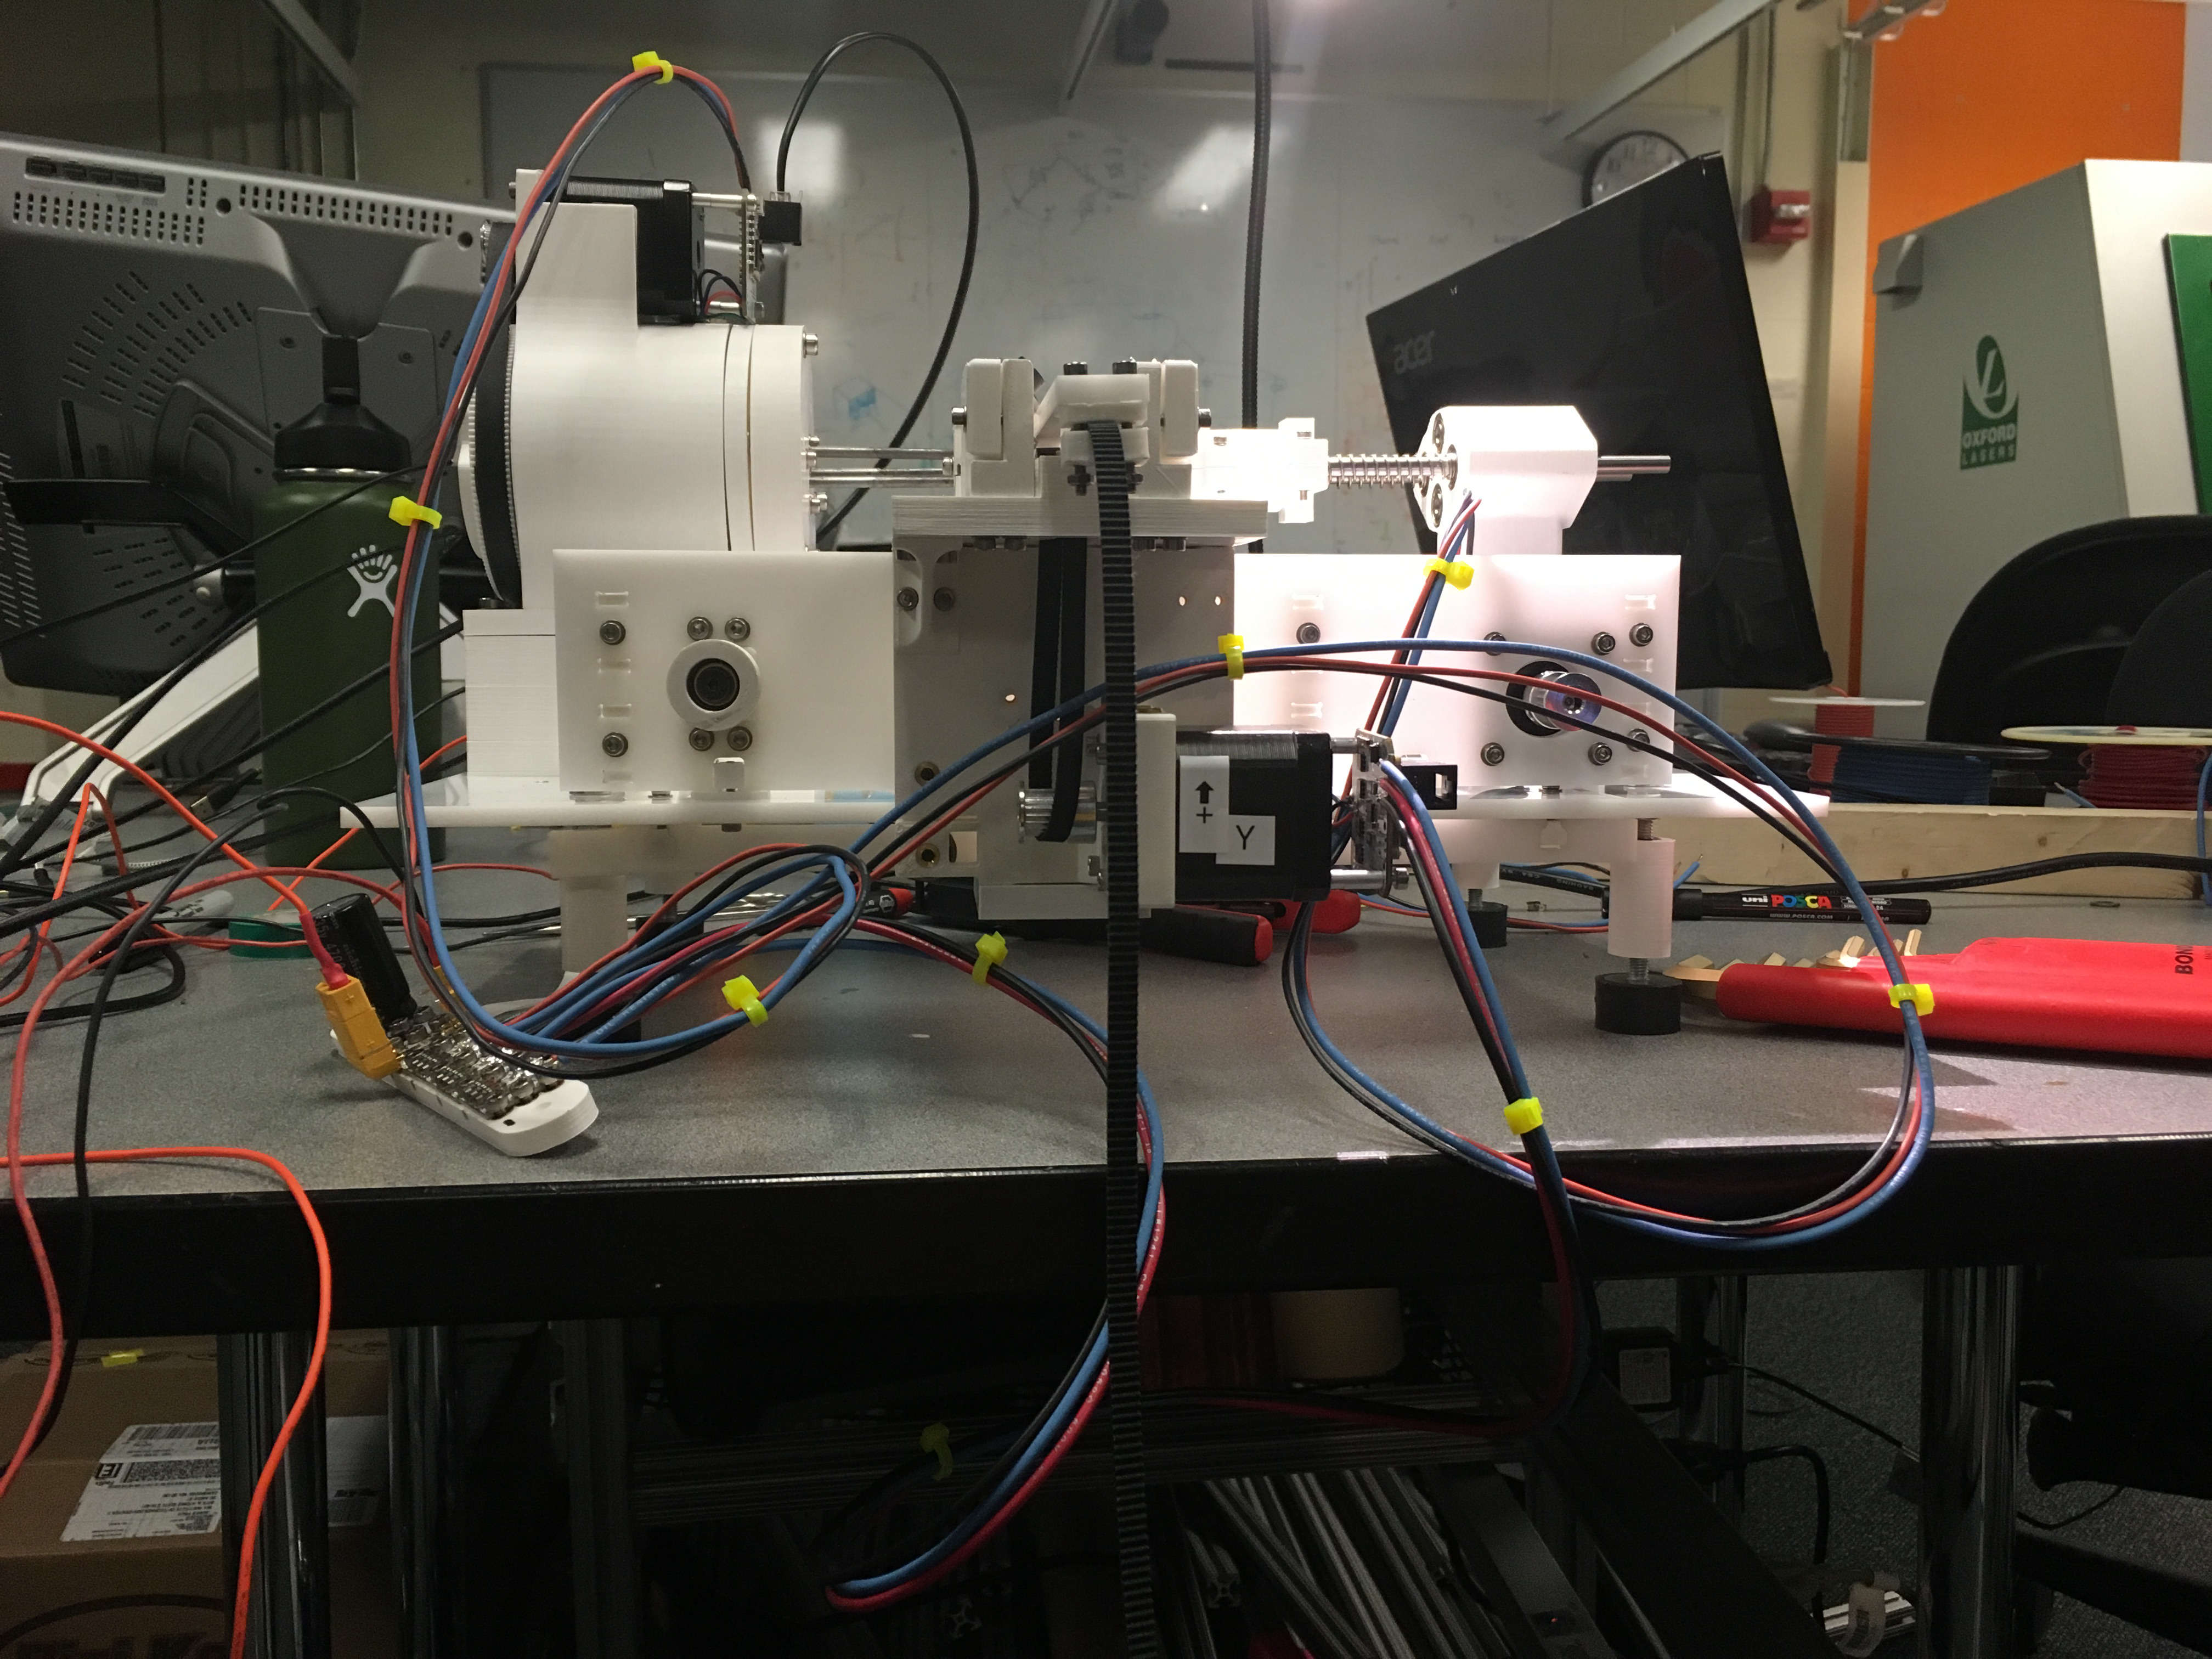
We also had the body of our machine mostly assembled. This used lots of heat- set inserts, which worked very well. We also reprinted parts that could be neater and printed parts that we realized we'd needed.
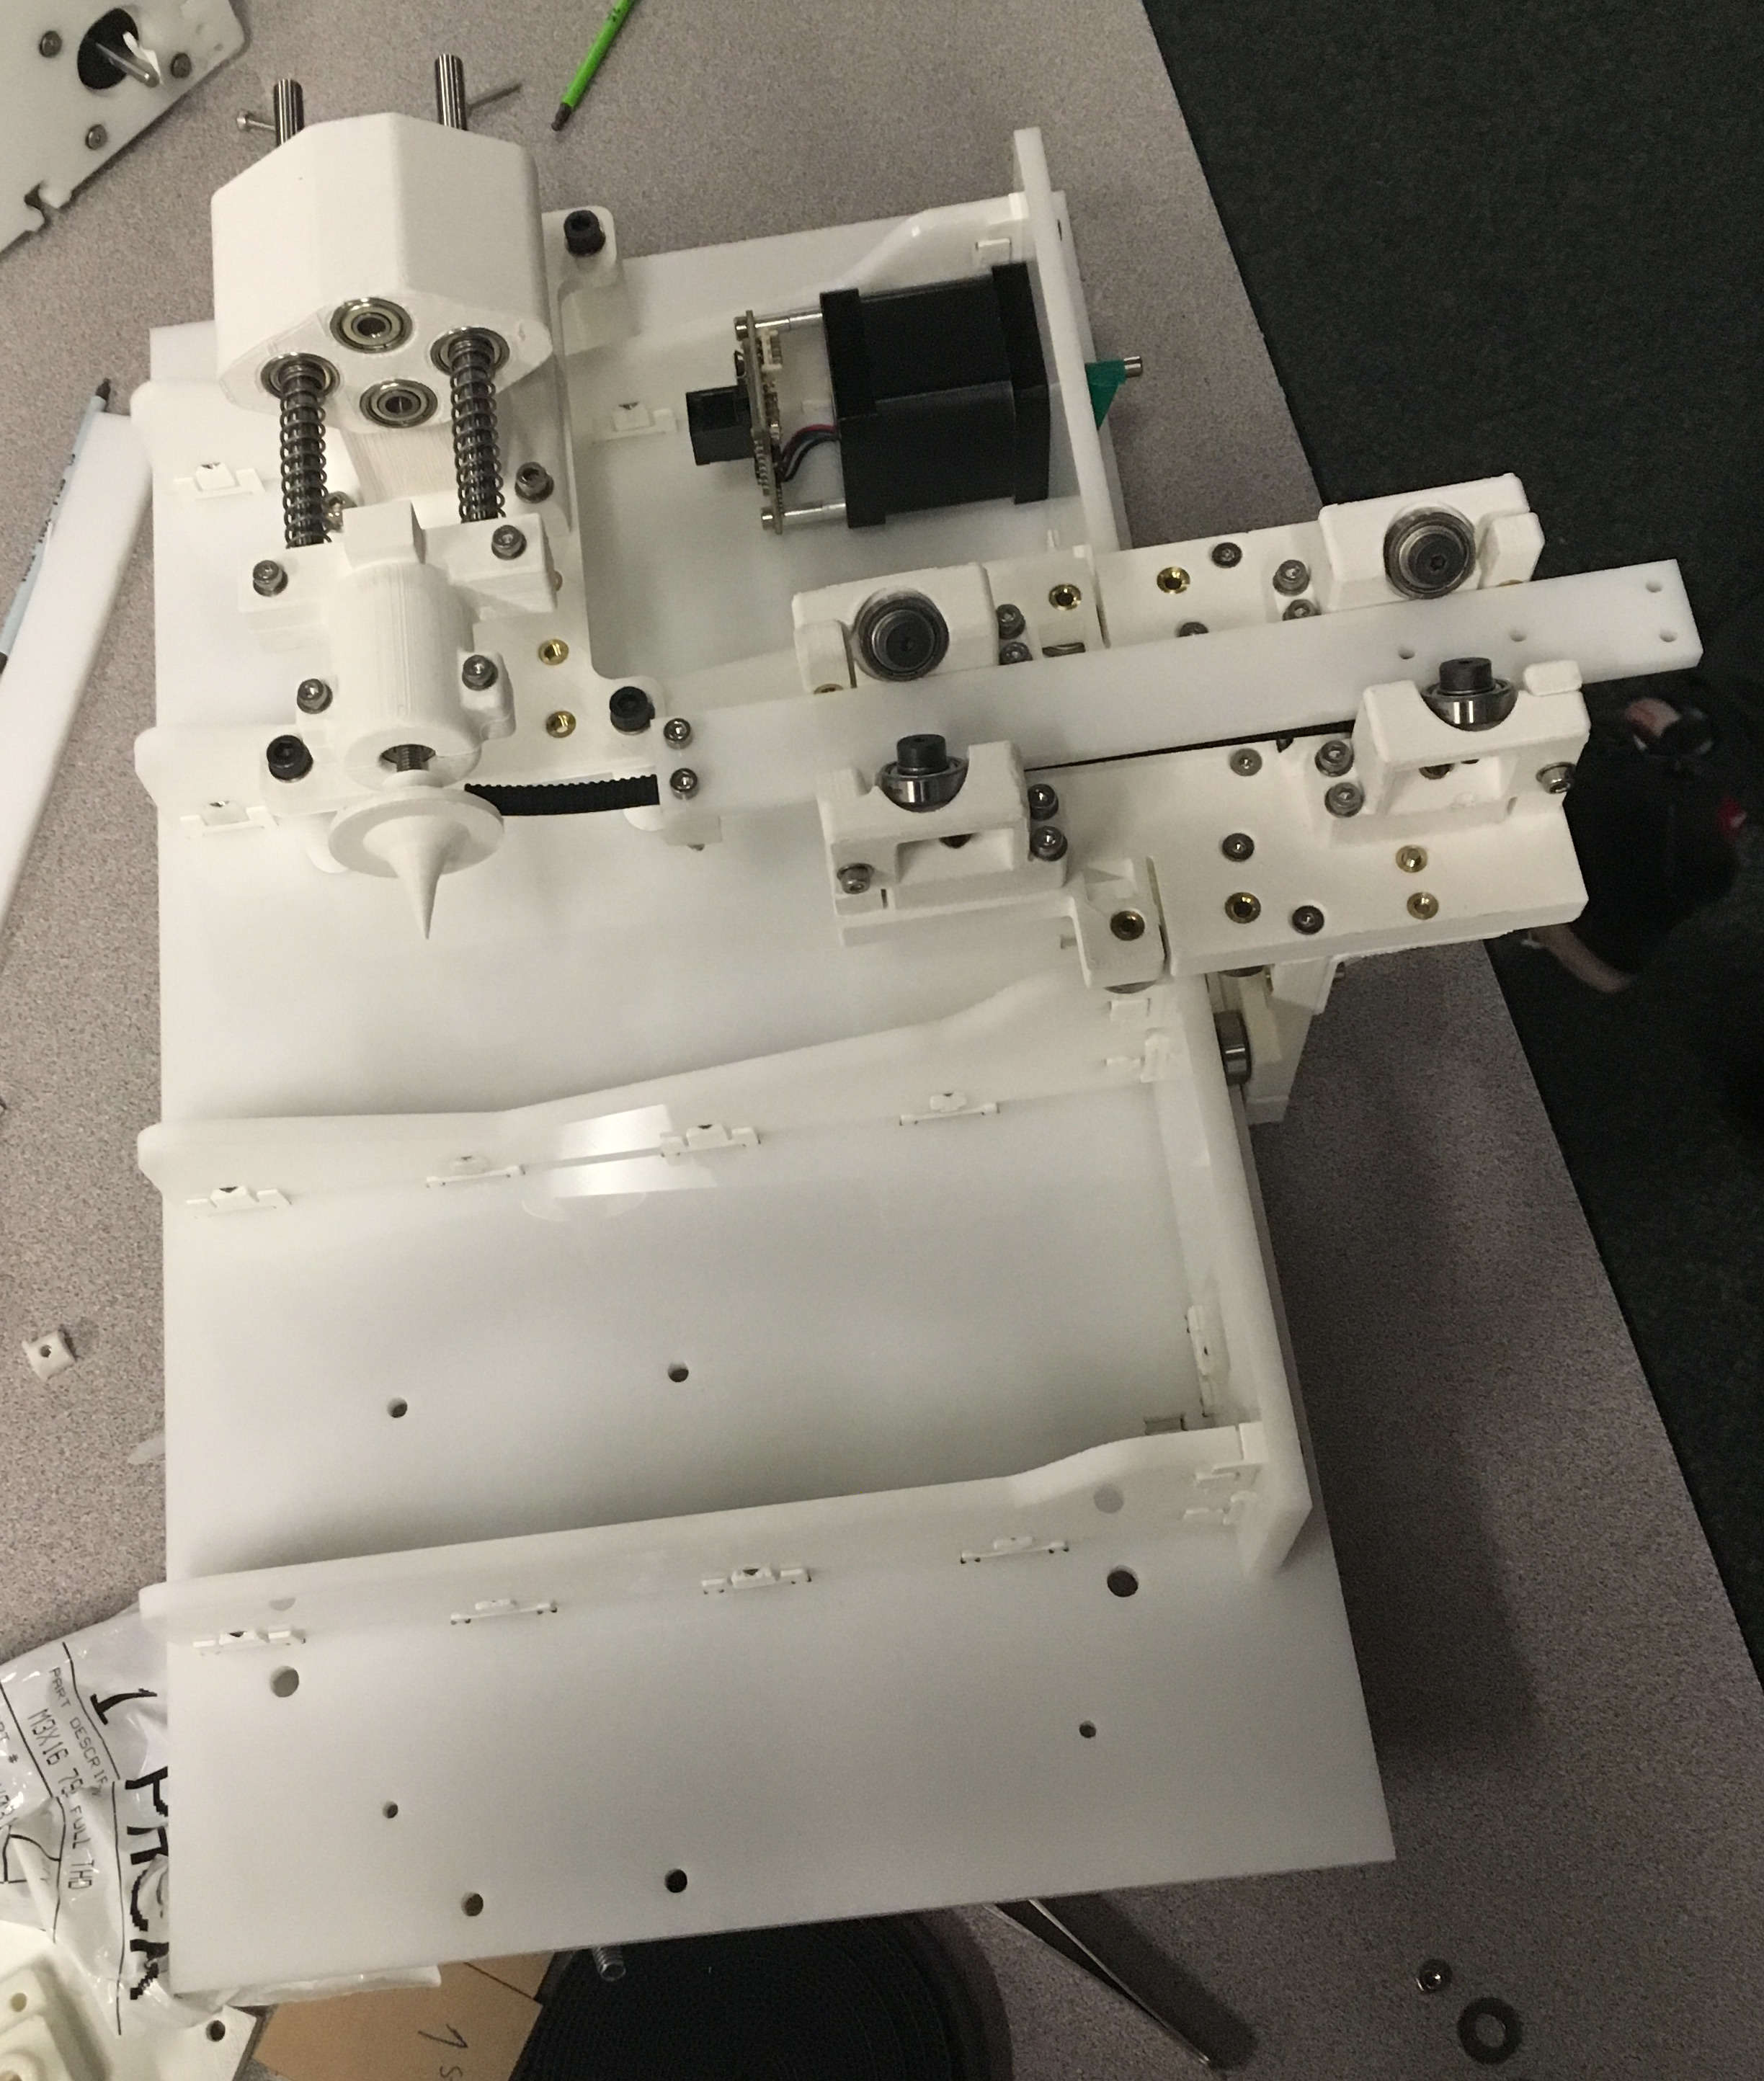
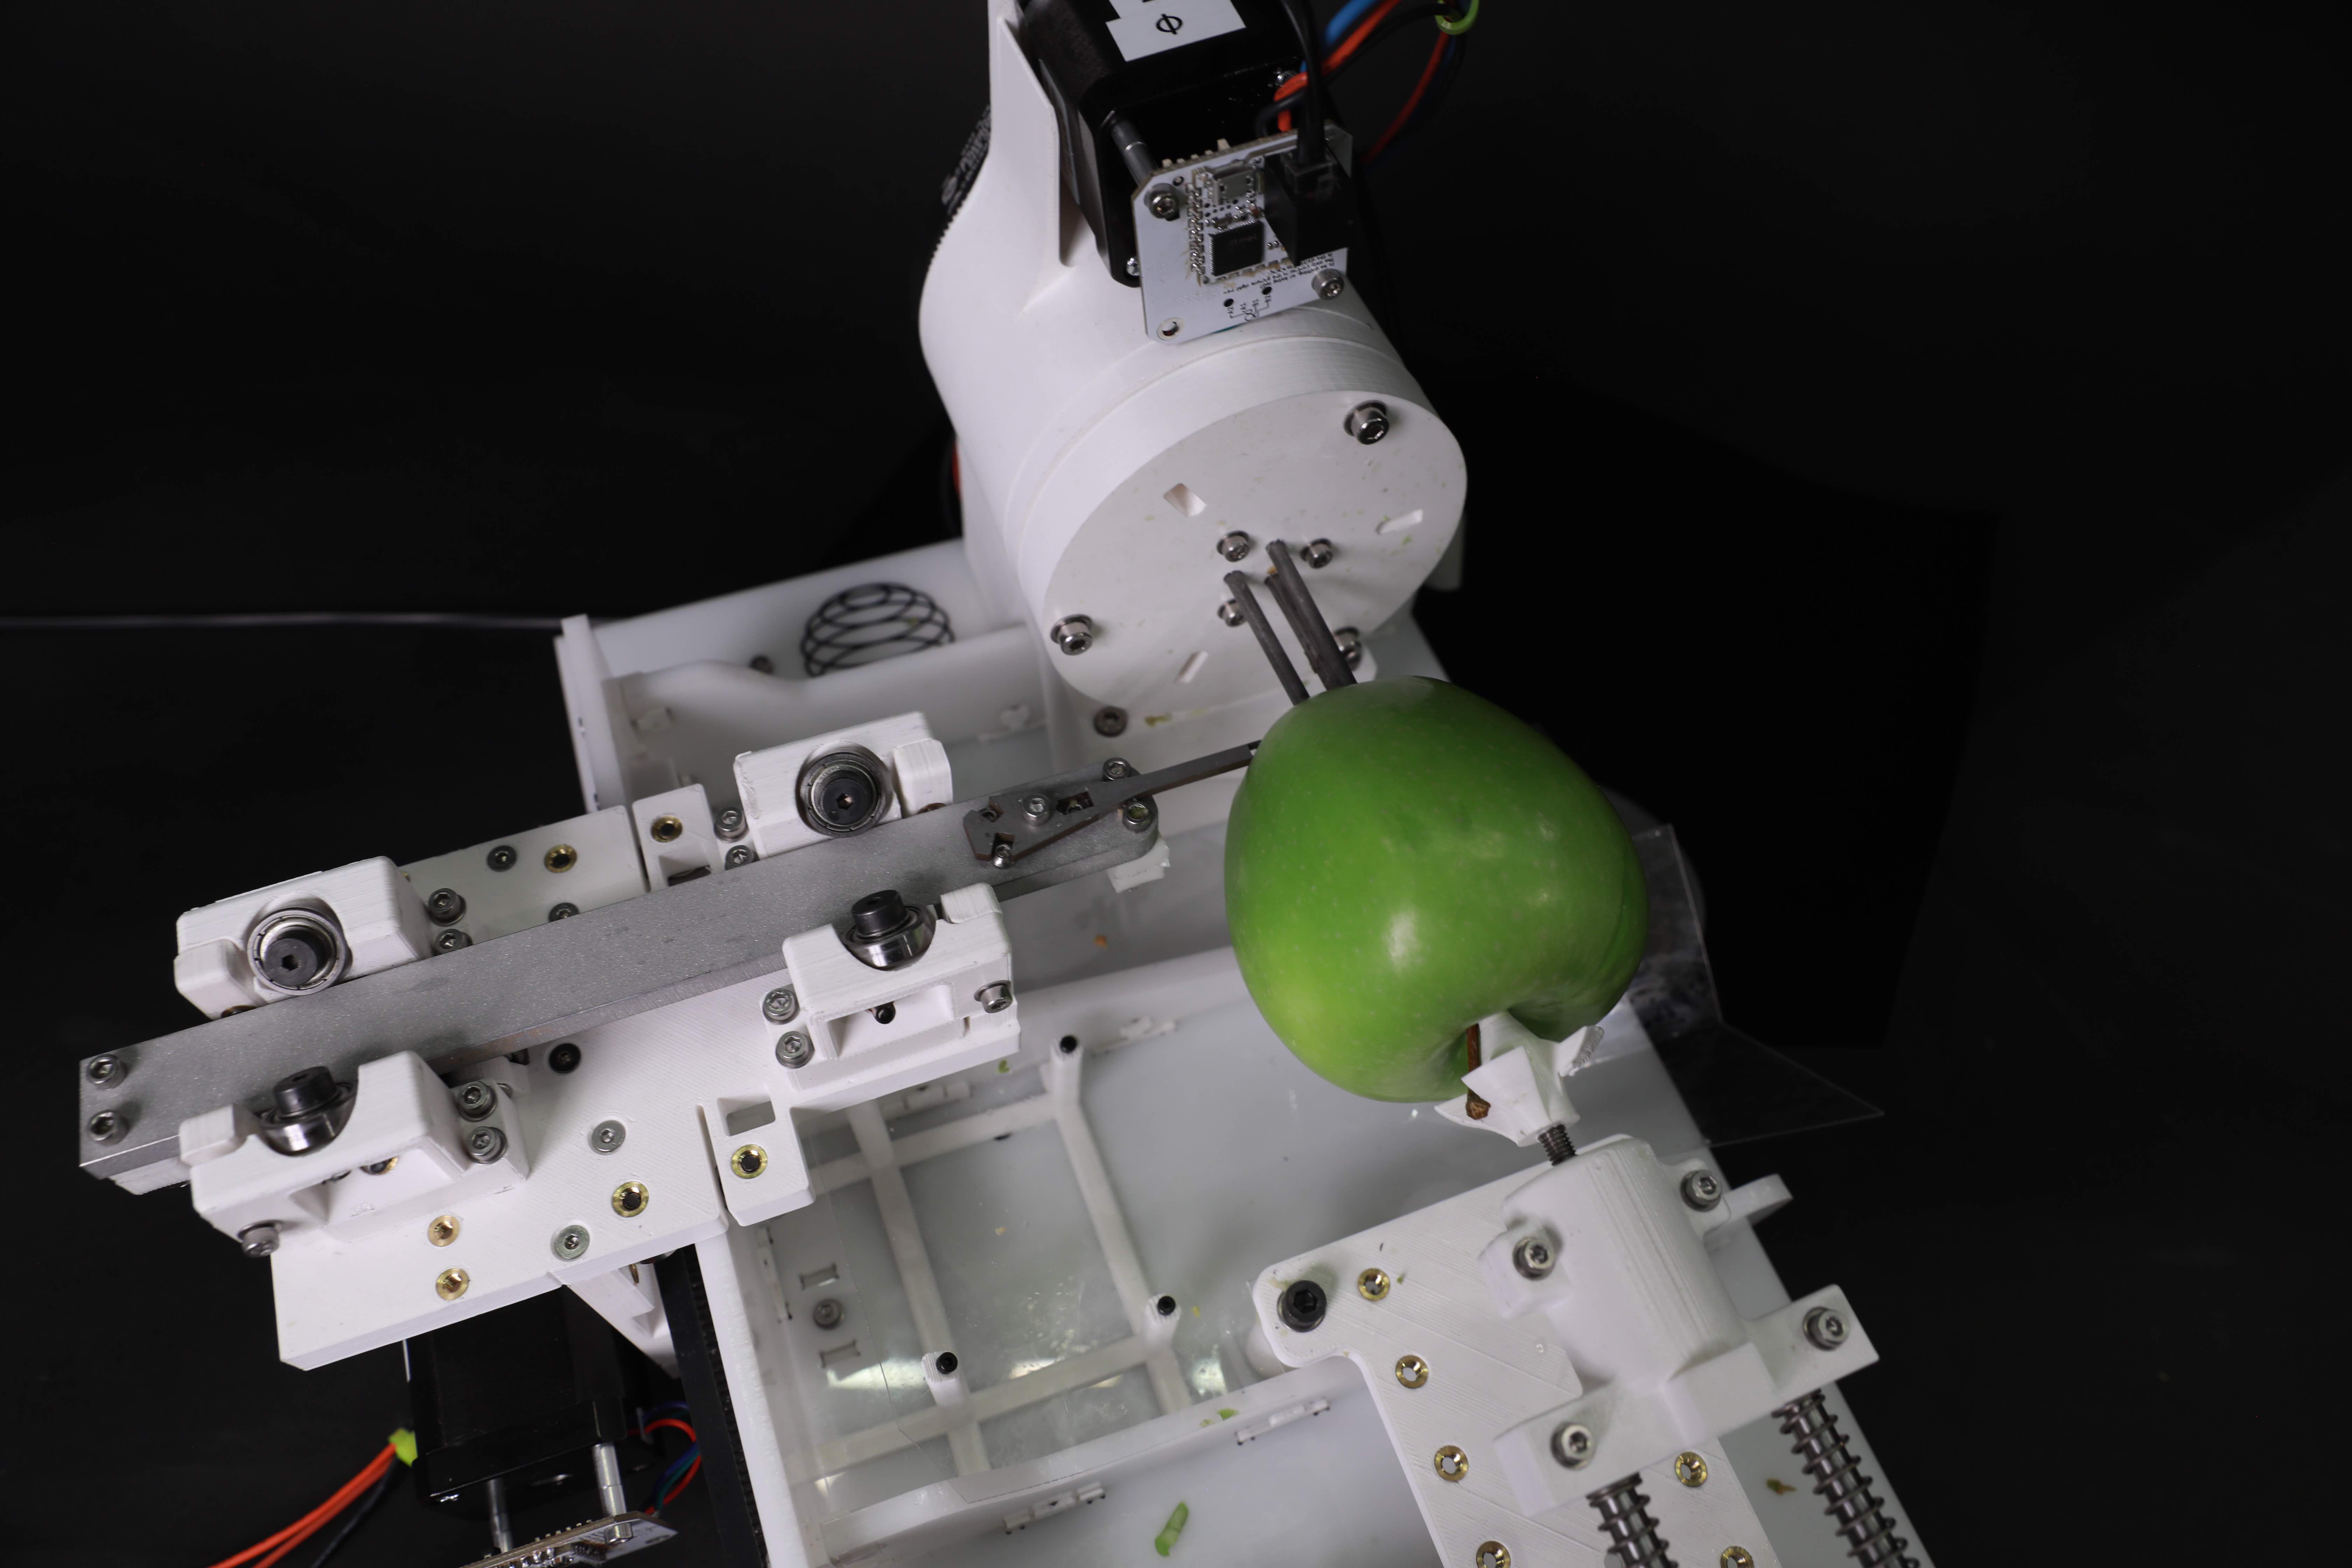
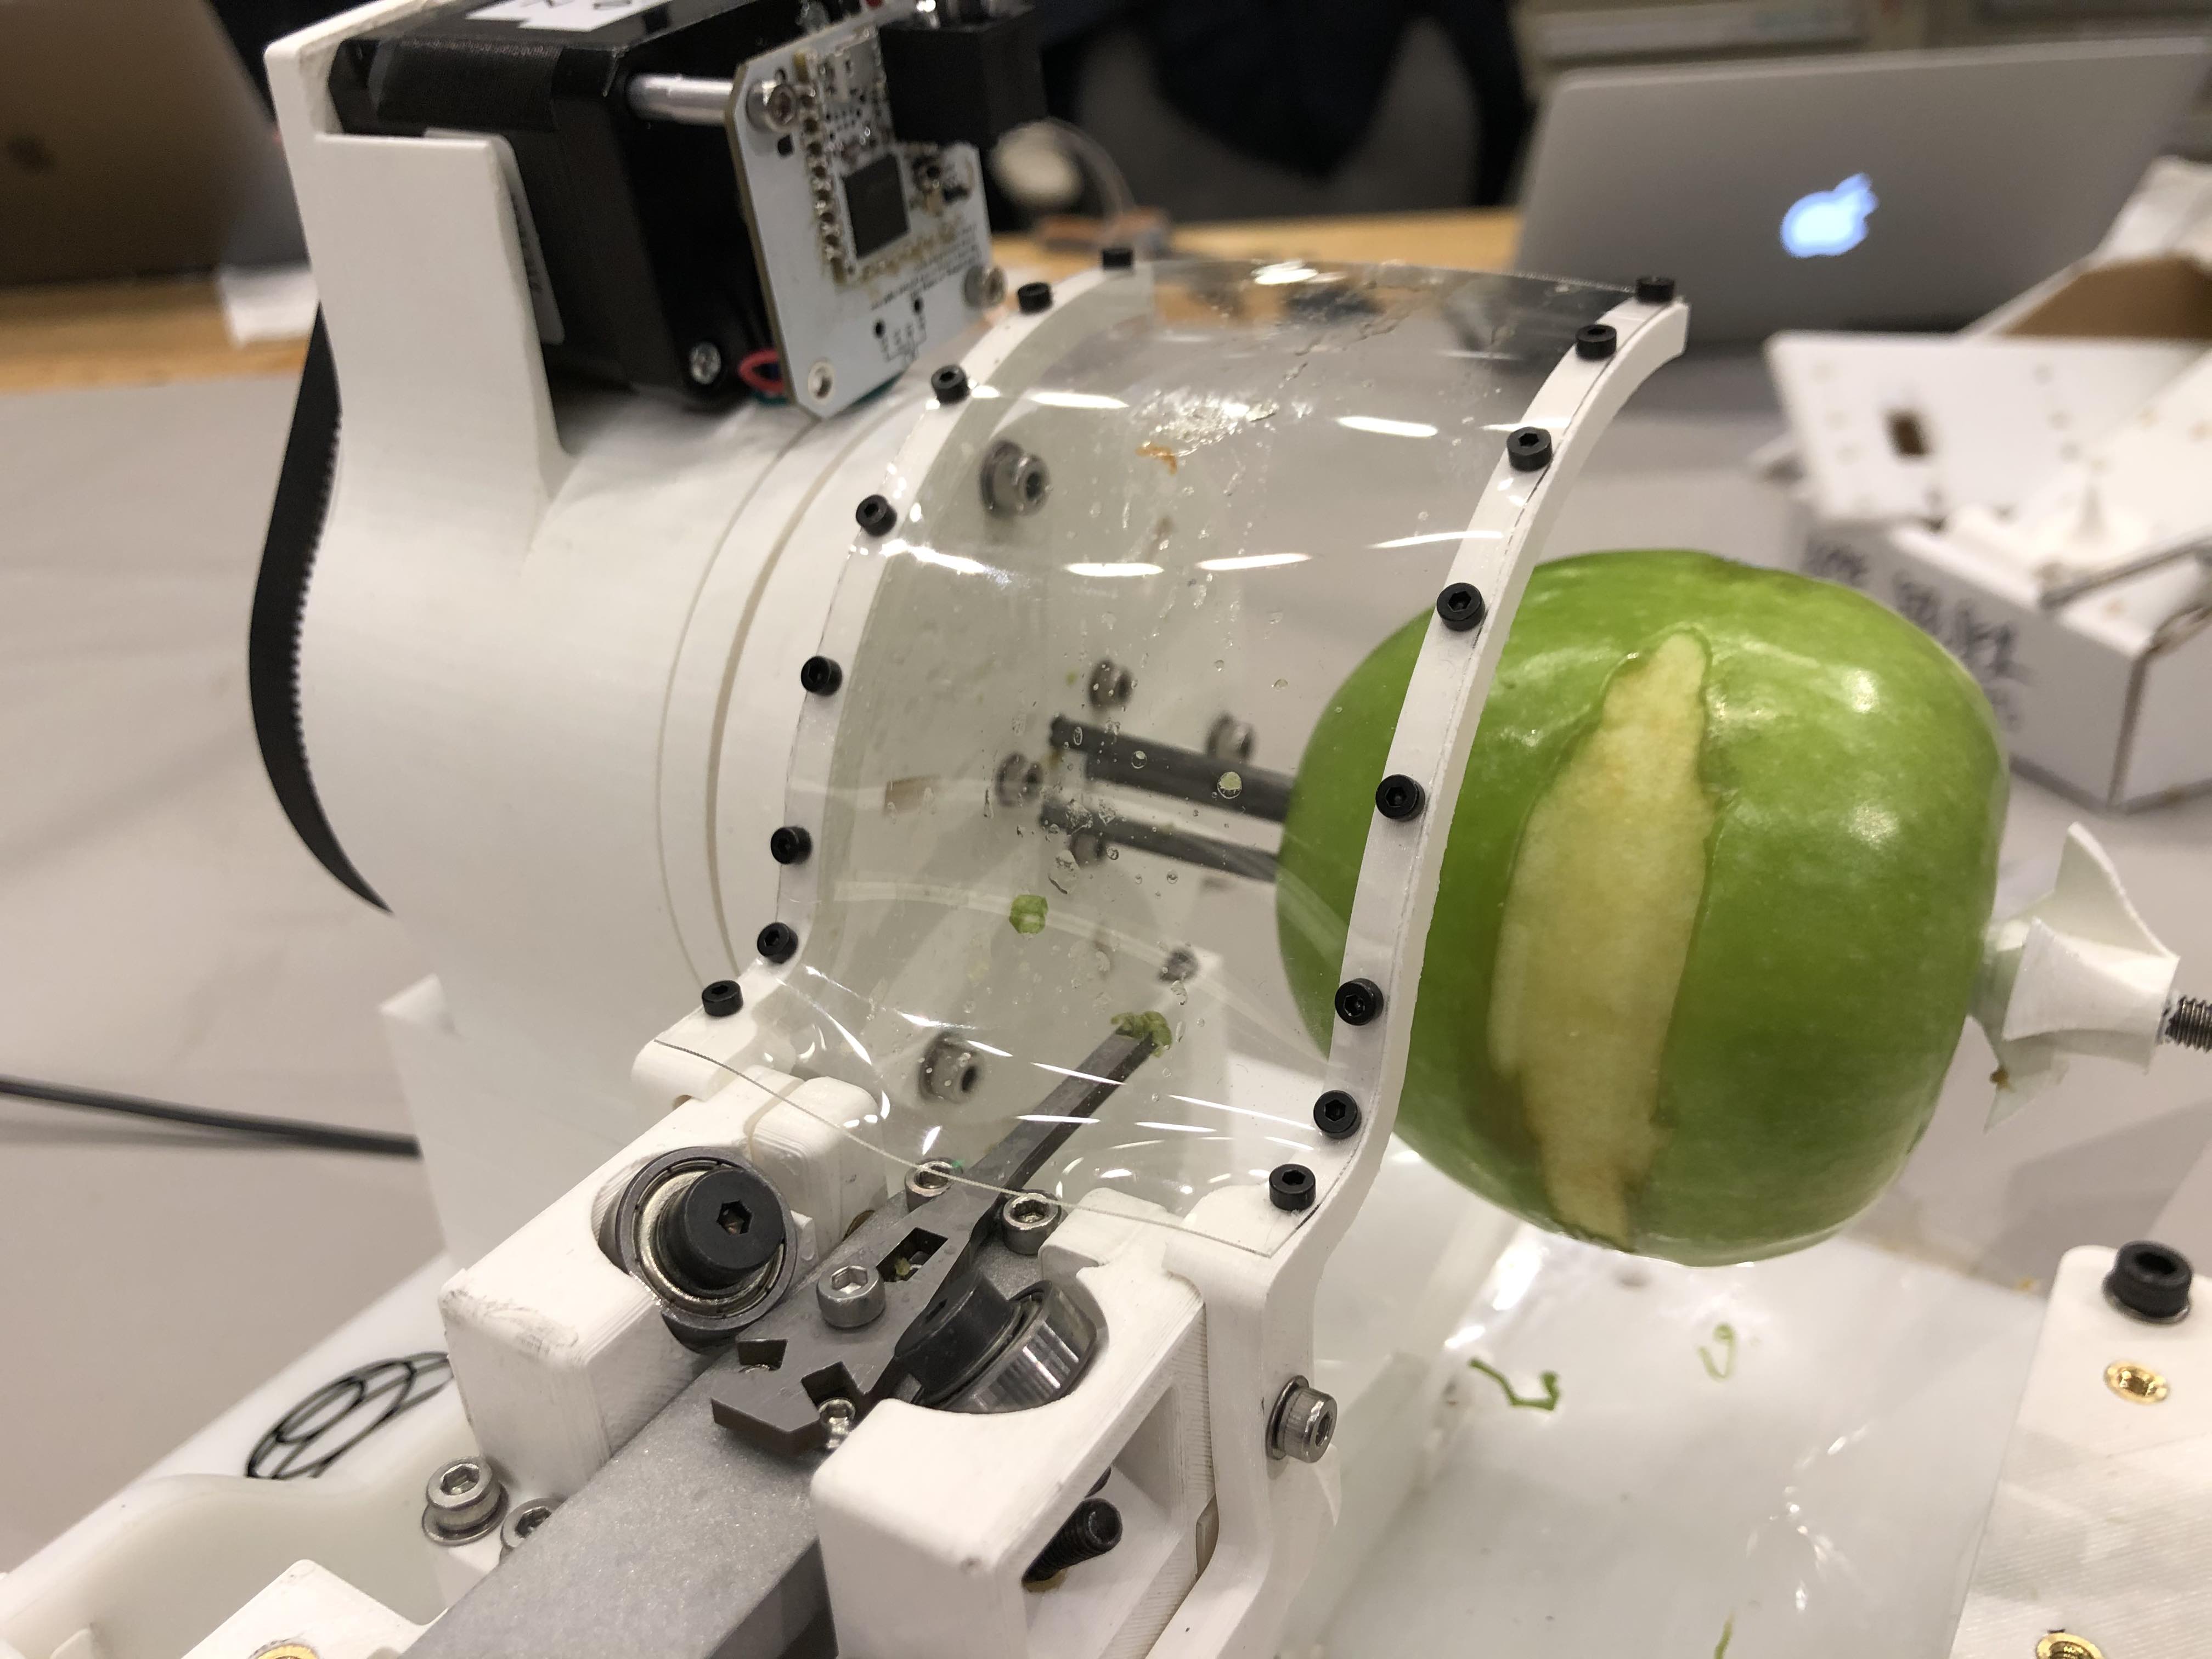
We used a set of three nails to hold the apples. The nails attach to a rotary axis, which we designed and built back on day 1.
All three motors are mounted on the machine bed. We're a little worried about the stability of the legs on the bottom, because we can't find any self locking nuts.
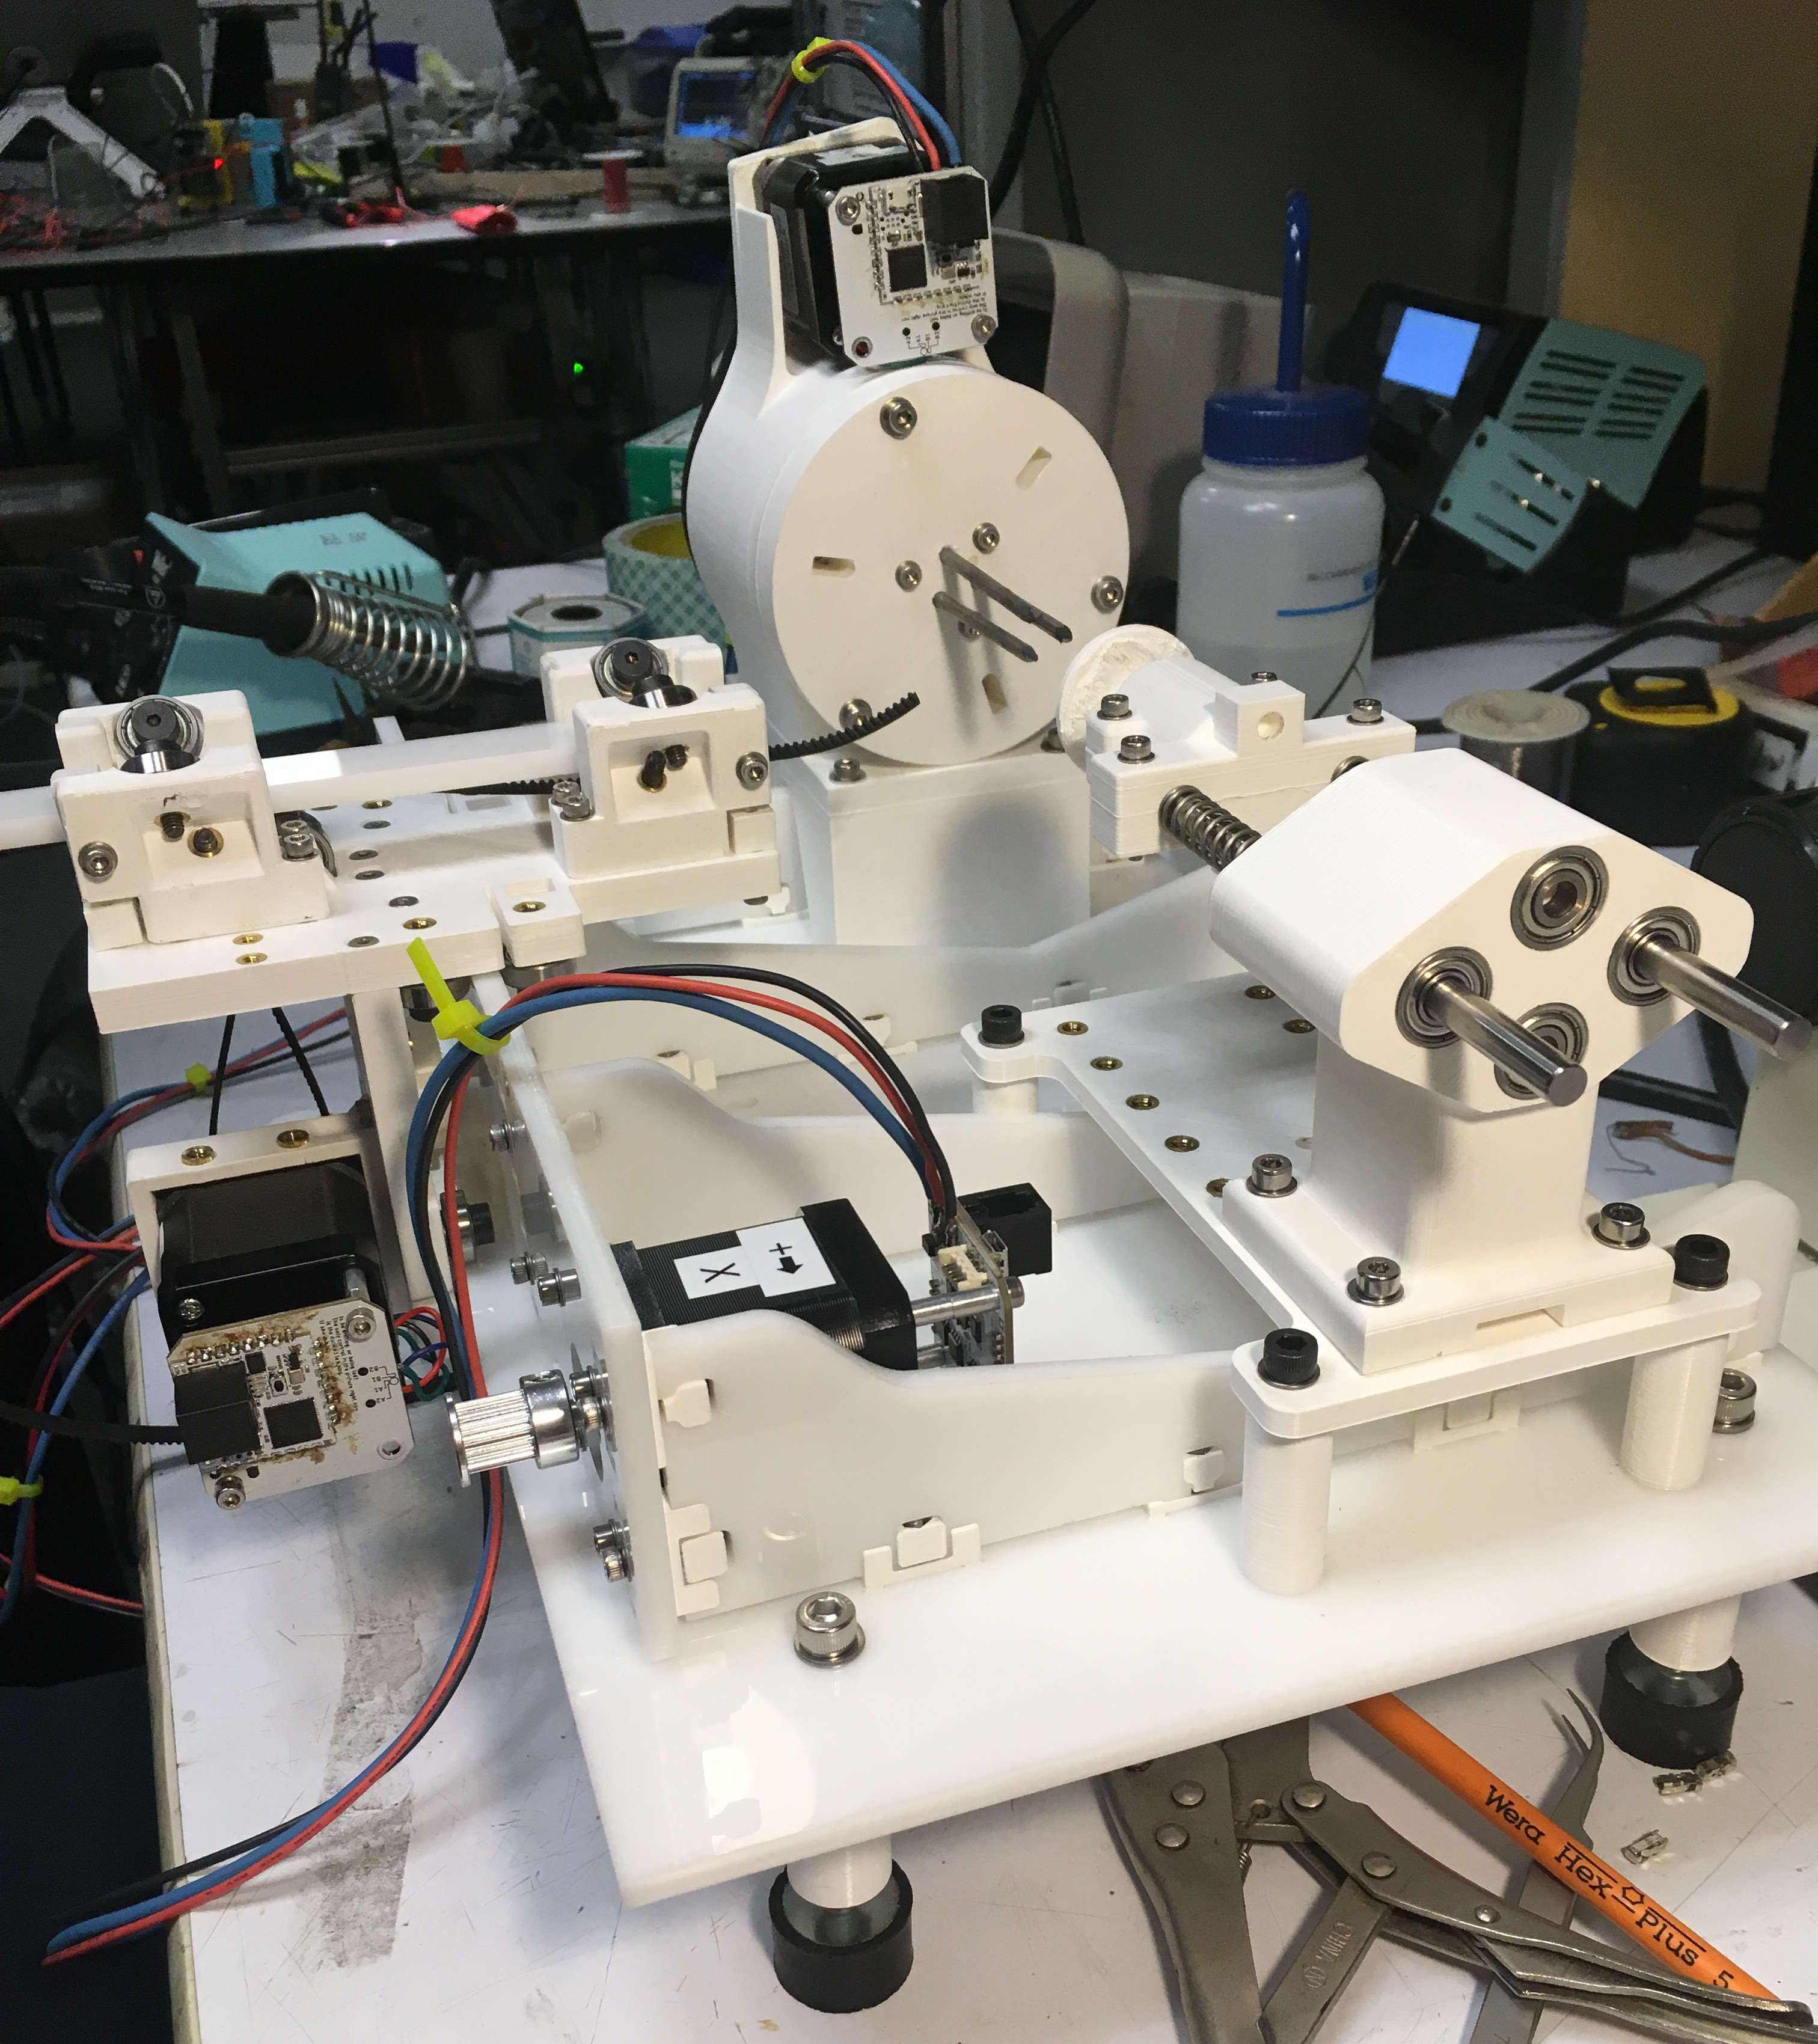
We also used zip-ties to strain-relieve our wiring, and keep it neat and out of our way.
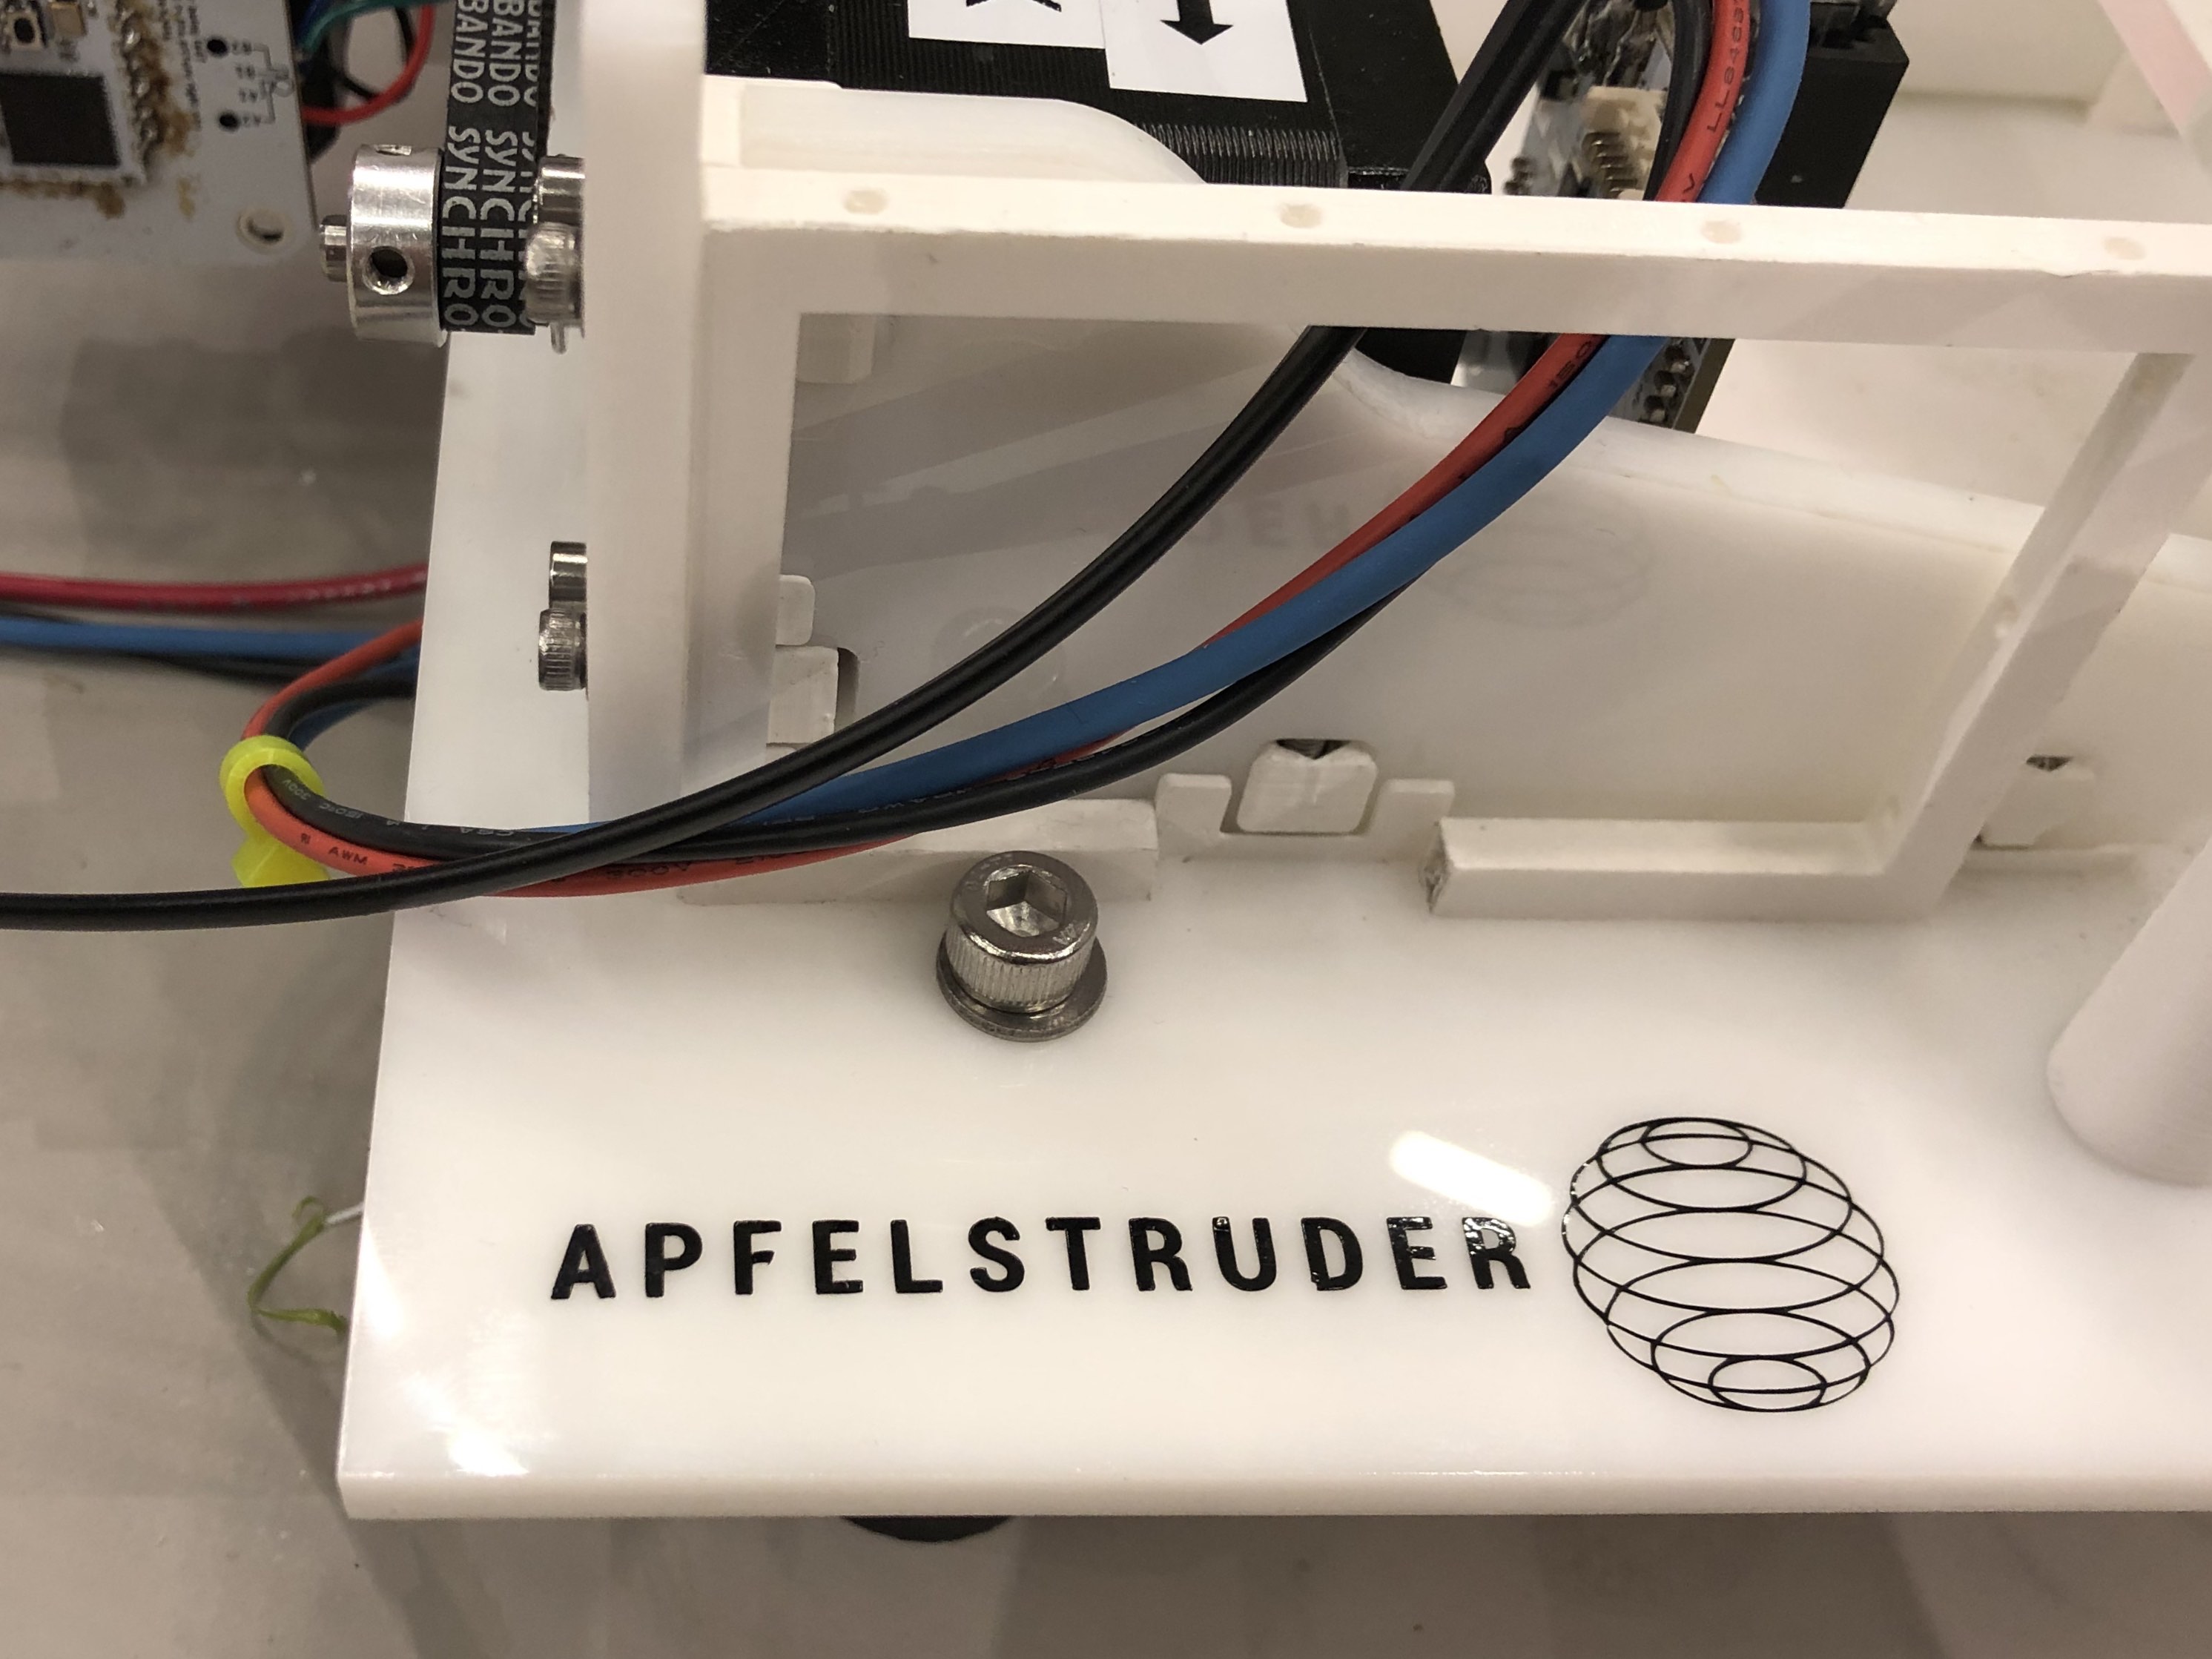
We added a shield to protect from flying apple chips. Hopefully this keeps any mess fairly contained and can also protect parts of the machine from apple juice. We also vinyl cut the Apfelstruder logo and put some branding on the machine.
 https://gitlab.cba.mit.edu/classes/863.19/CBA/cbasite/raw/master/machine/img/v1_Machine.PNG