Scanning Glasses
-
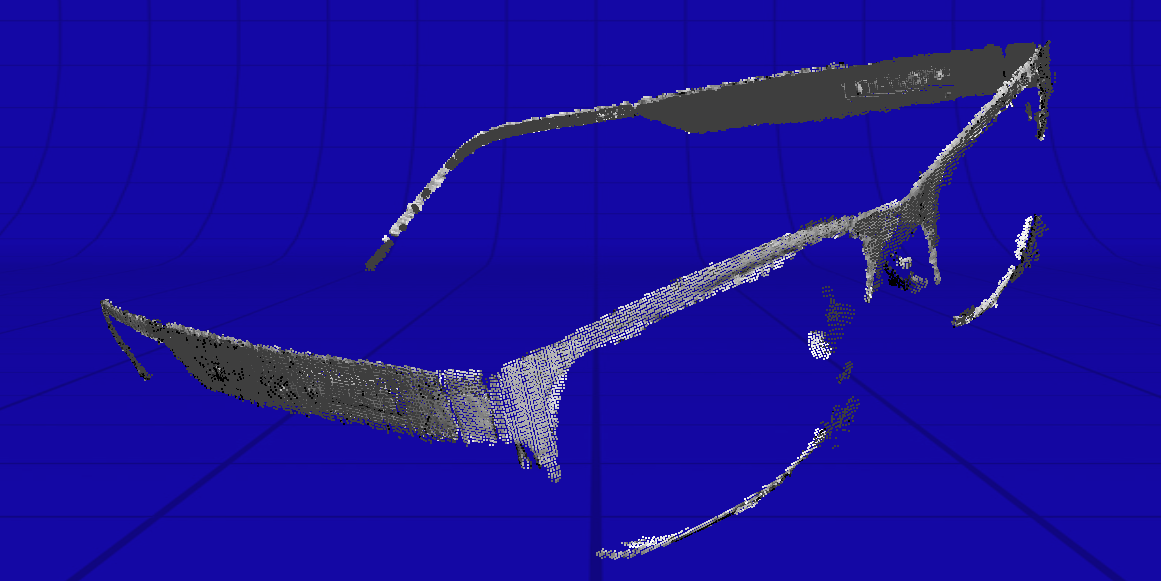
Scanned Glasses
I used the NextEngine 2020i Scanner on the highest resolution and with 12 different takes. This meant the scan was very lengthy but it was the only way to resolve the relatively thin features of my glasses frame.
Heads-Up! If like me, you rely on glasses to view the world, taking them off and scanning them for 40minutes will make it hard for you to run the scanning software and mesh editing :p
Also, if you are trying to image clear things like the lenses on the glasses and don't want them to show up, make sure to clean them well as the dirt on them caused the laser to difract and the dirty parts of the lenses were picked up as structural, which is not what I intended.
-
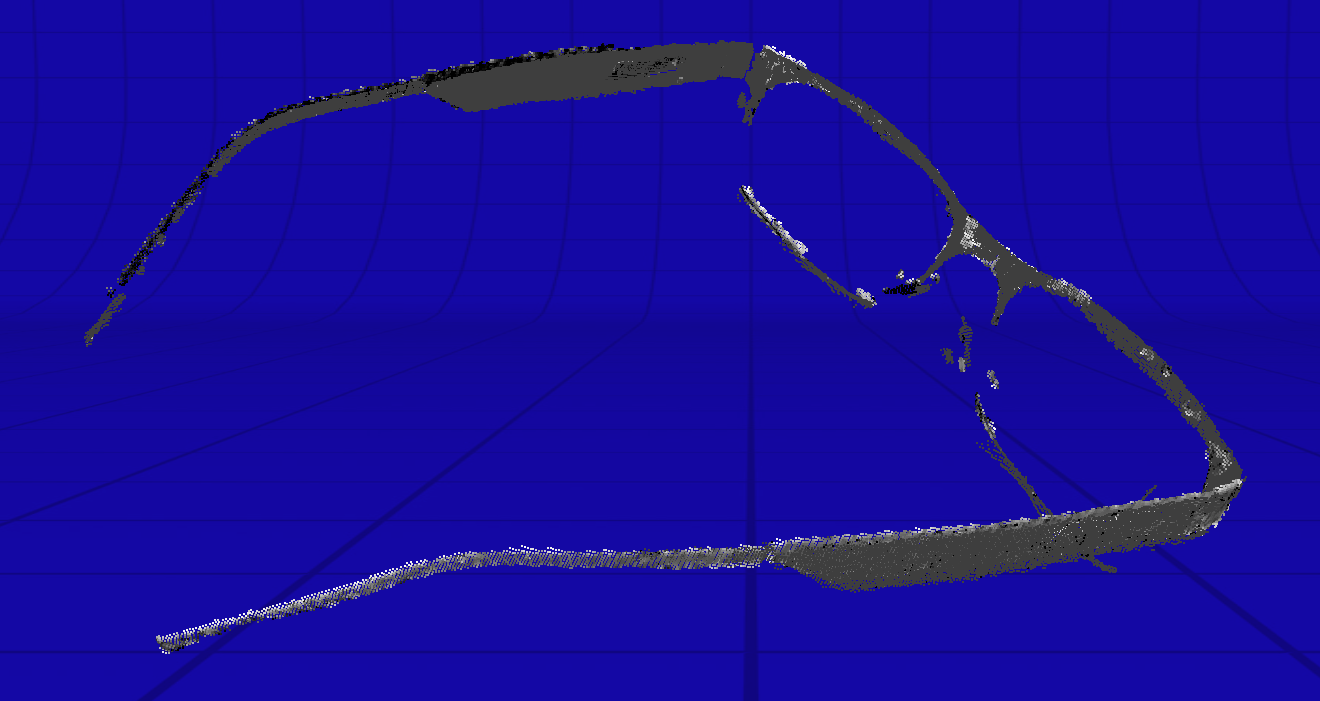
Different angle
-
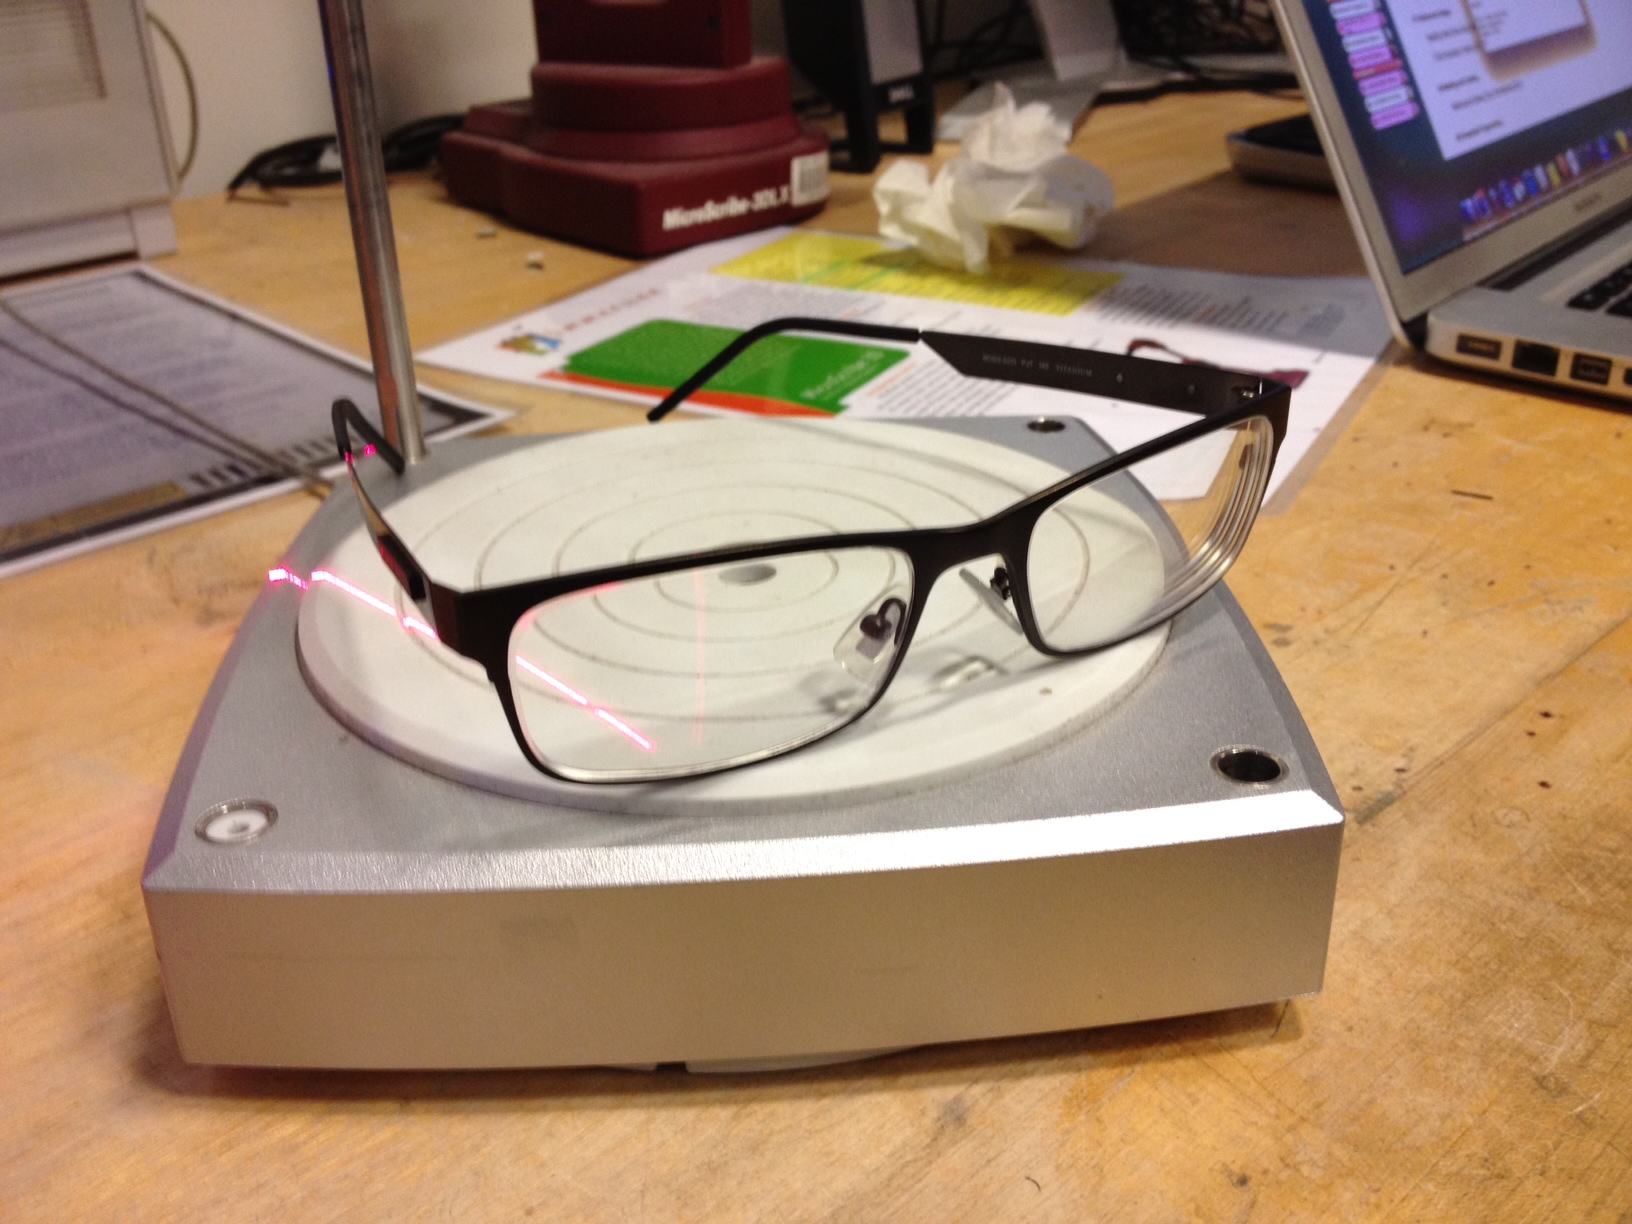
Setup on the platform
Printing the Glasses
The geometry of the scanned mesh was disjointed in too many places to use it as a viable model for 3D printing. Even after considerable mending work in MeshLab, the object was not printable. I then decided to print the designed version of the glasses.
-
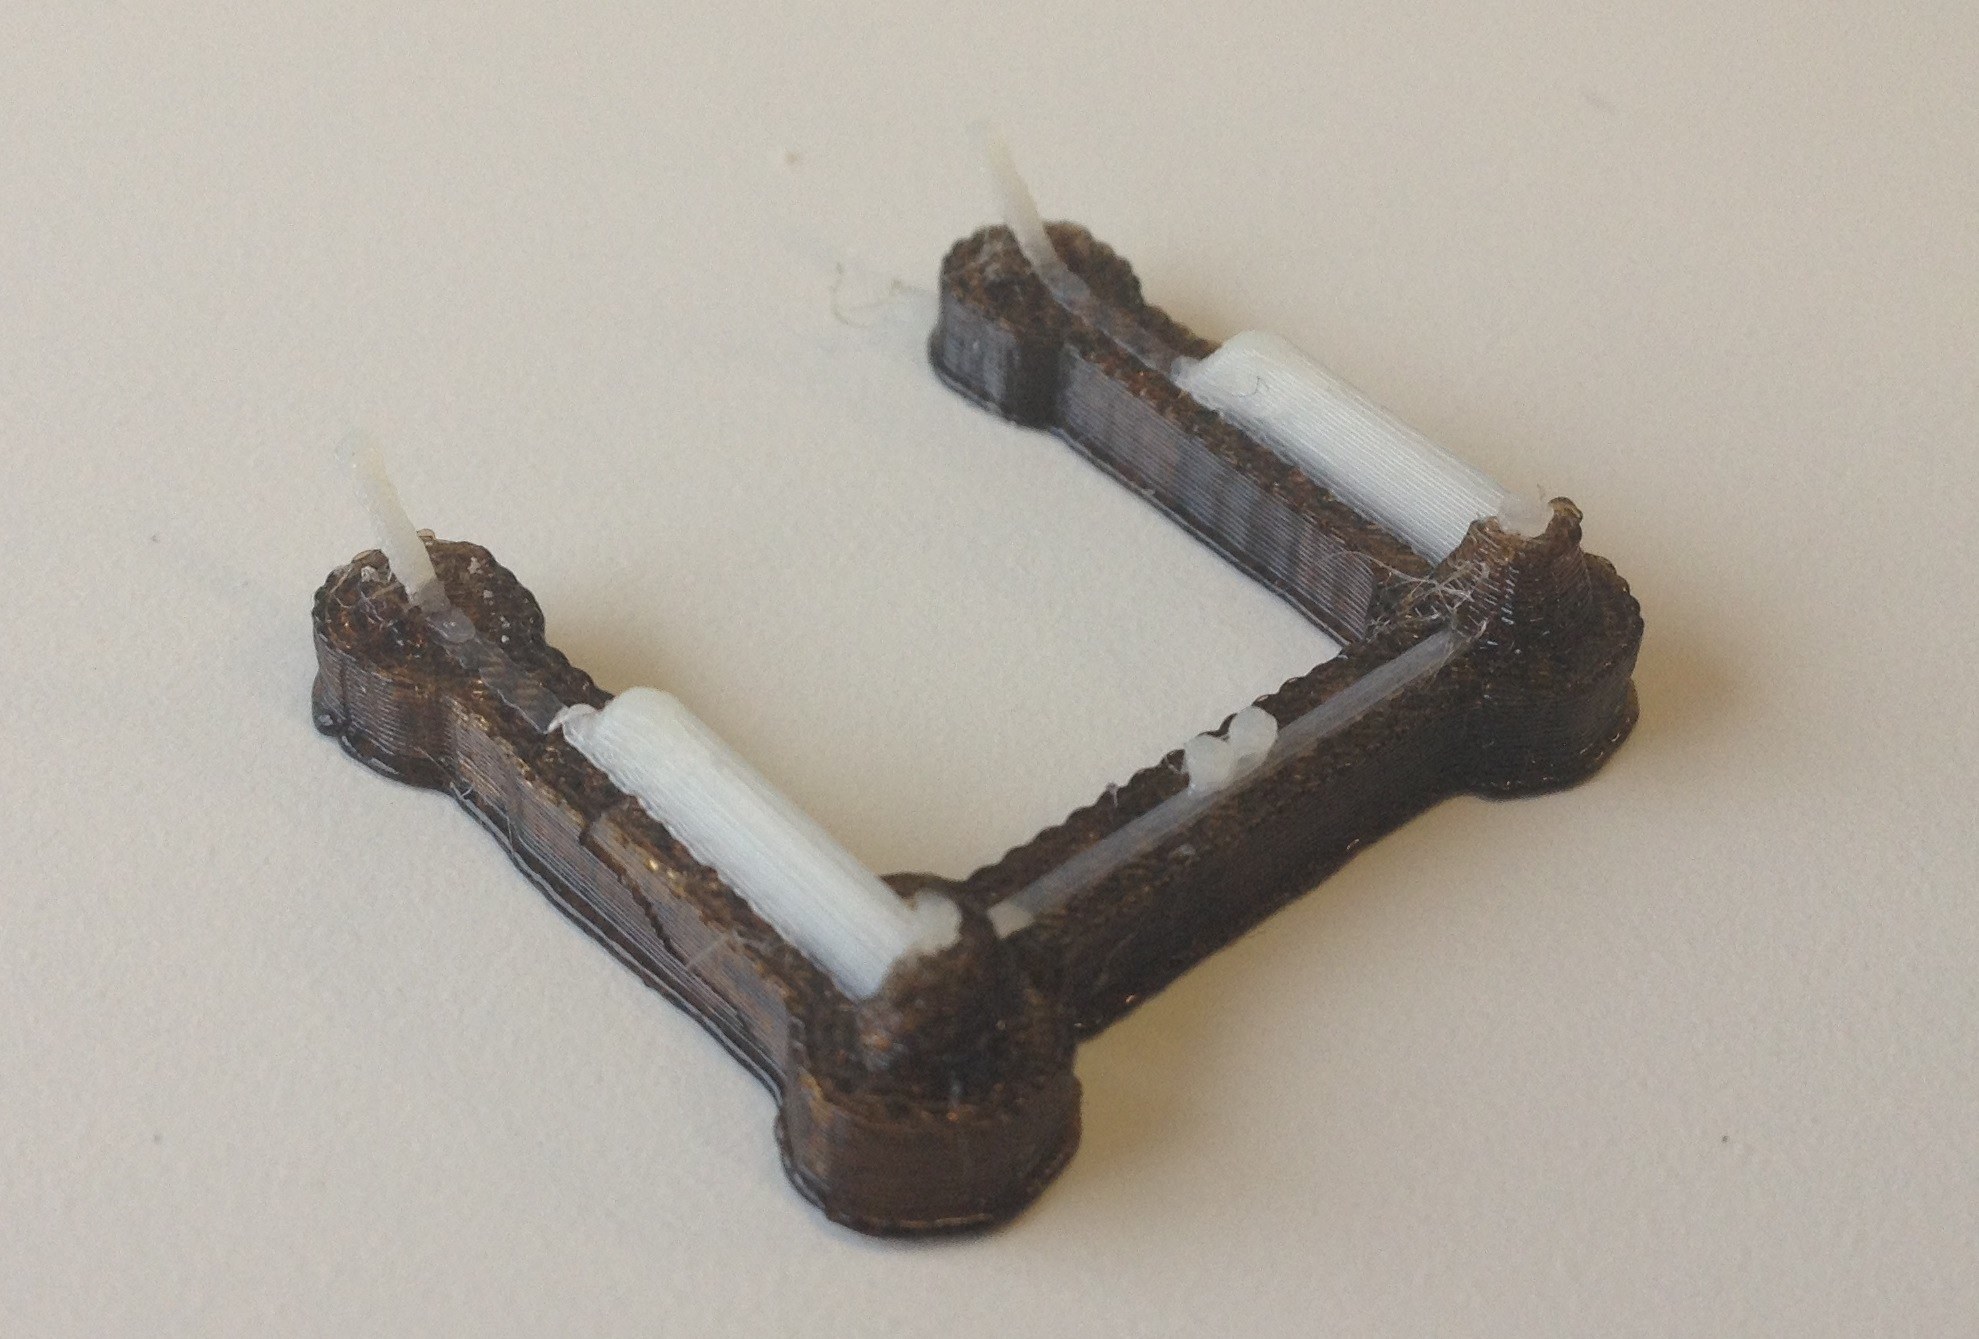
Hot off the printer
I initially sent a scaled down version of the design to not take up too much space on the printer. The black is the support material used by the Dimension printer. It is dissolvable in NaOH, which is incredibly more efficient at higher temperatures (~70°C) and in a beaker with a stirbar.
Careful! NaOH (Sodium Hydroxide) can burn your skin and is dangerous to inhale. Keep your mucosae far. Please consult the NaOH MSDS.
-
Broken :(
You can get a better picture of the size here. Unfortunately, the resulting frame was so thin that it snapped right away when I tried to remove some of the support material.
-
Jumbo glasses!
Given that my previous run had gone so poorly, John was kind enough to rerun it. Except he cranked up the size this time.
-
Jumbo Glasses are Slow to Print...
That works out to ~8h for the whole print