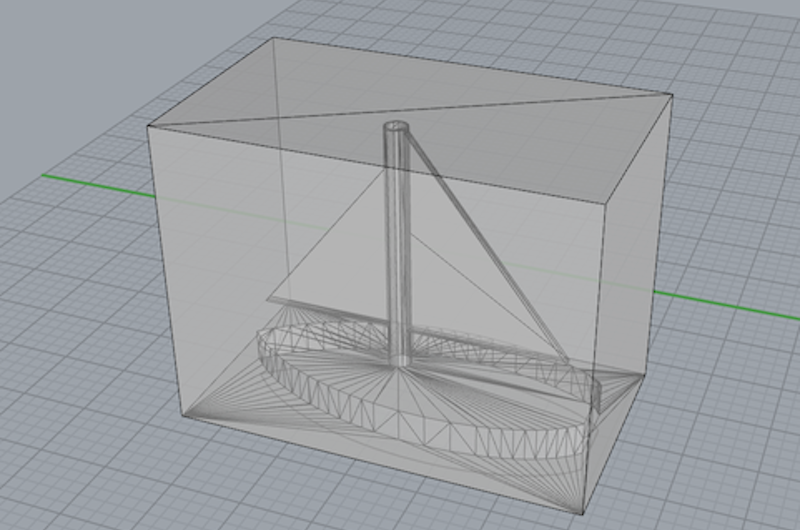
Sailboat modeled in Rhino
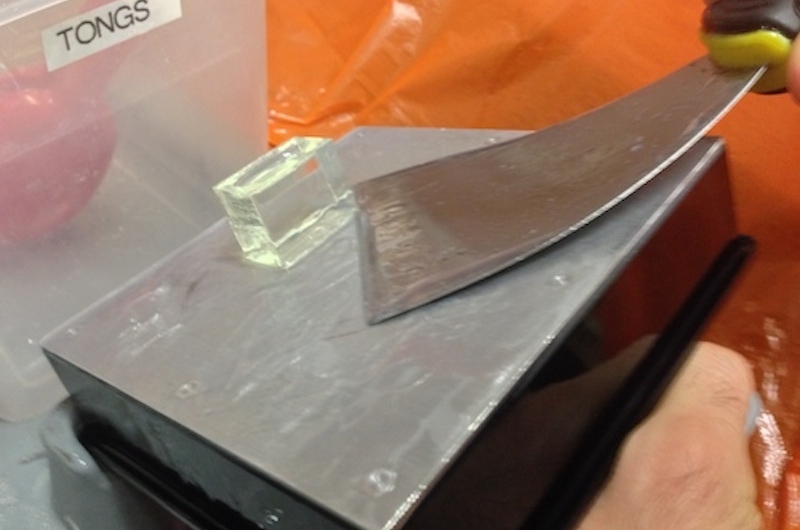
Removing the model from the Form 1 build platform
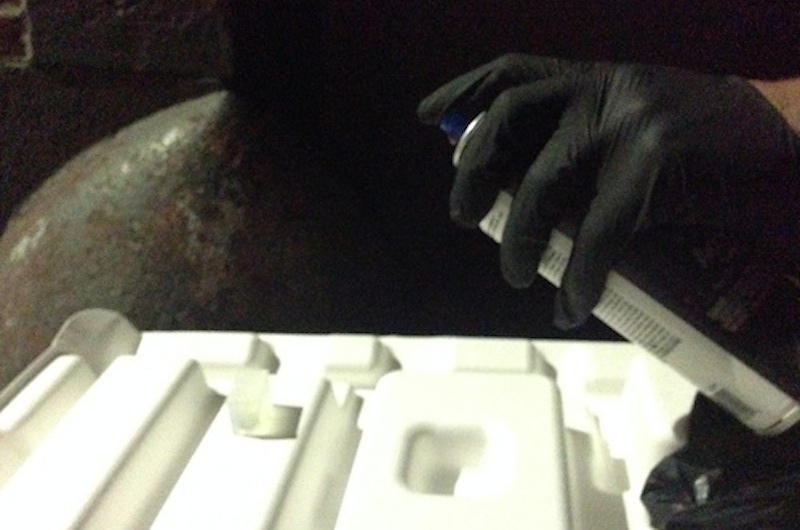
Spraying the model with acrylic to make it more clear
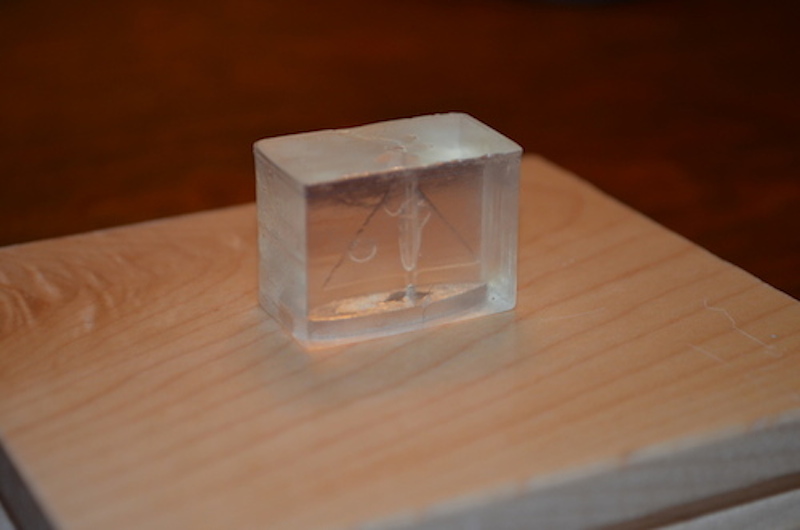
The model after post processing
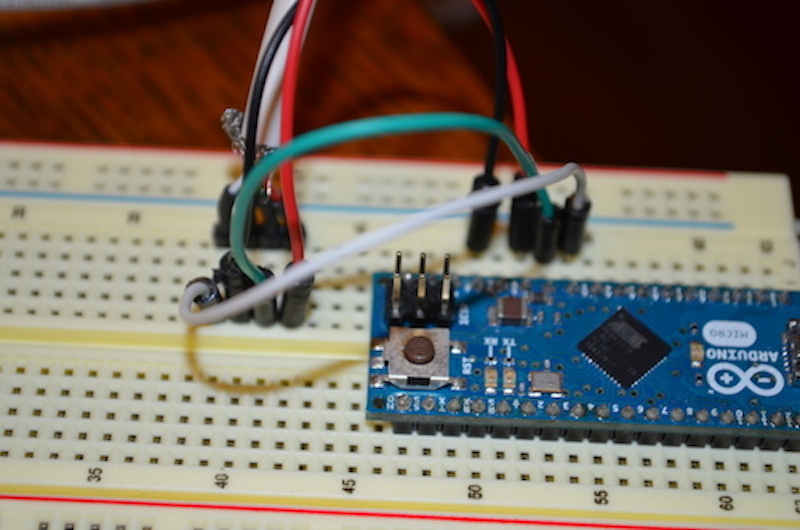
Arduino to read from the dial indicator
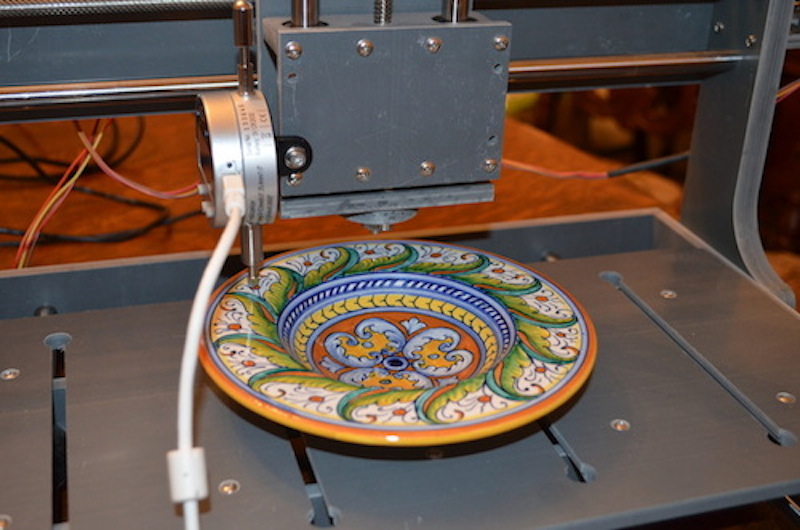
Scanning a bowl
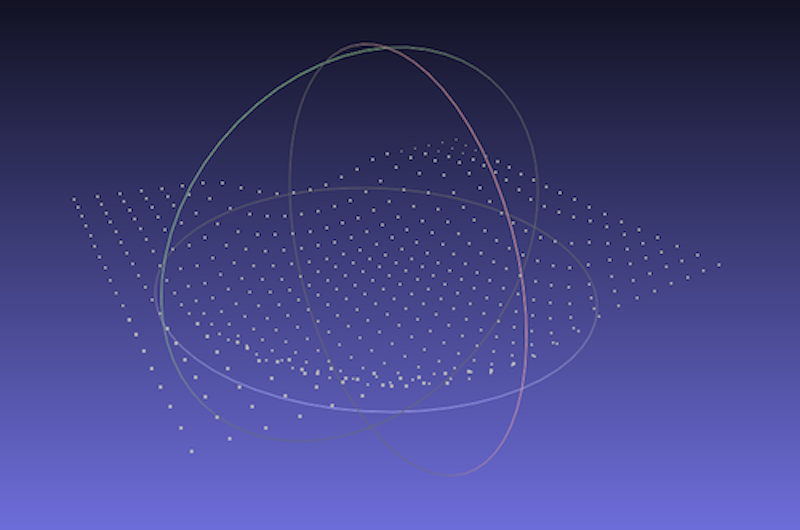
PLY point cloud imported to MeshLab

The resulting mesh produced by MeshLab
Week Four: 3D Scanning and Printing
This week I 3D Printed a sailboat in a block on a Form 1 and made a touch probe 3D scanner.
Modeling
Inspired by the classic "Ship in a Bottle" puzzles I decided to 3D print a ship contained within a block, something that only an additive process such as 3D printing could produce. I also took the opportunity to get comfortable with Rhino. I sketched a few simple extruded shapes and used the boolean difference operation to cut the shape of the boat out of the box.
Printing
I then went to the Formlabs office to print my creation on a Form 1. I loaded an STL exported from Rhino into PreForm. The model has a flat bottom, so rather than printing with supports I printed the model directly on the build platform with the boat upside down. After 54 minutes printing, I removed the build platform and got to work with the chisel to remove the part. It was surprisingly difficult to remove. After a prolonged bath in isopropyl alcohol I was disappointed to find that the sailboat was hardly visible in the block. I spent a long time sanding the part and using a syringe to inject alcohol into the mast to dissolve the resin trapped in the sails. I also used some acrylic spray which fills in the holes in the surface, reducing diffraction.
Scanning
In lecture Prof. Gershenfeld offered extra credit to not just use a 3D scanner but to make one. I decided to take the challenge and produce a very simple touch probe scanner. I mounted an iGaging Dial Indicator to the 3-axis CNC kit I used for my 6.115 3D Printer Project. I then built an Arduino board to read data from the Dial Indicator. The Dial Indicator uses an SPI-like protocol with a clock and data pin, through which a 21-bit value is read. The 'zero' values varies and has to be measured on each use, and by experiment I found that the conversion ratio on the output is 200 ticks per millimeter.
Here is the sketch that reads values from the dial indicator:
MeshLab
Next I wrote a python script to move the CNC on a grid and collect probe values. I used the PLY point cloud format and imported the result into MeshLab. I used the tools in MeshLab to convert the point cloud into a surface