Week Five: Make Something Big
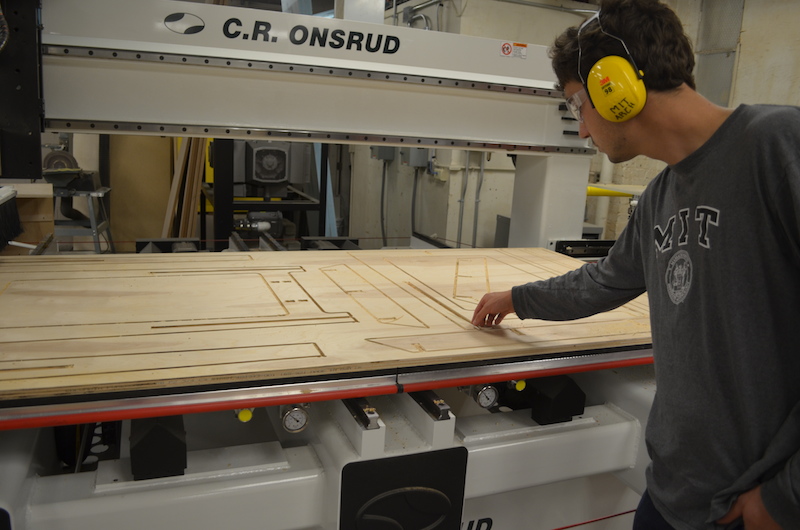
This week we covered large format machining. I used the brand new Onsrud 8'x4' router in N51 to make a press fit standing desk.
Modeling
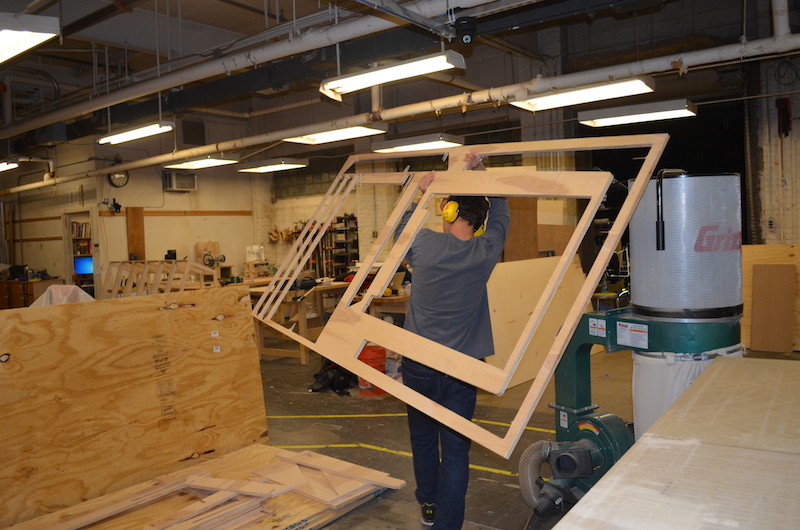
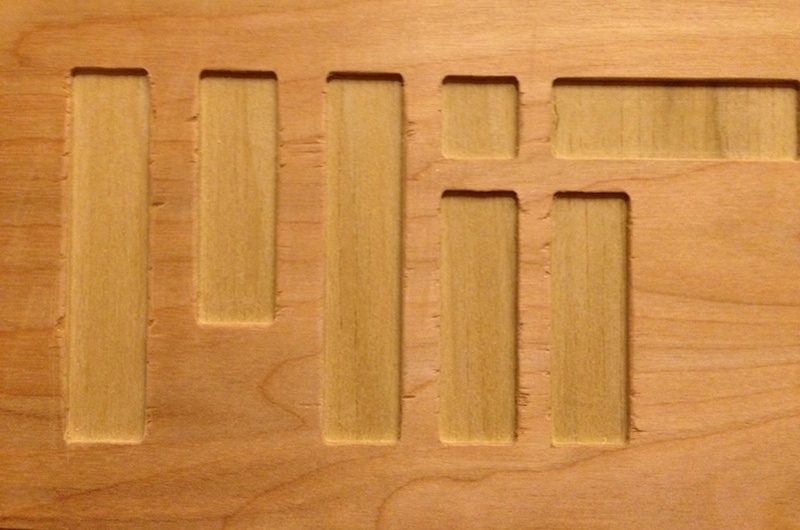
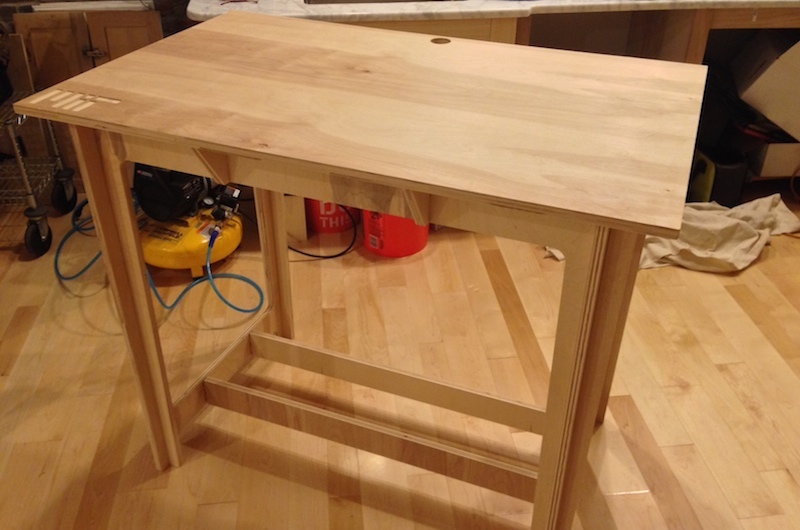
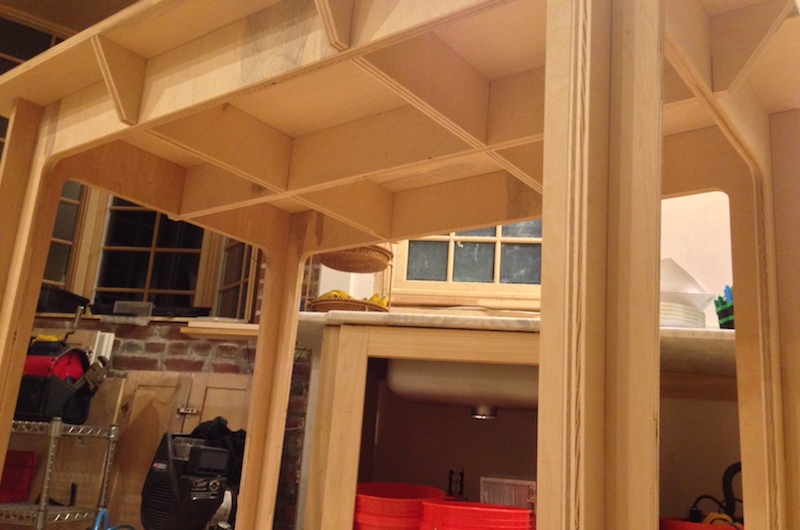
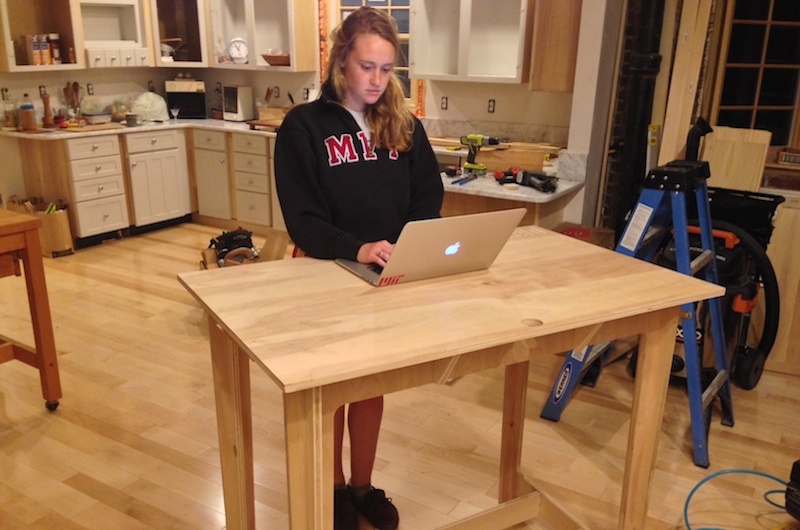
This was my first time using Solidworks so it took me a little while to get up and running. Once I learned the basics from the built-in tutorials, however, I found that Solidworks was a pleasure to use and much more intuitive and structured than any other CAD tool I've used. I wanted to make the desk easy to assemble and disassemble and show off the capabilities of CNC router so I made the design press fit. Taking inspiration from press fit designs online I used two U-shaped leg pieces which join at the legs, and several press fit cross beams for support. The top has a hole cut out for cable organization and I added the engraving of the MIT logo in the bottom left corner. One of the TA's recommended I add two support beams between the short legs to make the desk rigid.

MasterCAM
The largest piece in my design is 44" x 40", so the ShopBot Buddy with a 2' x 4' bed wouldn't cut it (pun intended). Luckily the architecture fab lab has a brand new C.R. Onsrud CNC in N51 with a 4' x 8' bed. Rather than using the 3/8" thick plywood we were given I went to Home Depot and got 3/4" birch plywood. It was quite pricey at over $40 for a sheet but the wood is really beautiful. I exported from Solidworks in IGS format and got a nicely layered file that imported into Rhino. In Rhino I moved the faces onto a 4' x 8' plane and did my best to minimize stock use, but I couldn't use less than 1.5 pieces. I worked with one of the TA's to produce a CAM file in MasterCAM. I set the depth of the MIT logo to 1/8" so that it is carved in but not cut all the way out.