Mechanical Design & Machine Design
For this week, we are assembling CBA’s Machines that make: cardboard stages. I followed the instruction to laser cut and assemble all the pieces. http://mtm.cba.mit.edu/machines/science/
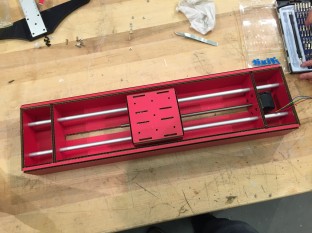
Once we assembled all the parts (stepper motors, tracks, circuit boards …) we ran a quick test with the provided code, and it worked.
We divide the group into smaller groups for Path Planing, mechanical engineering, laser electronic & laser mechanics. That worked pretty well in the end. I am part of the mechanical engineering team.

Mechanical engineering: The gantry team
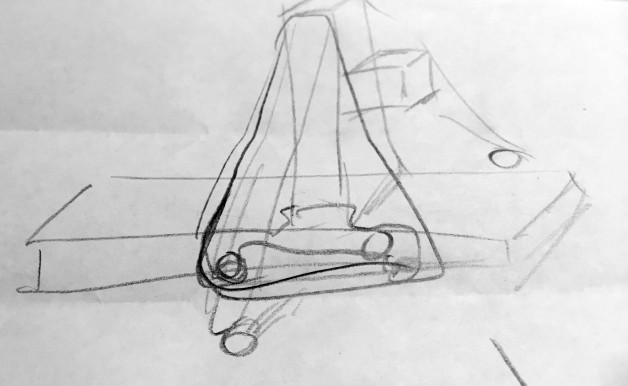
Here are a few of our initial sketches, most of it made it to the final design.
Things that we are thinking about when we design
- Cable menagement
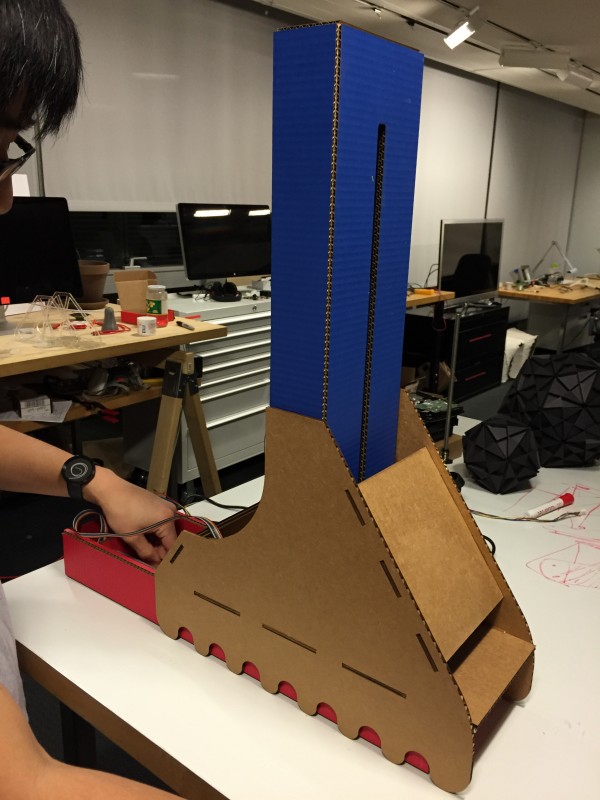
- Y-axis Support / box holder
- Mirror/Laser Mounter
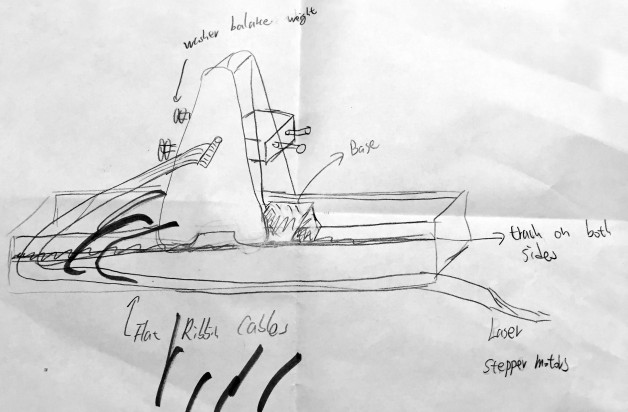
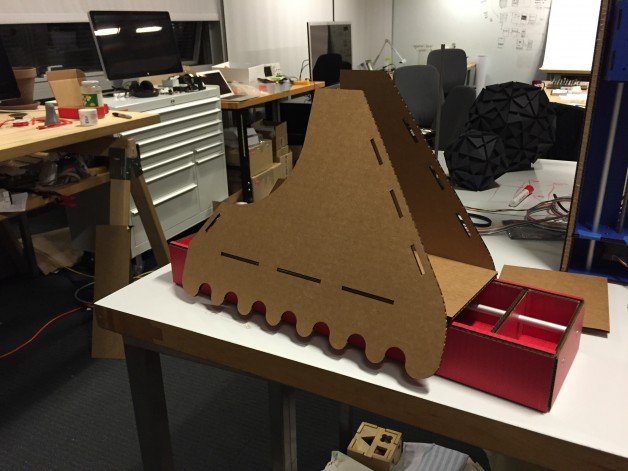
The trapezoid shape stabilized the structure just in case the Y-axis tilted too far. We also made the legs for the trapezoid to reduce the amount of the friction.
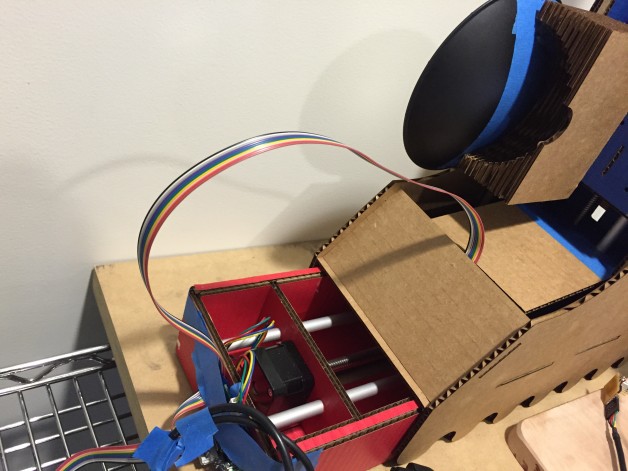
For cable management, we only have one ribbon cable to worry about, since it “travel” well, all we needed to do was to tape it facing the same surfaces.
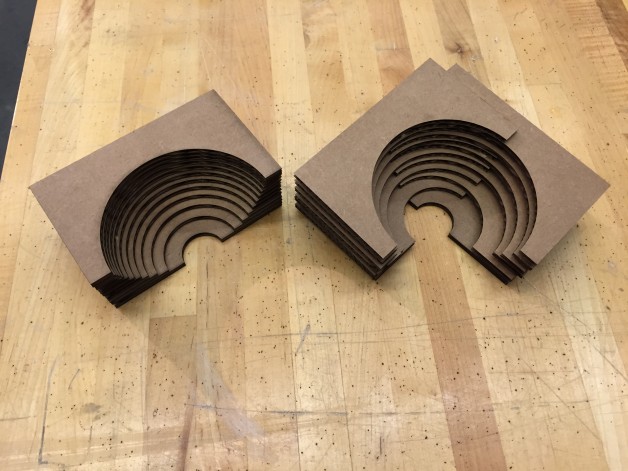
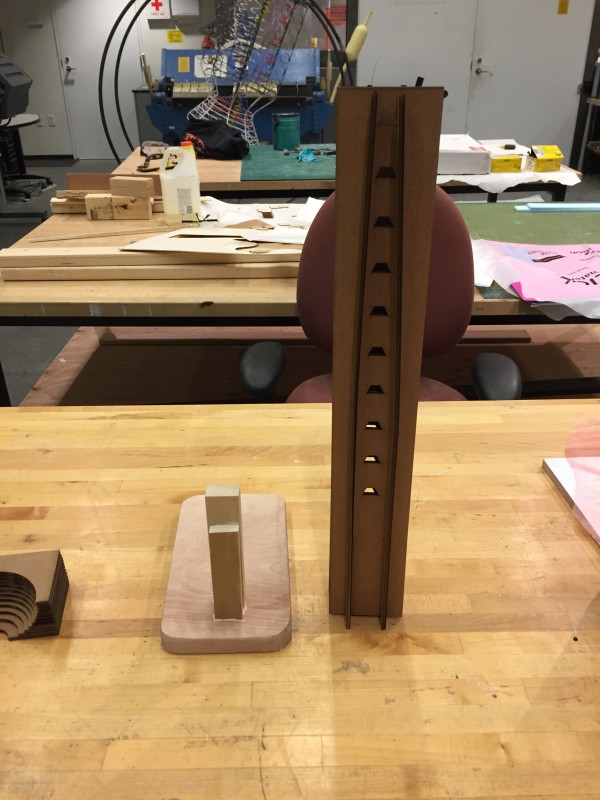
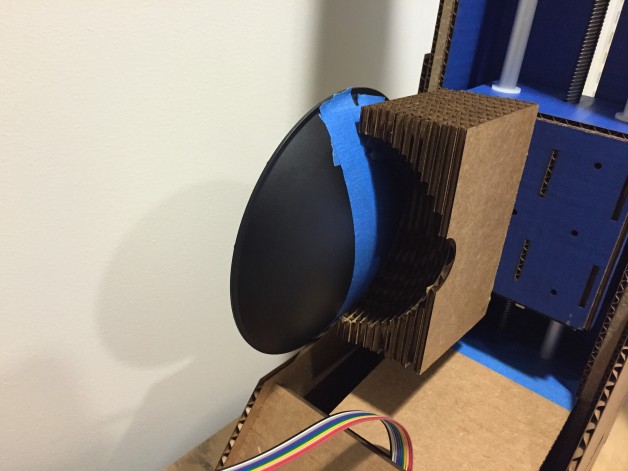
For the mirror molder, we decide to go with light weight surface mount cardboard holder. The idea is that it would be like an ice cream scoop, that holds the reflective object and directly attached next to the “train” or Y-axis.
Here are the 2 different versions of the holder.
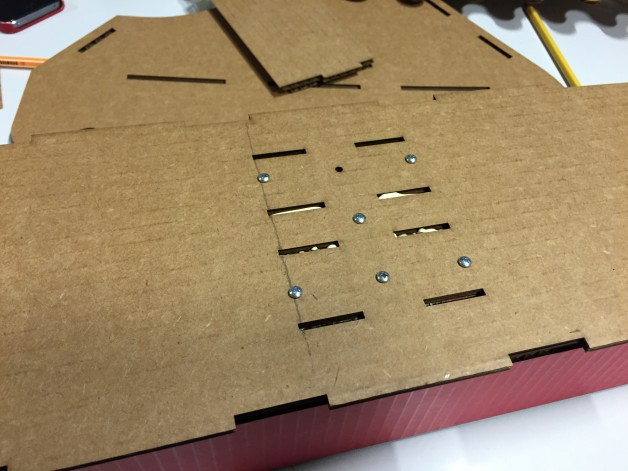
Here is a little tip for mounting the Y-axis or blue box in our case. Using wood group would give you more time to position the pieces, and use machine screws to help lining up the holes.
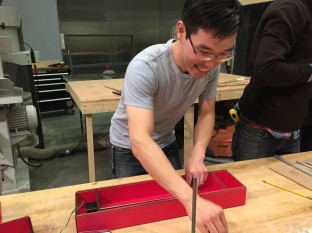
We cut the trapezoid / supporting structure out of acrylic first, but it was a bit heavy and we had the wrong dimension, plus we were out of the acrylic.

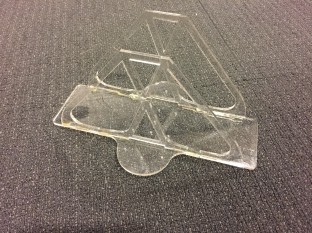
In the spirit of cardboard construction, we decided to make our new support structure out of the cardboard, similar to our first sketch.
Tip: Onces it’s glued, you would want to manually move the stepper motor back and forth, just make sure that there aren’t any glue stick on the track somewhere. If it does, just give it a little tap or push.
I made a simple Laser Holder, with different levels (on both sides) and the base to support it.
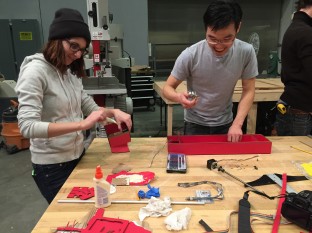
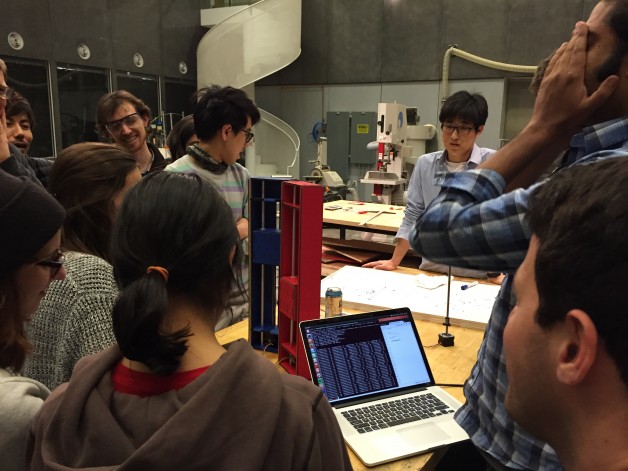
Putting everything together
We have a great team, everything came together smoothly. Everyone did their parts. I worked with the laser team to assemble the laser holding structure..
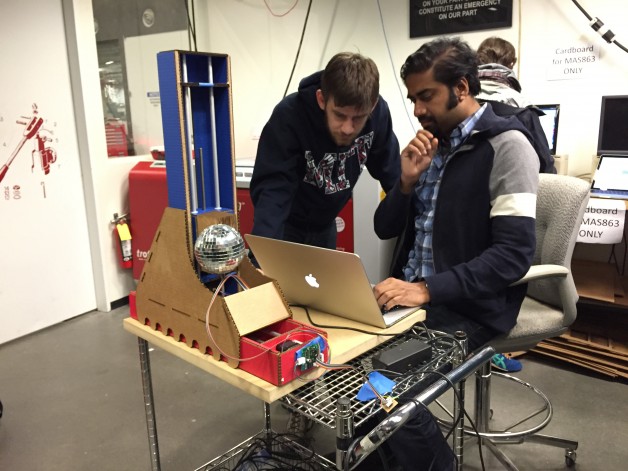
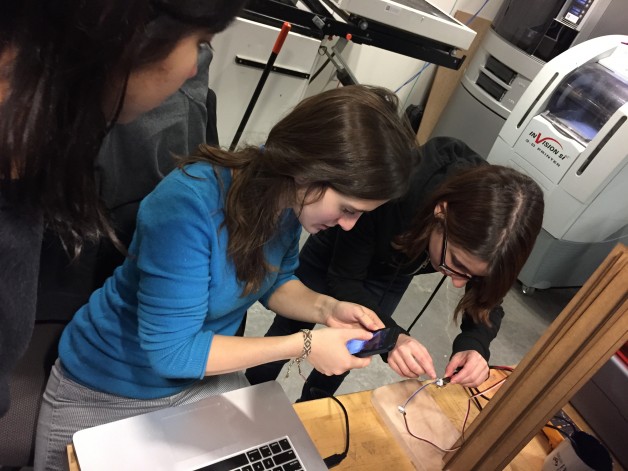
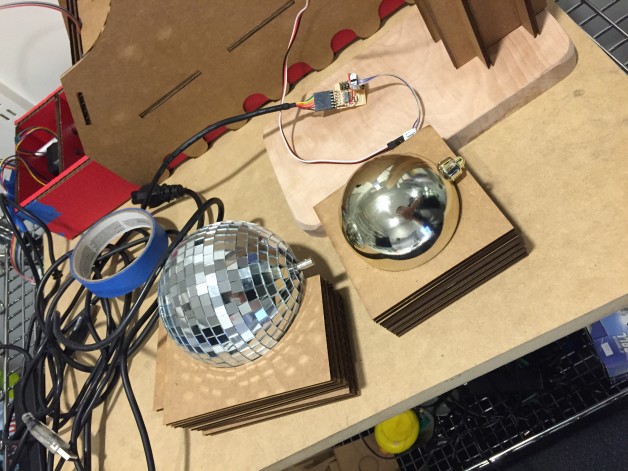
At the last minute, we could not decided what kind of reflective surface that we want to use, that is why a few things are tapped together.
Cable Management
For the cable management, we just need to make sure that the wire would move freely, and the switches for the nodes can be easily accessed.
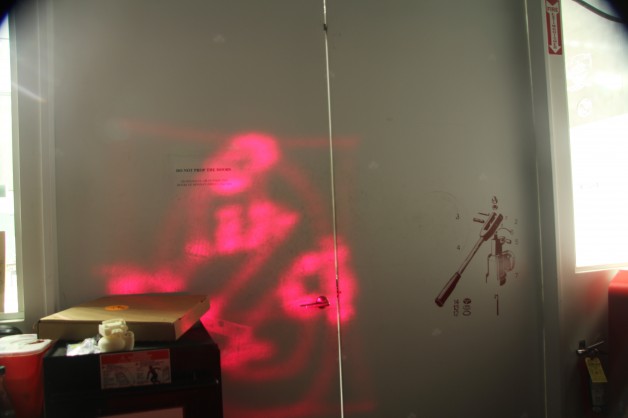
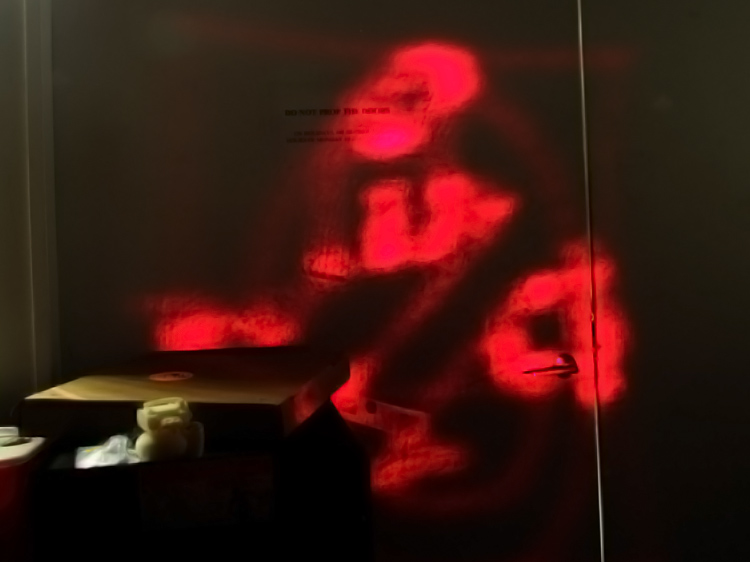
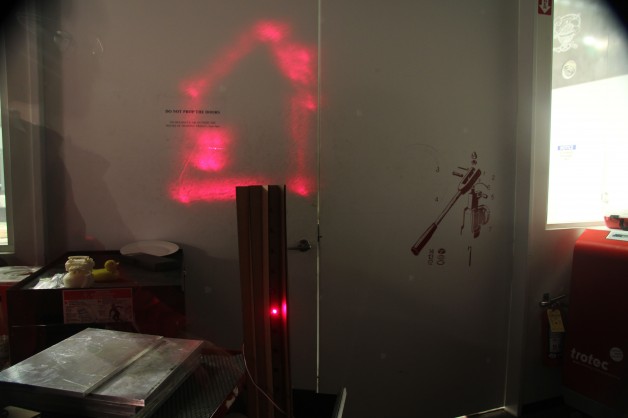
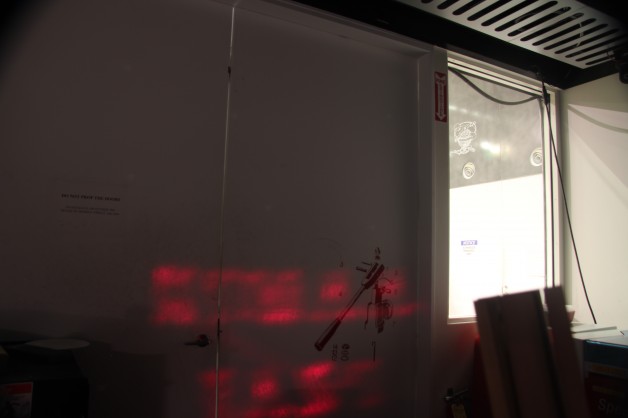
Putting everything to the test
For long exposure photography, I used Neutral Density 0.9 Filter (it moves the exposure down by 9 stops). I also used ISO 100 with a fairly small aperture opening.
http://www.amazon.com/gp/product/B00004ZCFZ/ref=oh_aui_search_detailpage?ie=UTF8&psc=1
Exposure Time: 16 seconds
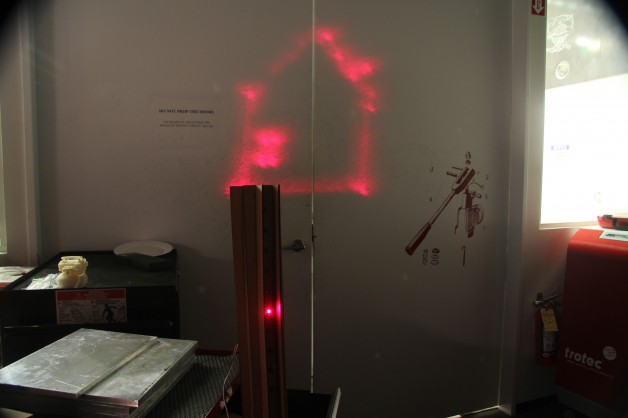

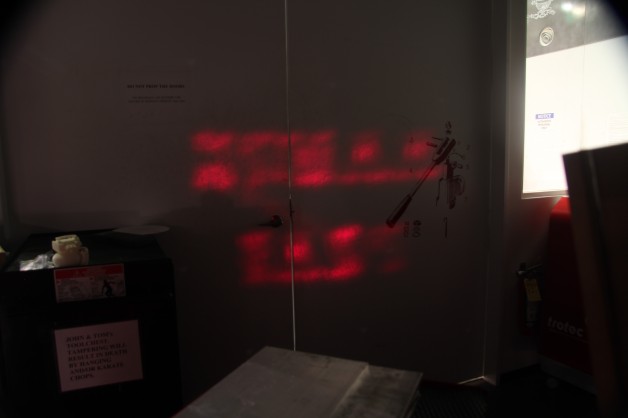 Exposure Time: 40
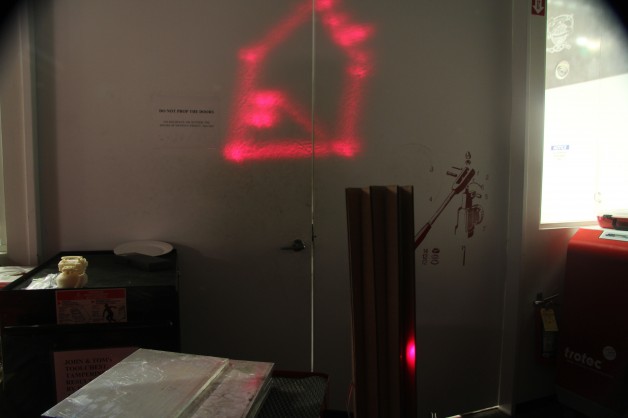
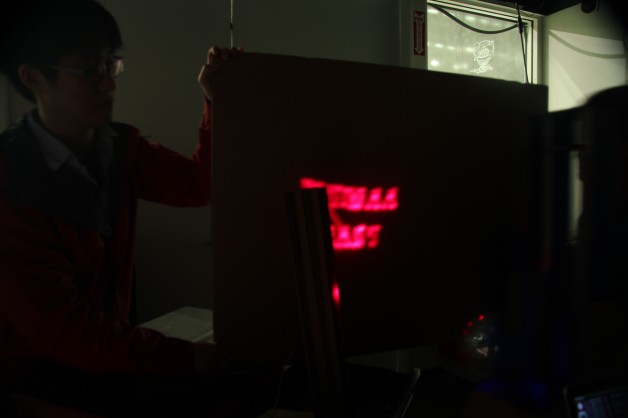
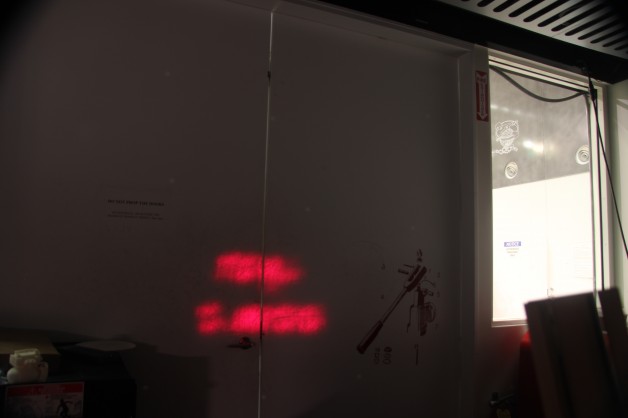
Exposure Time: 164