Interface & Application Programming
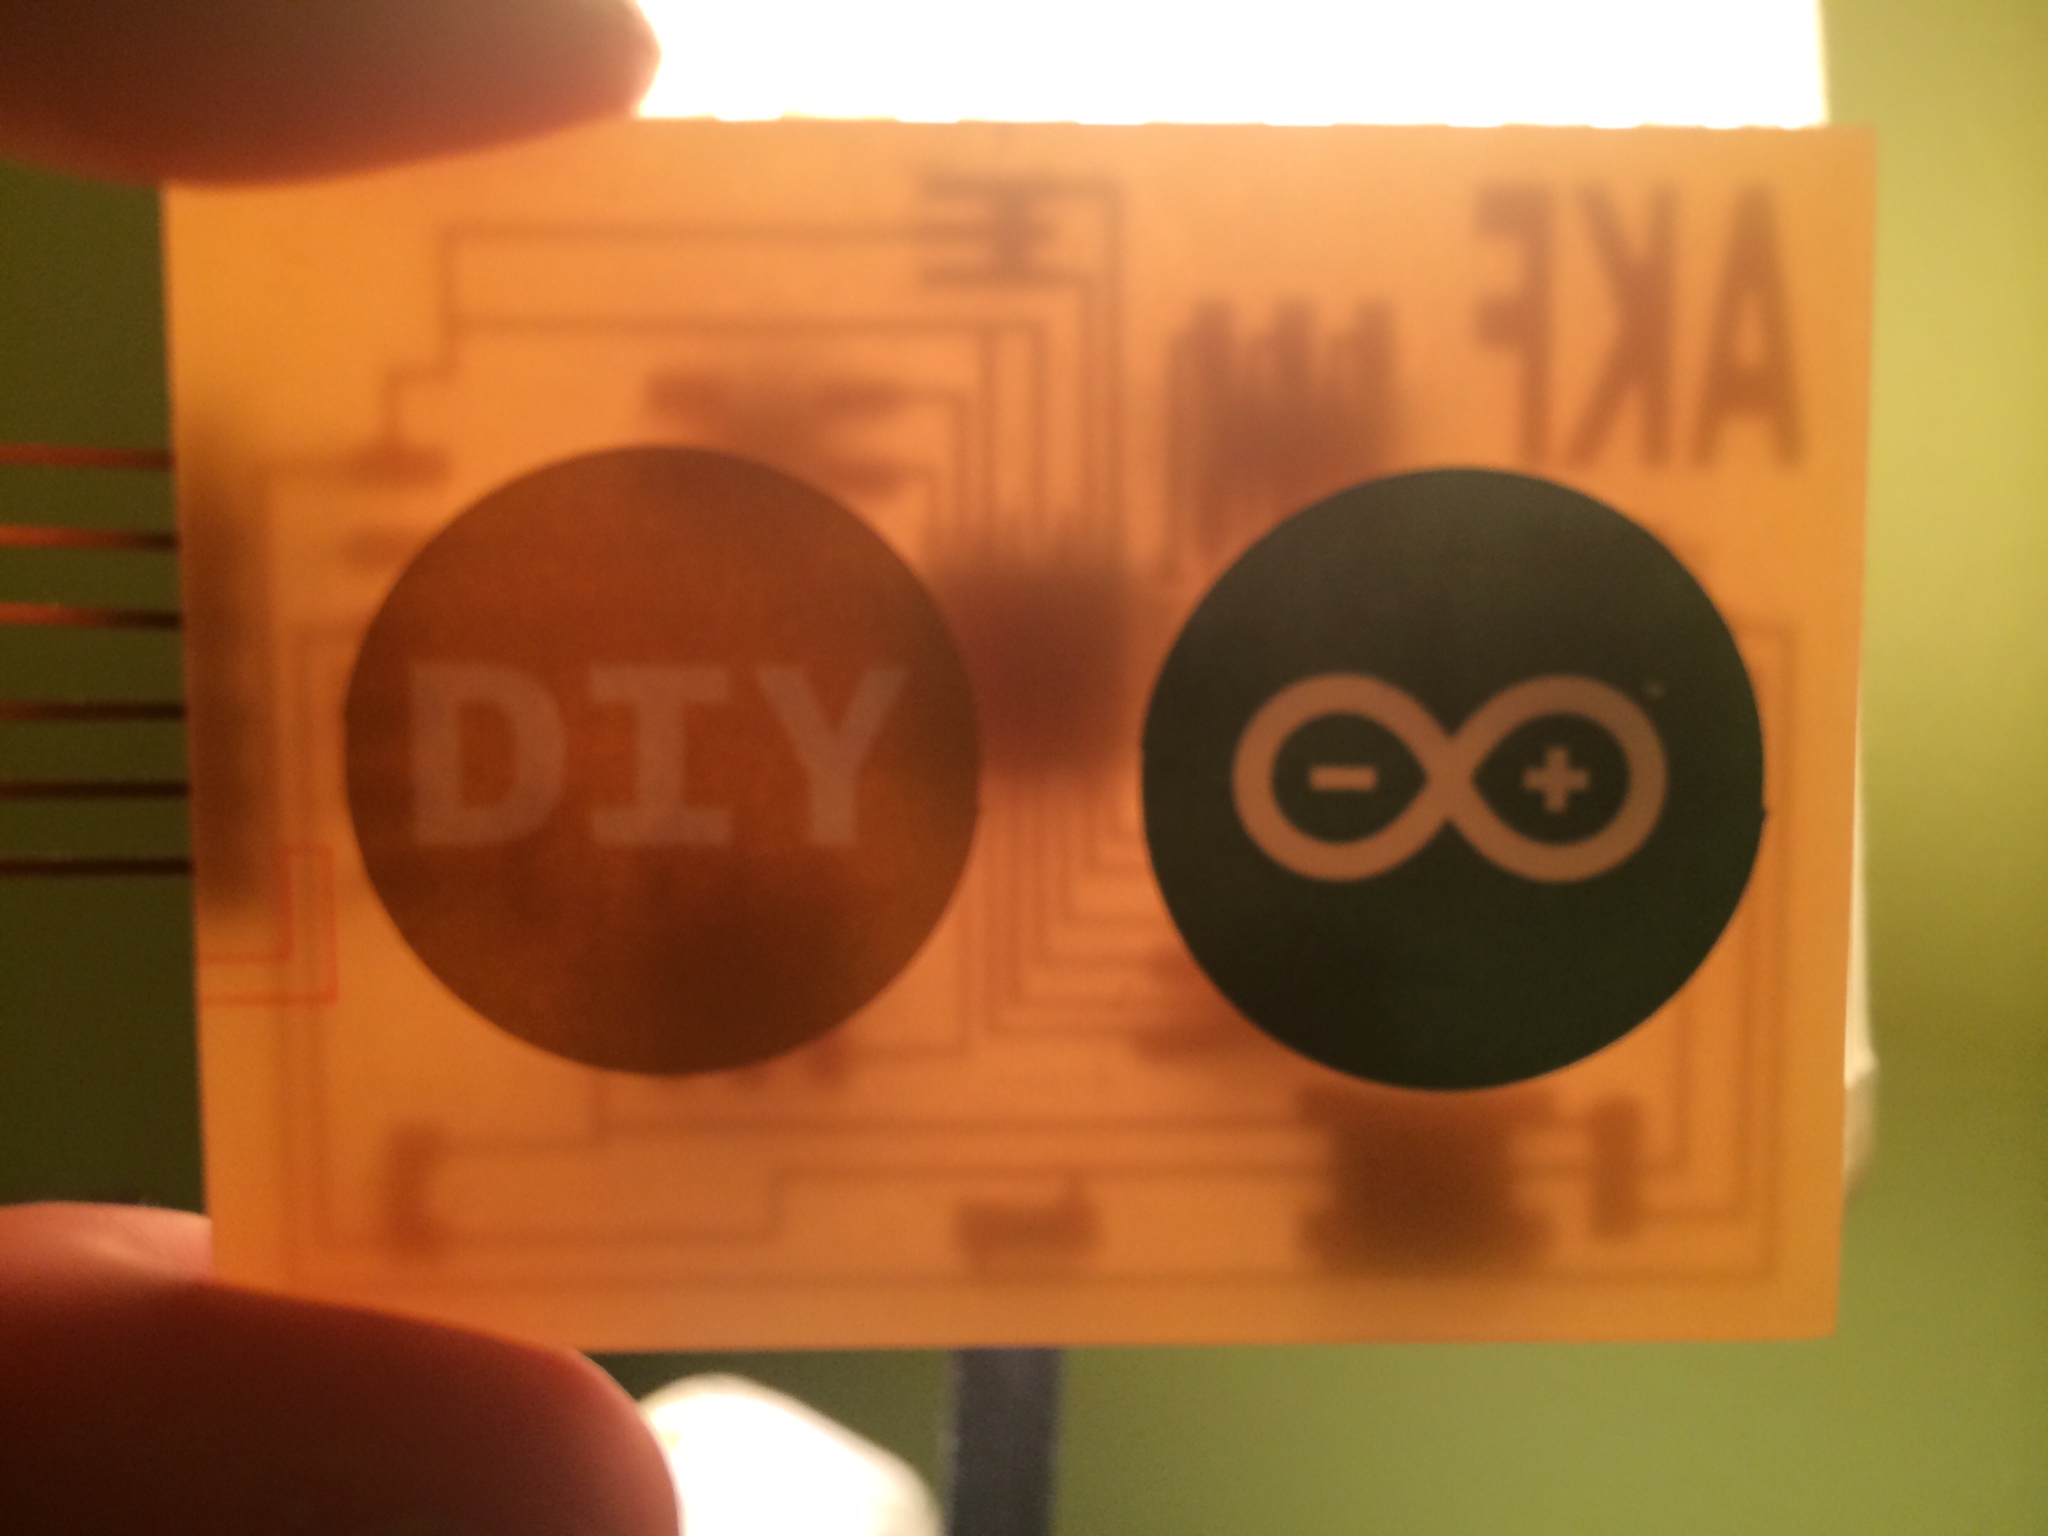
This week's exploration into the possibilities of what is out there (and within our reach) made me realize many new constraints to my product's value proposition. It was a tough time that led my final project to change into a second and third version, all in one week. I was unaware of how non-trivial and relatively new it was for the DIY community to be able to send information (especially wi-fi) through the internet that does NOT require a server permanently installed to support the process. Just as this week began, a post was submitted on the very issues we were struggling with the week before, in Networkign and Communications week! The new release even warned how unstable it (still) was to use the wi-fi chip's standalone server that has instead of using serial to connect to some other web server.
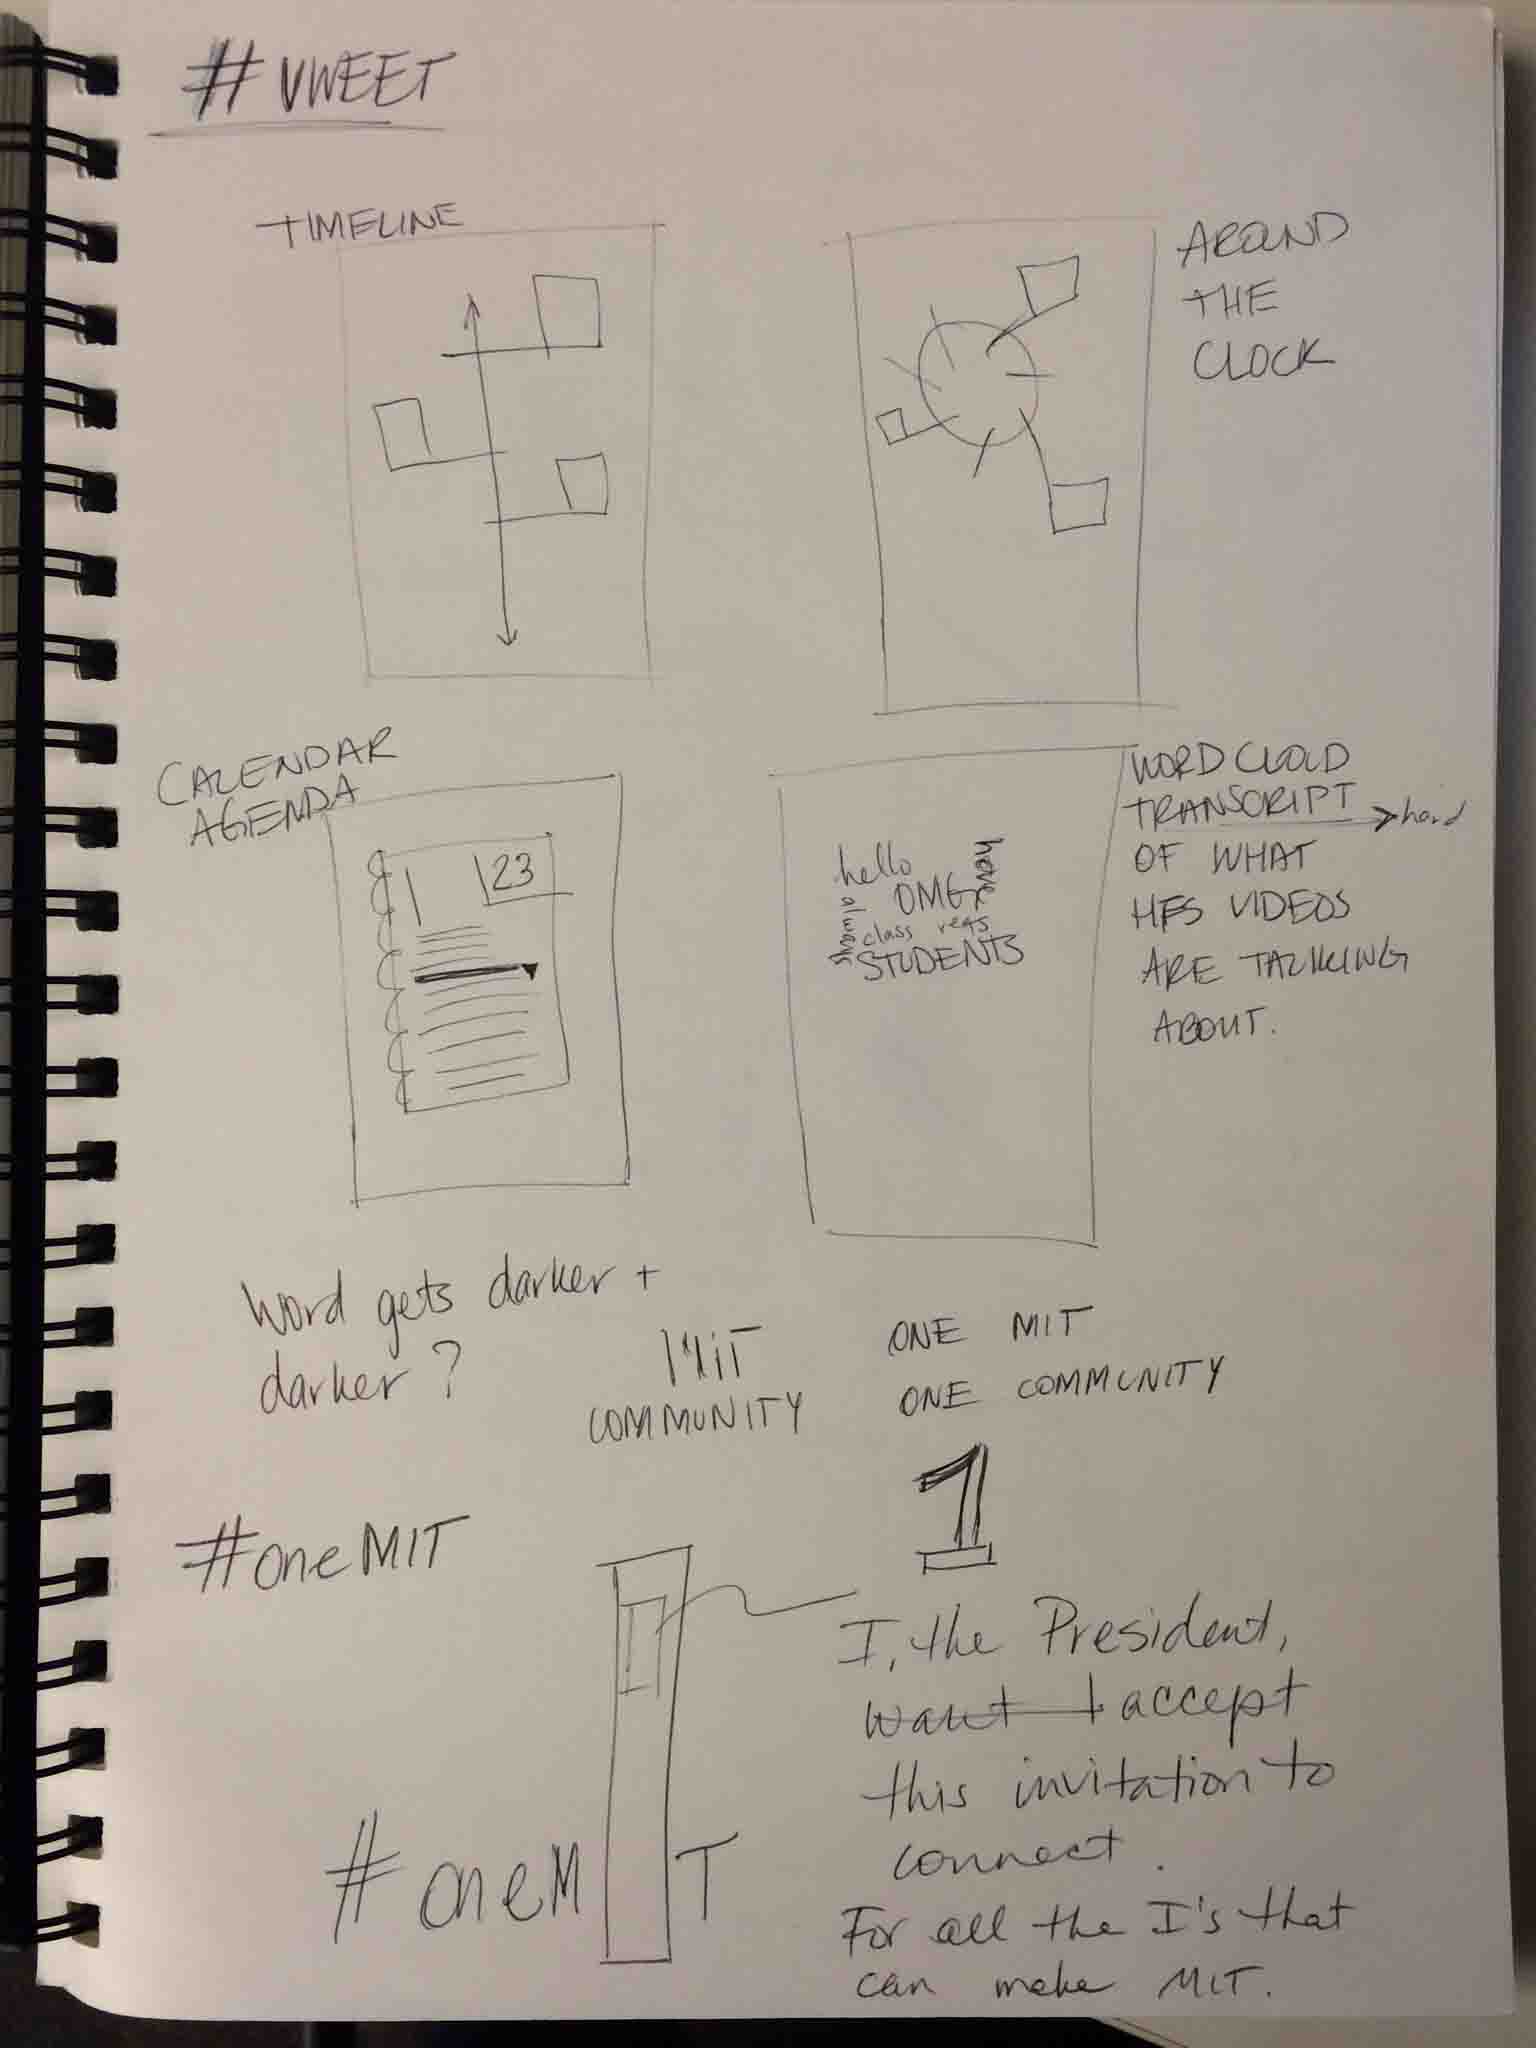
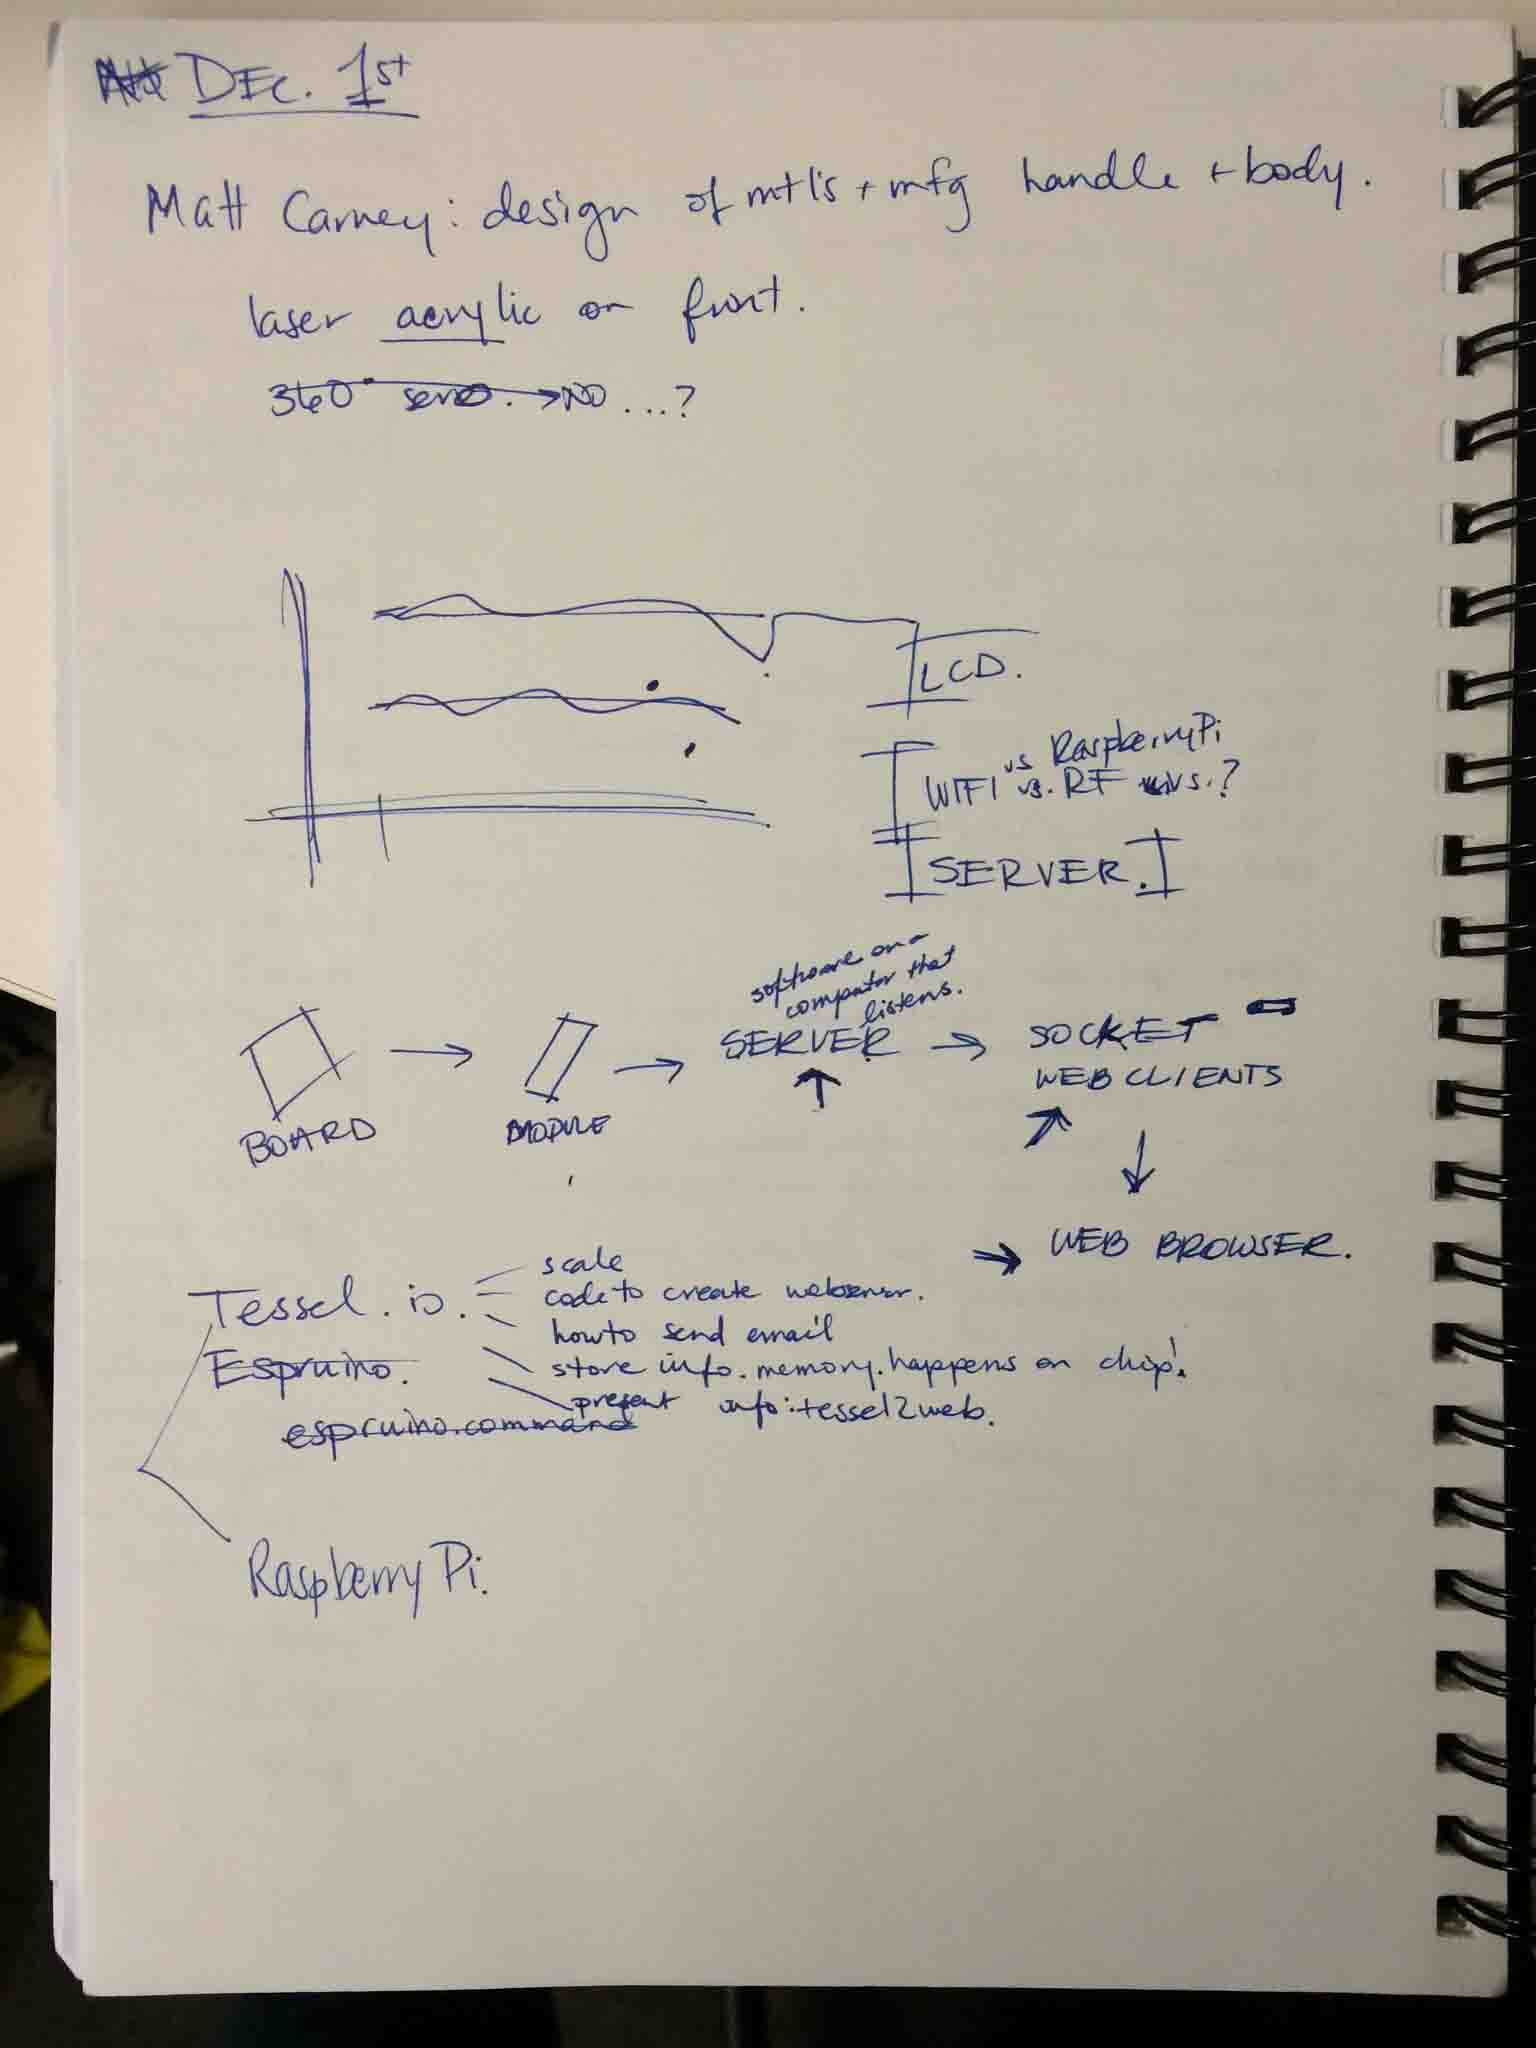
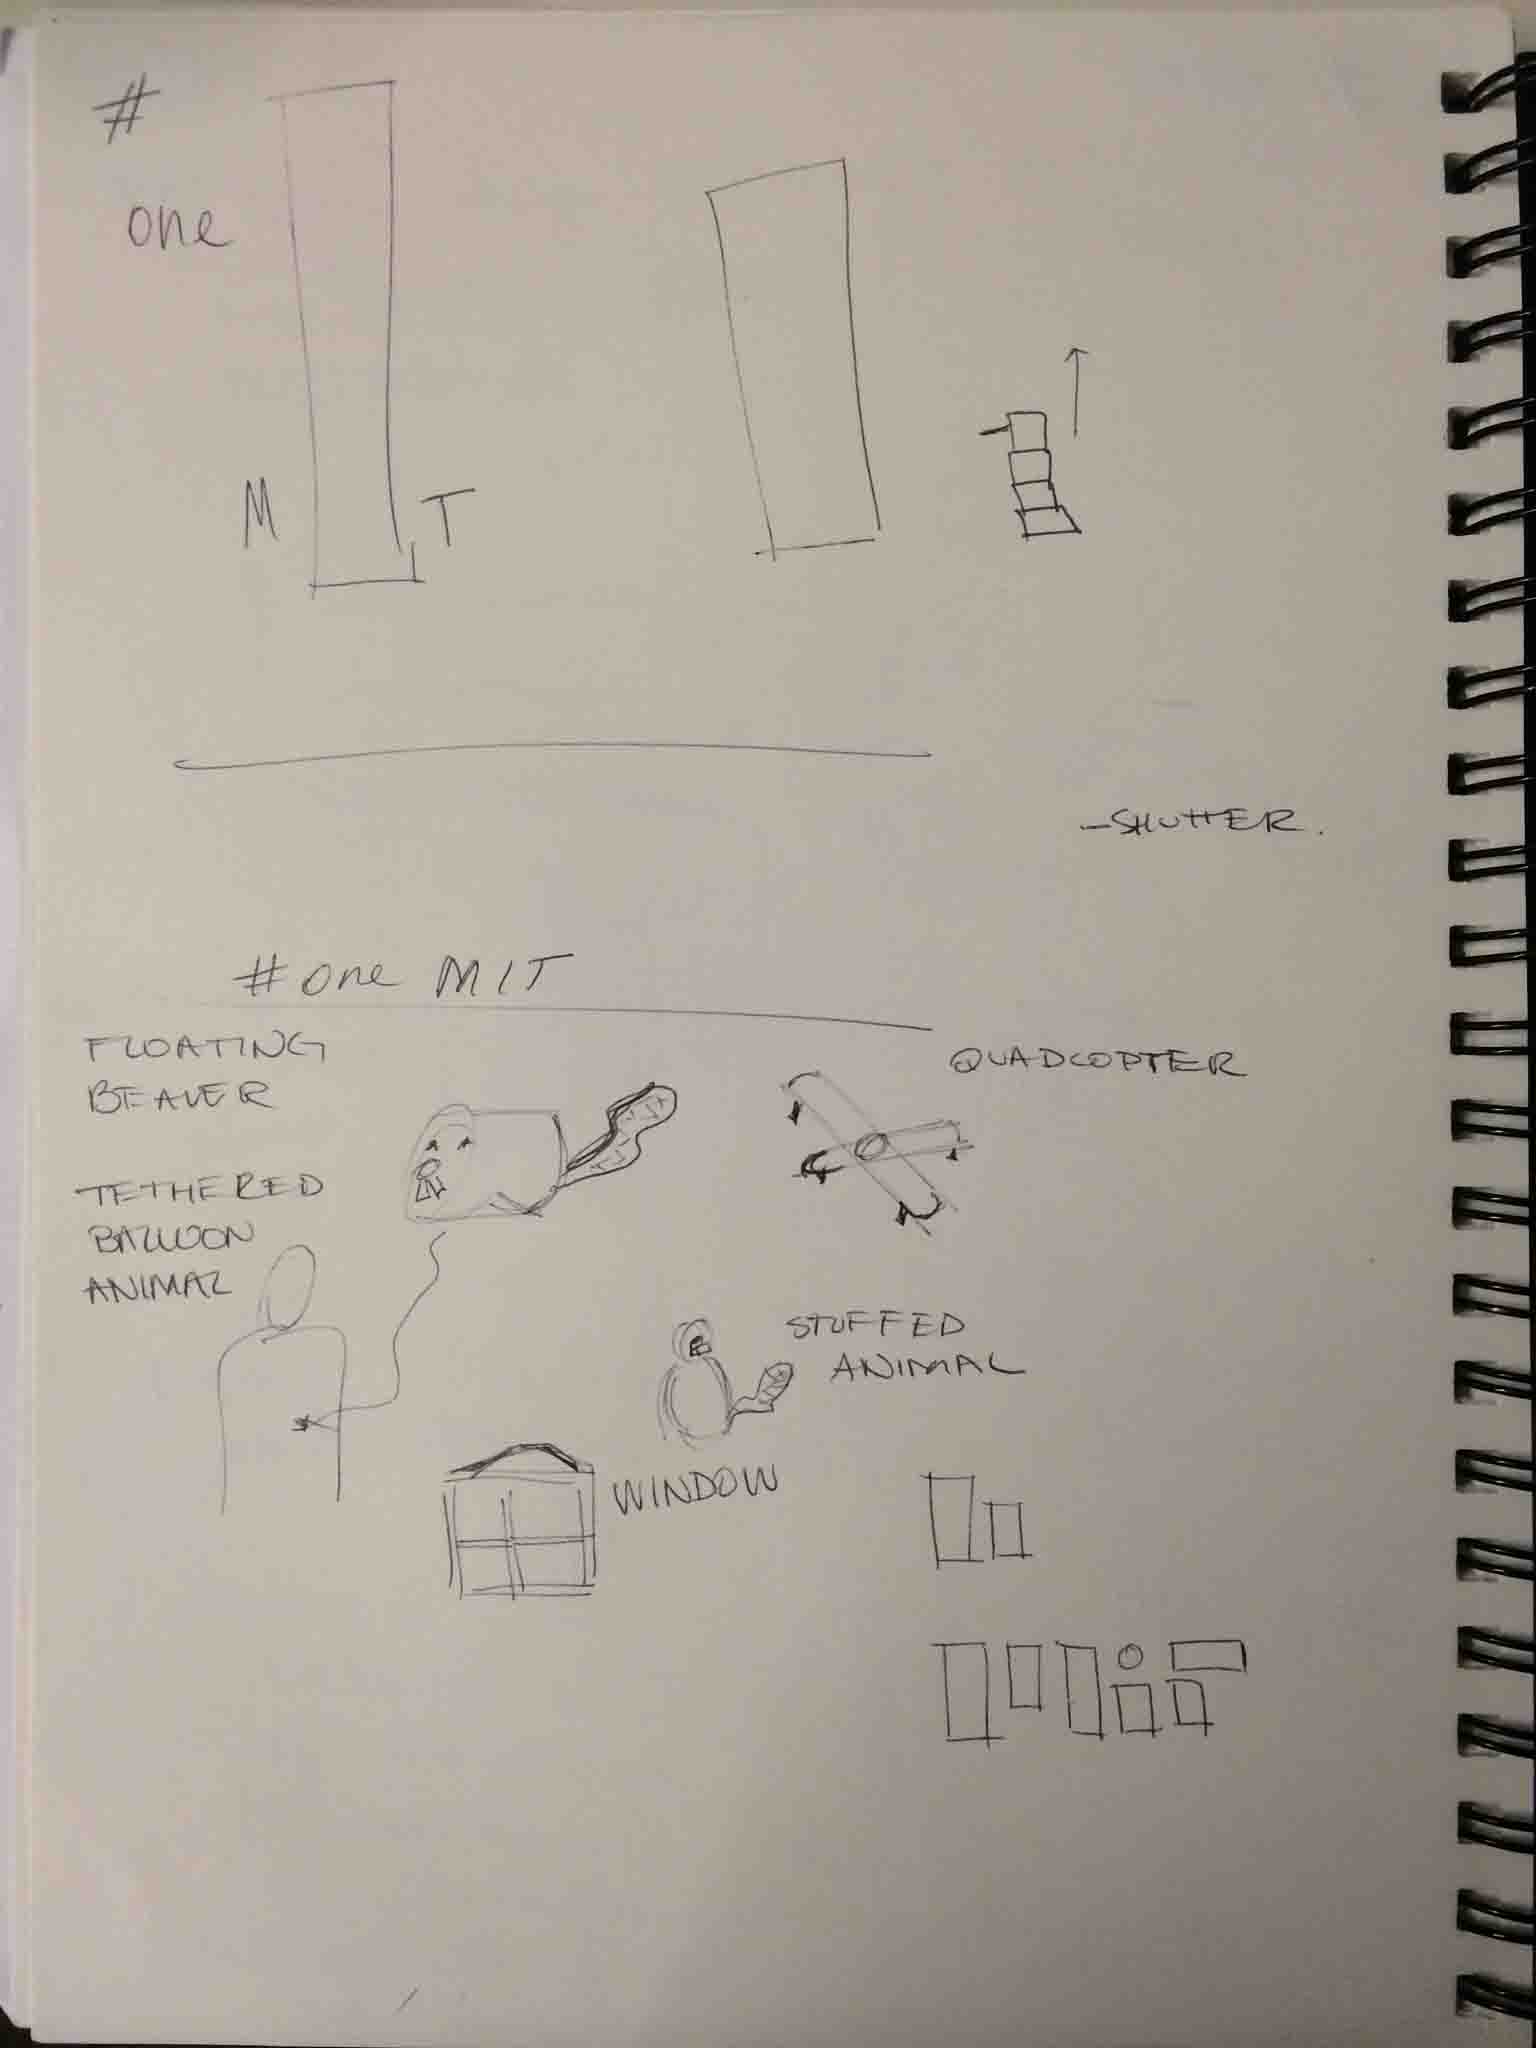
I met with Amir multiple times to talk about my project at the time and we reasoned that since I needed so many indpendent and wireless components also running a motor, I should look at the Tessel boards that were also well-documented on the interwebs. So, I took a Tessel home with me. When I got home I realized that to connect most devices to a Tessel you also needed an extra shield or special module to interface with it. There wasn't enough time to receive the shield and get it working with my output device, and because my final project's needs had recently changed, I realized that Tessel would no longer support my needs to stream video. Instead, I focused my efforts in making further explorations (below) of the interface design that I would need for my final project (implmentation still unknown), and I worked on my Fabduino to potentially connect over a wi-fi shield.
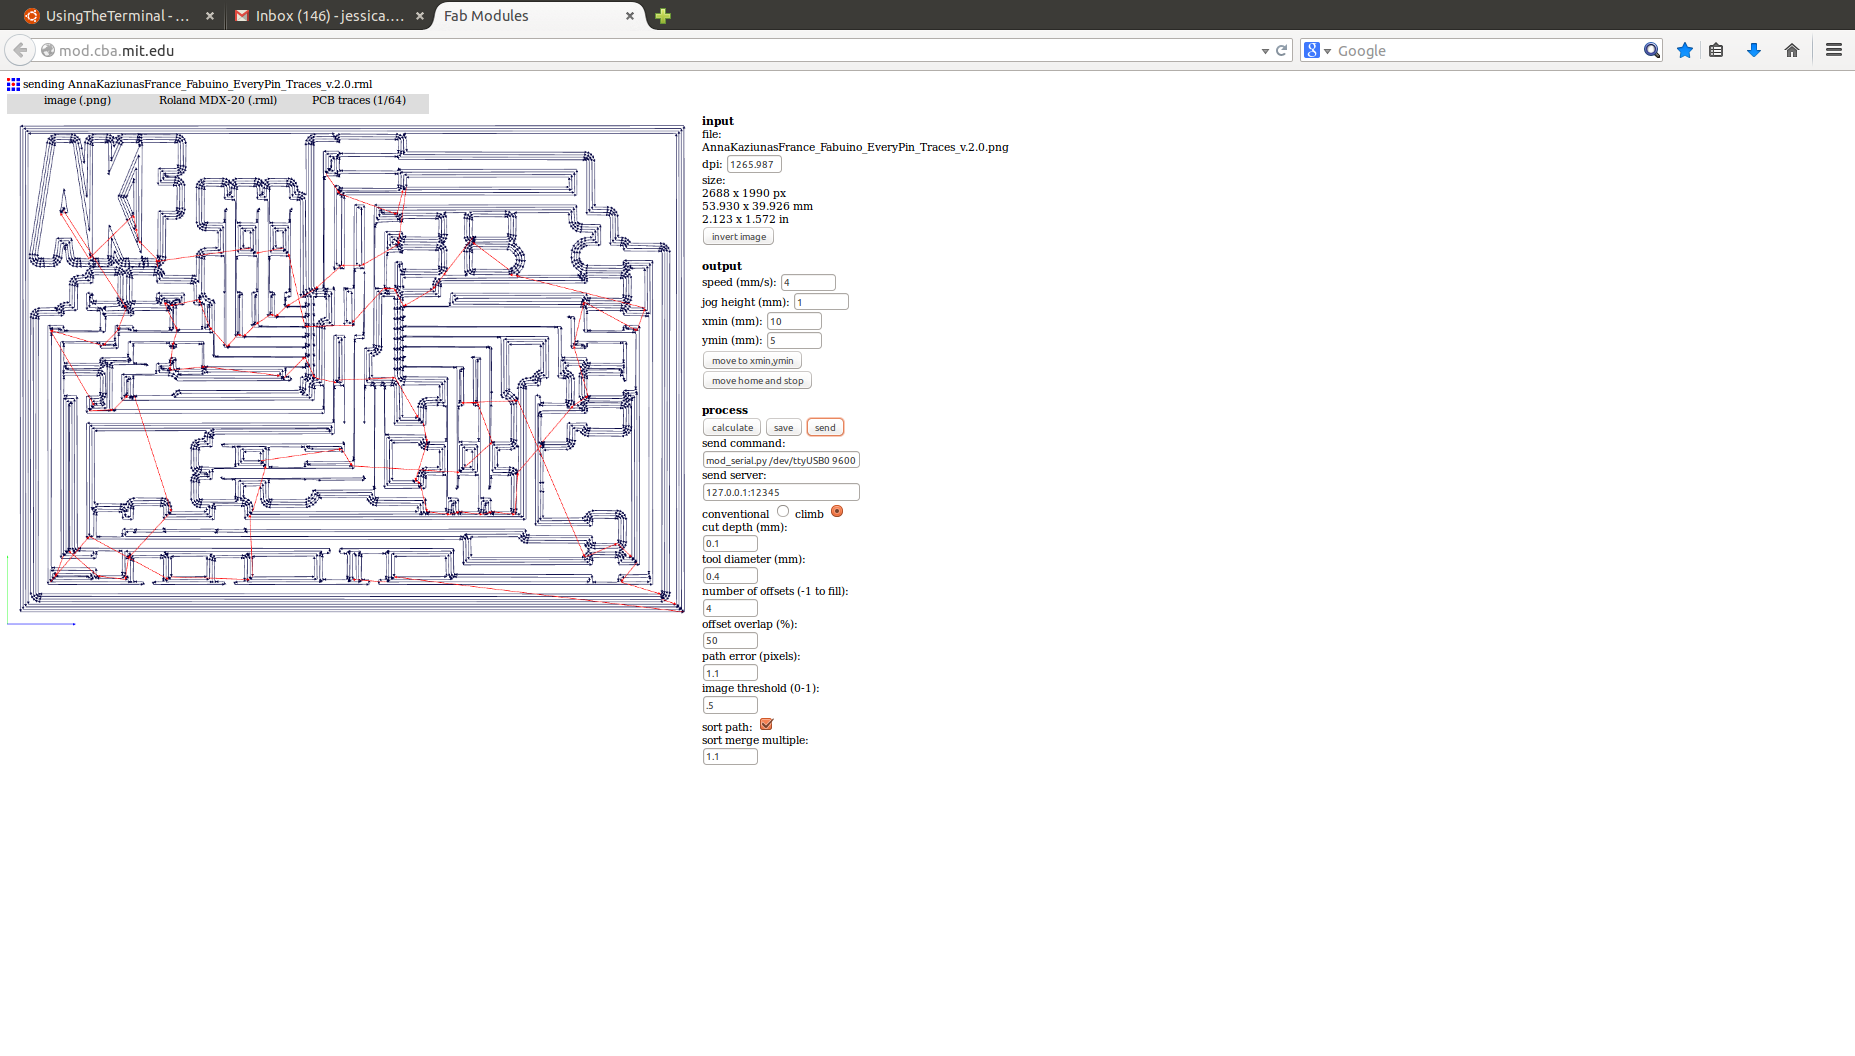
Milling Delicacies: tiny 1/100" endmills for the Fabduino 328P
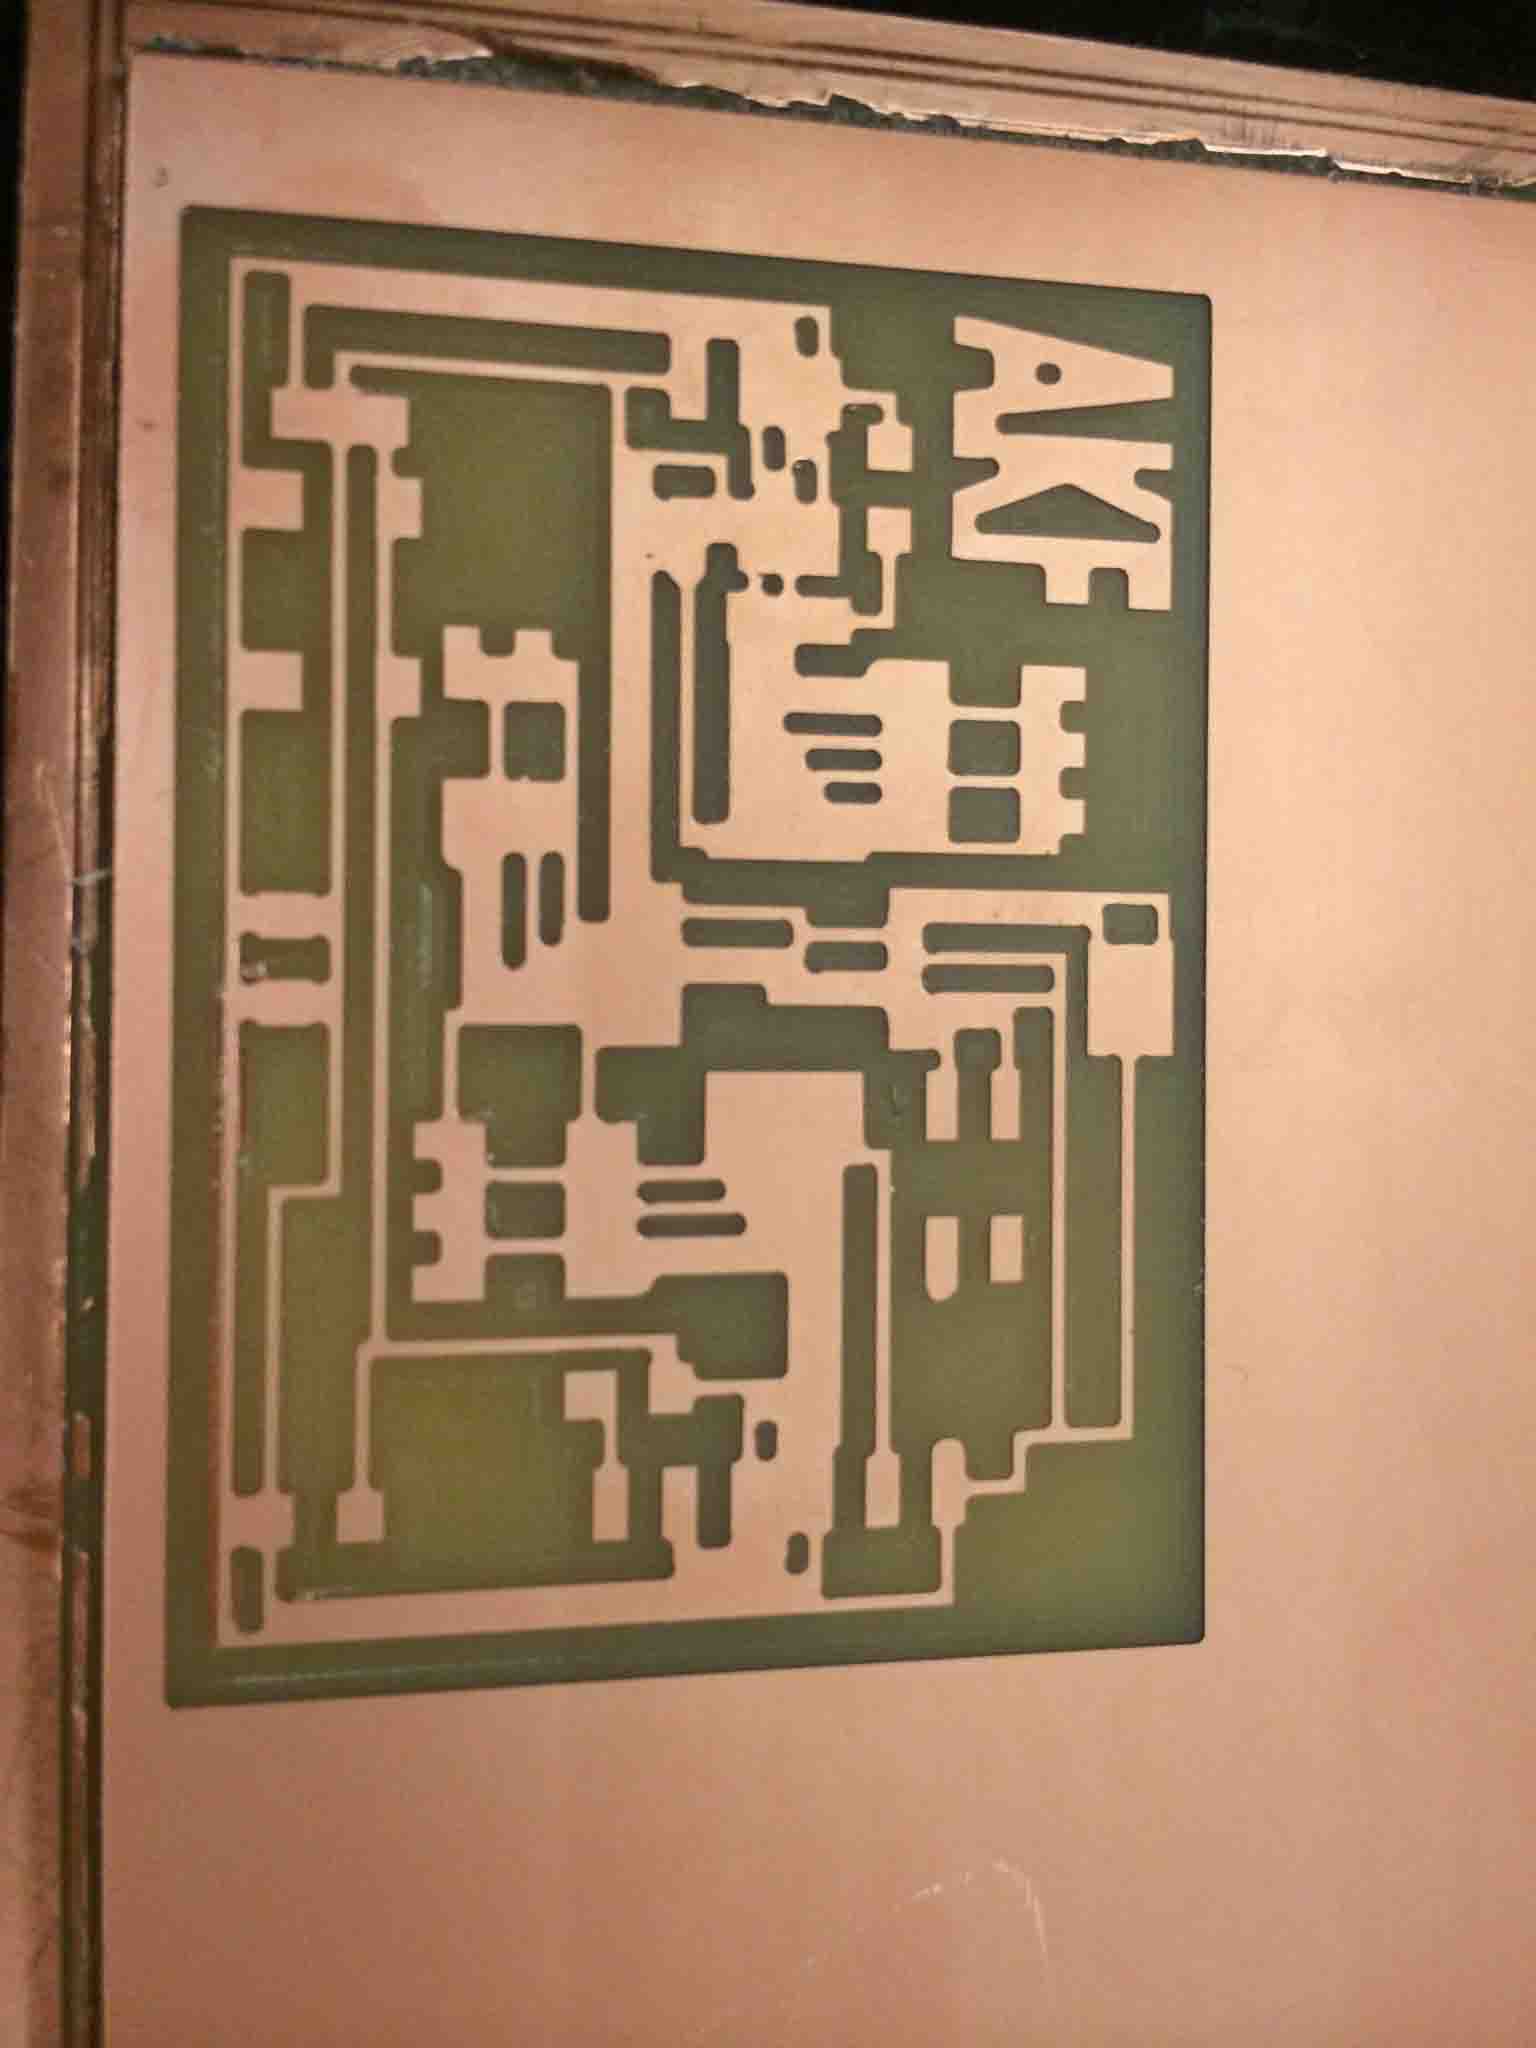
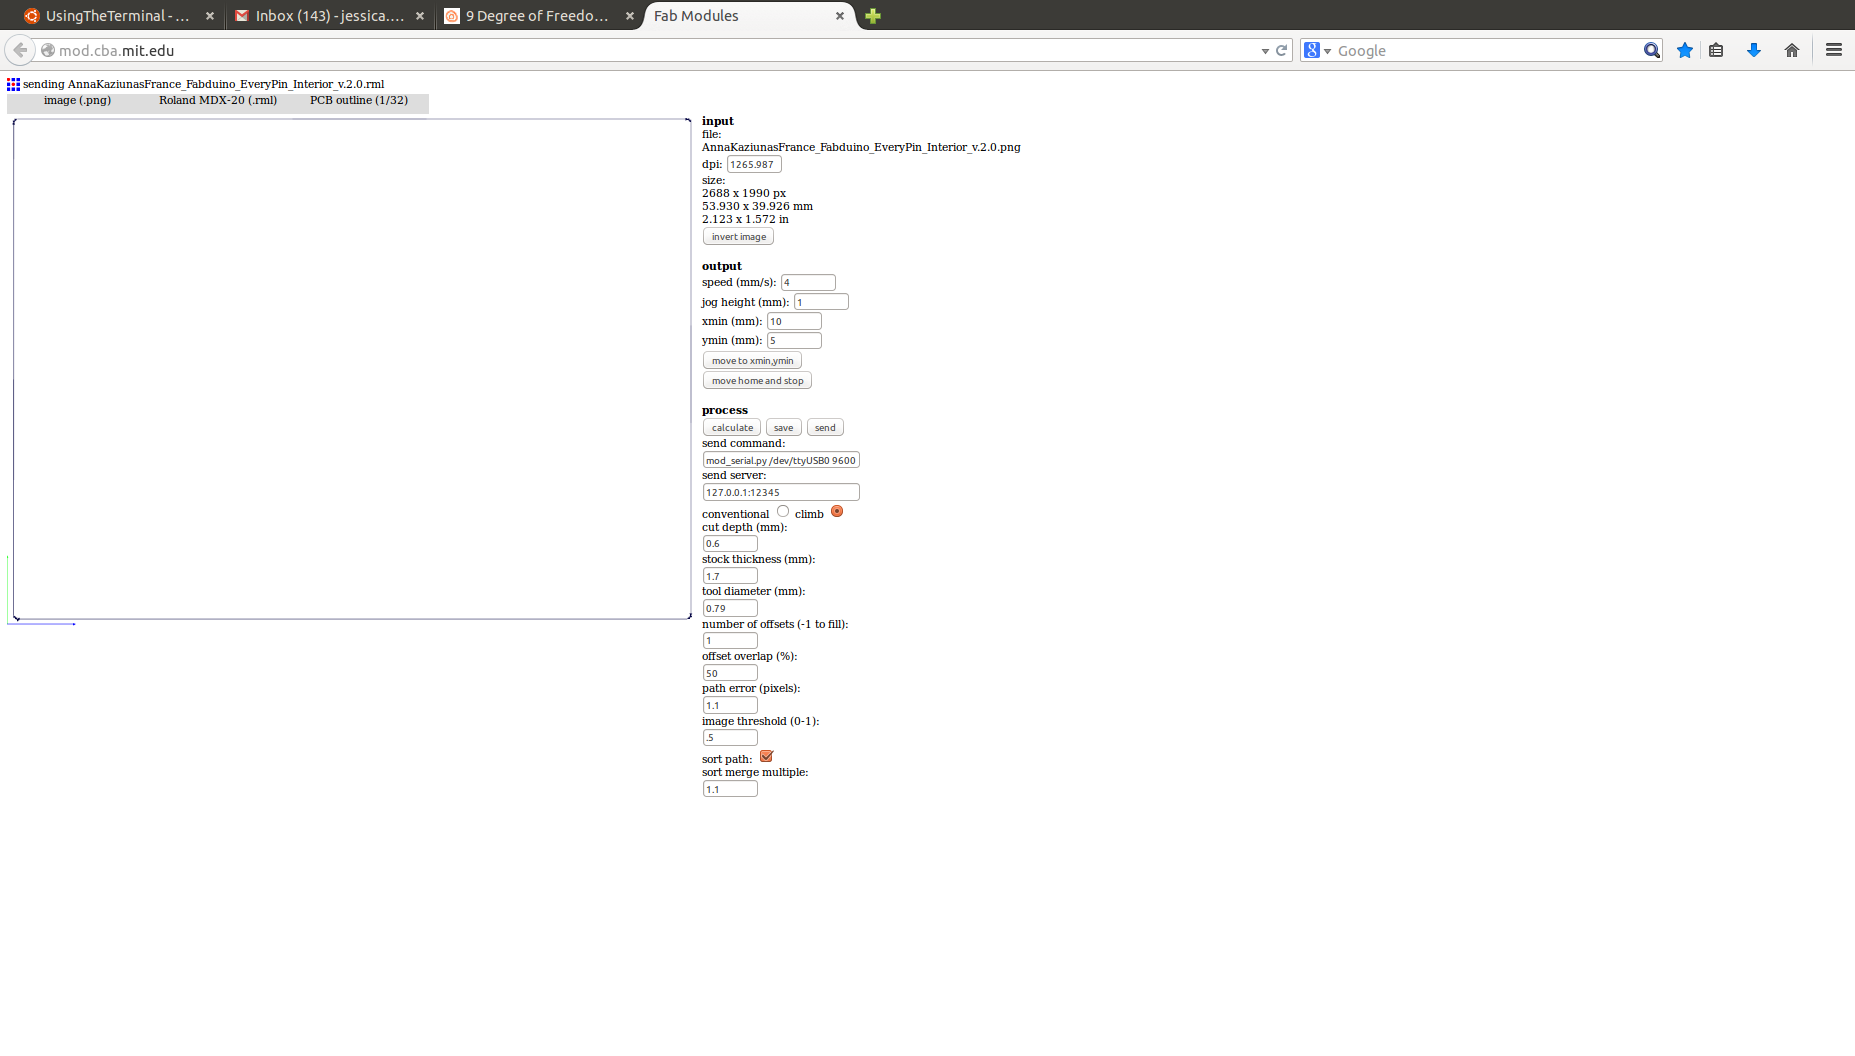
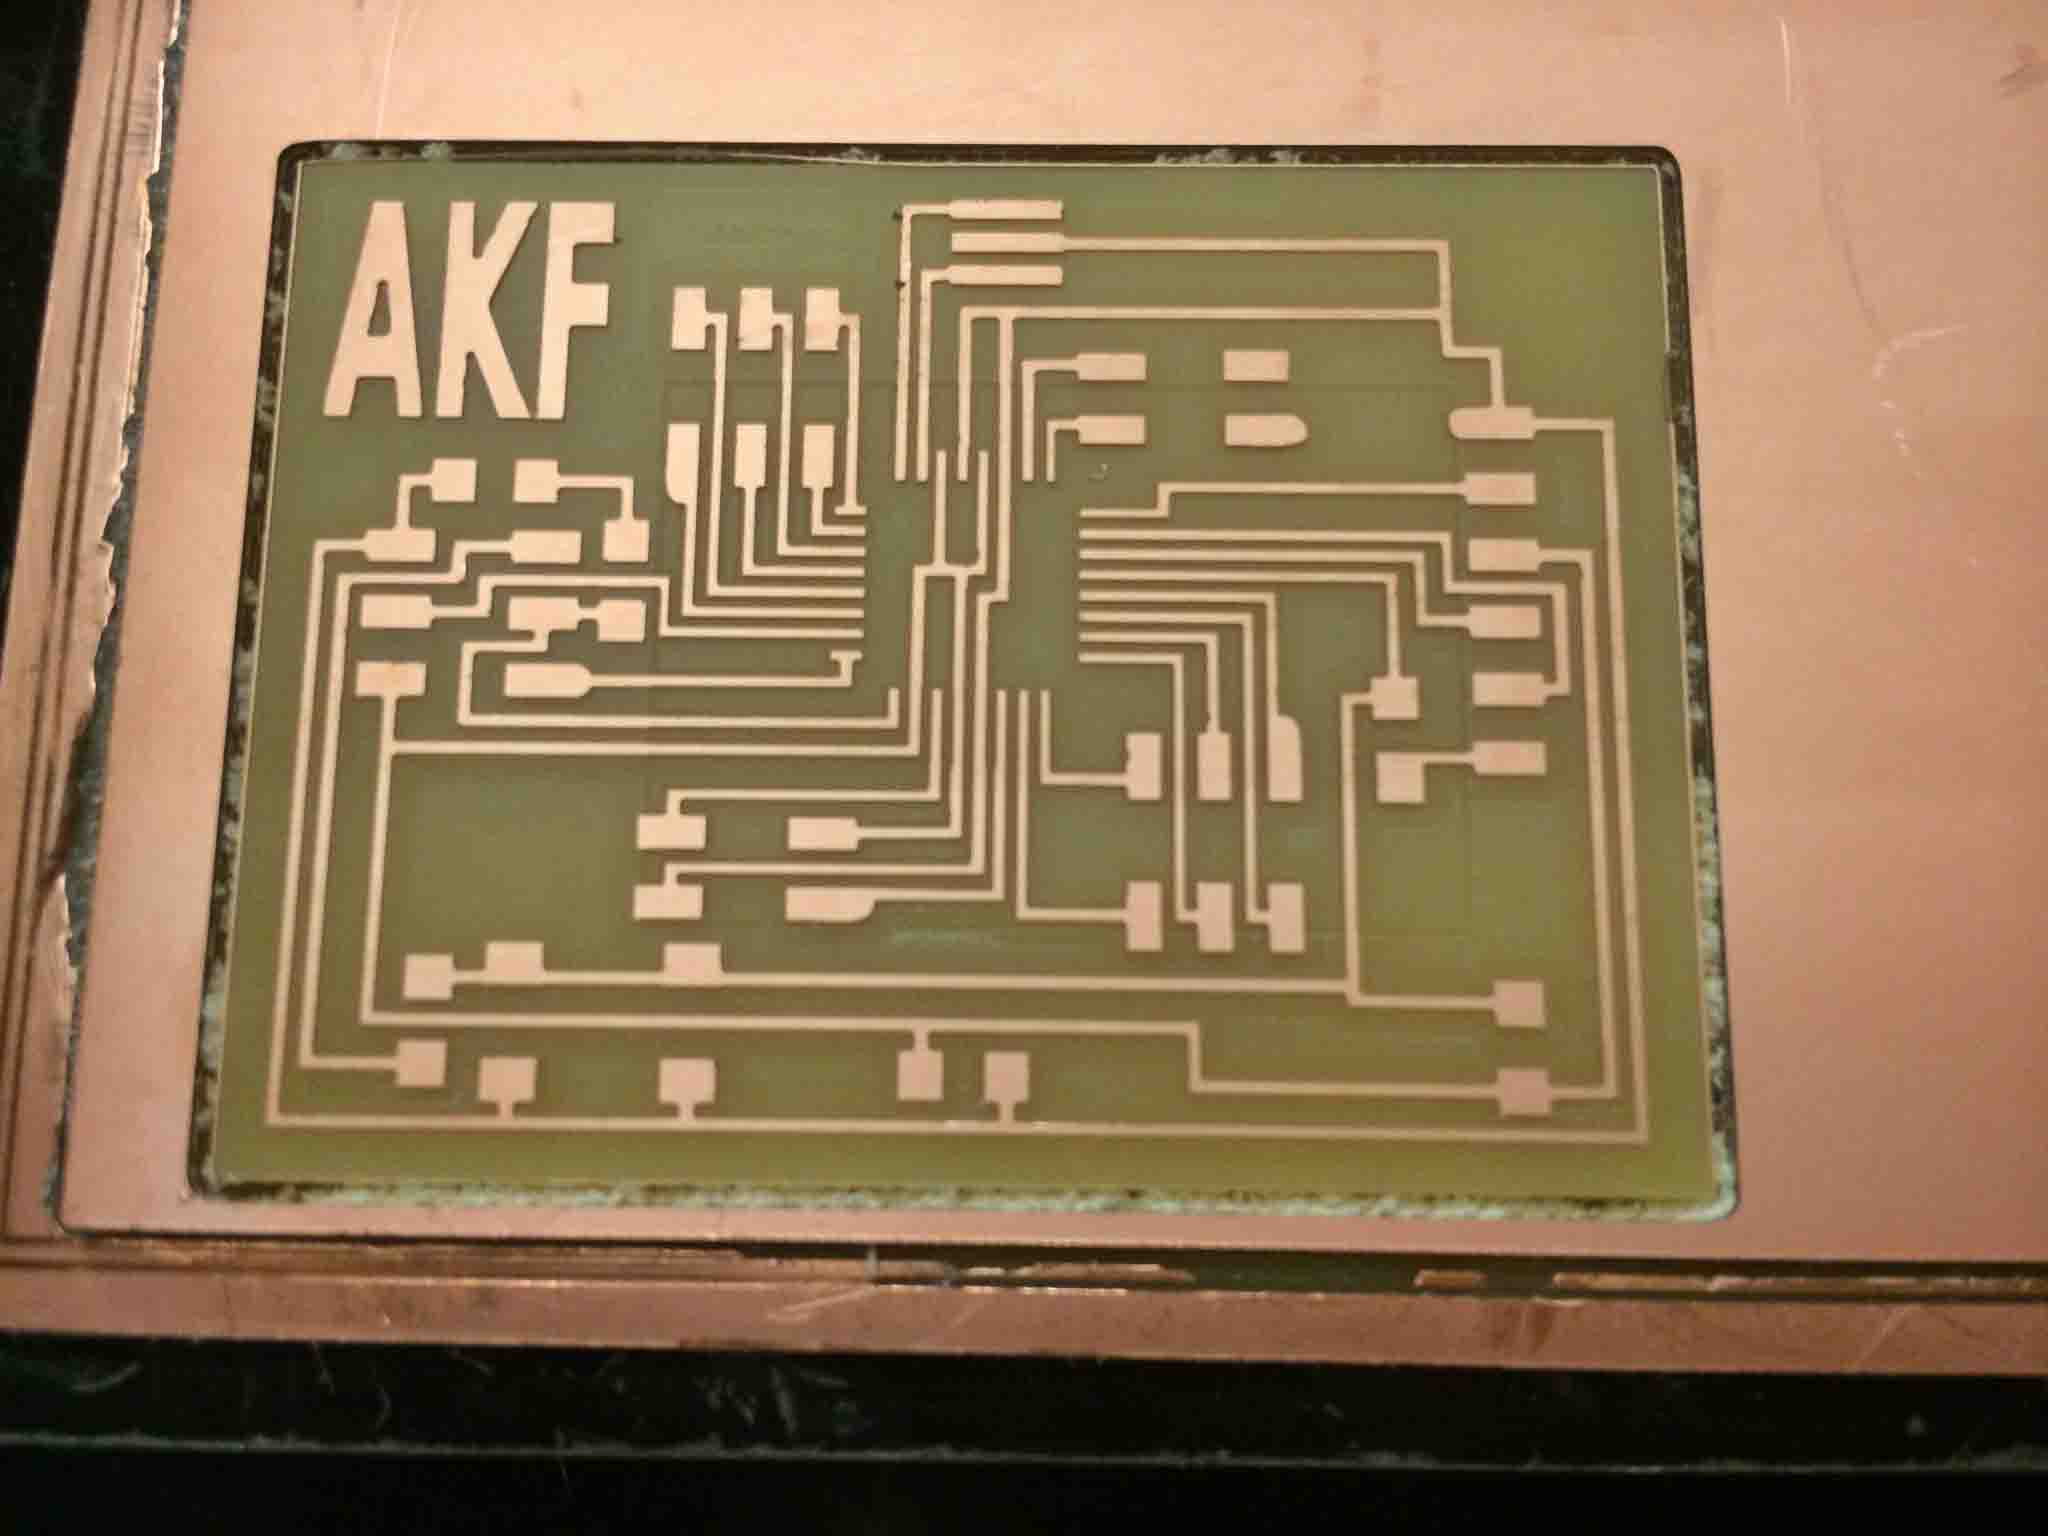
To make my first Fabduino, I used Neil’s schematic but AKF's board to mill out (but changed the crystal to a 16MHz resonator (apparently this is actually the way it's supposed to be). For milling help order, Programming Fabduino tutorials were really useful in contextualizing where this was all going. Note: This was my first time using tutorials on instructables to inform me! Hooray open source learning! =).
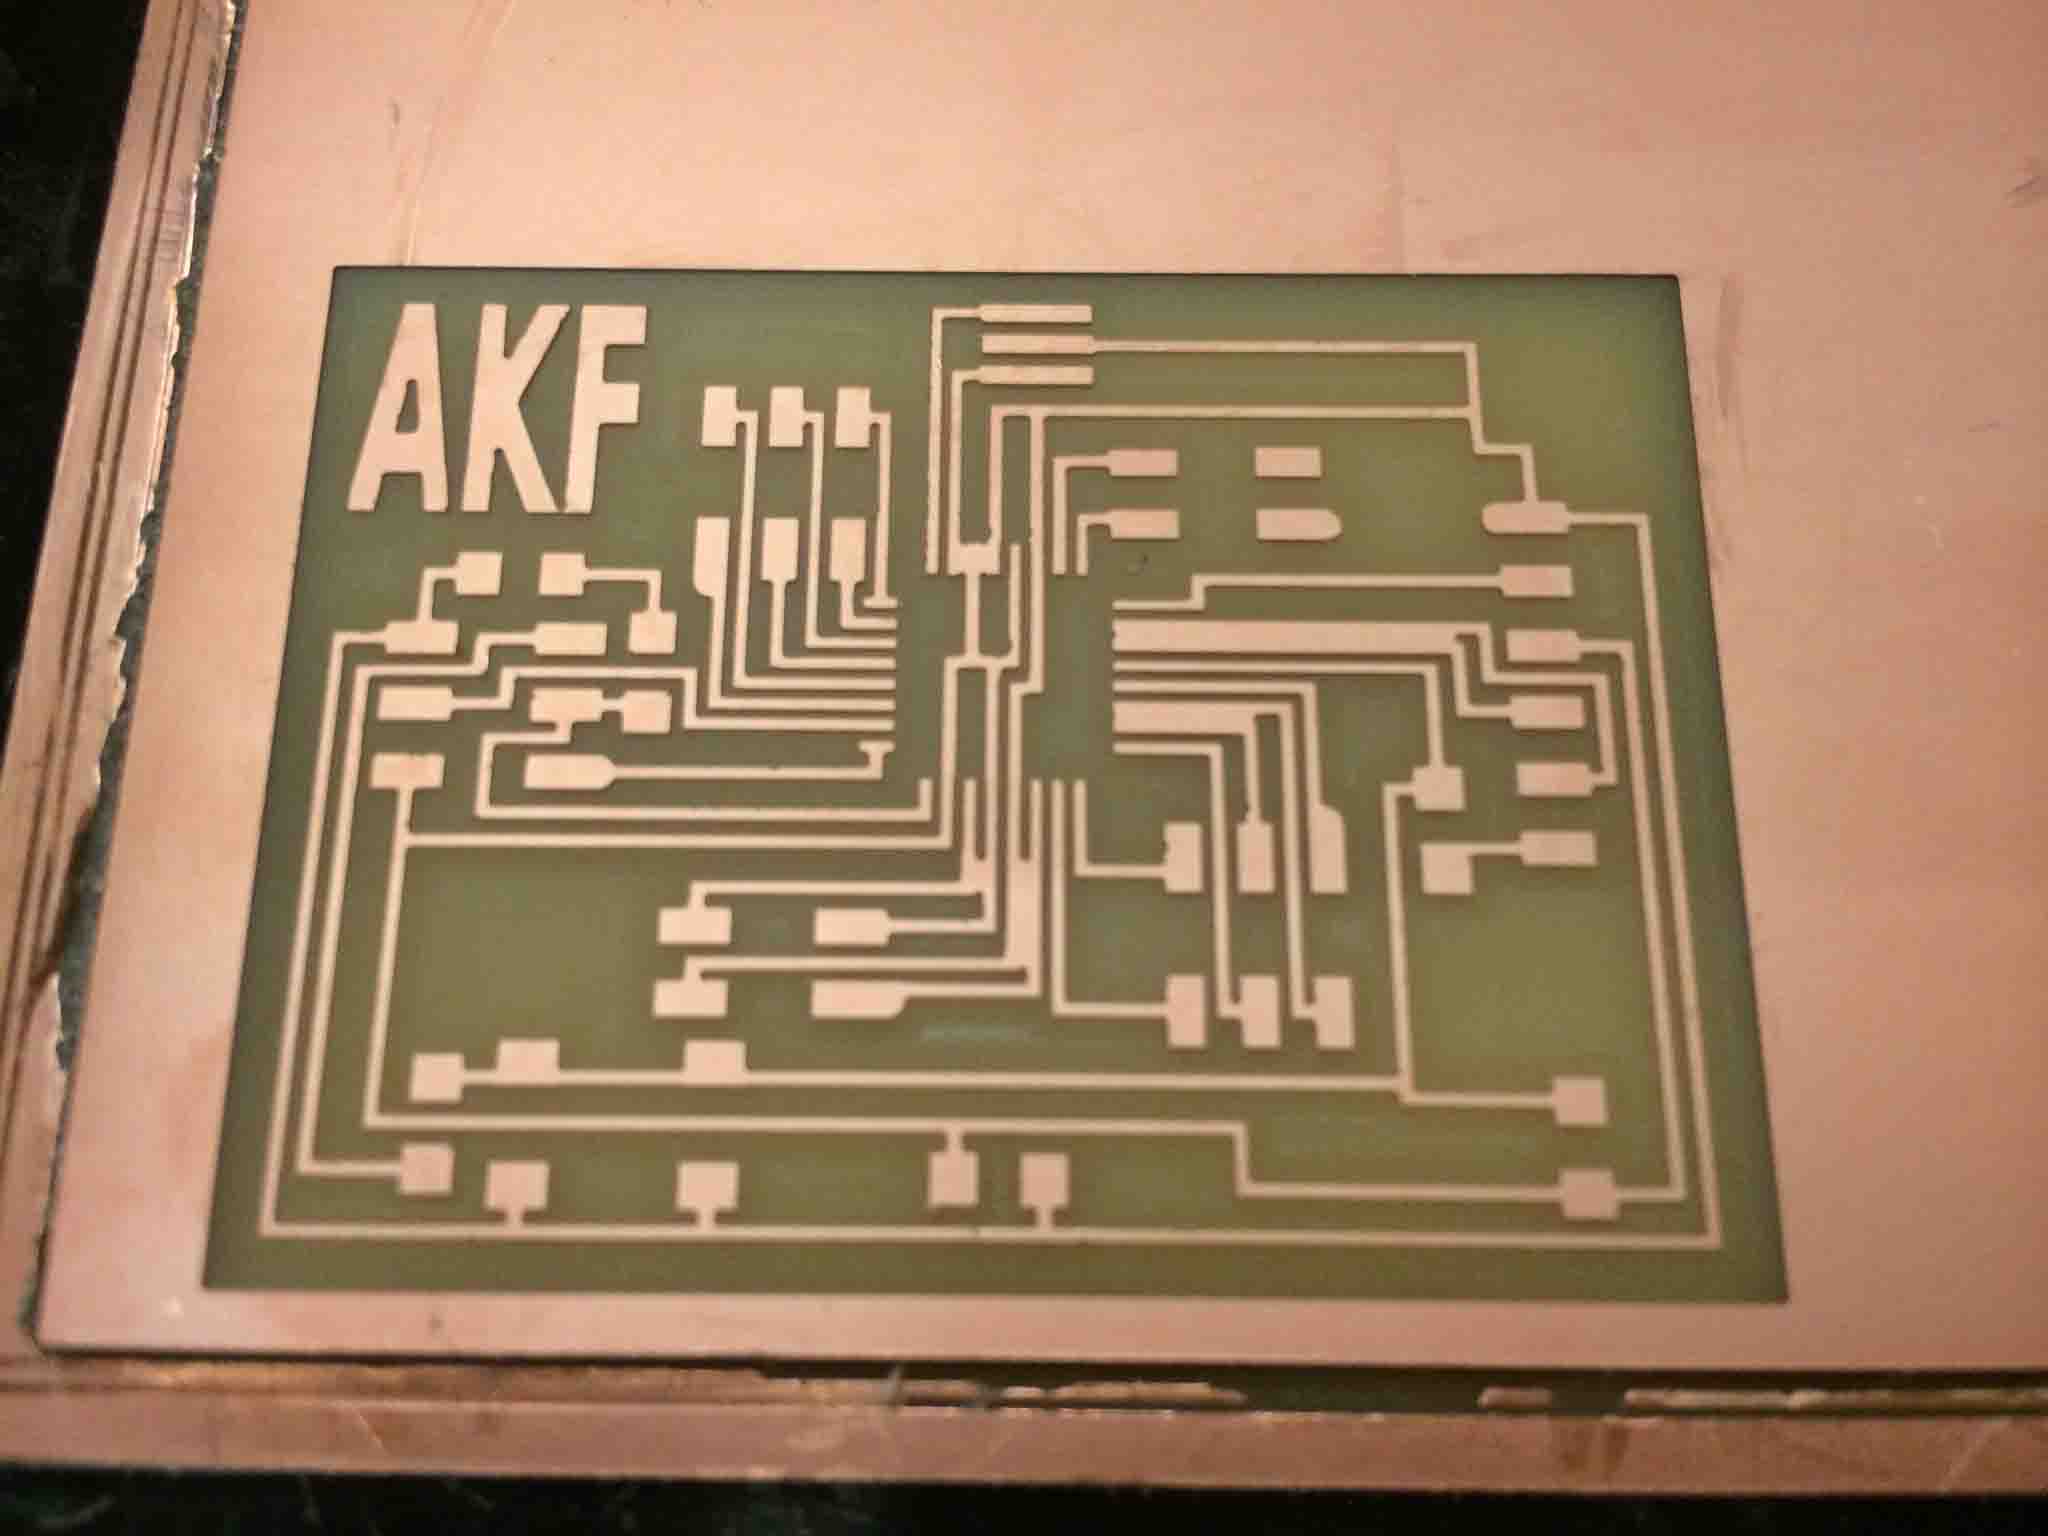
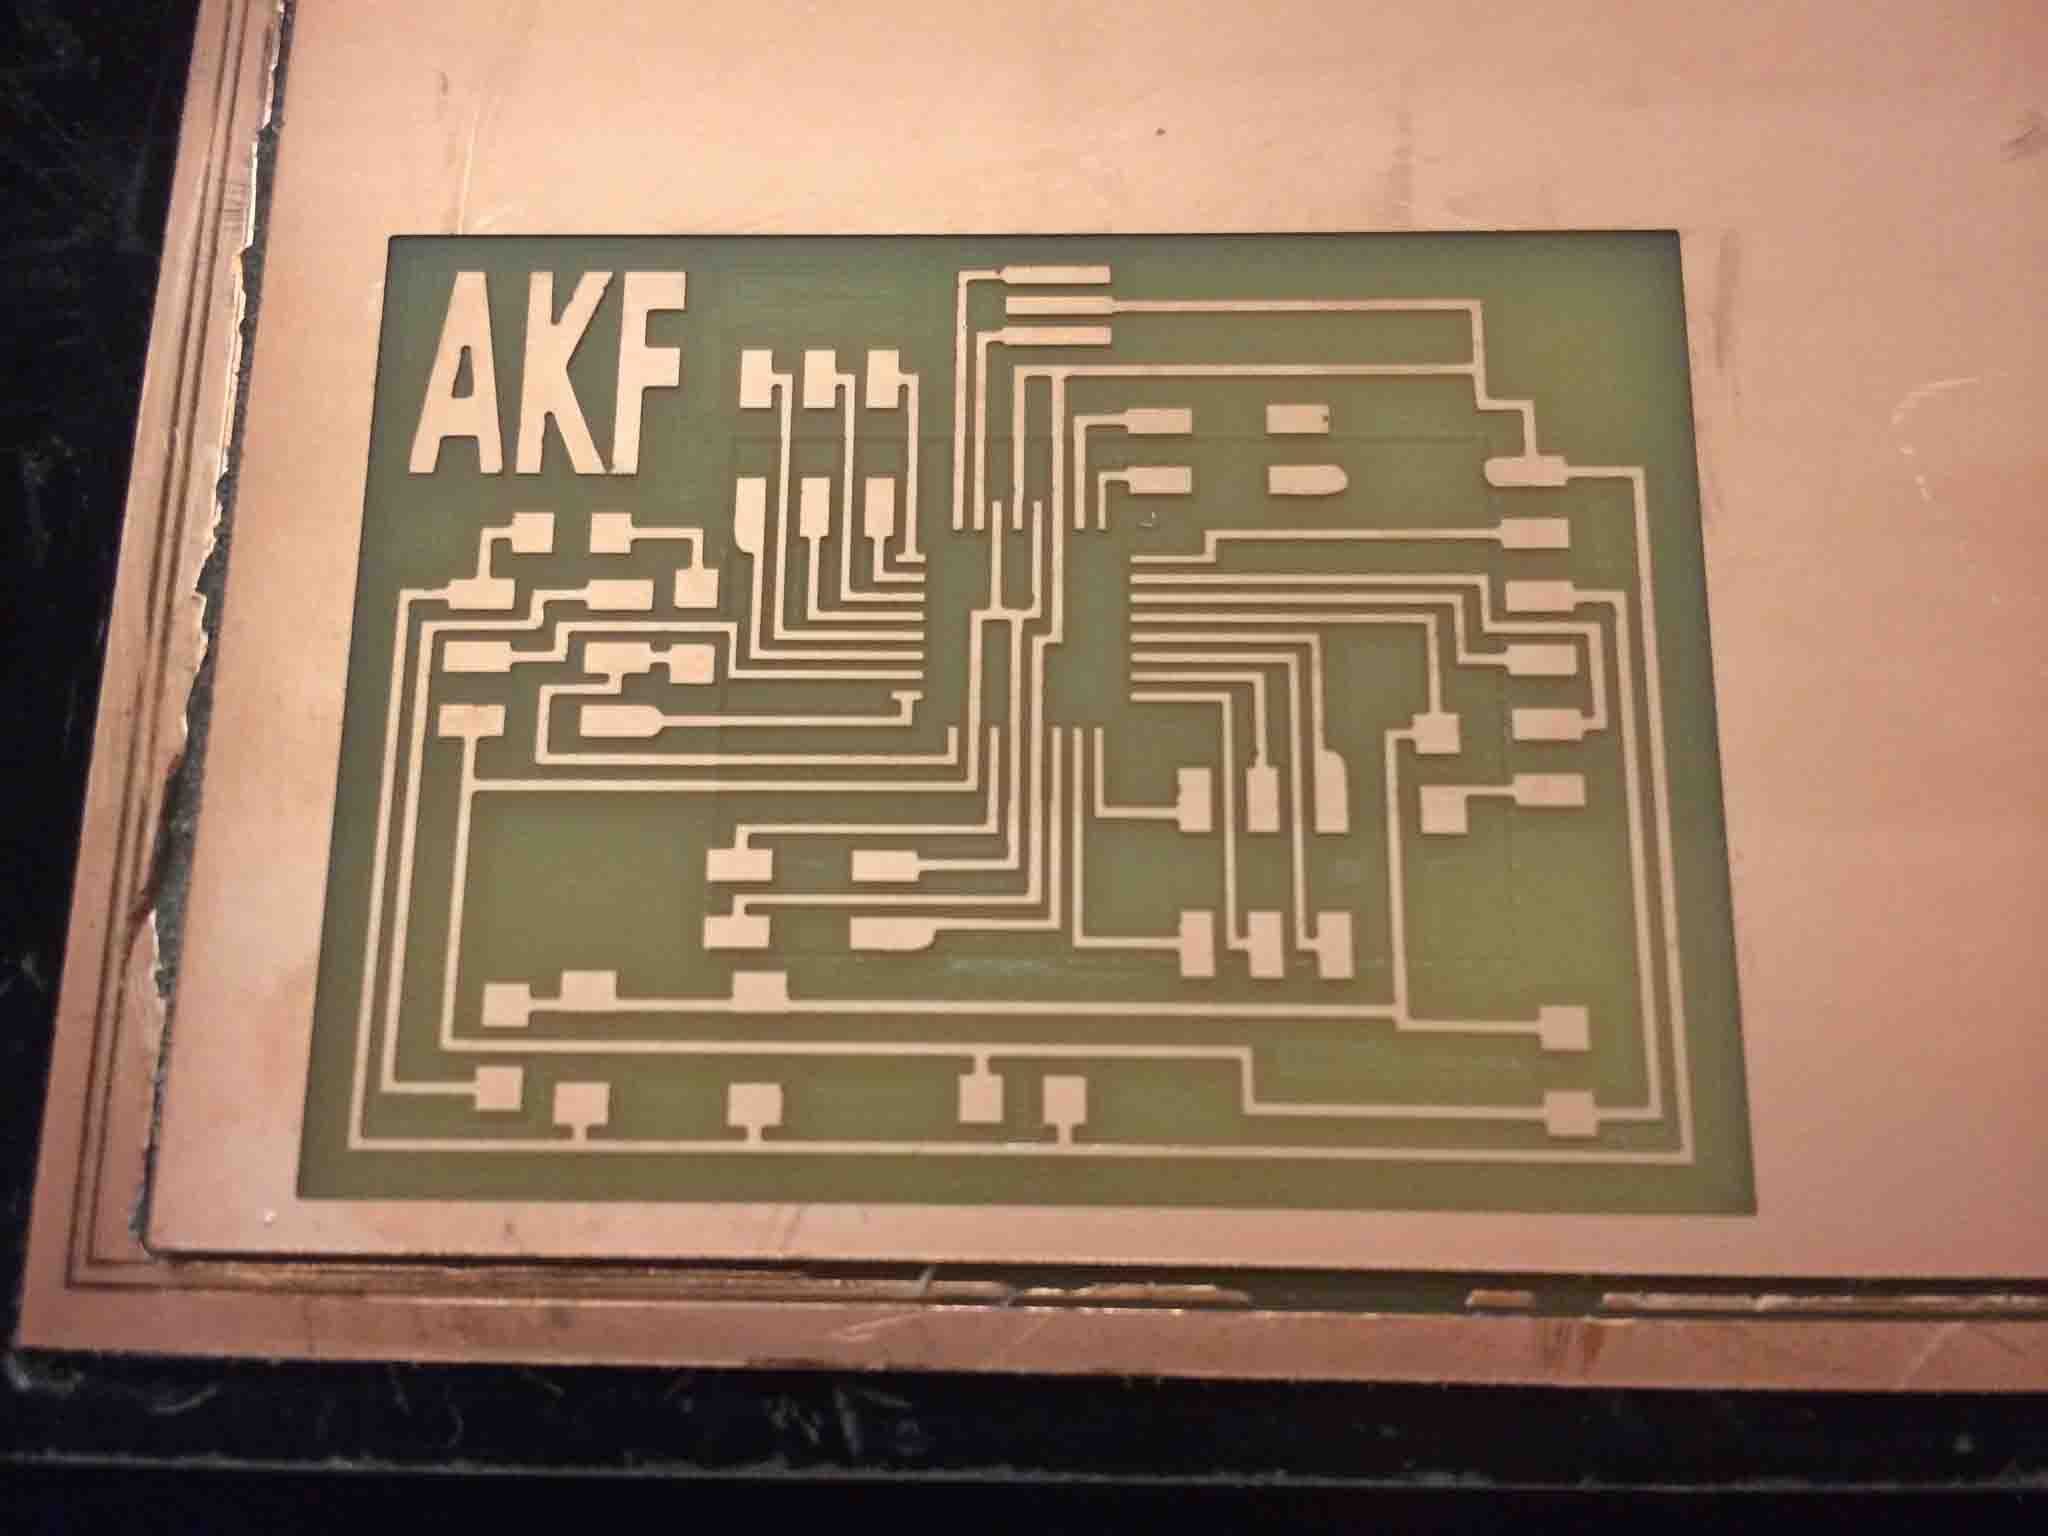
6th time's the charm...
I milled this Fabduino about 6 times because of the tight tolerances. I later discovered Amanda's milling tutorial that would probably make it much easier and straightforward to understand.
For posterity, my errors are bwlo, in order of appearance: