Molding and Casting
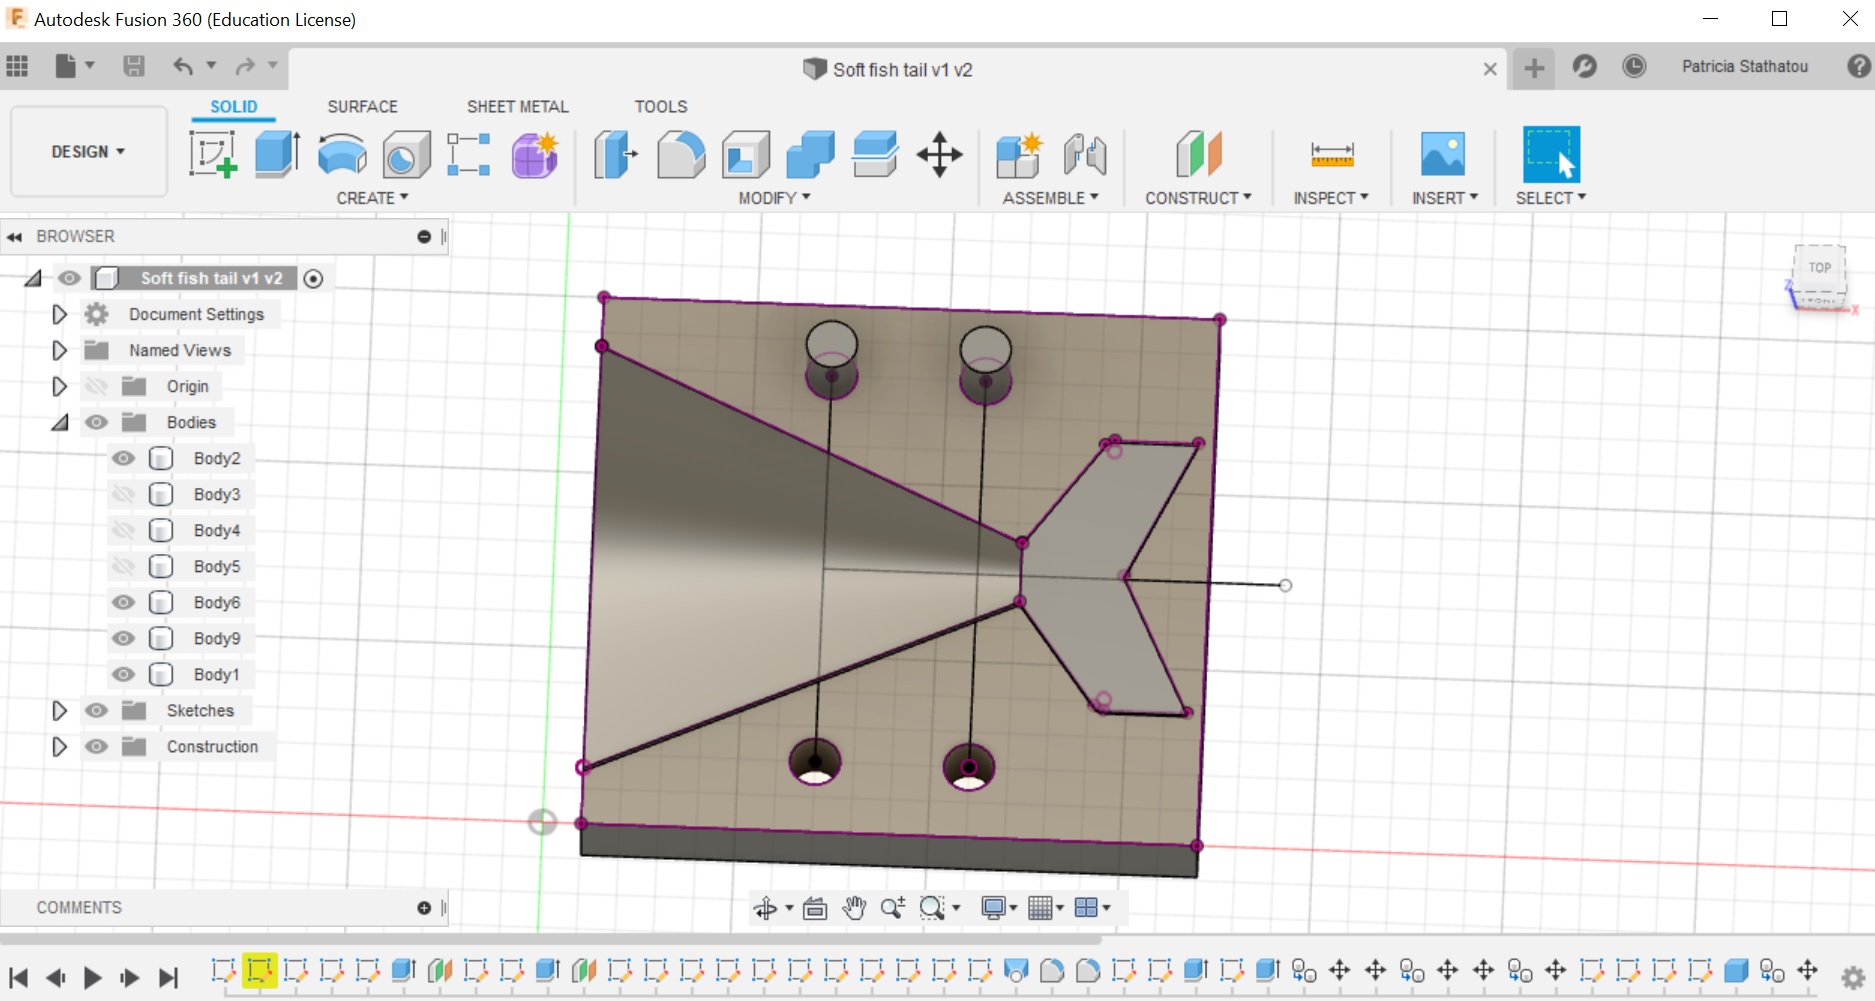
File: Fishtail (designed with Fusion 360)
This week had to design a 3D mold, mill it on a block of machinable wax (rough and finish cut), and use it to cast parts using among variety of materials.
Design
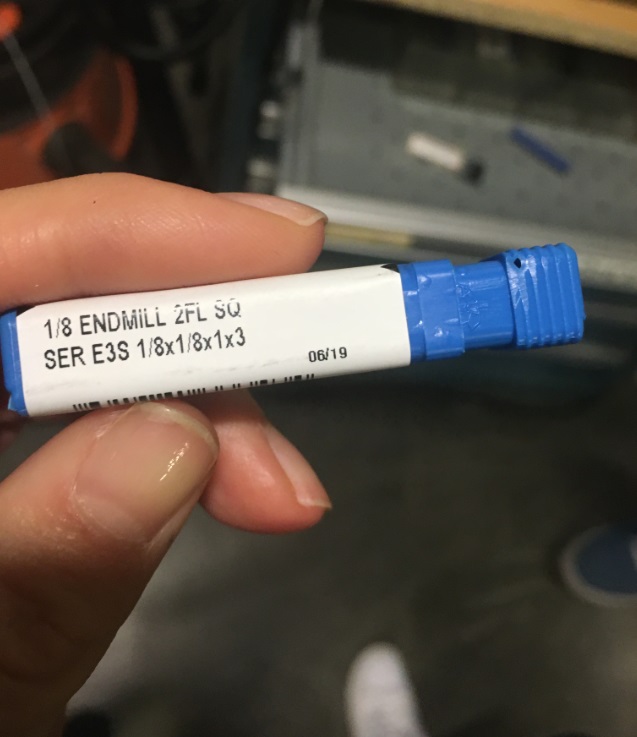
I wanted to connect this assignmnet with my final project, aka the robotic fish , which will be made by both rigid and flexible parts. It's flexible parts, and it's tail in particular, will be made by a stretchable material, such as rubber or silicone, using molding and casting, in order to be able to move and allow for the fish locomotion. So, this week's assignment was ideal for learning and exploring ways of making the fishtail. I designed the fishtail in Fusion 360 taking into account the dimensions of the wax block that we have given (x:3.5"; y:3"; z:1.5") and the endmill that I would use for milling the machinable wax (eighth inch flat endmill for both roughing and finishing; depth of cut: about 3 cm, the endmill should be mounted on the collet just above the point that the flutes end). I wanted to make a two part cast, using only one block of wax. So, I designed a symmetrical mold in order to use it twice to cast the fishtail at the end.
Machining
I used the Desktop Shopbot to machine the wax block. I set the specifications of my design, selected the material and the endmill that I used, and developed the roughing and finishing toolpaths for my mold using the PartWorks3D software.
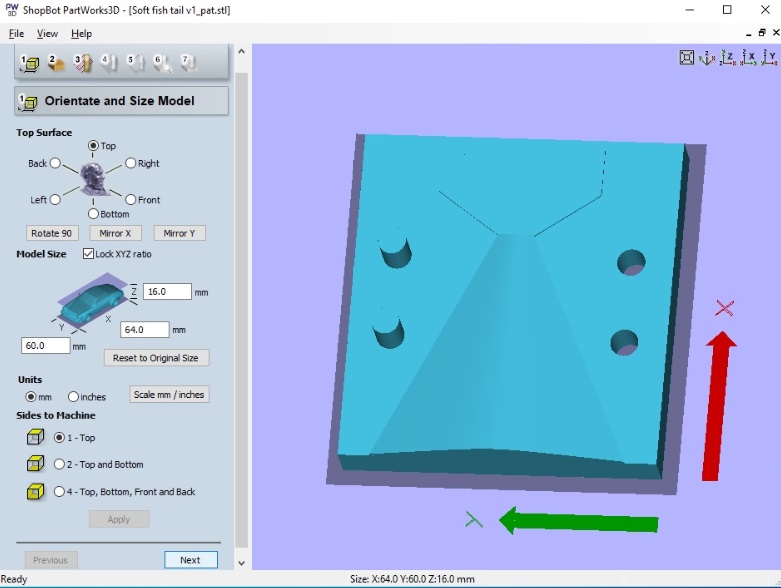
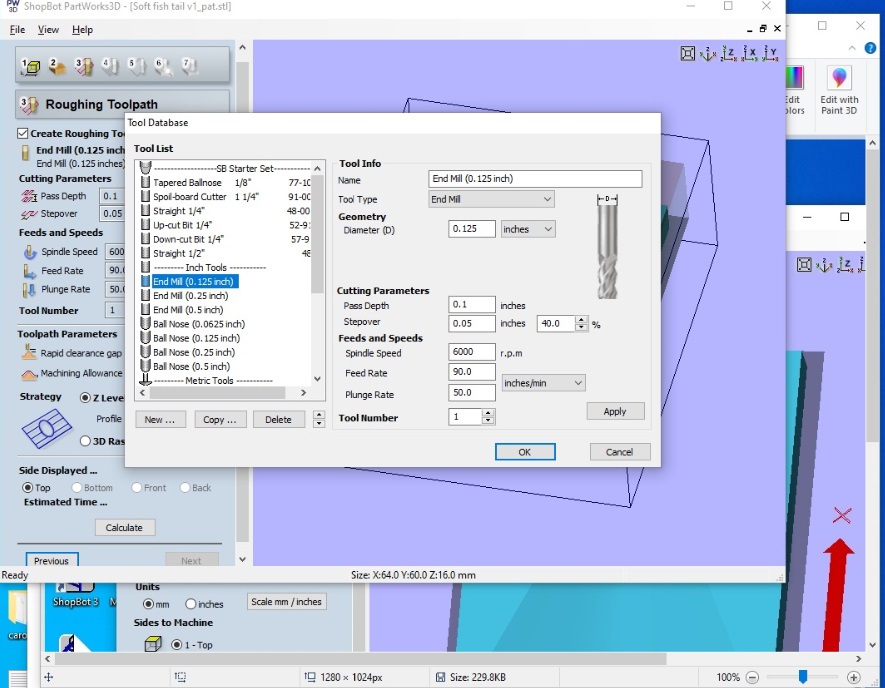
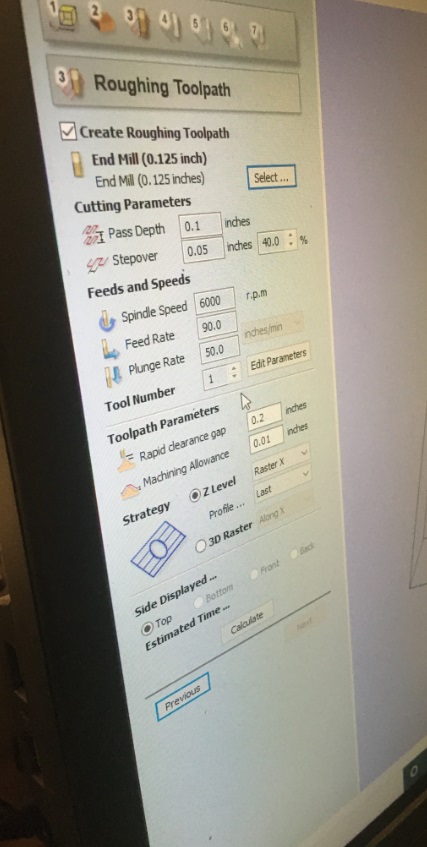


I made first the rough and then the finish cut. Milling went smoothly!
.
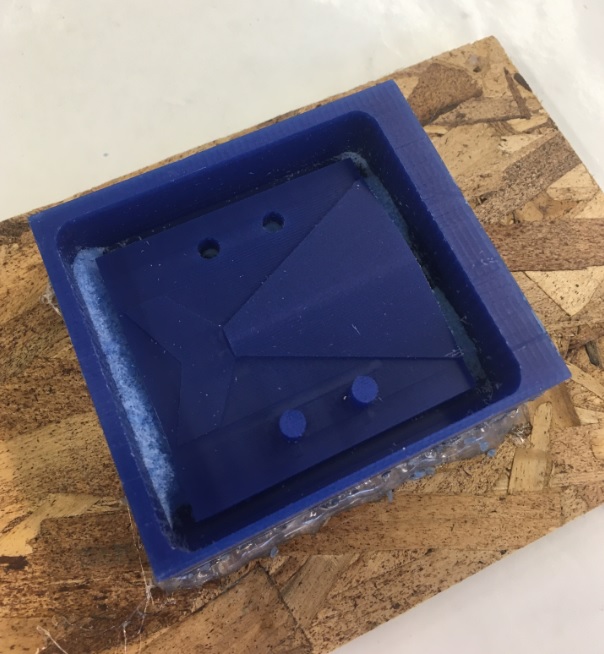
Mold Making
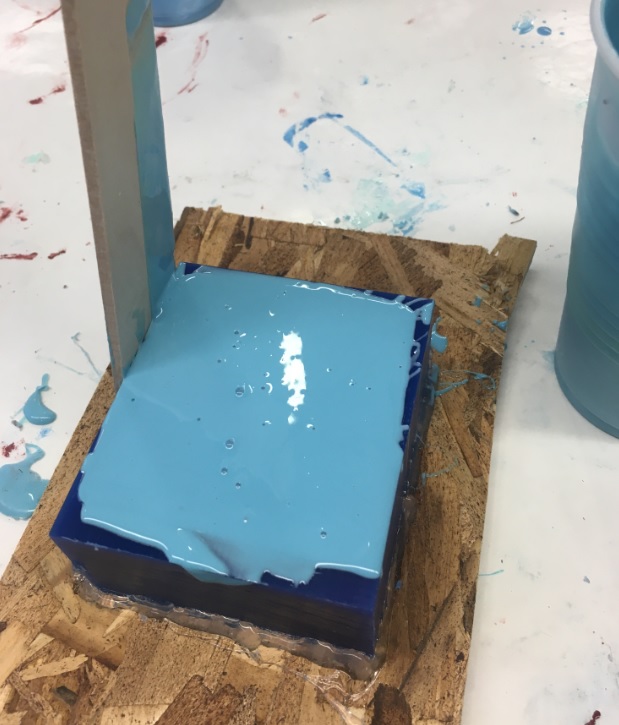
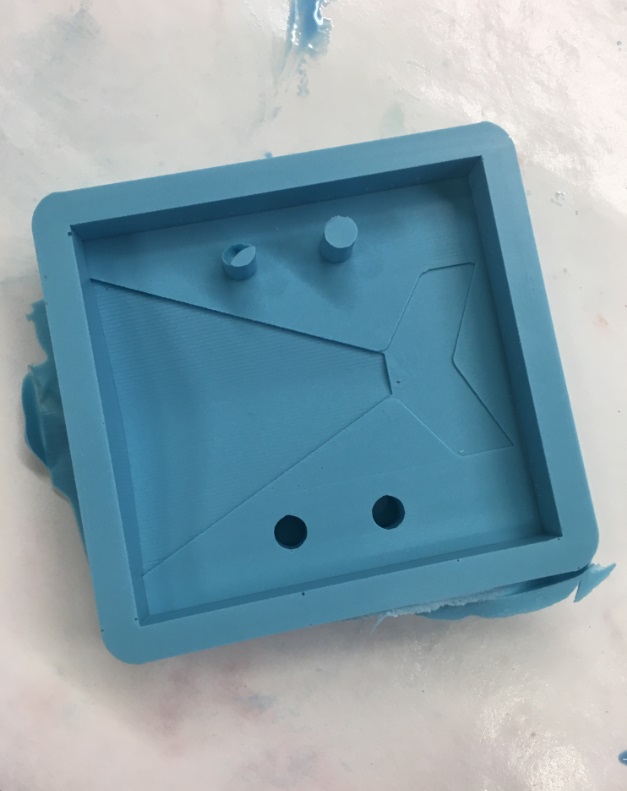
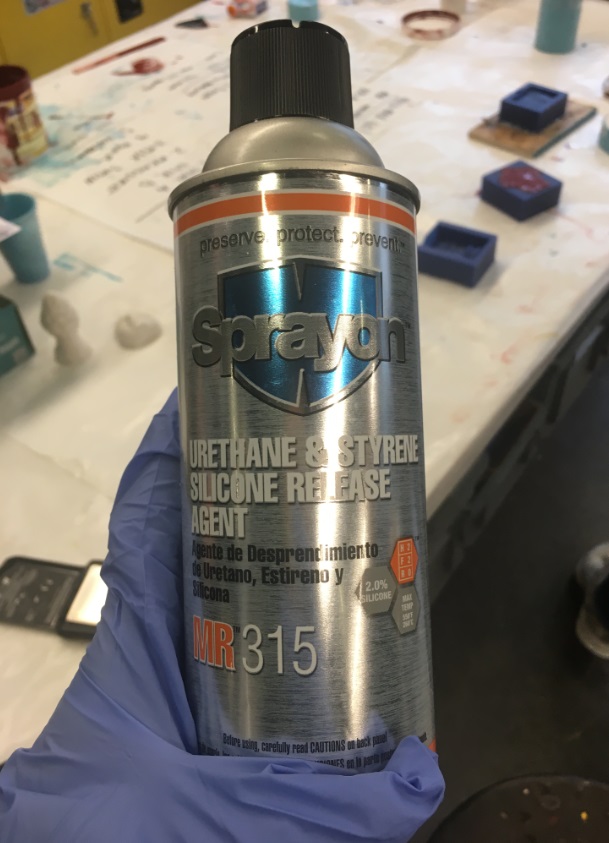
I wanted my final cast part, the fishtail, to be made out of oomoo 25 material in order to be flexible. I could have machine a negative of the part, use the wax block as mold and pour oomoo directly into it to make my final part. However, I wanted to follow the "both molds and cast made out of oomoo" approach. During the training / group assignment we tested if it is possible to cast oomoo using oomoo also as the mold, and it worked fine. We followed the instructions on the data sheet of the material and made the mold, sprayed it with a release agent and poured oomoo into it, and it came out perfect.


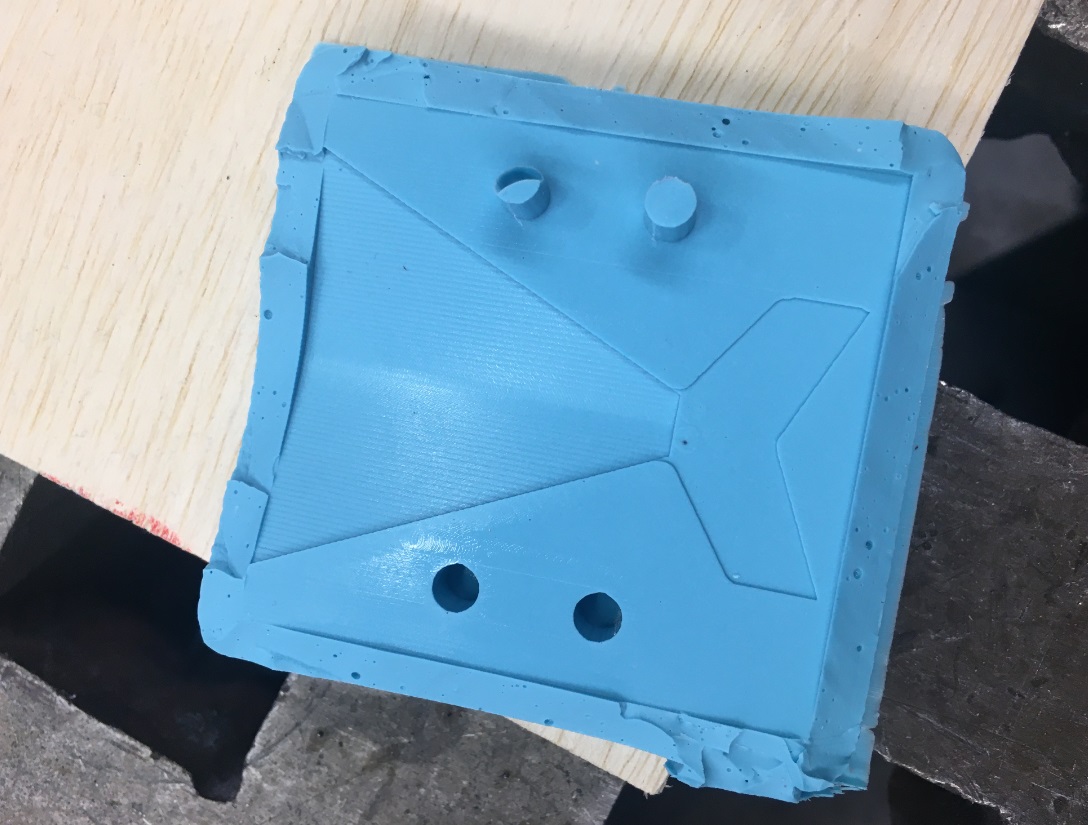
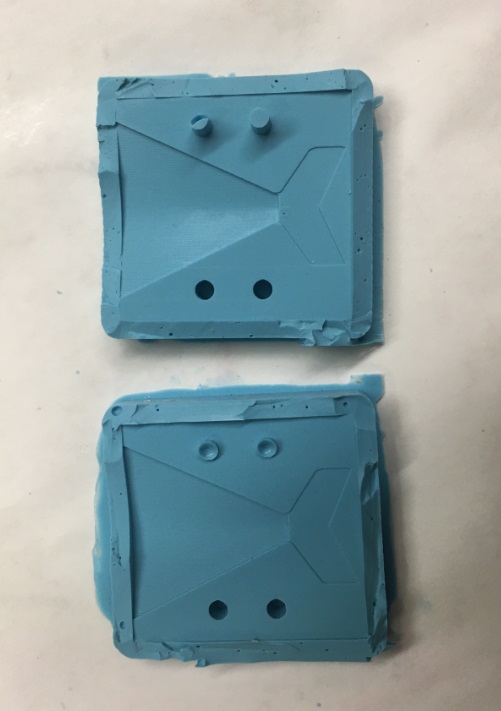
The oomoo comes in two separate jars. Each contains a compound that is (decently) shelf stable on its own. I stirred each of them separately for 3 minutes and then mixed them together and stirred them again for 3 minutes. After mixing them, I had 15 minutes before they start solidifying. I used a vacuum chamber to help remove bubbles that would otherwise compromise the mold. Then, I poured slowly the oomoo to my wax block and wait for 75 minutes for the material to cure. I did that twice to make my 2 molds. They came out almost perfect. Only the orientation pins were compromised by air bubbles, but this had to do with the way I poured the oomoo material in it as I realized later. I should have started pouring the material from the lowest part of the block.

Casting
I sprayed my two molds with the releasing agent, and then mounted them together using clamps to create the two-part mold. Then, I made new oomoo material and poured it slowly inside the two-part mold.

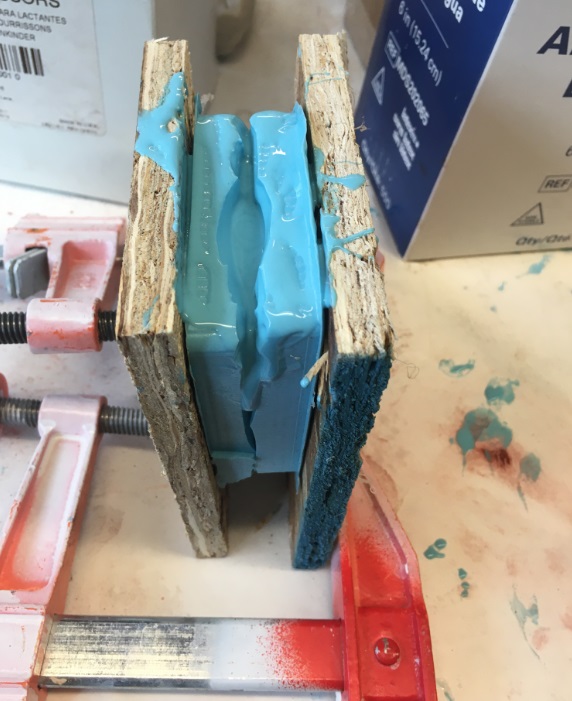
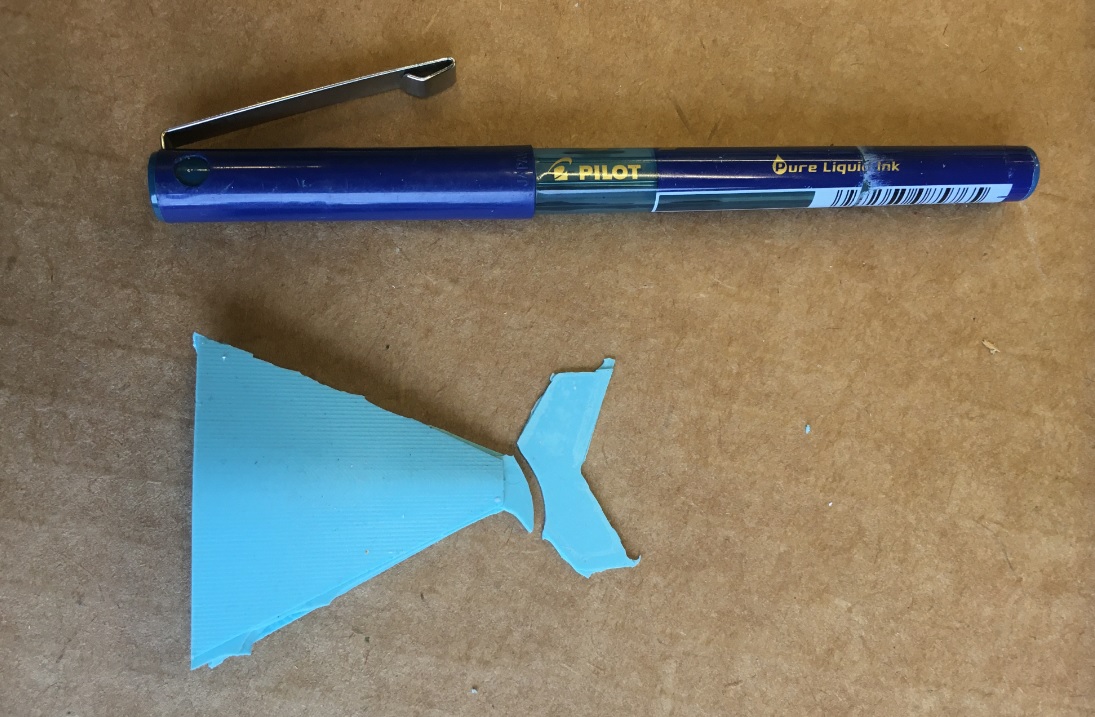
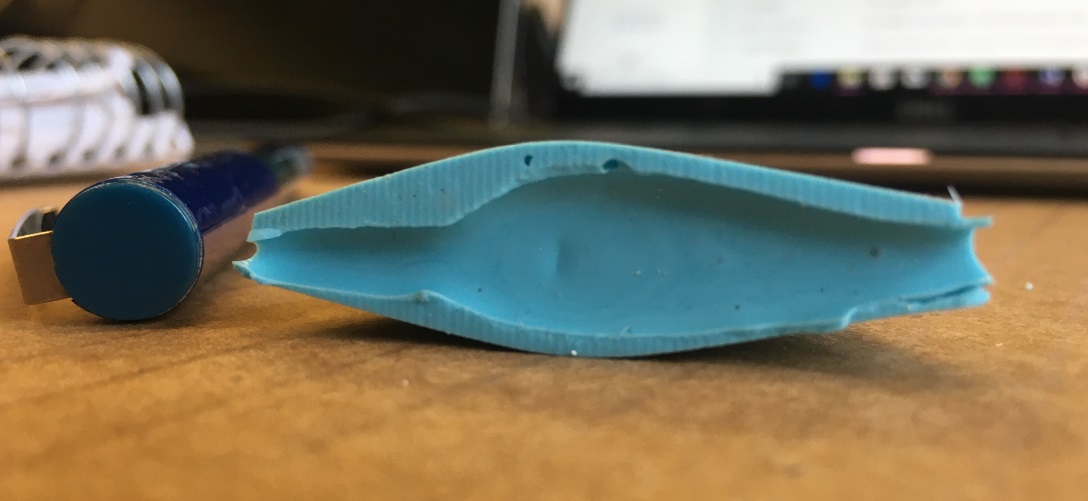
The result was quite satisfying, except for the fact that I accidentally torn the tail apart...
