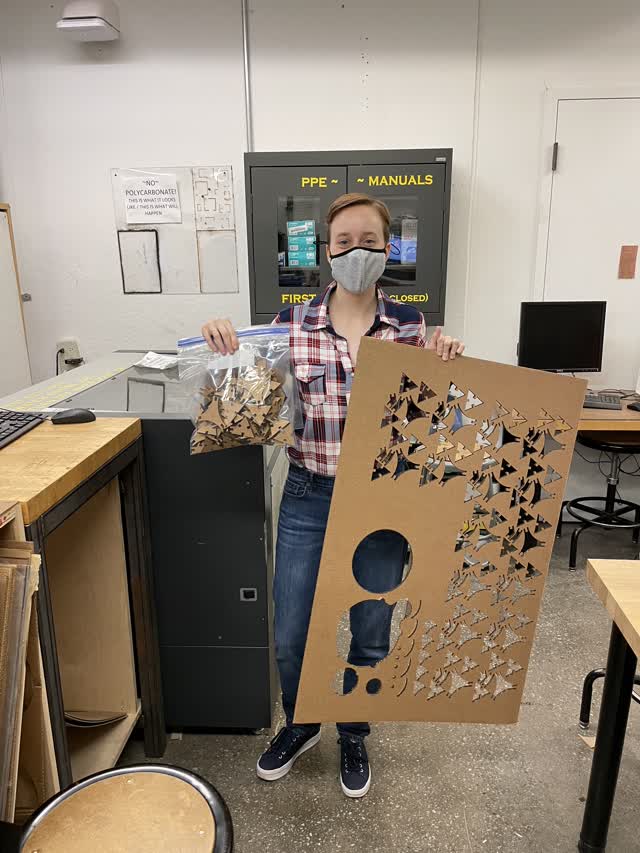
For my construction kit, Imade a cornhole game in which the aim is to throw cardboard balls & shapes through the circular hole to try to hit the starfish. I used 0.245" slots for the press fit kit on a 120W Epilog laser cutter at the MIT architecture shop.
As a bonus in addition to the laser cut construction kit, I lasercut an initial prototype for my final project, based on a template .dxf file which I will ultimately re-make from scratch and modify.
First, I used
Inkscape
open-source software to create a design that I wanted to cut out on a vinyl adhesive sheet. In this case, I wanted to make a design that included my partner's initials and my initials. Then, I exported the file to .png to prepare it for the vinyl cutter. 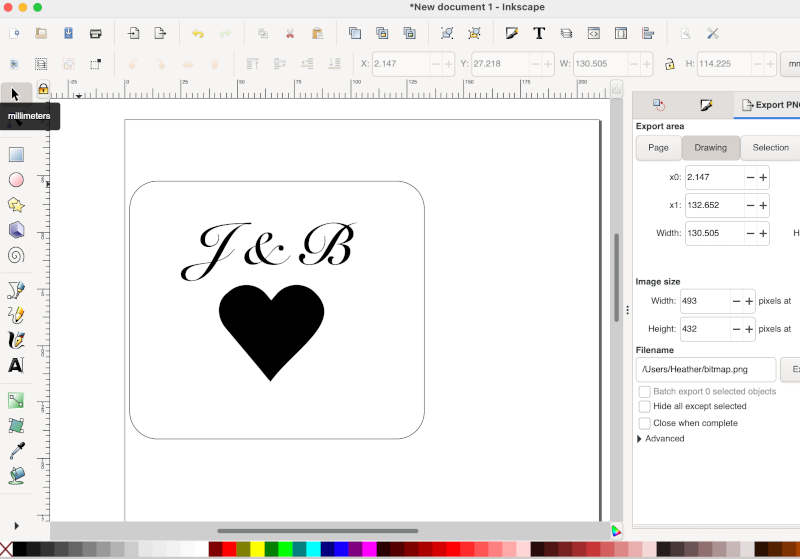
1) Use text tool to add text, and modify font & sizing (I used Snell Roundhand font, and see here for instructions on how to use the text tool)
2) Make a heart shape in InkScape (see here for step by step instructions, and here for how to rotate objects). Use rectangle tool to make an outline around it for convenience.
3) Change colors, if desired (for vinyl cutting, I'd recommend black & white). See here for how-to.
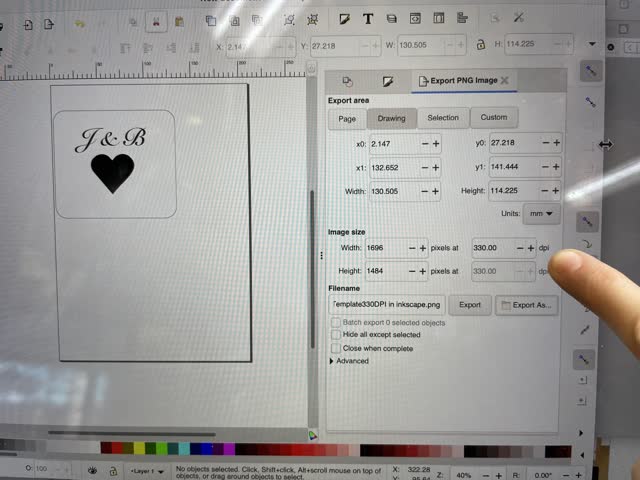
4) In inkscape, modify your image in the right hand menu to be 300-600 DPI
5) Export to .PNG file type (File > Export)
Next, I went to the MIT Architecture shop to use the vinyl cutter there. The detailed instructions on how to use the Vinyl Cutter were located on the architecture shop website.
I had some difficulties (the design was cutting too small despite changing the DPI in the mods software), and I found that the solution was to change the DPI manually in InkScape software on the right hand menu, to 300-600 DPI. Don't make the same mistake as me!
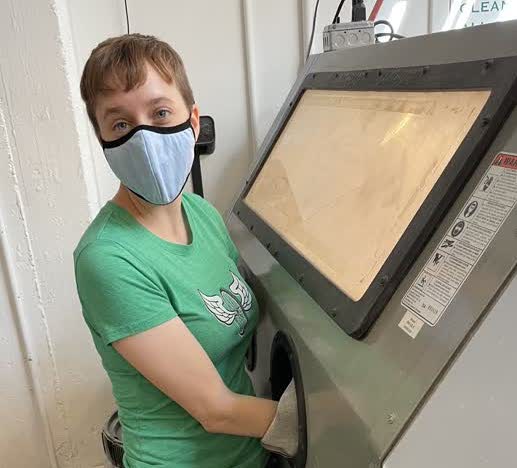
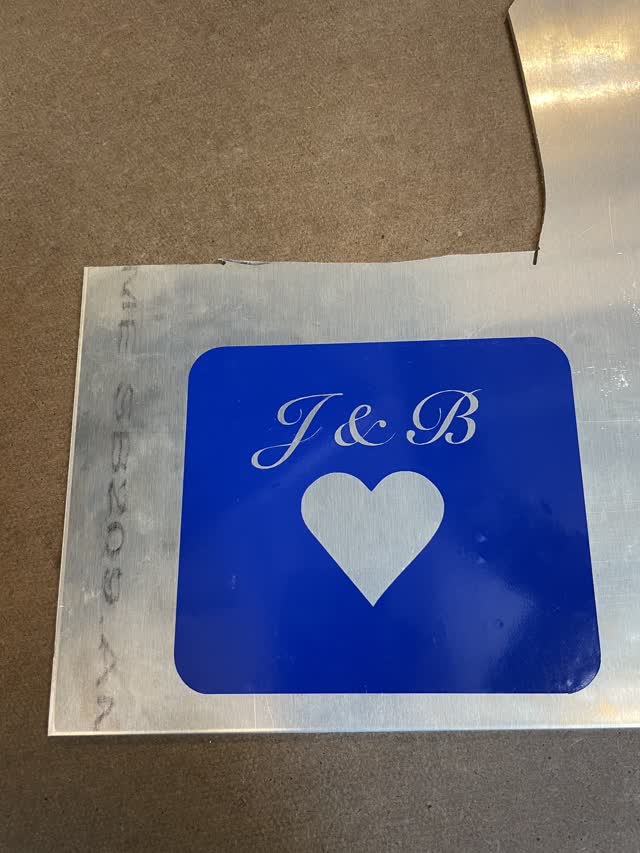
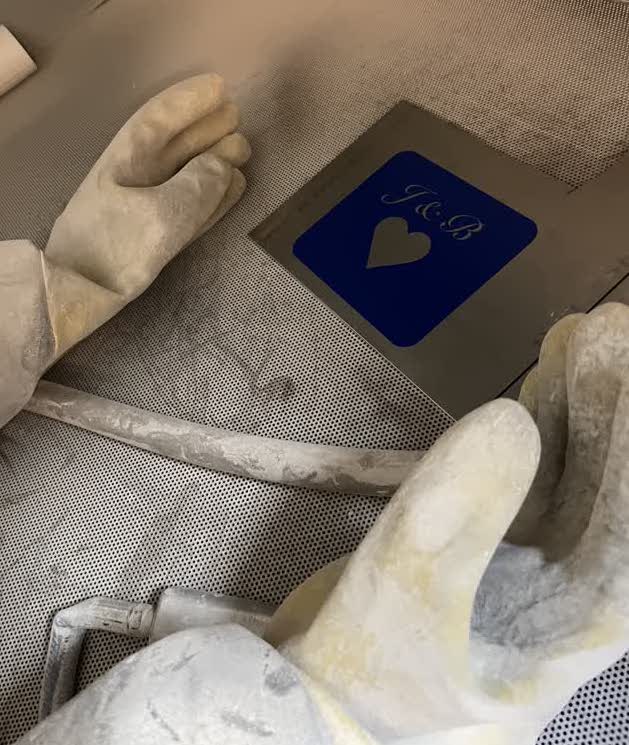
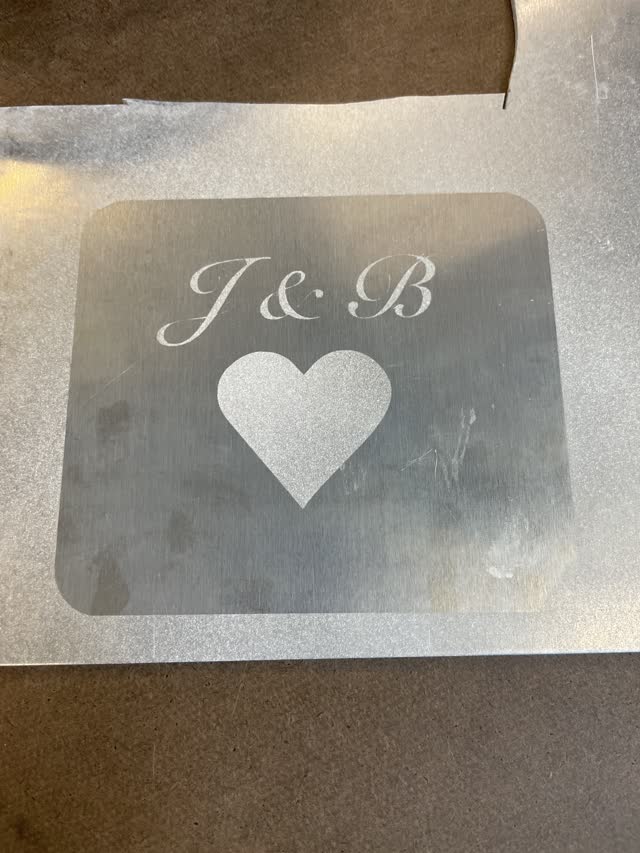
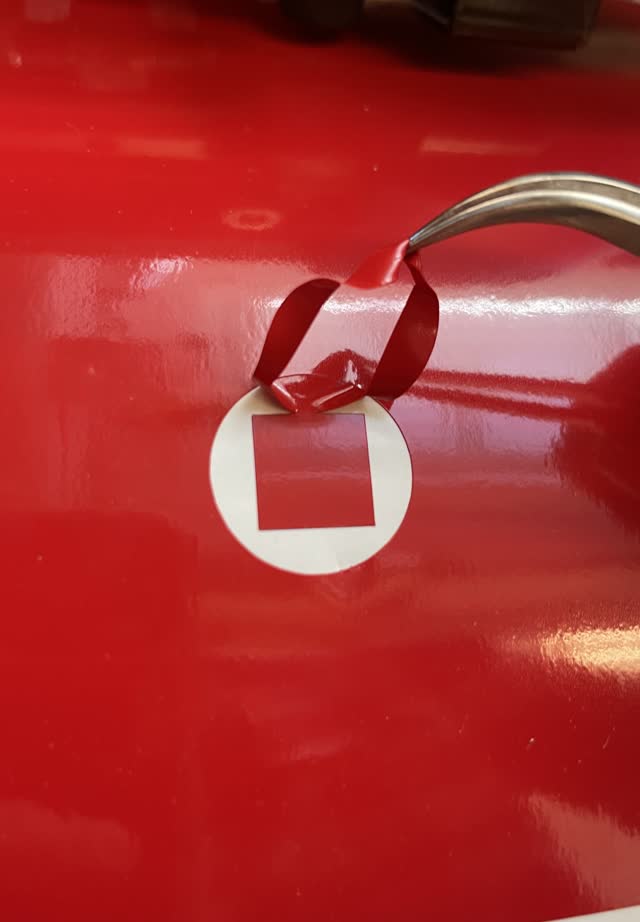
To sand blast my vinyl cut desin onto metal, I taped my vinyl cutout onto a sheet of metal aluminum. Then, I used the sand blasting equipment (trained by Shah, one of the MIT archsop staff) to sand blast onto my design.
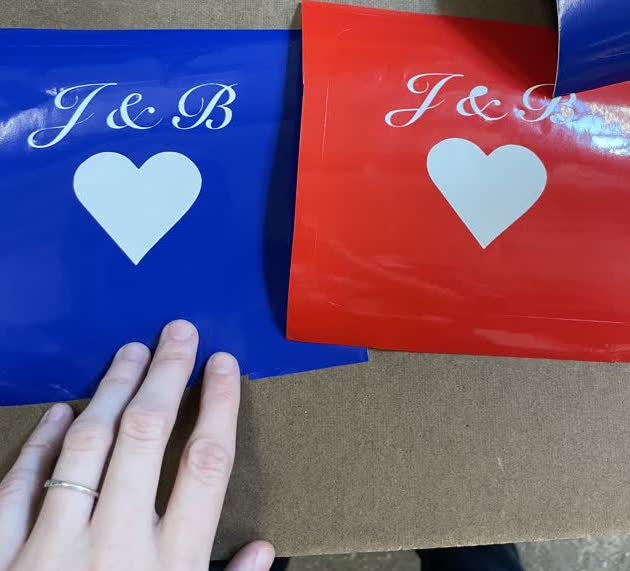
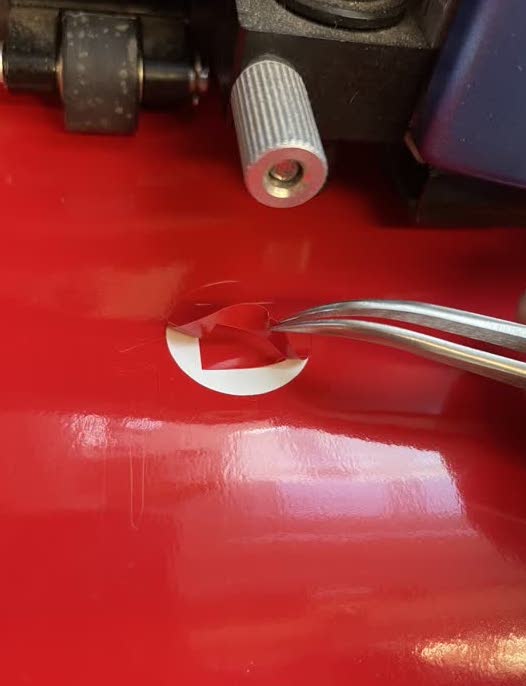
For sand blasting on glass, use thicker silicone vinyl material. You can also try copper (conductive) sheeting with a layer underneath, for vinyl cutting flexible circuits! In general, to avoid mistakes when vinyl cutting, follow the instructions exactly and always opt for changing the DPI to the right setting within your vector software (e.g. InkScape) rather than in mods, to ensure that the right size will be cut. Also, from my vinyl cutting experience I also learned that I need to change the blade force whenever the vinyl in the center peels off with the rest of the vinyl (which happened to me and made the sticker quite useless until I adjusted the blade to 100 gf force!
Left: middle part peeling off (unwanted; had to adjust blade force to 100), Middle: Peels off nicely with higher blade force, Right: Adjut the DPI in the right hand menu in InkSpcape to 300-600 DPI if mods DPI adjutment isn't working or if the equipment is still cutting the design too small. I also had an issue where the equipment perpetually moved the vinyl roll really far and didn't cut anything; changing the DPI to 330 in InkScape prior to loading into the computer (and restarting) is what fixedit!
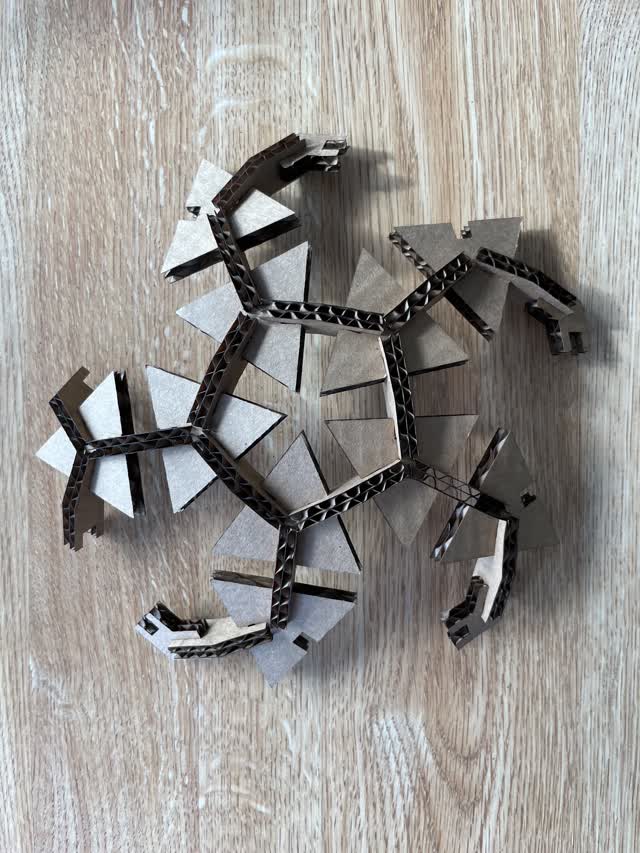
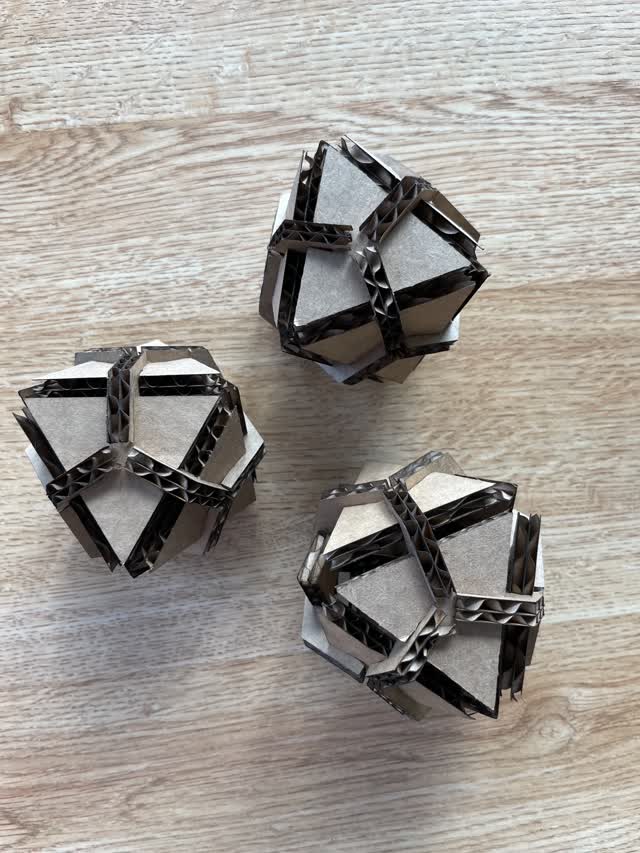
For the construction kit assignment, I decided to design sketches of pieces in OnShape that would enable more than just 90 degree angle construction. To test this out, I first used stiff cardstock paper and made some cutouts, and tried to fit them together. I got the inspirationfor these shapes from Pinterest boards for laser cut construction kits.

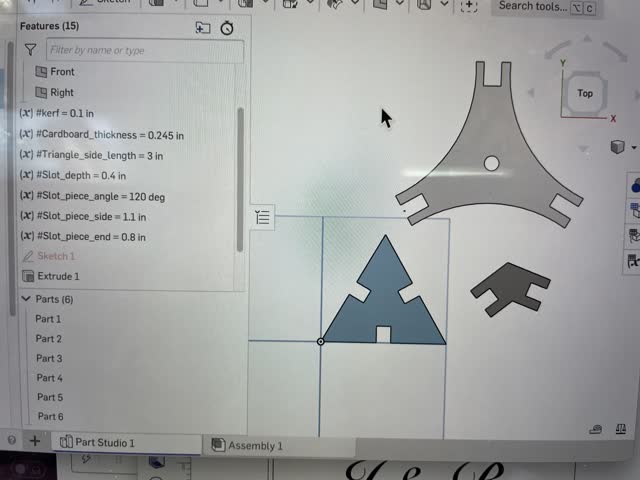 I made the construction pieces from scratch in OnShape

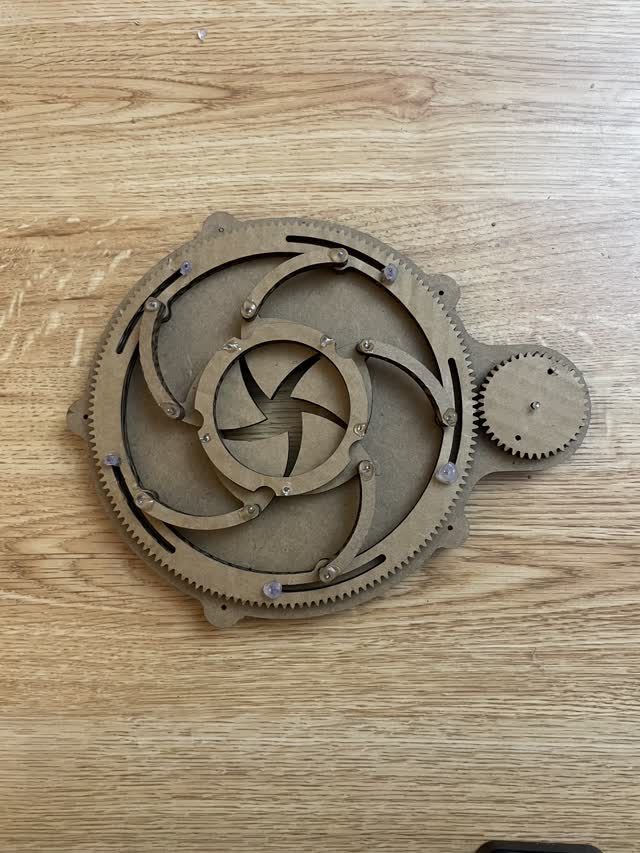
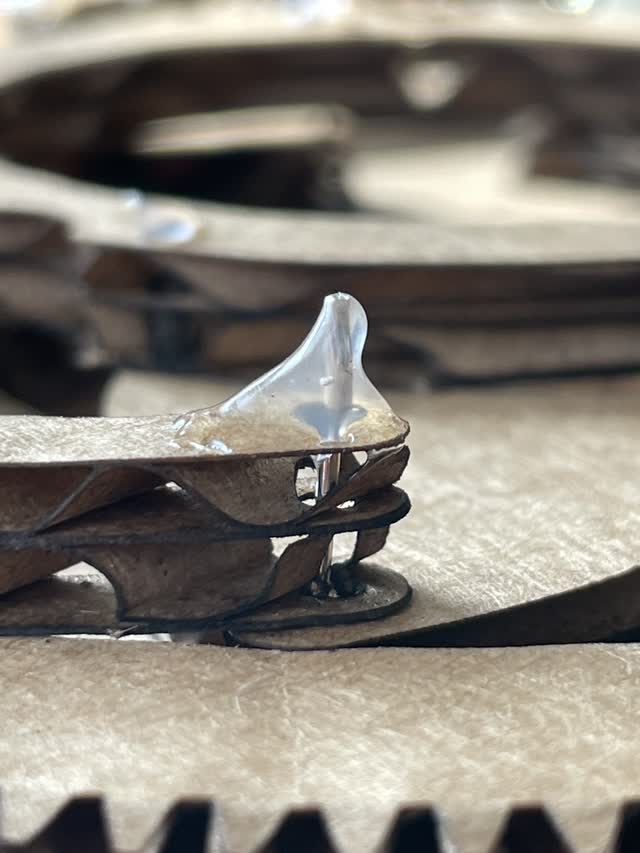
As a bonus, I laser cut a .dxf template file similar to what I would like my final project to look like. I glued the joints using silver wire and a hot glue gun. I found that the mechanism was a bit slow/stiff, so I will choose larger gear teeth for the next iteration, and will also work on starting to learn how to use the water jet for metal cutouts.

For the group project,Idid the following:
 Characterized speed, power, rate (frequency), and focus, with Raghav/Emily/Hannah/Sophie/Elijah (helped create part of the tables of info on results, and was there with the team for it)
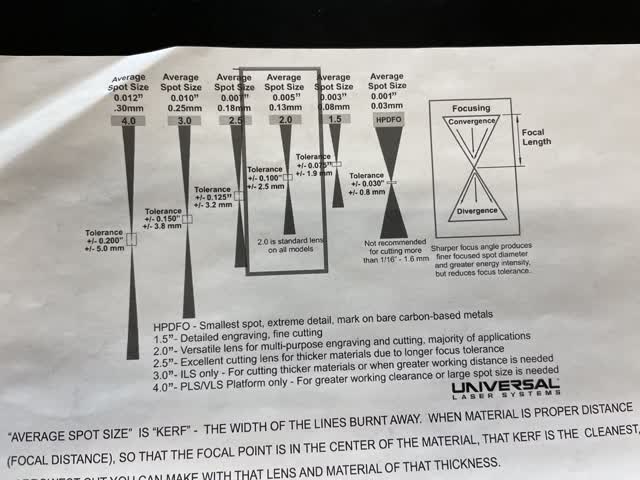
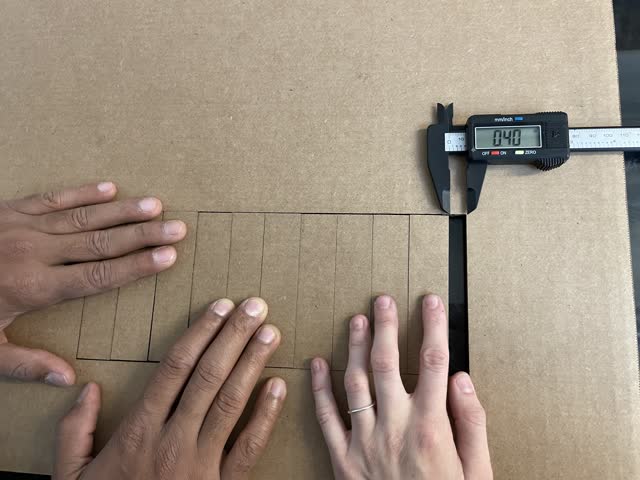
Kerf is essentially the "thickness" of the line that cuts into the material, since lasers have a width for the beam, and sometimes when not completely focused the kerf is larger (e.g. because the beam is like a double cone shape). We characterized it by making a series of cutouts and measuring the resulting offset with a caliper.
Kerf = 0.40 in / (11 cutouts) = 0.036in
The first time we made the kerfcutout, we had a fire happen - oops! Since the setting we used (30 speed, 40 power, 500 frequency, 2" focus) was same as before (had not burnt it before), we concluded that this was caused by the laser going twice over each of the lines due to the overlapping design. To fix this, we simply halved the power to reduce chance of burning/fire.
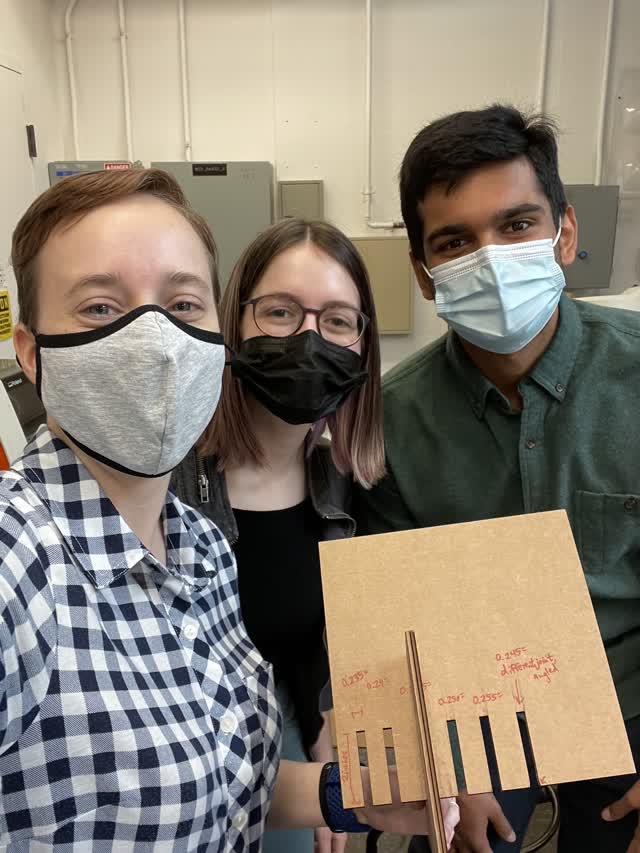
Raghav Kedia, Hannah Gazdus, and I characterized the kerf, joint clearance, and joint types above/below.
For the joint clearance, I made varying slot distancesin Rhino an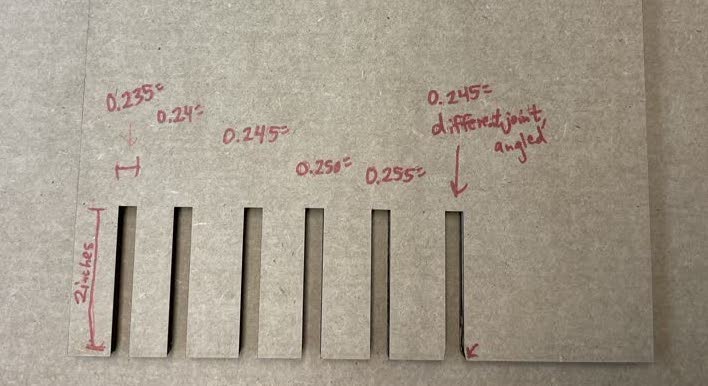 d we tried fitting them together to see which press fit the best (0.0245" worked nicely).
For joint types, we made one joint with diagonal angles near the entry of the slot. This made it much easier to slide the slots together when press fitting!
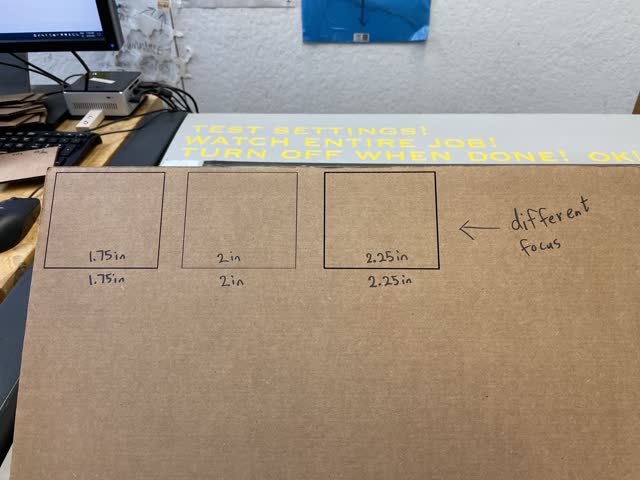
For speed, power, focus, rate (frequency), we varied each of these parameters and observed the qualitative results, which are documentedin a table for our group in our google drive. Please see Emily's page here https://fab.cba.mit.edu/classes/863.21/Architecture/people/YanjunEmilyLiu/week1.html for a copy of the google drive table of qualitative characterization for our group for the different settings. The group members present for this part below were Raghav Kedia, Hannah Gazduz, Sophie Longawa, & Elijah Bell, Emily (Yanjun Liu). Emily made the Rhino files for the squares below,and Hannah inputtedthe majority of the qualitative info into the table.
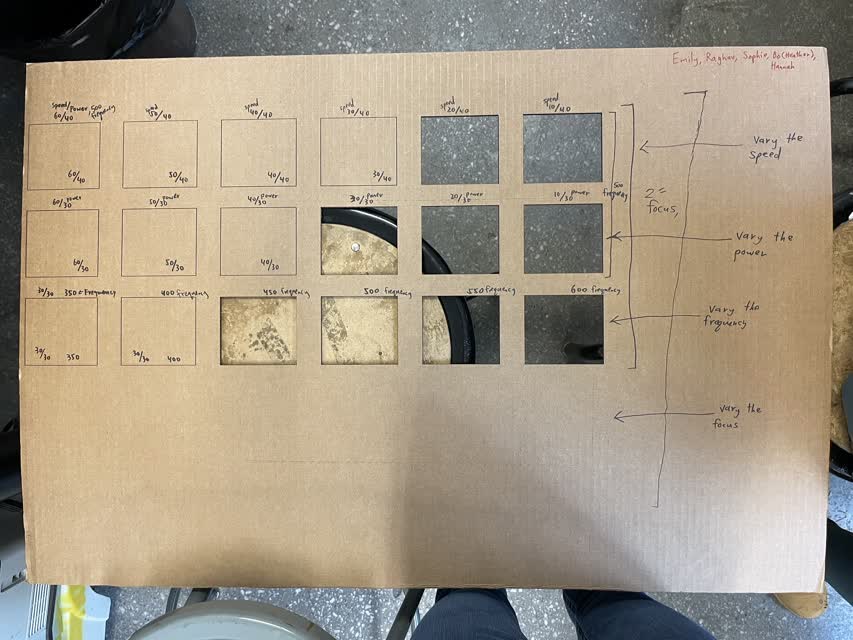
20/40, 10/40, and20/30 speed/power settings allowed the cutoutsto come out most easily. 20 speed / 30 power yielded the best result.
Two things I didn't try but could try in the future for more advanced applications is 1) engraving (us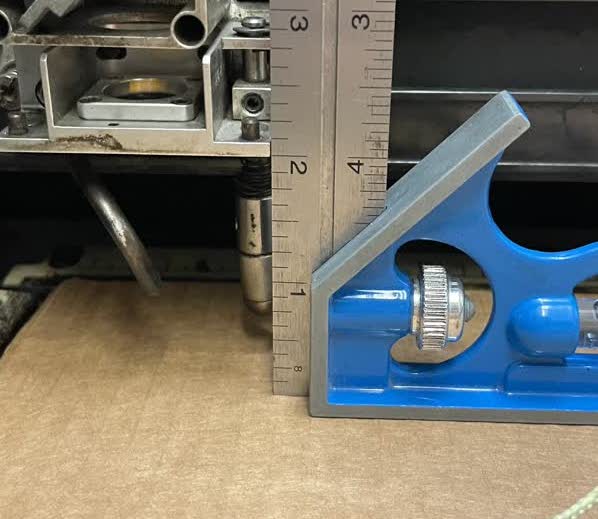 ing lower power/higher speed and using the color options in the settings) to make designs,and 2) trying more interesting joint types such as a flexure joint!
With regards to learnings, I made many, many mistakes. I burnt the cardboard when cutting out a repeated rectangle becasue the laser went over the lines twice, leading to more heat/energy leading to fire (me & Raghav had to use the fire spray since the cardboard was glowing). I also should have made my joints larger on either side of the slots (they ended up ripping a bit at the endes since they were too small). Also, for my first attempted run my power was too low (didn't cut fully through, but joint was tight and good) but the 2nd attempt I ran it too high (and/or perhaps the cardboard was slightly misaligned since I used the 120W Epilog in our shop that had the auto focus broken, so manual focus = slight human error), leading to overly burnt edges due to power being too high and slots being slightly too big due to larger kerf because of the likely out-of-focus laser (the laser focus is supposed to be ~2" from the material surface)
created with
Website Builder Software .