Computer Controlled Cutting
Vinyl cutter, laser cutter, and the making of the construction kit
01 Group Assignment
//
Characterize the laser cutter
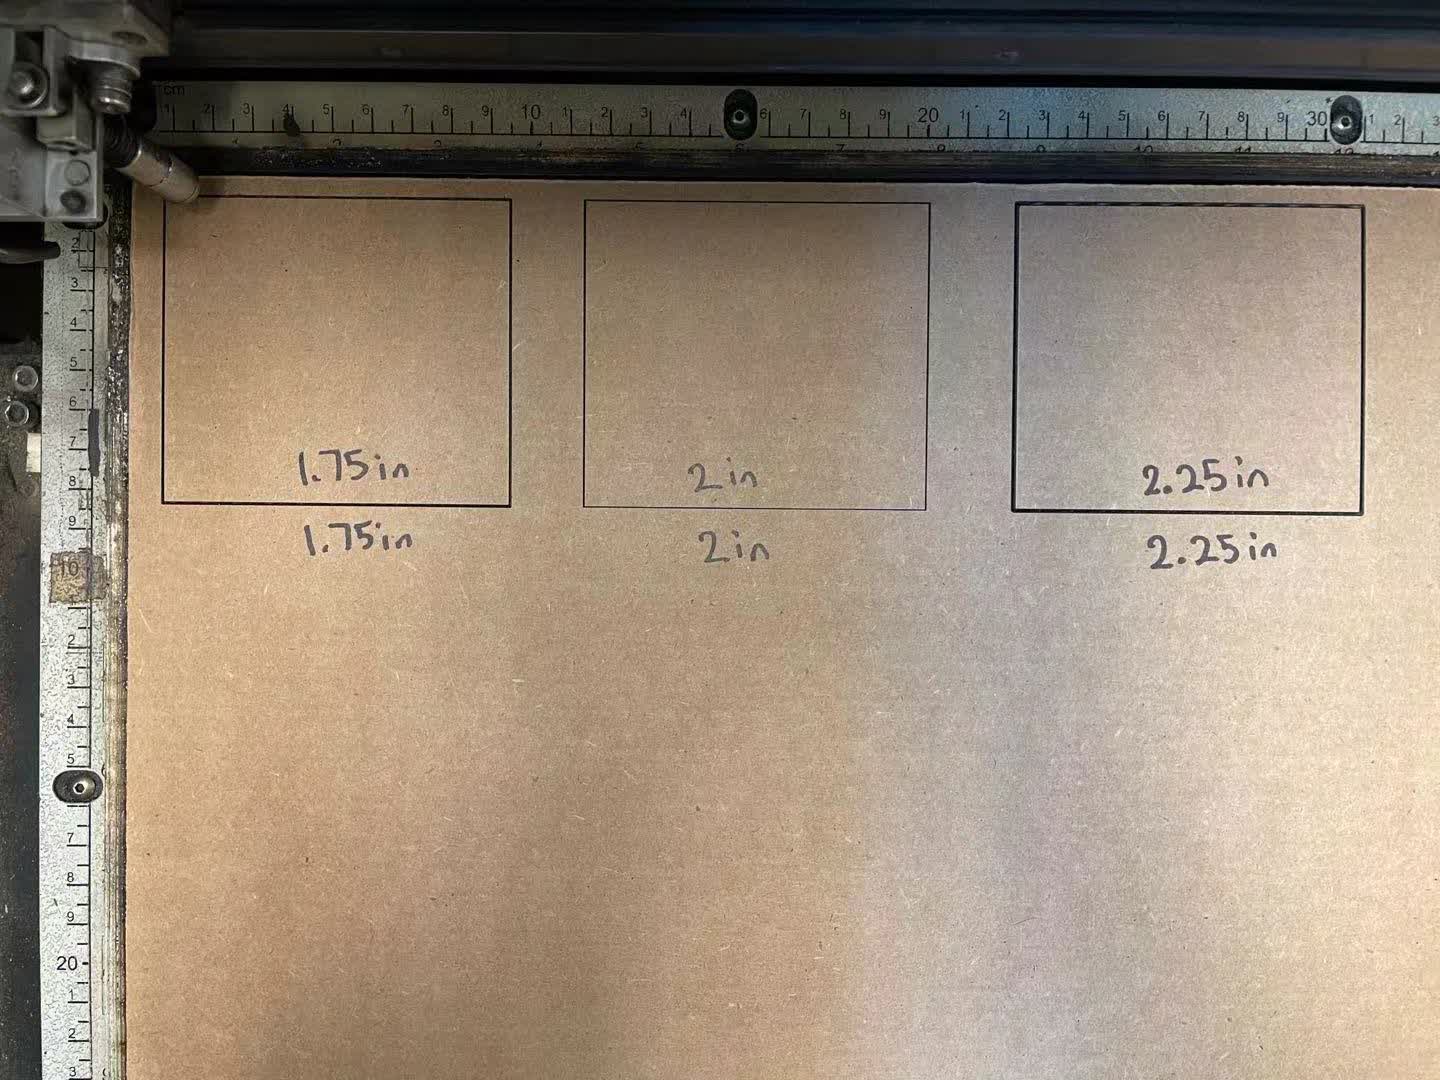
We started out on characterizing the laser cutting's setting by modifying the power, speed, frequency, and focus. From the chart and diagrams, we derived the conclusion that the cut is more likely to go through when the power is high, speed is low, and high frequency. The focus changes the kerfing of the cut. Anything that is not 2in are resulting in a thicker kerf.
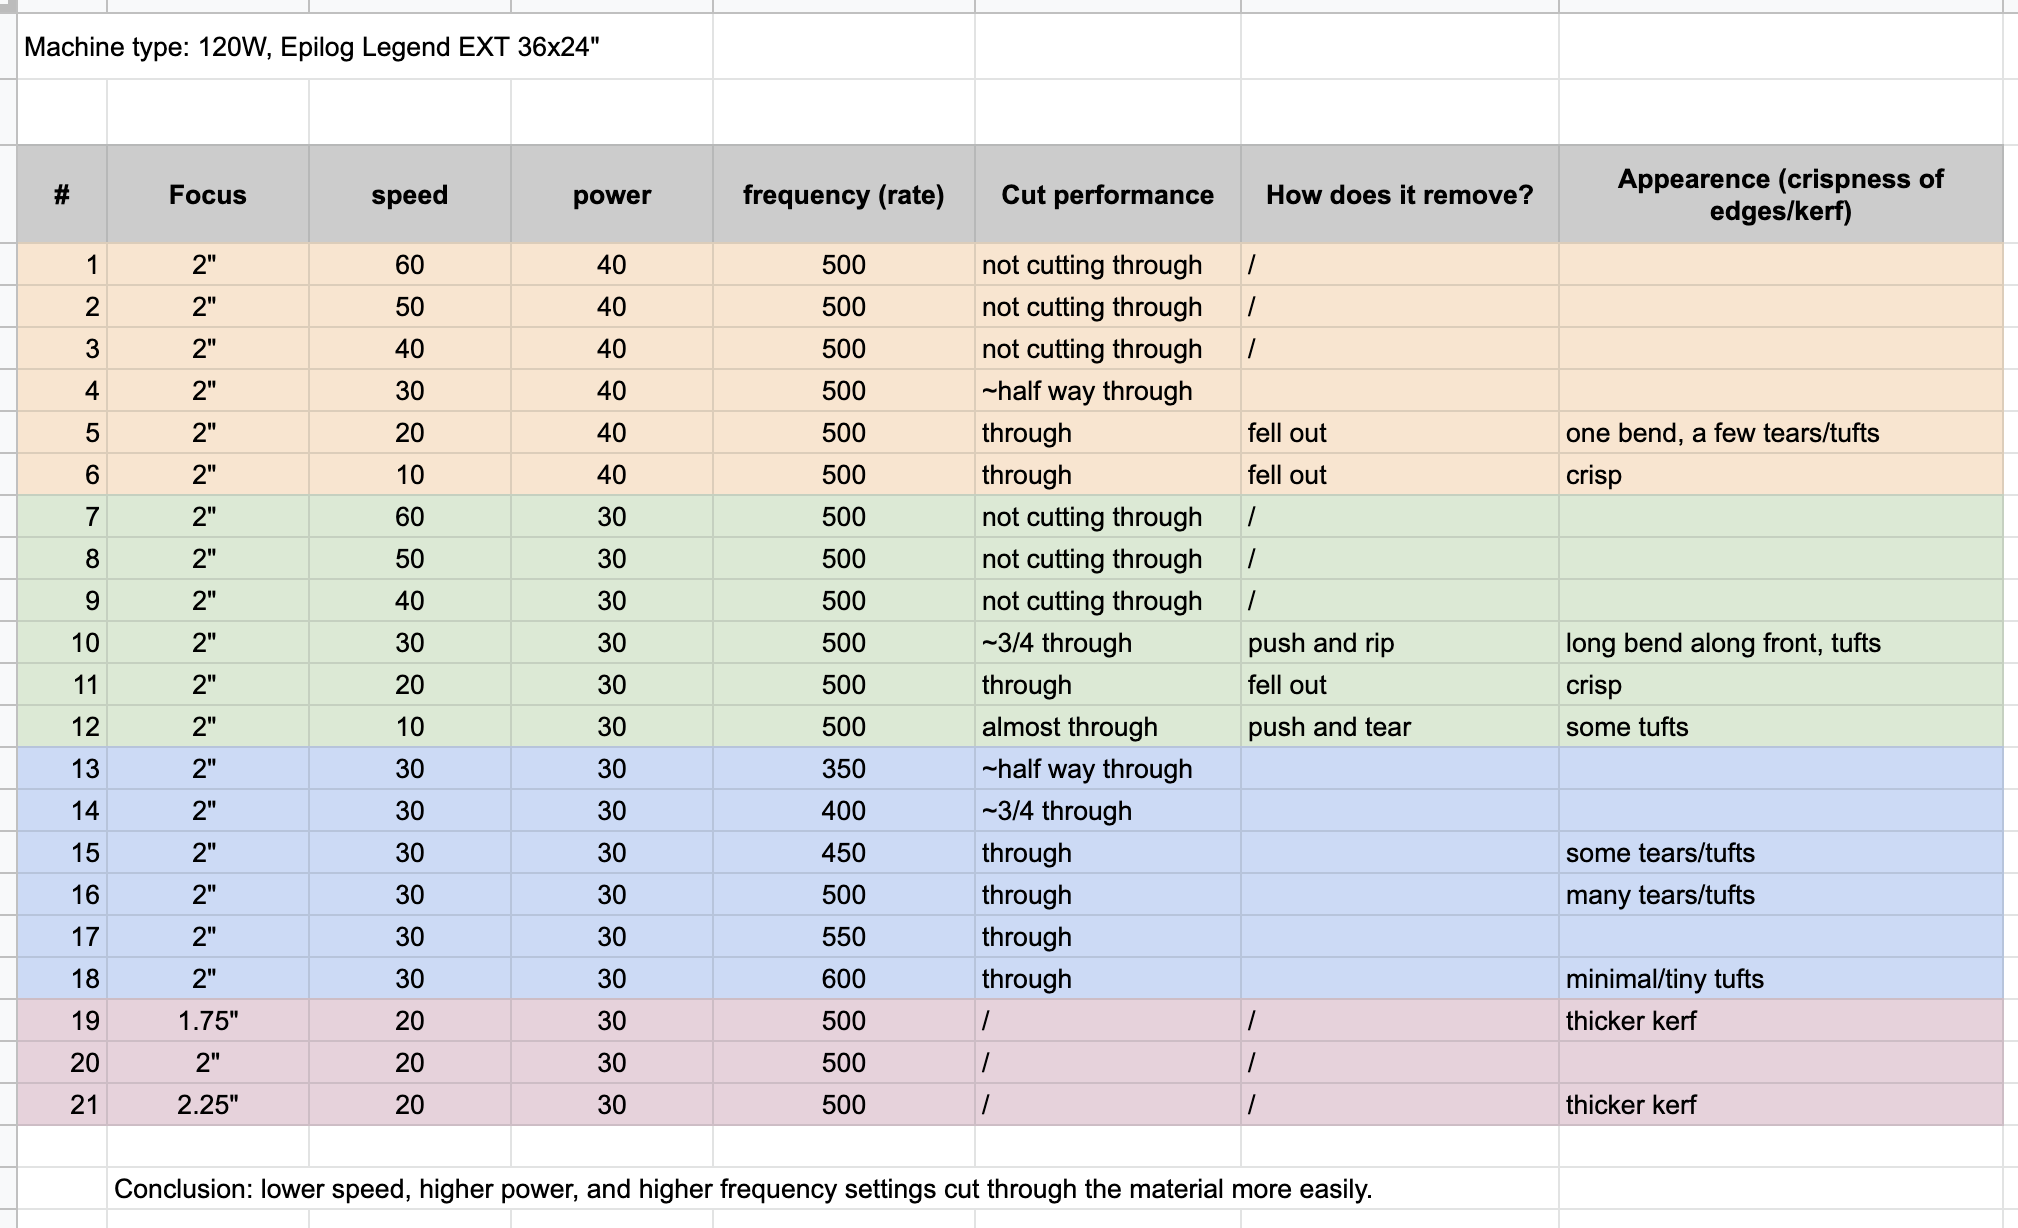
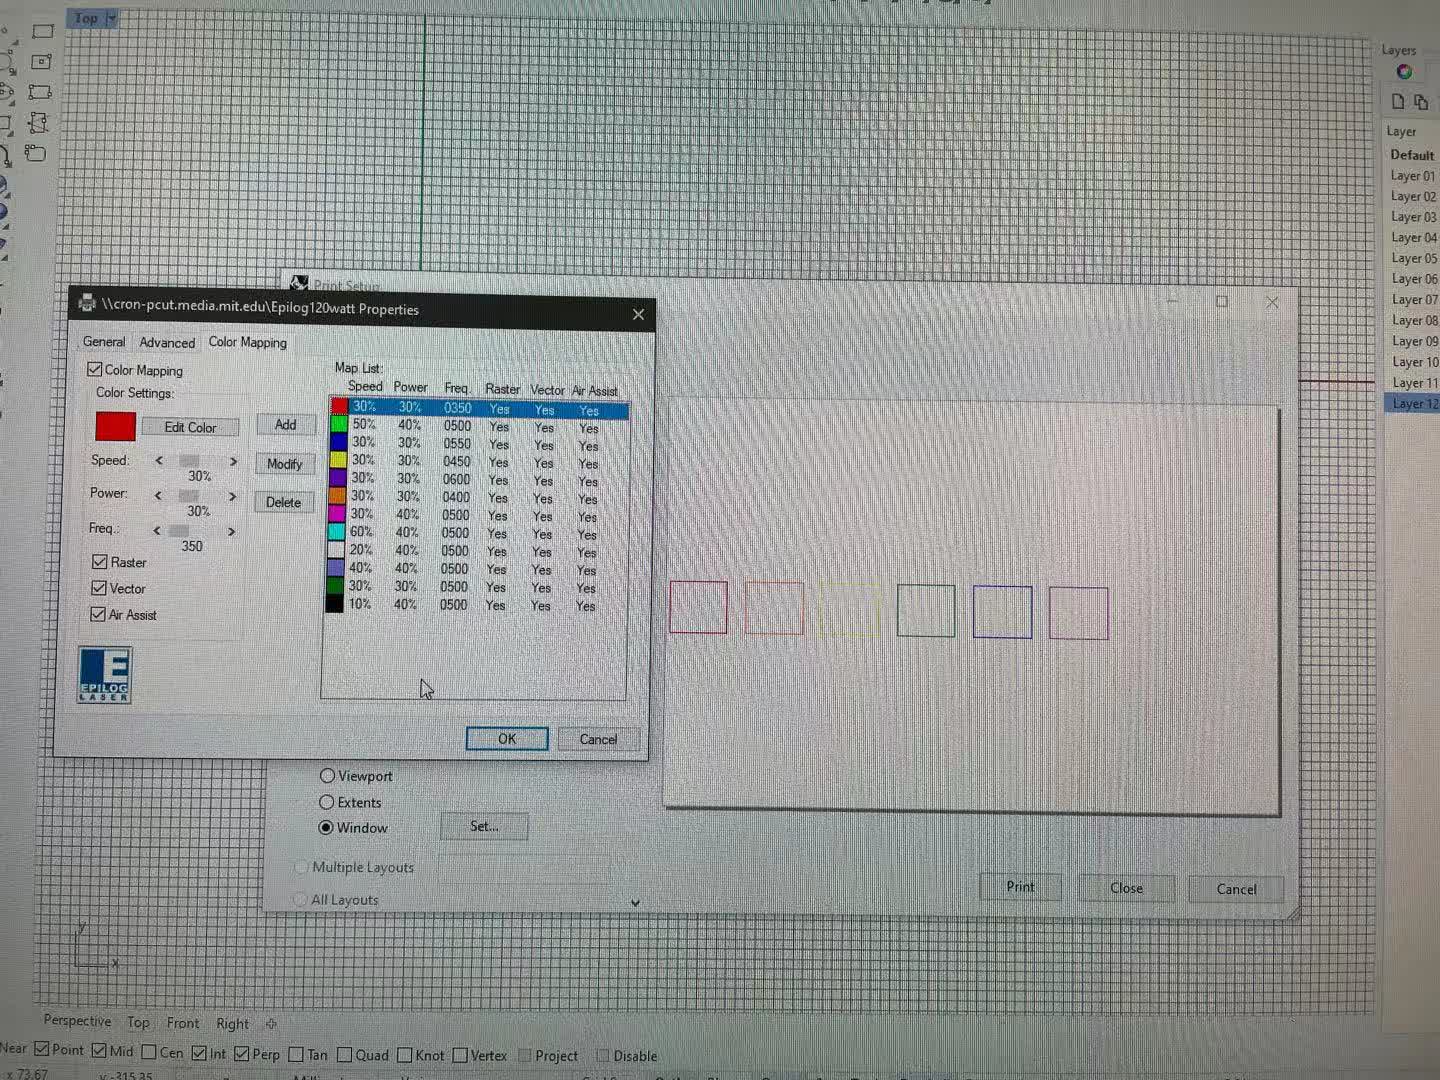
These are the performance we found based on the cuts, and we used colormapping to program each cuts with different settings.
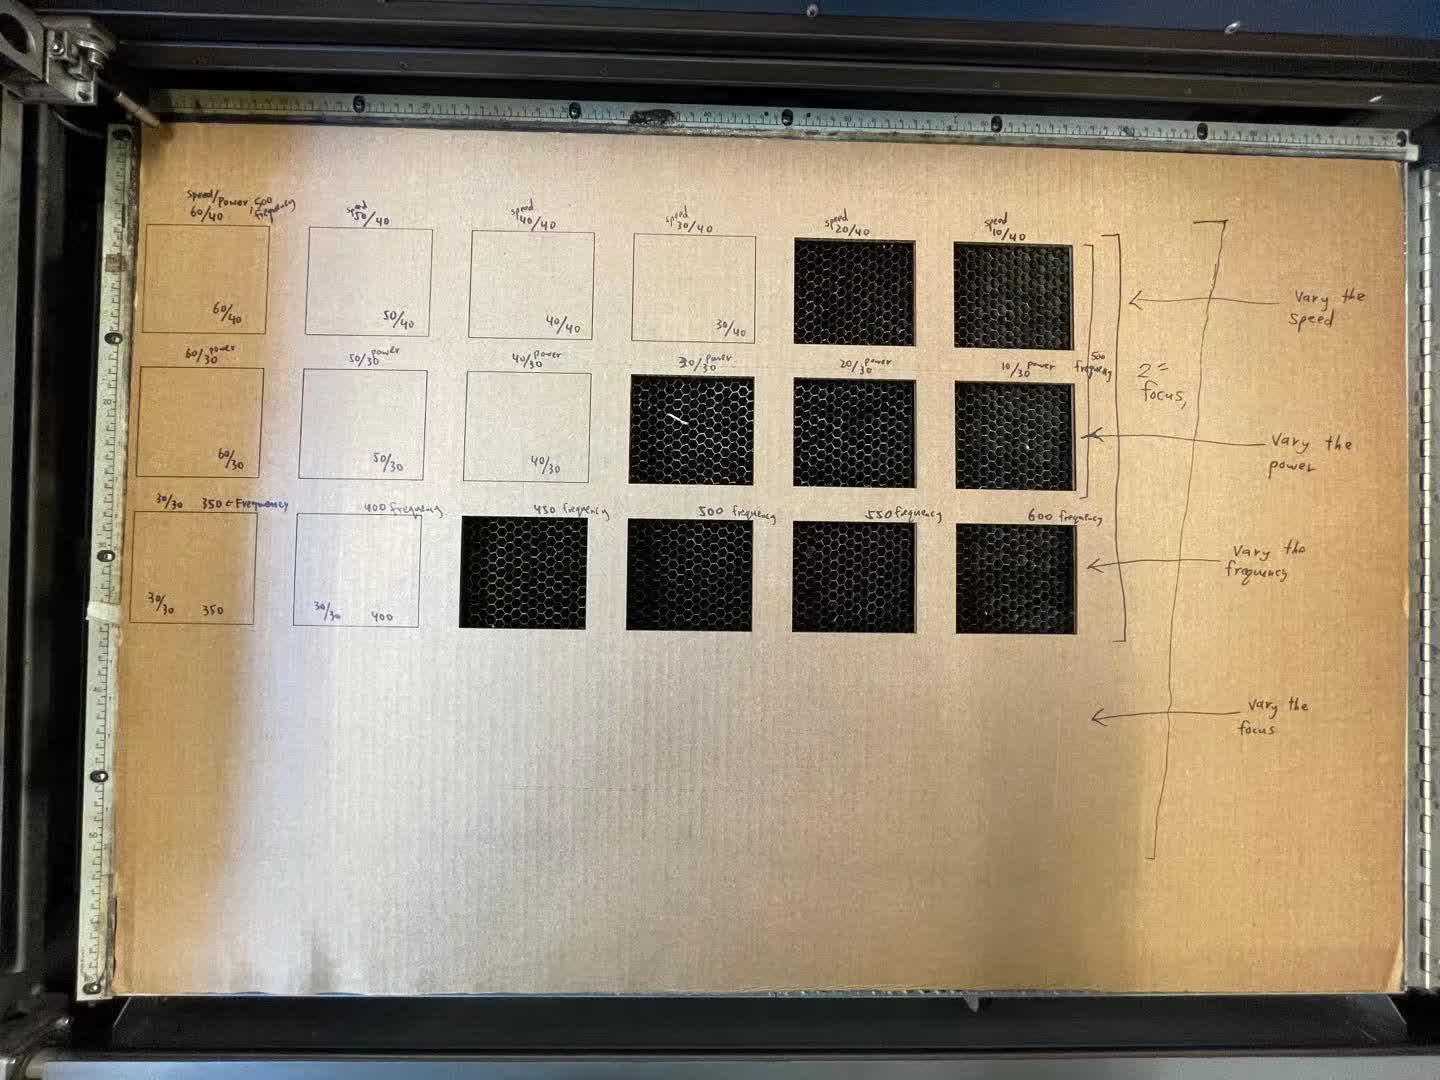
We kept the power at 30, and varied the speed from 60 down to 10, and we repeated the process by changing the power to 40. We also tested the frequecies ranging from 350 to 600 by keep the power and speed constant. The kerfing for higher or lower focus is thicker than the 2in focus.
//
Kerfs, Joint Clearance, and Types
We cut out a comb like shape from the laser cutter and varied each tooth's width by add 0.1mm and 1mm. Then we tried to fit the slits together to find out which sizes fits together tightly. For the kerfs, I measured the actual inner width for each slits, and compared the difference with my rhino settings. Turns out that the kerf is about 1.5mm.
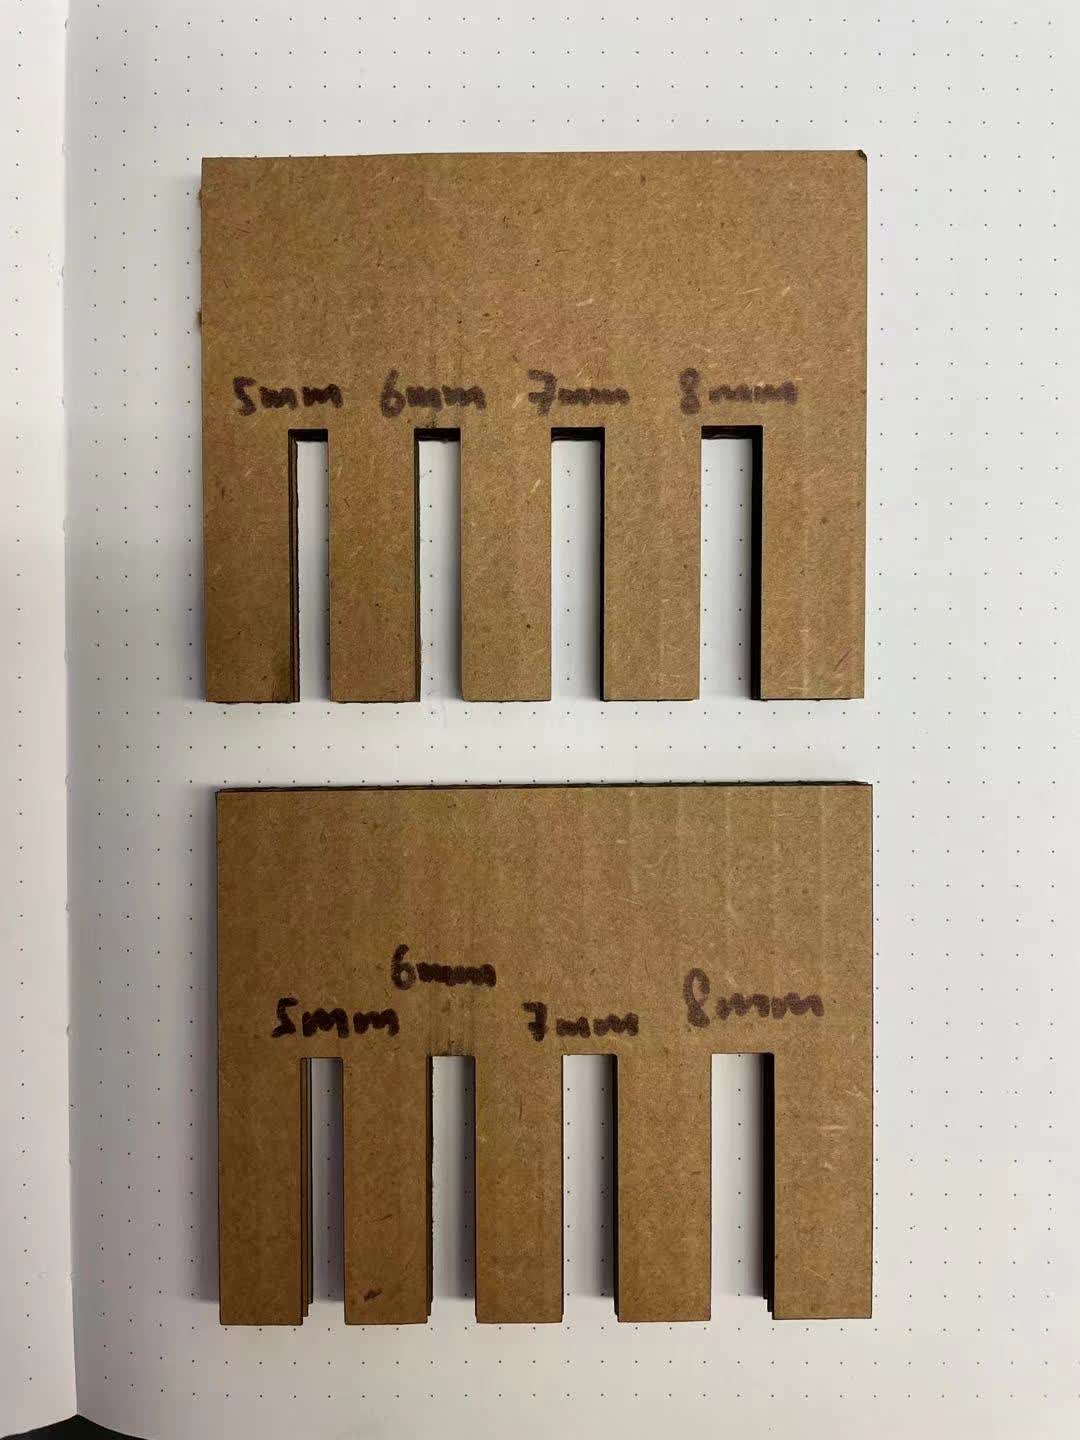
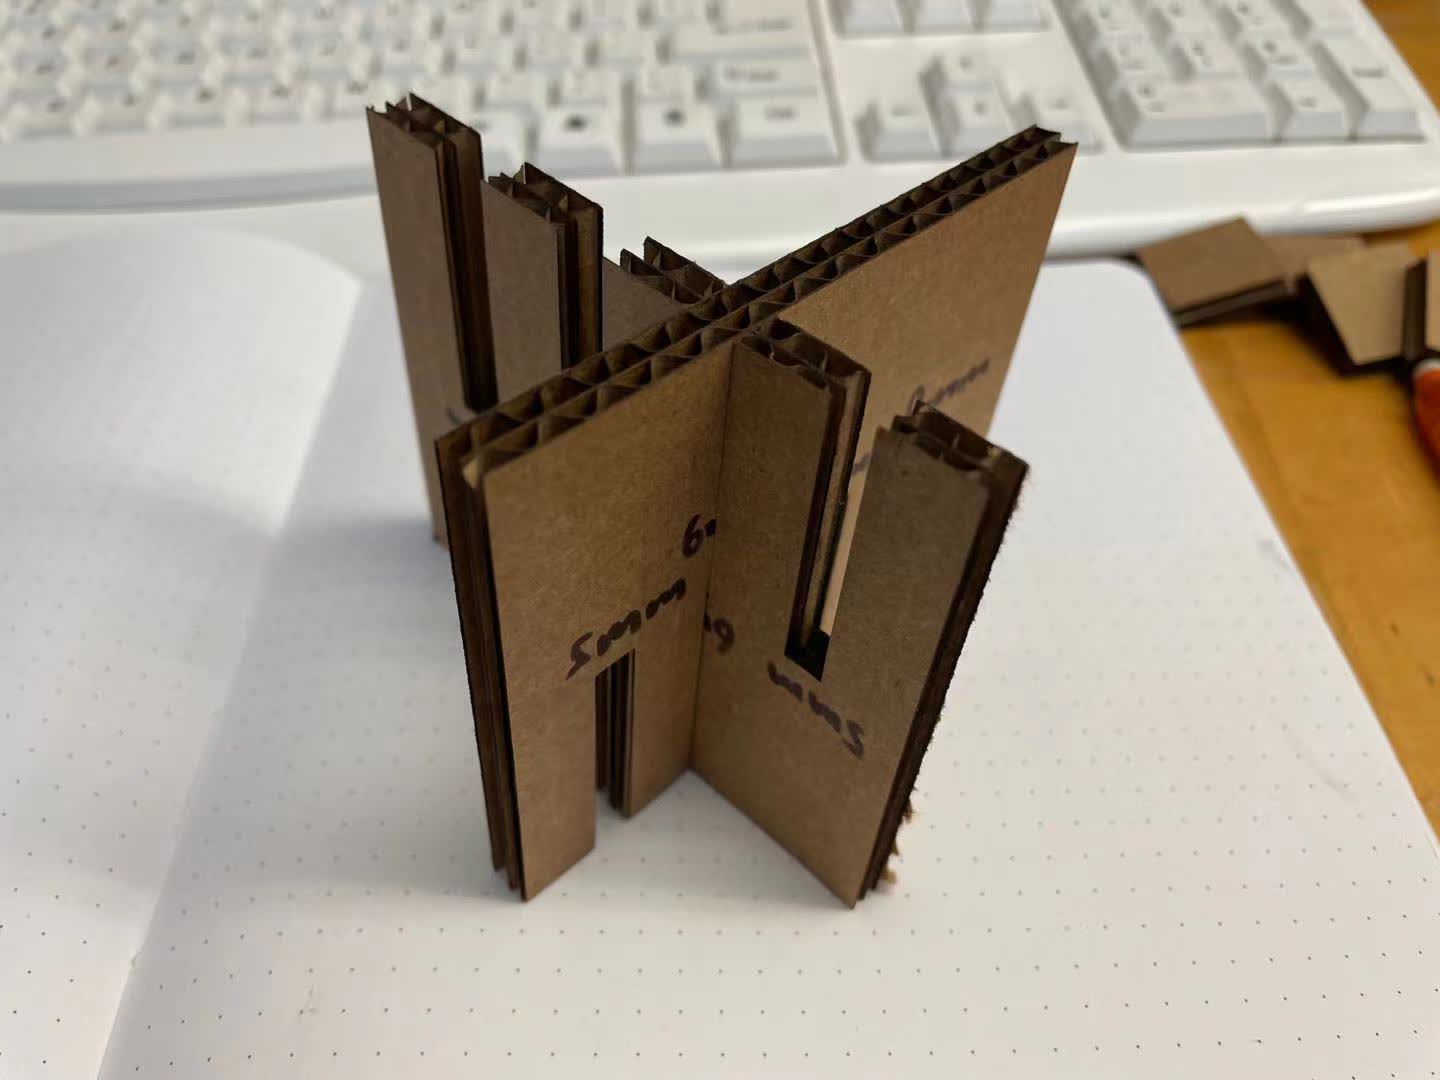
These slits vary by 1mm, and the 6mm one fits the best, probably because the board is about ~6.3mm thick.
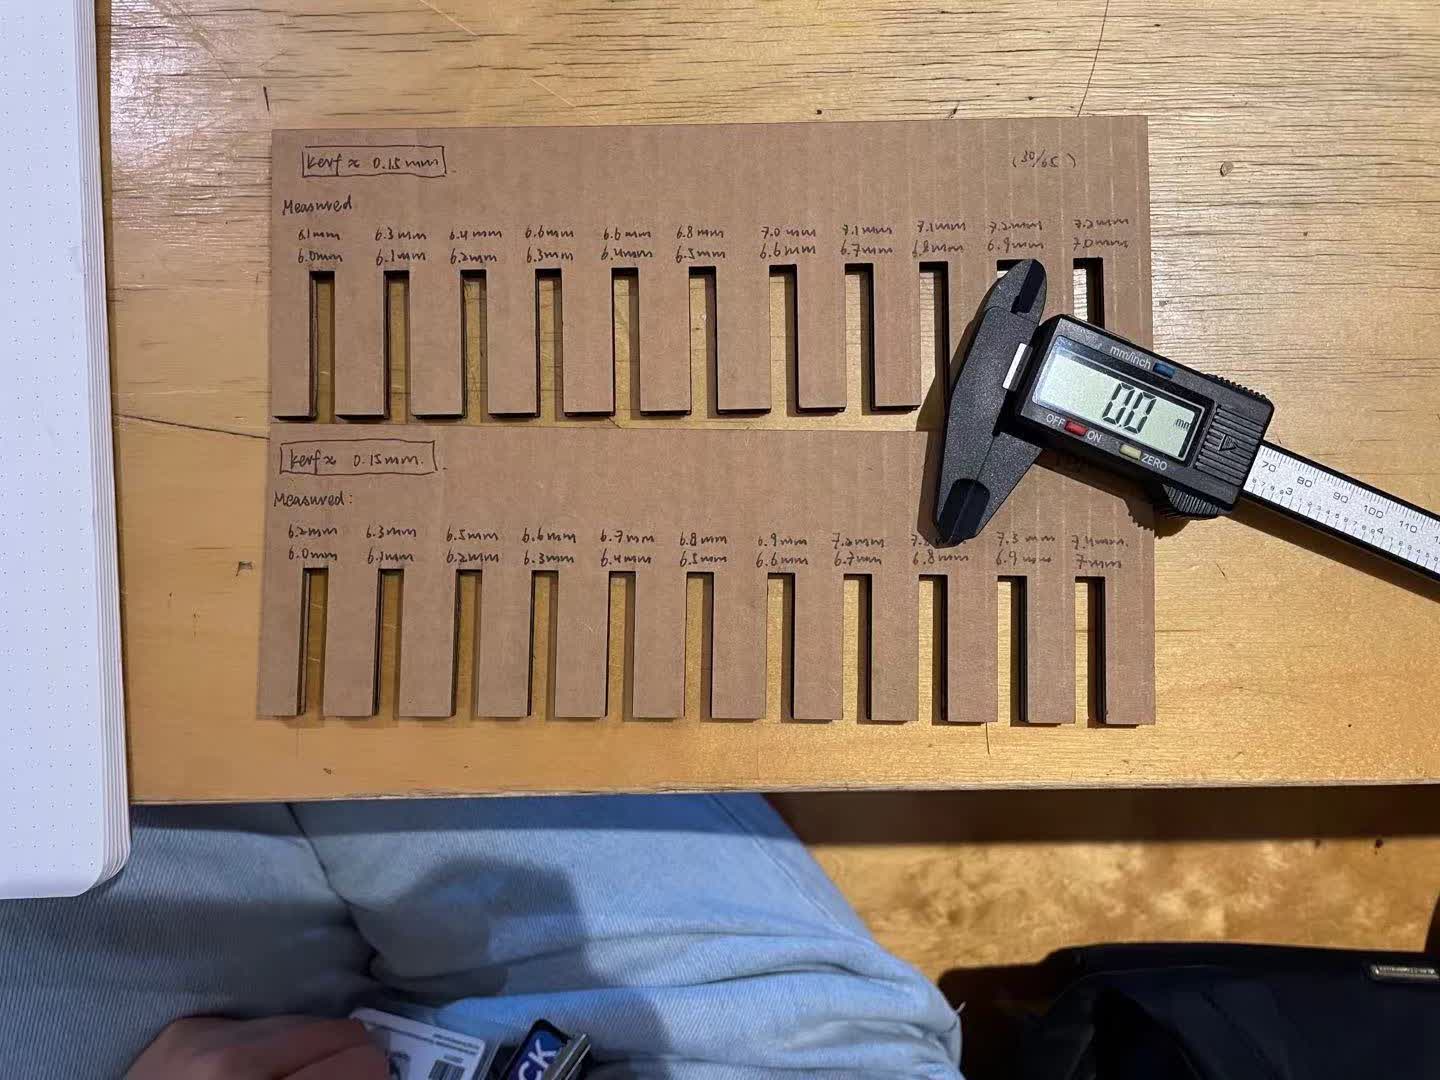
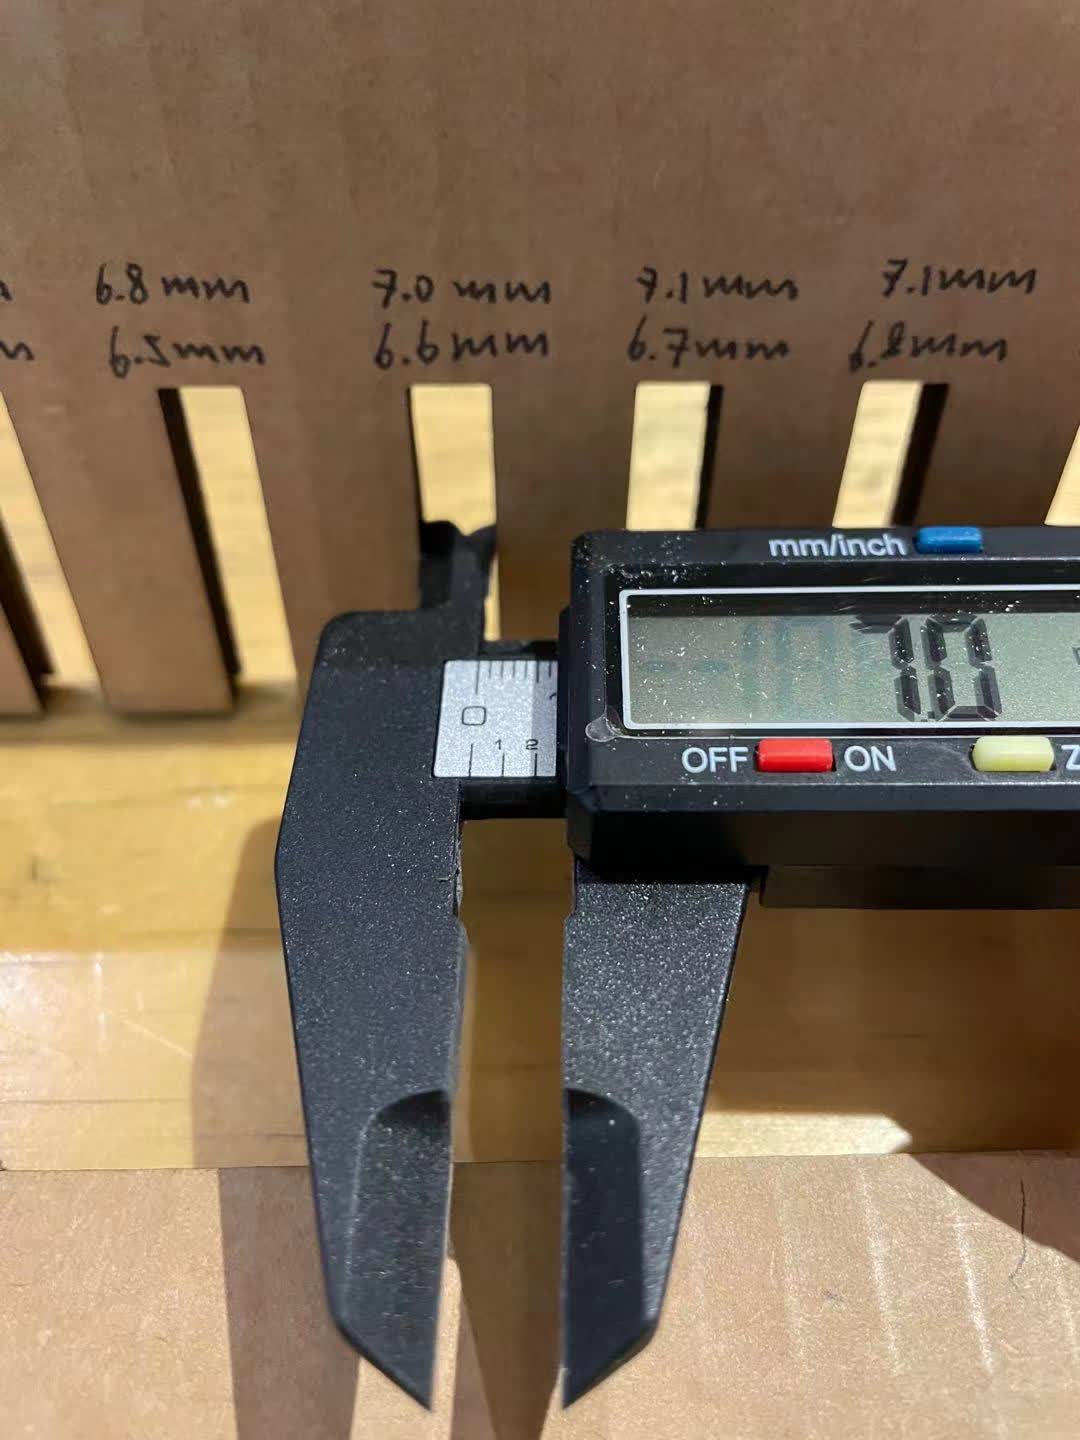
These sits vary by 0.1mm, and I measured the inner actual width to calculate the error(kerf).
02 Individual Assignment
//
Vinyl Cutter Exploration
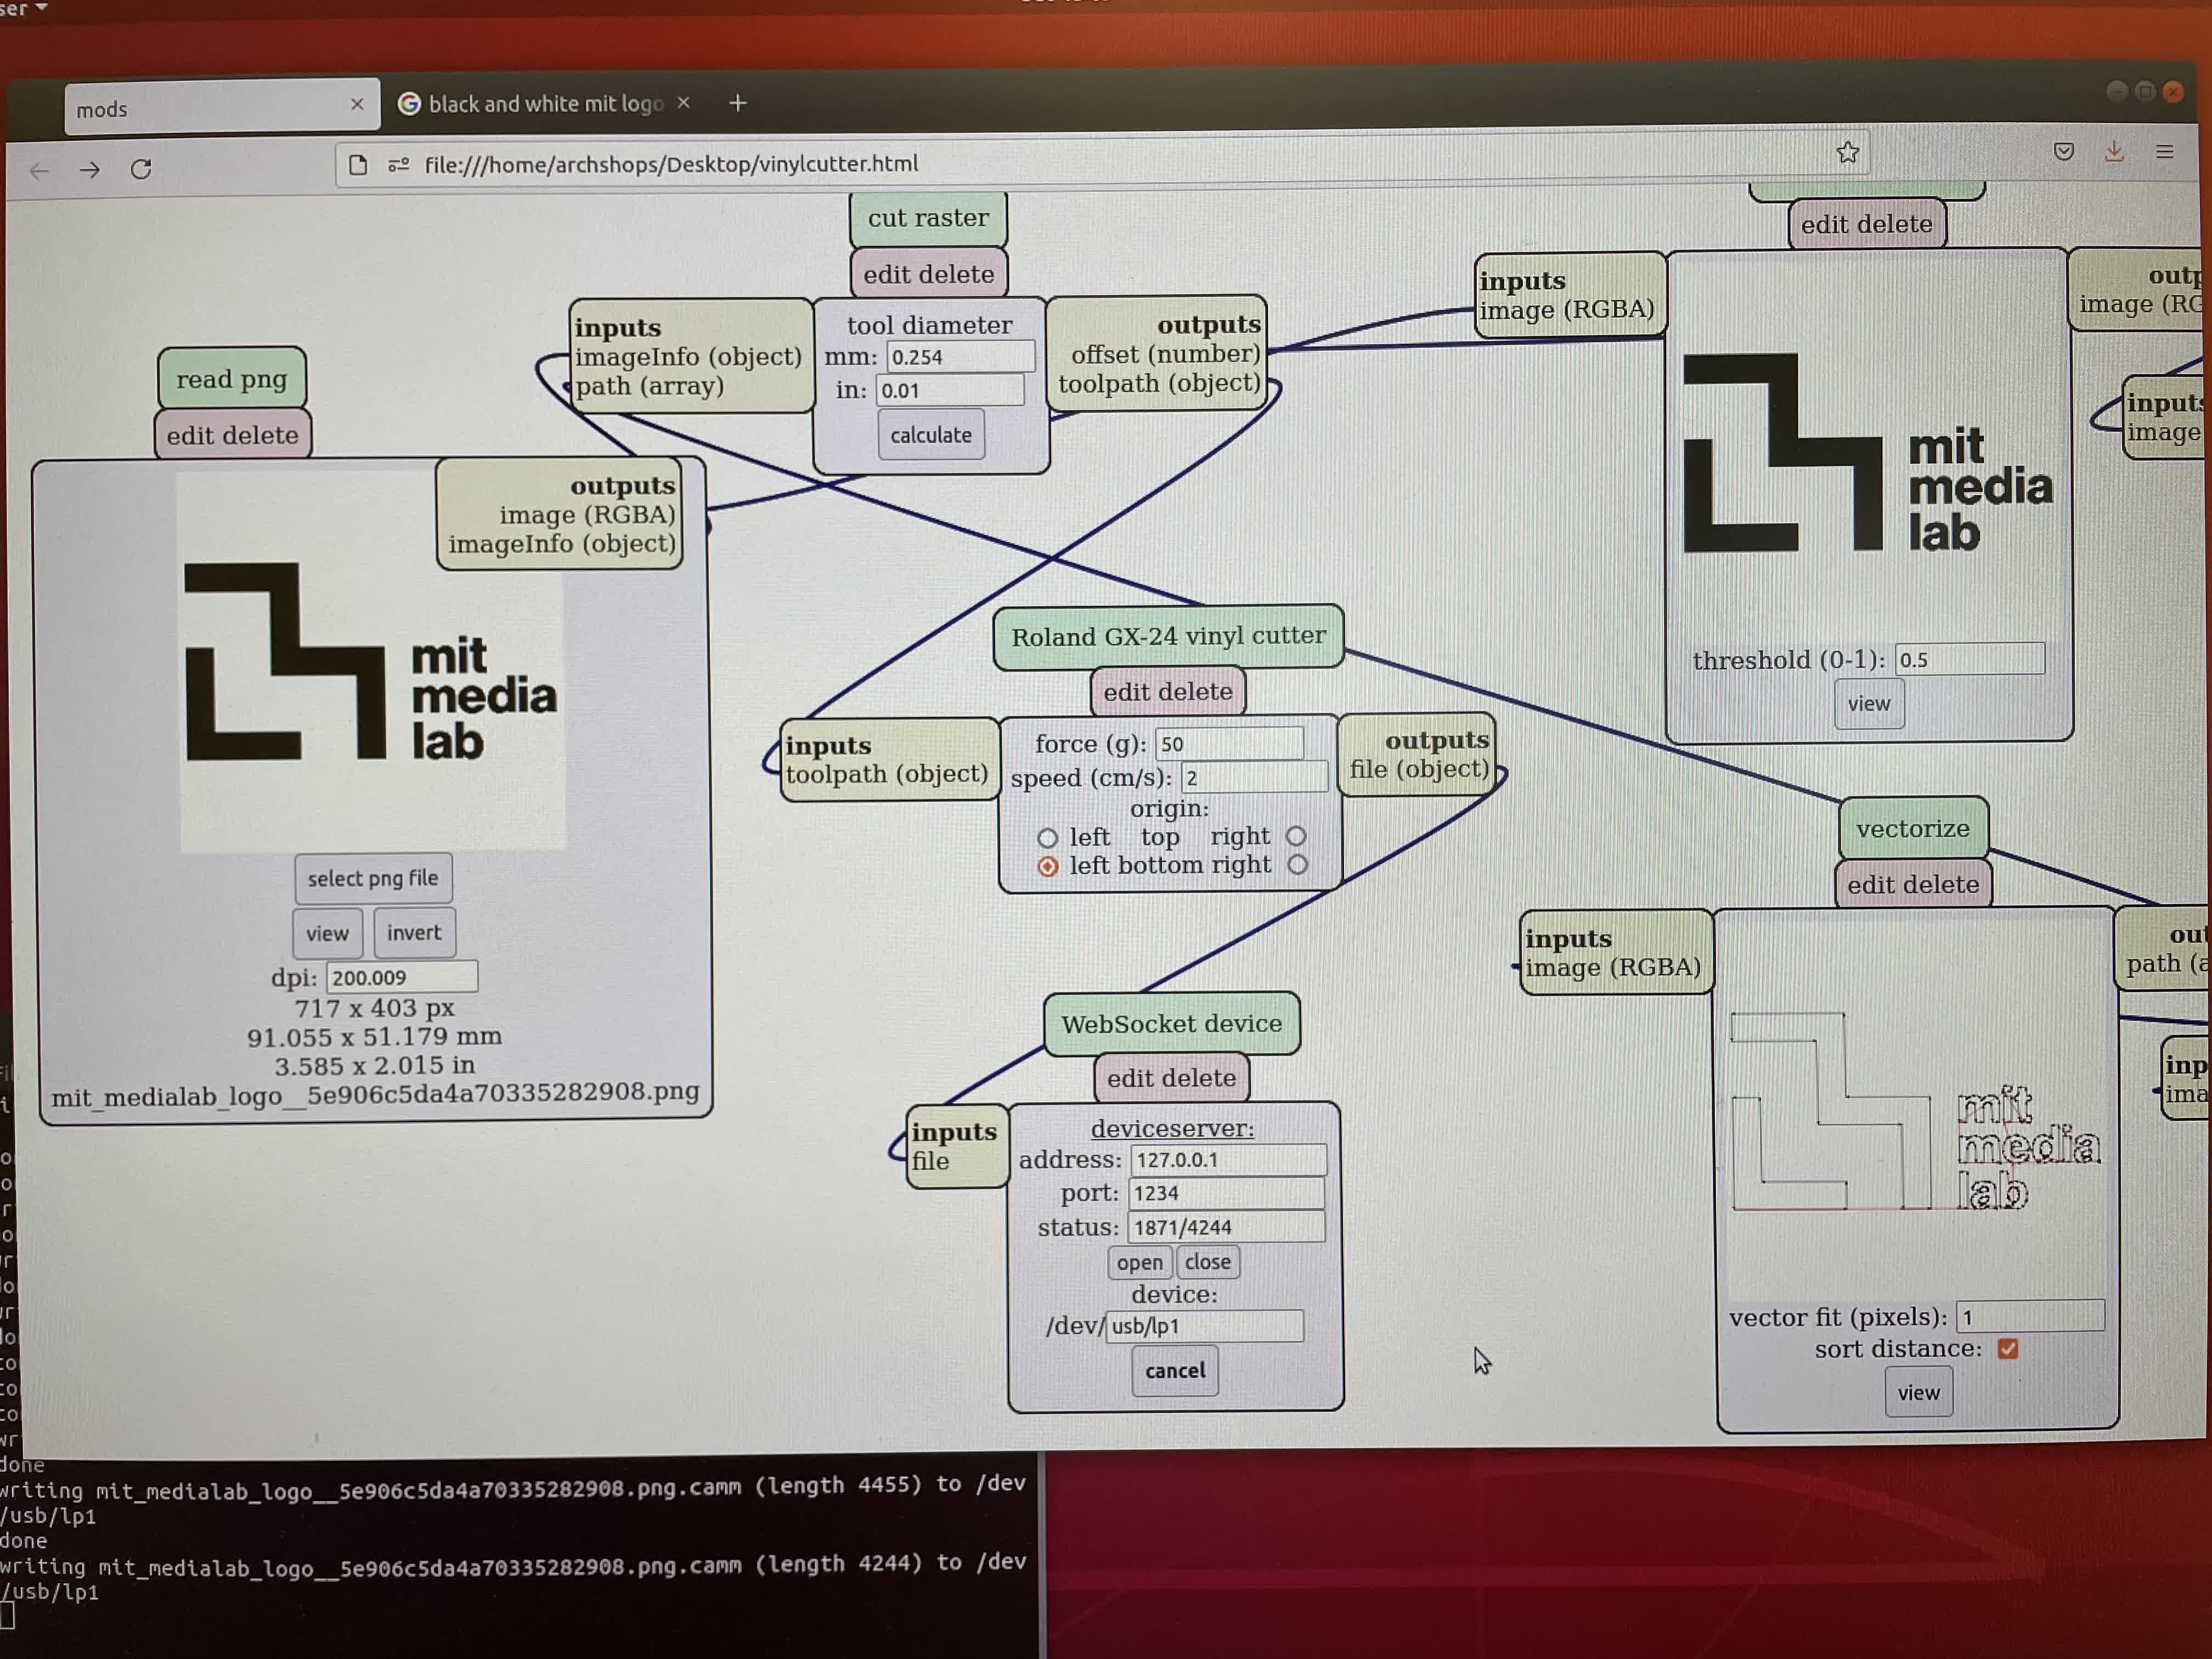
I downloaded 2 MIT logos (Media Lab & MIT Press) and cutted them on the Vinyl cutter using the platform mods. I used two colors of sticker material and found out that they needed different forces in order to get the perfect edges. I sticked them on top of my laptop. It was very fun to create customized stickers.

Two logos I used for cutting.
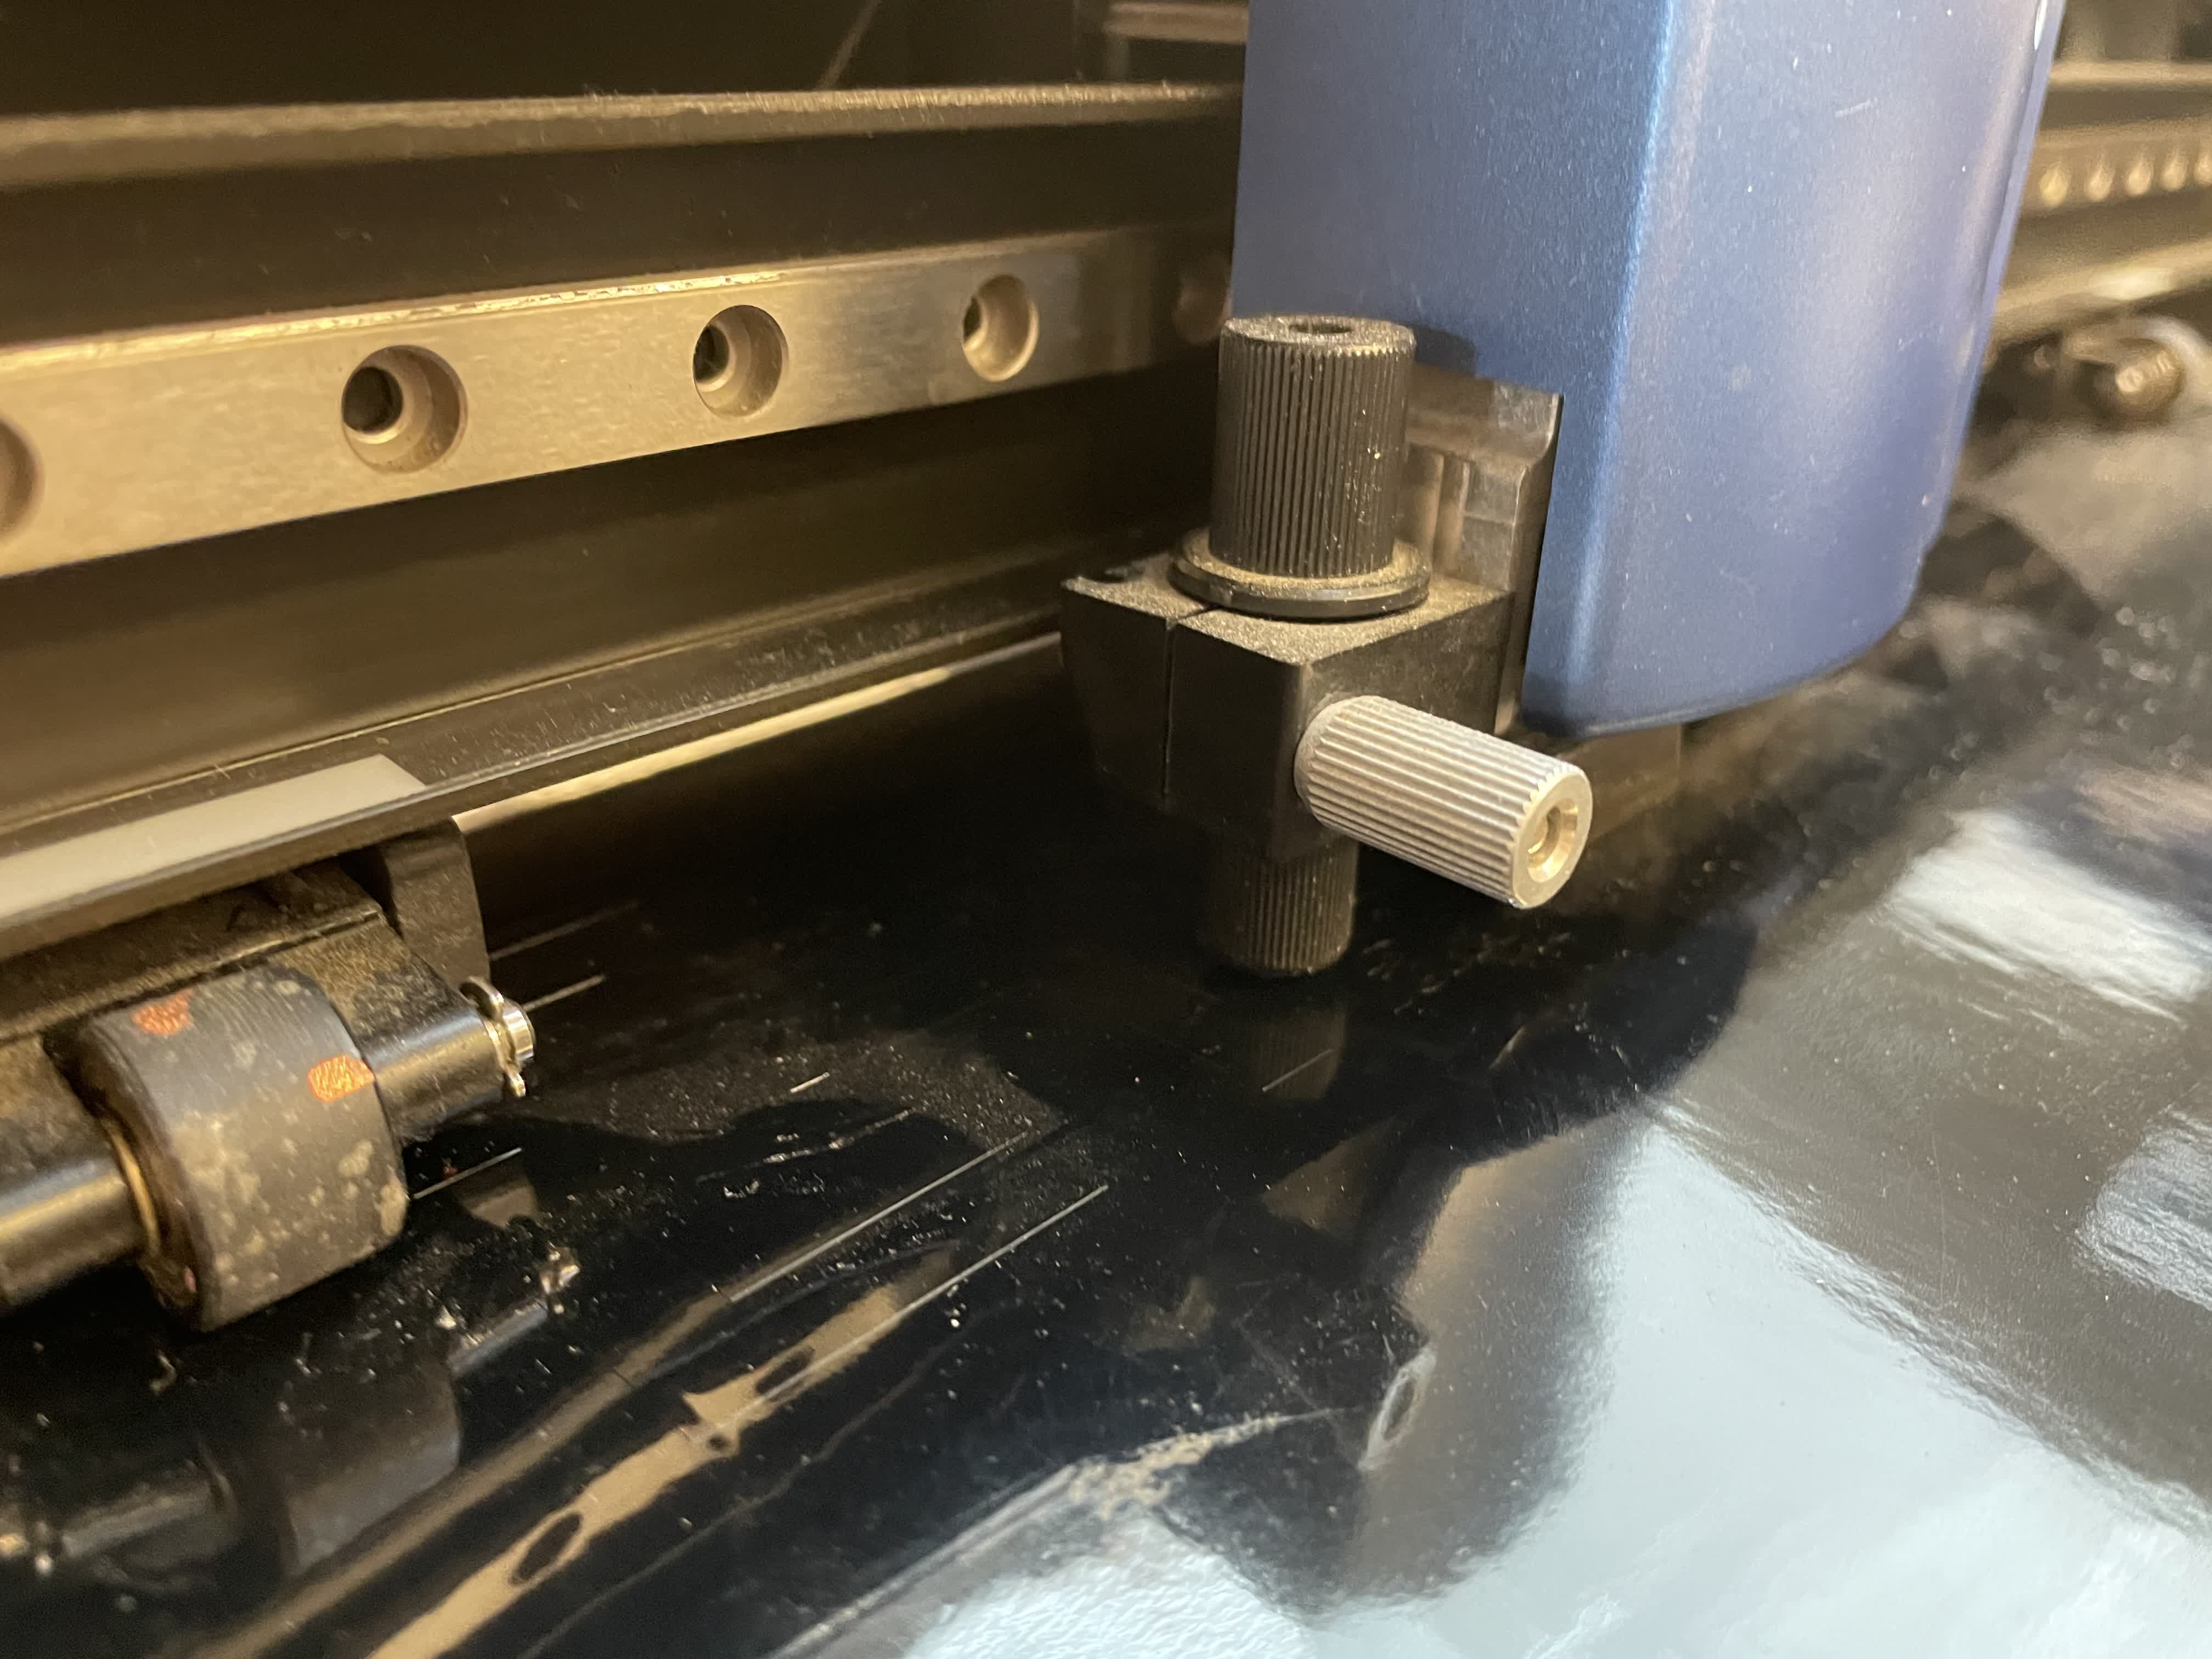
I used numbers for settings in the tutorial. With force of 90, the cutting edge is fine for white vinyl. However, I had to increase the force to 100 in order to cut through the sticky part on the black vinyl.
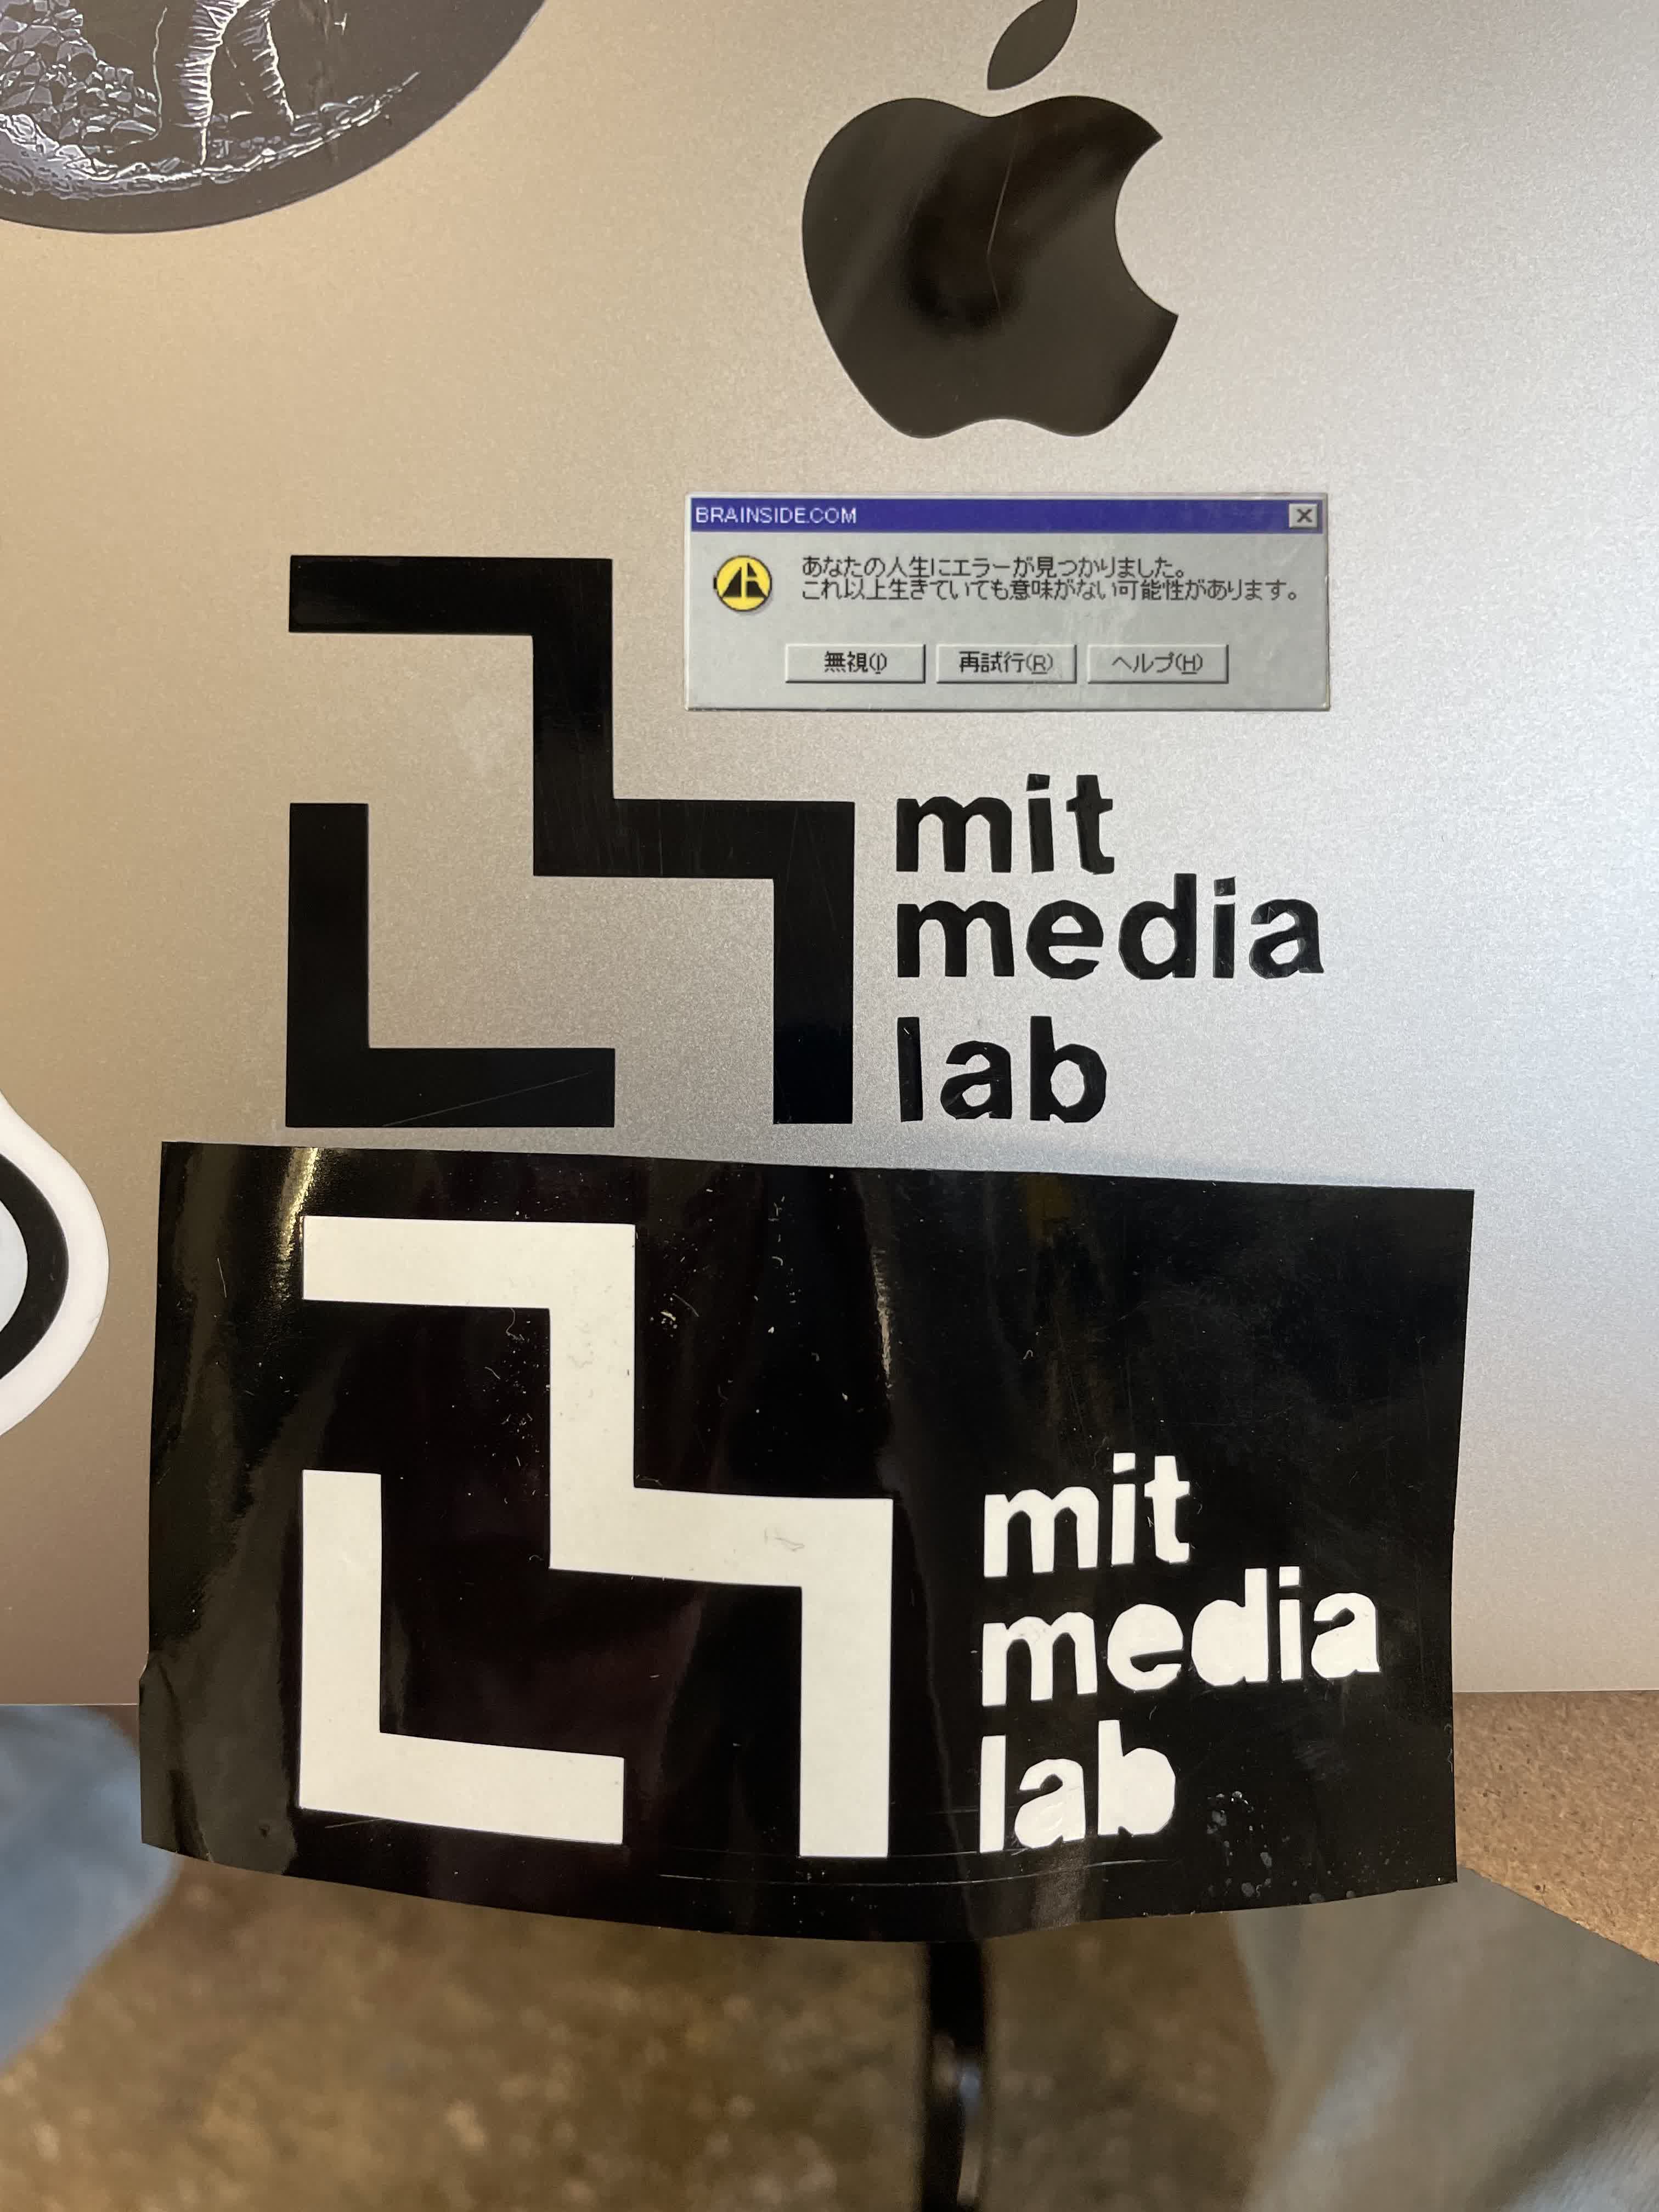
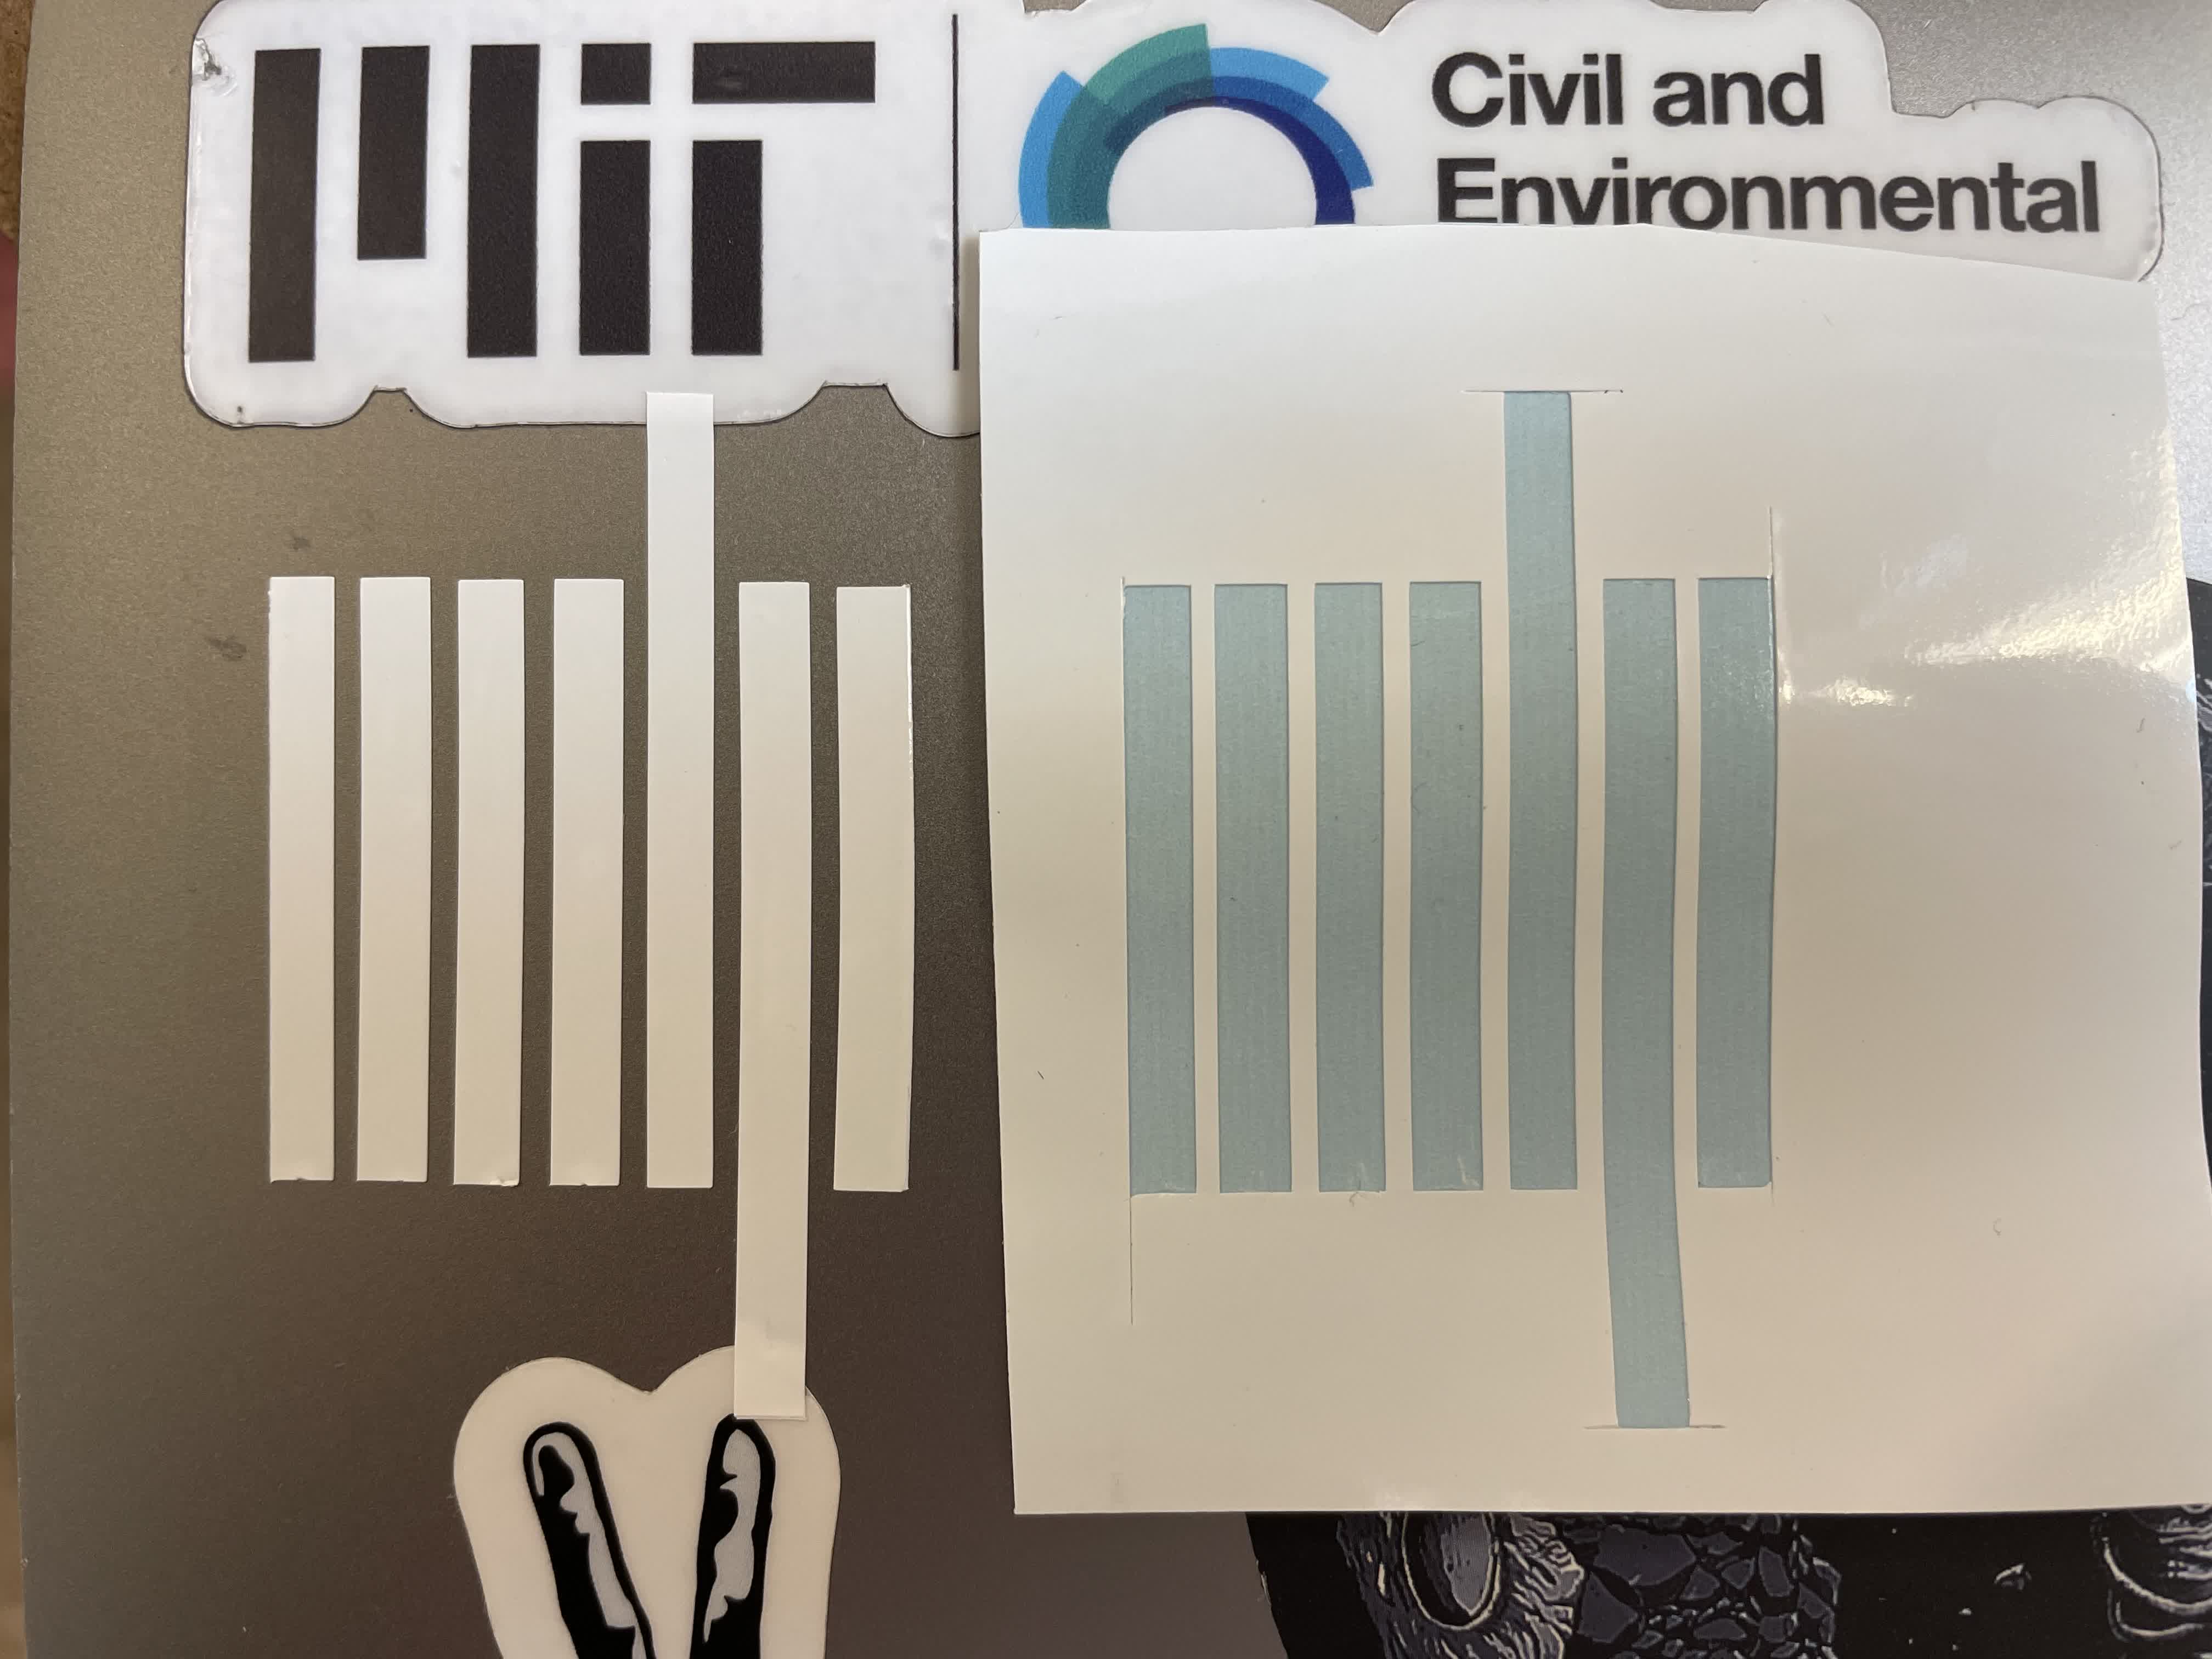
These are my end results!
//
Parametric Construction Kit
For this project, I wanted to make a modular constructed modern tiny house. The tools I used for this assignment is Rhino7 and the plugin grasshopper.
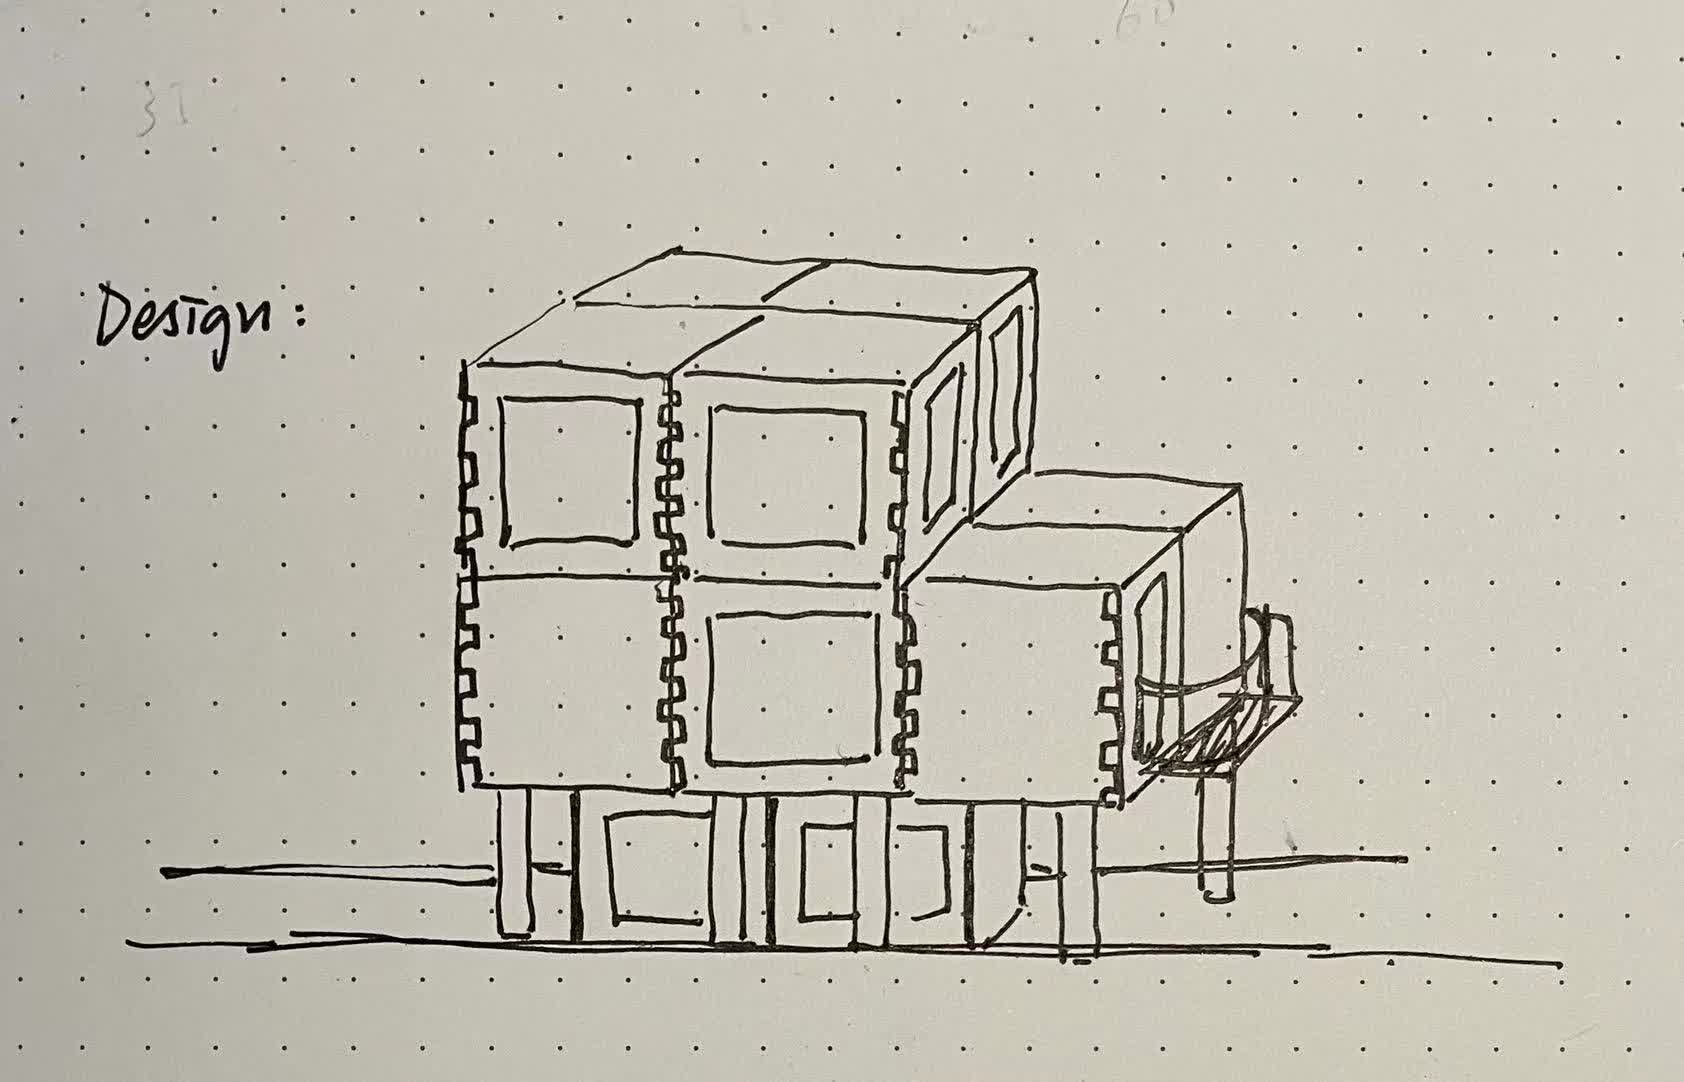
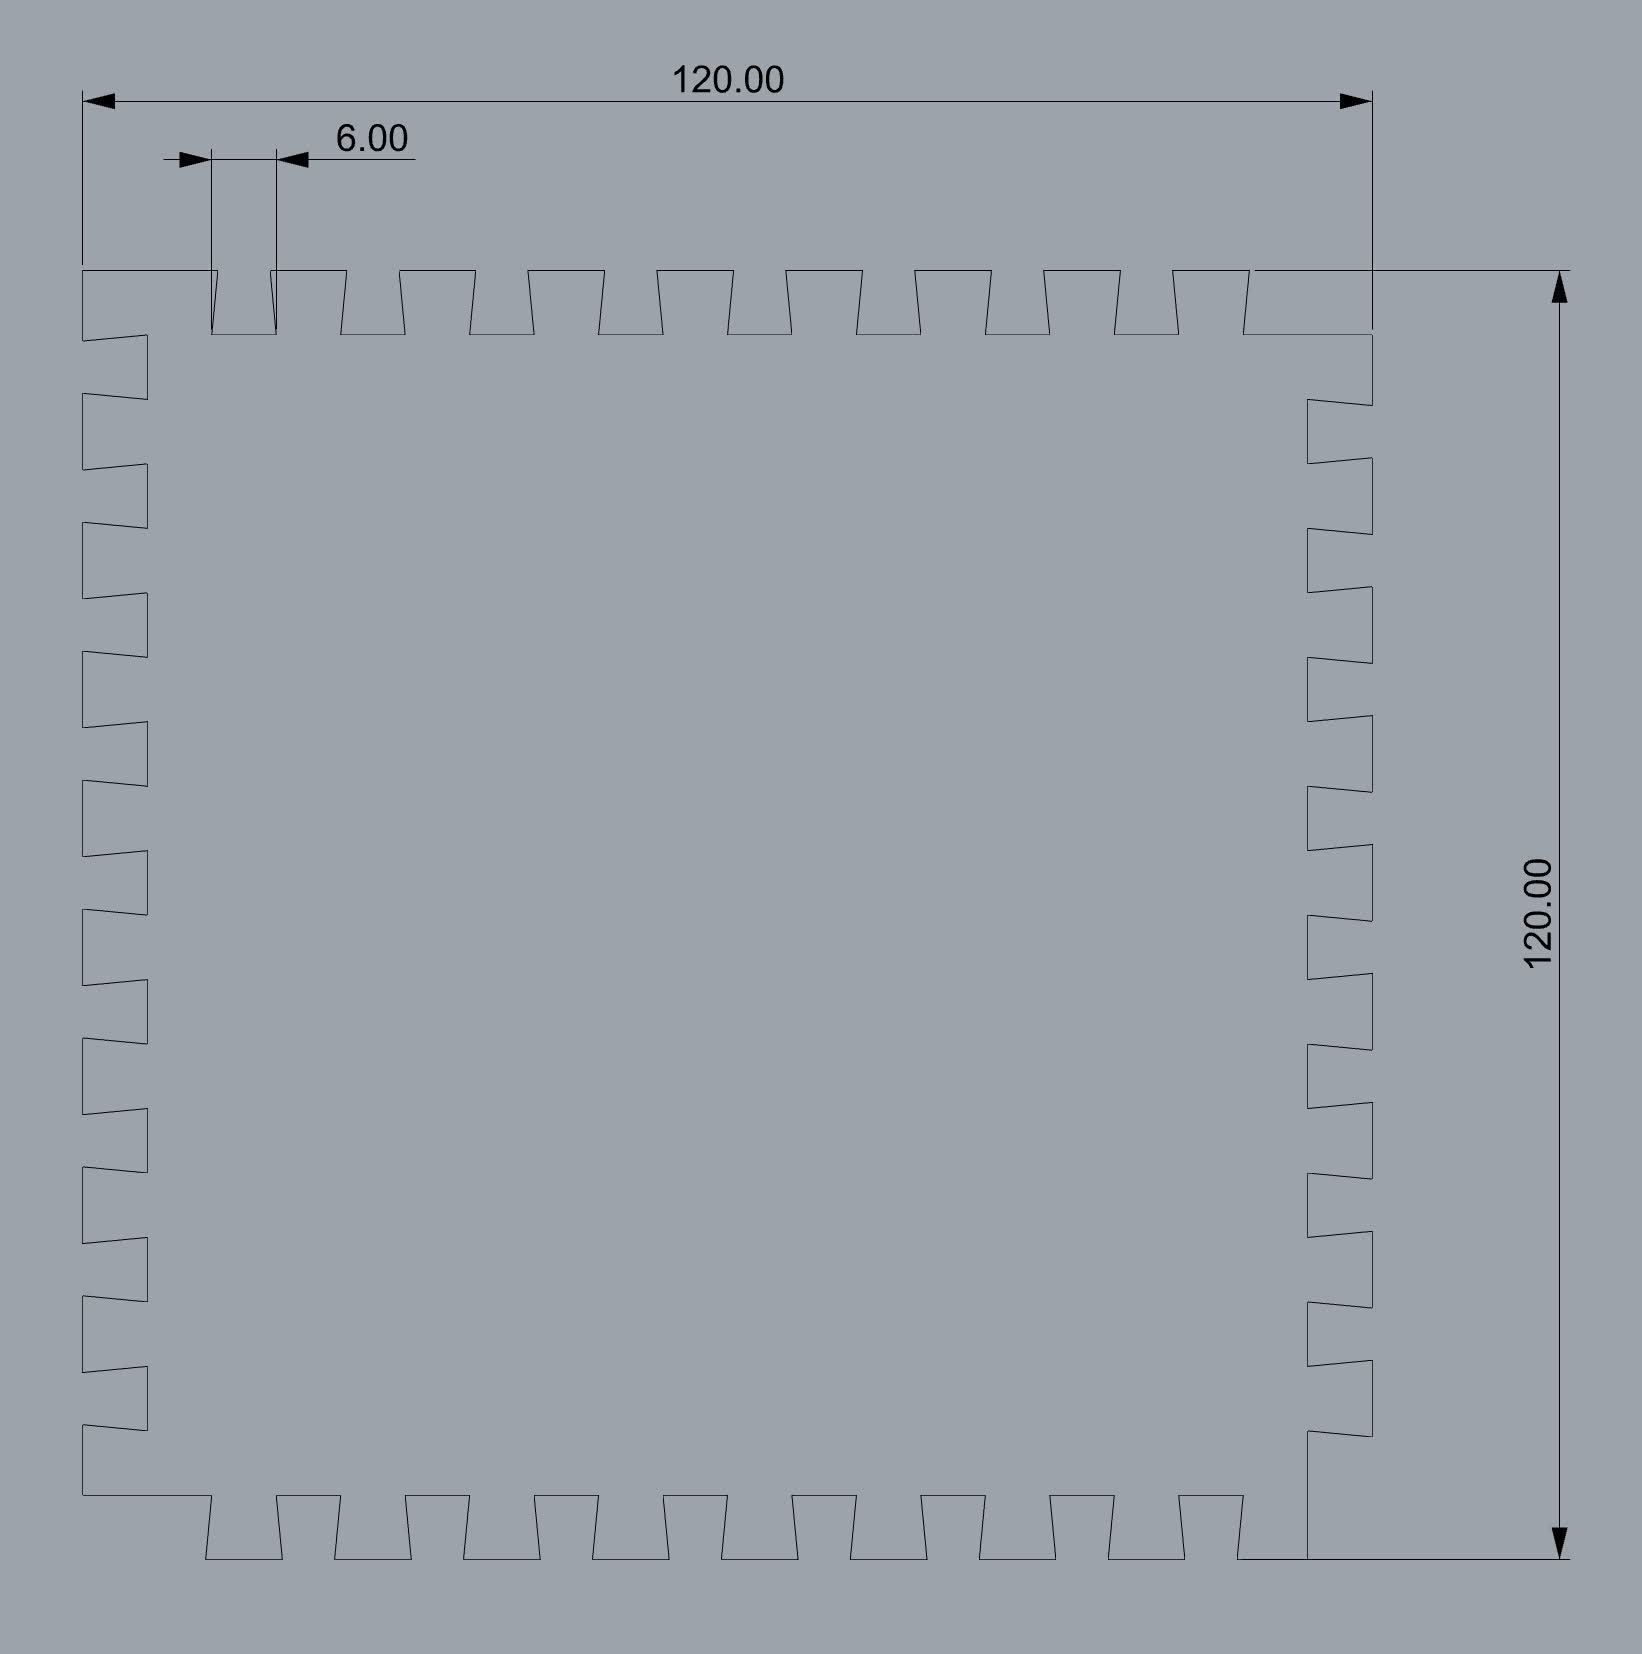
Each piece is about 120mm by 120mm. The house can be constructed in many ways by moving the surfaces all around. I also added "big" sheets window holes on some of the sides to let the light in.
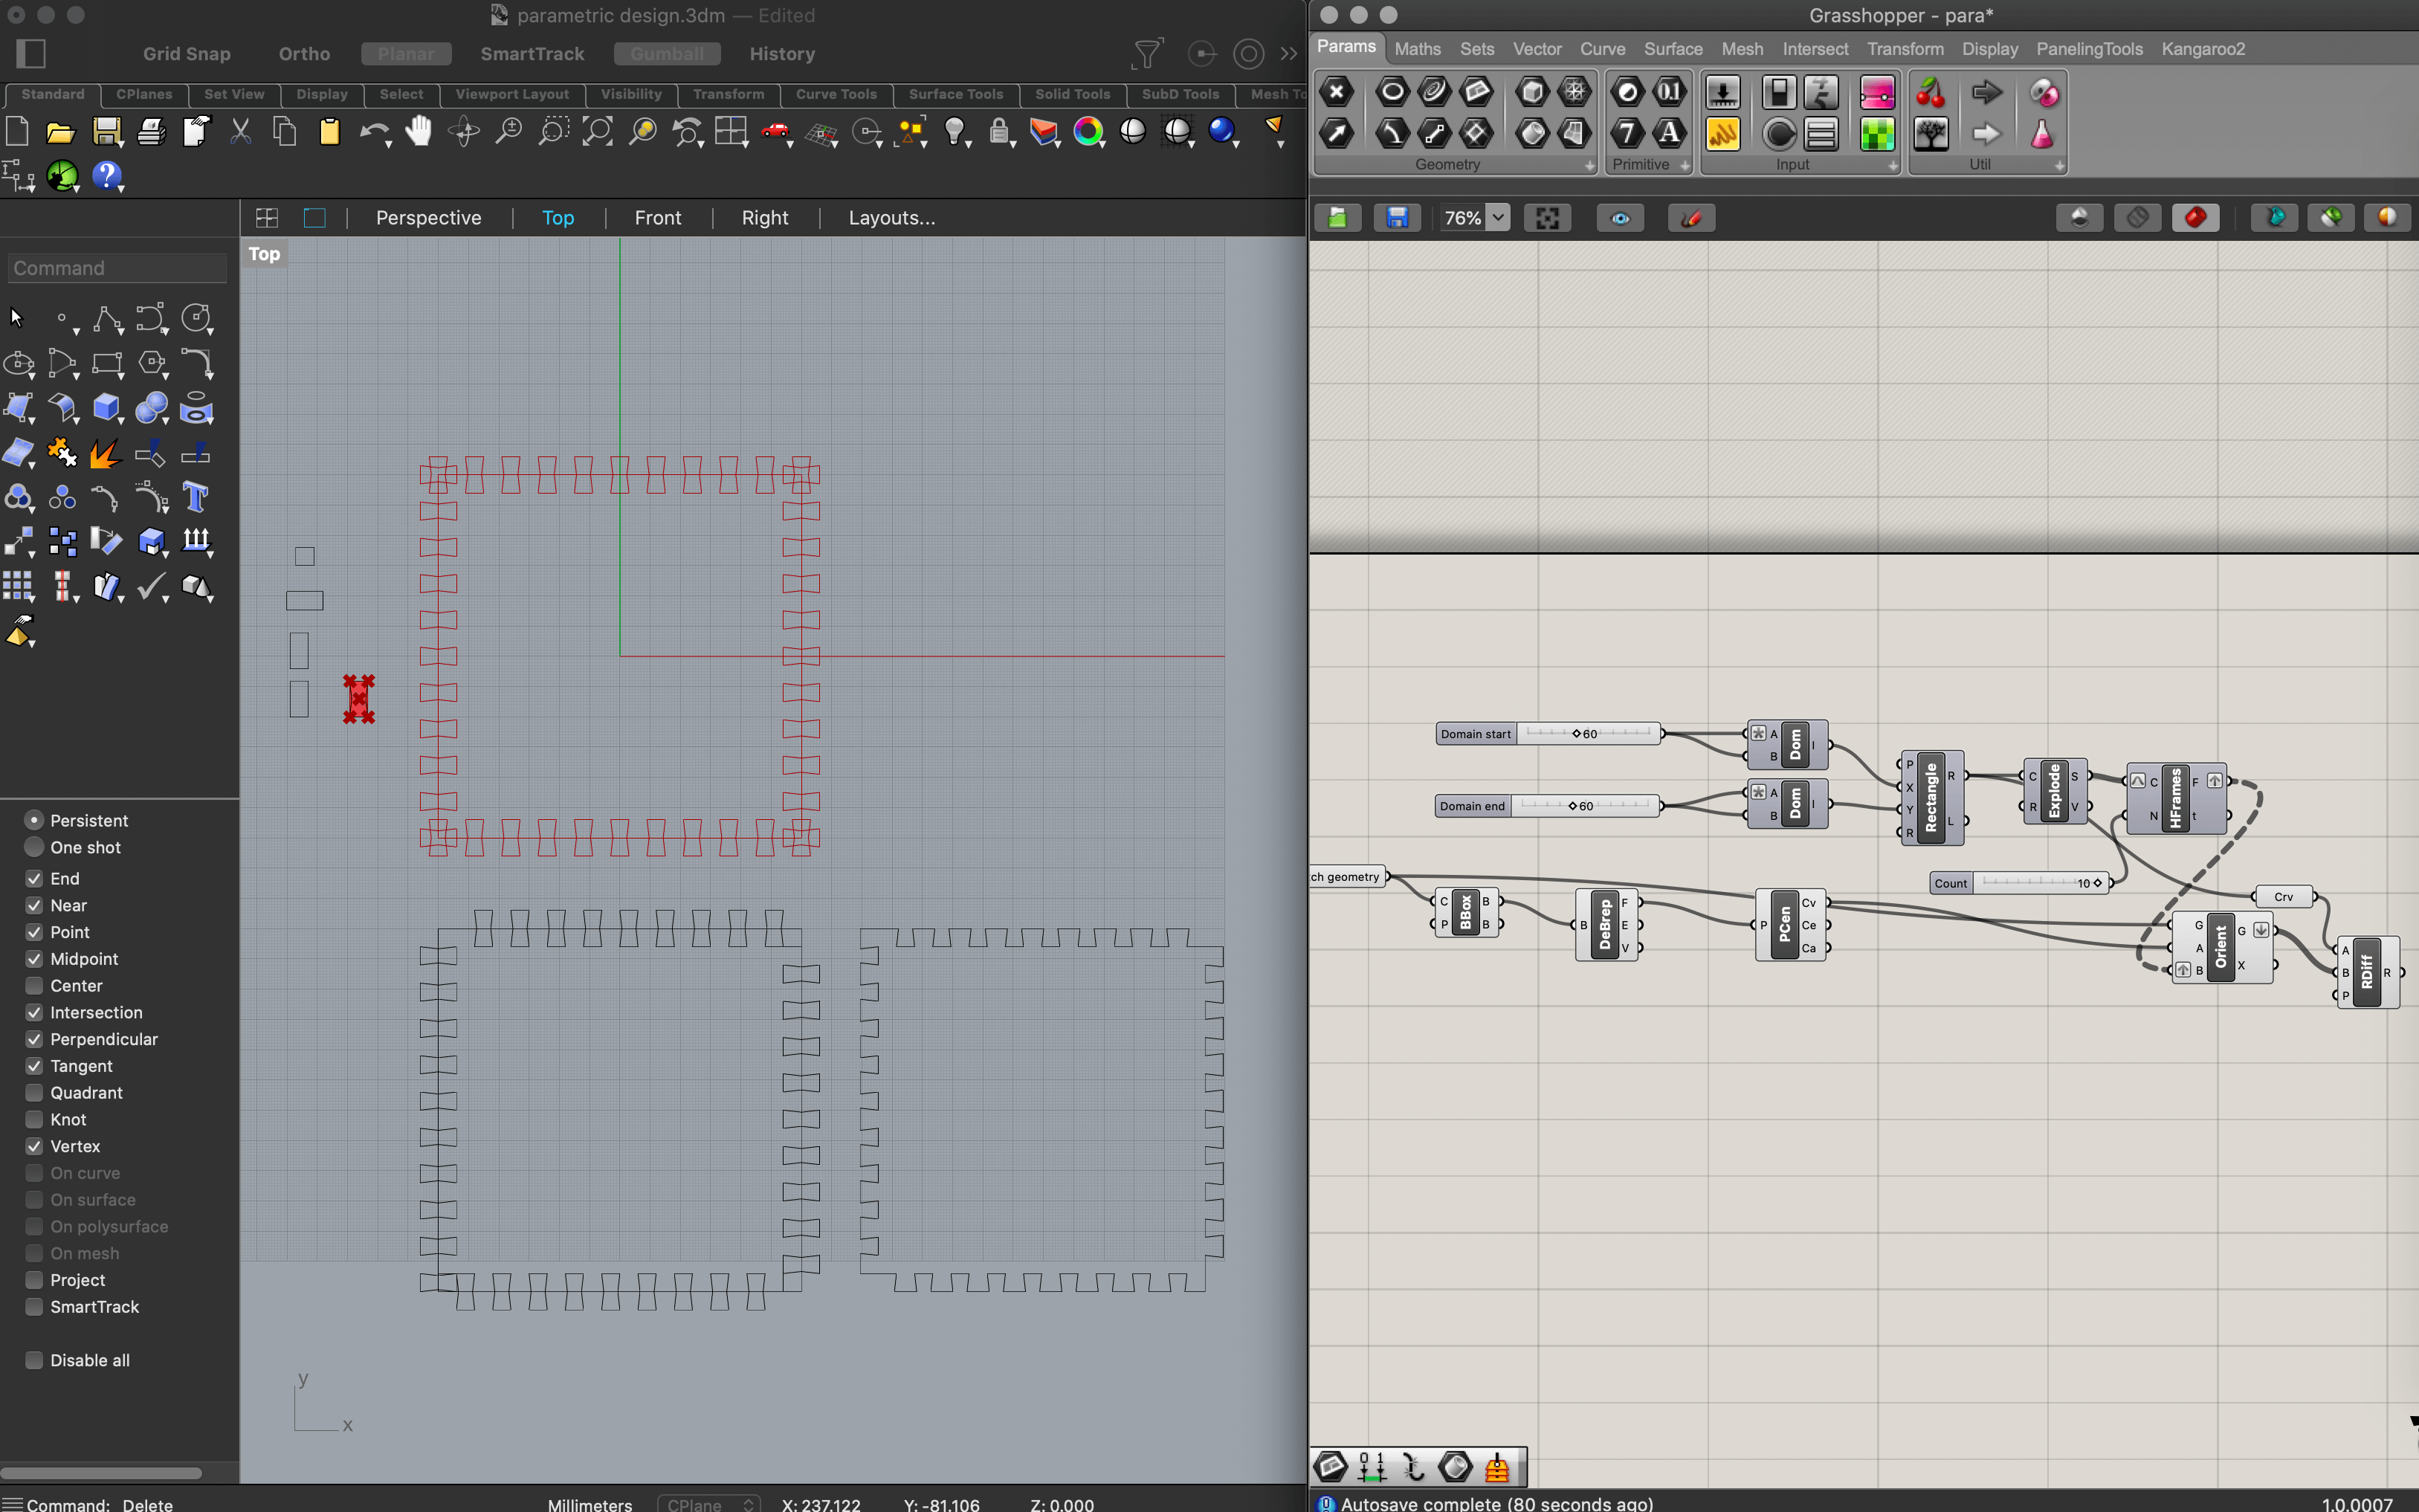
I started this out by using grasshopper and drawing the peices that are going to be used for the walls. I used finger joints in this case. Since kerfing we got from the pervious experienment is about 1.5mm, I included that value in all of my joints by setting them a 3mm smaller than the thickness of the cardboard. From the video, we see that the number of finger joints can be easily controlled just by dragging the number slider left to right. I then baked the linedrawing and printed it on the laser cuttering.
I cutted a smaller peice for testing, but it wasn't working because the finger joints are not locking into each other. For the second prototype, I drew the finger joints' width a bit smaller on the outer edge, so that when two edges meet, it is going to bite together better.
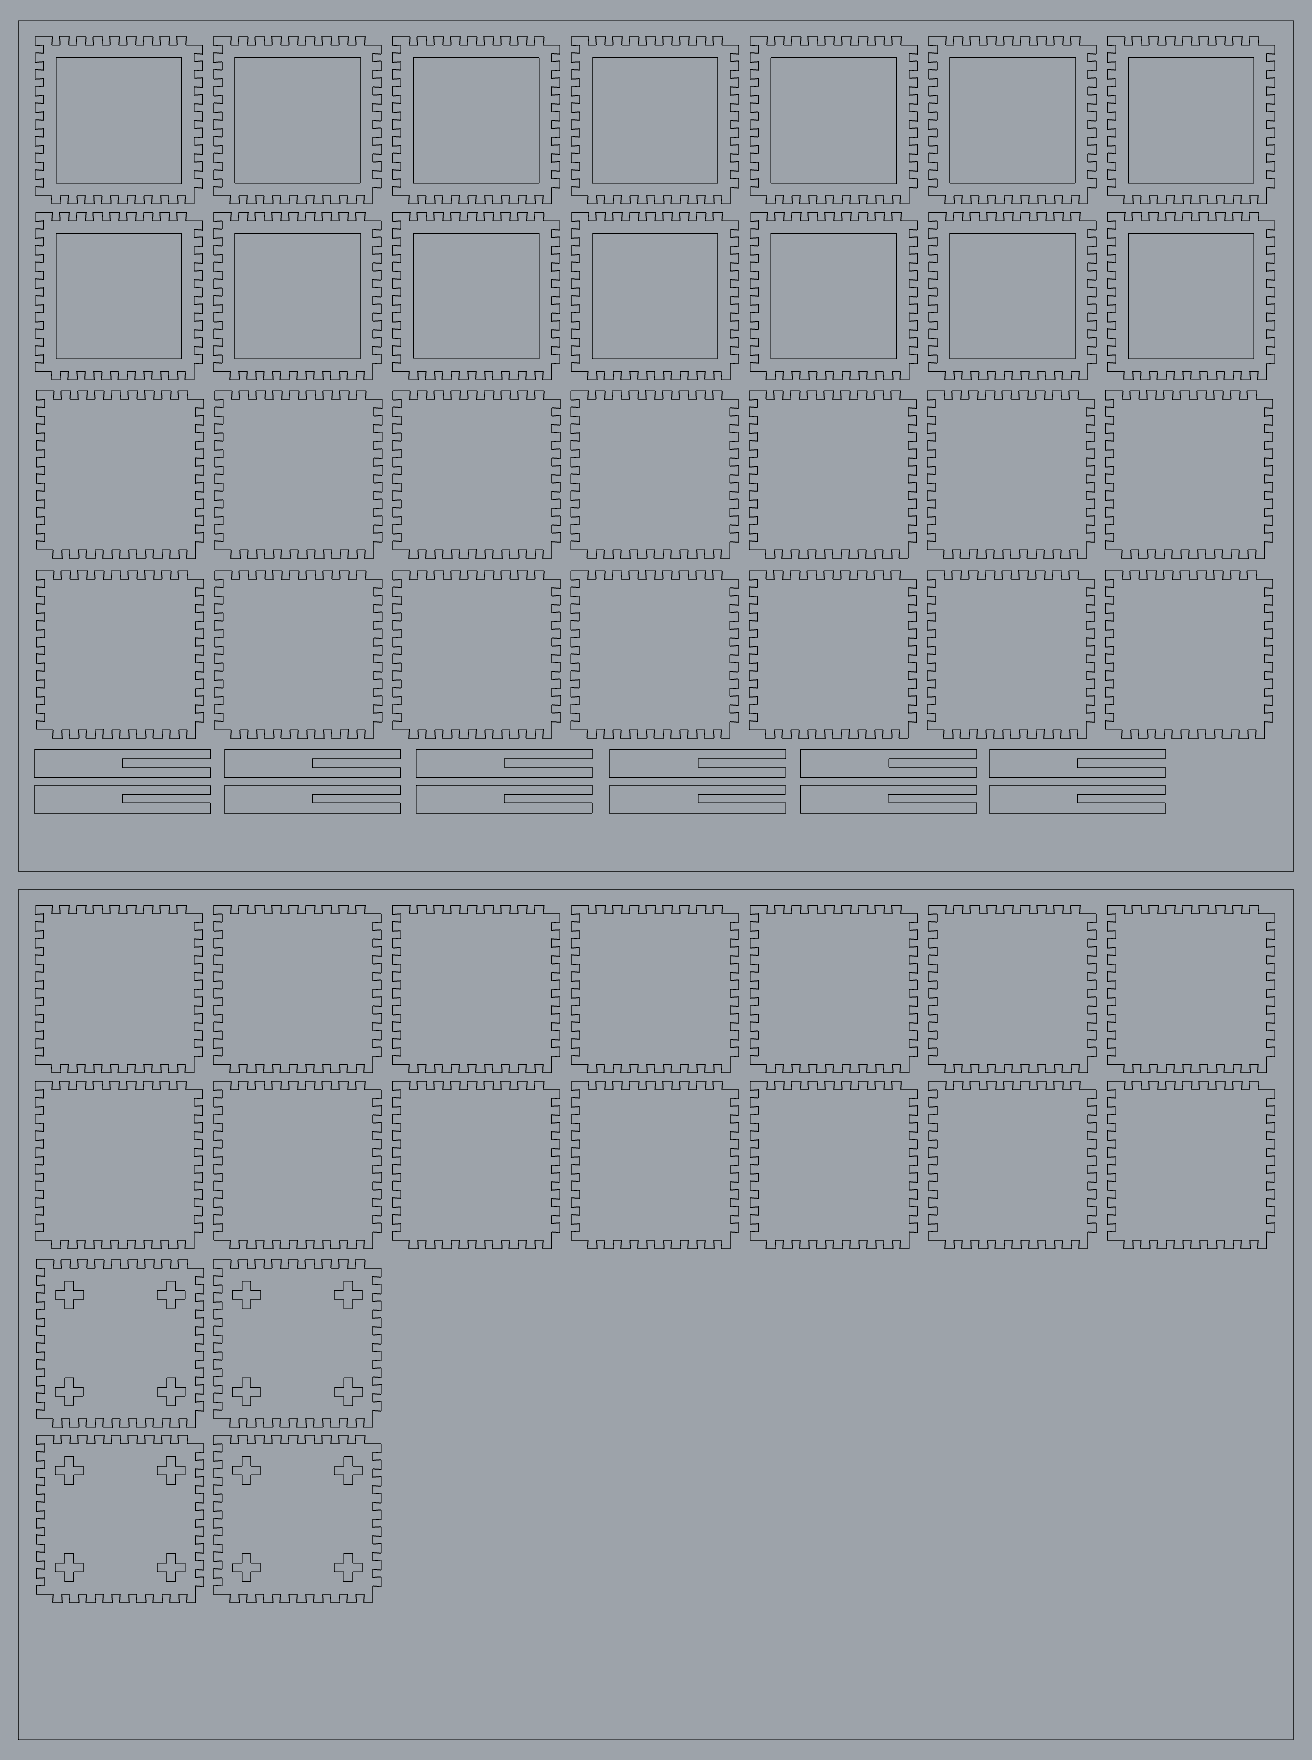
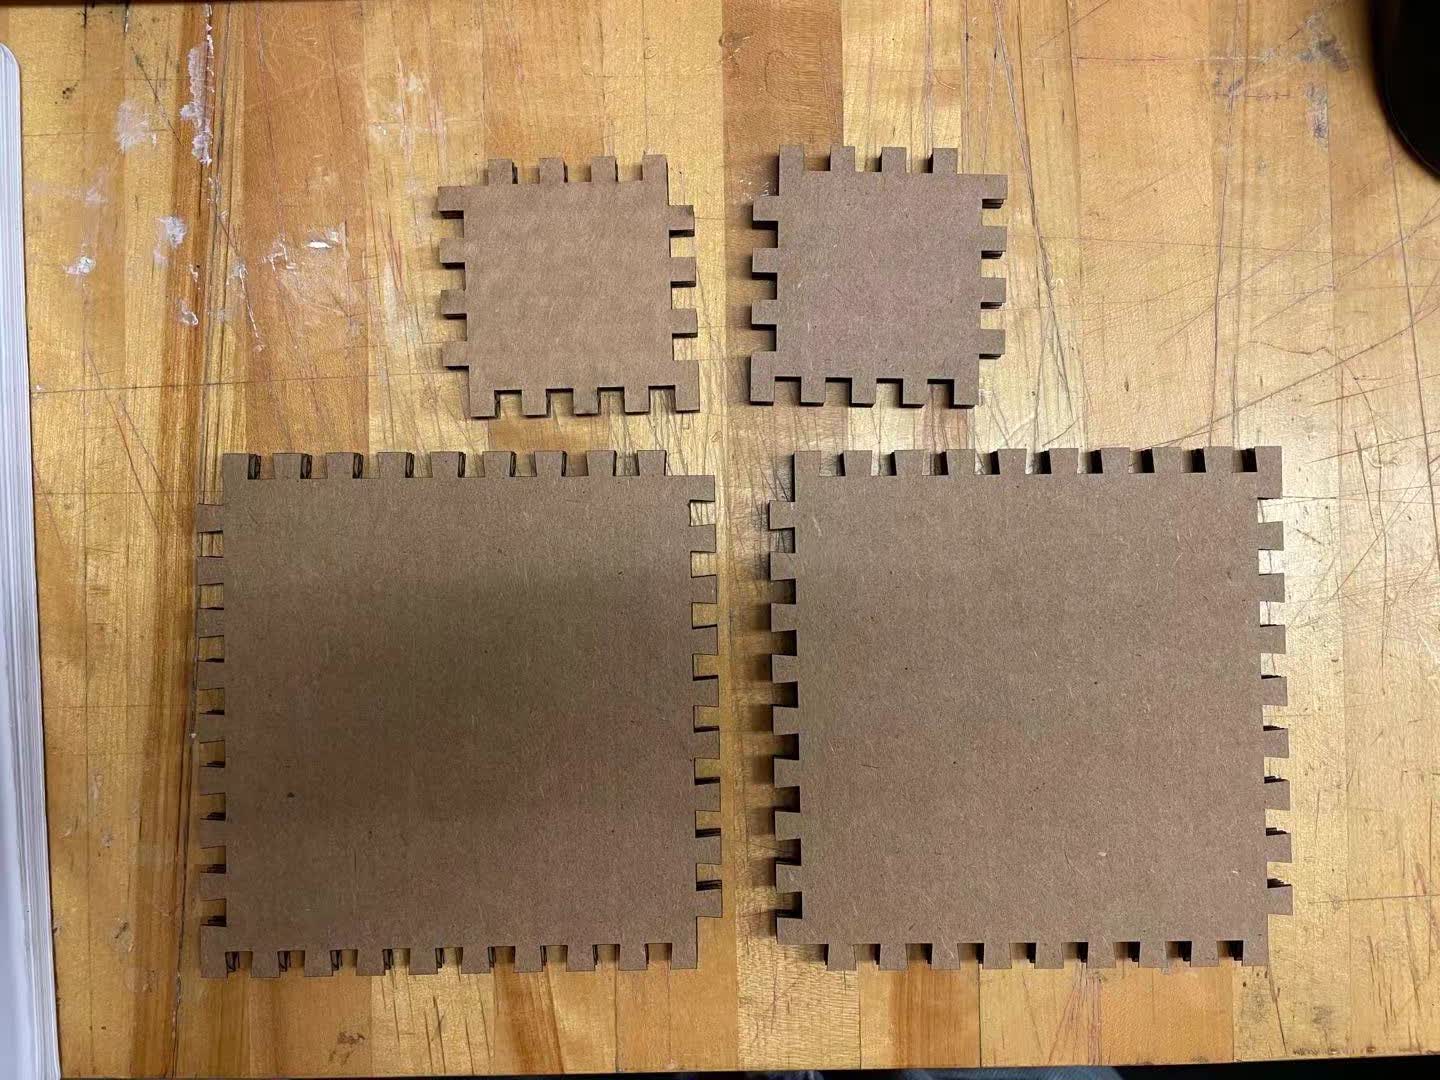
After deciding the final shape of each pieces, I layed them on 1.5 pieces of cardboard and get them ready for the laser cutting.
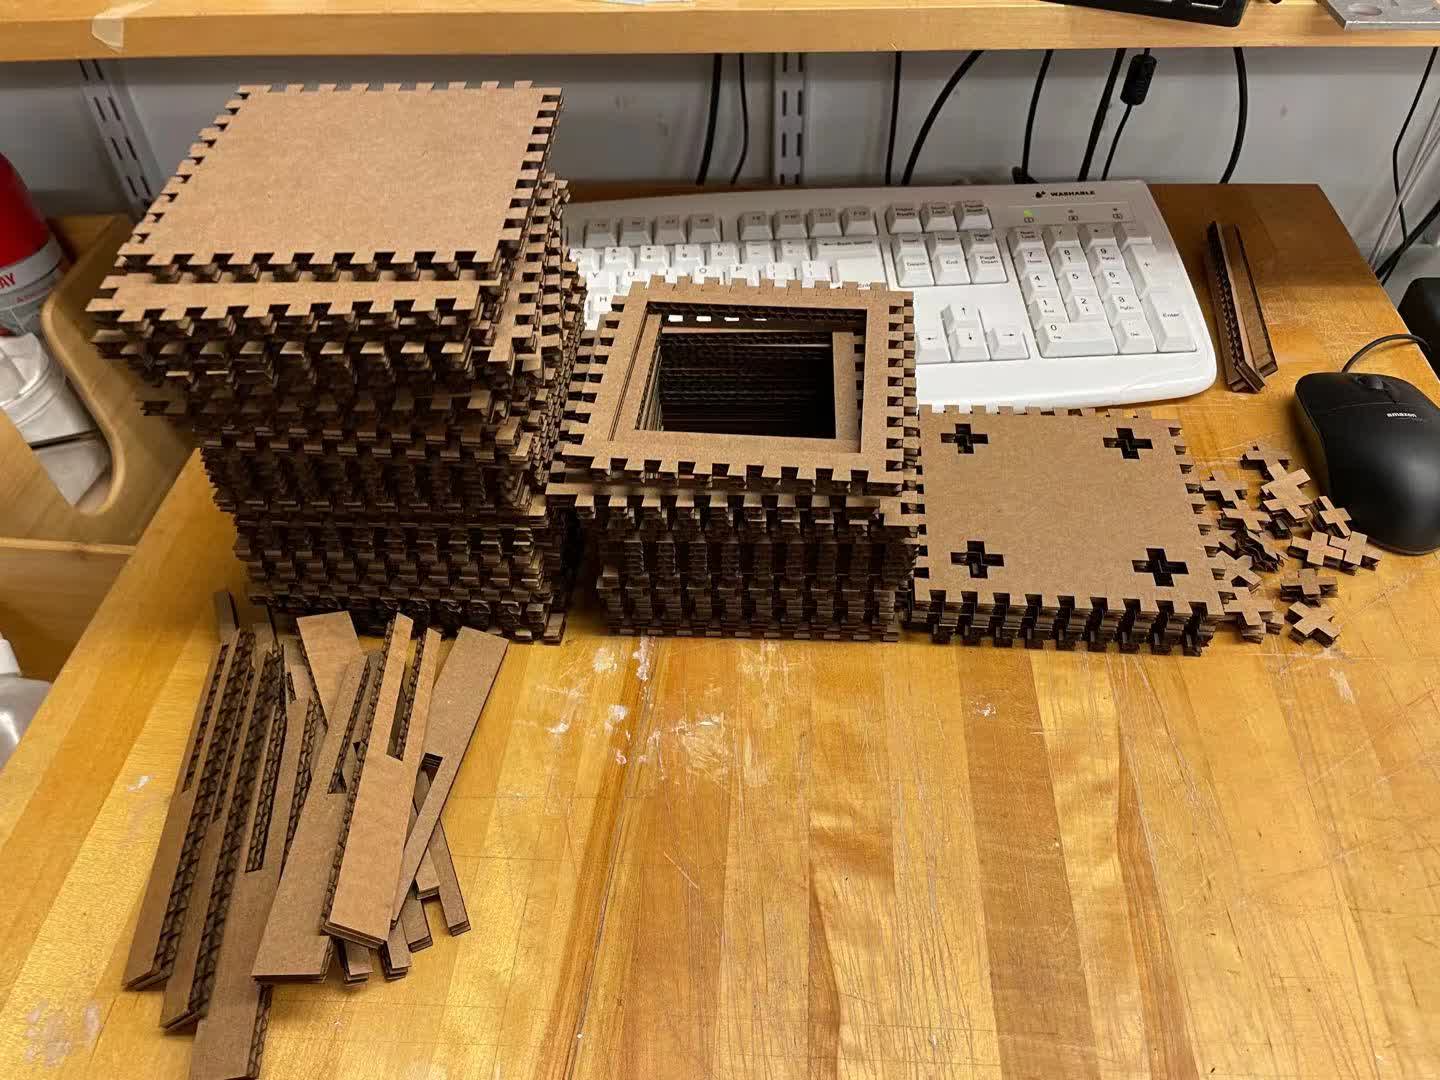
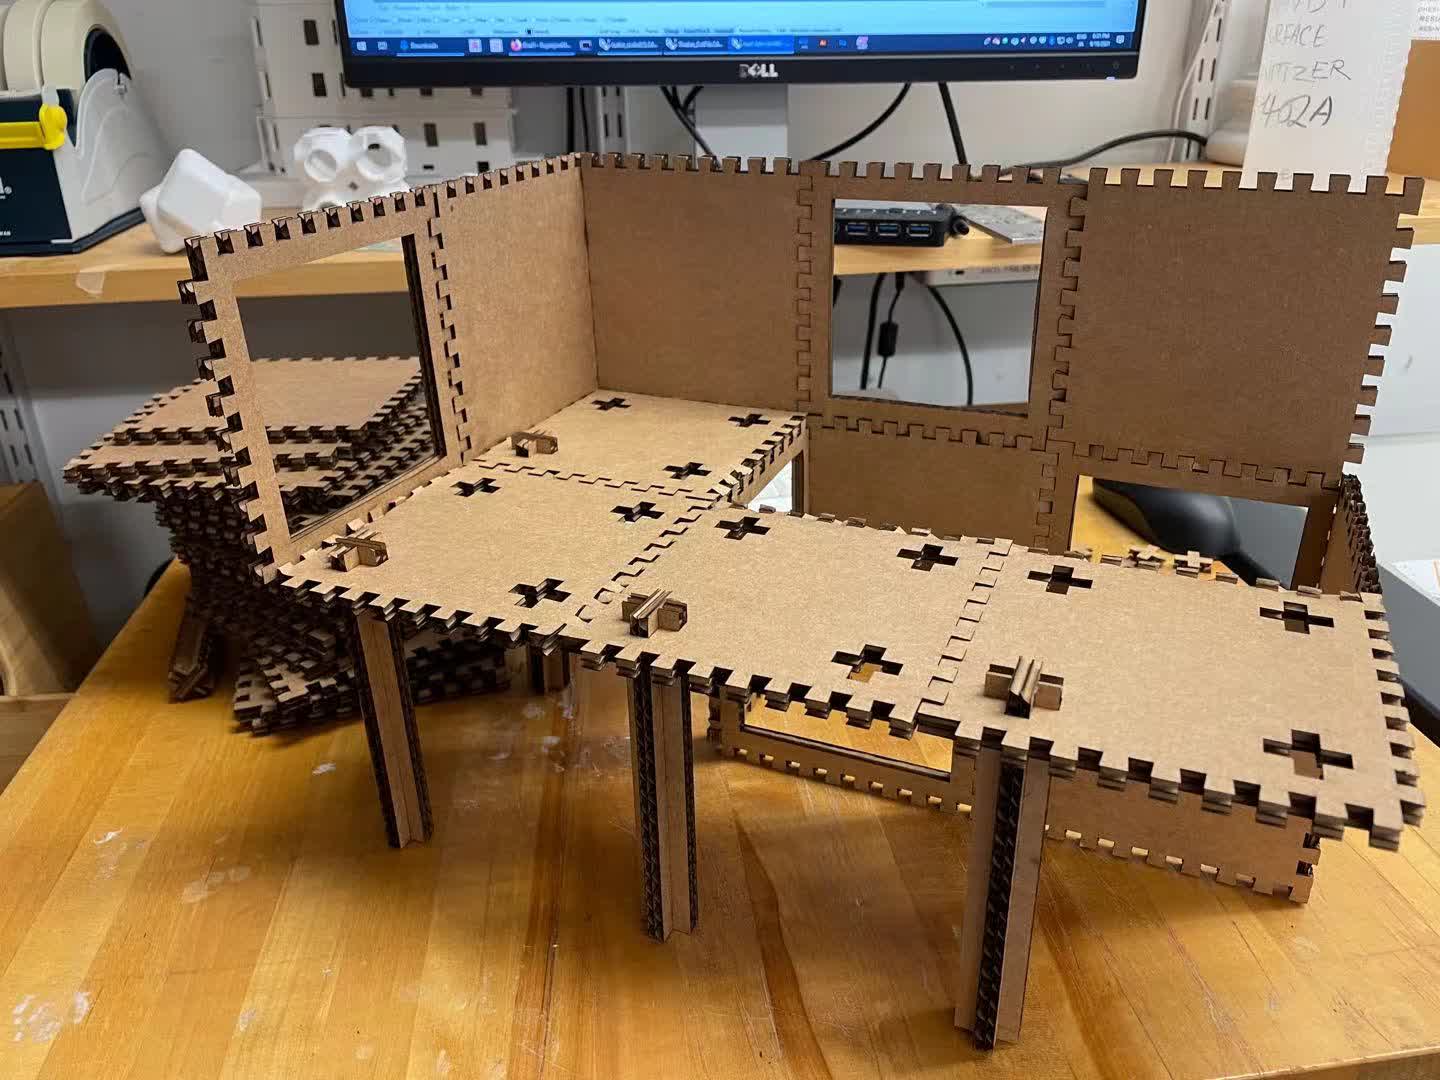
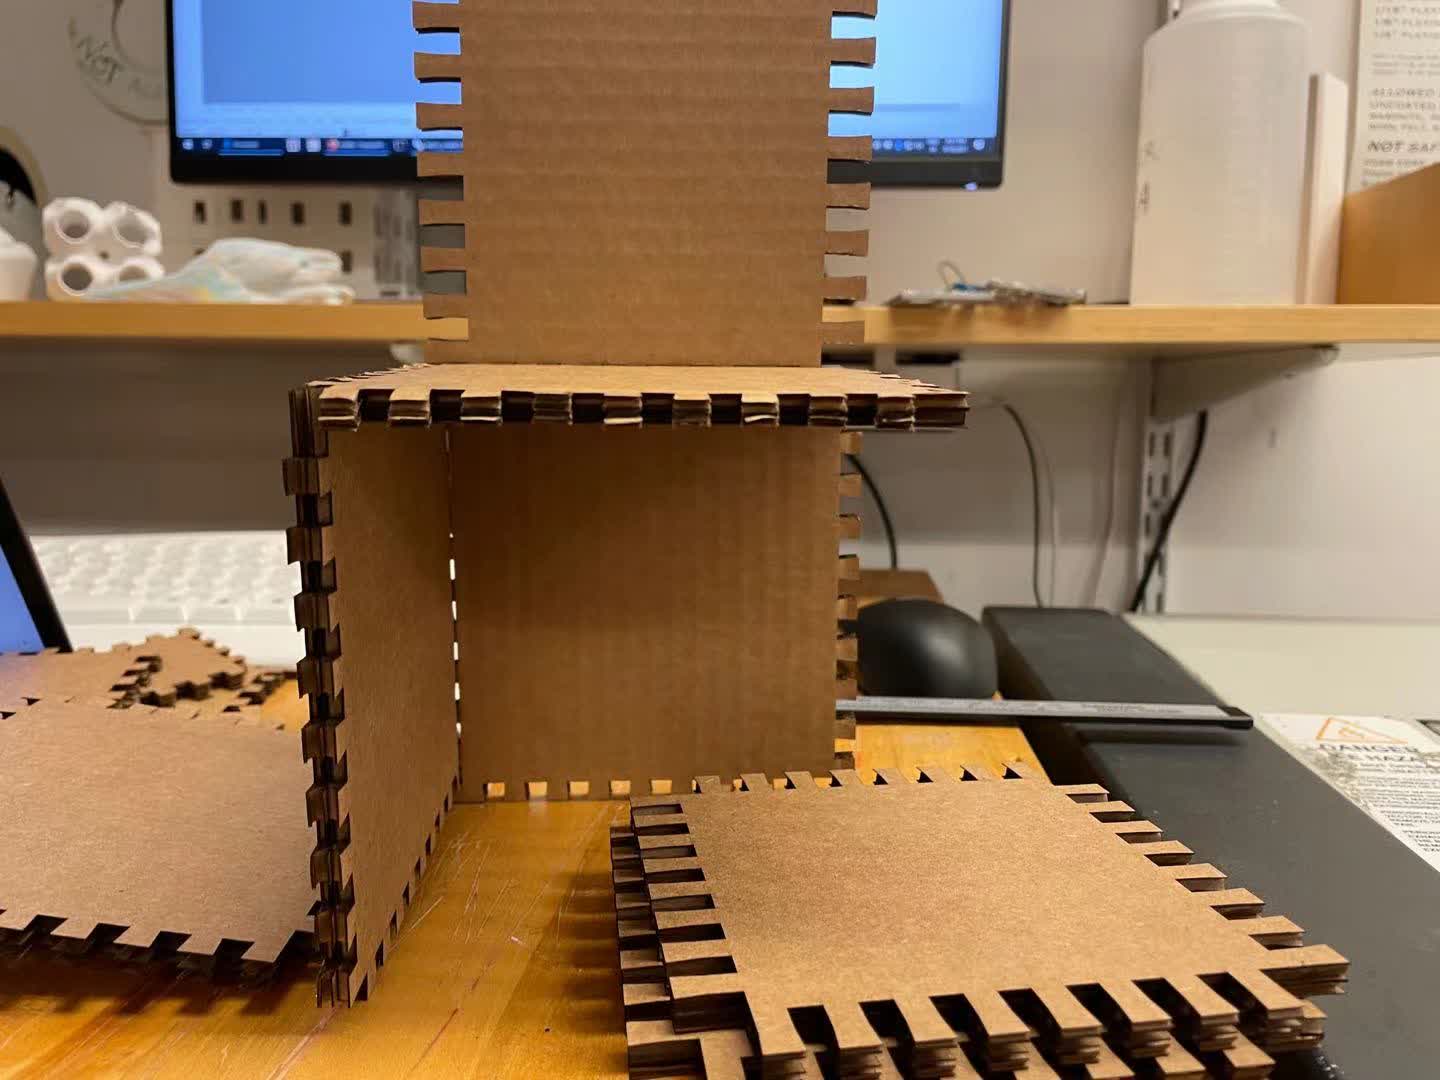
The pieces came out nicely. I started on constructing the structure and tried several different combinations. When constructing, I observed some of the finger joints needs a little more pressure to push them together. This might have been caused by the impercision of the joints.
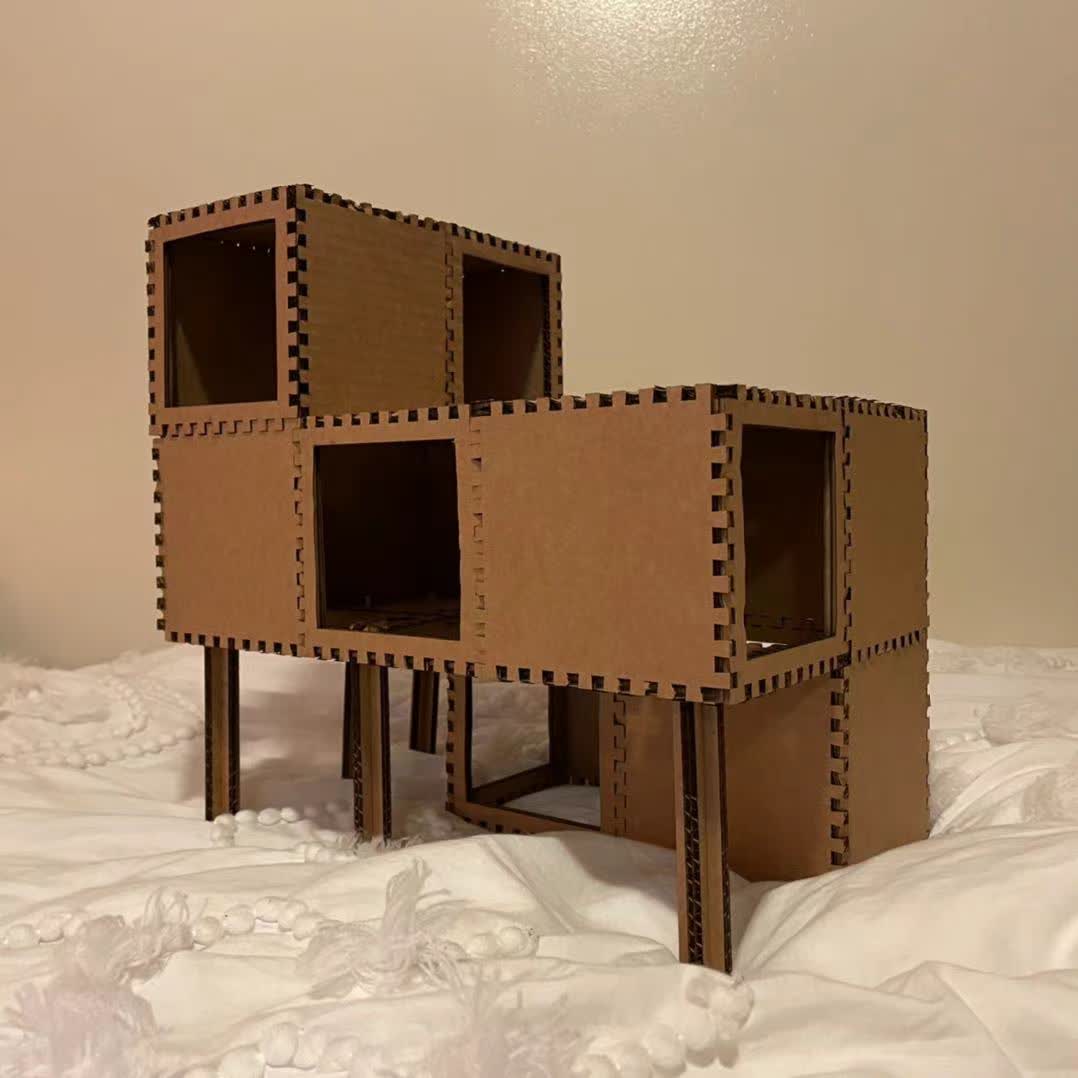
Here is the final model! I also cut out a few more peices in case the expansion of the form.
03 Conclusion of the Week
//
Gained skills
Basic HTML, git, parametric design, laser cutting, and vinyl cutting.
Thoughts and lessons learned
For this week, I started with having trouble figuring out the grasshopper parametric design and figuring out a perfect fit for the finger joints. I learned that I should do enough experienments before the actual cutting. Also, I should organize all the pieces in a more efficent way so that I can minimize the waste of the cardboard.