First, I chose a spiral because it can't be subtractively manufactured. Since I haven't ever made anything like a spiral in OnShape, I had to look up (googled) spiral tutorials online for OnShape CAD. Luckily, I found a really great one!
How to make a 3D spiral in OnShape: https://www.youtube.com/watch?v=oJ8AVKXa3gE
The key takeaway was the helix tool, and the sweep tool, which I had not ever used before.
1. Make a circle sketch
2. Use the Extrude tool to make the circle into a cylinder
3. Use the Helix tool to create a helix along the extruded cylinder
4. "Hide" the cylinder (hover over Part 1 in the Parts list to the right of the words until you see an eye symbol. Click on the eye symbol and it should hide the part.
5. Draw another circle, this time a tiny one, at an edge of the original circle (see tutorial for specific orientation)
6. Use the Sweep tool (select the tiny circle and then the helical line path. If it doesn't work properly, start over from the beginning paying closer attention to the tutorial video steps!
7. Export CAD file to .STL to prepare for 3D printing
COMMON MISTAKE: If you don't see the Parts showing up in the part list correctly, start over from scratch and go over the tutorial again. You might have missed one of the important steps along the way, like I did. I saw Part 0, but not Part 1, in the list, but when I started all over again it worked just fine.
Helix tool: To make a helix in OnShape, first create a 3D shape (e.g. a cylinder made from a circle sketch that's been extruded), then search for the Helix tool to use, then click on the side of the cylinder to create a helix line around it.

Below are the instructions I followed to slice my file, add supports, and 3D print it:
1. First, I loaded my CAD file to my 1 TB USB. (.STL format)
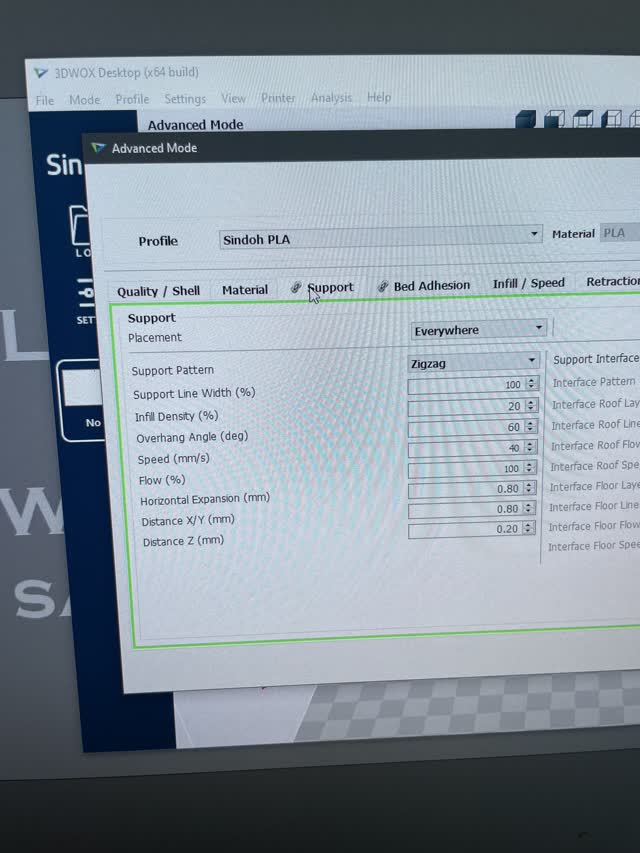
2. Next, I loaded my file into the 3DWOX software for slicing (preparing for 3D printing), adding supports, and scaling.
To add supports, I clicked the Settings button and then selected ZigZag for support pattern, which will add zig-zag shaped supports to my part (under "Settings").
I scaled my part so that the height would be properly scaled to ~2cm, and also scaled the 3D printed group project file.
Click on the arrow scale command (5th icon down from the top on the right hand side) to Scale it!


Near Mistake: scaling it wrong in the software. We almost messed this up for the group project!
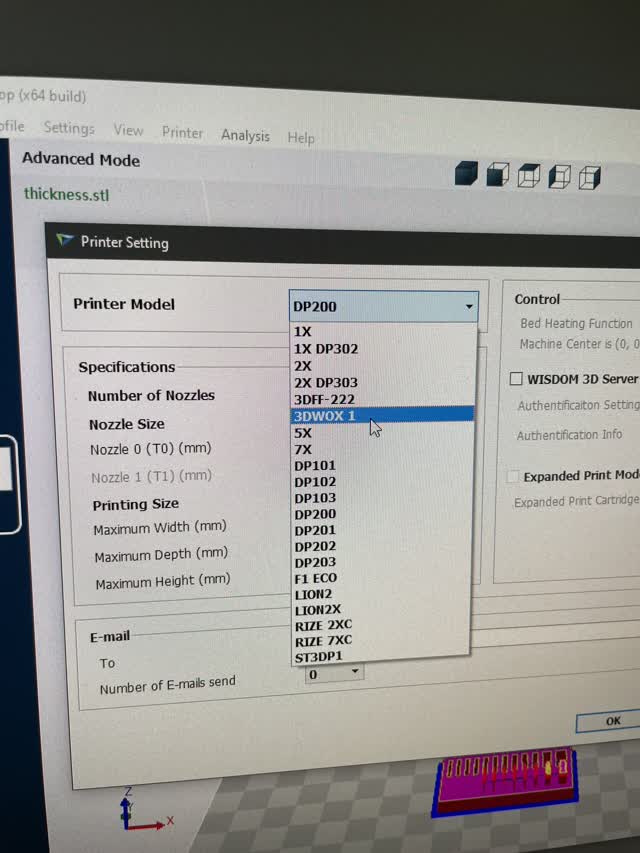
For printer model, I selected 3DWox 1 (in Printer Settings):
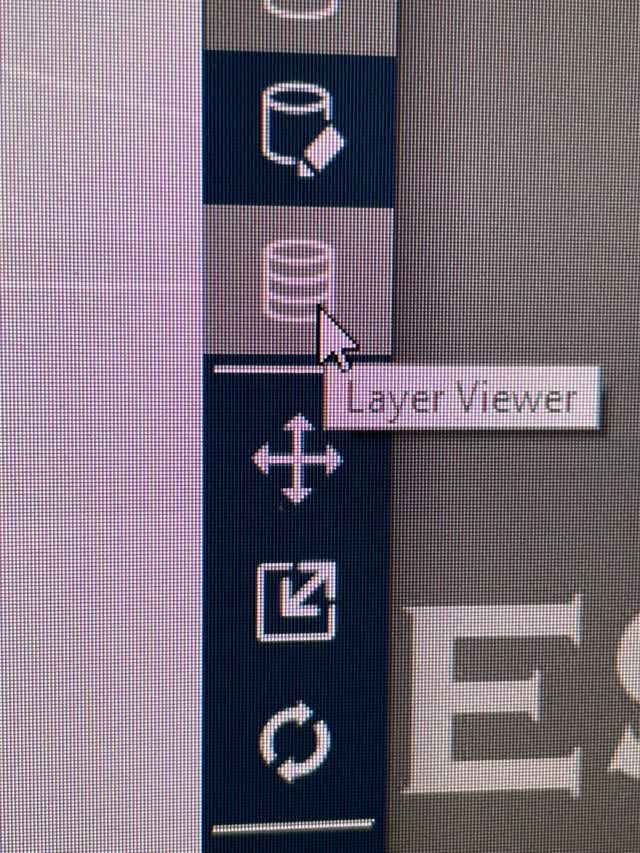

Next, click on the Slice button (3 little disks icon, on the right hand side)
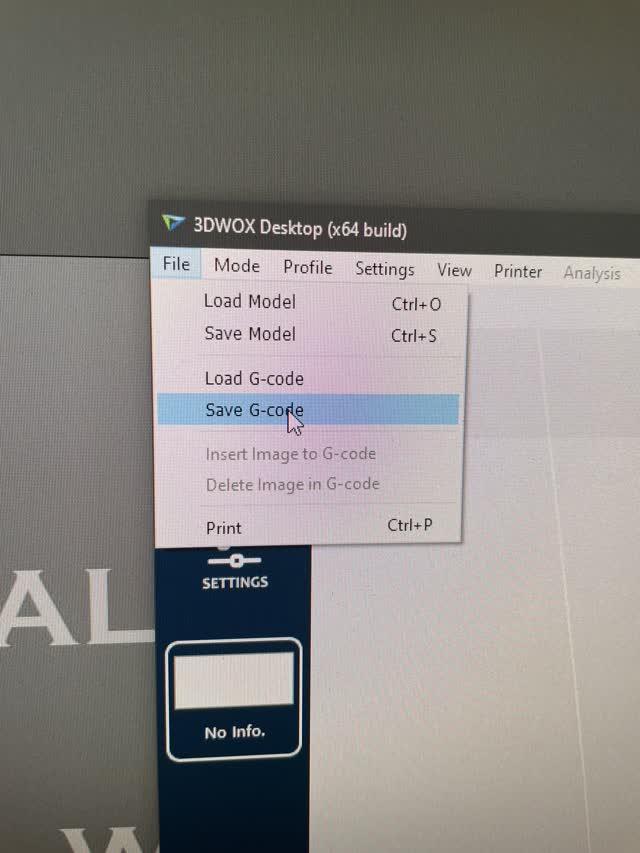
3. Then I exported the file to GCode for the 3D printer to be able to print the file (File > Save G-Code).
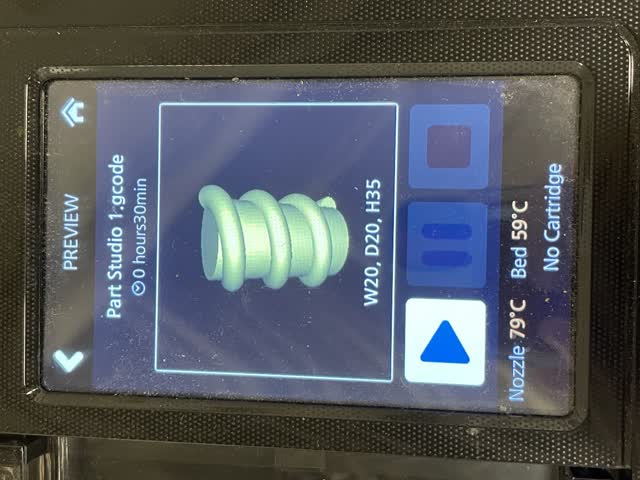
4. Inserted my USB to the 3D printer and navigated to print it (pressed buttons and then pressed Print)
MISTAKE/ERROR: My USB did not work properly so I had to use a friend's USB to transfer the file (Emily Liu's USB worked!). Word of wisdom: Always carry multiple types/brands of USB's with you! My 1 TB USB from amazon surprisingly did not work (though it heated up easily from over-use while using it for the laser-cutting assignment to transfer files, so... maybe it burnt the connection somehow?)
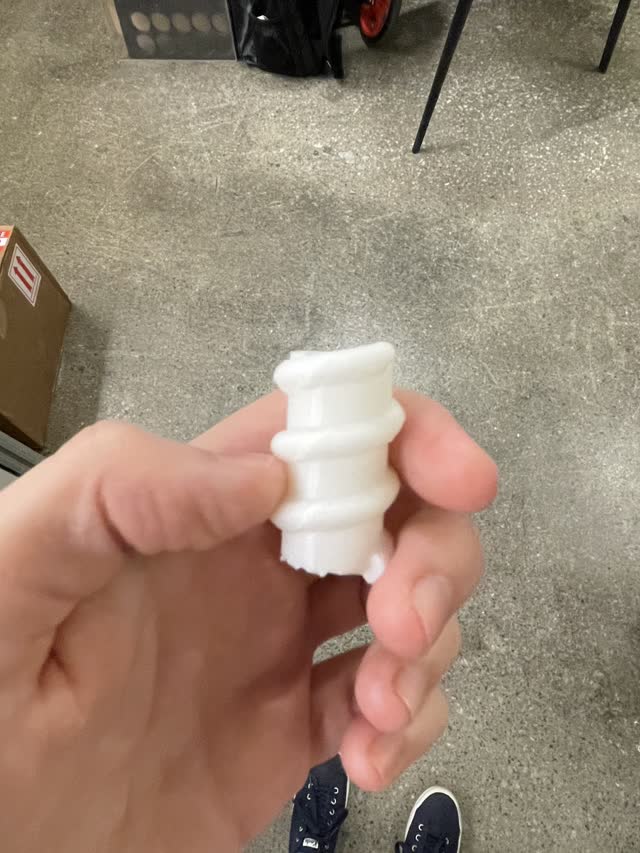
5. Then, I used a scraper to remove my part from the print bed, making sure not to touch the hot surface of the print bed after the print had finished.

6. Lastly, I removed the zigzag supports from the spiral.
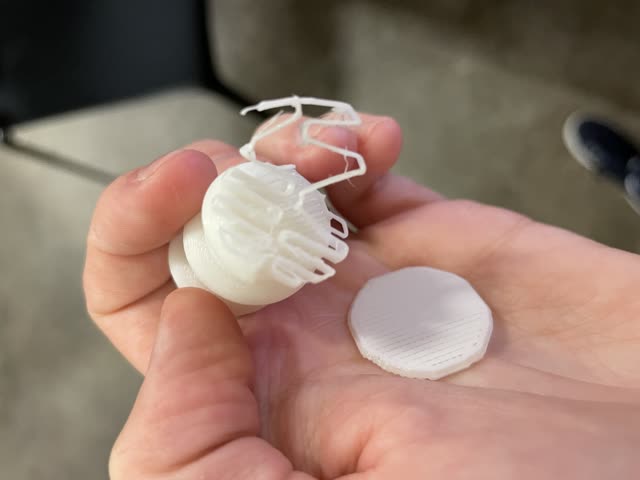

Done!
For scanning, I used the Polycam app on my iPhone. With this app, you can scan any object and export a .STL file to then 3D print. It offers 5 free scans (make sure to use camera mode when taking photos of the object!)
Here is a link to my 3D scan of a prior laser-cut project part. You can rotate it in 3D:
https://poly.cam/capture/E85E770A-1D00-441D-BCB7-1965936A2C3C
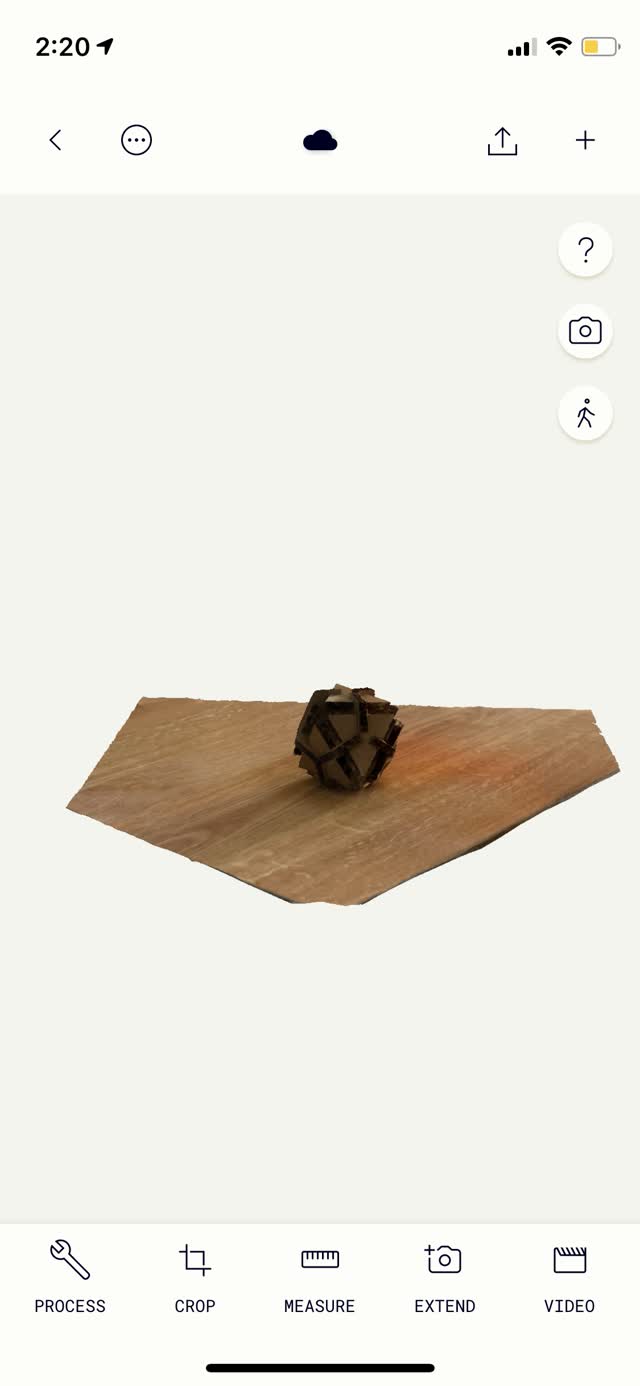
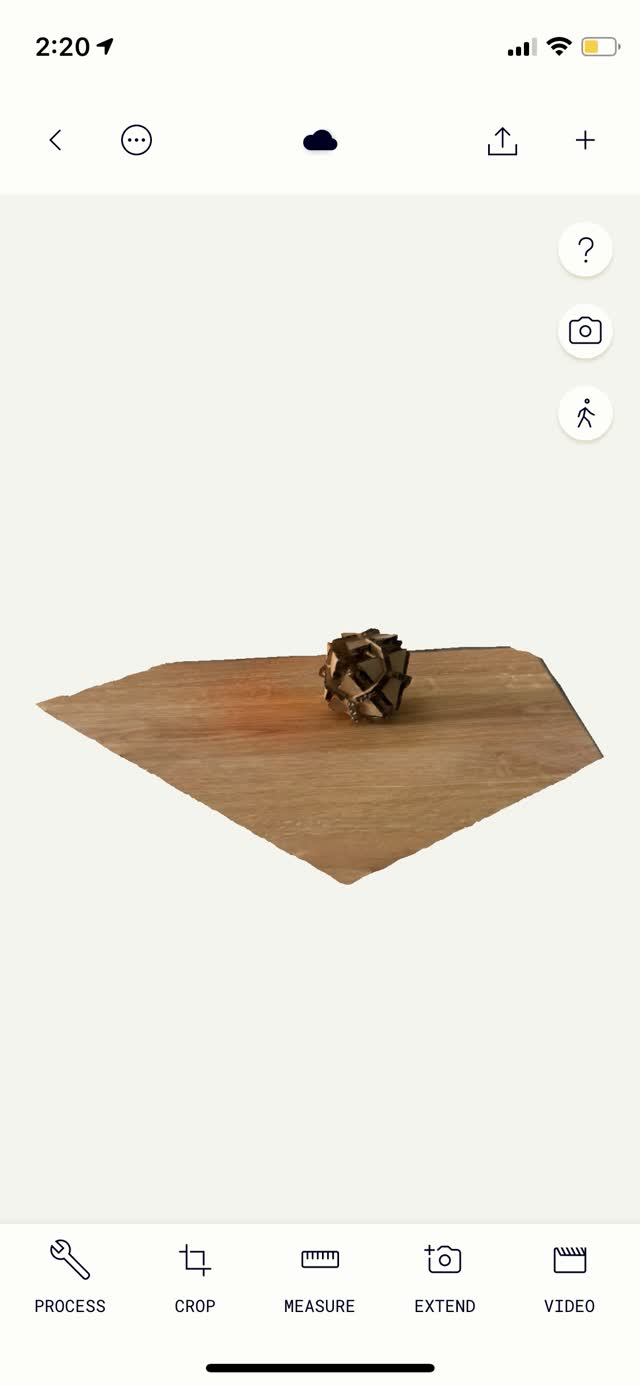
Learnings: At first I had trouble with other apps to scan my object (it gave only part of the object), but Polycam app worked best and with many photos taken, I was able to get a whole intact scan as opposed to a hollow object scan.
For the group project, we 3D printed different thicknesess / rectangular hole sizes. The printer could handle down to about 0.4in for thicknesses and 0.3in for holes.
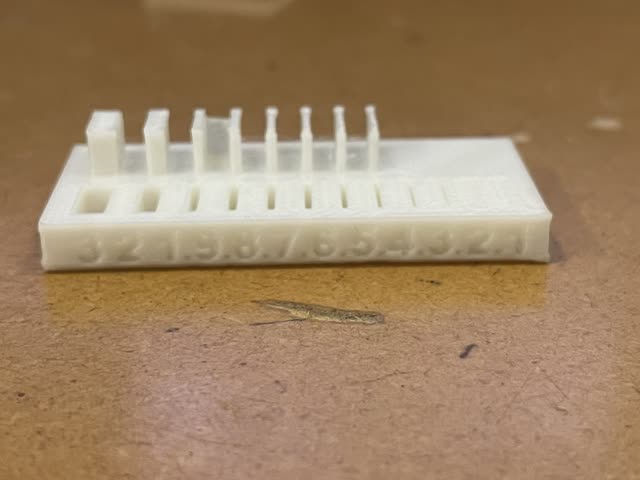
https://fab.cba.mit.edu/classes/863.21/Architecture/people/YanjunEmilyLiu/week3.html See here for teammate Emily Liu's documentation on the rest of the section's printed pieces.
The following conclusions can be made from the section's other prints (also listed on Emily's site):
Note: Noodles = printed squiggles
My biggest learning was that 3D printers often come with software that you can directly load the .STL file into and slice/add supports directly in the software prior to 3D printing. Also, a big learning for me was that the older 3D printer in the MIT archshop will not work with any USB! When I put the USB into the machine it would not read any of my files. So, it can be handy when 3D printing to have multiple different USB's (of different brands/types) available just in case!
For advanced applications for 3D printing, I could use the powder printer (3DS Projet 660 3DS powder printer) in the archsop to make gradient-colored printed objects. The prints are a bit more expensive though and I ran out of time. I also wish I'd had more time to try out the Sindoh printer too (and print a solid different color).
Things you can't make subtractively:
Put design file into repo. .STL
After making .STL, using software for mesh check and slicing like Slic3r
OctoPrint on RPi or Printrun, to run the GCode to 3D print.
OctoPrint is good for print farms
Thingiverse to share your 3D printed models
Advanced applications: J55 Stratasys printer, Can print then dissolve interior, Can print in color & clear together
created with
Website Builder Software .