
For molding & casting week, first I received a parafin blue wax block which is 3 x 6 x 1.5 inches (https://archshops.mit.edu/moldcast.php). Next, I worked on making a CAD file for the parafin wax mold.
I tried to make an octopus, however I was unable to get a sphere to be sweeped with the Sweep Tool. After realizing I would have needed to make a side Master Sketch for the octopus, I abandoned the design and instead made a simple double heart design. On the right is the sketch drawing that I extruded and used to produce the 3D model on the left.
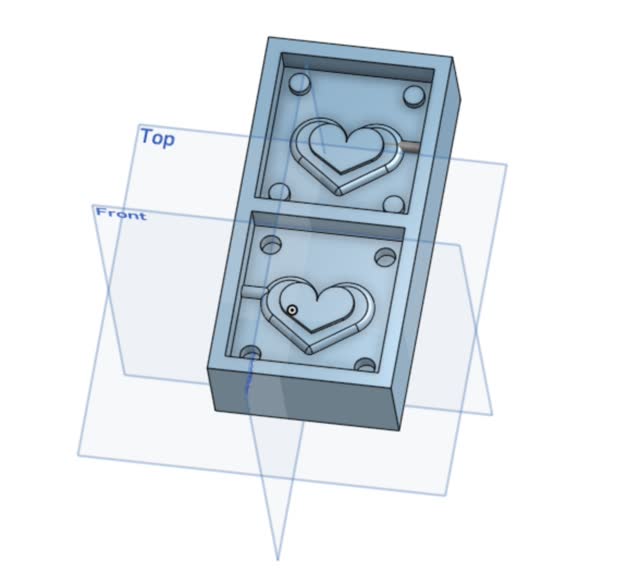

Above to the left is the final heart design. However, to get there, I made several mistakes along the way:
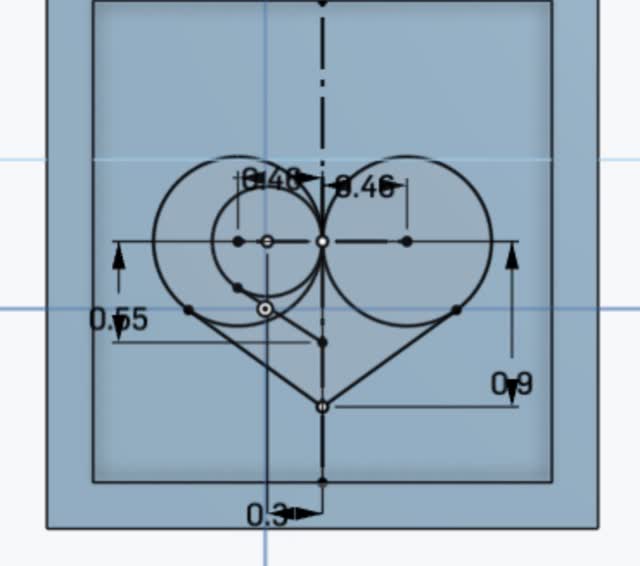
Note that below is also the initial sketch I used to make the above finalized sketches, in case anyone is curious to know how I made the hearts from circles and lines:
So after preparing a CAD file of the paraffin wax block, I then moved the CAD file into Rhino. I exported from OnShape as a .STEP file, and then did the following:
Tools used for my design:
How to choose mills (generally, not comprehensively):
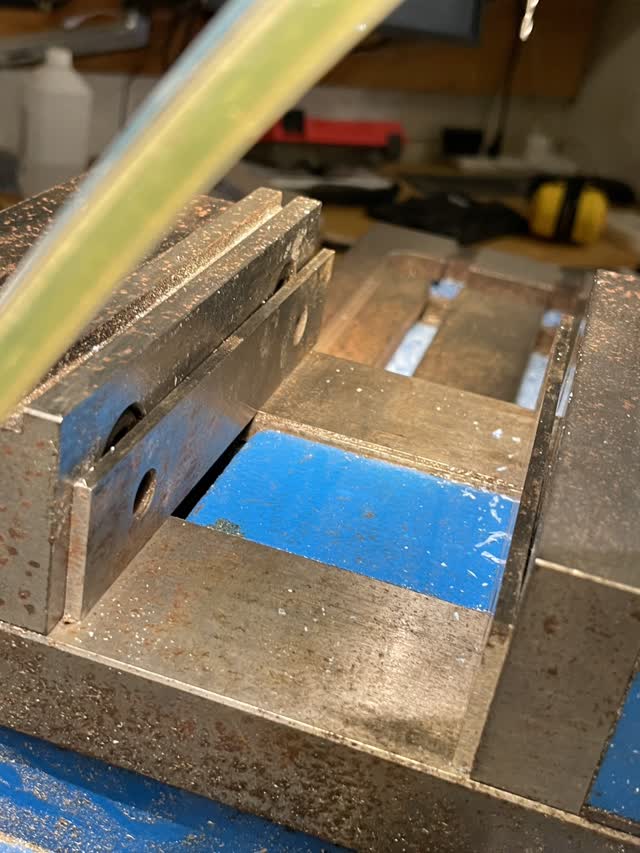
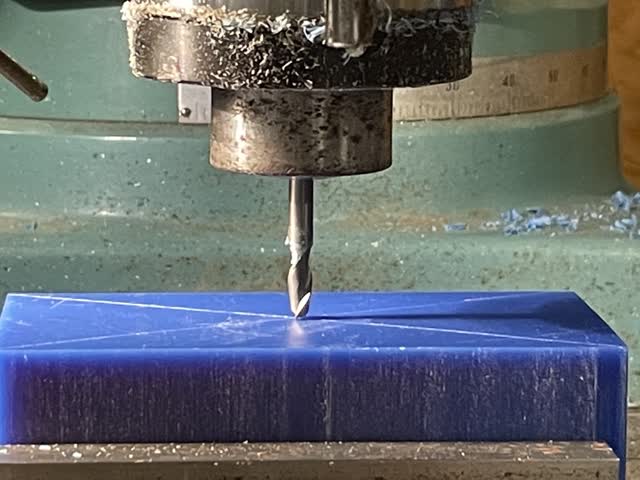
Next, I marked the paraffin wax block with two diagonal lines to set the middle of the block as the origin.
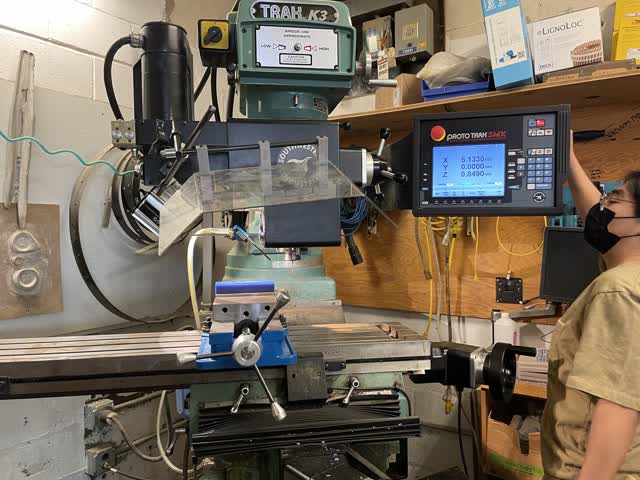
TA Calvin helped me put the wax block into the CNC (Trak K3, Proto Trak SMX), and follow the steps below:


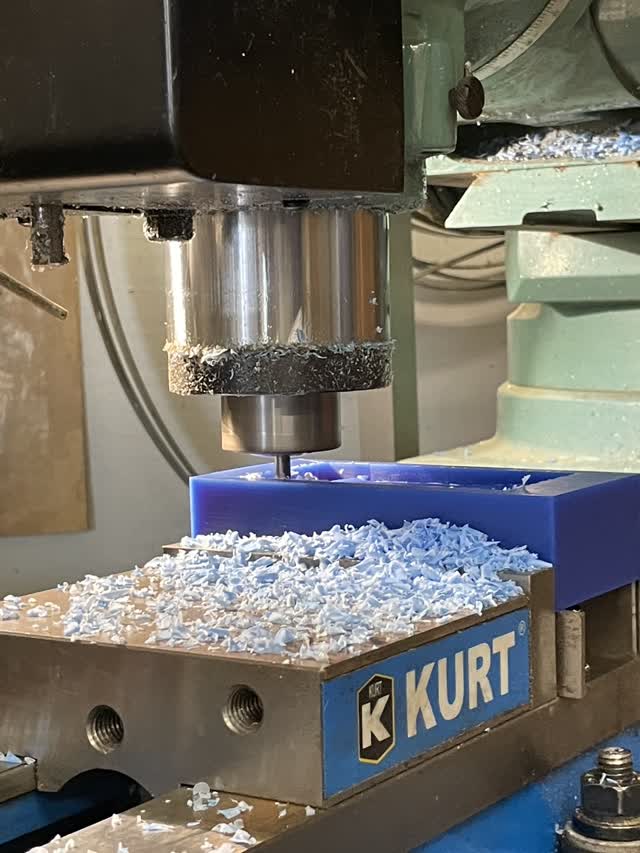
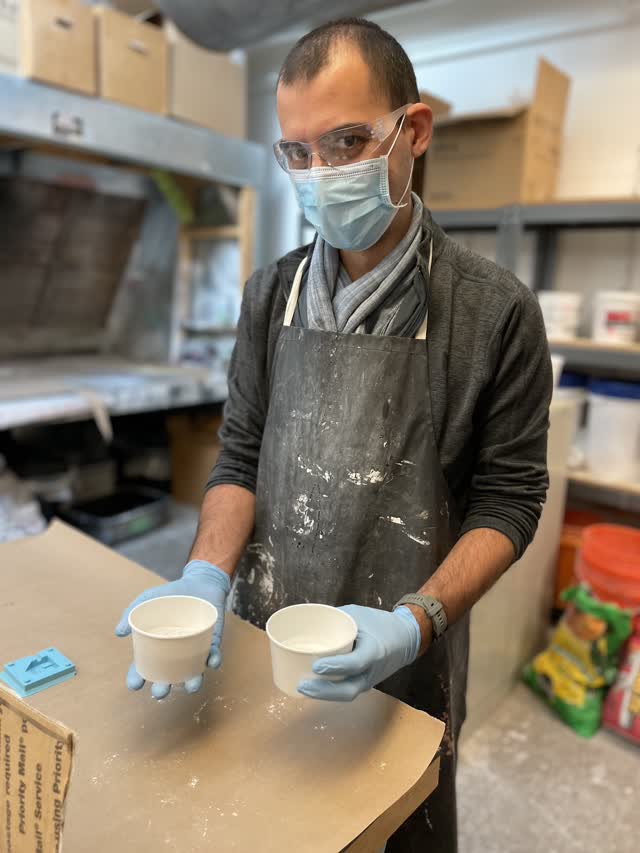
Yay! After vacuuming up the wax chips with a Festool Cleantec Hepa dust extractor floor vacuum with wheels (I didn't keep any chips to re-melt since it wasn't worth it for me currently), I brought my wax block to the architecture shop room with the fume hood area and mixing materials.
PPE: gloves, apron, normal mask (note that certain types of gloves don't work for the materials; check the SDS)
Room: large room, ventilated
Next, I mixed 1 part A and 1 part B of the Sorta-Clear 12 which I had bought earlier in the week from Reynolds online (Smooth-On product). I forgot to mix for 3 min but later noticed that in the technical documentation and luckily was able to mix some more after the silicone was already poured into the mold. All the while, I dropped my wax block onto the table for at least 2 minutes to get the bubbles out. I observed another classmate, Hannah, do the same with her Oomoo. It seemed that there were not many bubbles in mine but I went through that process just in case.
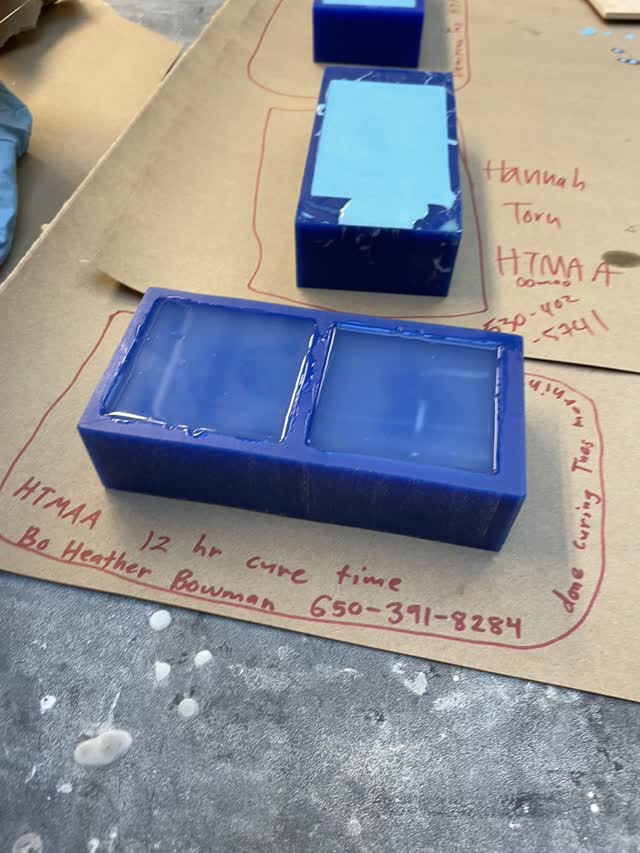
After 12 hours of waiting, I removed my silicone mold from the wax. It came out SO easily!! And it was SO bubble-free! This was super great and was probably because of the long cure time and generally the lower viscosity of the silicone Sorta-Clear 12 that I had bought.
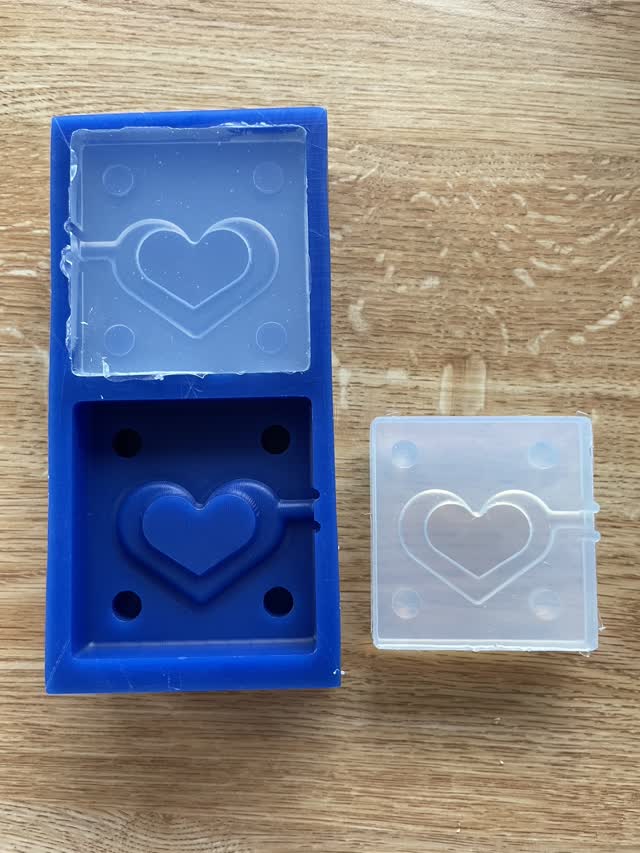
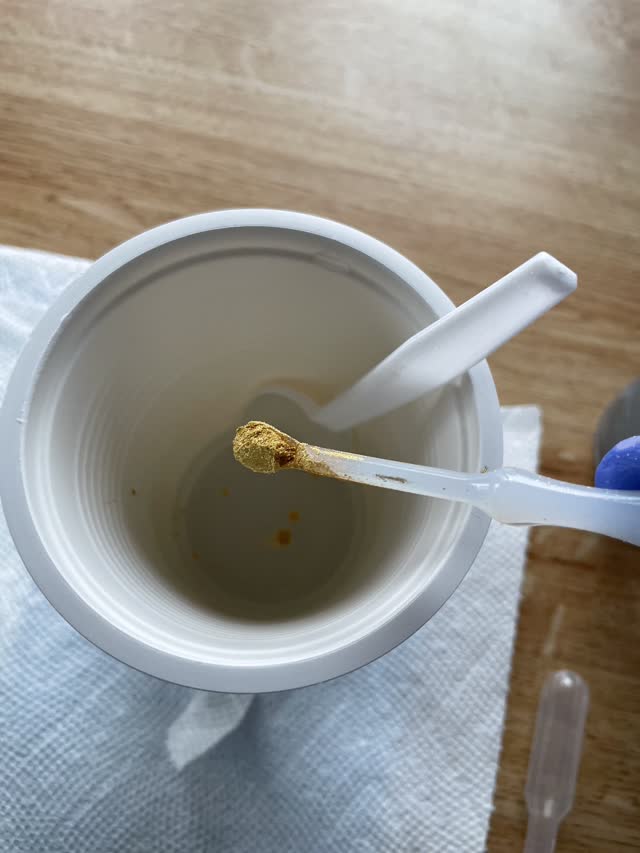
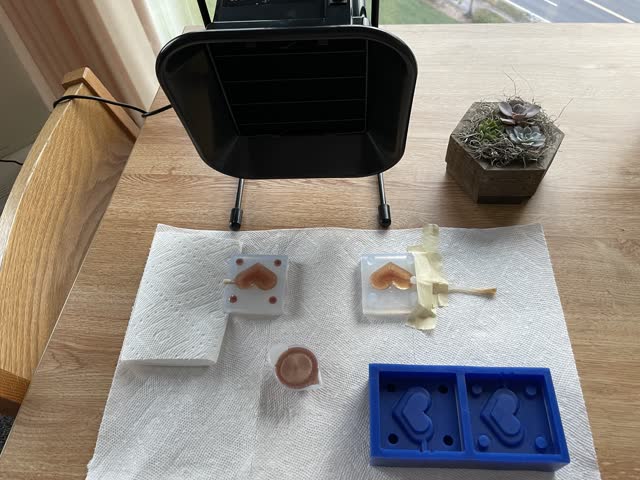
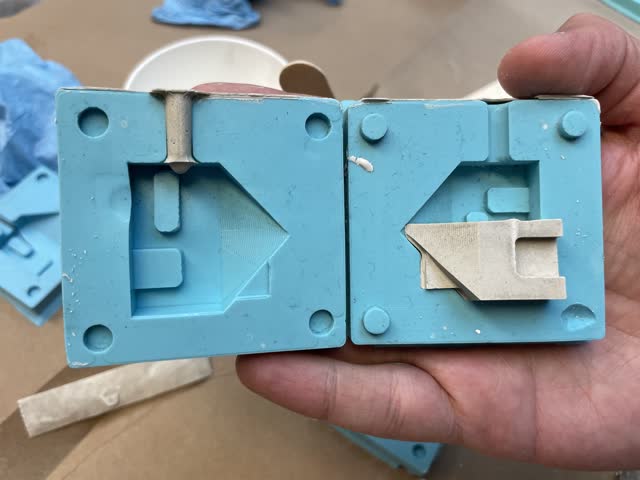
Next, I tried to cast crafting epoxy (mixed with colored mica powder) into my mold. It totally failed! I was unable at home to properly clamp the sides together. I learned that in the future I should make the registration marks slightly smaller with an offset compared to the registration mark holes so that the two halves will fit together properly rather than always moving away from each other.
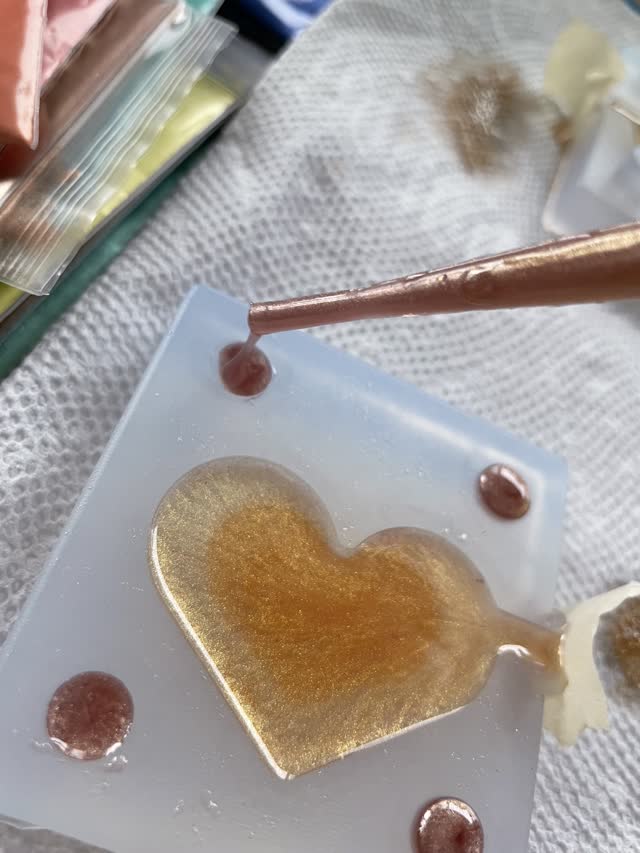
The epoxy also did not mention the curing time, and online it says anywhere from 8 hrs to 7 days, so I just left it there to cure.
For the group project, we made test molds of oomoo and plaster, and compared safety data sheets (SDS) for different materials.
https://fab.cba.mit.edu/classes/863.21/Architecture/people/Group/Week8/page.html See here for the images from the group project.
Smooth-On, Inc. sells many different two-part silicones and materials at Reynolds. Here are a few to compare which are quite different:
Sorta-Clear 12 silicone rubber: Clear colored, takes 12 hrs to cure, 3 min to stir/mix, and is relatively harmless. I notice it doesn't have as many bubbles in it since it takes a longer time to cure. Results in basically no bubbles at all! SDS: https://www.smooth-on.com/products/sorta-clear-12/
Oomoo 25: Takes only about 75 min cure, and is relatively harmless (can be done on a bench instead of a fume hood). It is easy to mix, easy to portion, and easy to use. Vacuum degassing is not necessary due to the low viscosity. SDS: https://www.smooth-on.com/msds/files/BD_DS_Eco_Equ_EZB_EZS_Psy_MS_OOMOO_Reb_ST_SS_Soma_Sol_Sorta.pdf
ClearFlex 50, Clear Urethane Rubber: Part A of the mixture is acutely toxic, corrosive to the skin and the eyes, toxic to inhalation and causes respirator sensitization. Requires safety glasses with side shields, adequate local exhaust ventilation (fume hood), and gloves. Part B of the mixture has acute dermal toxicity, skin sensitization, etc. and requires the same personal protective equipment (PPE). SDS: https://www.smooth-on.com/msds/files/Clear_Flex_50_95.pdf
Sorta-Clear 37 silicone rubber: This particular material is completely food safe! I have bought some and will try it out later. SDS precautions for this material are similar to the Sorta-Clear 12 silicone rubber (wash your hands, keep containers tightly closed, don't breathe vapors or mists. Here's the SDS: https://www.smooth-on.com/msds/files/BD_DS_Eco_Equ_EZB_EZS_Psy_MS_OOMOO_Reb_ST_SS_Soma_Sol_Sorta.pdf
Test-Casts of Plaster & Oomoo:
For the test-casts of oomoo, I skipped that part since I was able to observe Hannah Toru casting her oomoo. It had a lot more bubbles than my Sorta-Clear 12, however there were a lot more bubbles so it was important to drop the container onto the counter for 2 mins or more to remove bubbles as much as possible.
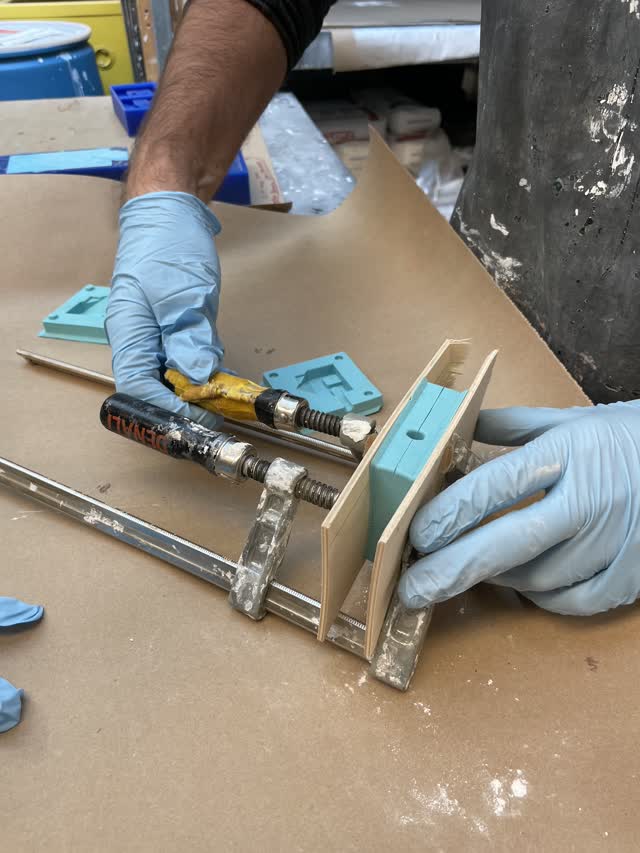
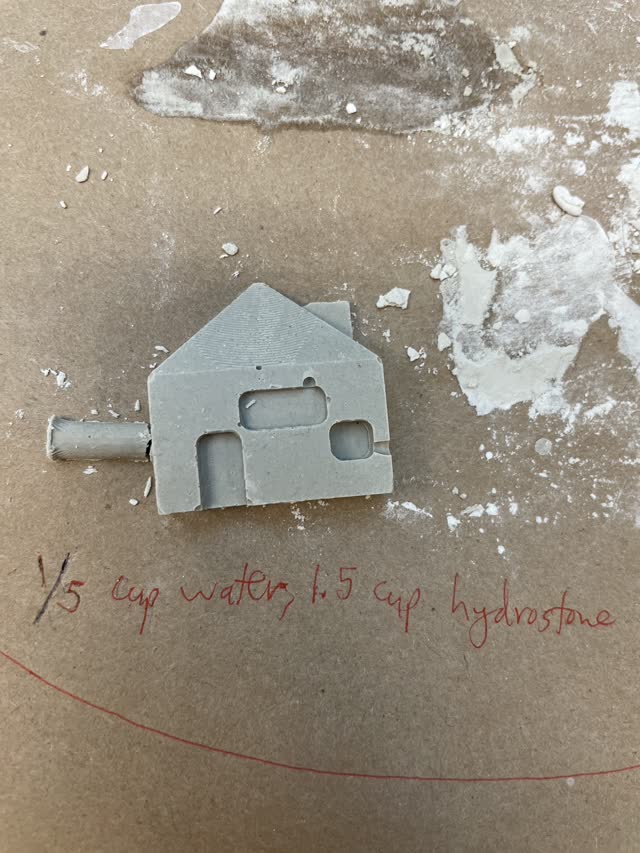
For the plaster test cast, we mixed different ratios of plaster and water, tried simple casts, as well as one cast for which we sandwiched the oomoo molds against each other with flat boards and clamps on either side. We learned that it's important to keep putting plaster in even when it seems full, and to perhaps have a larger funnel/tube/hole in the side (or to have an extra second hole) so that air can escape and so that we could properly fill the mold. Unfortunately, we ended up only being able to fill half of the mold since we didn't realize that it wasn't completely full! Another hole or a larger hole would have solved this problem, or perhaps a slightly higher water-to-Hydrostone ratio.
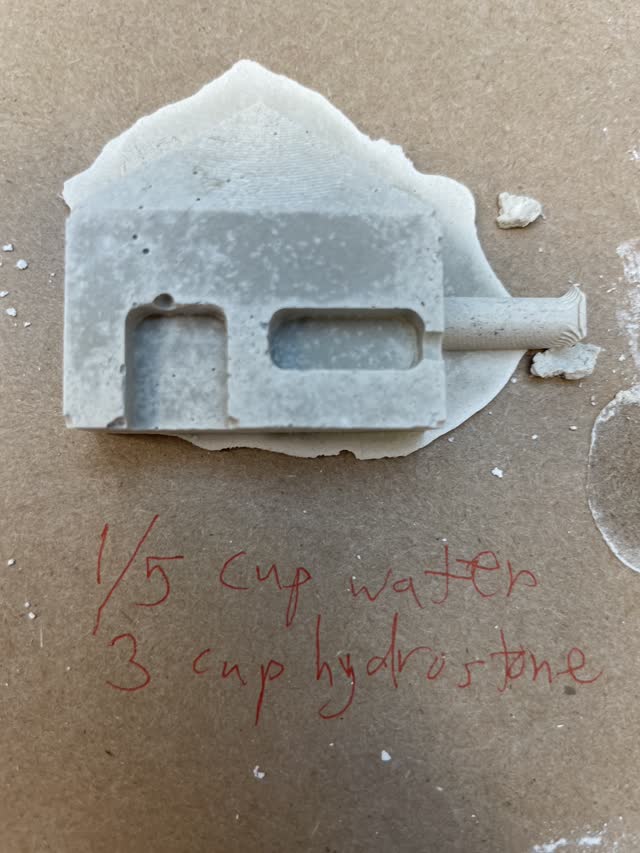
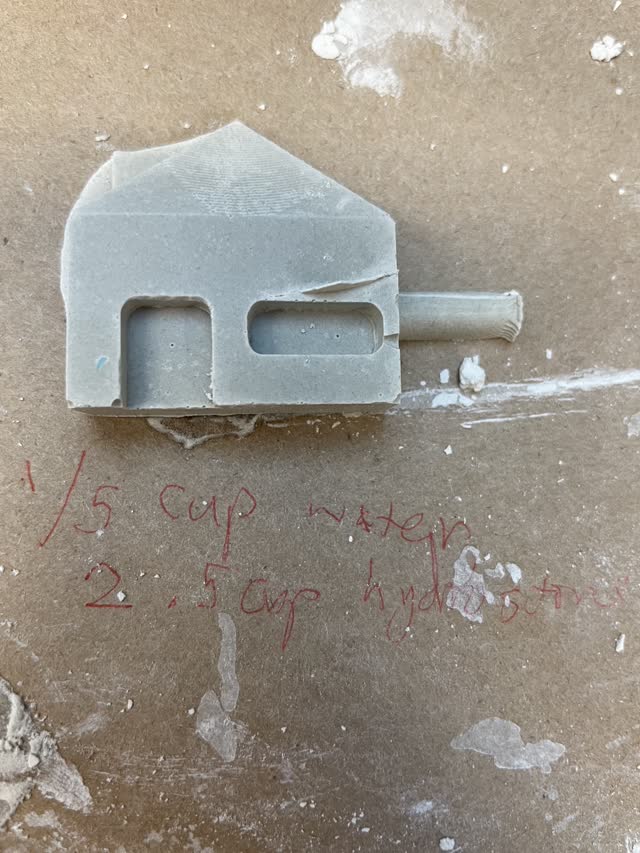
For the test casts, the side funnel fell off for 1/5 cup water and 1.5 cup HydroStone. The mold with 1/5 cup water and 2.5 cup HydroStone looked the best and seemed intact. The mold with 1/5 cup water and 3 cup HydroStone was a little bit crumbly looking but still definitely intact.
Most of my mistakes & learnings are already described above in the text (e.g. flipped funnels, not filling with enough plaster, using too little HydroStone powder, polyurethanes and certain molding & casting materials are more toxic and it's VERY important to read the SDS and technical sheets VERY carefully and thoroughly all the way through, etc.)
For more advanced applications, I could have made a better funnel or a second funnel for air to escape. I can also use all kinds of materials for the molding & casting, for example a plastic which is heat-safe and then pour metal into the mold.
In my case, for more advanced applications I tried Sorta-Clear 12 and it turned out great! It has a long cure time but had very few bubbles and was significantly transparent. I tried casting epoxy into my mold with different colors of powder, for fun. I also ordered the Sorta-Clear 37 to attempt food-safe molding & casting applications in the future (note: everything in the process / touching things in the process must also be food safe!)
created with
Website Builder Software .