Water Jet Cutting
Individual Assignment
For the "Wildcard" week, I teamed up with Shonit to explore waterjet cutting. Thinking about what components from my Tamagotchi can be made by waterjet cutting,
I decided that I want the top part of the casing of my component to be cut via waterjet and use 1/16" acrylic sheet as the material to use, and have the rest of the part to be printed by 3D printing.
I also prepared the screen part that covers the oled to be cut in different colors of translucent neon blue acrylic sheet to give a cool default visual effect to my game.

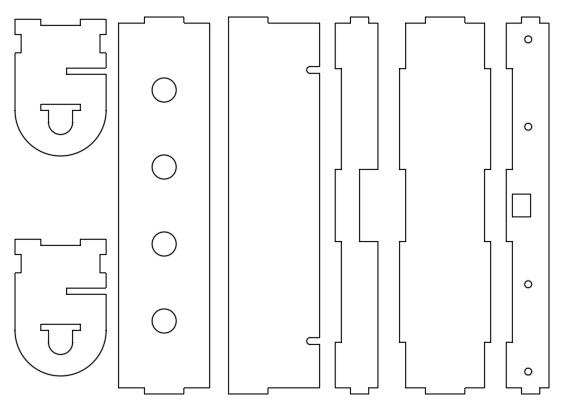
Fig. 1A. CAD file prepared for the Water Jet Cutting

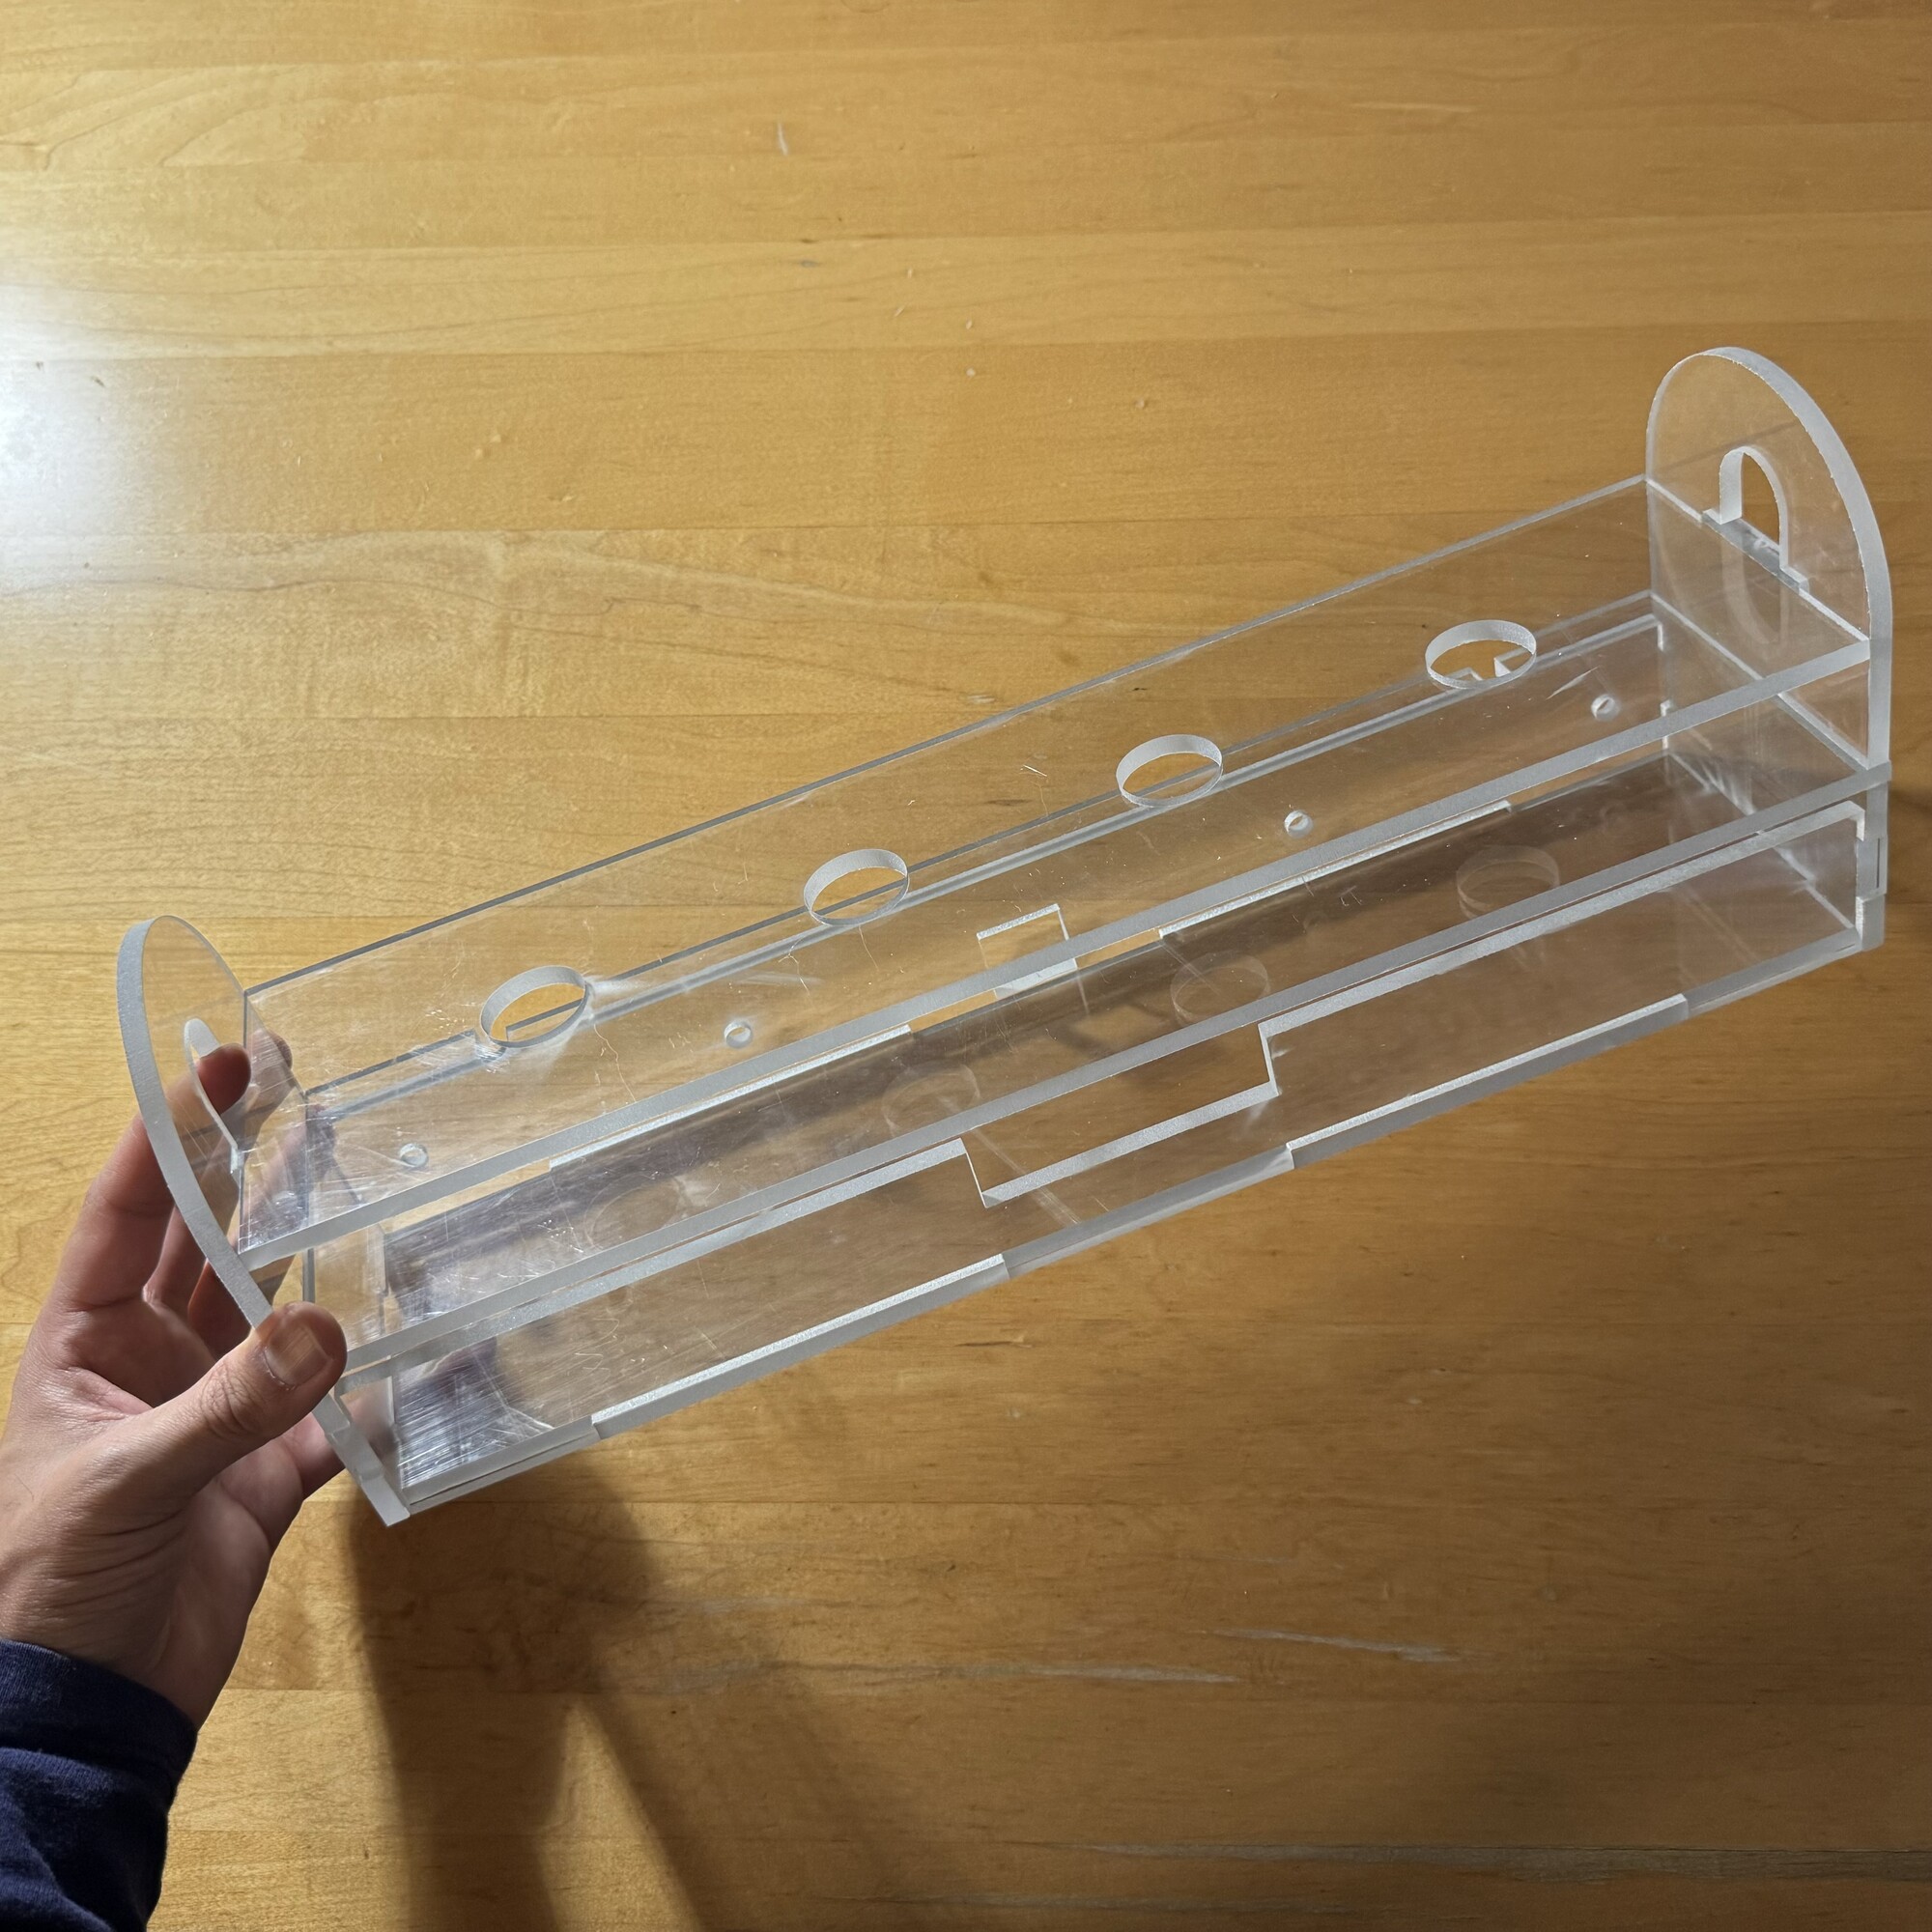
Fig. 1C. Shonit's Template of frame parts.
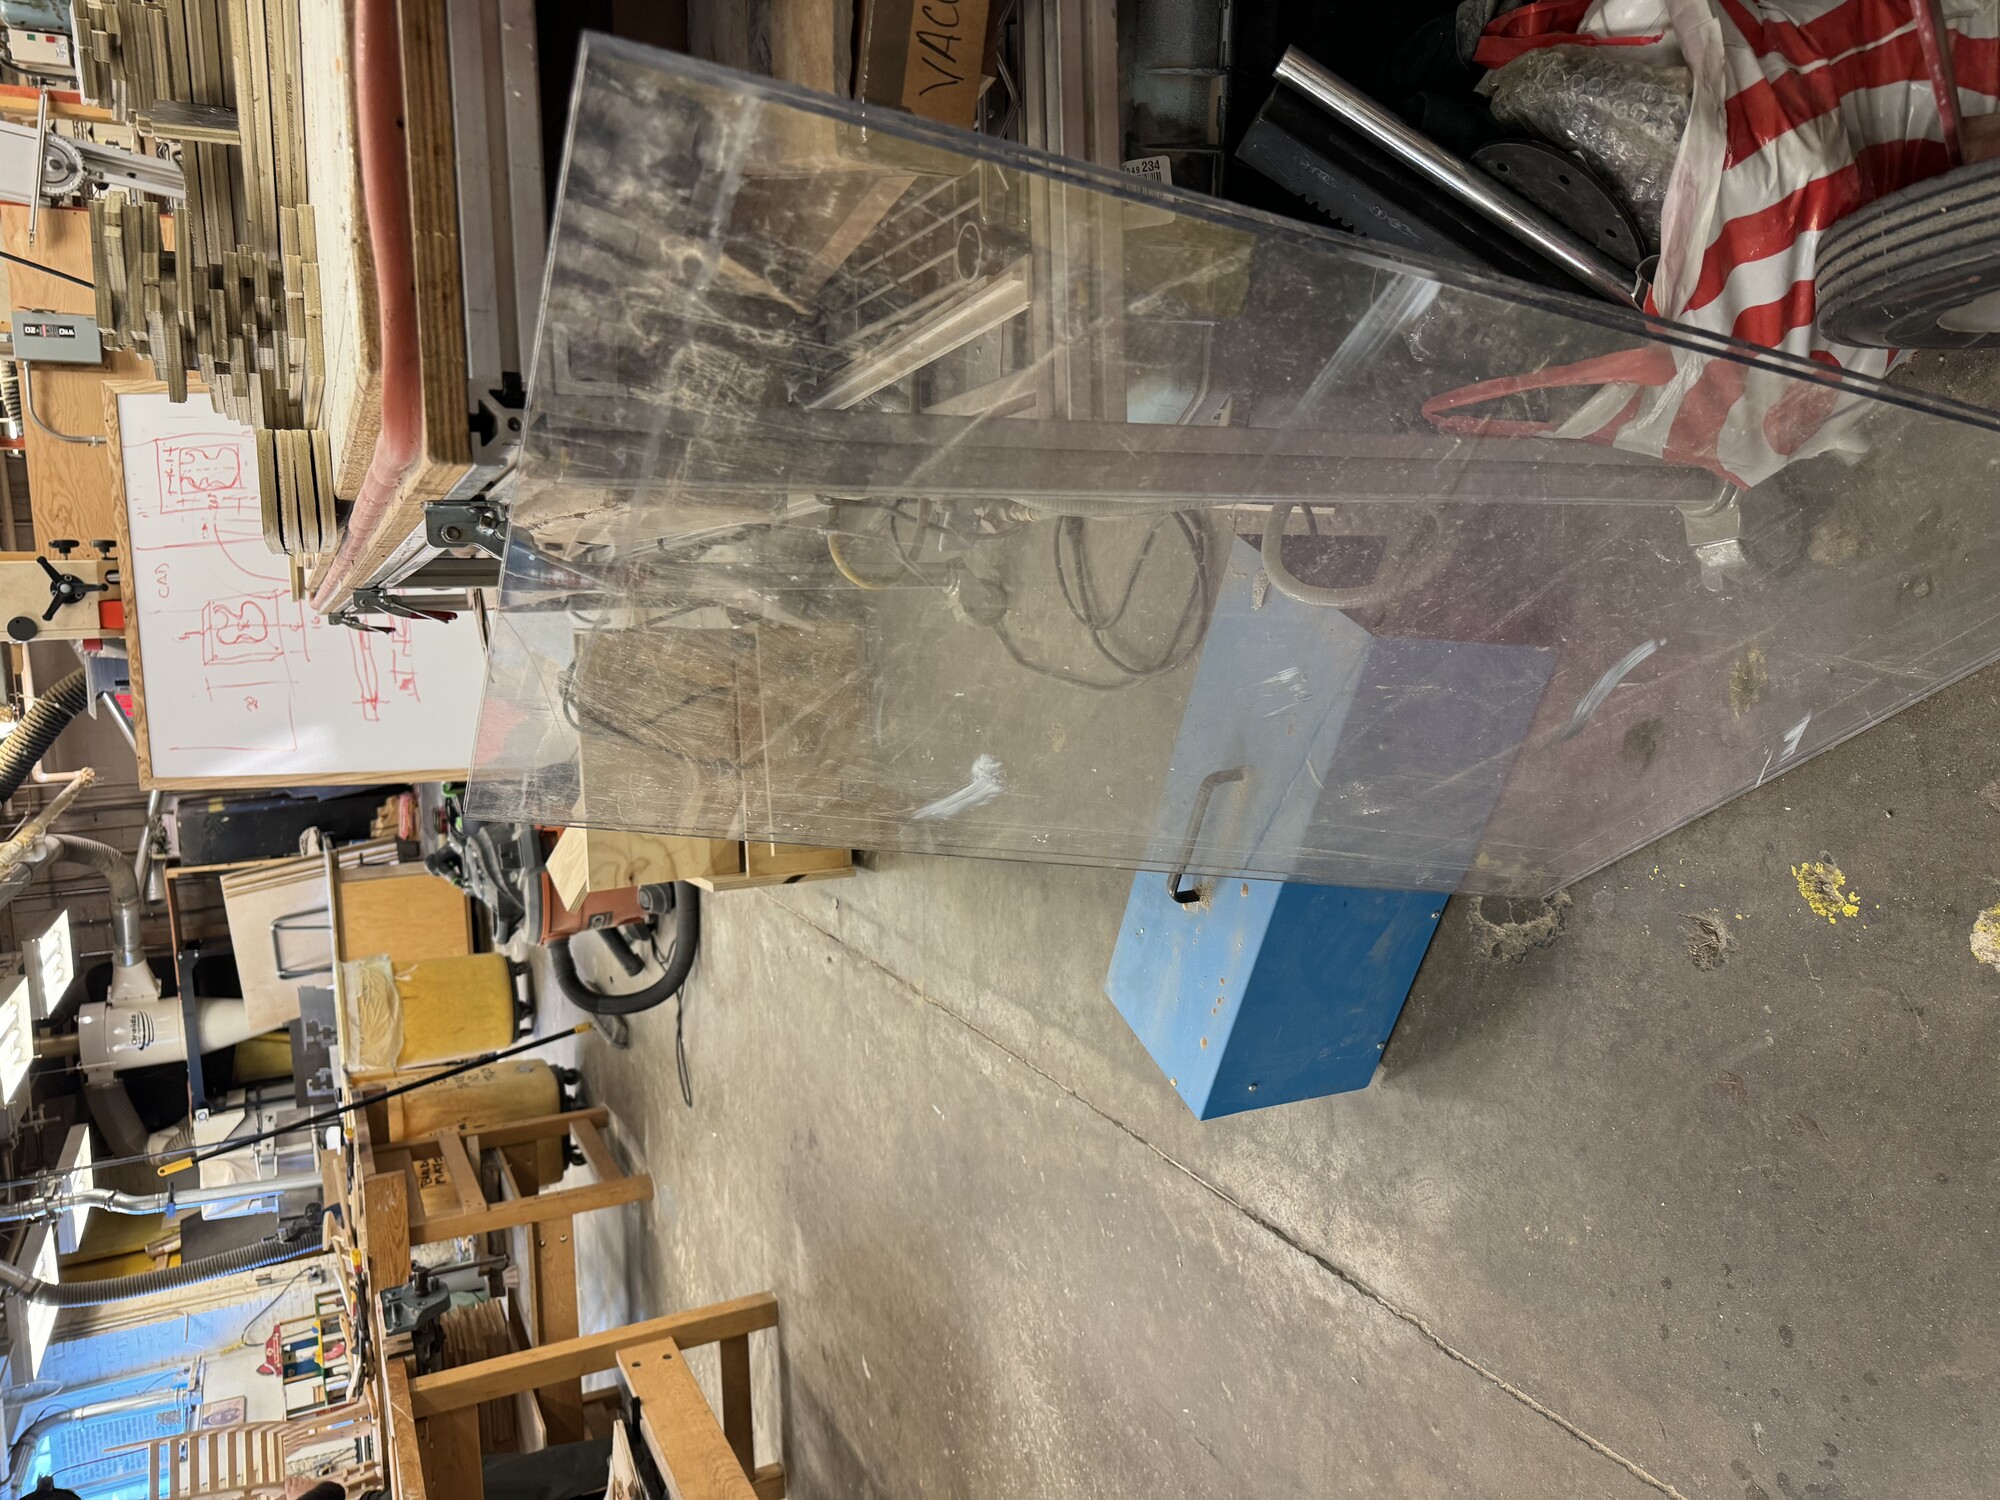
The MIT Architecture Woodshop at N51 had some spare sheets of clear polycarbonate to cut a massive sheet (around 4' x 10') of polycarbonate into smaller pieces (Fig. 1D).
We brought back two pieces (each around 2' x 3') to the Architecture Shop to try cutting each of our design.
However, upon checking the thickness of the 1/4" polycarbonate, I realized that the cut out piece would be too thick for my casing and that it will not fit. I was still in a need of fiding 1/16" thickness acrylic. So we just decided to
proceed with Shonit's CAD components to test out the water jet machine.

Fig. 1D. Picking up polycarbonate sheets.
Back at the Architecture Shop, Project Technician (and "all-around nice guy") Shah Paul helped set up the water jet cutter. We had to scale up the drawing in the .dxf file as my template was at 1:8 scale, and after doing that it was ready to upload to the machine.
He showed me the steps of placing the material in the water jet cutting bed, placing weights on top of the material so it would not move, and calibrating and starting the machine. The entire job lasted around 8 minutes, but after each piece was cut we paused the job to remove the piece to ensure it would not float around in the bed.
Fig. 1E. Operating the water jet cutter.
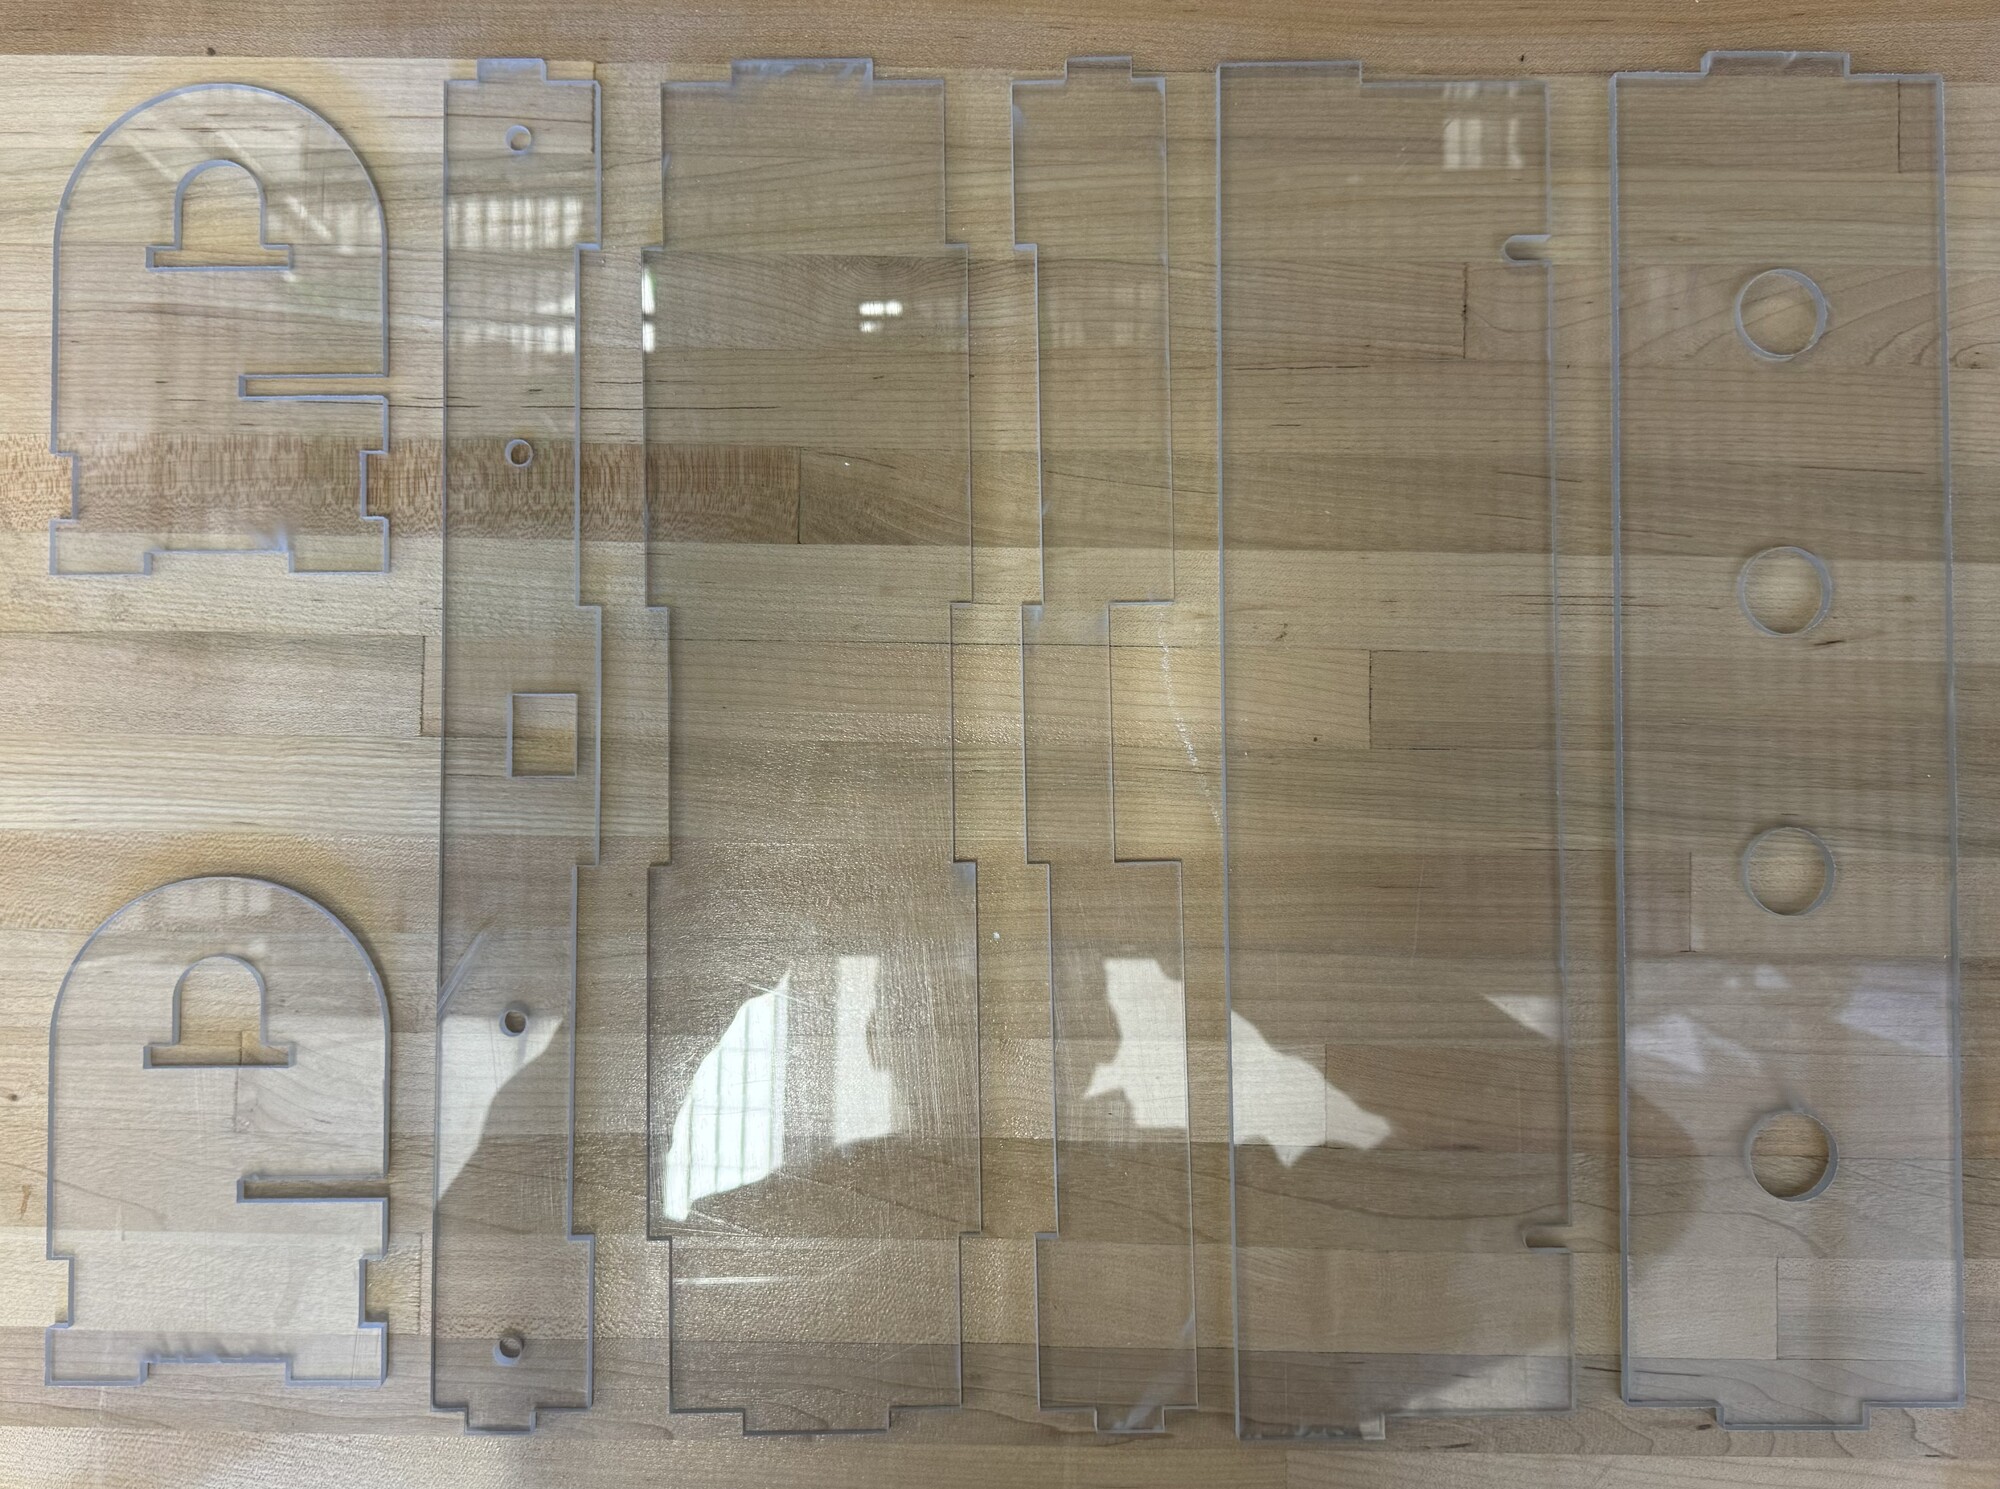
Although the water that filled up the waterjet looks dirty and the overall machine looks rusty, it cut the parts quite precisely and fast.

Fig. 1F. Cut pieces of polycarbonate.
Looking at the cut piececs of the polycarbonate with the waterjet, I decided that I will utilize this tool more for my future design. Althouth polycarbonate mateterial cannot be cut via laser cutter, I was comparing the waterjet with a laser cutter. I would imagine for instance, if I decide to cut an acrylic sheet with the waterjet, it will not leave any burnt marks like laser cutters often do. (although, there are ways to cut without leaving burnt marks with laser cutters.) In the future, I will try cutting different types of materials such as metal or fabric.
This week was a great week to finally explore the waterjet machine after 3years of working at the RPL shop and never having to use! I am looking forward to making use of this tool more often from now on!