Background/First Attempts
In the past, I tried making a personal website using Jekyll, which is a static site generator. At the time, I aimed really high and tried to make something super customizable and personalized, but it was also my first big coding project, so I ended up failing in that endeavor.
Three years later and a much better programmer, I am now much more confident in my abilities to actually build a website successfully.
To begin, I went to the jekyll website at Jekyll docs homepage and navigated to the quickstart to get set up with the newest version of jekyll and its dependencies.
Despite my experience with web development, I have a pretty strong aversion to front-end work. Thus, I decided to start with a theme and go from there. To find a theme, I went to Jekyll Blog Themes to shop around for themes that I would like.
I considered using the Alembic theme, among others, but I eventually settled on using the Hyde theme.
I liked the way that the Hyde theme looked, with its clean sidebar and two tone design. I got started on the Hyde theme, and was able to write some basic info and customize it for my purposes, however, I had a lot of trouble trying to actually build the website locally. After some digging, I found was due to the github being last updated in 2015! This meant that all of the new packages versions that I installed before were now too new to even handle the theme.
Looking through the issues page on the Hyde github, I found a person who had made an updated version of the theme that would work with my current installations at Hydeout Theme and got this working, however soon I realized that the Hyde theme puts all blog posts on a single page. I found this quite annoying, as it would require a lot of scrolling to navigate between blogs.
And so I my search for a theme continued.
Clean Blog
I next decided to use the Clean Blog theme. This one actually seemed to just work.
I started by simply forking the github repository, and then cloning it into my local computer. Here, I could customize the website however I liked. The first steps began with changing _config.yml, specifying basic configurations like my name as the author, and importantly, setting the url and baseurl to:
baseurl: "/classes/863.23/EECS/people/Albert" # the subpath of your site
url:     "http://fab.cba.mit.edu" # the base hostname & protocol for your site
This becomes important later, especially when trying to reference images on the website.
The blog pages that were already in the theme were written in html, but I wanted to use markdown. Jekyll makes this really easy: I just have to change the file extension of new blog pages to .md instead of .html.
There is a header at the top of the page, and that configures the metadata for the blog and it looks like this:
---
layout: post
title: "The making of this website"
subtitle: "Turing showed that computer programs can self reference."
date: 2023-09-19 00:35:13 -0400
background: '/img/posts/06.jpg'
---
The rest of the page can be written in markdown, and I’m using the official markdown guide to help me figure out how to do things in markdown.
Code flow
While writing blogs, I ran bundle exec jekyll serve --livereload, which ran the local website server, and also hot reloaded upon editing.
Development Flow
Since I am using the Arc browser, which natively supports tiling within the window, I wanted to allow myself to both code and view my localhost website simultaneously, without having to mess with the size of the browser window.
I solved this problem by opening the VSCode web app in one tab, and having the website open in the other tab:
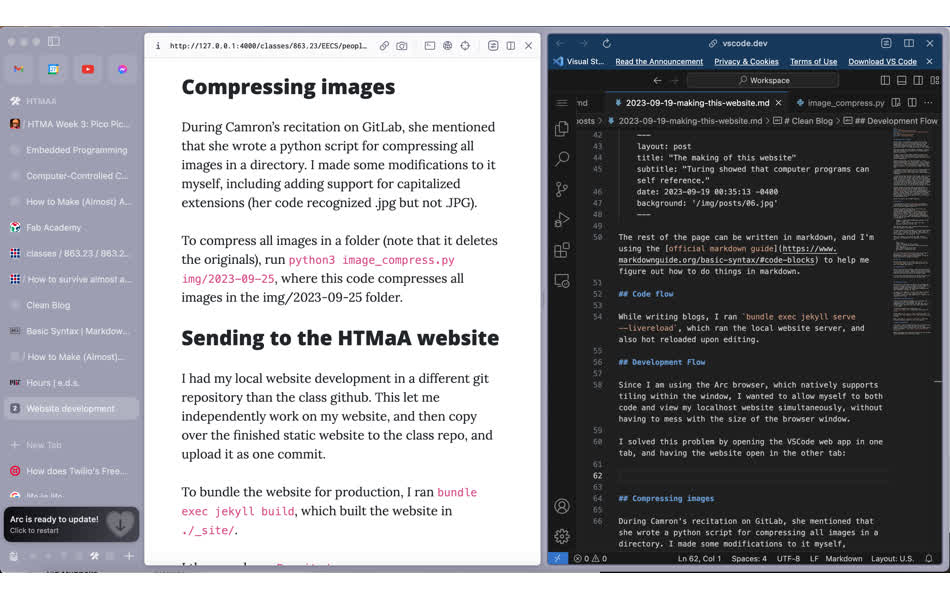
Compressing images
During Camron’s recitation on GitLab, she mentioned that she wrote a python script for compressing all images in a directory. I made some modifications to it myself, including adding support for capitalized extensions (her code recognized .jpg but not .JPG).
To compress all images in a folder (note that it deletes the originals), run python3 image_compress.py img/2023-09-25, where this code compresses all images in the img/2023-09-25 folder.
However, I noticed that her script seemed to compress the images too much (and take away too much detail), so I came up with this command to use instead:
convert path_to_image.jpg -quality 50% -resize 1000 path_to_image.jpg
I wrote a short shell script that can automatically compress all of the images in a directory.
for file in *.jpg; do
  convert "$file" -quality 50% -resize 1000 "$file"
done
Compressing videos
I used the following ffmpeg command to compress a video:
ffmpeg -i video_path -vcodec libx264 -crf 30 -preset medium -vf scale=-2:1080 -acodec libmp3lame -q:a 4 -an -ac 2 new_video_path.mp4
Where I used -crf of somewhere between 25-30 depending on how much I wanted it compressed. Higher number = more compression
Sending to the HTMaA website
I had my local website development in a different git repository than the class github. This let me independently work on my website, and then copy over the finished static website to the class repo, and upload it as one commit.
To bundle the website for production, I ran
bundle exec jekyll build, which built the website in ./_site/.
I then used cp -R _site/* ../eecssite/people/Albert to copy the built local website to the class repository under my name.
After git commit, git pull, git push, I have now finished sending my website to the class website.
Bugs/Troubleshooting
I was able to get the photos working on my localhost using relative paths, but it would not work on the class website. I fixed this by making sure that all image paths follow the format: 
Adding the baseurl part allowed the images to load on both local development and on the class server.