Assignments
The individual assignments for this week are:
- browse through the data sheet for your microcontroller
- write program for a microcontroller development board to interact (with local input &/or output) and communicate (remotely)
Choosing a microcontroller/reading datasheets
I have used an ESP32 on a much larger development board when I took 6.08: Intro to EECS via Interconnected Embedded Systems.
But that was also 3 years ago… So while the ability to use bluetooth and wifi onboard seems quite enticing, so do the voices online raving about the documentation for RP2040.
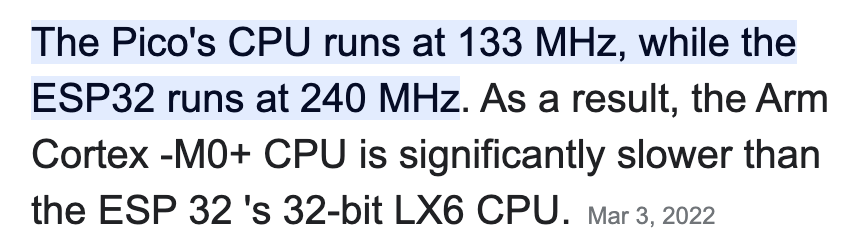
Thus, I’ll start by trying out both chips and go from there. If I don’t really notice a difference, I’ll probably stick with the ESP32, since online sources also say that it is more performant.
After a bit of delving through the documentation, I feel like the datasheets for the ESP32 seems to be just as readable as that of the RP2040. However, I will say that out of the two seeed xiao chips, I would prefer the RP2040’s since there is an onboard RGB LED, instead of a connector for the wireless antenna. This seems to be an advantage for what I want to do with this assignment.
Flashes from the past
I would like to make a fun little translator using the RP2040, which will translate keystrokes on my keyboard into flashes of morse code using the onboard LED.
Now to actually get into the work for connecting my seeed studio xiao RP2040 board.
First, I followed the tutorial at Arduino | Seeed Studio Wiki to get my Arduino IDE set up for use with the board.
The last step of that process was to use the Blink example that is built into the Arduino IDE. I’ve included a video below of what that looks like. (Only the tiny red LED turns on and off).
Next, I started implementing the morse code translator that I wanted. I’ve uploaded the code to the gihub at zip file of arduino sketch
Essentially, it will tell the user it is ready by keeping the LED on green. It will be waiting for string to come in over the serial connection. First, it will repeat the string that was inputted back over the serial monitor.
Then for each character, it will use the morseCodes table that I defined in morse_code_table.h to find the sequence of dots and dashes corresponding to that character in morse code. This sequence is then outputted to the serial monitor again, alongside the character itself. At the same time, it will flash the LED white in the sequence of dots and dashes for the letter.
Every space will be represented by the LED turning blue.
I found some online resources for figuring out the timing of the dots and dashes that would actually have been used in communication, and generally, a dot would be 100 milliseconds, a dash would be three times a dash’s duration, and a space between words would be seven times a dash’s duration.
Once the inputted string is done being “transmitted,” the LED will briefly flash red, before turning back to green, the ready state.
A video of it in action is shown below.
Also I know that videos aren’t supposed to be on YouTube, but I just uploaded it there before I knew that I was supposed to just compress videos, and I also can’t seem to find the original videos anymore unfortunately.