Assignments
The individual assignments for this week are:
- design and 3D print an object (small, few cm3, limited by printer time) that could not be made subtractively
- 3D scan an object (and optionally print it)
Scanning
I decided to scan an object first, since I hadn’t started designing my object to print yet (or even decided what it would be).
In the meeting room next to the EECS lab, Anthony has a small camera scanner. This has a RGB camera, as well as a depth sensor. As either the object is rotated, or the camera revolved around the object, the camera and its software will attempt to stitch together the points between frames to generate a point cloud.
According to Anthony’s post, the model of the scanner is the revopoint pop 3.
The object I decided to scan was my own head. I tried playing around with some of the settings, but I ended up liking the settings “fast-scan, head, colorless” the most. The fast scan choice just meant that the resulting scan was lower quality but it was faster. Choosing the head option seemed to produce the best output. It did a bit better than the “face” option. Finally, the outputted point cloud could also have each point be labeled with a rgb pixel, as seen from the rgb camera, but I found that it didn’t work too well, and actually seemed to detract from how good it looked, so I kept it at colorless.
I tried scanning my head by putting the camera down facing me, and then rotating around on the swiveling chair, and attempting to keep my head as stationary as possible.
This didn’t work too well, but later another student, Tyrin, came by and helped me with the scanning part. I found it easier to have someone else hold the camera to make sure that my head was always in frame, and to change the position of the camera on the second pass through to get the top of my head.
I also had a lot of trouble getting the sensor to actually detect my hair, which I think may be due to my hair not being a flat surface, and having many interfering surfaces at different depths in such a small area. As such, the camera always just ignore all of the points of my hair. Tyrin wore a cap, which was easily detectable by the sensor, so we ended up just both wearing the hat, which made it so that we don’t have a gaping hole in the top of our skulls.
After the point cloud is generated, I clicked on the button that fused the point cloud, and then once the points were fused, pressed the button to turn the output from the last step into a polygon mesh. I could now export the result as the native .ply format, and as the .stl format.
I’m not sure what the best way to display what I printed out looked like, so I just ended up screen recording me moving around the scanned model in the Preview app.
3D Printing
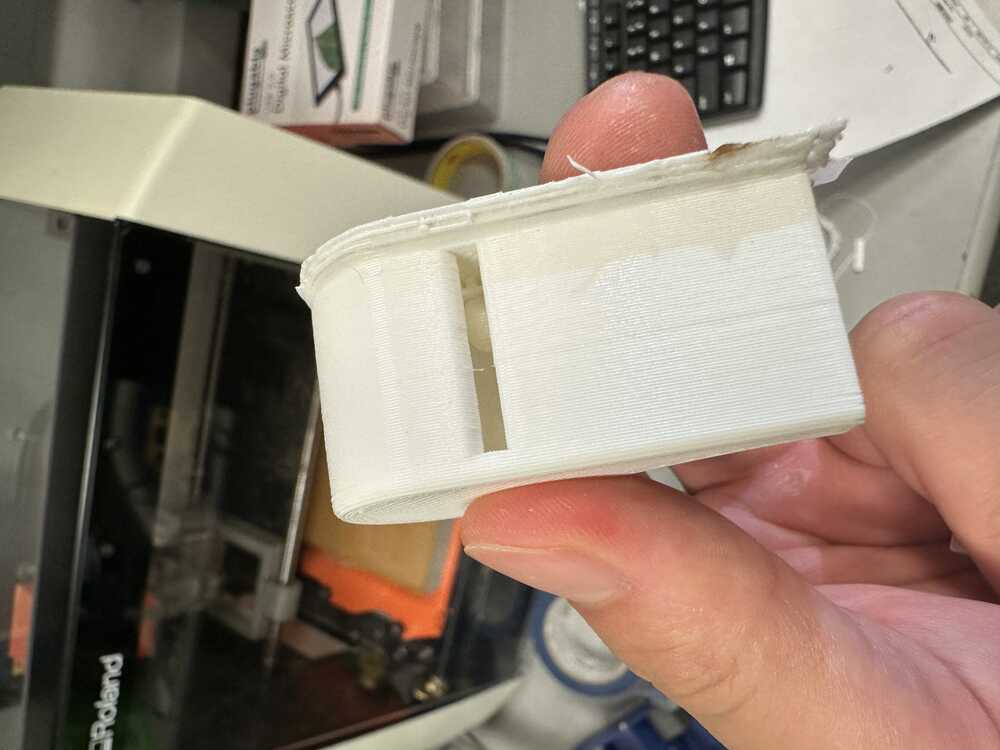
One thing that I think cannot be made subtractively is a referee whistle. Especially the ones with a ball inside that rattles around.
As I didn’t actually know how a whistle would look like inside, or how to design one, I found a guide on youtube for how to design a whistle. I tried to recreate the design found in this youtube video using fusion 360.
I made a few small changes, which I thought were easier to do/made more sense, such as reducing the internal lip height from .065” to .05”.
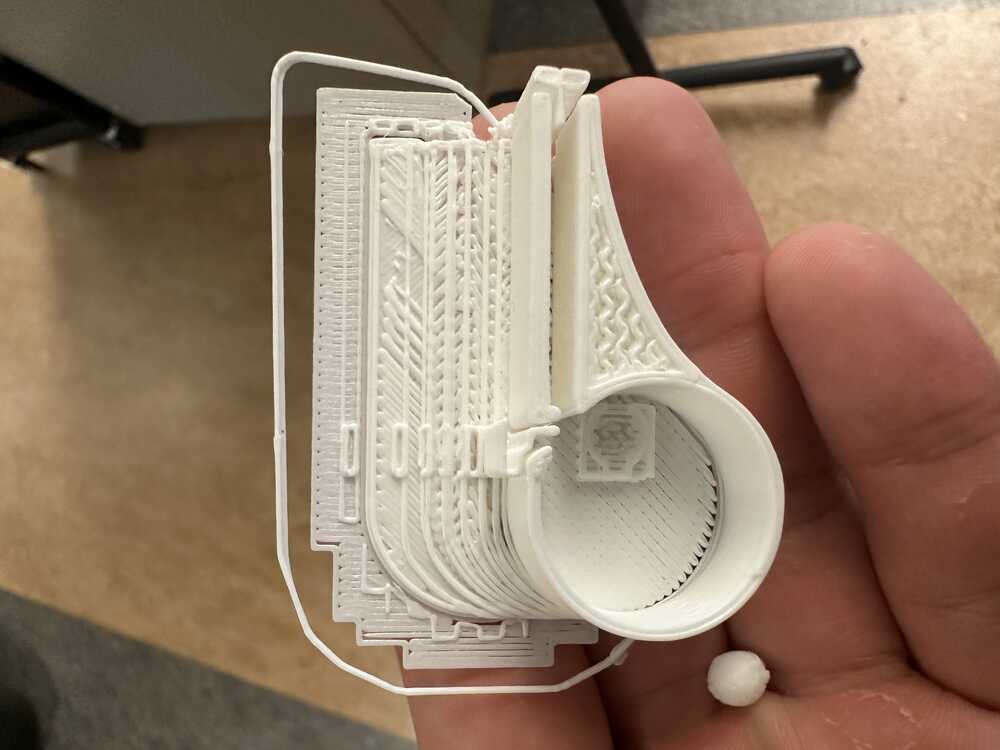
I exported the file as an STL, and uploaded it to Prusaslicer. I then sliced it, specified the extruder nozzle size (0.4mm) and also checked the box to automatically add supports.
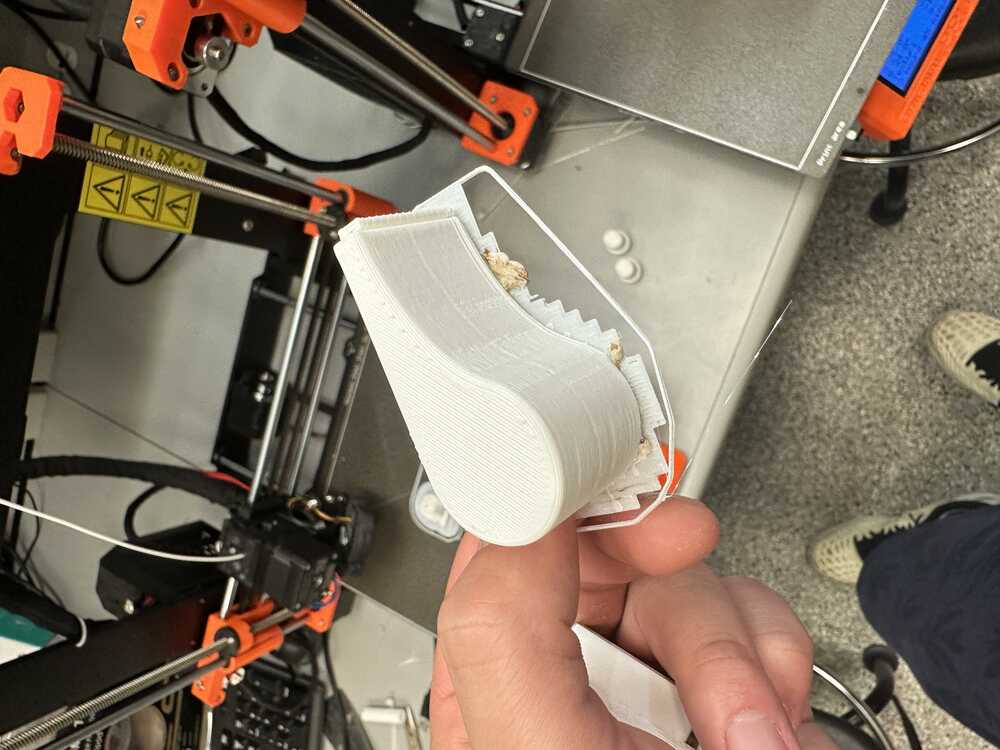
I tried printing this, and the first layer looked pretty good, so I left it briefly. I returned to it about 20 minutes later, and found that somehow the print got messed up. Later, Anthony would tell me that the printer I tried using had a bad motor/bearings on the y axis, which caused the bed to shift between layers.
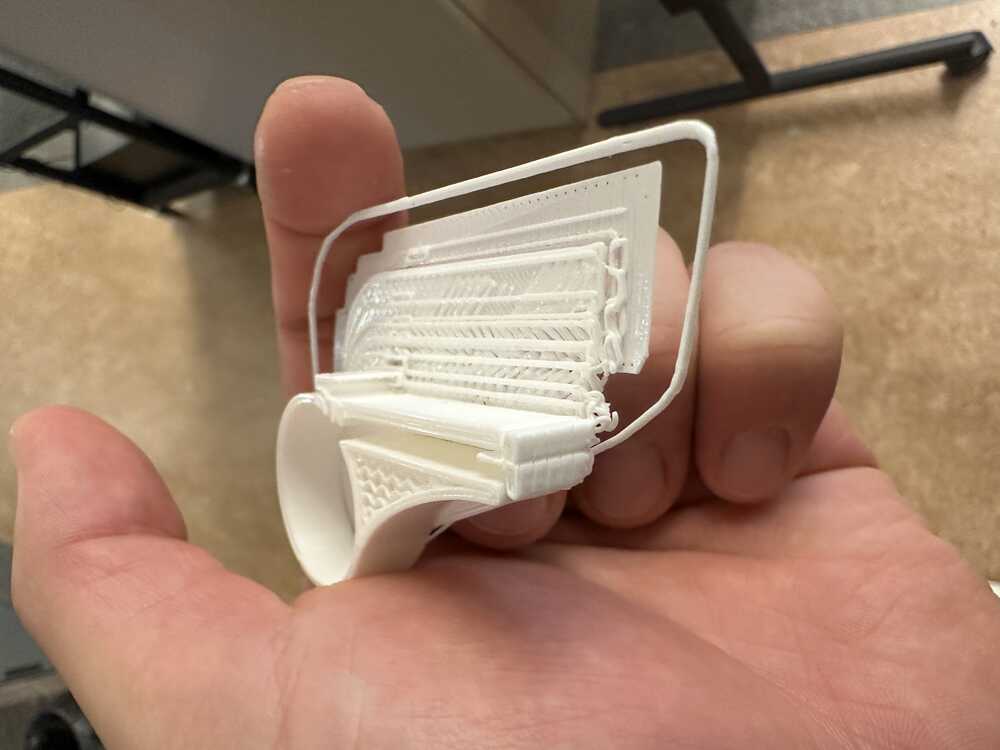
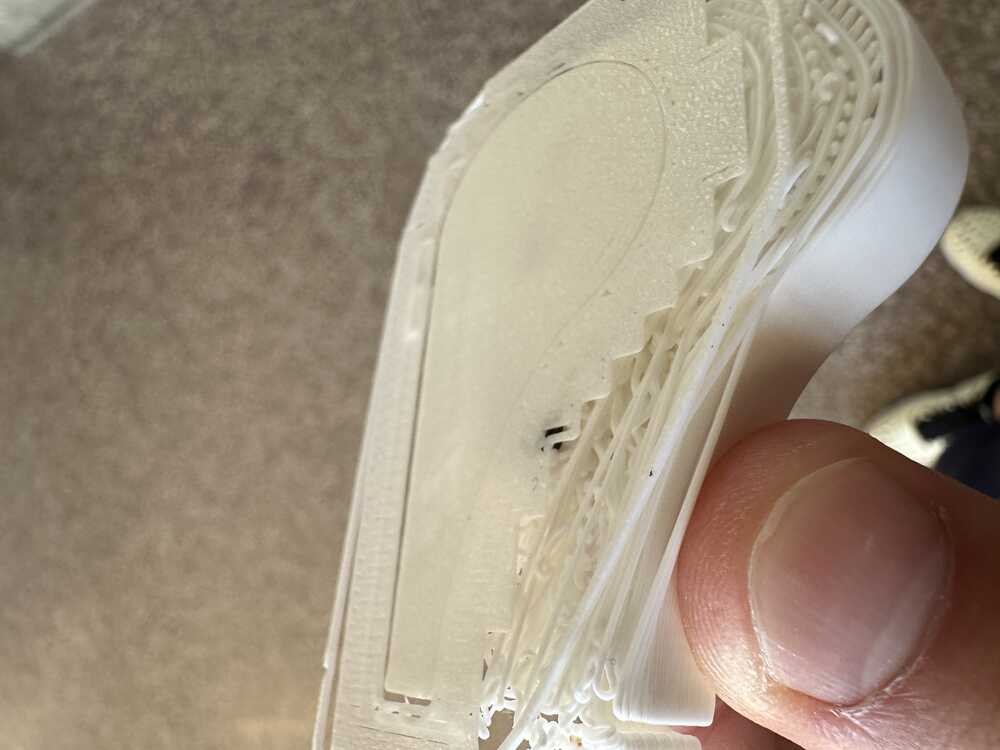
In the first picture, you can see the internal ball in my hand, and on the right of the chamber, the supports that prusaslicer added for printing the ball, which could be relatively easily separated from the wall.
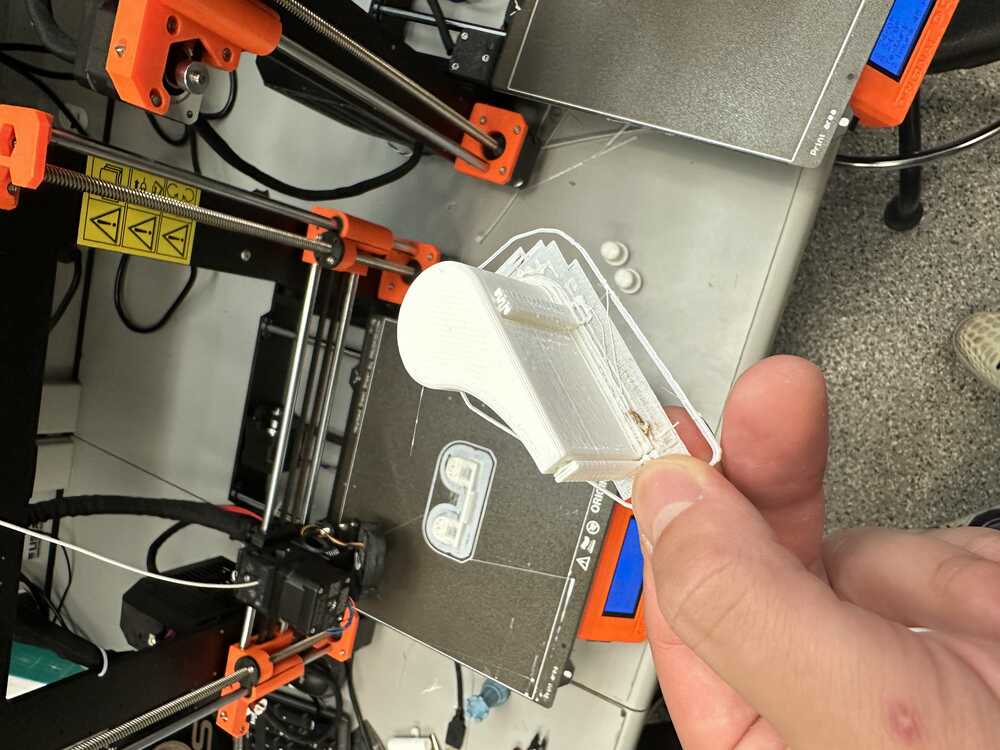
I restarted the print, and the second time, it came out better. There was still the issue with the y axis not working properly, but it only affected the first couple of layers, so I ended up just cutting off the excess parts.
I popped off the supports covering the air intake and exits, and then fit needle nose tweezers through the air exit hole to pry off the internal ball from the supports the printer added.
I then tried using the whistle, but unfortunately I’m not able to produce much sound other than the rattling of the ball inside the whistle chamber.