Assignments
The individual assignments for this week are:
- design a mold around the stock and tooling that you’ll be using,
- mill it (rough cut + three-axis finish cut),
- and use it to cast parts
Making a mold
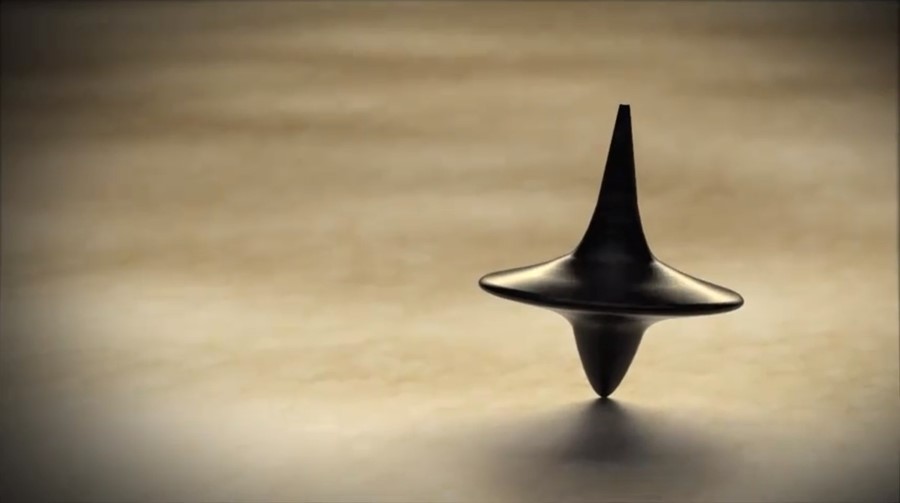
I want to recreate the top from Inception that Leonardo DiCaprio’s character used to check if he was in a dream or not.
Instead of finding a model online, I decided to just design my own, trying to copy what it looked like from stills in the movie. I also made sure the paramterize the design, so I could scale it accordingly. The only parameter I ended up having was the height of the top, and everything else was defined relative to the height, so if I wanted to scale it, I only had to change the height.
After trying out many different splines, I eventually settled on a sketch of the profile that I was satisfied with:
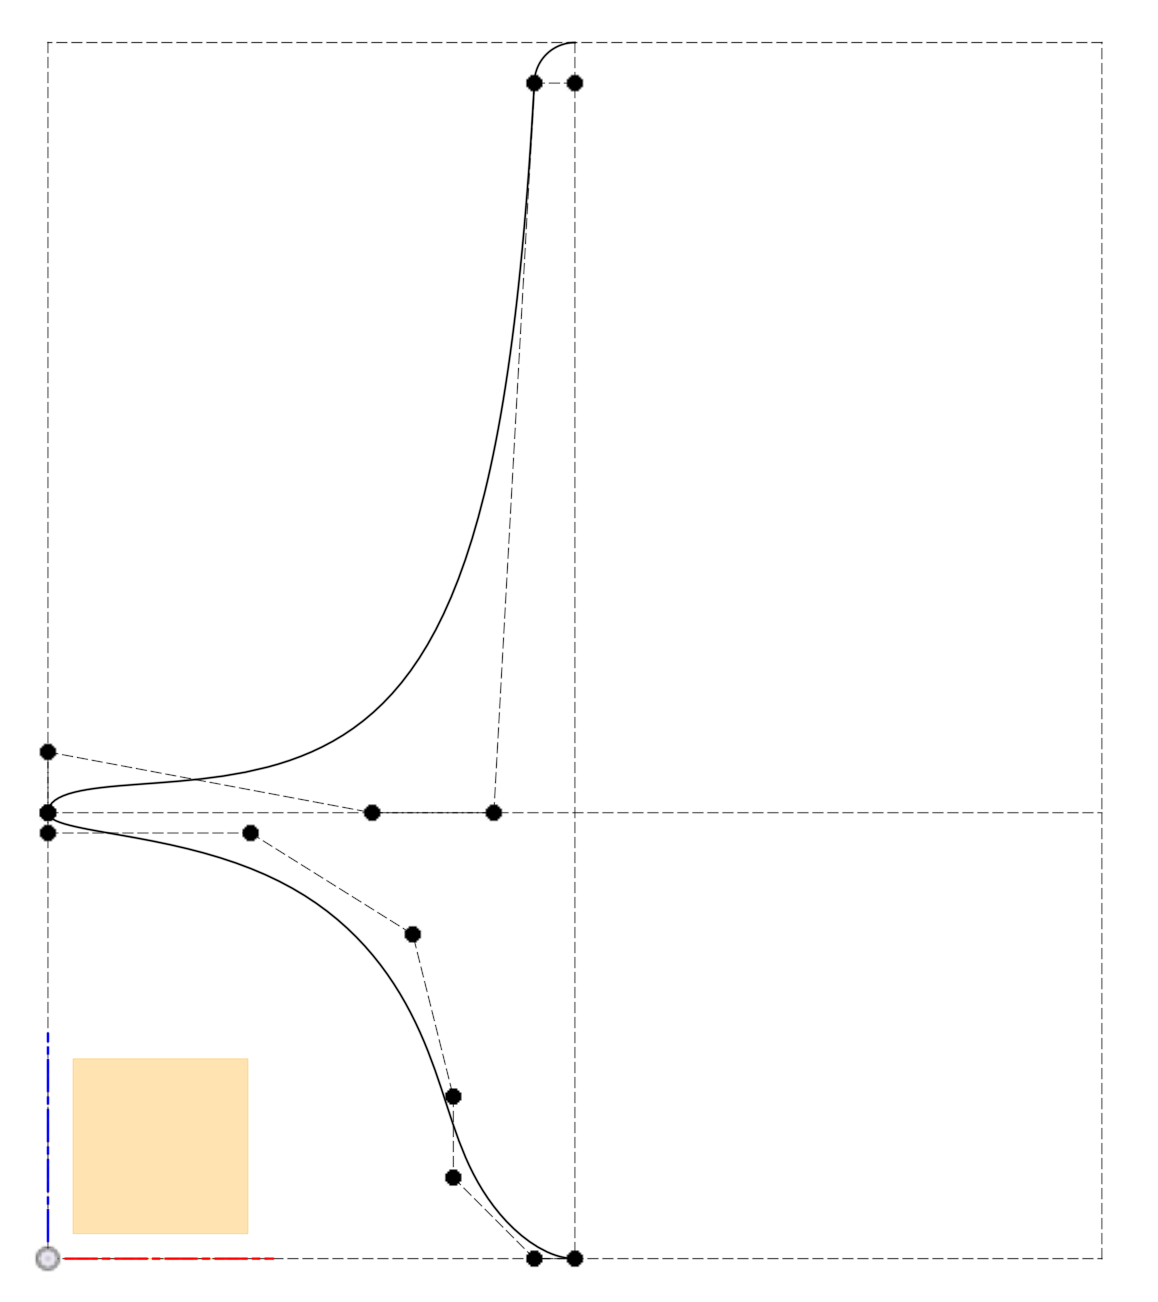
I then revolved this around the center axis to get a solid object, which was the top that I wanted to make:
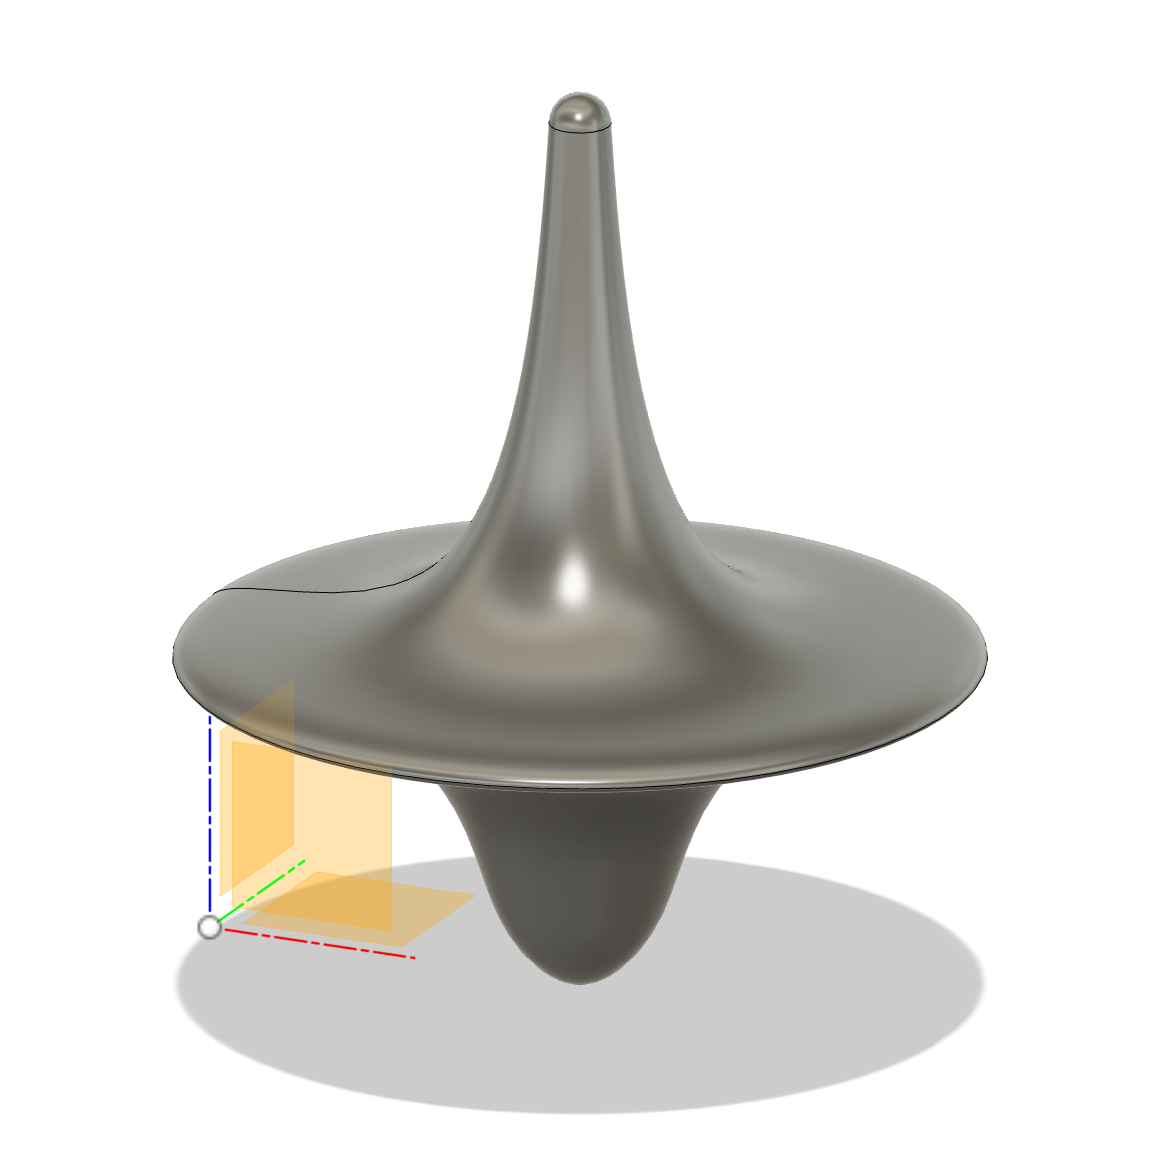
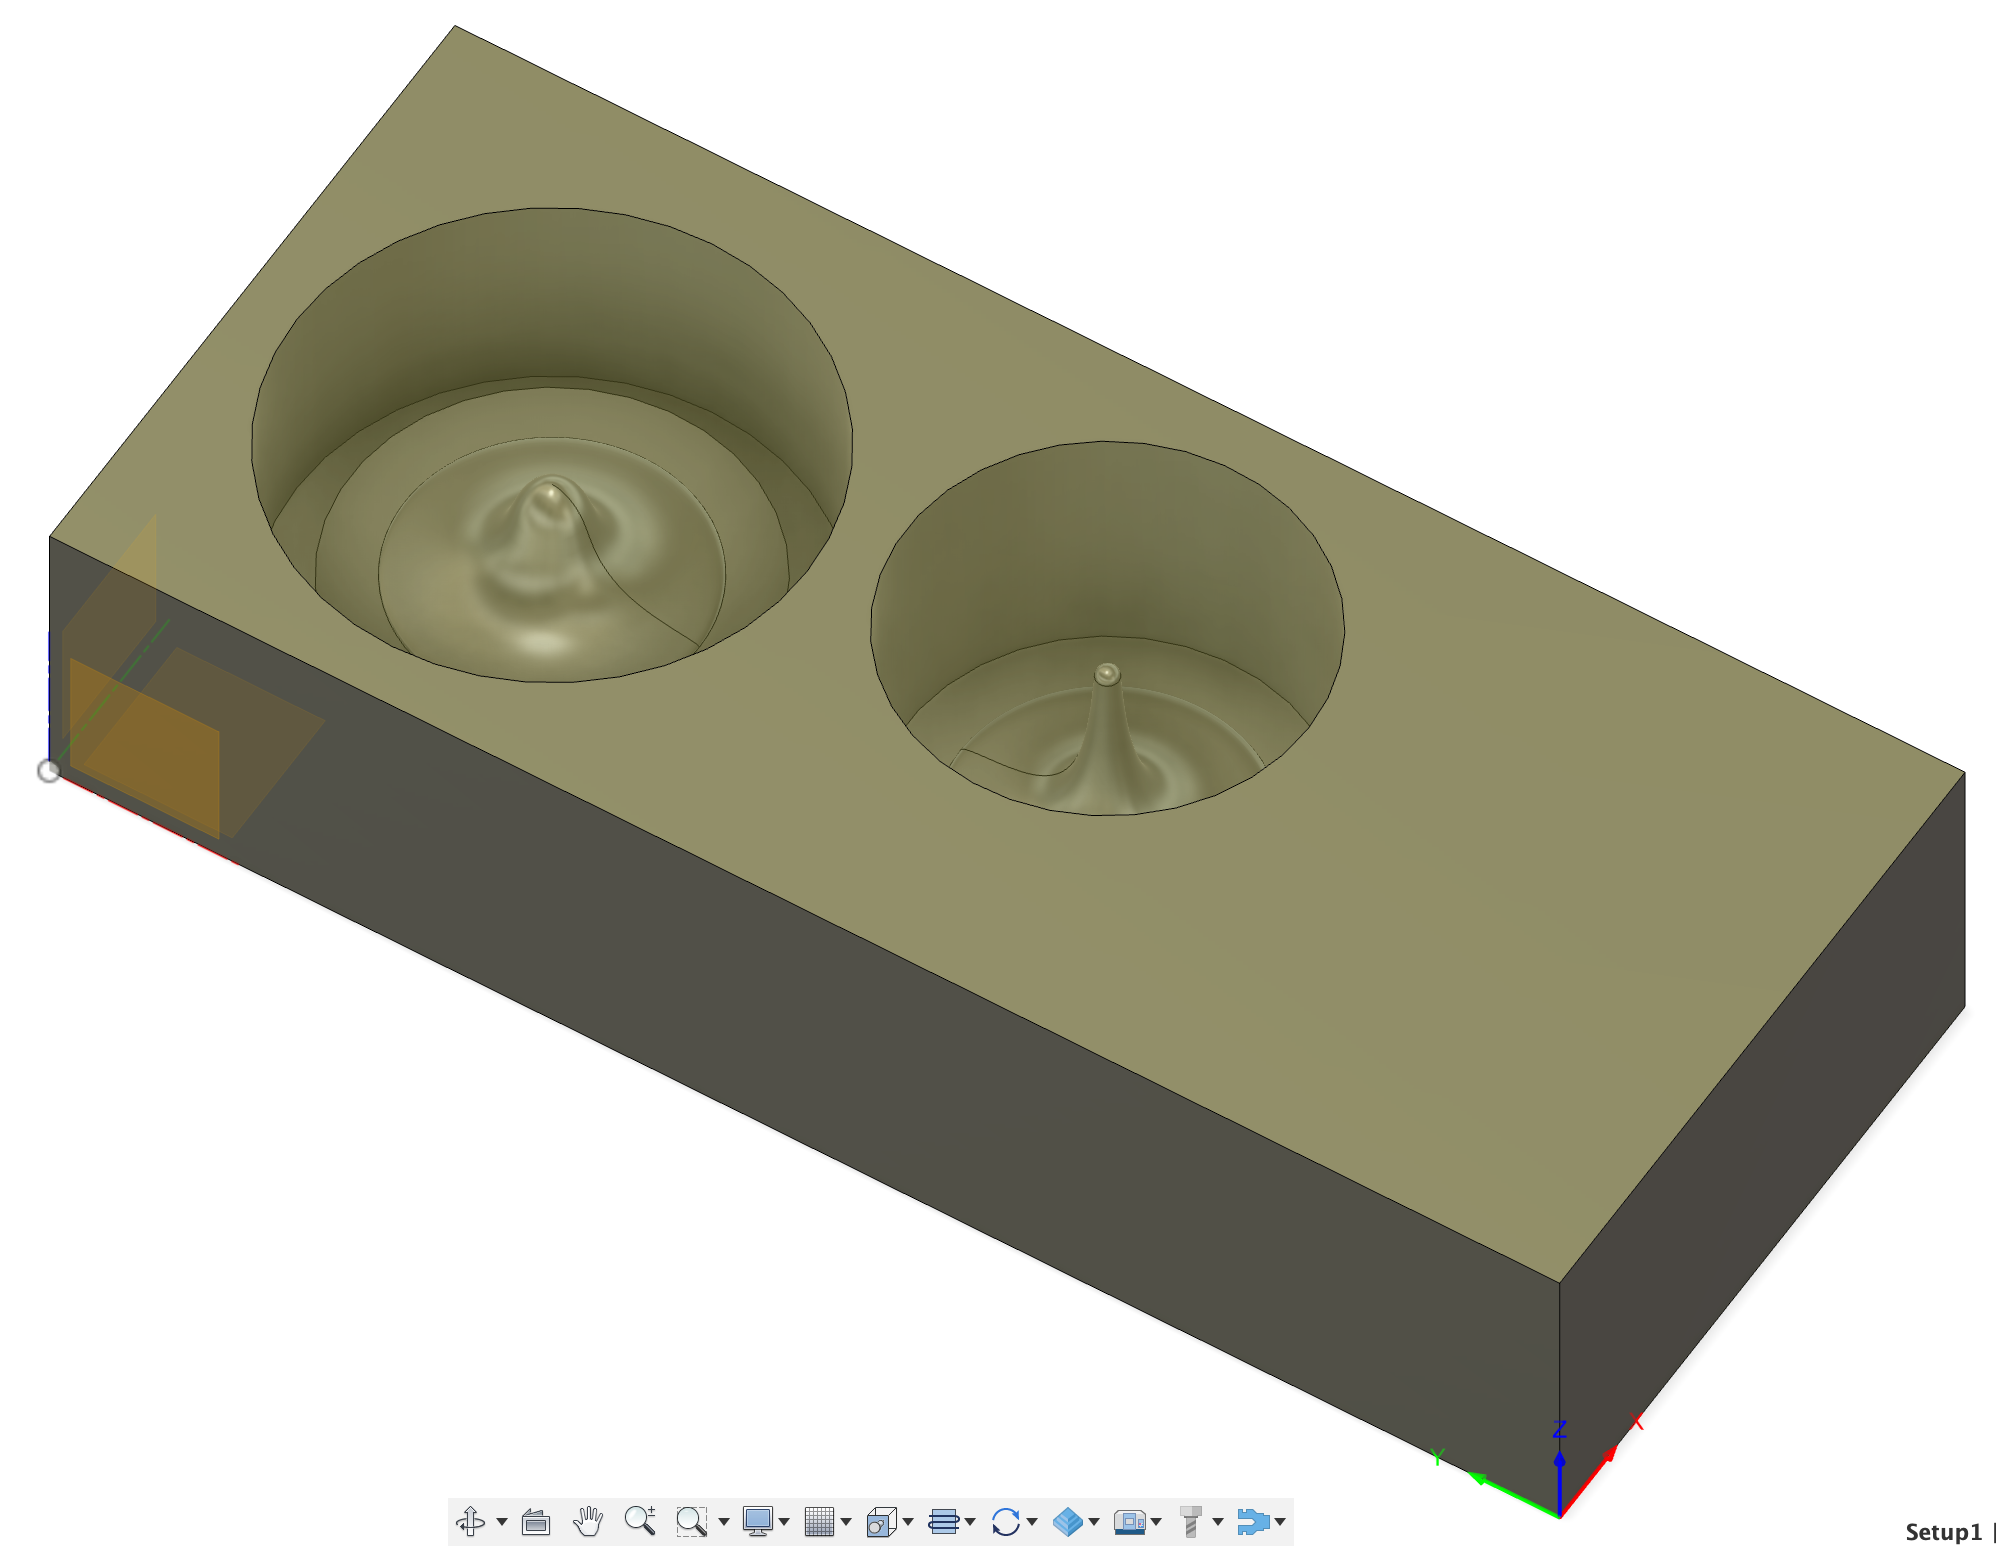
I then sliced the body in half at its widest point, which is a convenient spot to separate the two halves of the mold.
In lecture, Neil mentioned that having one half of the mold wrap around the other makes for better registration, so I made the shorter half of the mold wider and have space to wrap around the taller half, which would sit inside of it.
CAM
Once the design was finished, the next steps were to actually plan out the toolpaths.
Anthony walked me through the steps in person, which can also be found on his recitation (the recitation for this week).
To do this, the first step is to go to the Manufacturing tab, then set the details about the tools that I will be using. I was able to get away with only using the .25 endmill and not needing to replace it, since my object didn’t have any small details that the large endmill wouldn’t be able to fit into.
The first pass through was the adaptive clearing step, which was the step that removed the bulk of the material. We set the spindle speed to 18000 rpm, and the feedrate to 100 in/min.
The maximum roughing stepdown was set to .2 in, and we selected the “order by area” box so that the end mill would completely finish one half of the mold before starting the other. This prevented it from wasting time by alternating the halves of the mold for each level.
We set the helix angle to 20 degrees (from 2 degrees) since the wax is soft and we can save time by helixing more aggressively.
There were some other changes made to the settings, which can be found in the Top file.
We also did three more finishing stages in addition to the adaptive clearing. First we did a Pocket cut, since the adaptive clearing didn’t get the .25” outer diameter, we set the Pocket cut to do plunging so that it would just plunge downwards without a helix, so that it could actually fit inside the outer ring.
We also added a scallop cut for finishing the smooth sides of the top. However, it didn’t really touch the step sides of the top, so we added a ramp cut step which would finish all sides where the angles were between 30 and 89.9 degrees (less than 90 since it wanted to finish off some of the side walls and we don’t care about those).
Machining
After finishing preparing the settings, we actually began machining. We exported the file as a .f3d file. Then, we did some post processing steps where we turned the .f3d file into a gcode file, which could be understood by the mill controller. Then we put it on a usb drive and attached it to the NUC that controls the CNC mill.
To prepare the mill, first we align the wax brick with the bench dogs so that the brick’s position is well defined, and then we used hot glue to secure it in place.
Then, in the Mach 4 software on the NUC, we first home the mill, and then zero the z-axis using the conductive apparatus.
We also attach the skirt around the tool so that the vacuum can pick up the shavings.
Finally, we check that the vacuum and spindle both work by testing the corresponding relays.
The next step is start the job, paying close attention to the machine. Importantly, we want it to sound somewhat like a horn honking while it’s cutting, so we know that the feed rate is set to a good amount.
After the adaptive clearing steps, we can lower the spindle speed to reduce noise (to 75% or 13500rpm), and increase the feedrate for the finishing steps (up to 150%). When the mill was finishing the thin ends of the top, I slowed down the feedrate to 75-100%.
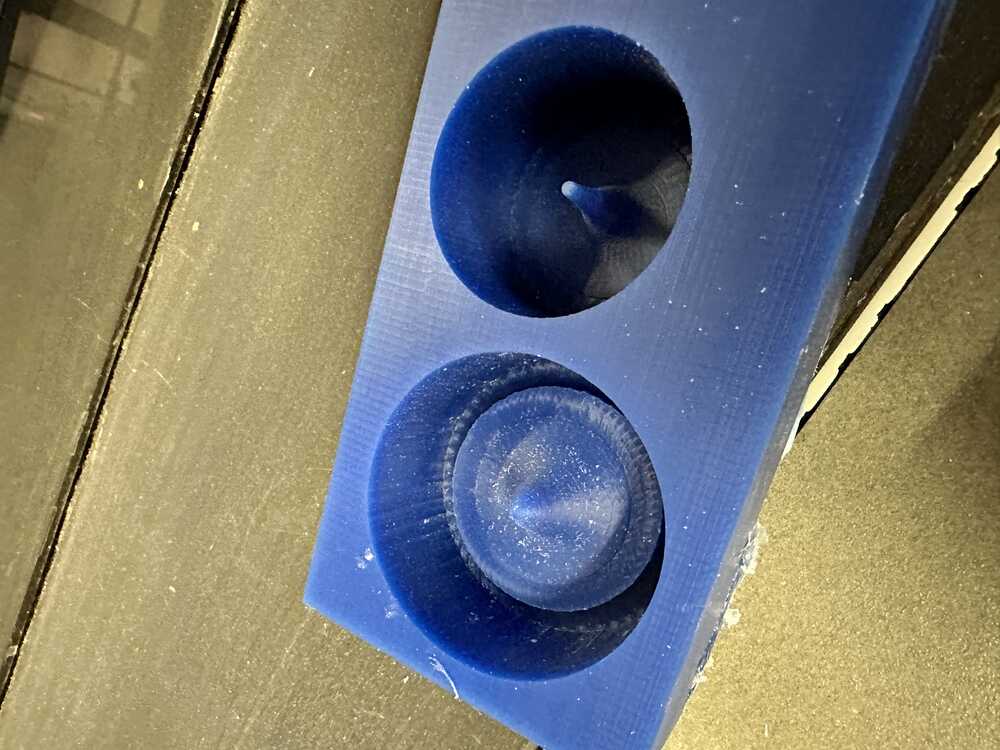
Finally, after milling the brick now looked like this:
Molding
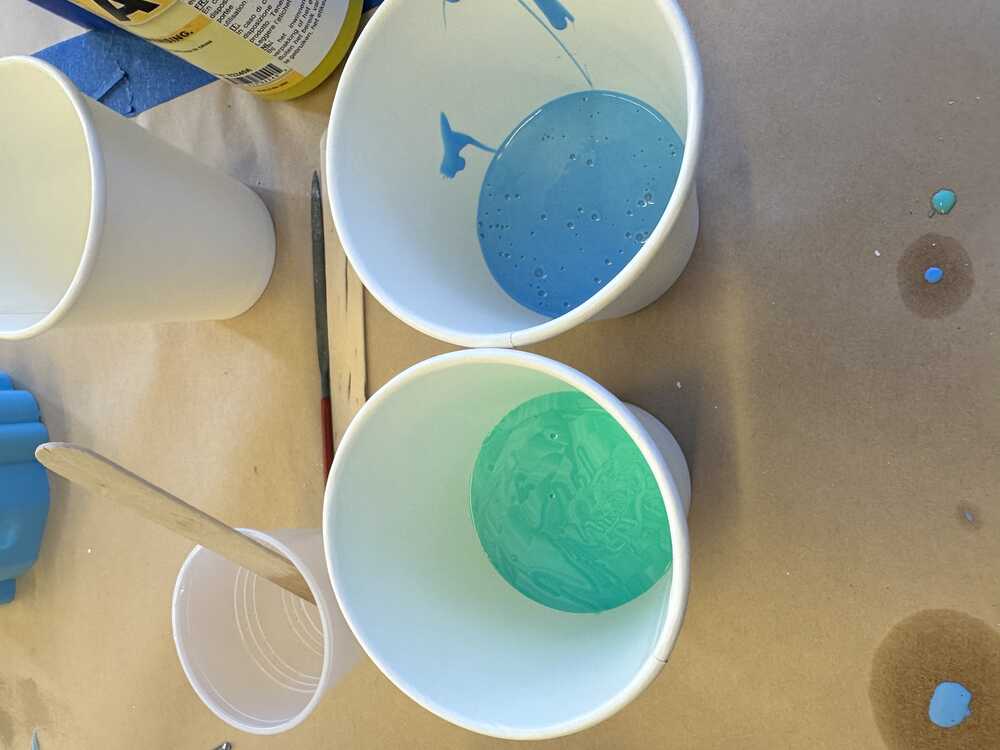
With the mold ready, the first step is to prepare the oomoo silicone. I roughyl measured out the volume of the molds by filling the brick with water as a comparison.
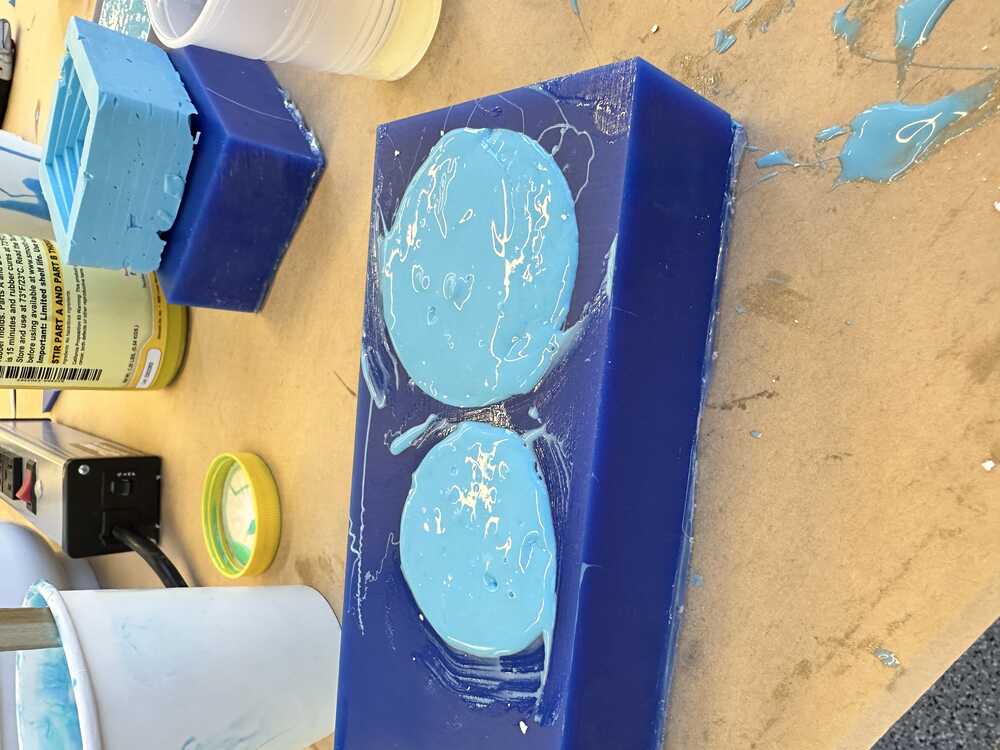
The next step is to mix equal parts of part A and part B of the oomoo. Then mix quickly, avoiding adding air to the silicone, and then pour it into the mold, making sure to pour from the sides of the mold to avoid the air bubbles from getting near the actual part.
I think I spent a bit too long mixing, and poured too slowly, because the Oomoo had already become very viscous by the time I was finished pouring. I also tried to dislodge some air bubbles by tapping the brick against the table.
Casting
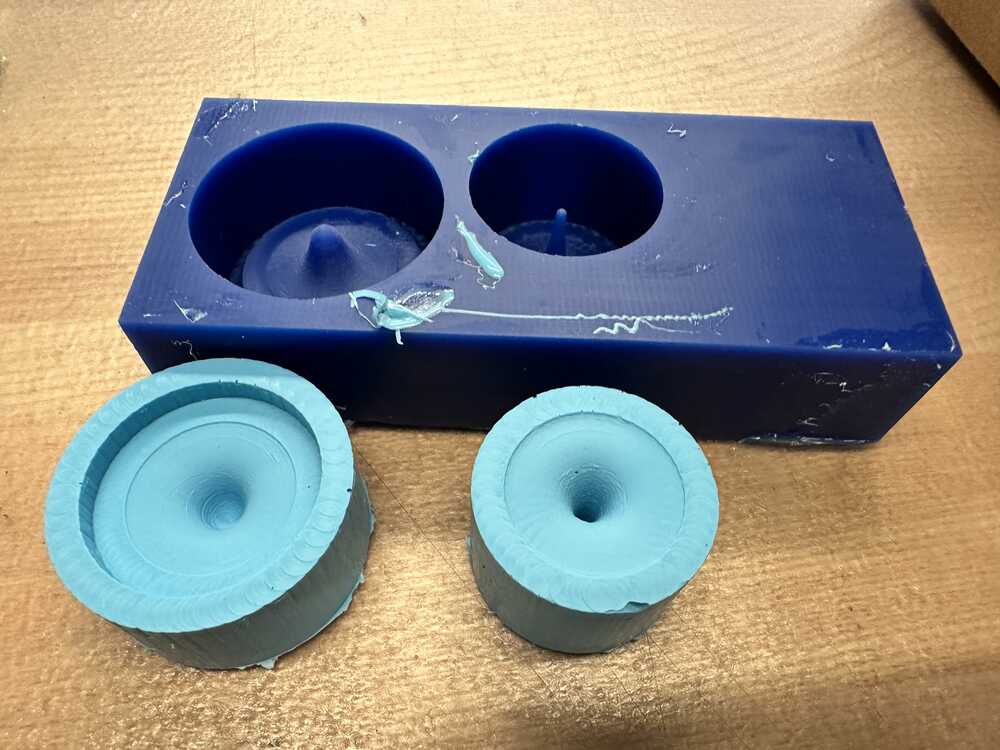
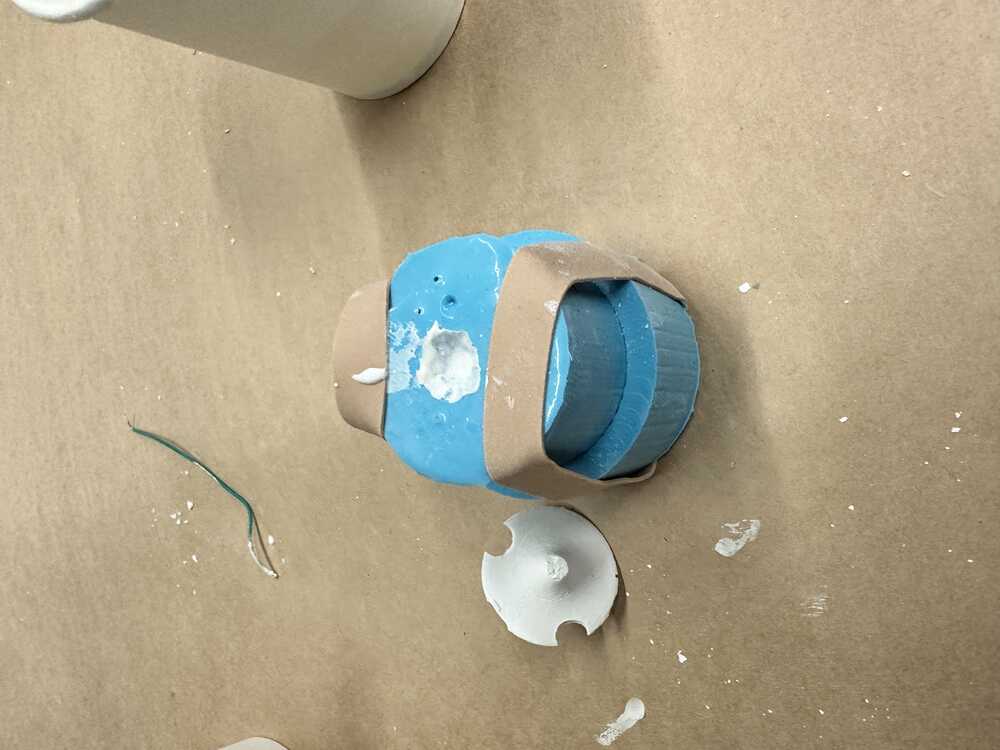
A few hours later, the oomoo had set and I removed them from the brick.
I then cut a funnel shape into top half so that I had somewhere I could pour drystone from.
I then mixed the drystone with some water, but I chose to do a more fluid consistency than recommended because I had to get the drystone to flow through such a small hole. Somewhere around gogurt (maybe a bit more fluid).
I then poured it into the funnel, then gently squeezed/prodded the top half so that the air would flow out of the mold and the drystone could flow in.
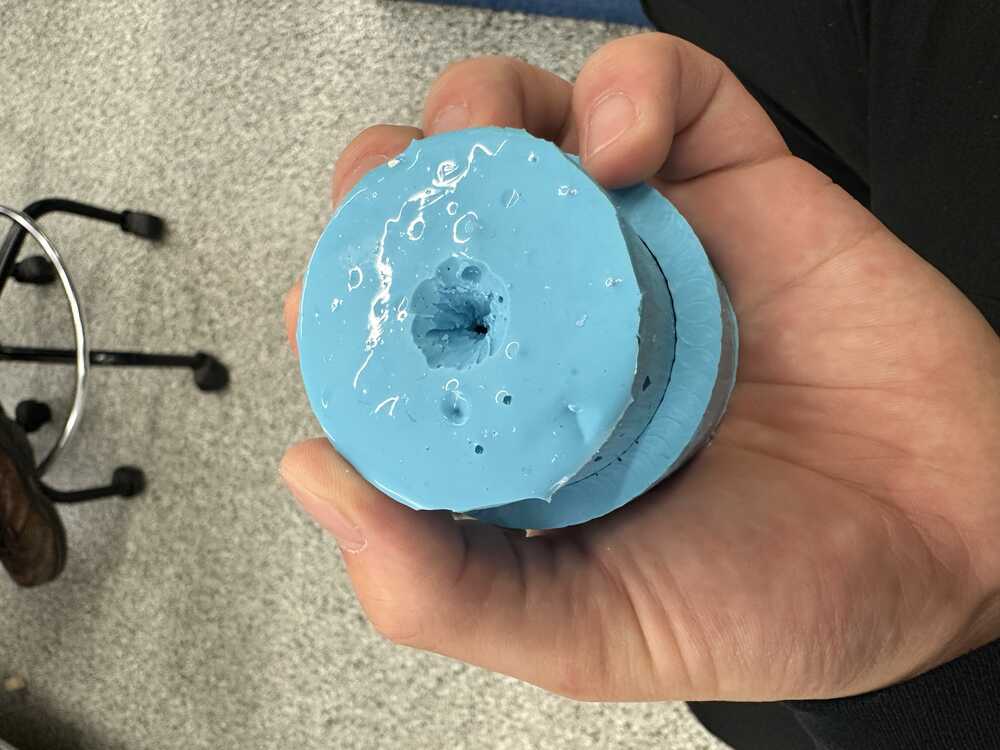
Half an hour later, I tried taking off the mold to see, but there were a few errors: there were two air bubbles trapped inside, which made the main disk of the top have two holes in it. I also must have taken it out a bit too early, since the long spindle part had not yet set enough and just crumbled (probably since it was so thin there).
I then recasted it, making sure to fill up the first half of the mold to the edges before putting the top half on, so that there wouldn’t be any air bubbles at the edge of the disk.
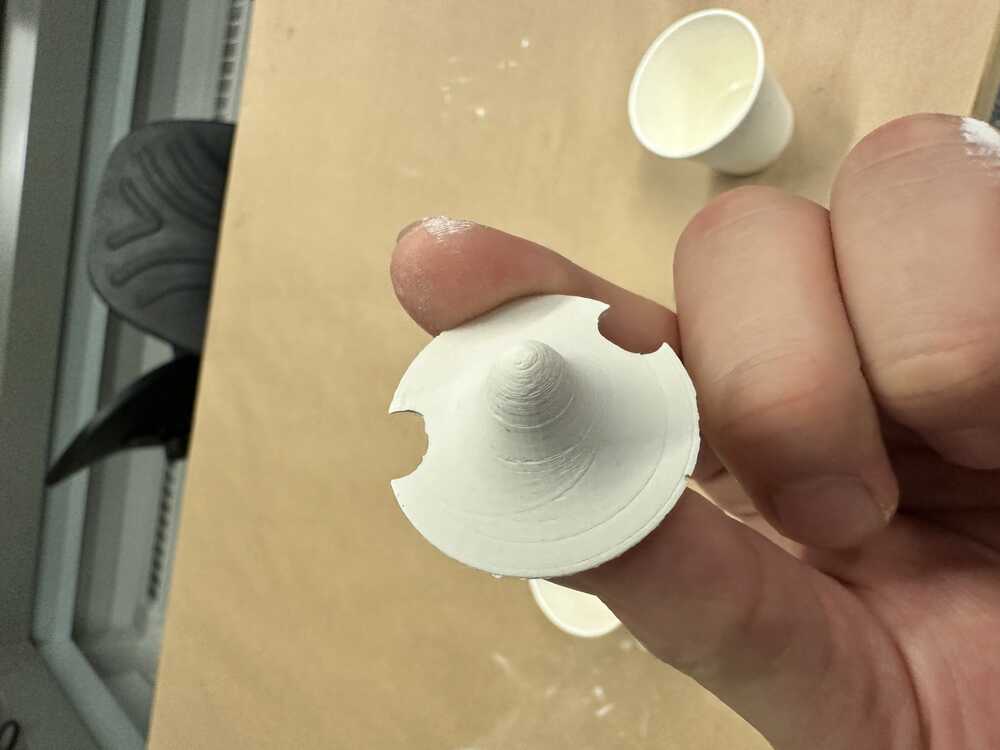
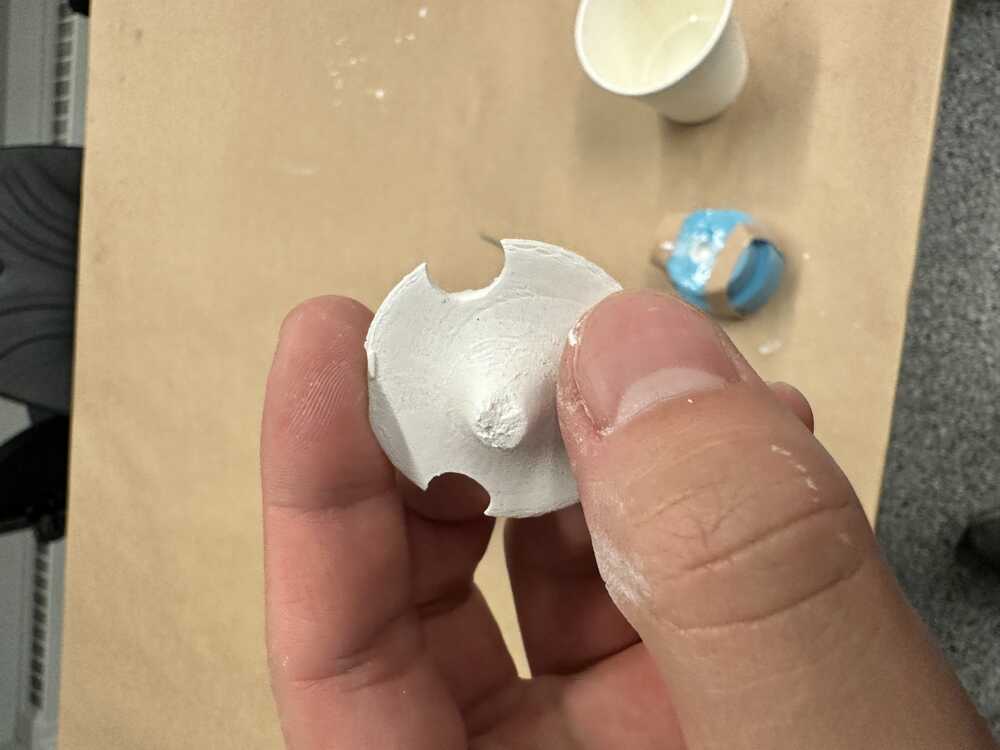
After recasting, the new one looked like:
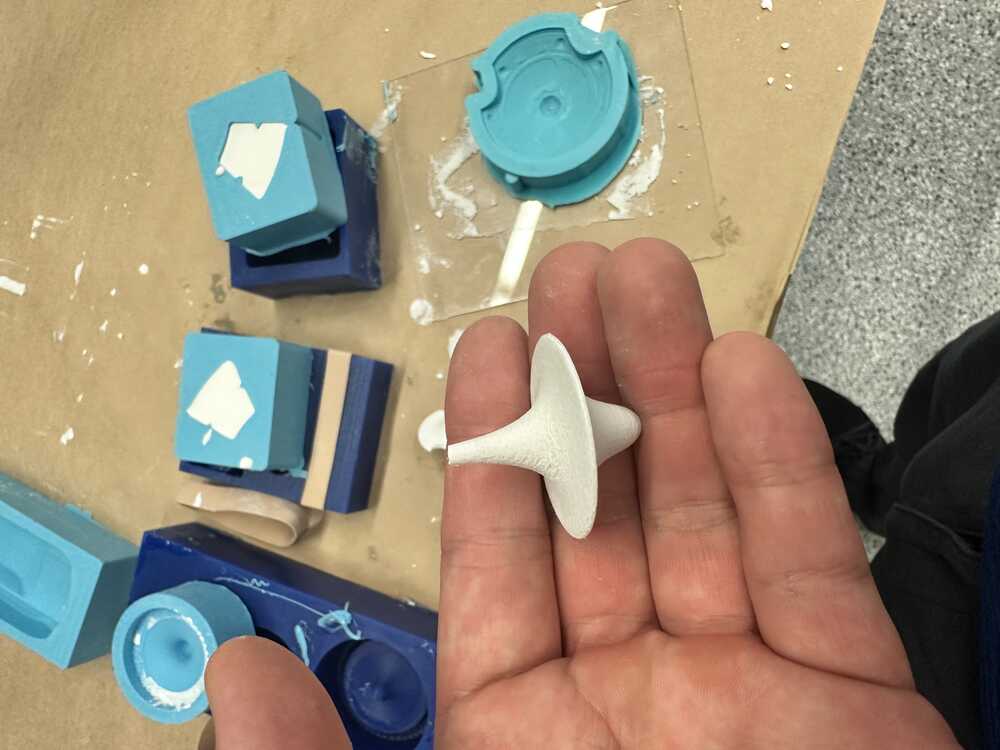
And here’s my recreation of the last shot from Inception