Interface and Application Programming
Controlling lights through a website
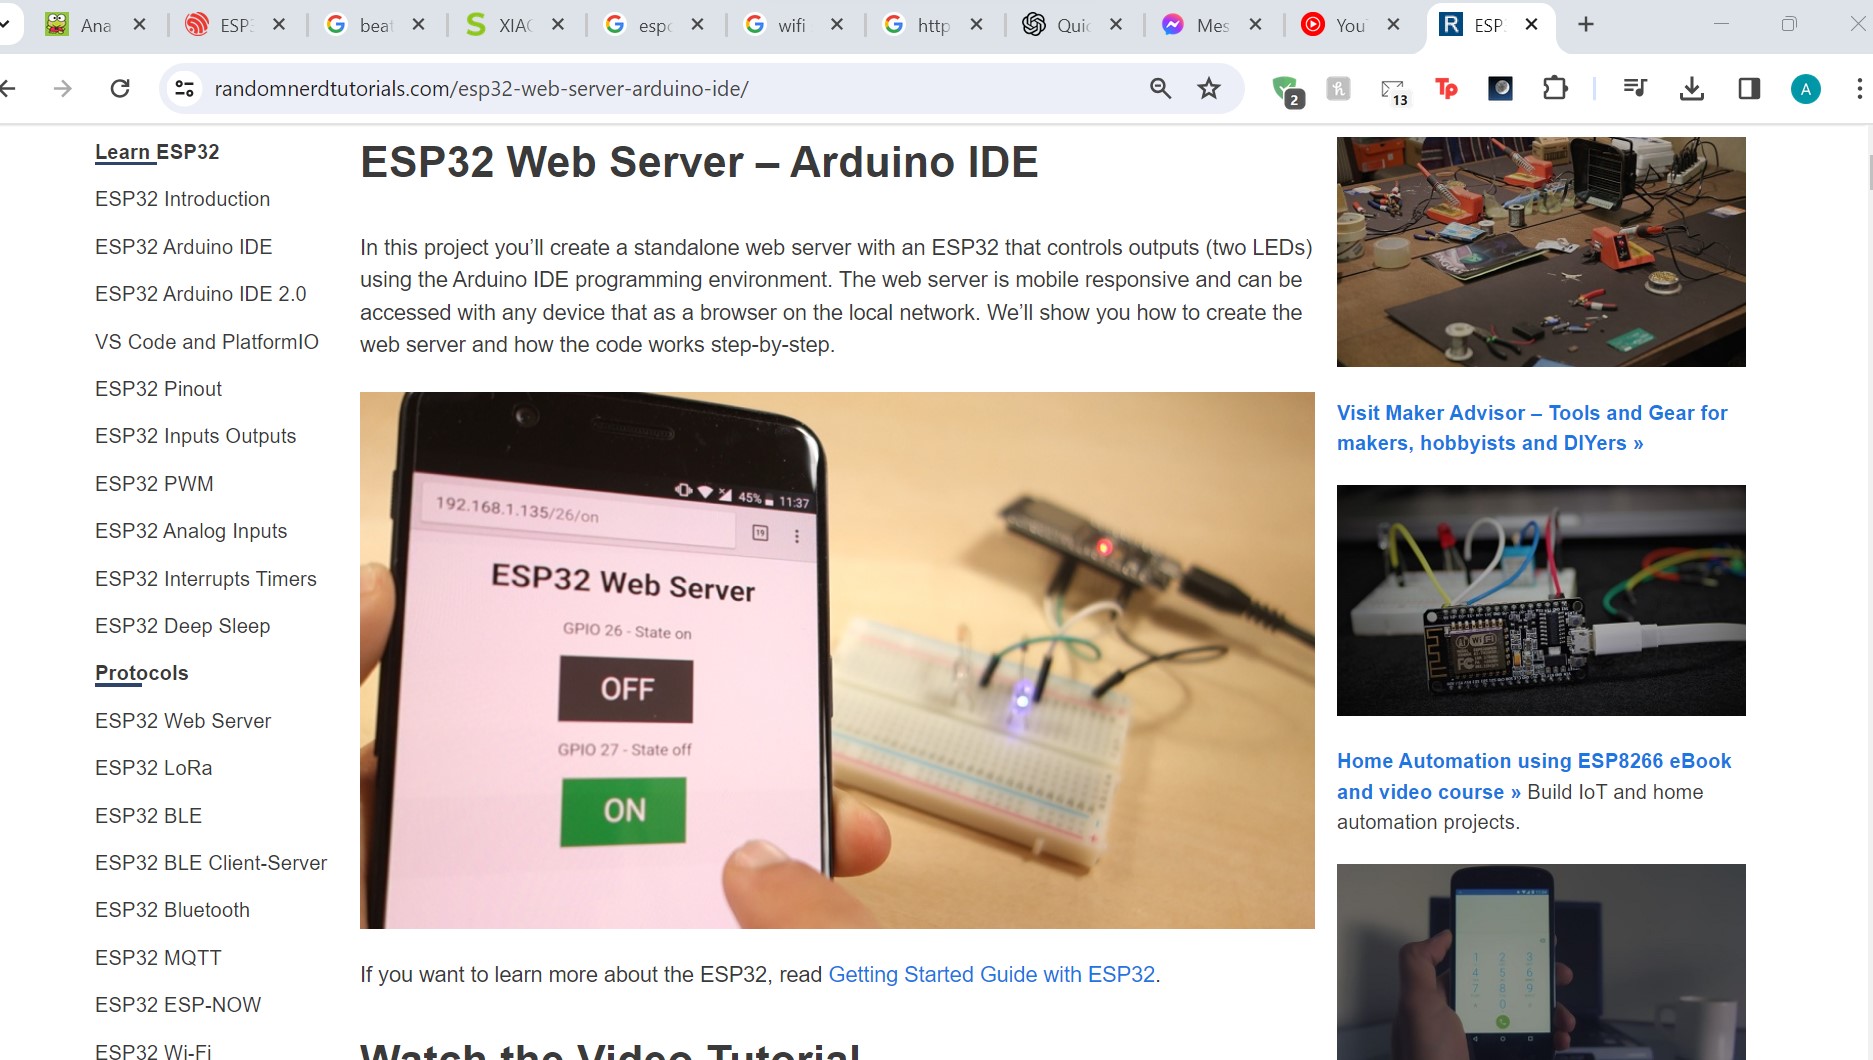
This week I kept it simple and I just wanted to connect the board I had made for my memory game to a website. I would simply be able to control if the LEDs were on by pressing buttons on a website. I'm basing it on this really useful tutorial I found online! Tutorial

Coding
I really liked this tutorial since we're using a WiFiServer like I used last week. I tried using other tutorials that used a WebSocket library that I couldn't get to work, and then I realized I could just use what I did last week. Like I explained before, we make a socket server, and the microcontroller and laptop are connected to the same network in order to communicate with each other. Once that's connected, I can print HTML to the client server and it'll show up when I go to the microcontroller's IP address.
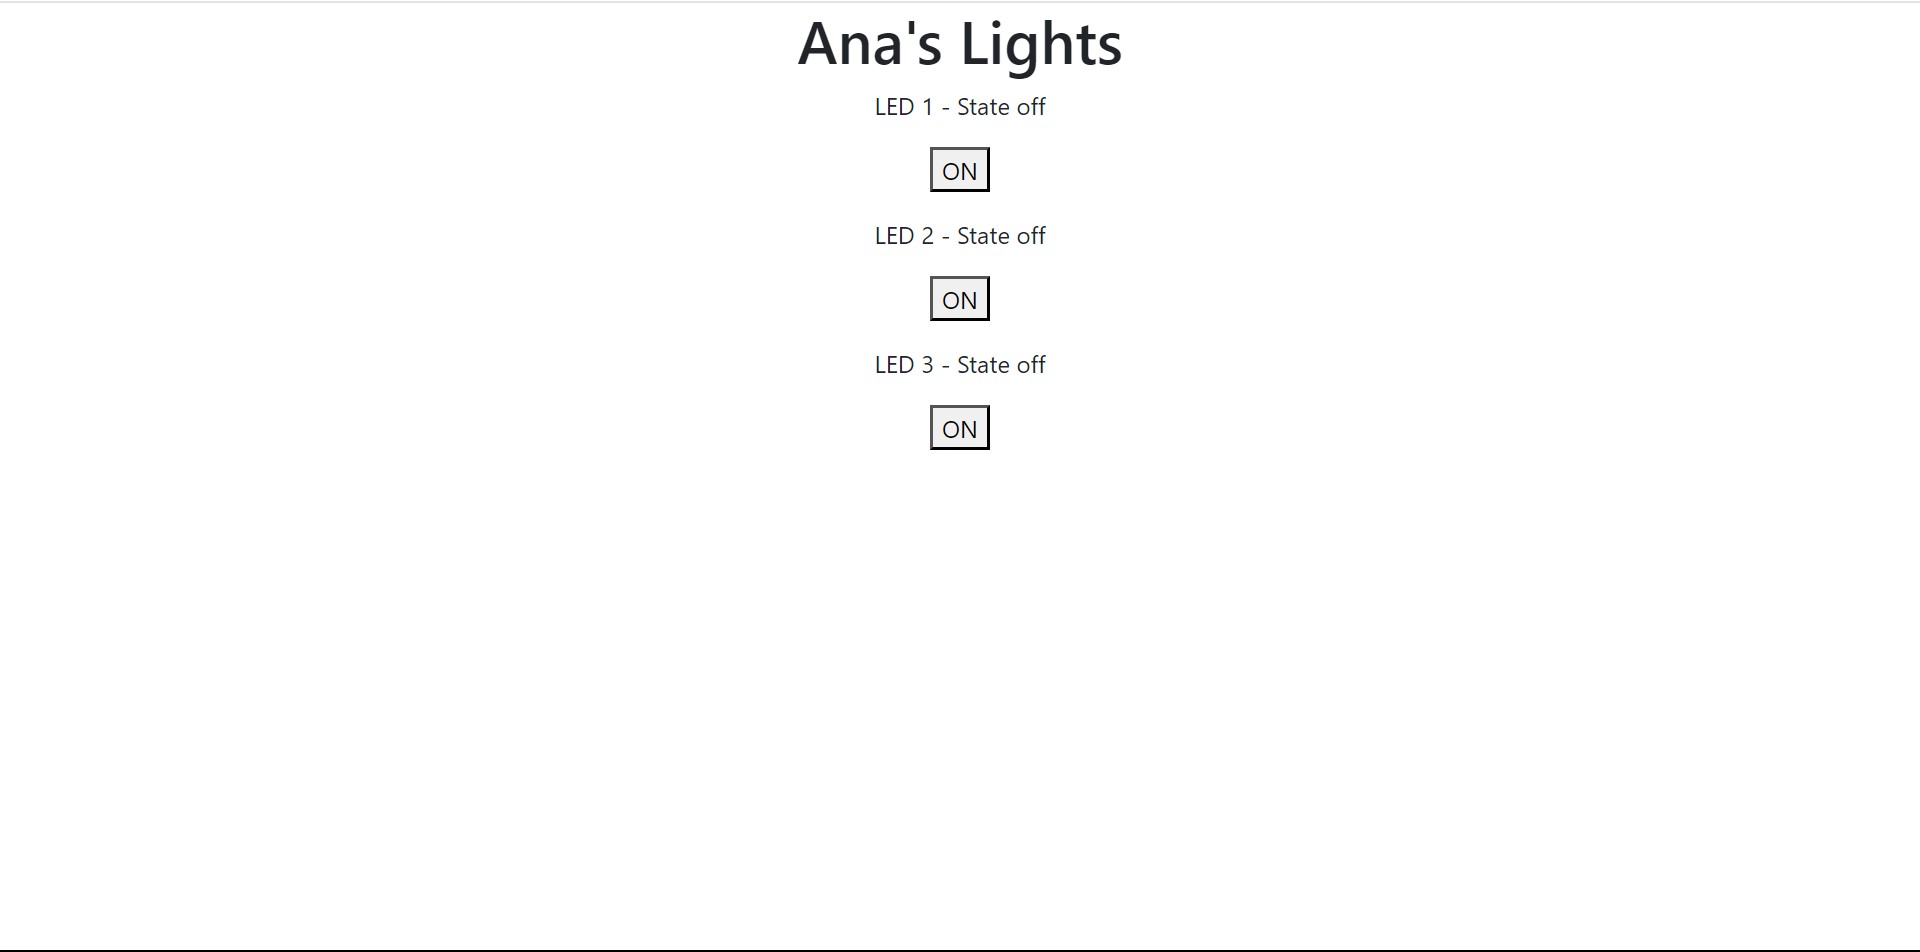
To control the LEDs with buttons, I make each button take you to a new link (I do this in HTML and I print it to the client) whether it's on or off. Then, I check the headers of the current link. Headers are additional information that's part of the link, and each LED and state has it's own header (the links in the buttons). So, I basically use the headers to see what should be on or off at the moment. When you click the button, you'll see the link at the top will change!

Final Product
Here's the code for this week. It's very repetitive but simple. To run it, replace the ssid and password with the network your laptop is connected to. Then, load the code into your microcontroller and run, and you'll see the IP address of your microcontroller. Put that IP address in your browser and you'll see the website!