Week 7
Things I did this week:
Design a mold around the stock and tooling that you'll be using, mill it (rough cut + three-axis finish cut), and use it to cast parts
Designing the mold
My plan for this week is that I want to make cookie mold. Took me a while to figure out using fit point spline and fillet properly.
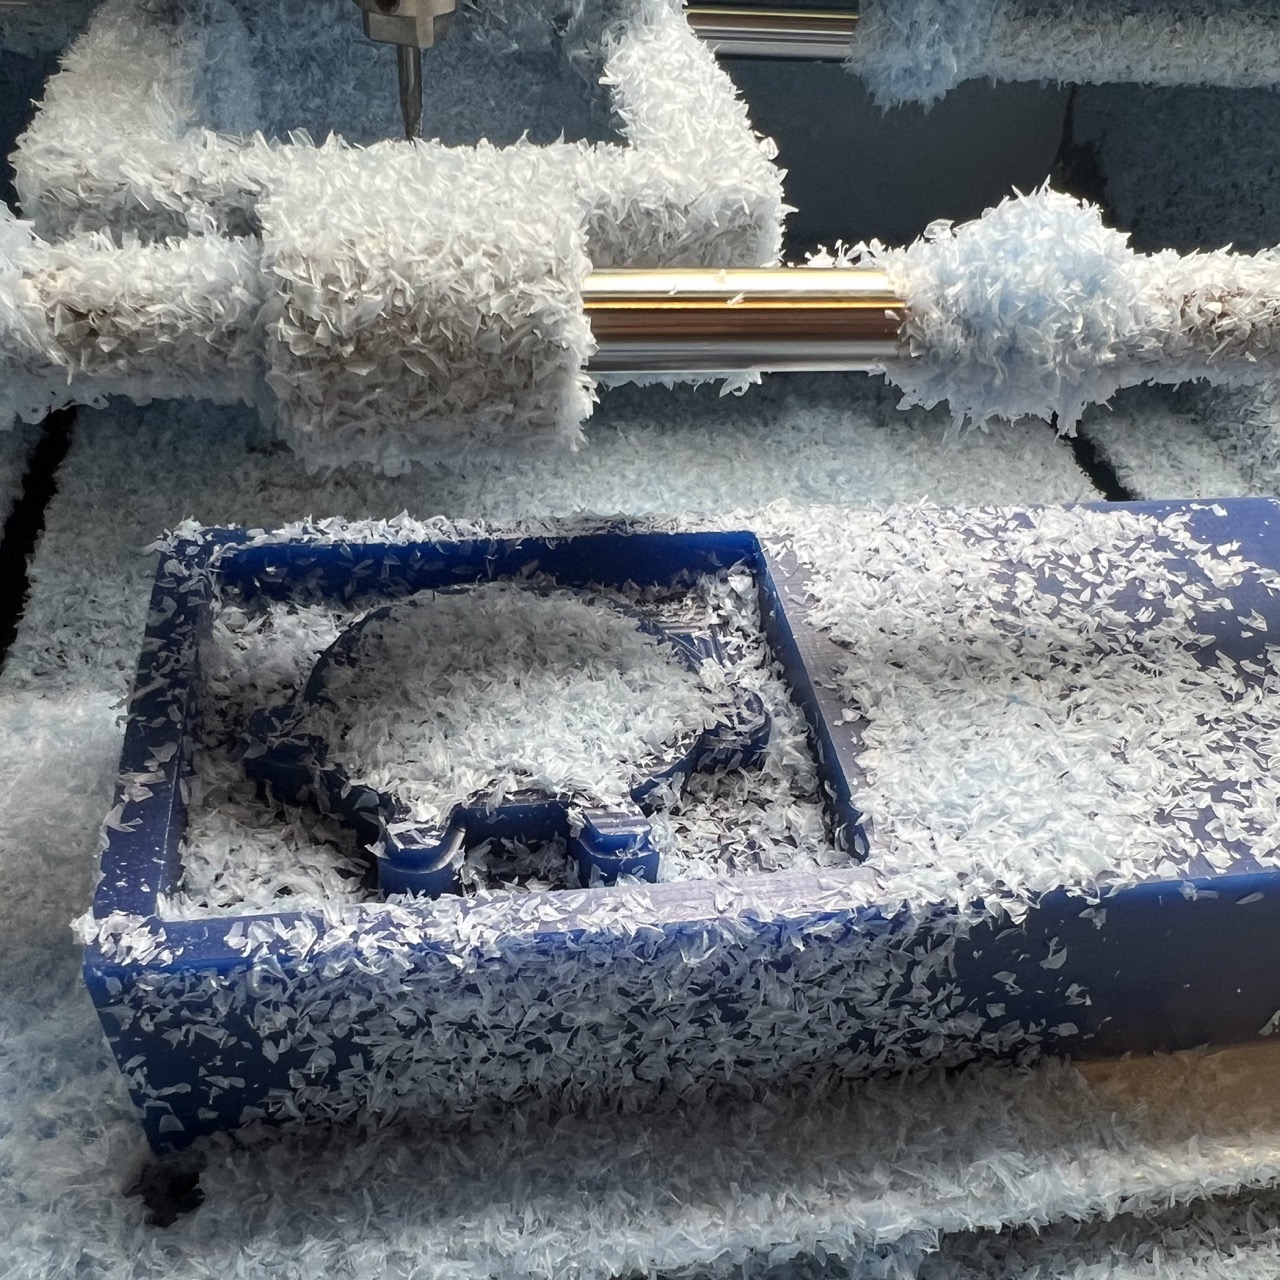
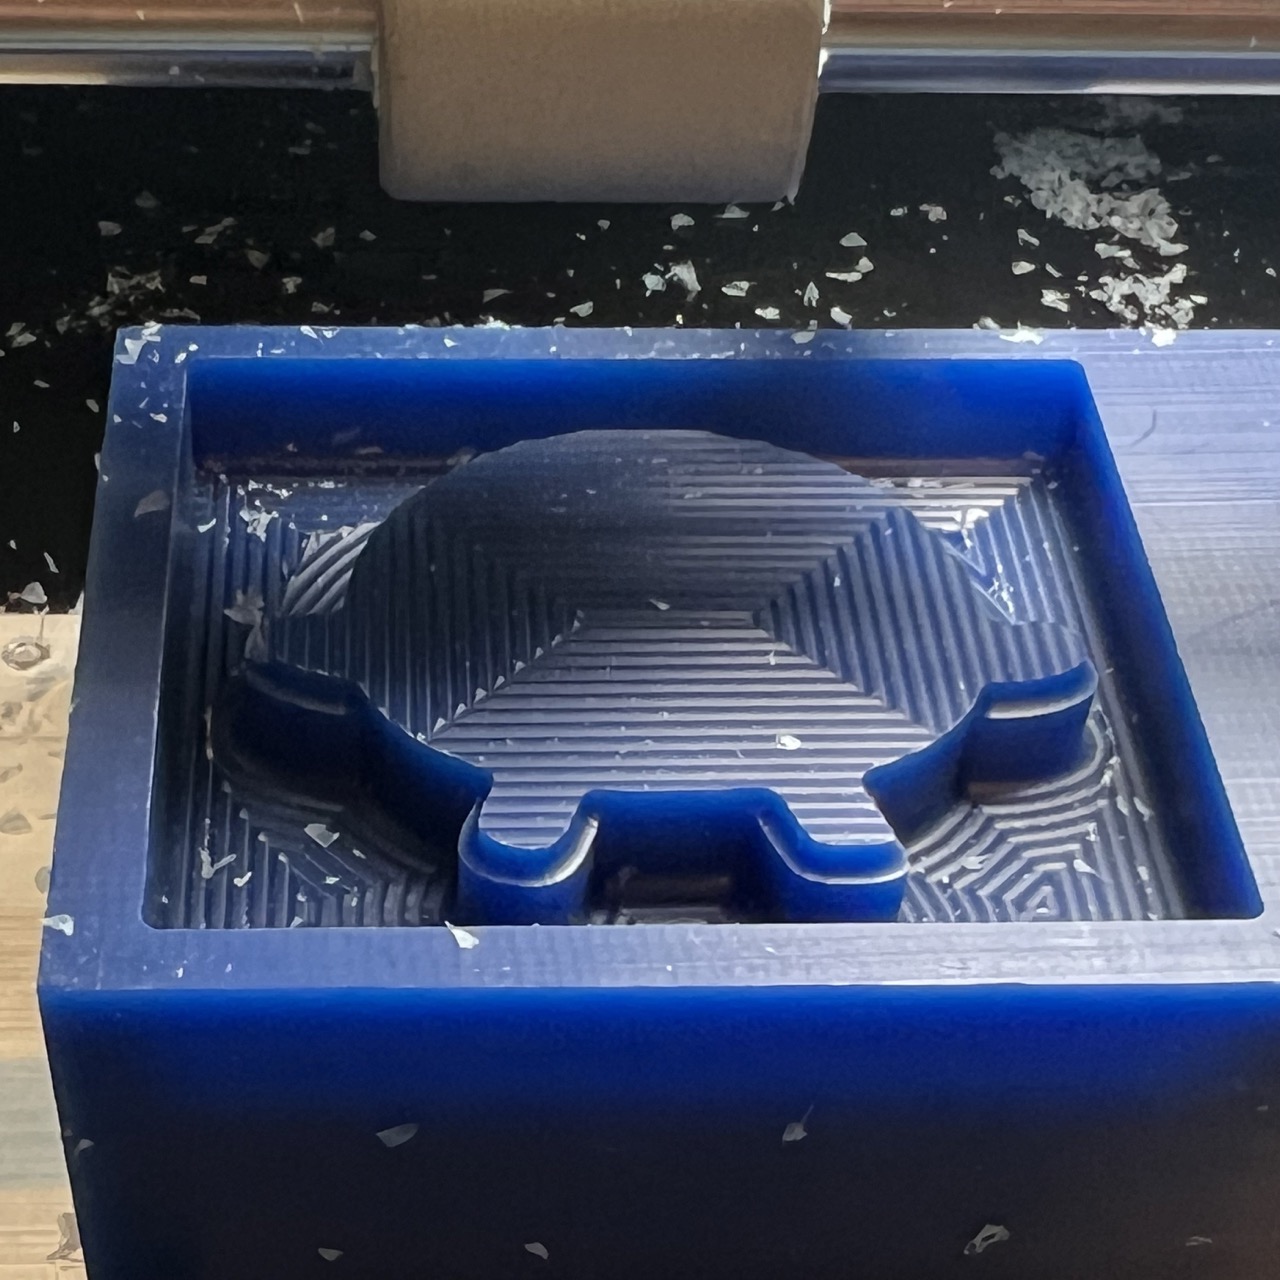
2.5D pass - rough cut
Cutting the wax in 2.5D pass went smoothly.
3D pass - precise cut
Here is when things went downhill, and the SRM-20 milling machine + mods gave me a hard time to mill properly.
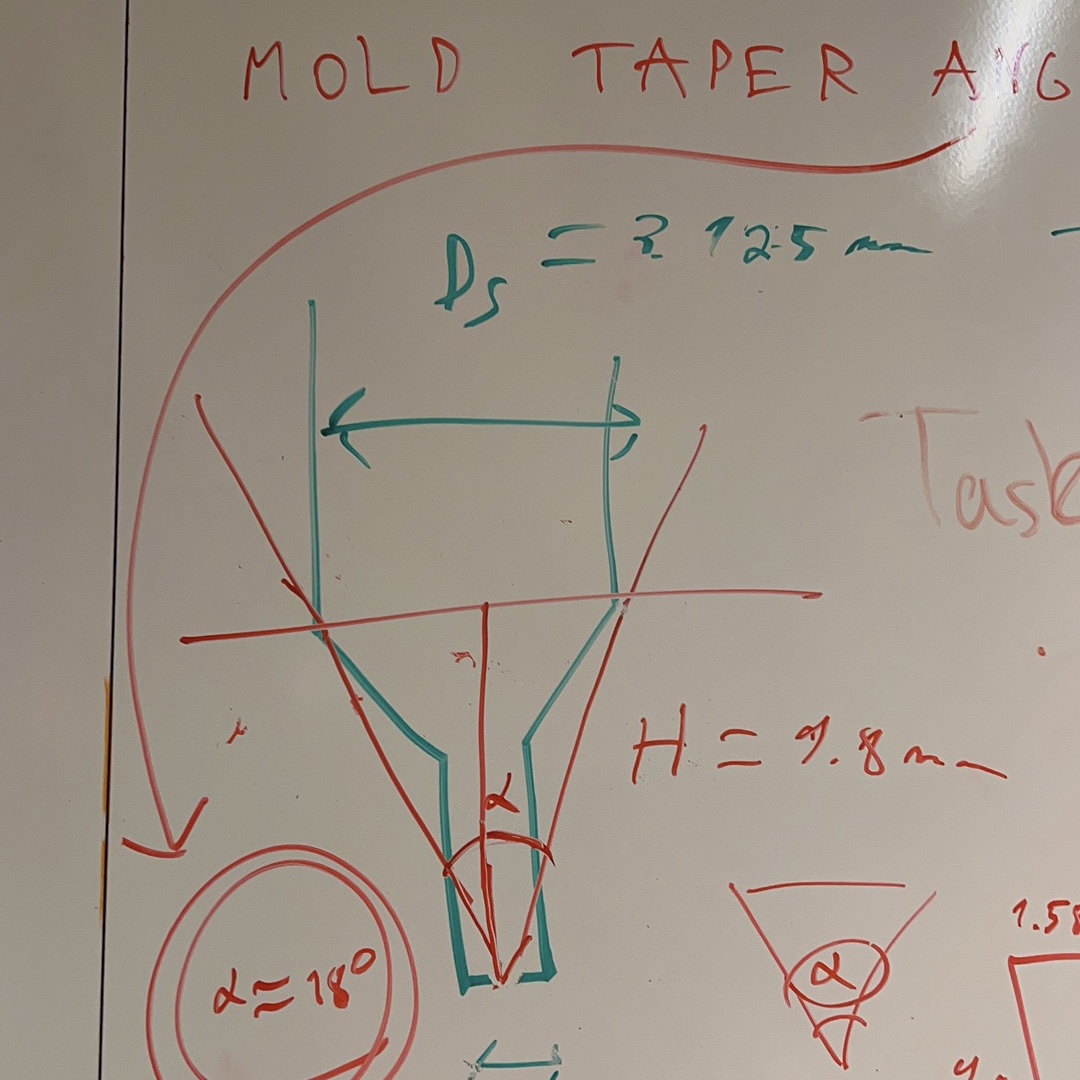 Quentin and Claire helped me to figure out the angle of the wall to compensate for the tool size. We got about 10 degrees for each wall.
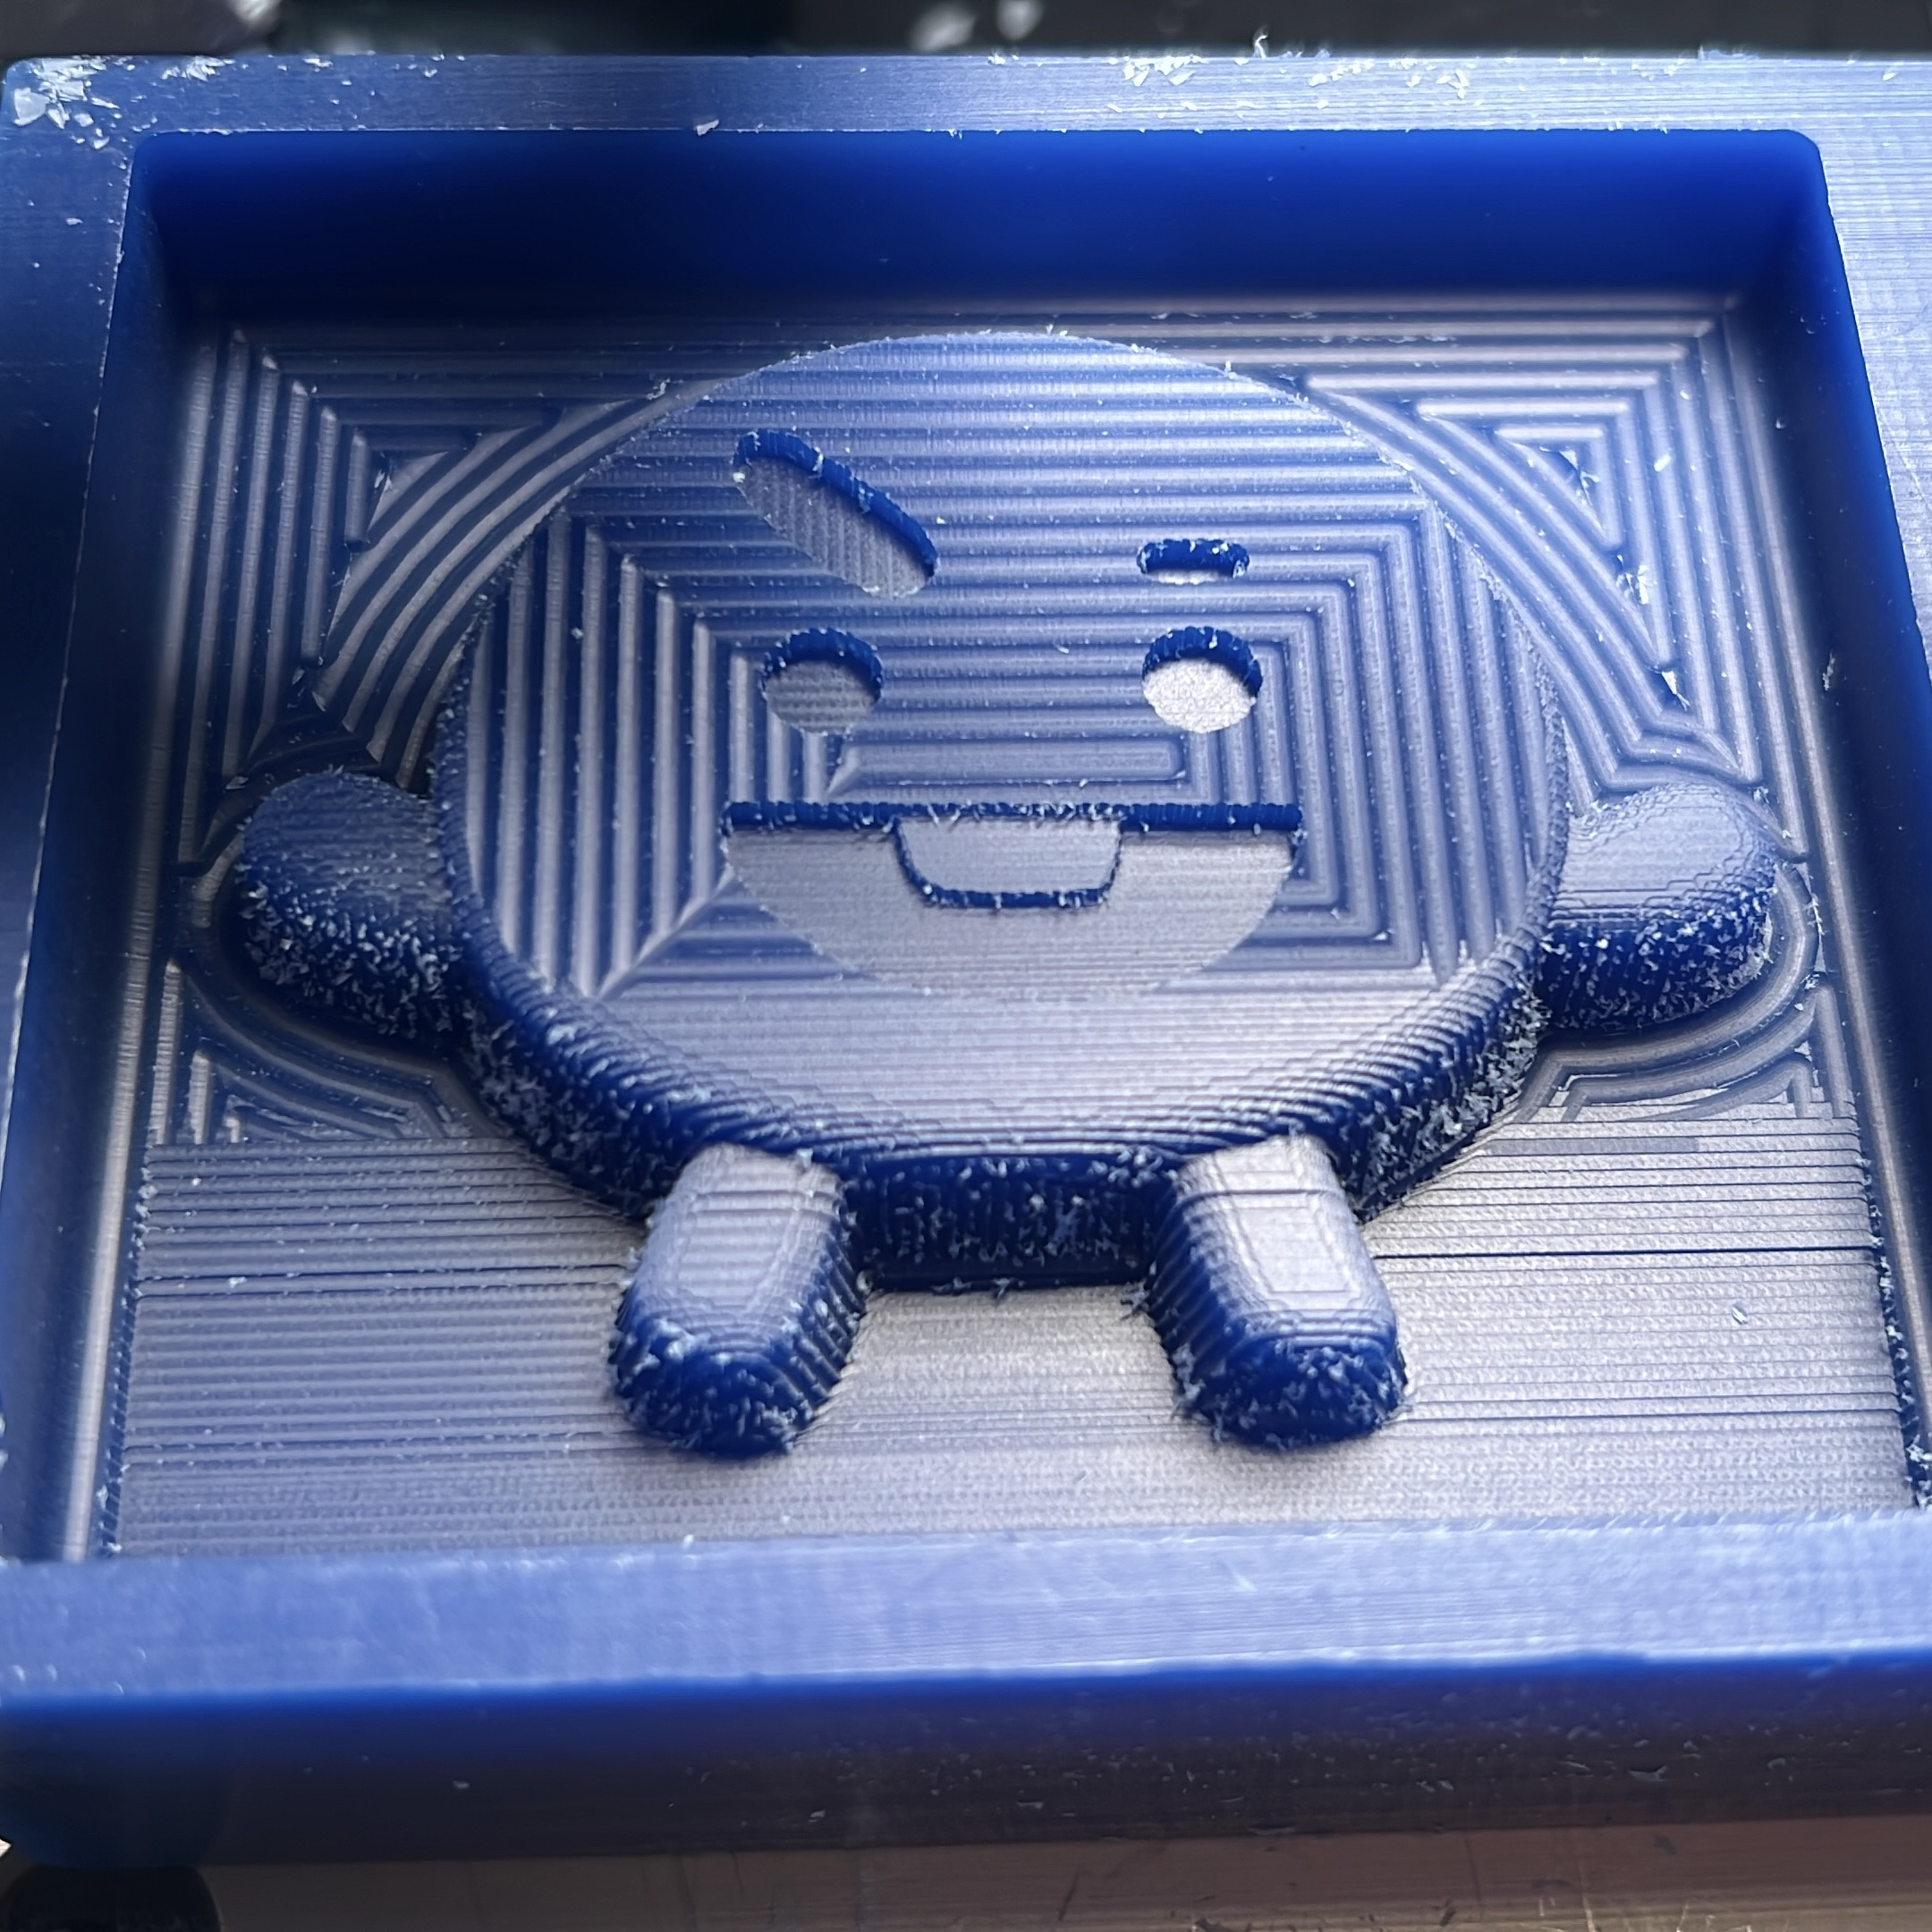 The wax after running 3D pass. In the xz direction it was running in a inclining slope.
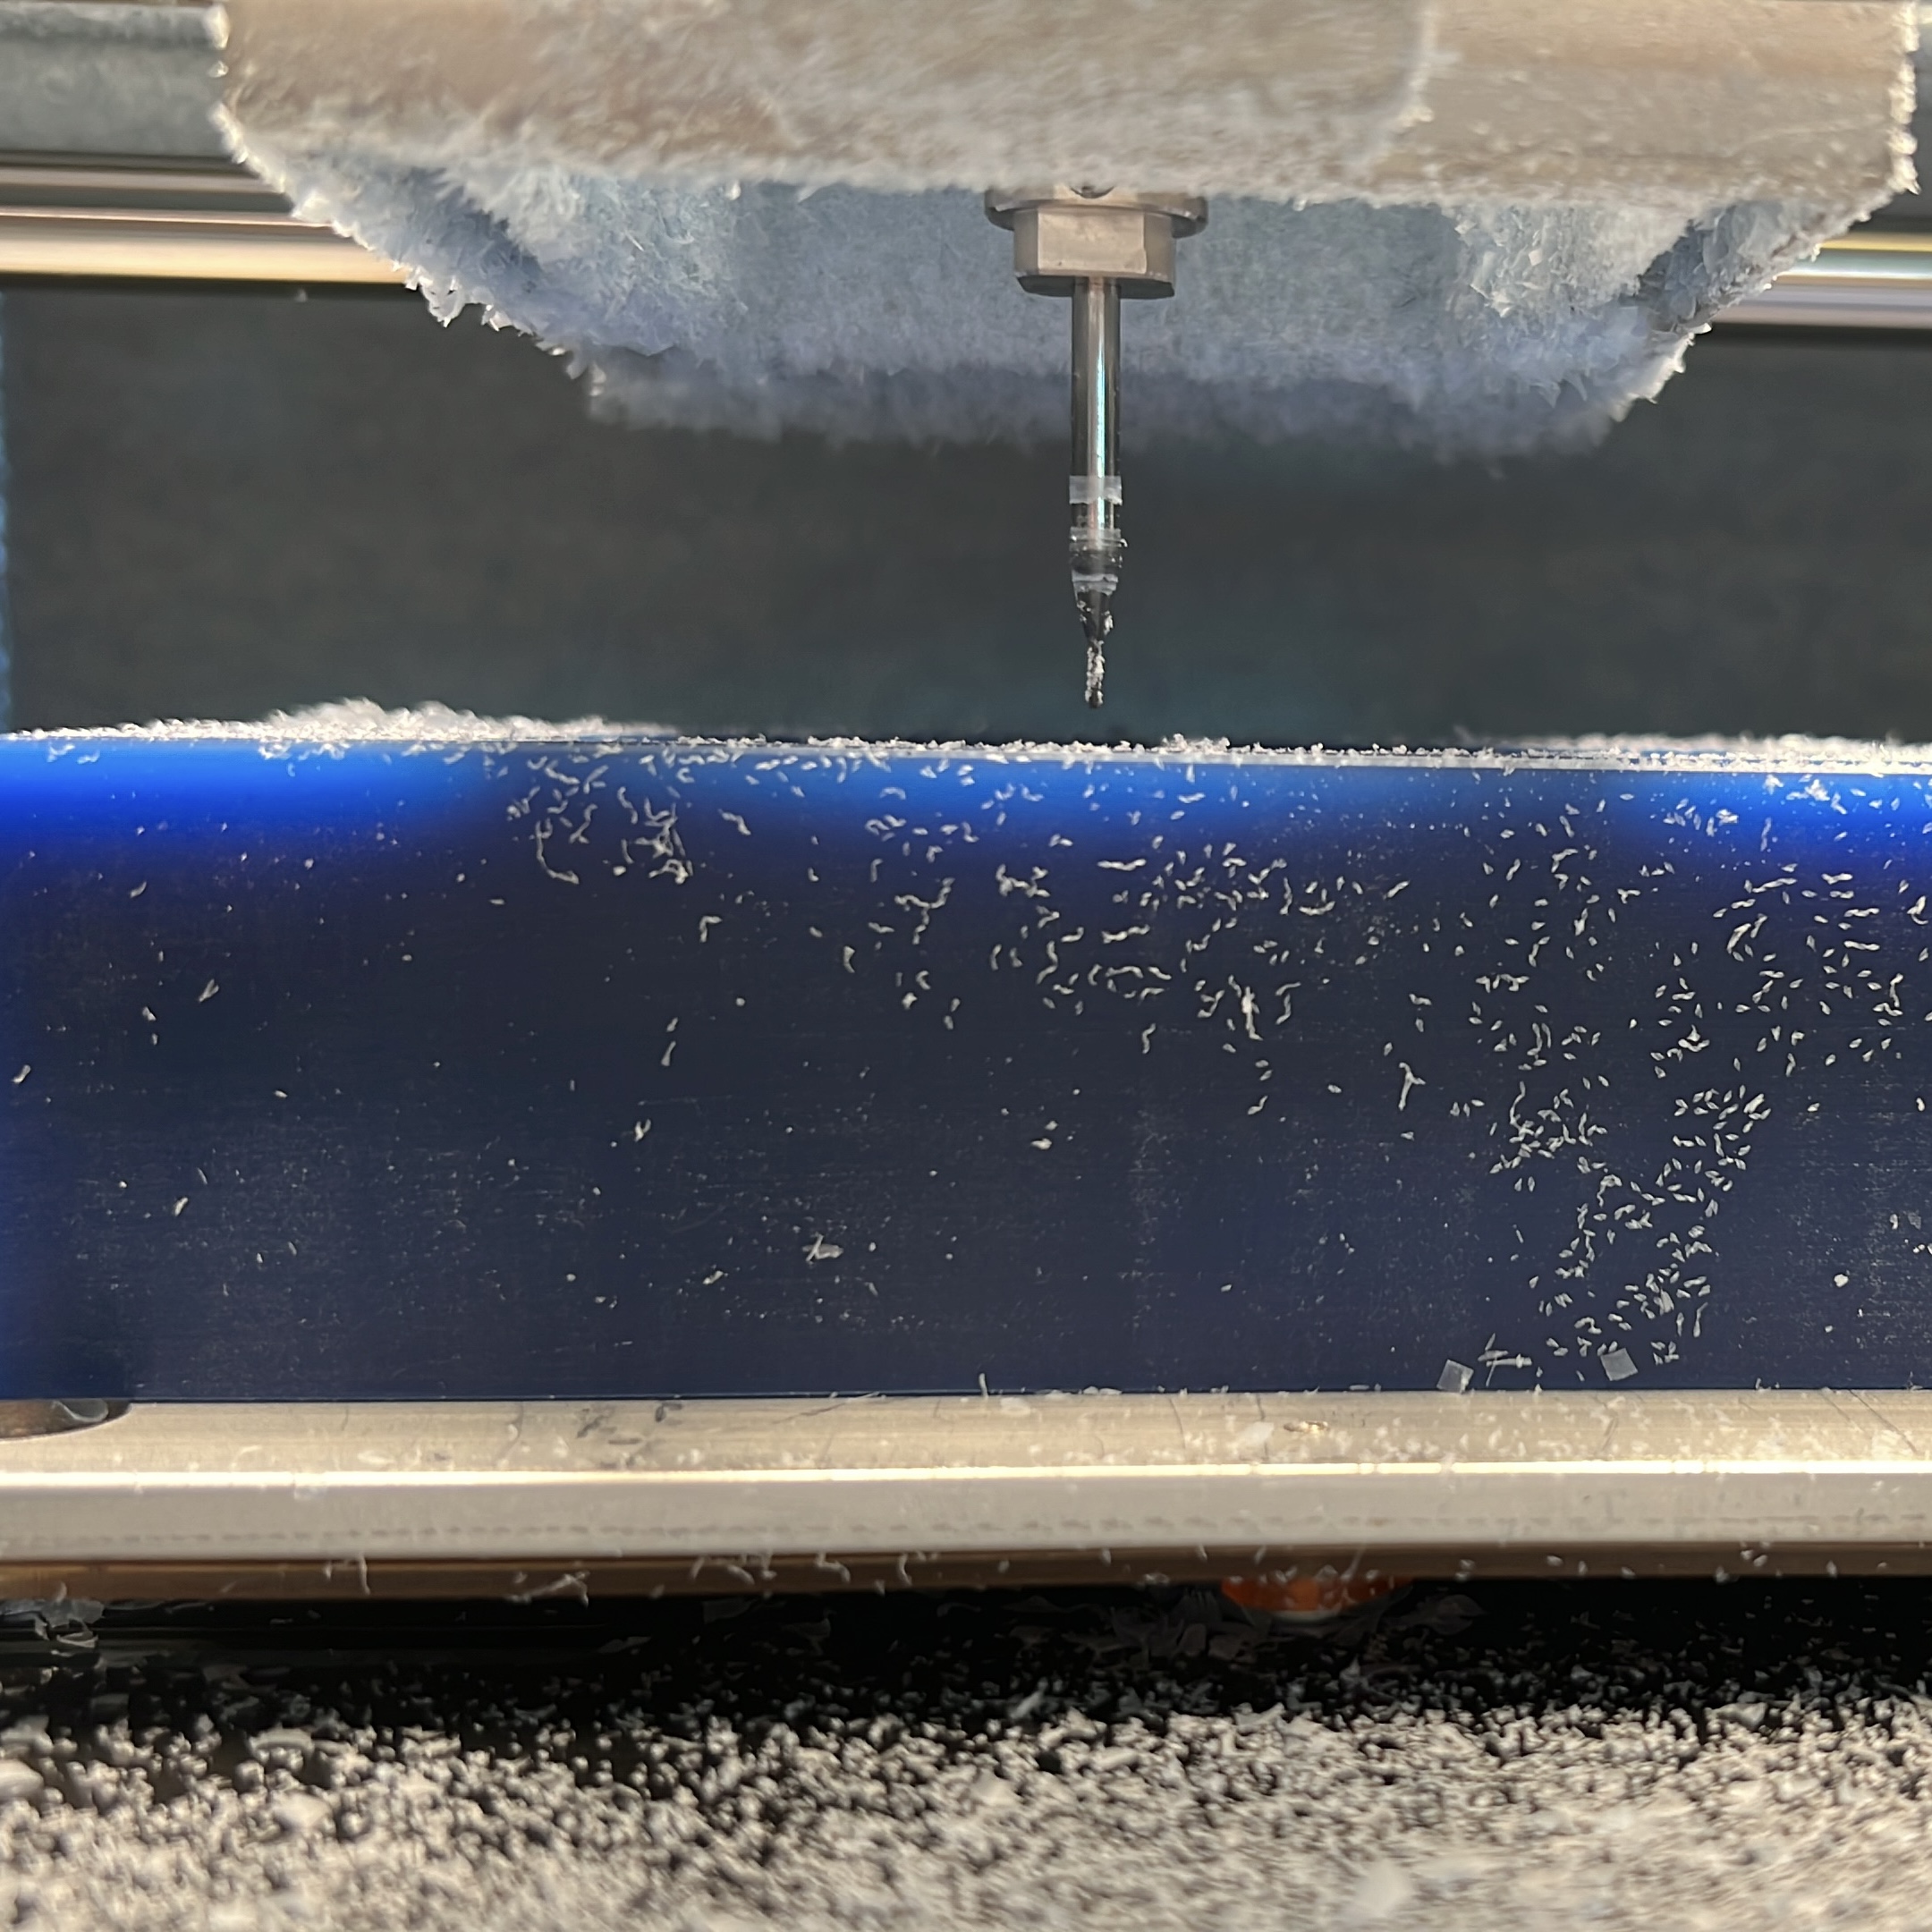 The position of the tool after it finished. It was about 3mm above the wax.
I did my workaround and only use the SRM-20 to run in the yz direction so that the tool is not lifted again. The finished result is not perfect, but good enough for a cookie mold. It was also a lot of struggling on using the machine since we only have one (broken) machine and everyone tried to use it.
- For any wall deeper/taller than 4mm in your design, it should be at a 10 degrees angle so that the cone part of tool won't be removing more of your design. (The 0.03125 in tip of the tool is only about 4 mm long)
- Tool diameters: for 2.5D is 0.125 in, and for 3D 0.03125 in.
- There are two tools for the rough pass (2.5D), the only difference is just the length. Use either one depending on the depth of your design.
- If you do your design in mm, in mesh units enter 1 for mm, if your design is done in inches, in mesh units enter 1 for in.
- CALCULATE every time after you change anything.
- Raise 1 mm for 2.5D pass (after you physically lowered the tool and touches the wax, use mod to raise 1mm). You can increase the speed to 6 mm/s (in Roland SRM-20 milling machine instead of Roland SRM-20 RML). TAKE a picture of your origin settings.
- For 3D pass, do yz only (without raising 1mm, use the old origin settings [note: no longer true since we borrowed a good machine]), currently xz will raise the tool by about 3 mm after going a while and also do things at a slope. If you do xz and yz together, the tool will be raised in the xz pass, and not doing anything in the yz pass. You can increase the speed to 7 mm/s (in Roland SRM-20 milling machine instead of Roland SRM-20 RML).
I also summarized the following list of things to follow for using the Roland SRM-20 machiine.
The wax after 3D pass. The design on the right is not very good since the details in the design is a bit too small, and since the machine only went in yz direction. It missed a few outlines.
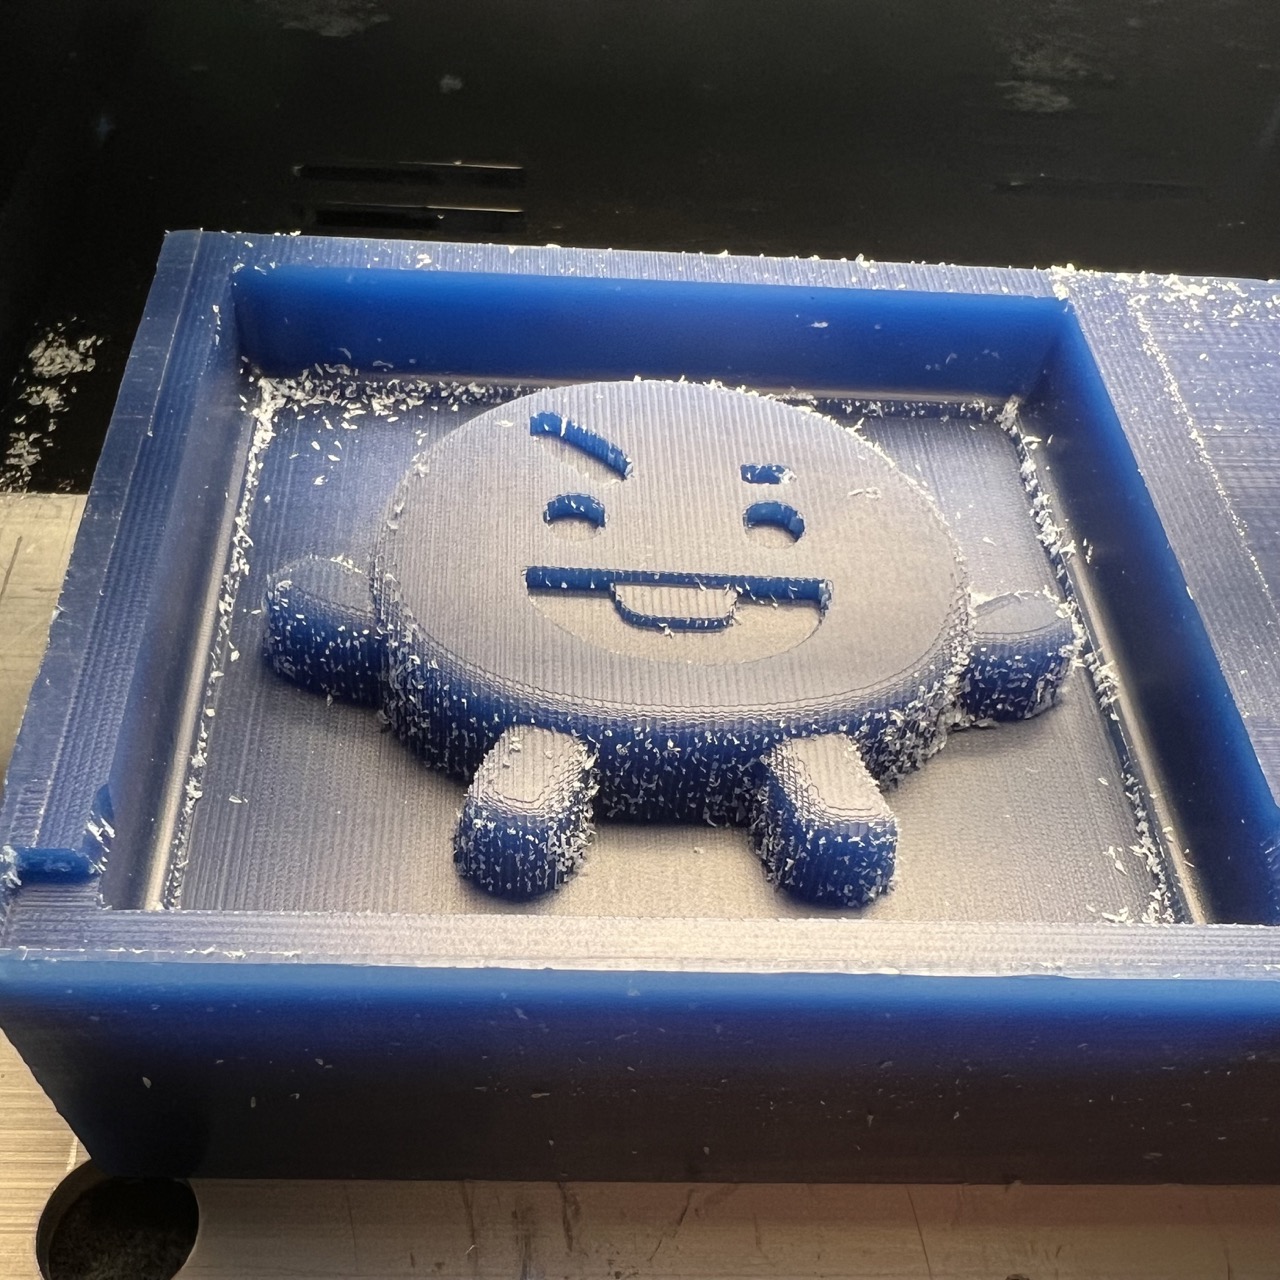
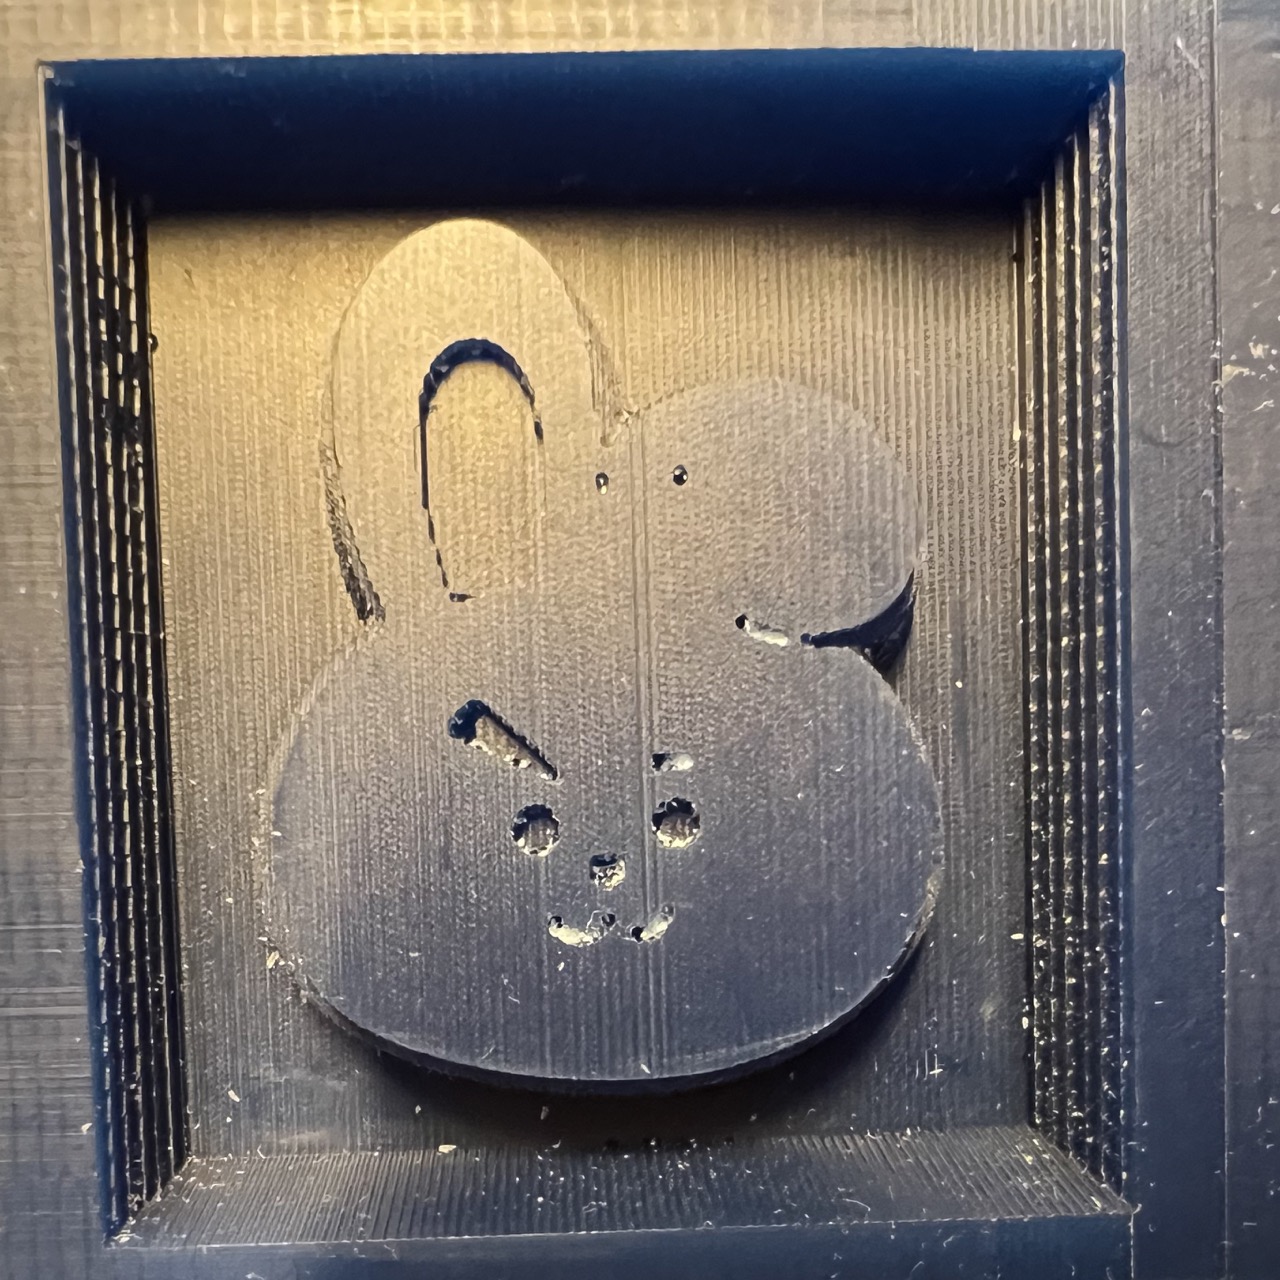
Molding with Sorta Clear 37/12
I needed to use Sorta Clear since I want to make cookie molds and the molds have to be food safe. The Sorta Clear ordered didn't arrive until Monday, I had to used the ones Claire borrowed from Science Center.
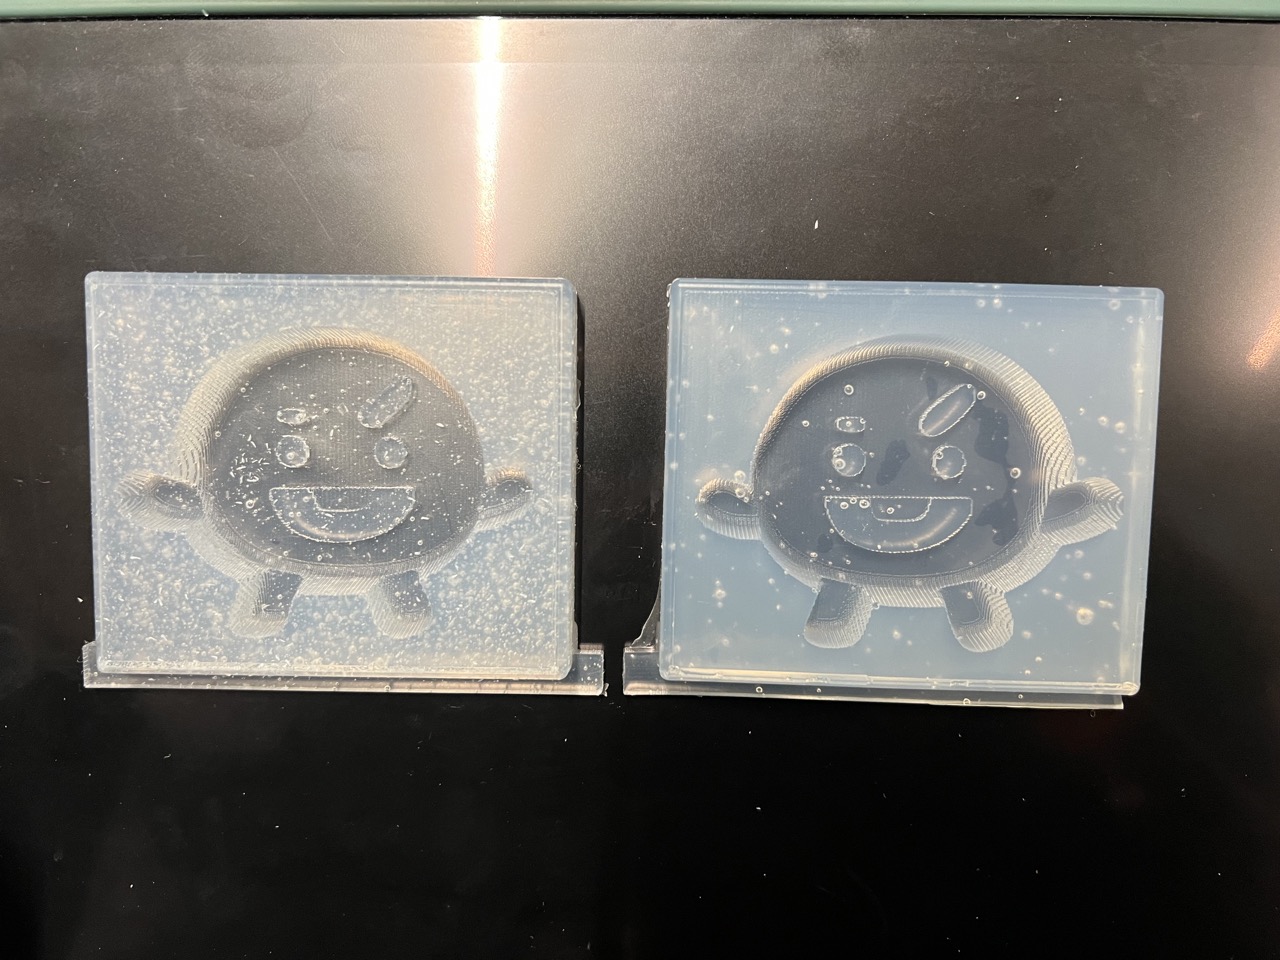 The end result, vacuum helped a lot more than I expected, the mold on the right was the one that I vacuumed
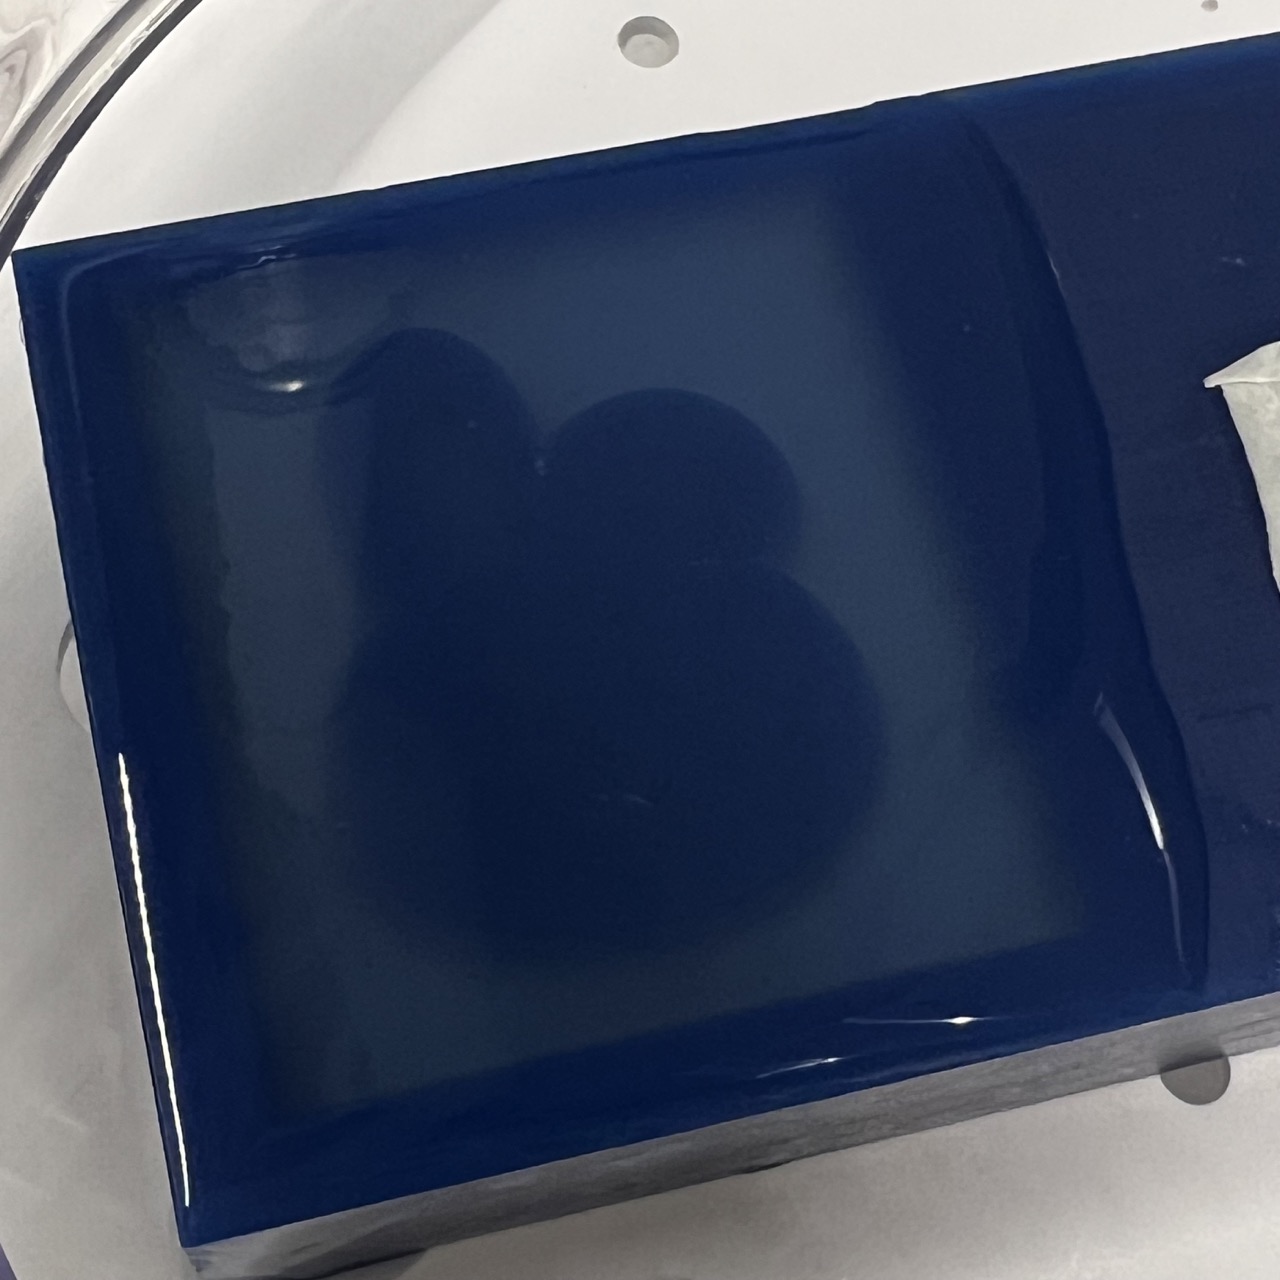 All bubbles were removed! I think this can be done because I used Sorta Clear 12 for this mold instead of 37. Sorta Clear 12 has a lower density than 37, which makes the bubbles easier to escape.
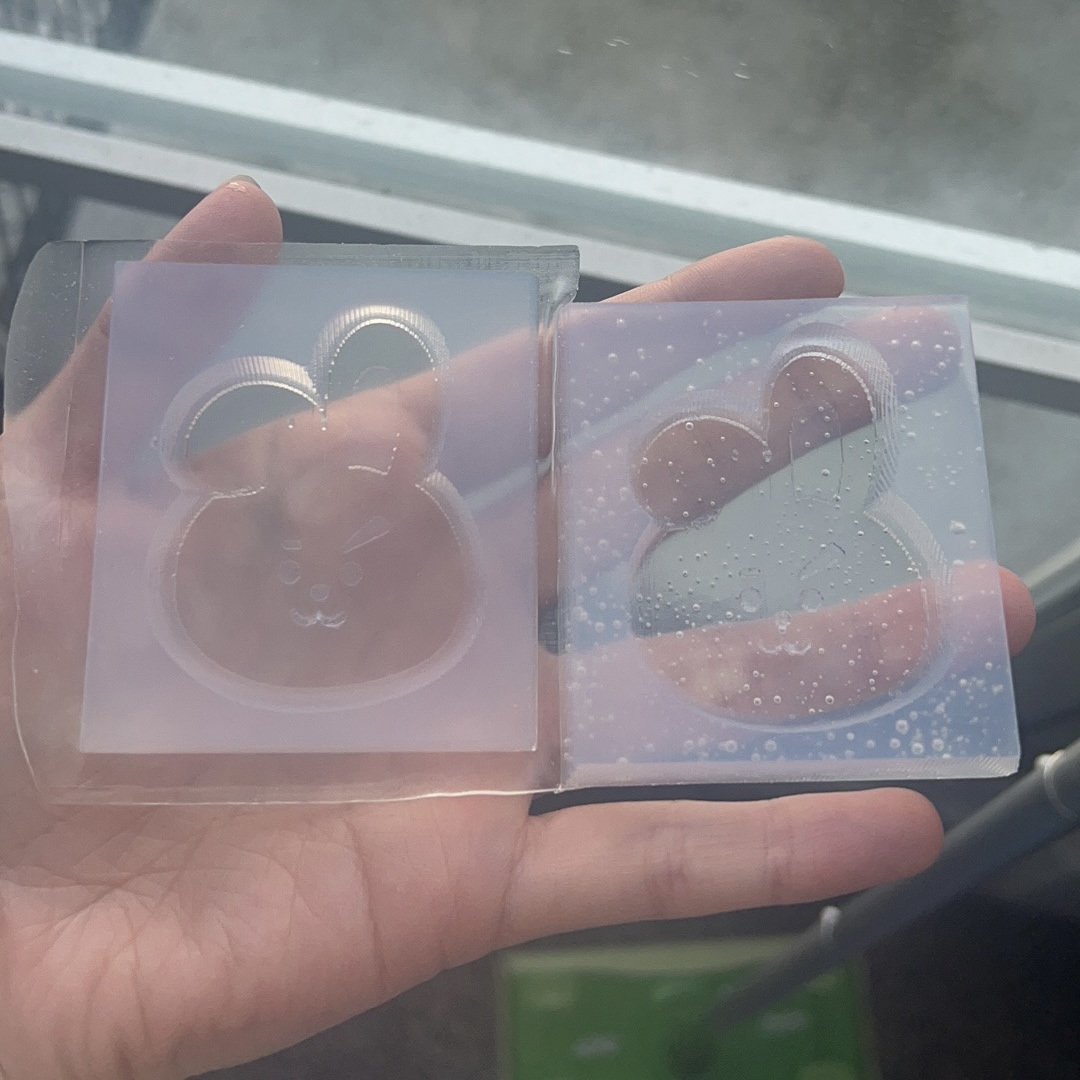
Casting using Sorta Clear Mold with cookie dough!
I decided to make short bread since these ones are harder and more likely to keep the shape and fine details of the mold.
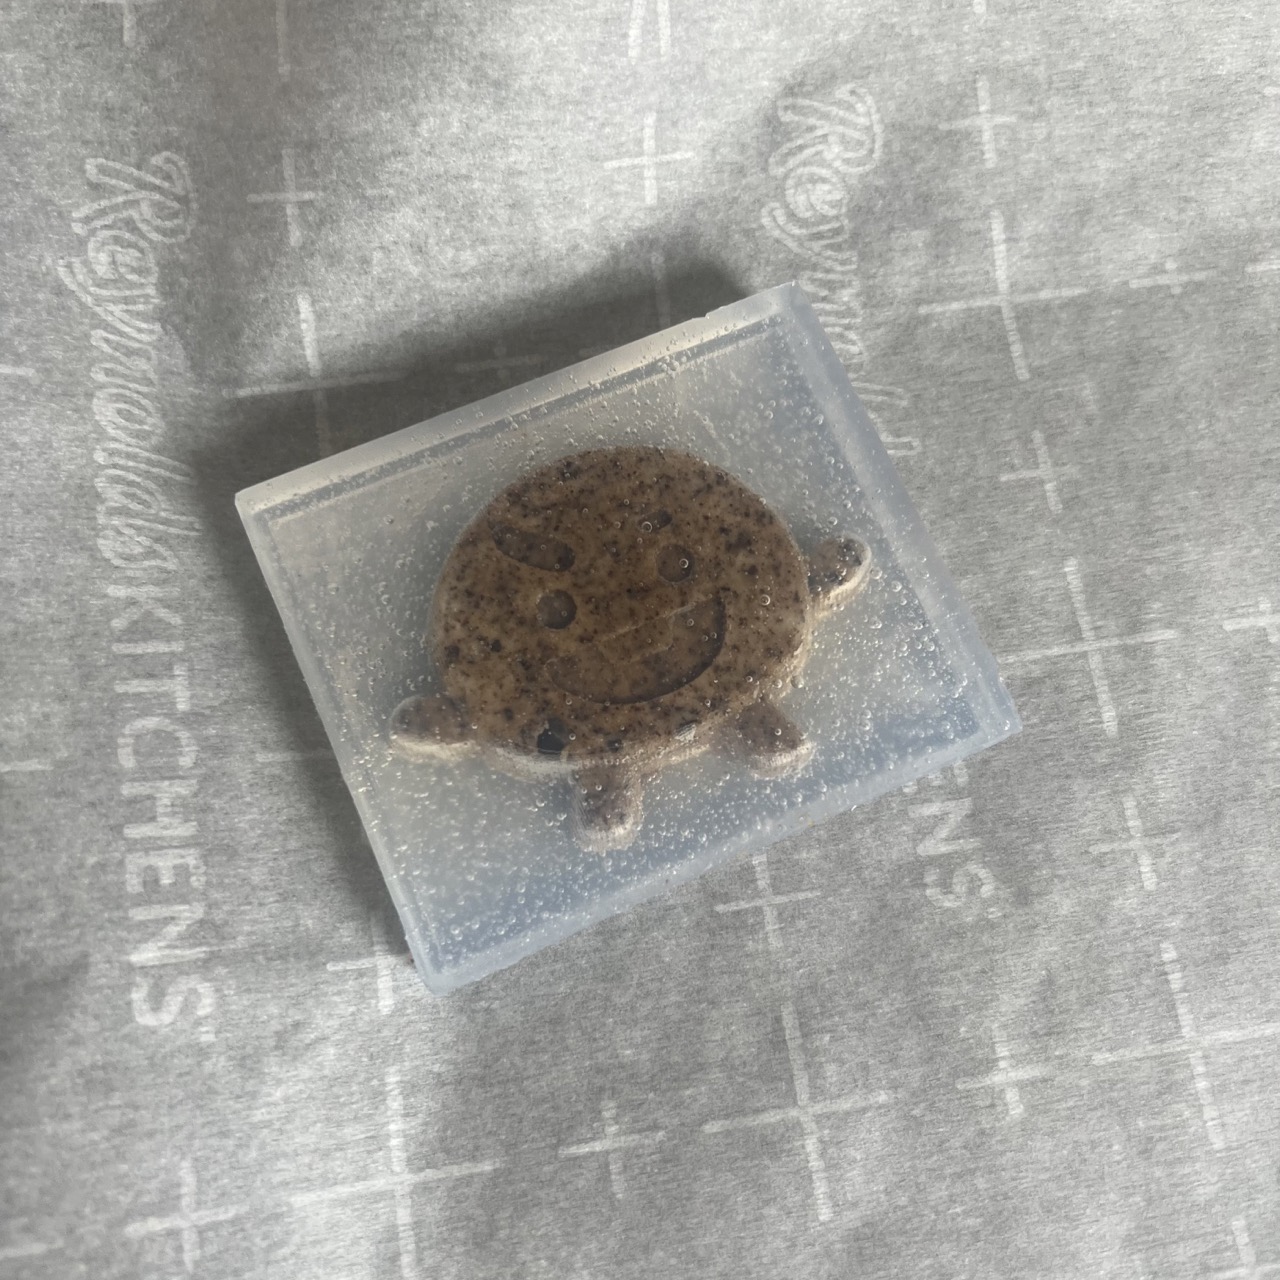
The mold was cleaned using dish detergent as instructed by Sorta Clear official guides.
Sorta Clear is FDA authorised food-safe molding material. It can stand upto 400 F, although I did not put the mold into the oven.
I made coffee & chocolate (very strong, bitter and sweet), cranberry, and Motcha cranberry flavours.
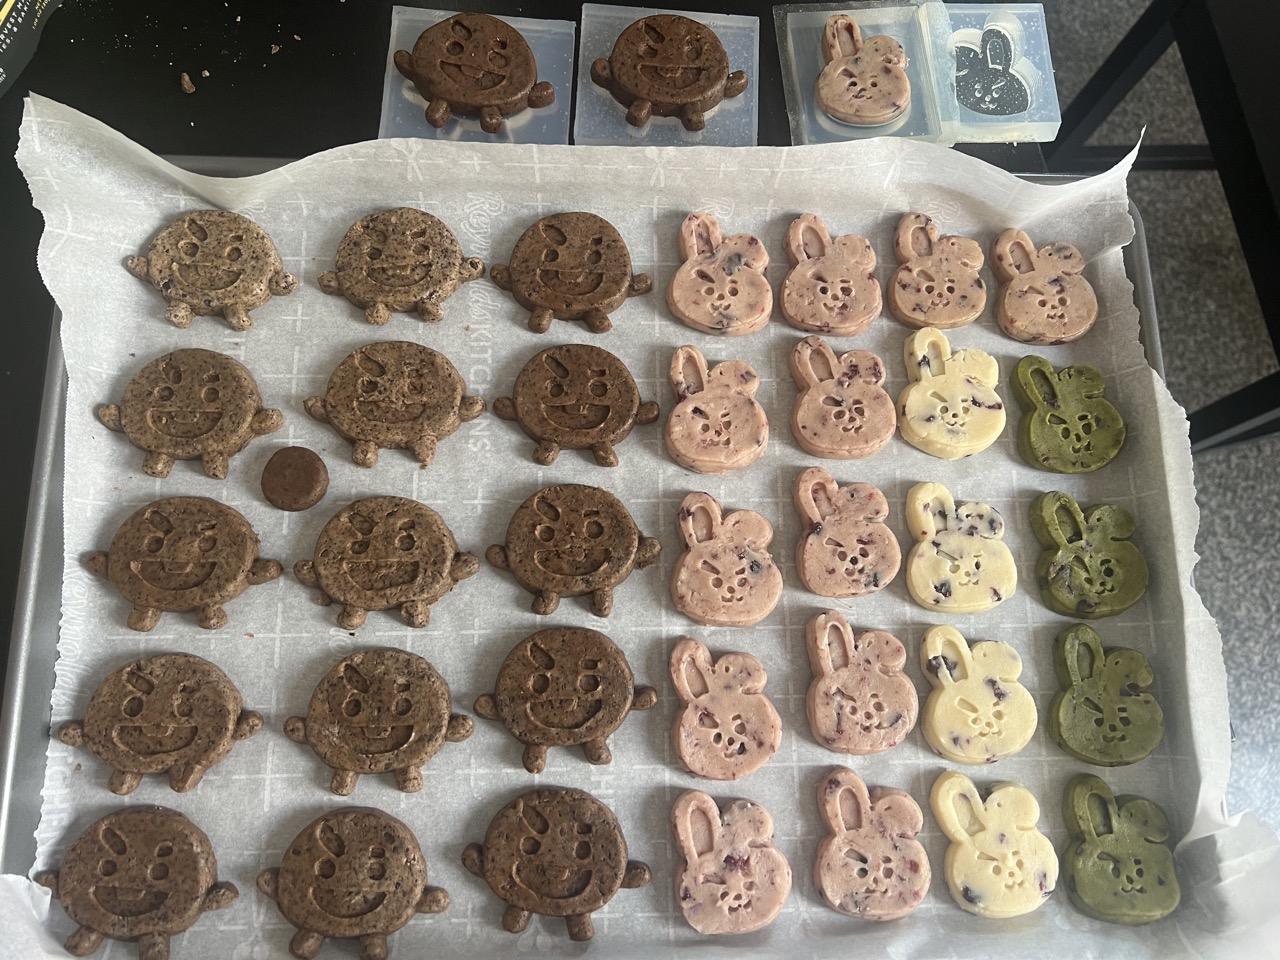
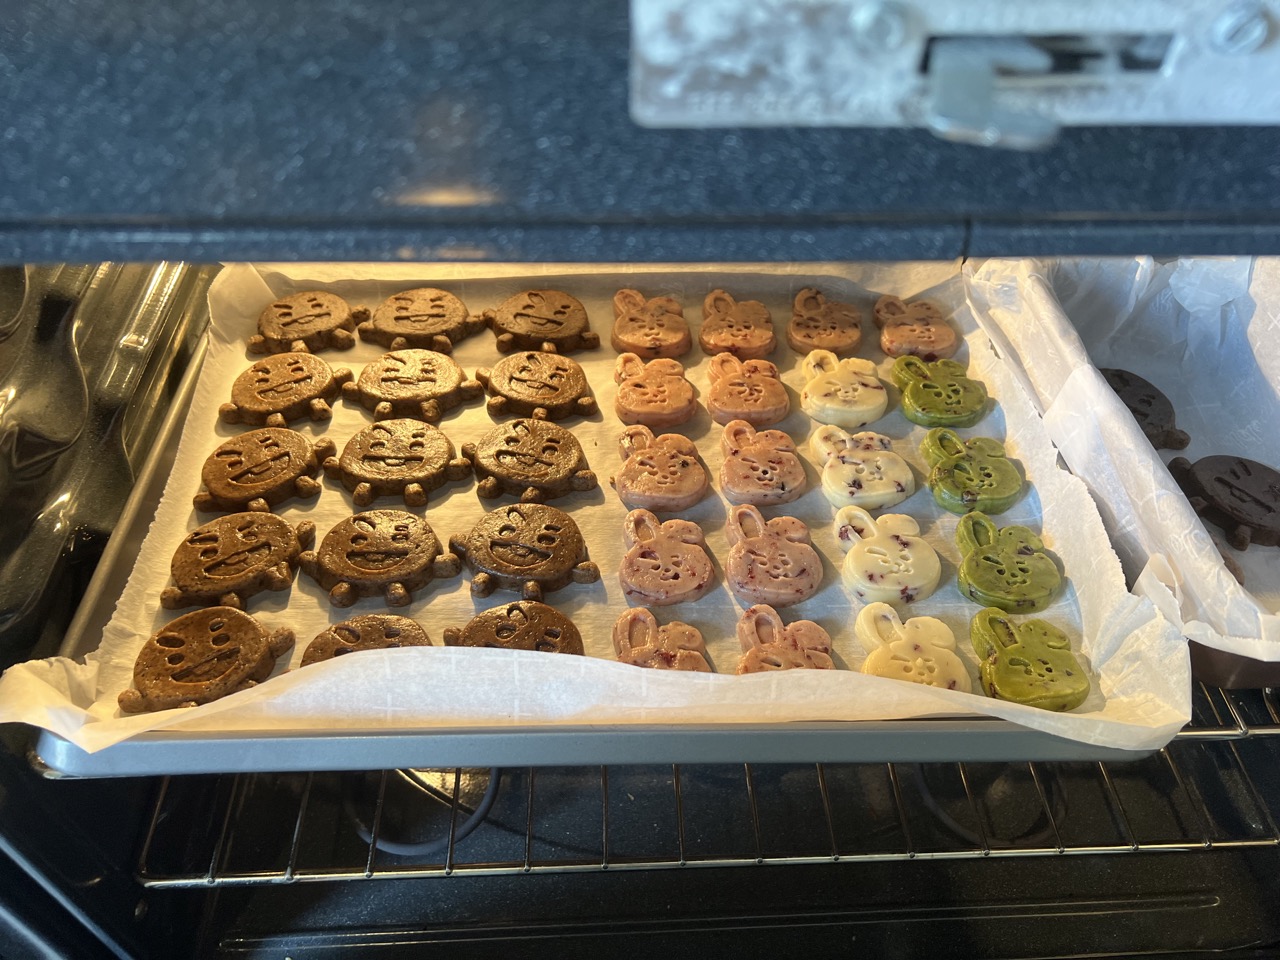
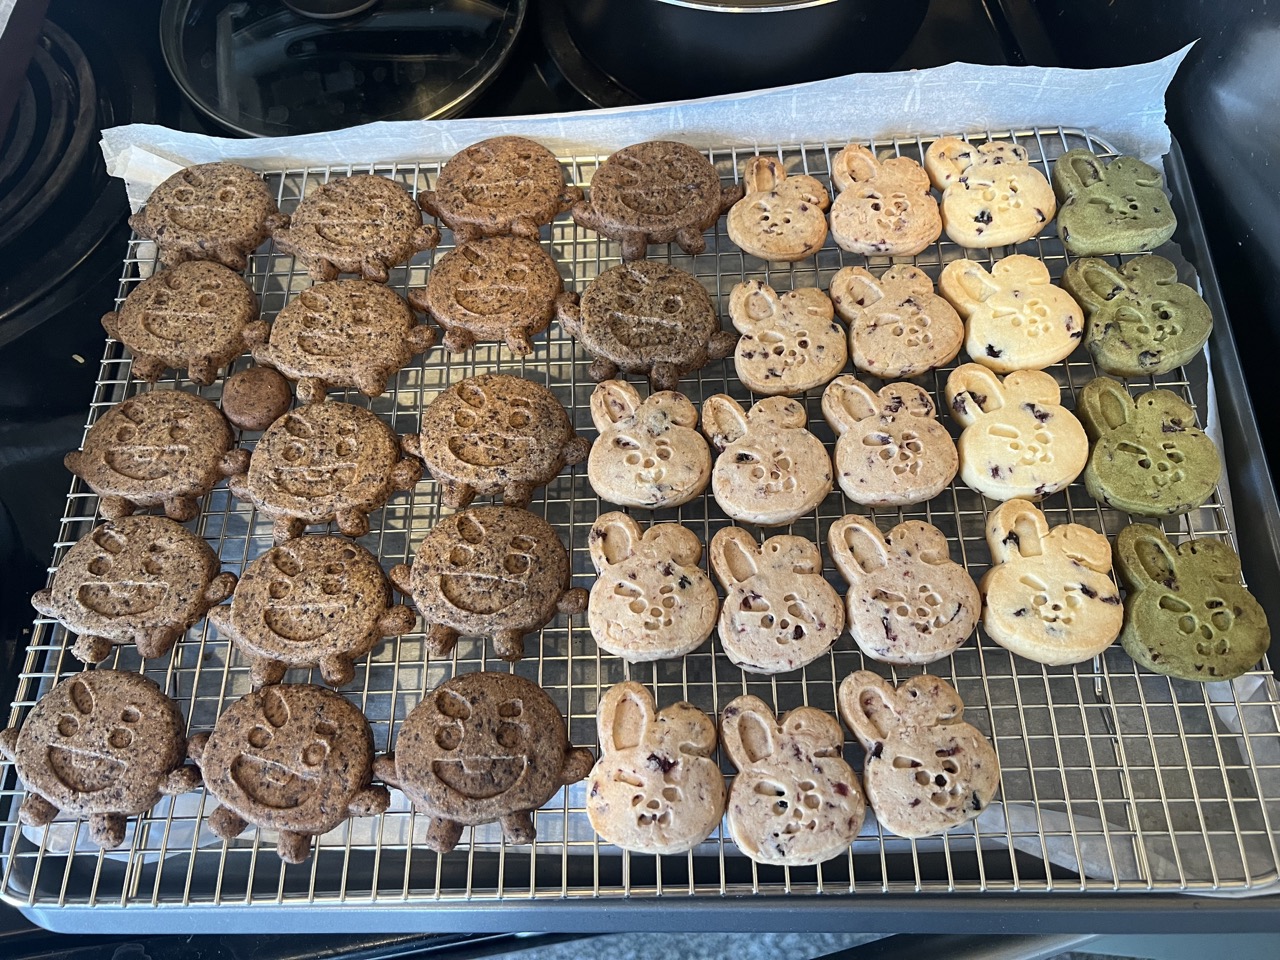 I think overall it's very successful! The details are clearly visible.
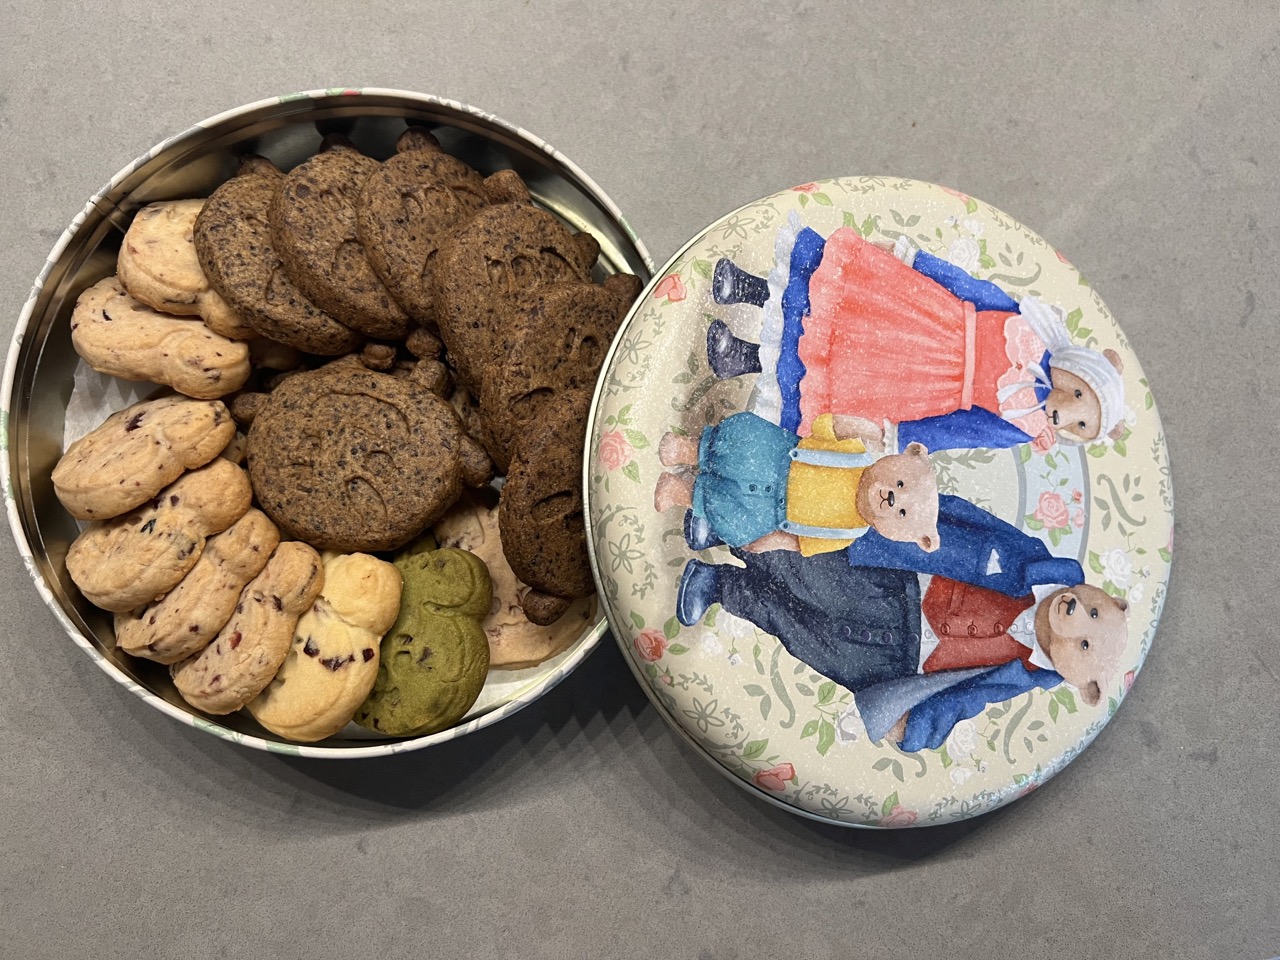 Yummy:)
Molding with other materials
I had fun using all sorts of different materials that we have in stock. Unfortunately we do not have a valid pot for the oven and couldn't use metal to cast.
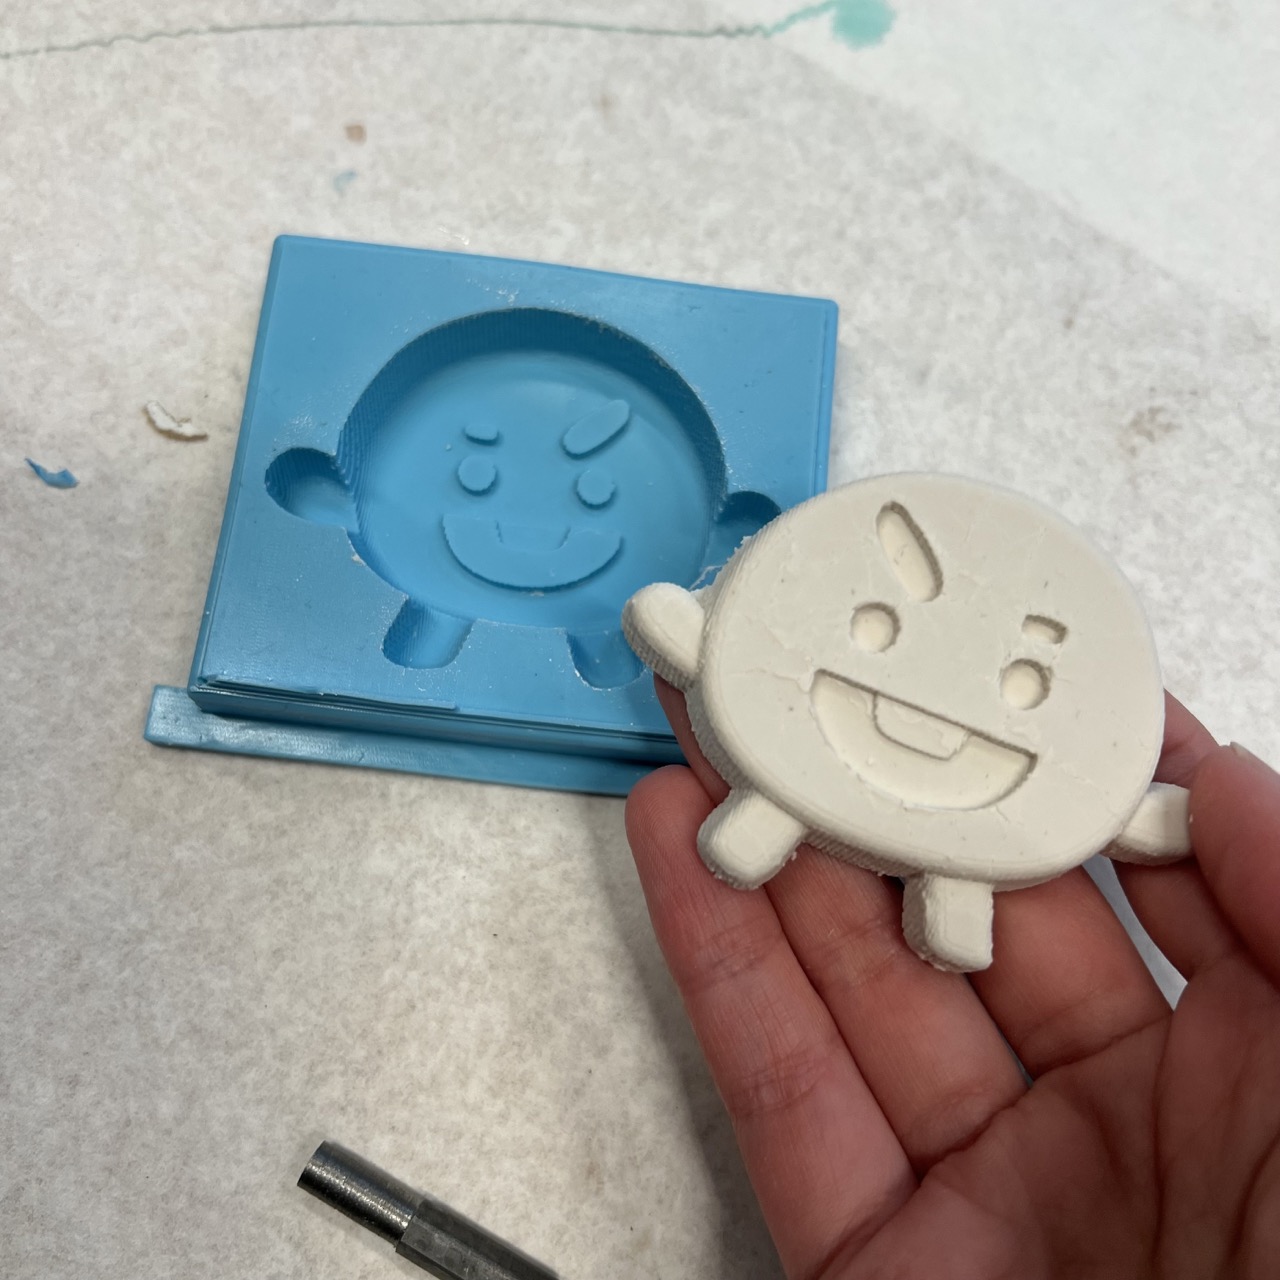 I first used Oomoo since it works with most of the materials we had. [SAFETY: I did all the food related molds before this and never did anything food related after I used Oomoo.]
Using the Oomoo I tried to cast with hydrostone.
I then found out that we have smooth-cast 300Q and 325 in stock. The pot time of smooth-cast 300Q is only 30 seconds.
All the rest of experiments were done together with Kai.
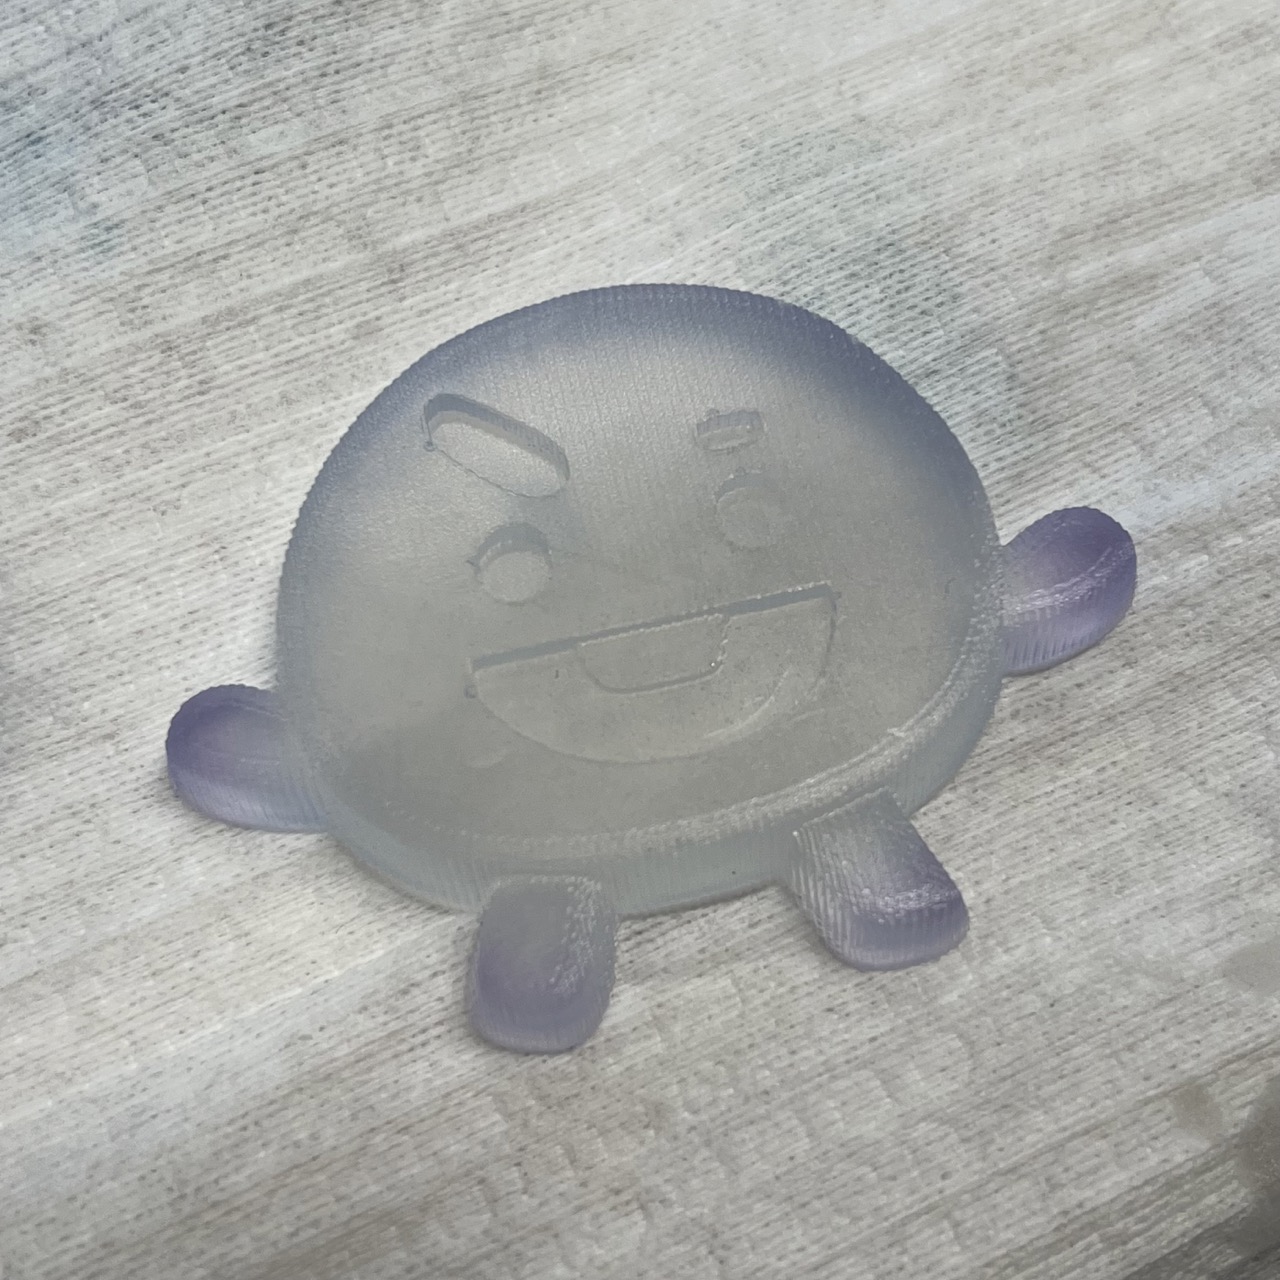 We then found out that we had thermochromic pigment. We tested it with smooth-cast 325. This one has a slightly longer pot time (2.5 minutes).
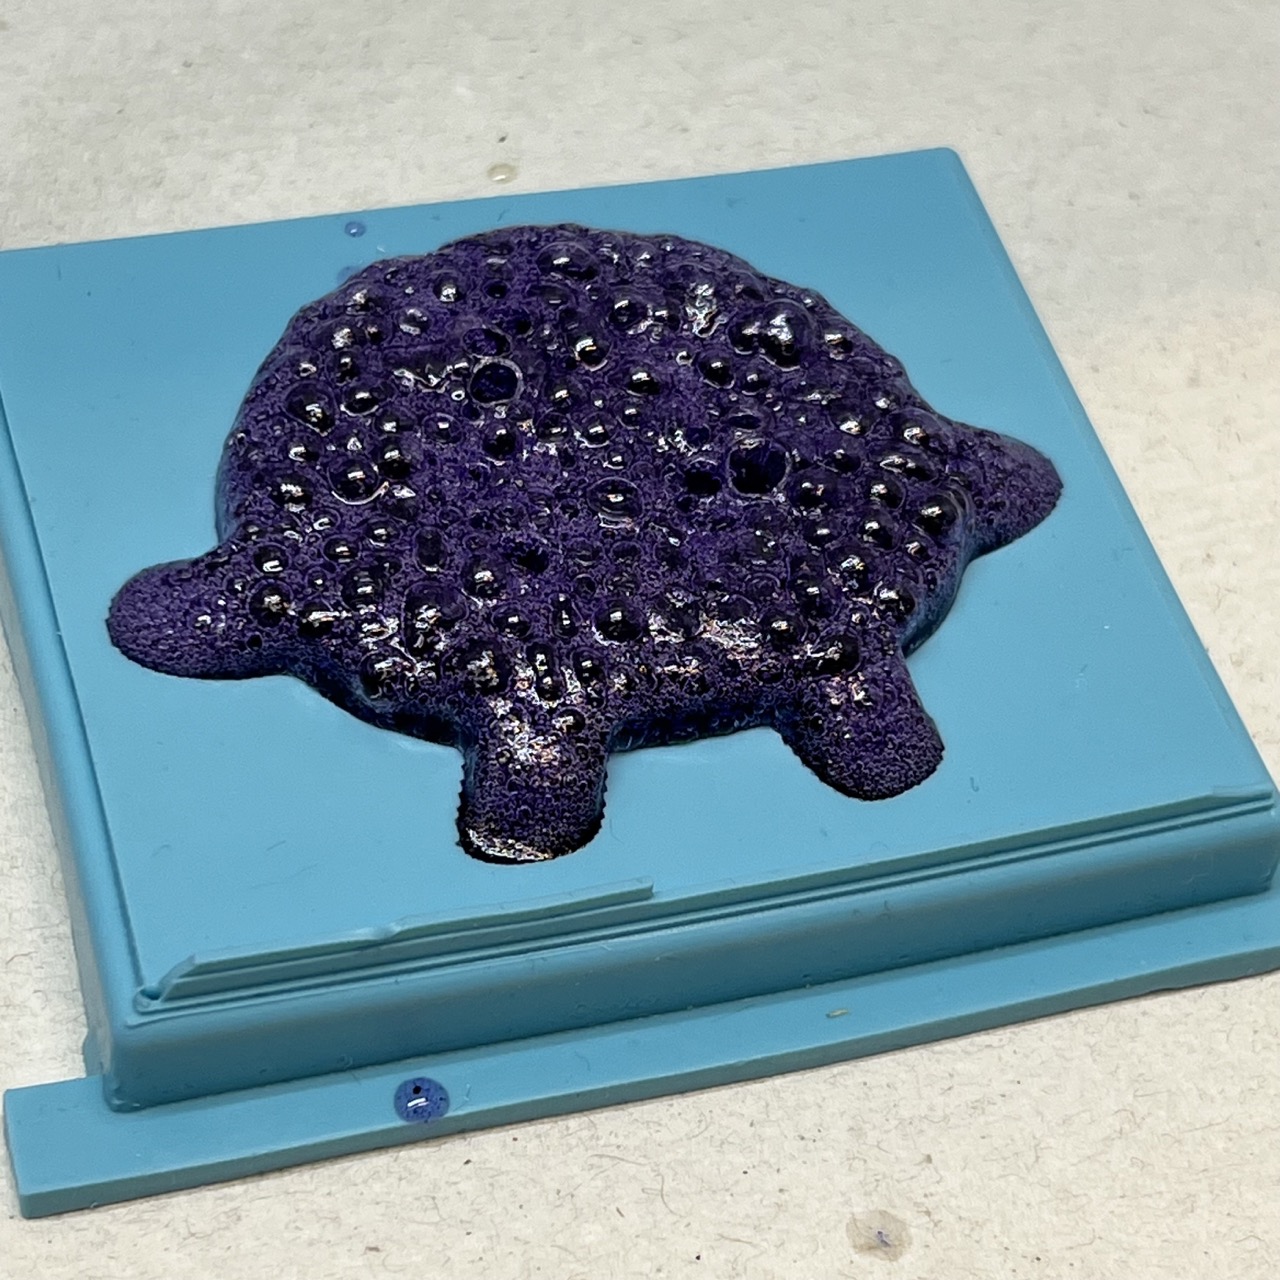 We also used food coloring, which definitely reacted with something and looks very Cthulhu.
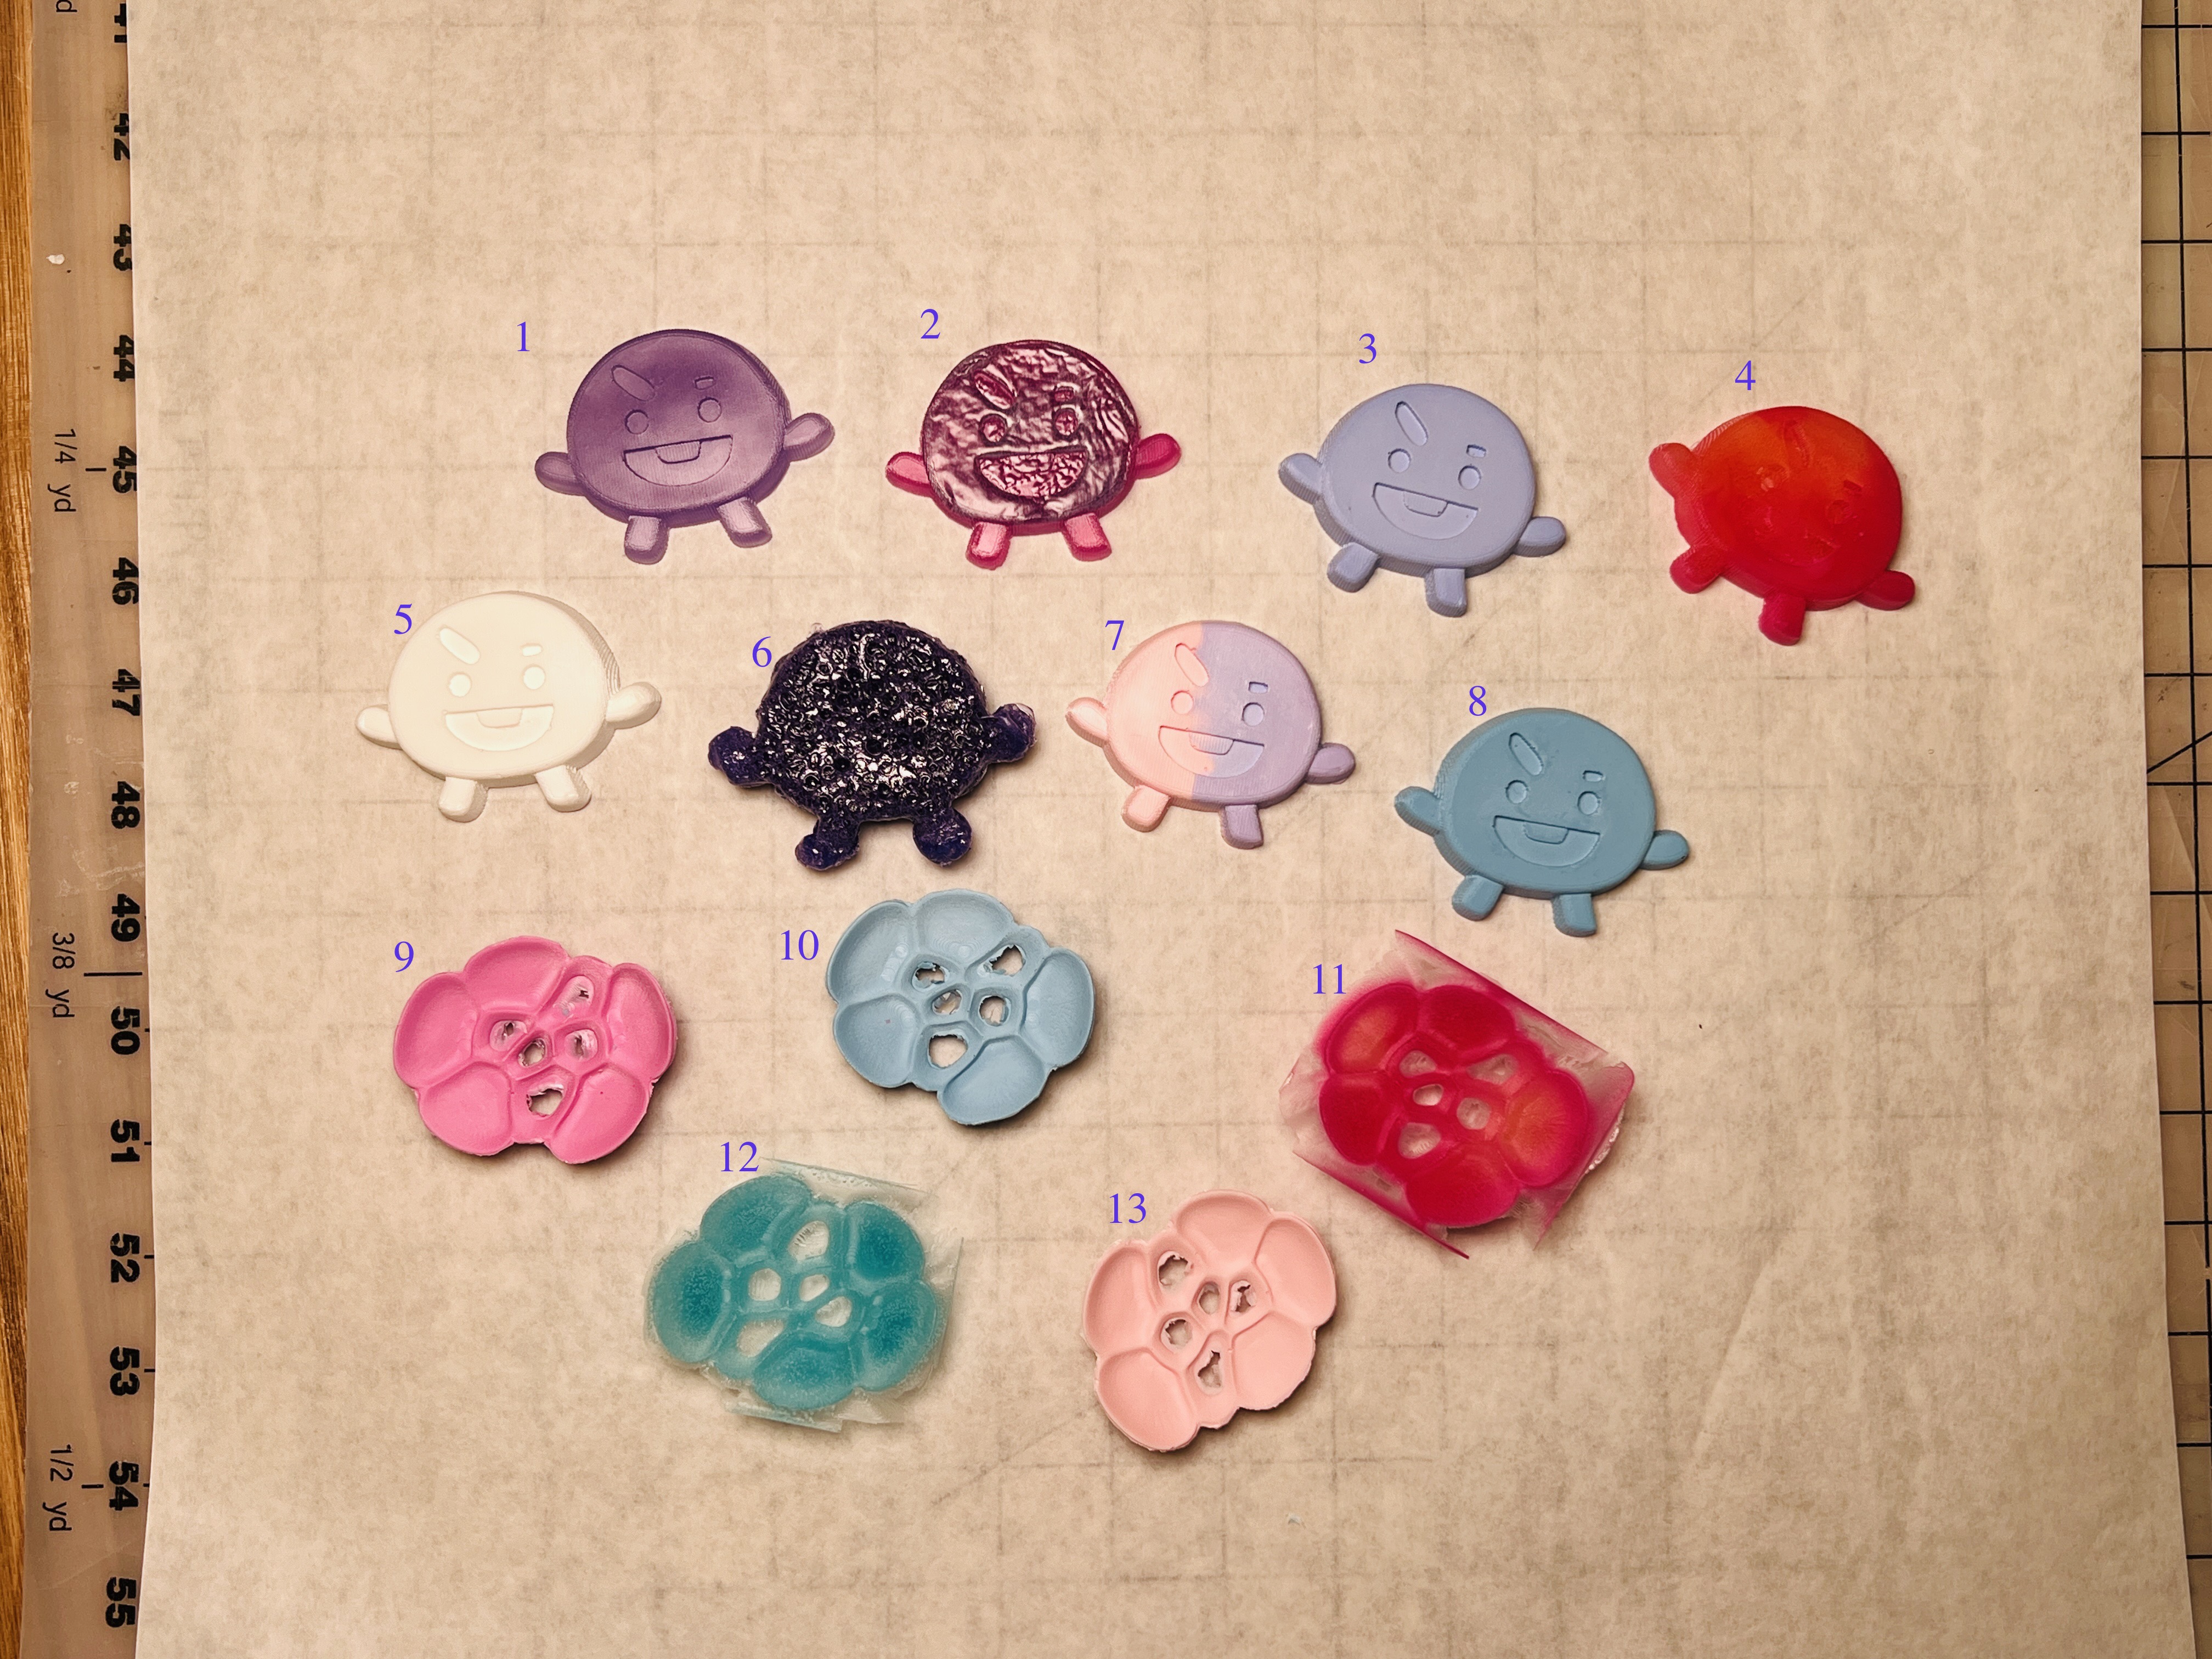
- thermochromic pigment + smooth cast 325
- two thermochromic pigments + smooth cast 325, one added on top of another
- thermochromic pigment + smooth cast 300q
- smooth cast 300q
- two thermochromic pigments + smooth cast 325
- food coloring + smooth cast 325
- two thermochromic pigments + smooth cast 300q
- thermochromic pigment + smooth cast 300q
- thermochromic pigment + smooth cast 300q
- thermochromic pigment + smooth cast 300q
- two thermochromic pigments + smooth cast 325
- thermochromic pigment + smooth cast 325
- thermochromic pigment + smooth cast 300q
