

While searching the class archive as I thought about how to execute my final project, I came across these DIY flex sensors using Laser-Induced Graphene made by previous fab class student Wedyan Babatian. Thankfully, she's still at the media lab, so I was able to reach out to her and meet a few times. She gave me lots of helpful advice and ideas, as well as a personal tutorial on how to make my own LIG sensors! This page is a work in progress so my documentation is spotty and incomplete because I was doing way too many things at once while this was happening but as I get better at the process, I hope to create better documentation!
For an explanation on how these sensors work, check out Wedyan's explanation here!
Laser engraving works best when the polyimide is as flat and level as possible, so Wedyan recommends removing the honeycomb grate, taping the polyimide to a piece of metal (because acrylic is more likely to warp with the heat), and putting that on the bed (she's gone through this process enough times that she has a dedicated metal square and has marked off a sweet spot in the machine for it where things are most level.) She also recommends prepping the polyimide with isopropyl, but it isn't essential.
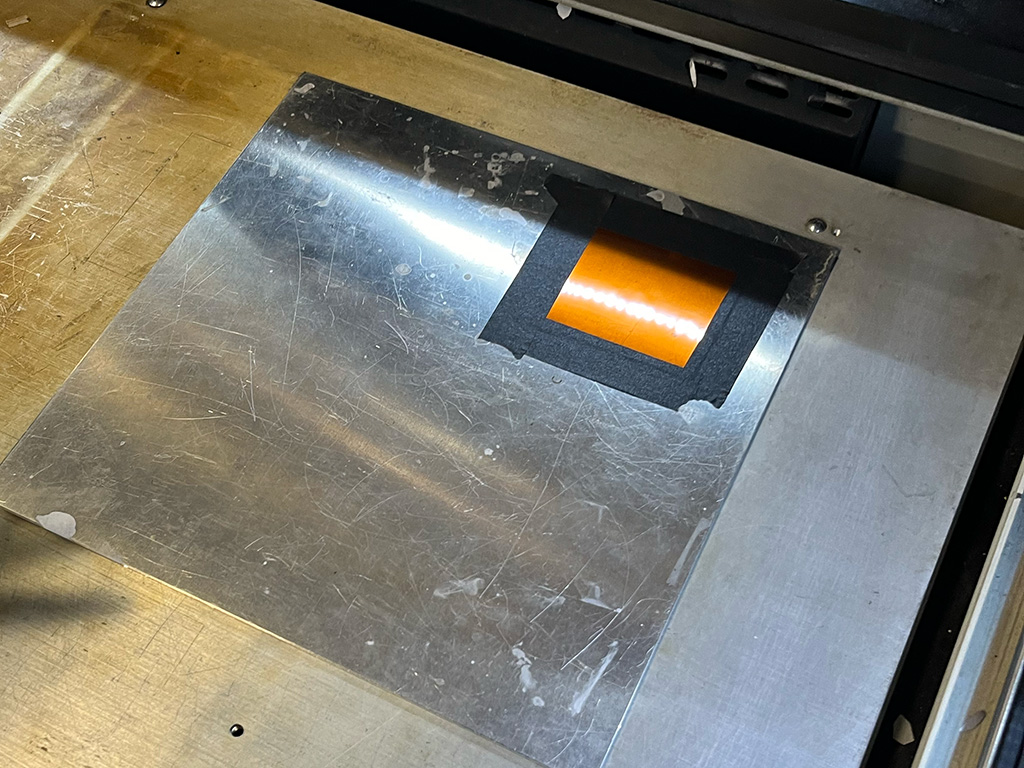
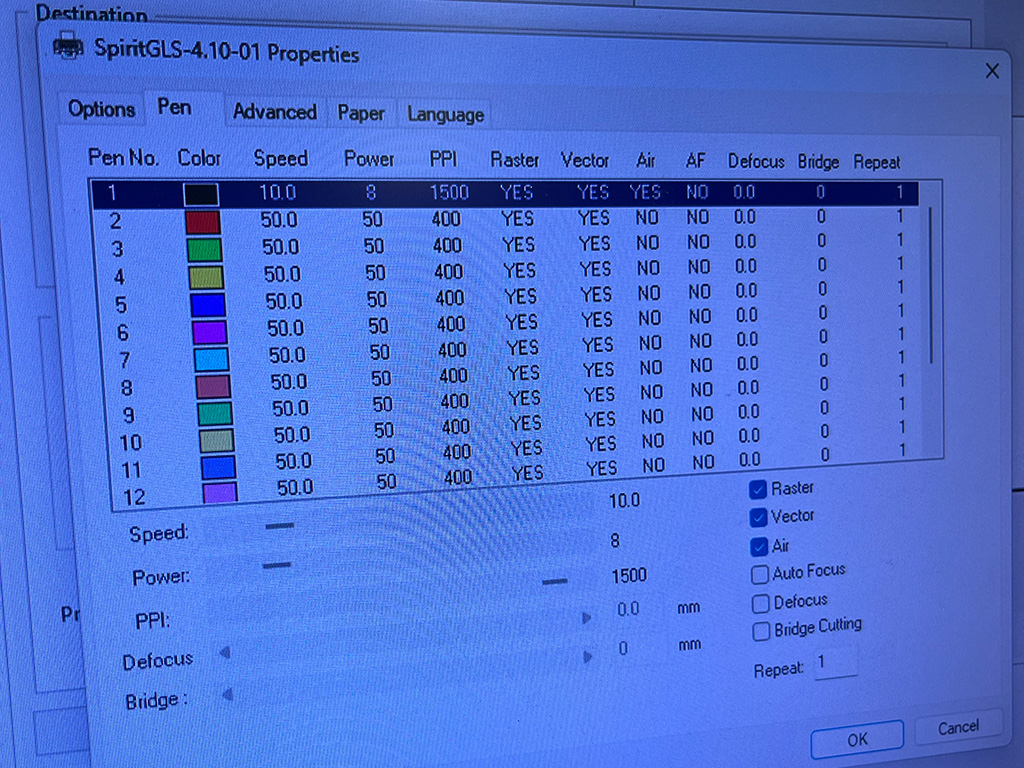
With the polyimide set up in the laser cutter, we were able to move on to designing the outline. While it can be designed elsewhere and imported, drawing the shapes directly in corelDraw is super quick and easy. We opted for this simple shape and these laser cutter settings:
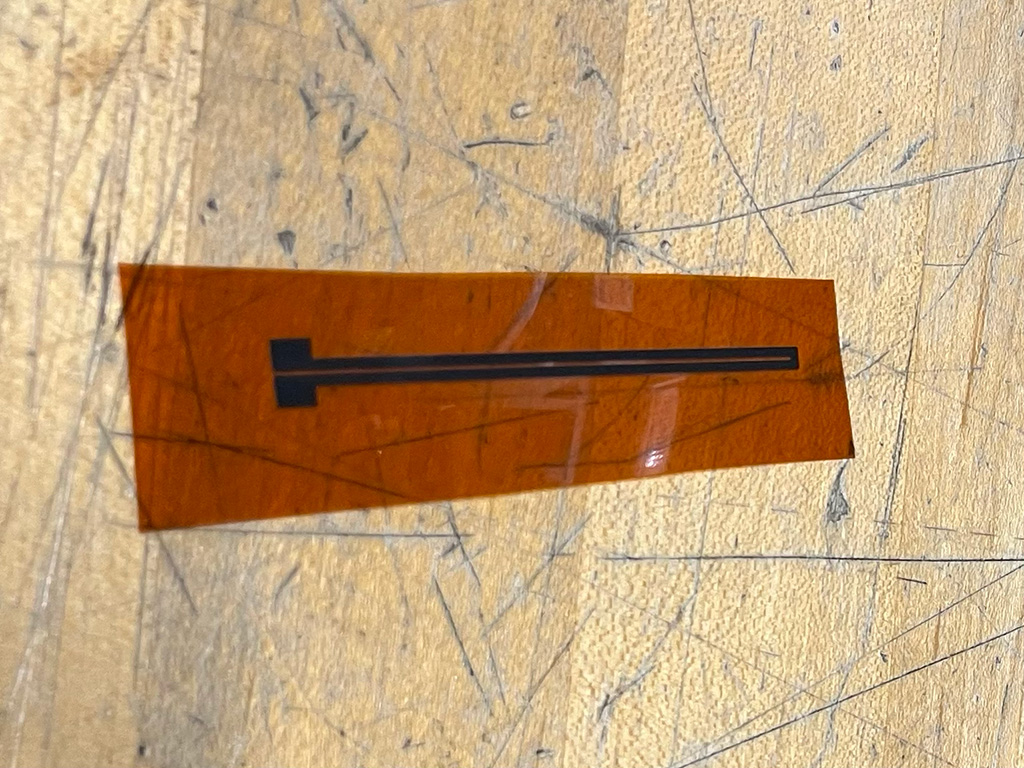
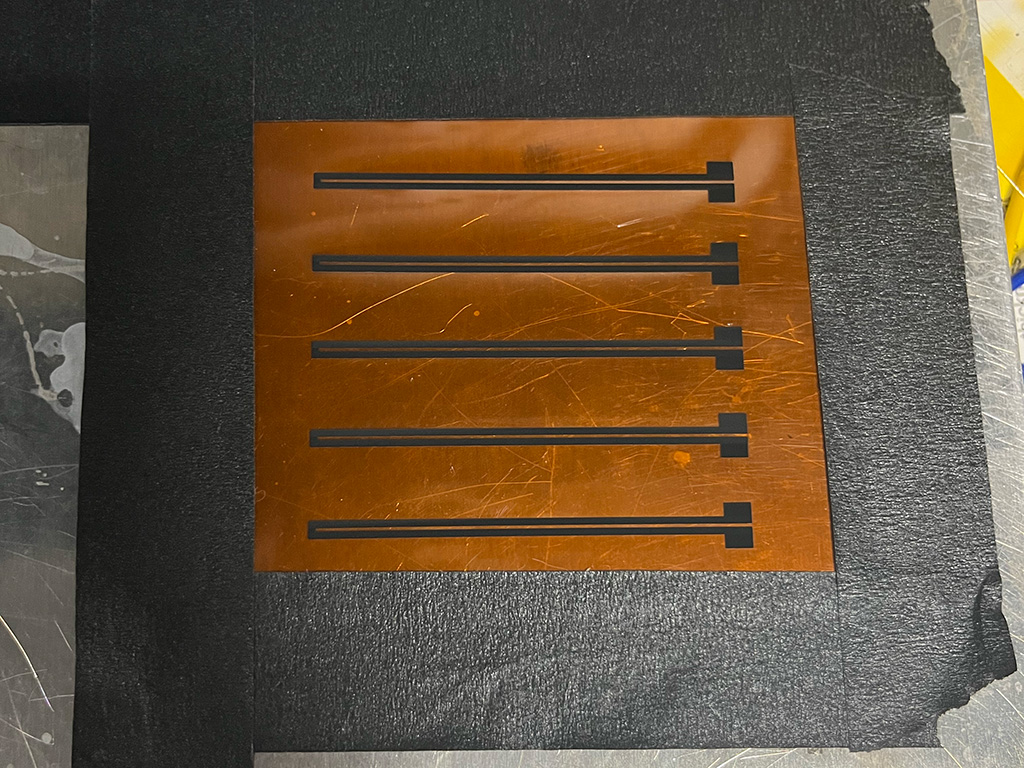
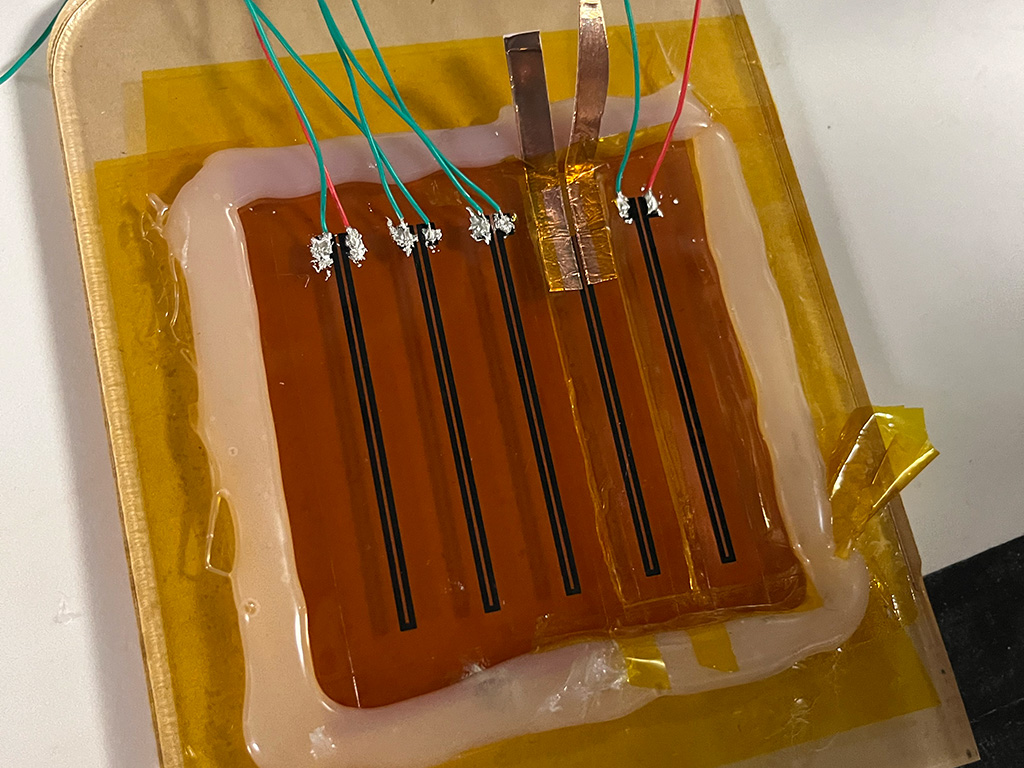
When that worked well, we made a batch of 5:
Since the graphene needs to be sealed in somehow to keep it from flaking off of the polyimide, Wedyan usually casts the sensors in pdms clear silicone. We tested out taping over the top to see if it worked as a lower quality but much faster alternative, and it did not (Wedyan's theory is that tape doesn't allow the graphene particles to move and shift like the silicone does when deformed.)
One of the challenging parts of working with LIG is making connections. You can't solder to it, so the best options are conductive epoxy (we used silver epoxy) or copper tape with conductive adhesive (this has some shape limitations but is nice in that you can actually solder to it so long as you extend it far enough away from the graphene-- we ended up trying this method on a sensor which I accidentally ripped the wires off of.) Epoxying the wires was harder than I expected and I did a very messy job of it but it's something I can improve on (and will be easier with better prep and taping of the wires.)
The next step was coating the sensors in the pdms silicone. To help with this, I made a wall with hot glue. Wedyan put the coated sensors in the vacuum for 15 minutes to get rid of any air bubbles and then put it in the oven for 90 min or so to cure it.
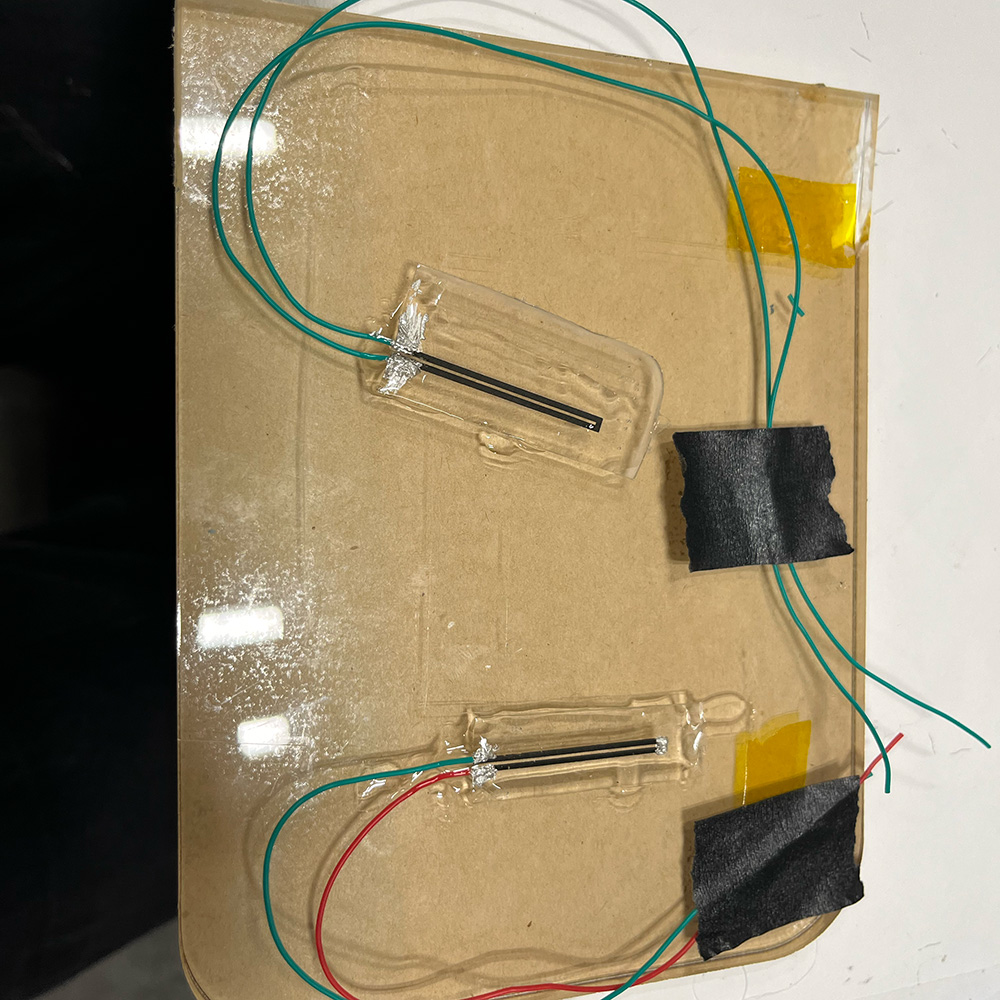
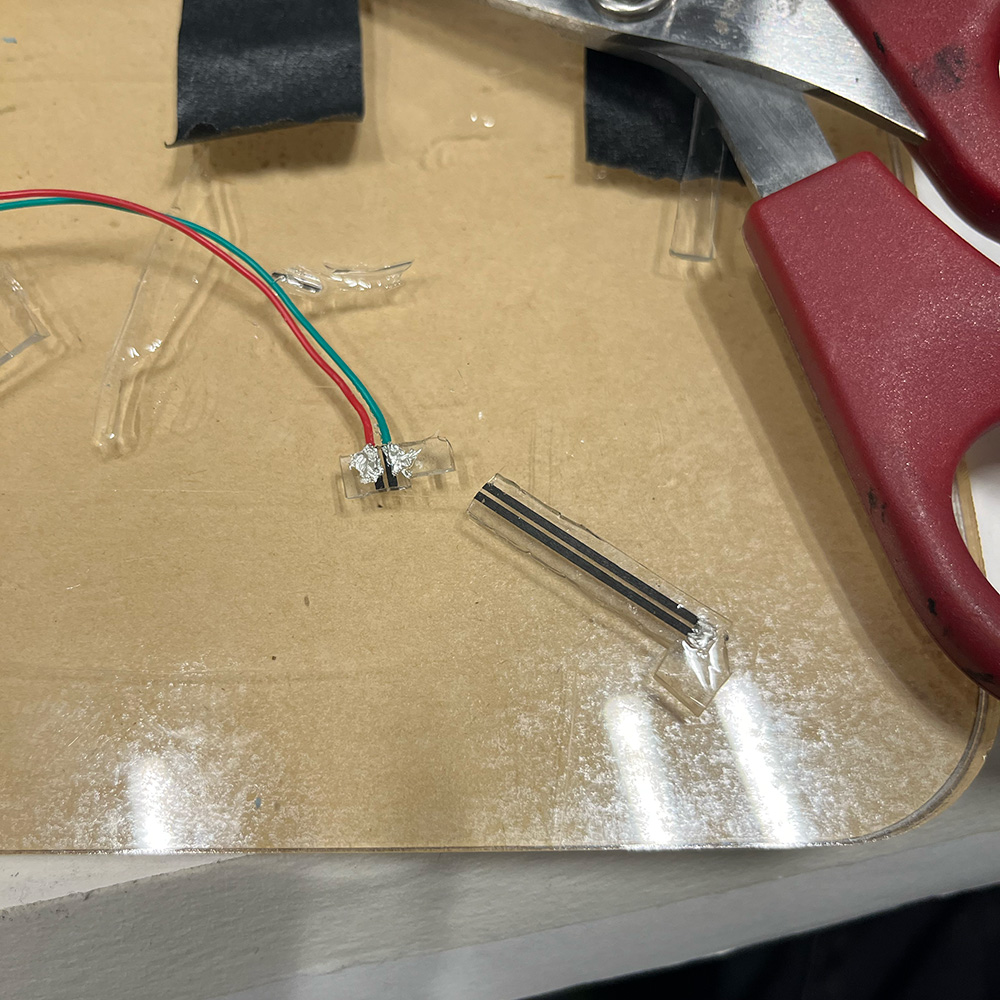
After that I chose to keep 3 to cut down and use with the polyamide backing as non-stretchy bend sensors, and 2 to transfer off the polyamide, coat with more pdms, and use as stretch sensors. When transfering them, Wedyan realized we should've done the epoxying afterwards because it doesn't transfer well. This was fine though as it worked better for my design to shorten them, so I cut them, redid the epoxy, coated with pdms, and put in the oven for a bit over an hour. One of them ripped just above the wires shortly after-- I think it was a bit too thin.
To see what I did with the sensors, check out my week 7 assignment!