References
&
Interests
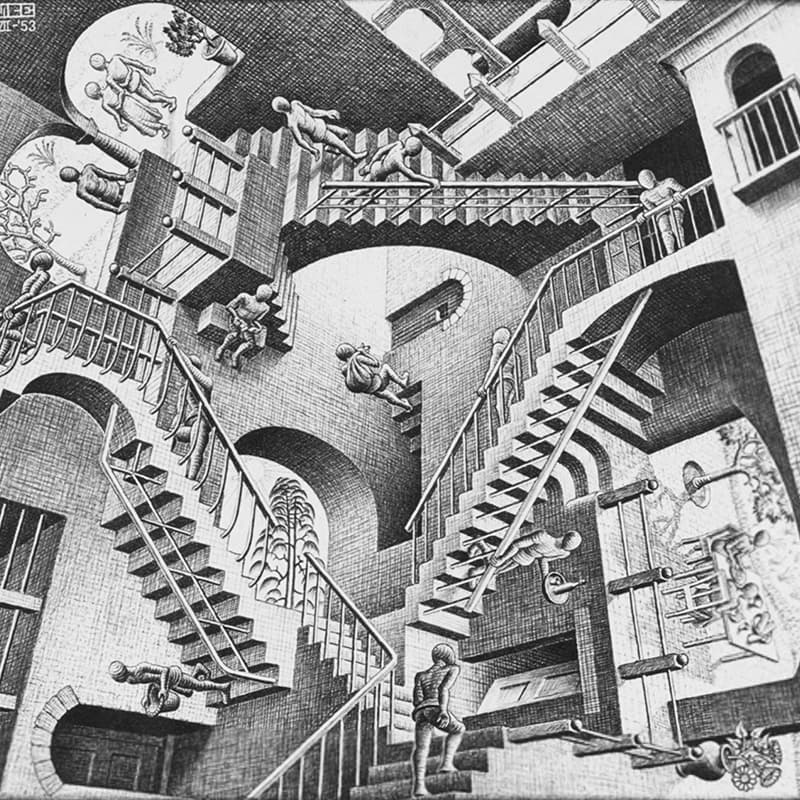
Labirynths
(e.g. M.C. Escher)
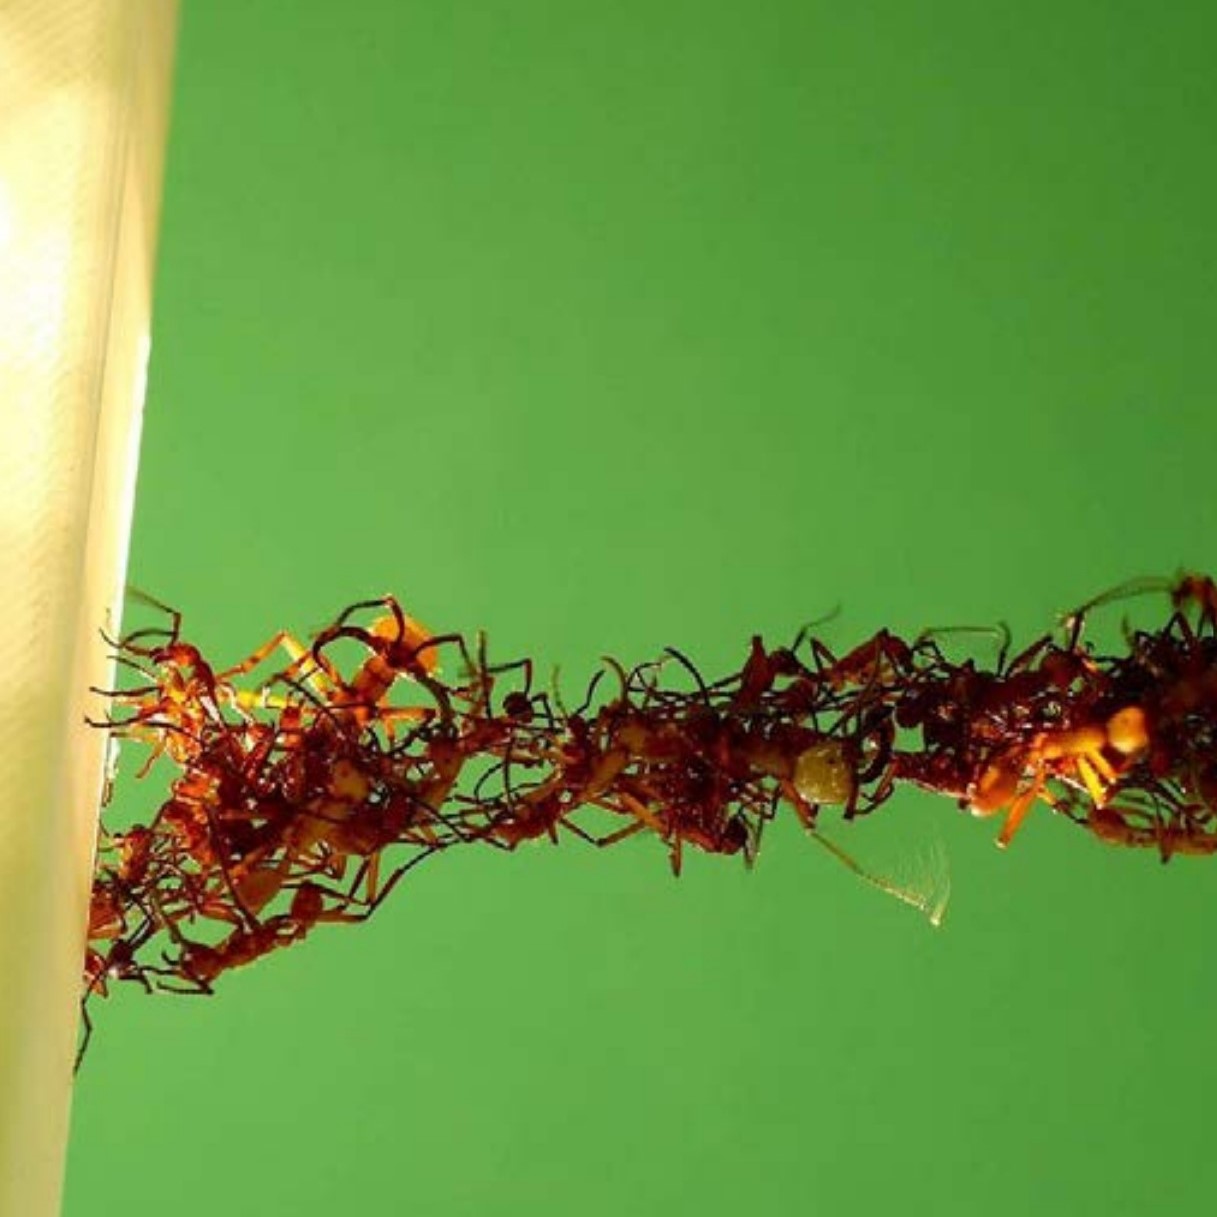
Social Insects
(e.g. Ant Bridge, Lutz 2015)
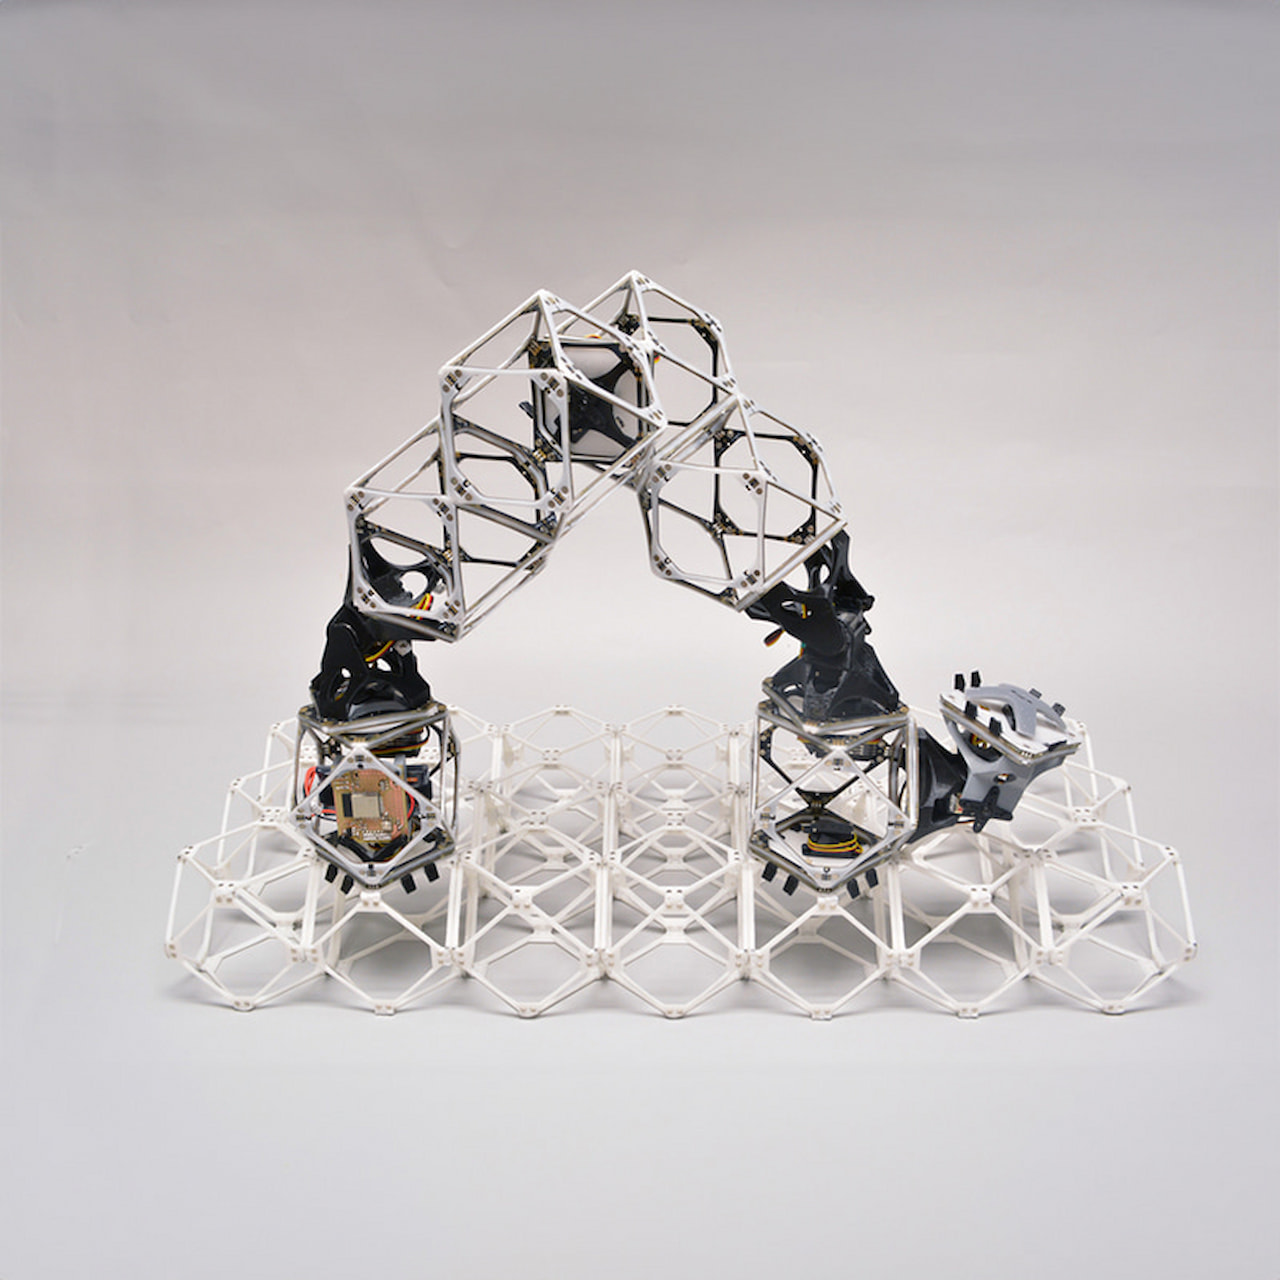
Distributed Robotic Assembly
(e.g. CBA)
Artificial Life
Conway's Game of Life Simulation
(e.g. simulation by me)
Useless Machine
(e.g. Gear doesn’t matter)
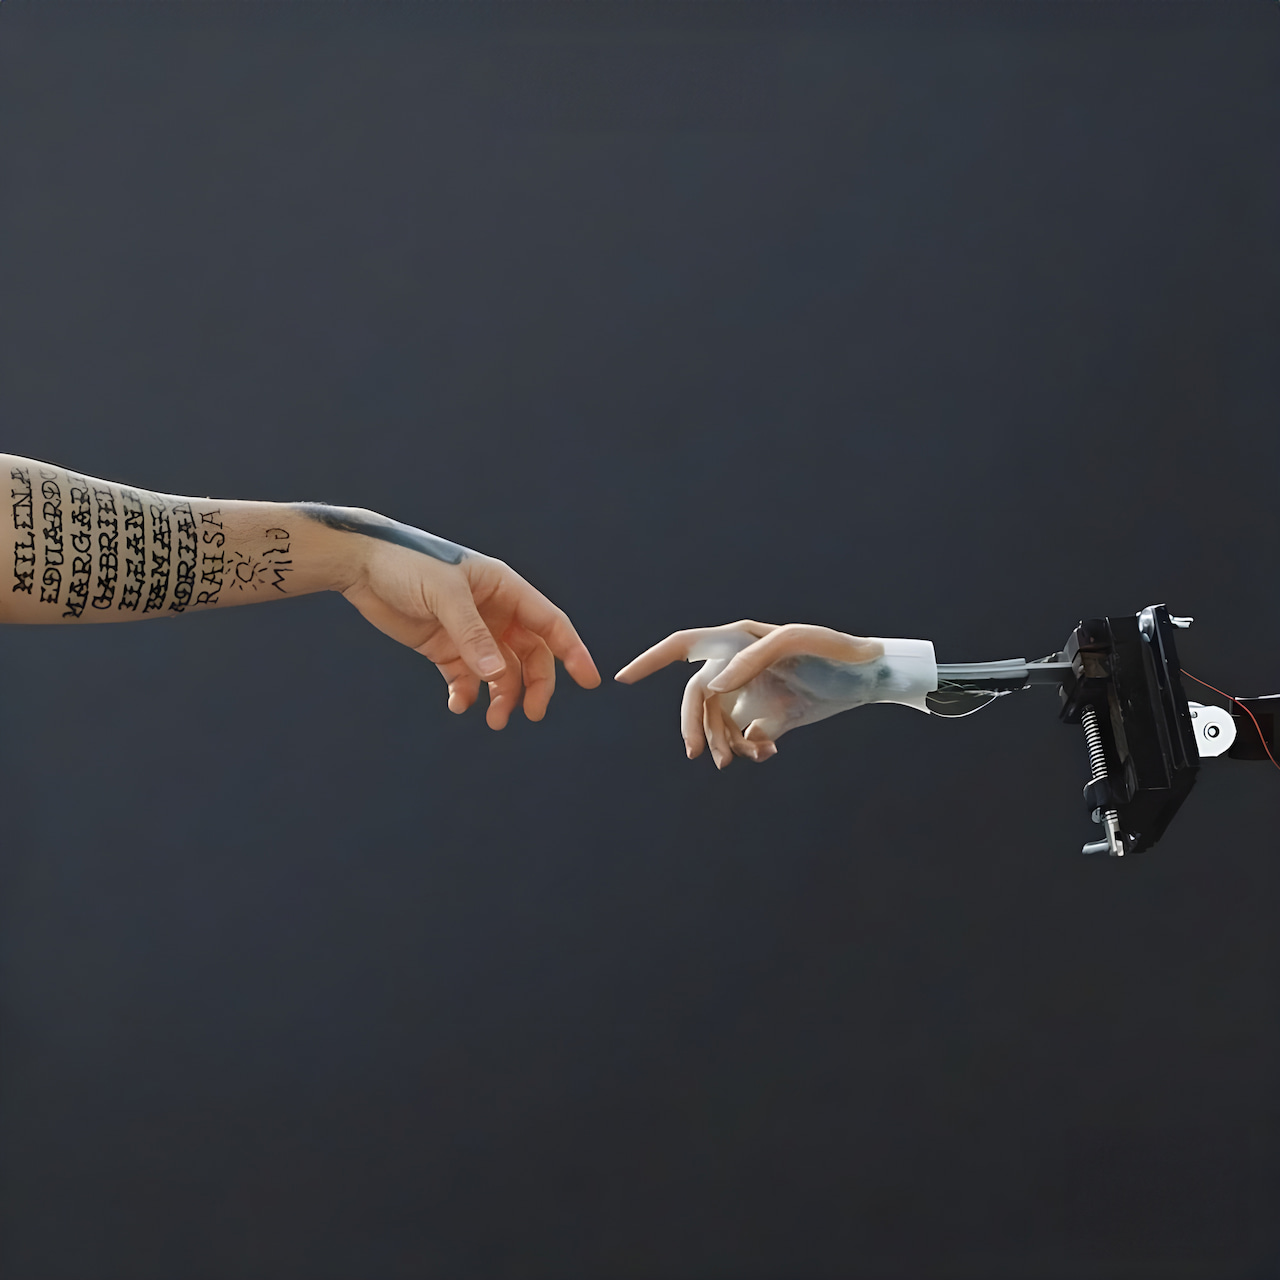
Final Project Idea:
A robot that continuously assembles a maze, while another tries to solve it, in an endless, pointless loop.
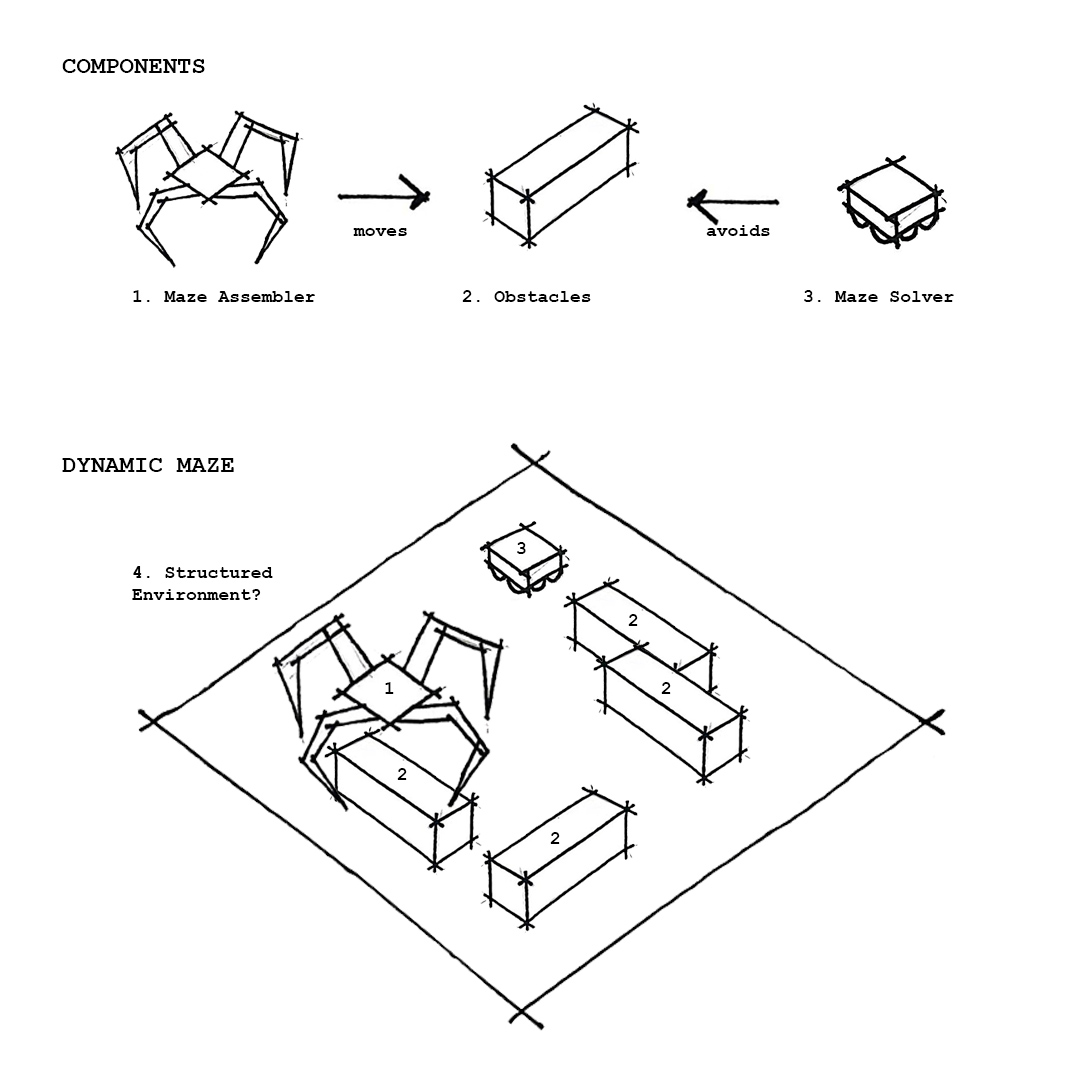
IDEATION
Spiral 1
Modular Wheel Bots
Bodyplan
Spiral 1
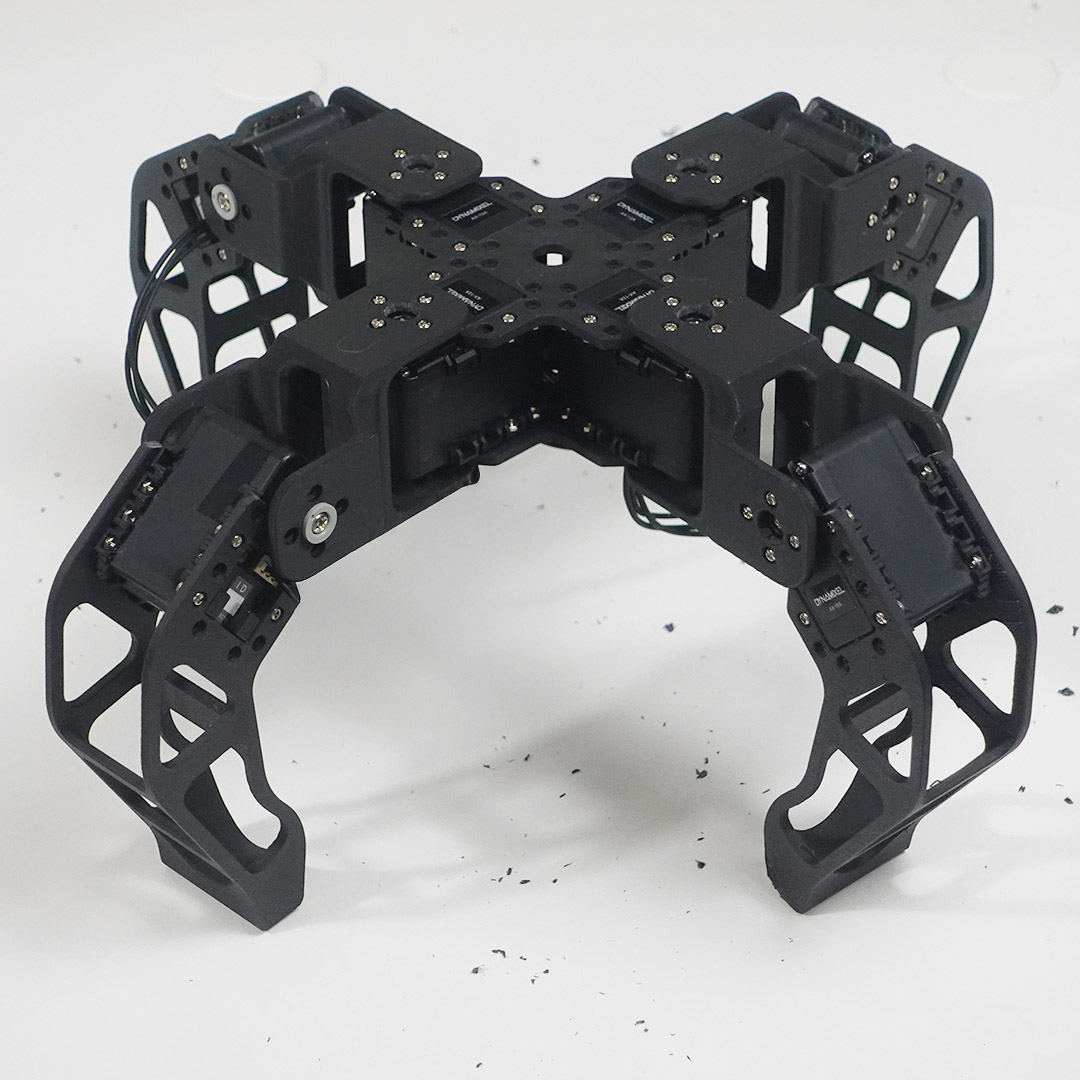
Spider Bot
Bodyplan

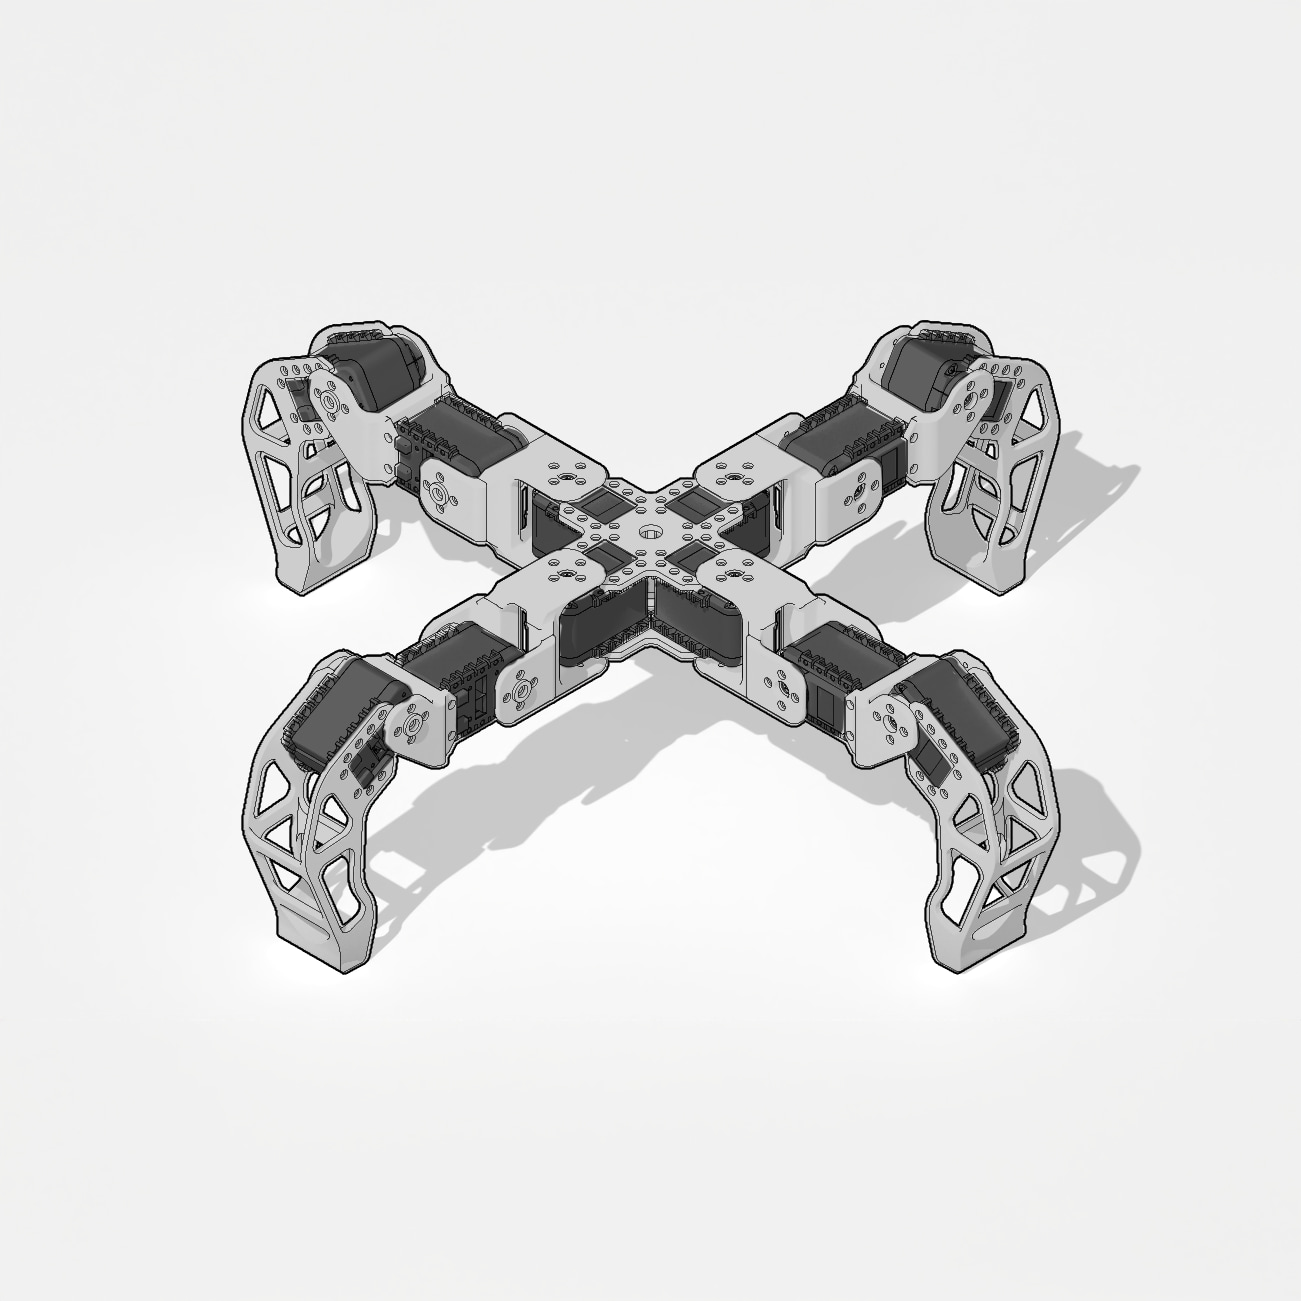
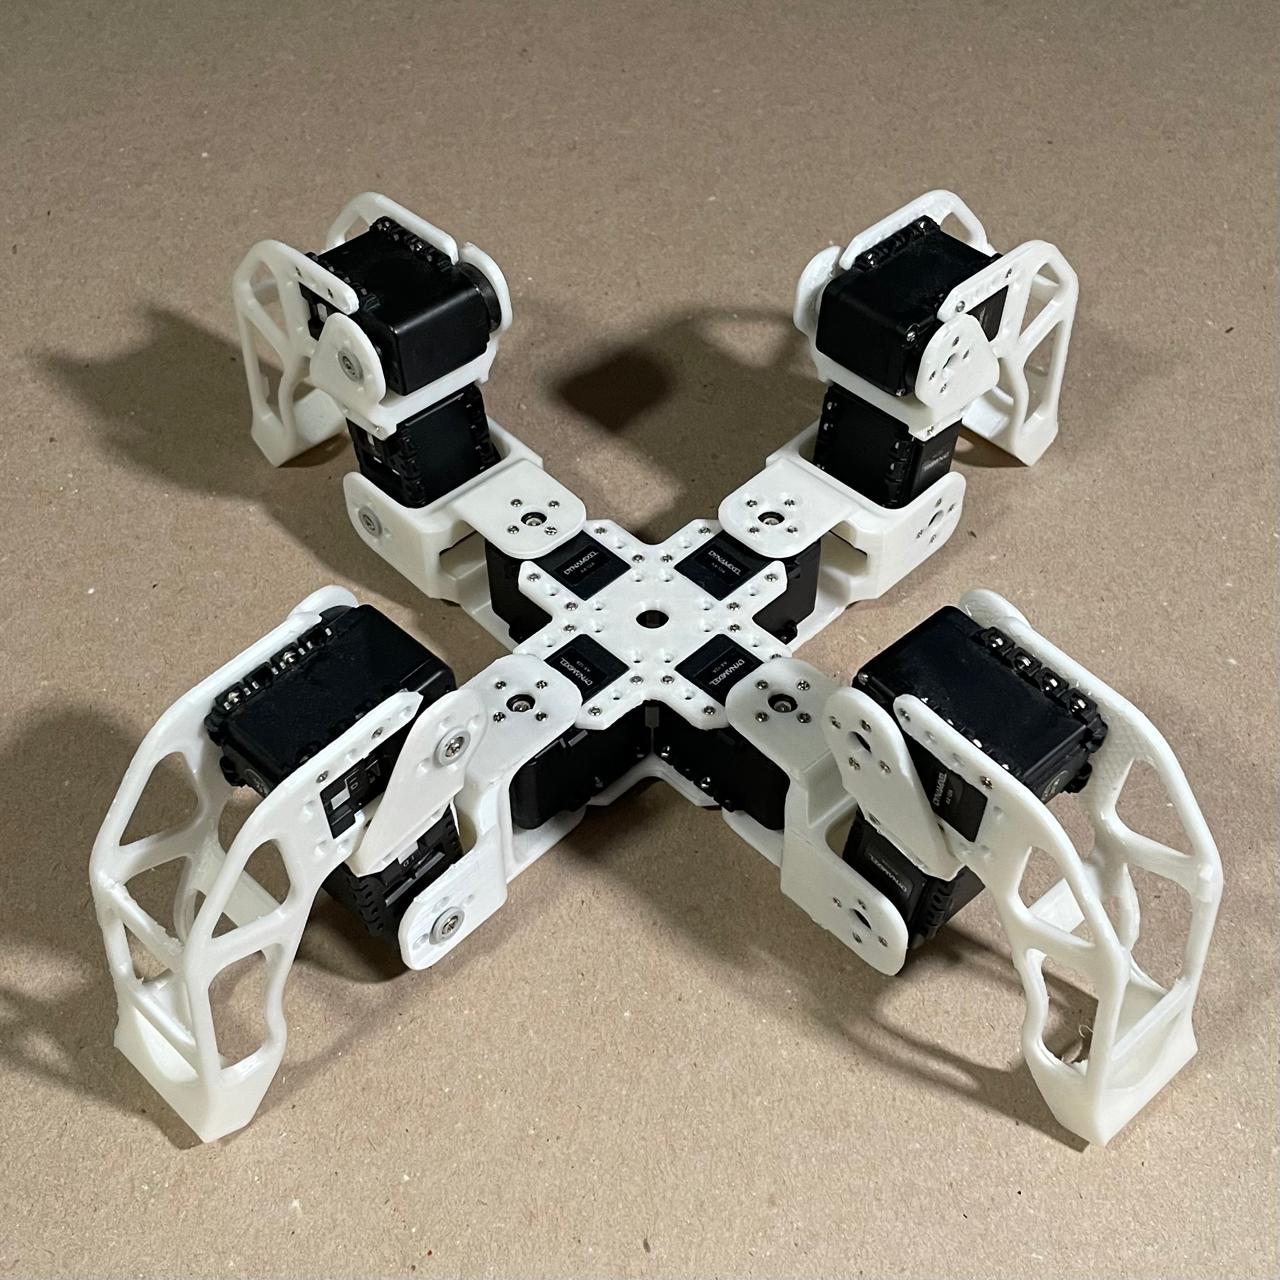
Spiral 1
Spider Bot
Behaviours
To program my robot, I first cloned Robotis' SDK repository, found at https://github.com/ROBOTIS-GIT/DynamixelSDK. Then, I tested and ensured I was able to control of each individual servo, setting speeds and positions. Finally, via trial and error, I set up individual positions and waiting times to perform all tasks or behaviours (take one step froward, rotate 155, etc.).
Spiral 2
Grippers & Voxels
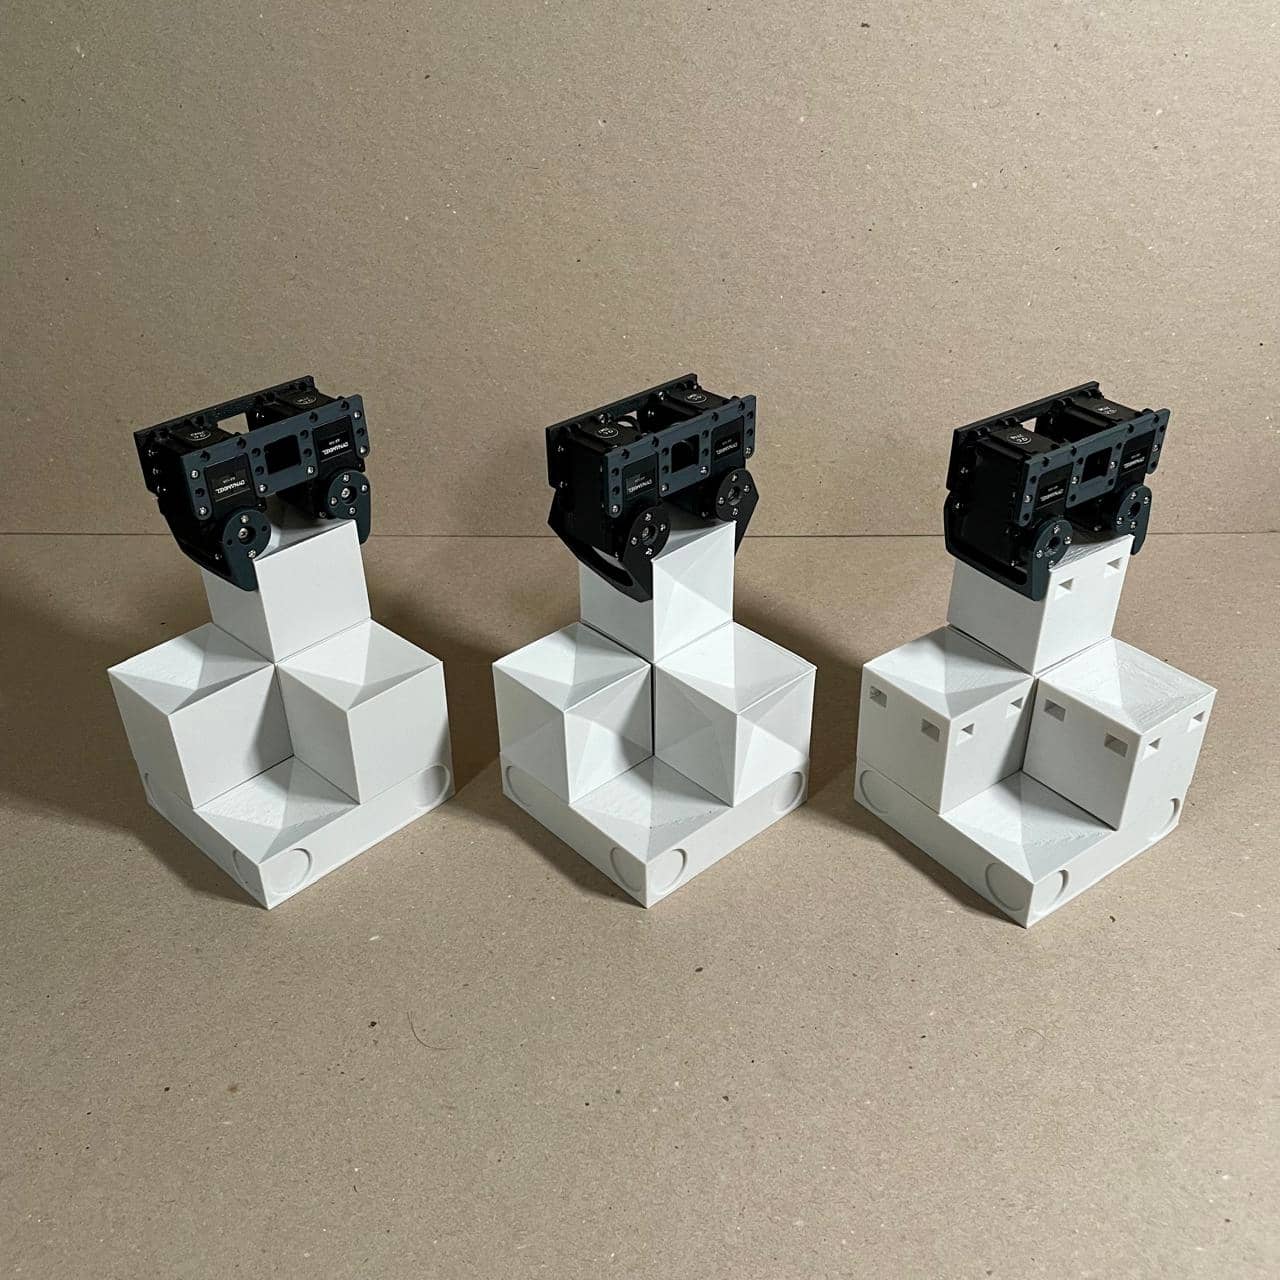
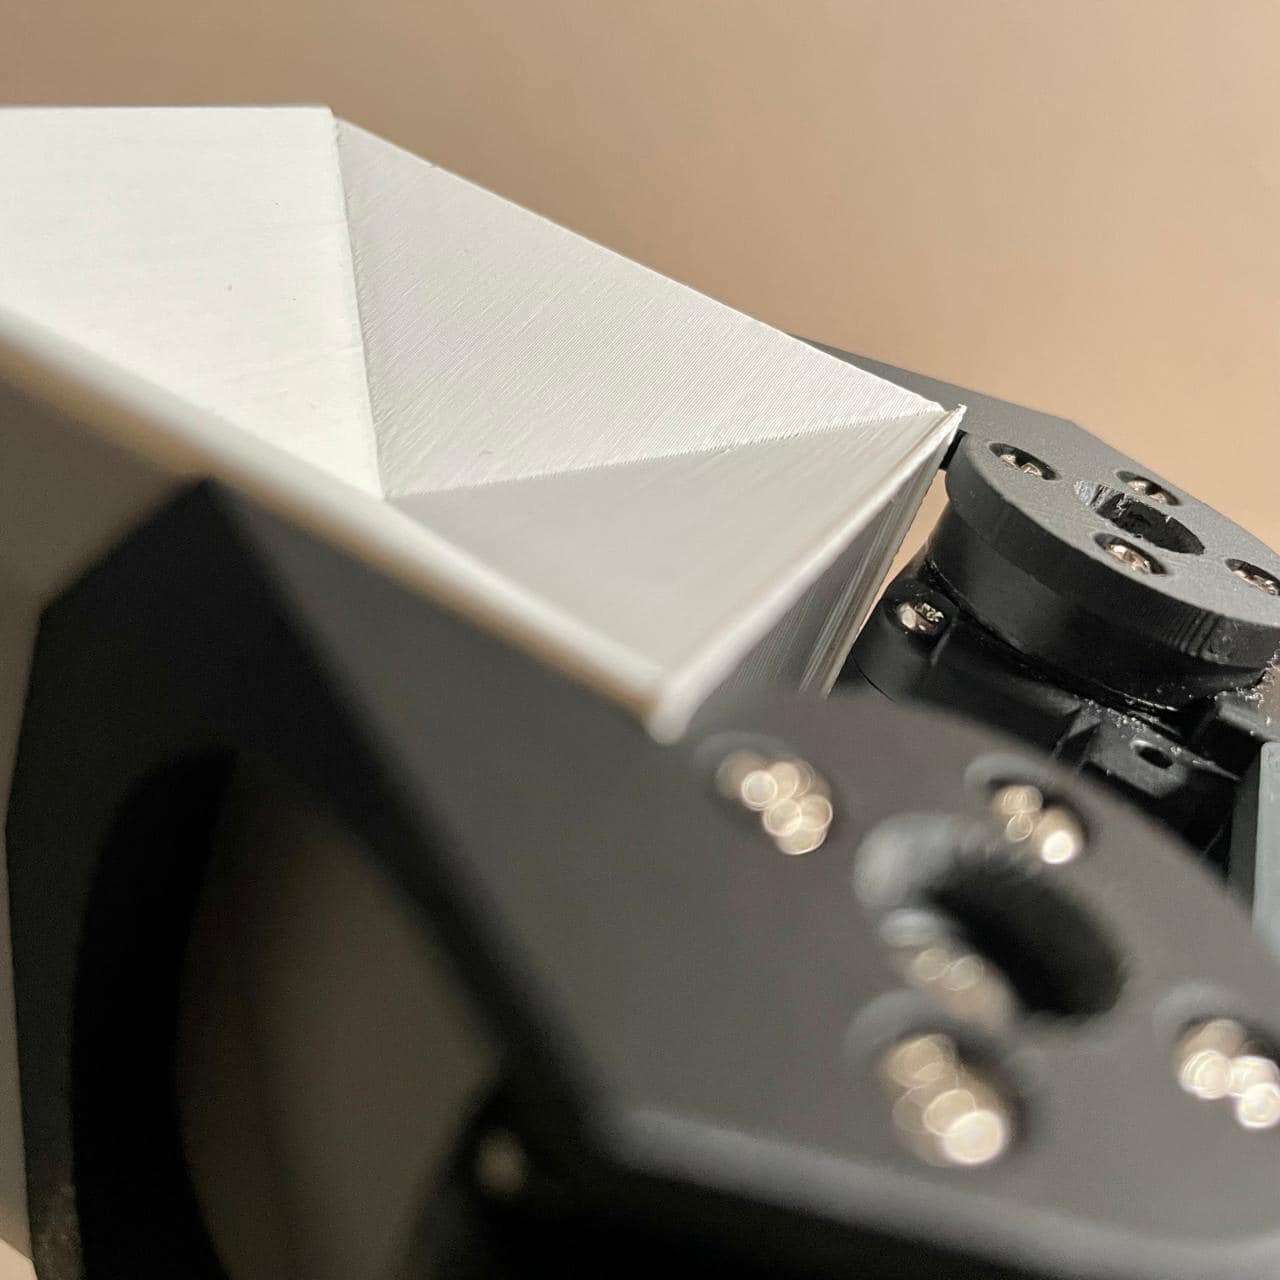
A - Flat Gripper
This first system has two motors controlling each side of a flat gripper, allowing them to hold an object. Yet, it does not have any level of error-correction. They spider might be off and the grip might not be the best. Also, objects might slip in the flat surfaces.
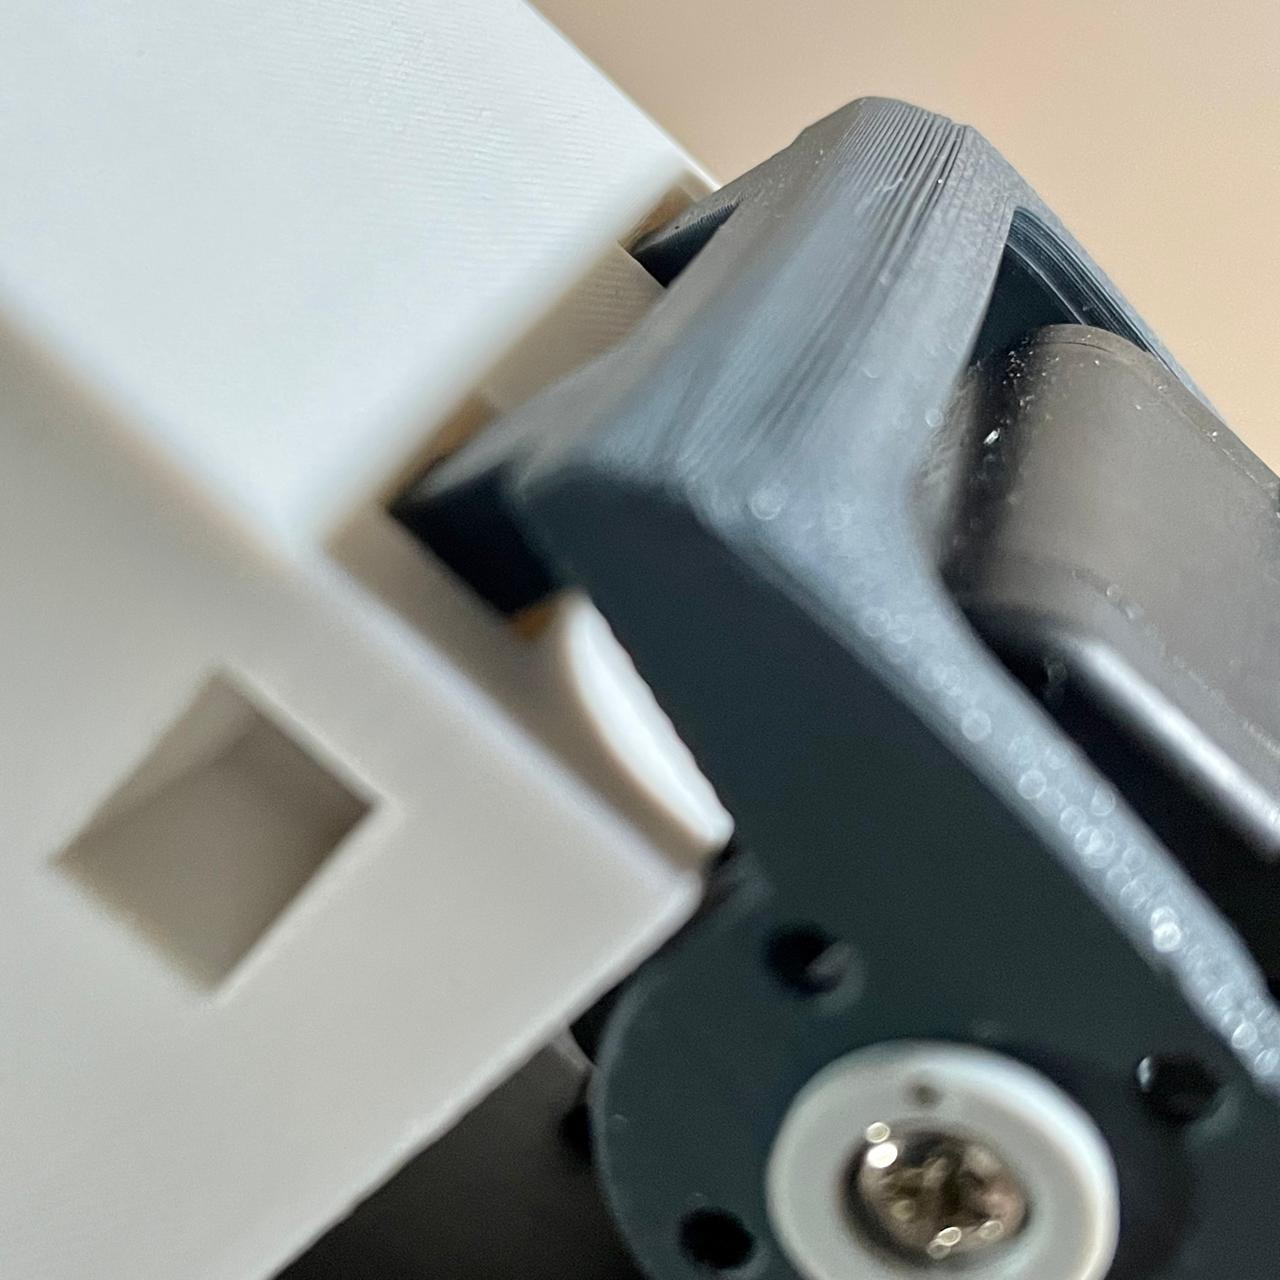
B - Lock Gripper
Ths version features 2 teeth that do into the geomtry, ensuring a more secure grip. The holes are larger than the actual teeth, facilitating the initial entry, but it is, perhaps, a little too precise.
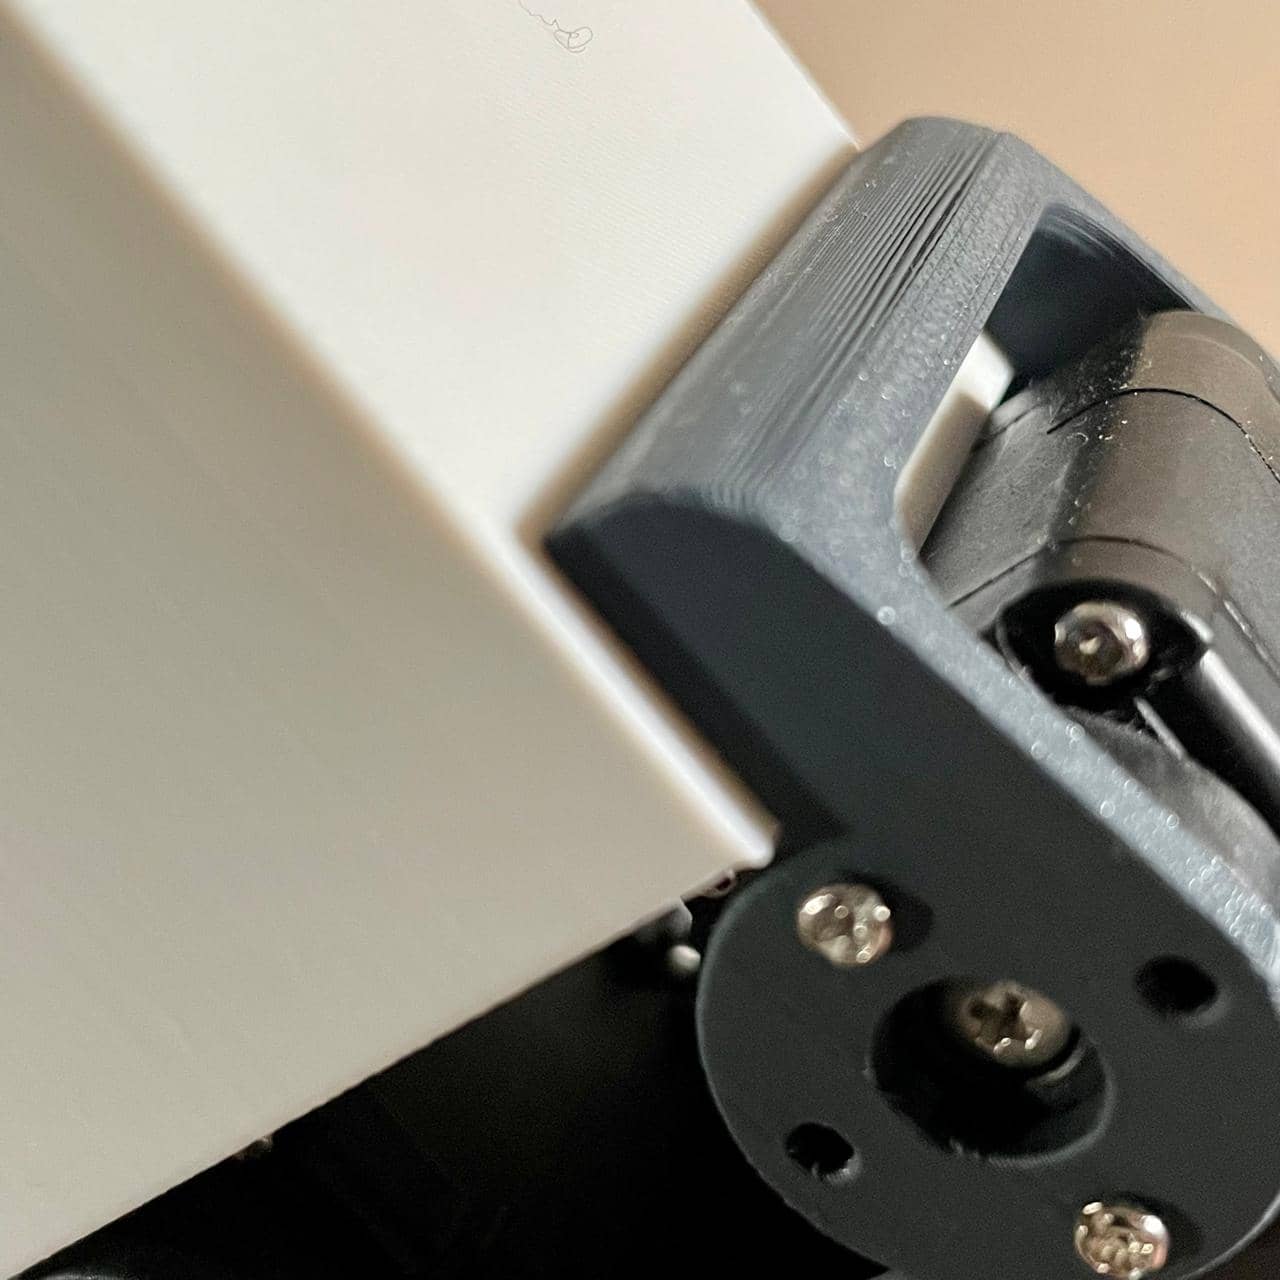
C - Angled Gripper
This version goes into the geometry it holds, using the same error-correction thorugh geomtry concept off the base. This allows for more forgiving alignment and provides a solid grip.
Next Steps Spiral 2
1. Leg redesign.
2. Raspberry Pi Comms
3. PCB & Integration
4. Behavior Programming
Spiral 2
Material Components

Spiral 2
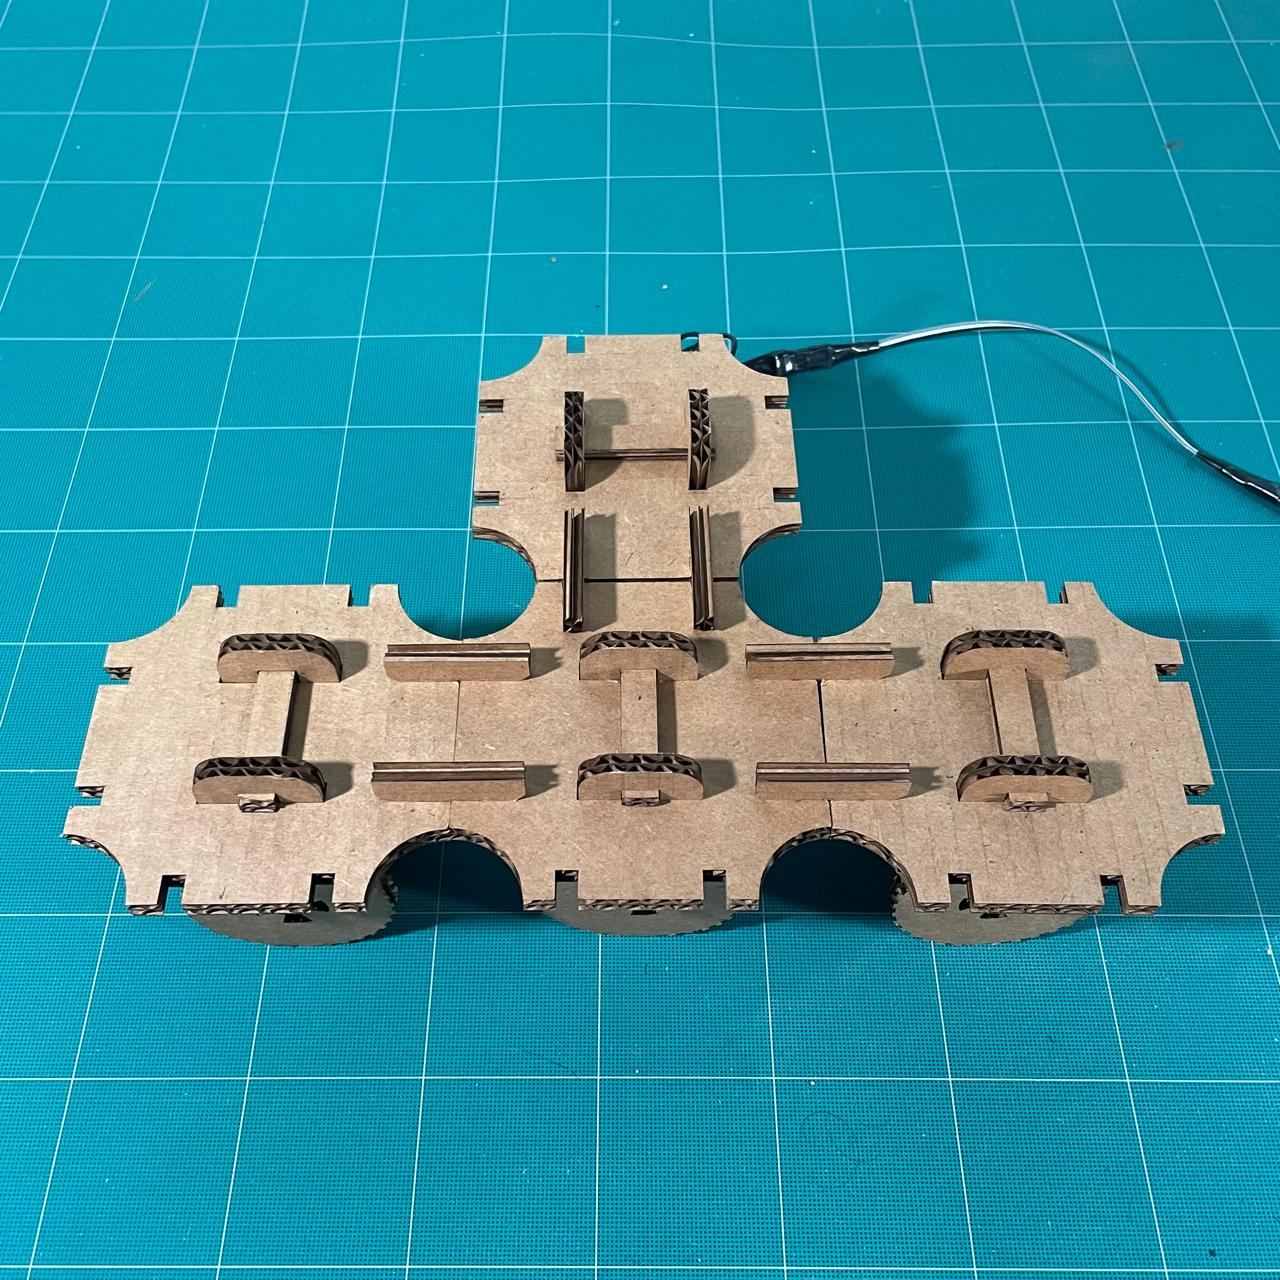
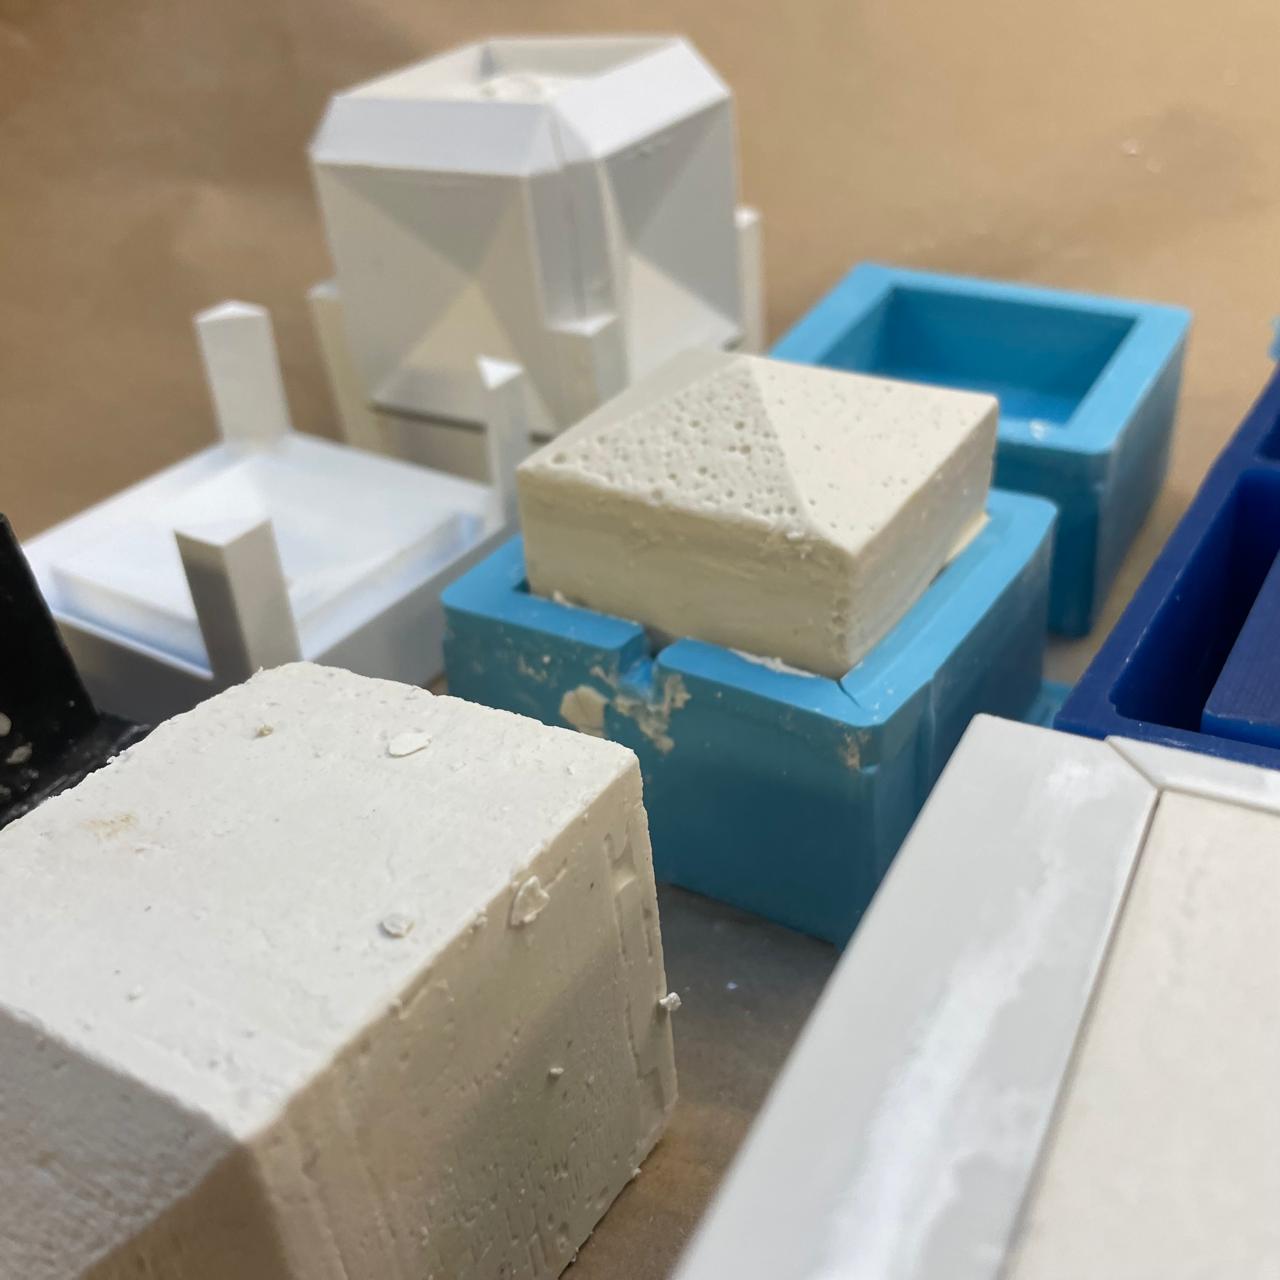
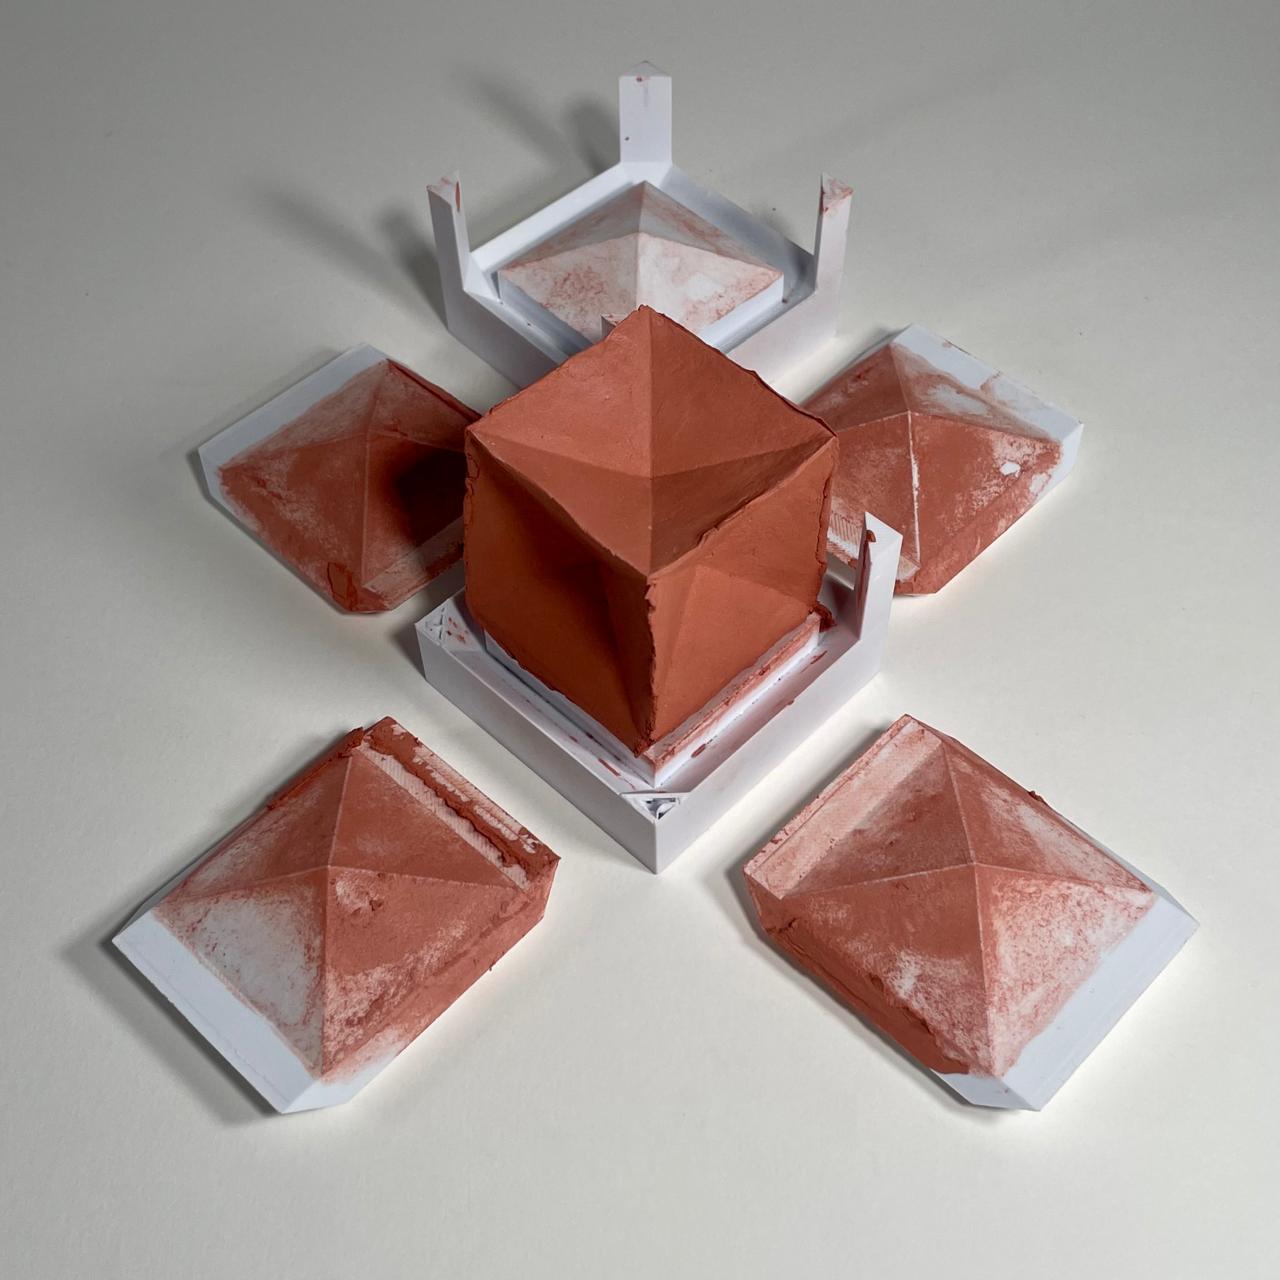
'Underactuation' Study
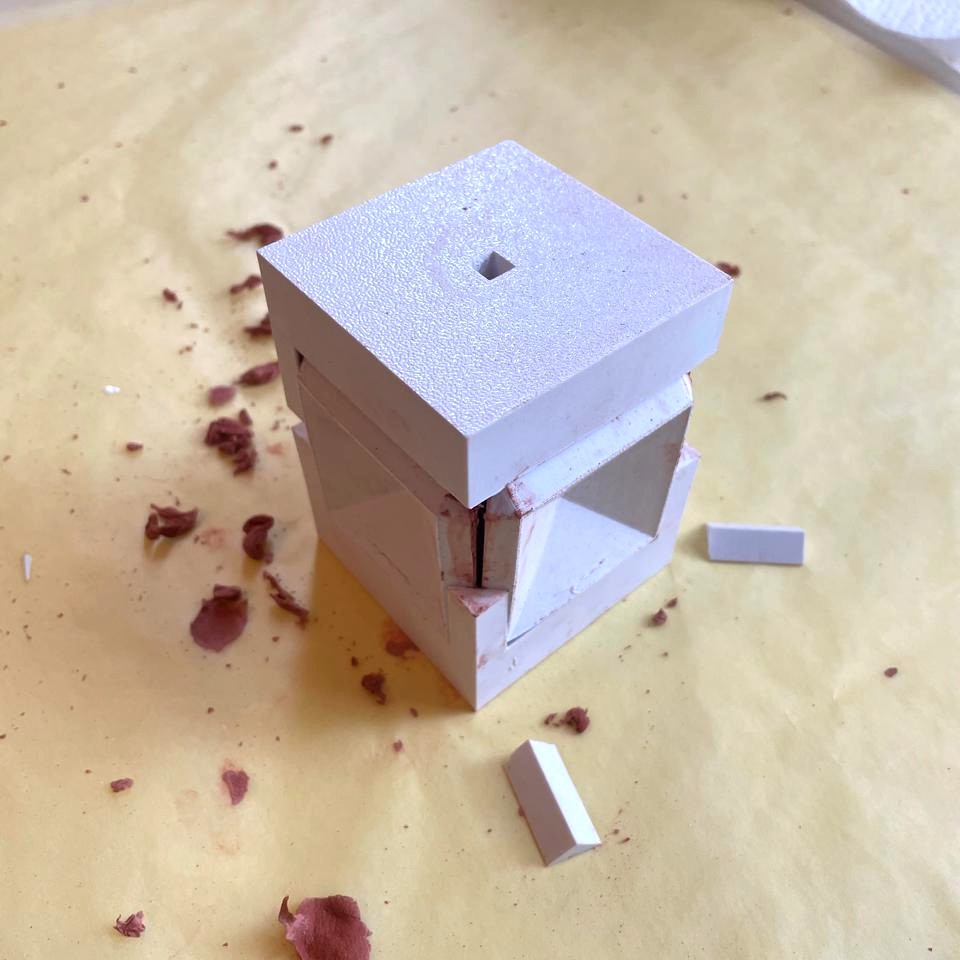
Then, I also tried manually pressure-casting molding clay into the block shape, which broke the mold. Regardless, I like the material qualities and I am interested in multi-material assemblies either way.
As I was preparing to bring together every new aspect into the second prototype, thinking about reducing complexity, I decided to assemble some of the parts I already had and see if the spider could behave properly with 4 less servos.
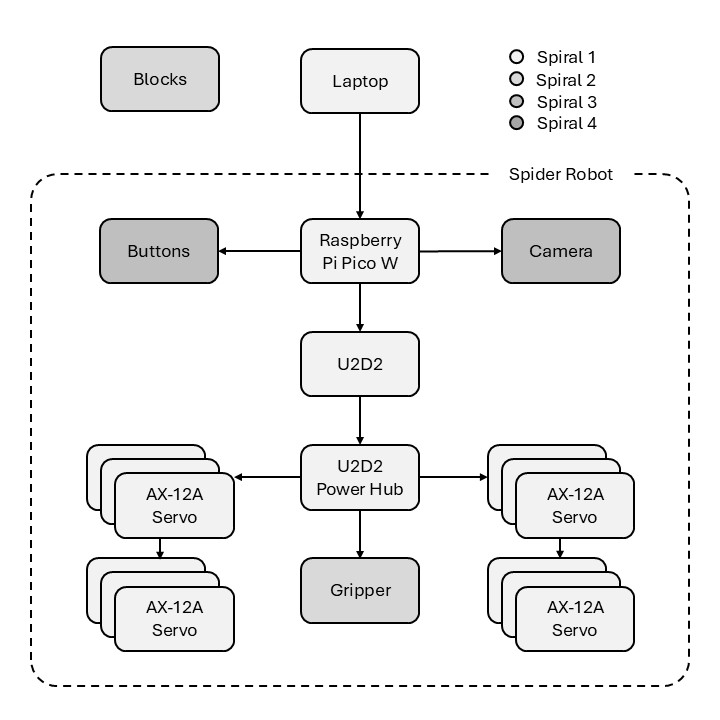
Spiral 3
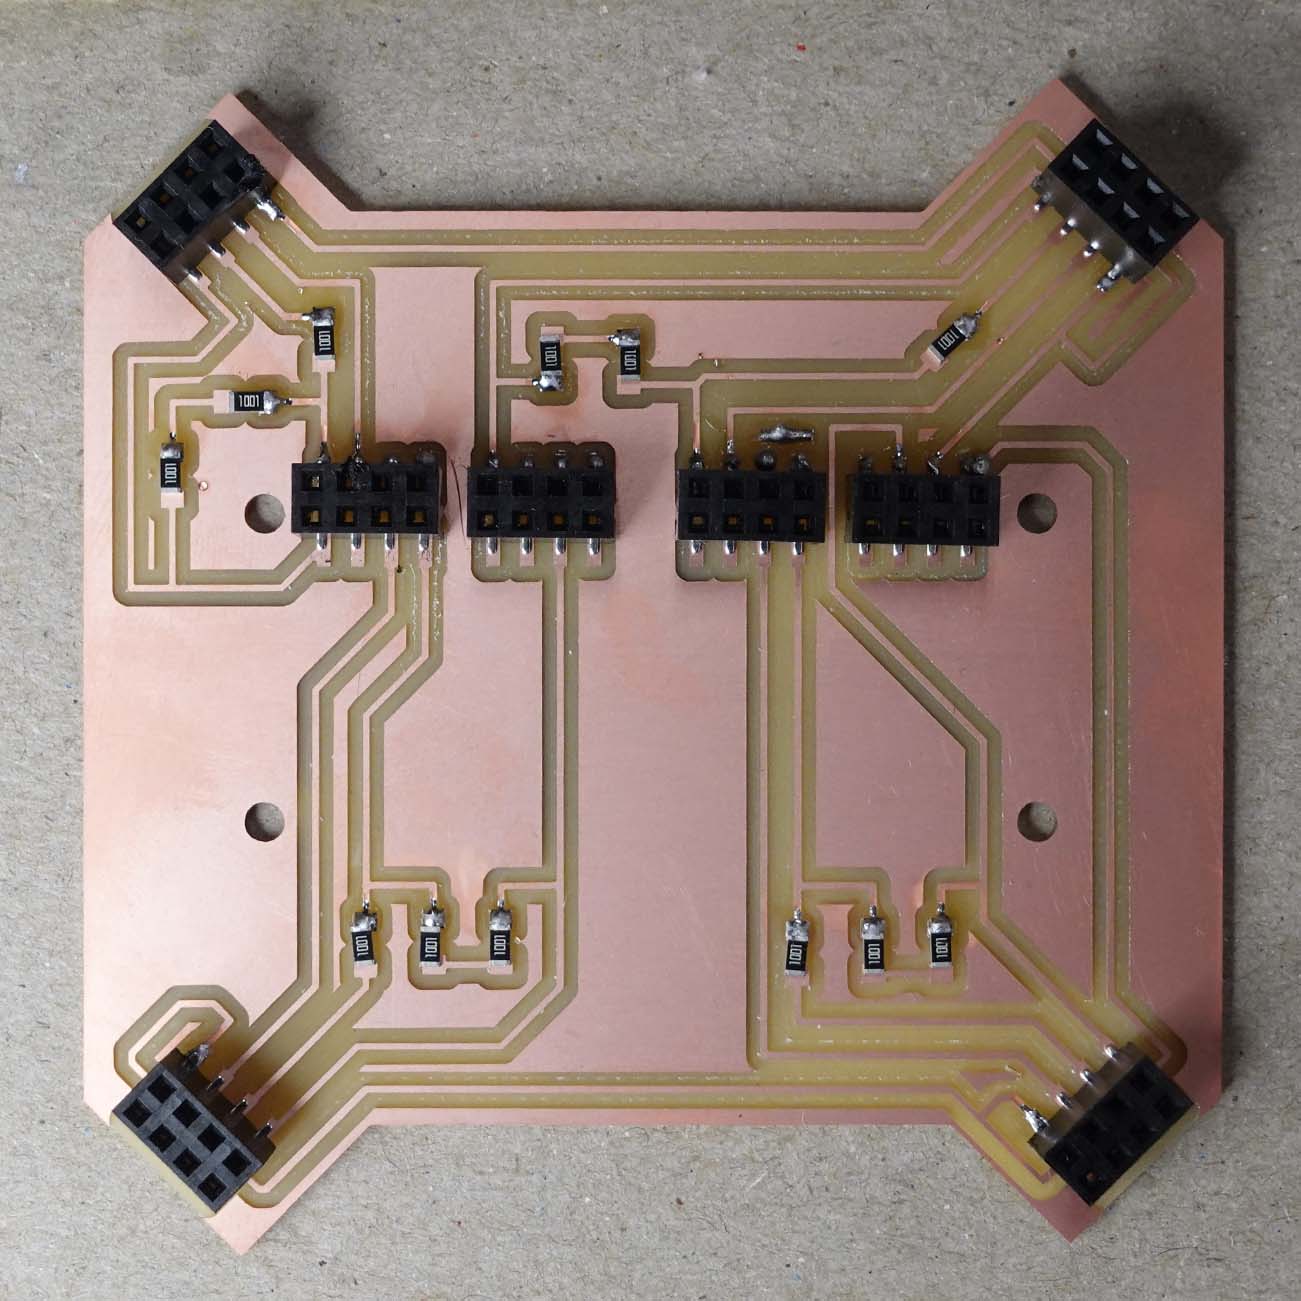
PCB Dev
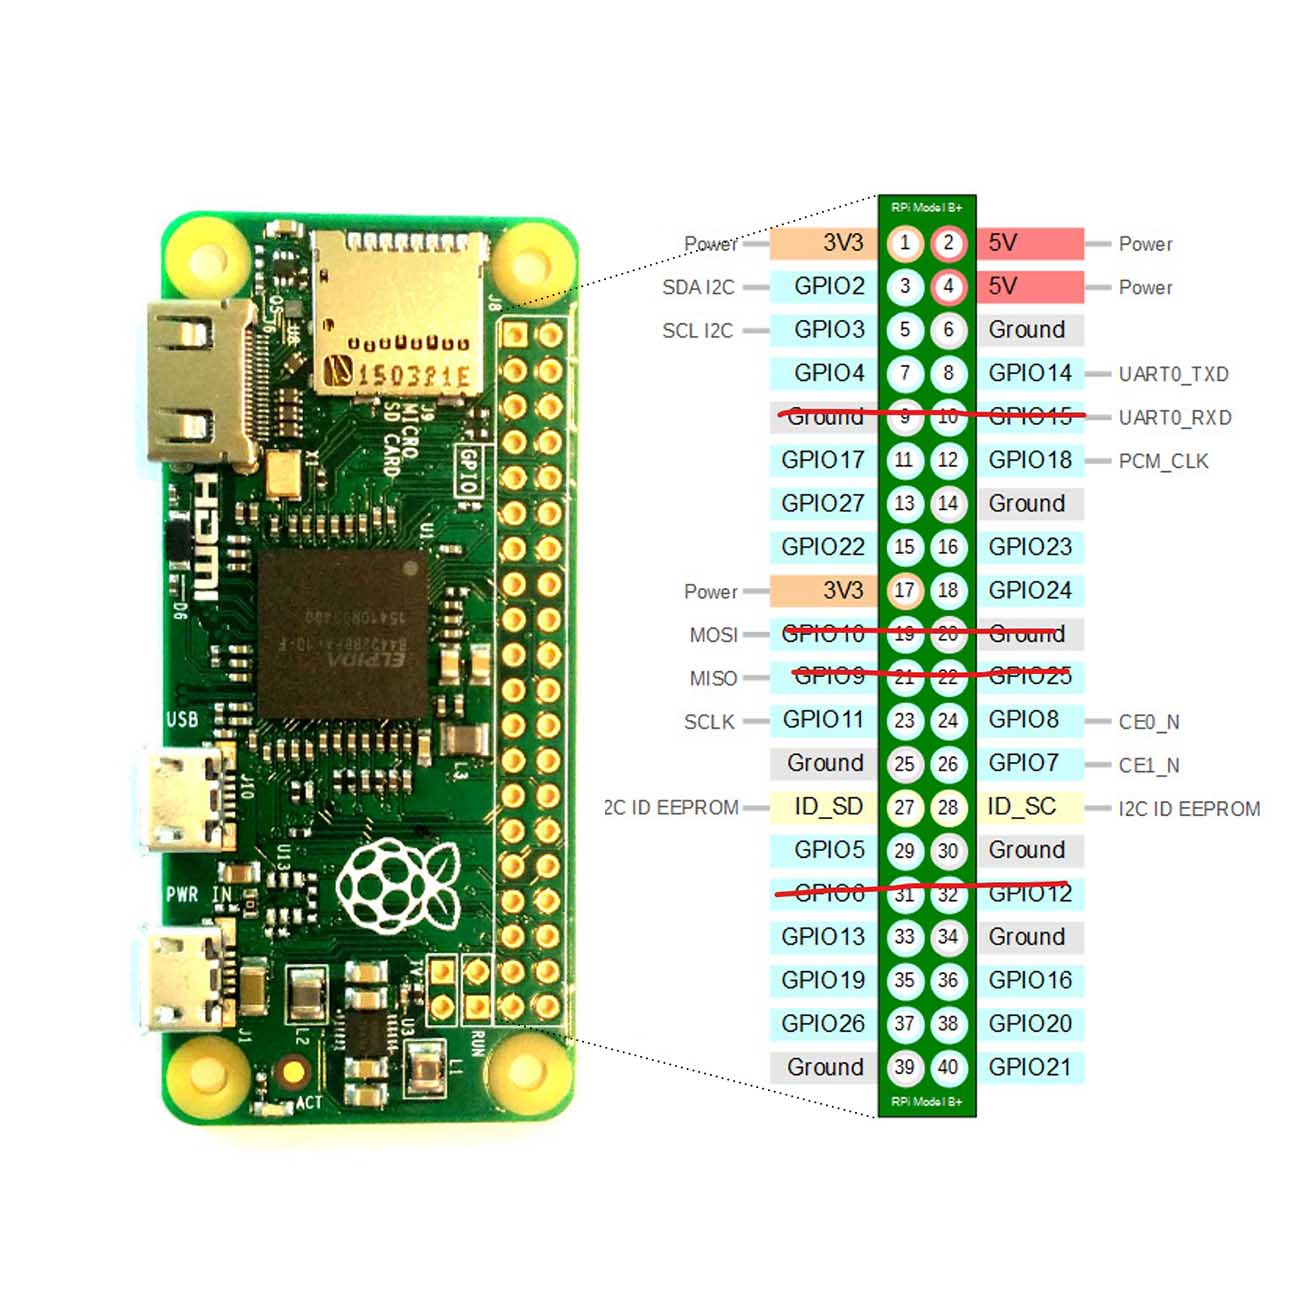
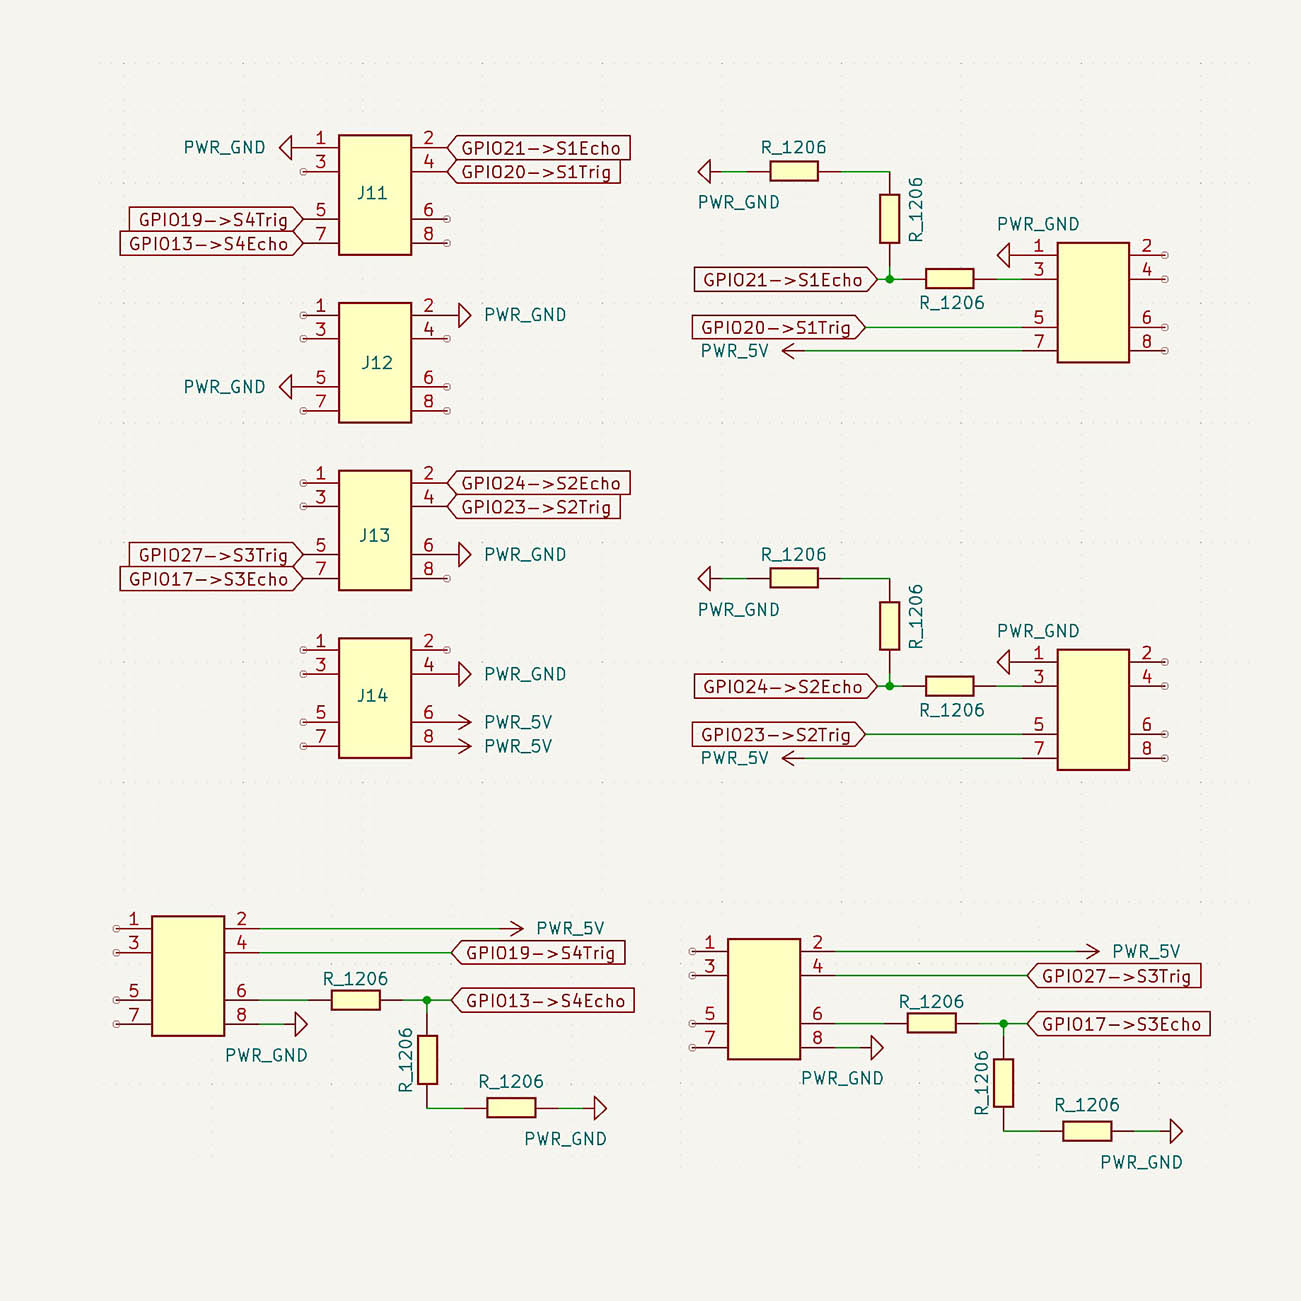
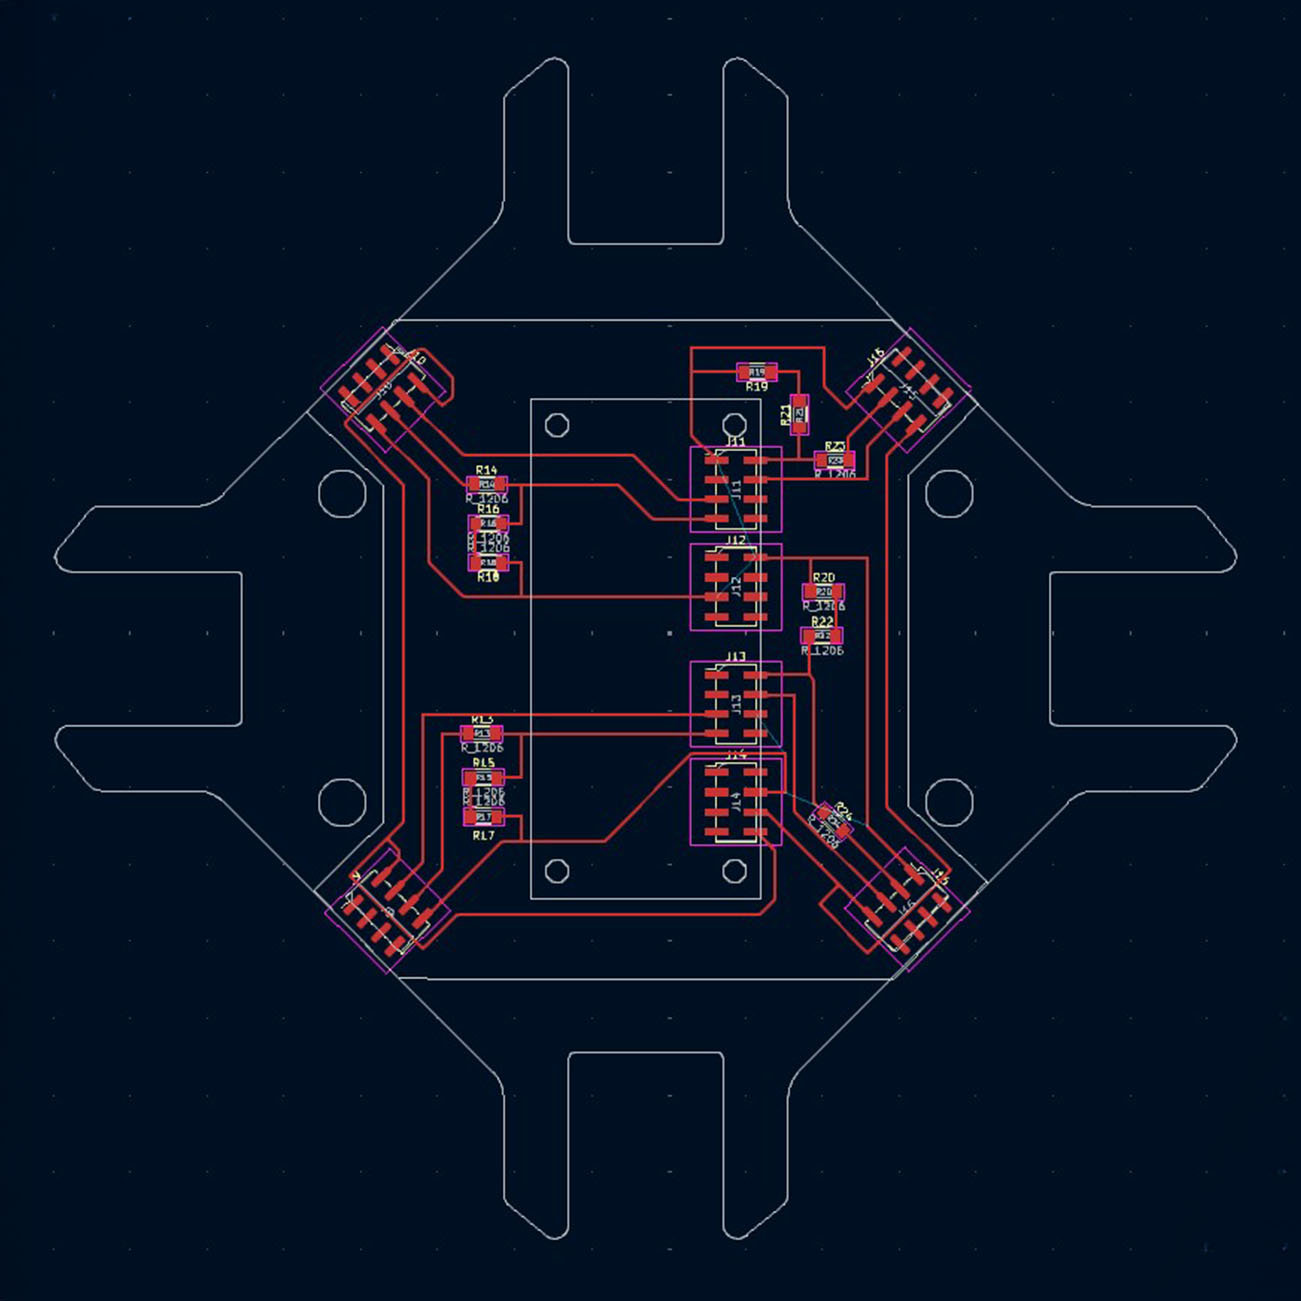
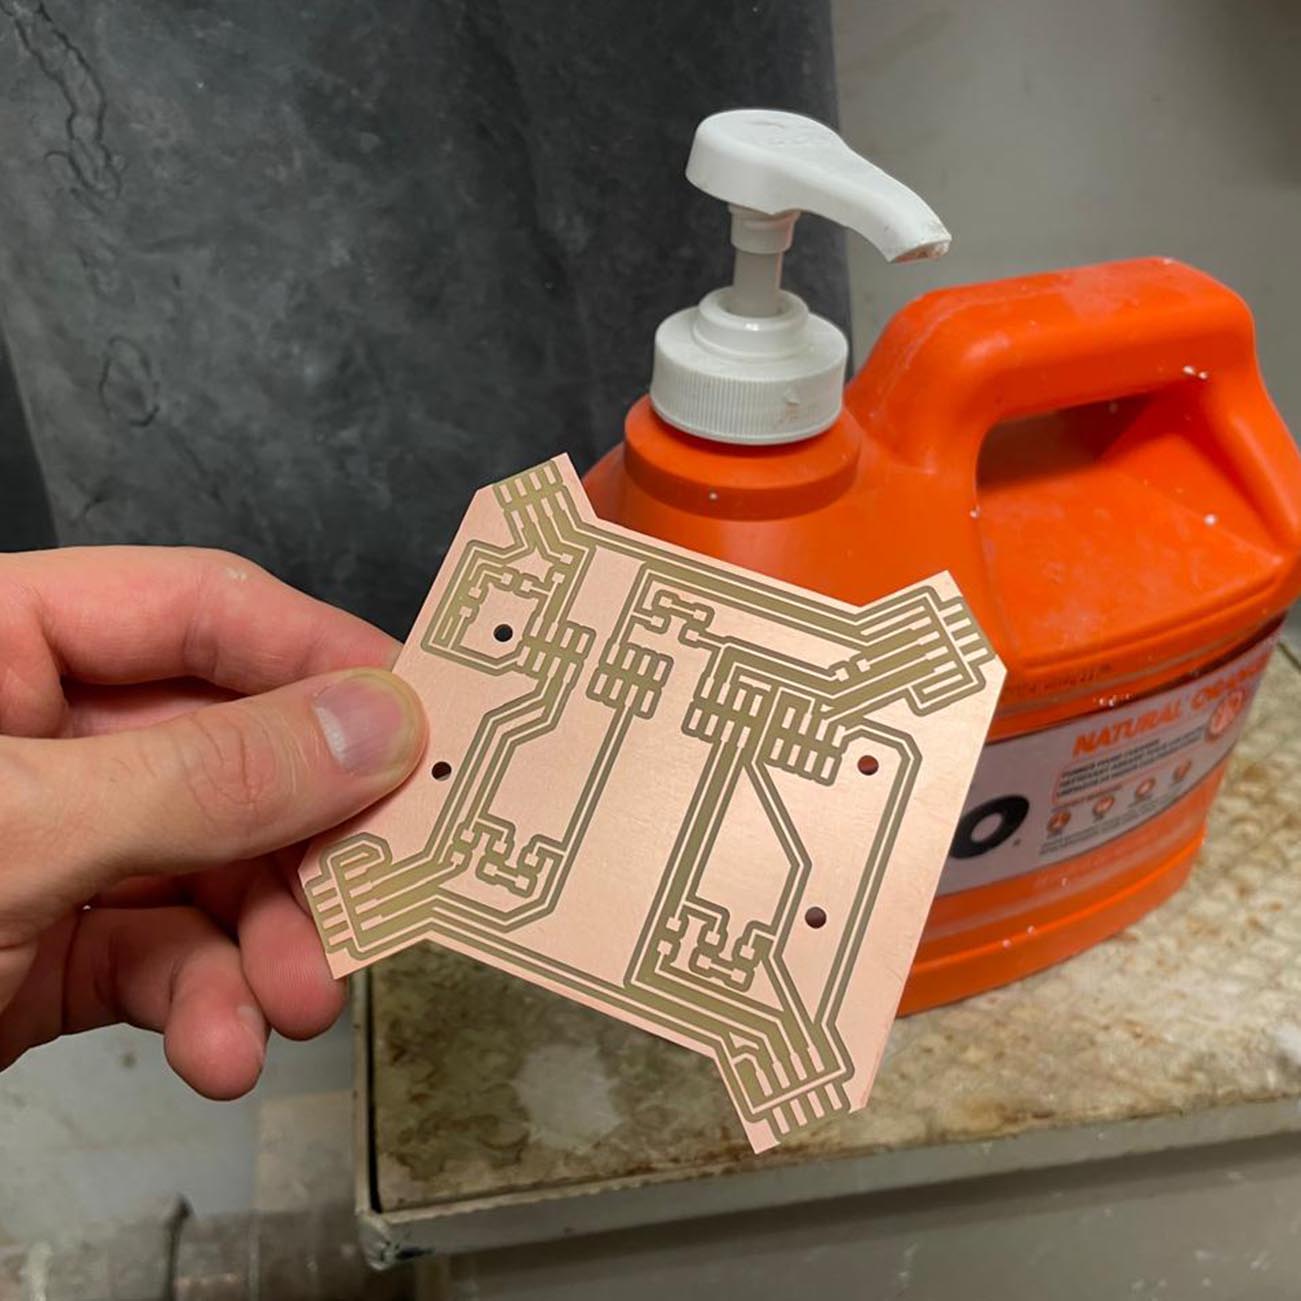
The center piece of the updated design was a custom pcb that would host a raspberry pi zero wh, and 4 HC-SR04 ultrasonic distance sensors. To design it, I first updated my robot geometry, making space in the center for the pcb, a driver --u2d2 + u2d2 power hub--, and a batery. Then I imported the relevant line to KiCAD along a model of my raspberry pi zero. Finally, I connected header pins and resistors with 16mil-wide traces.
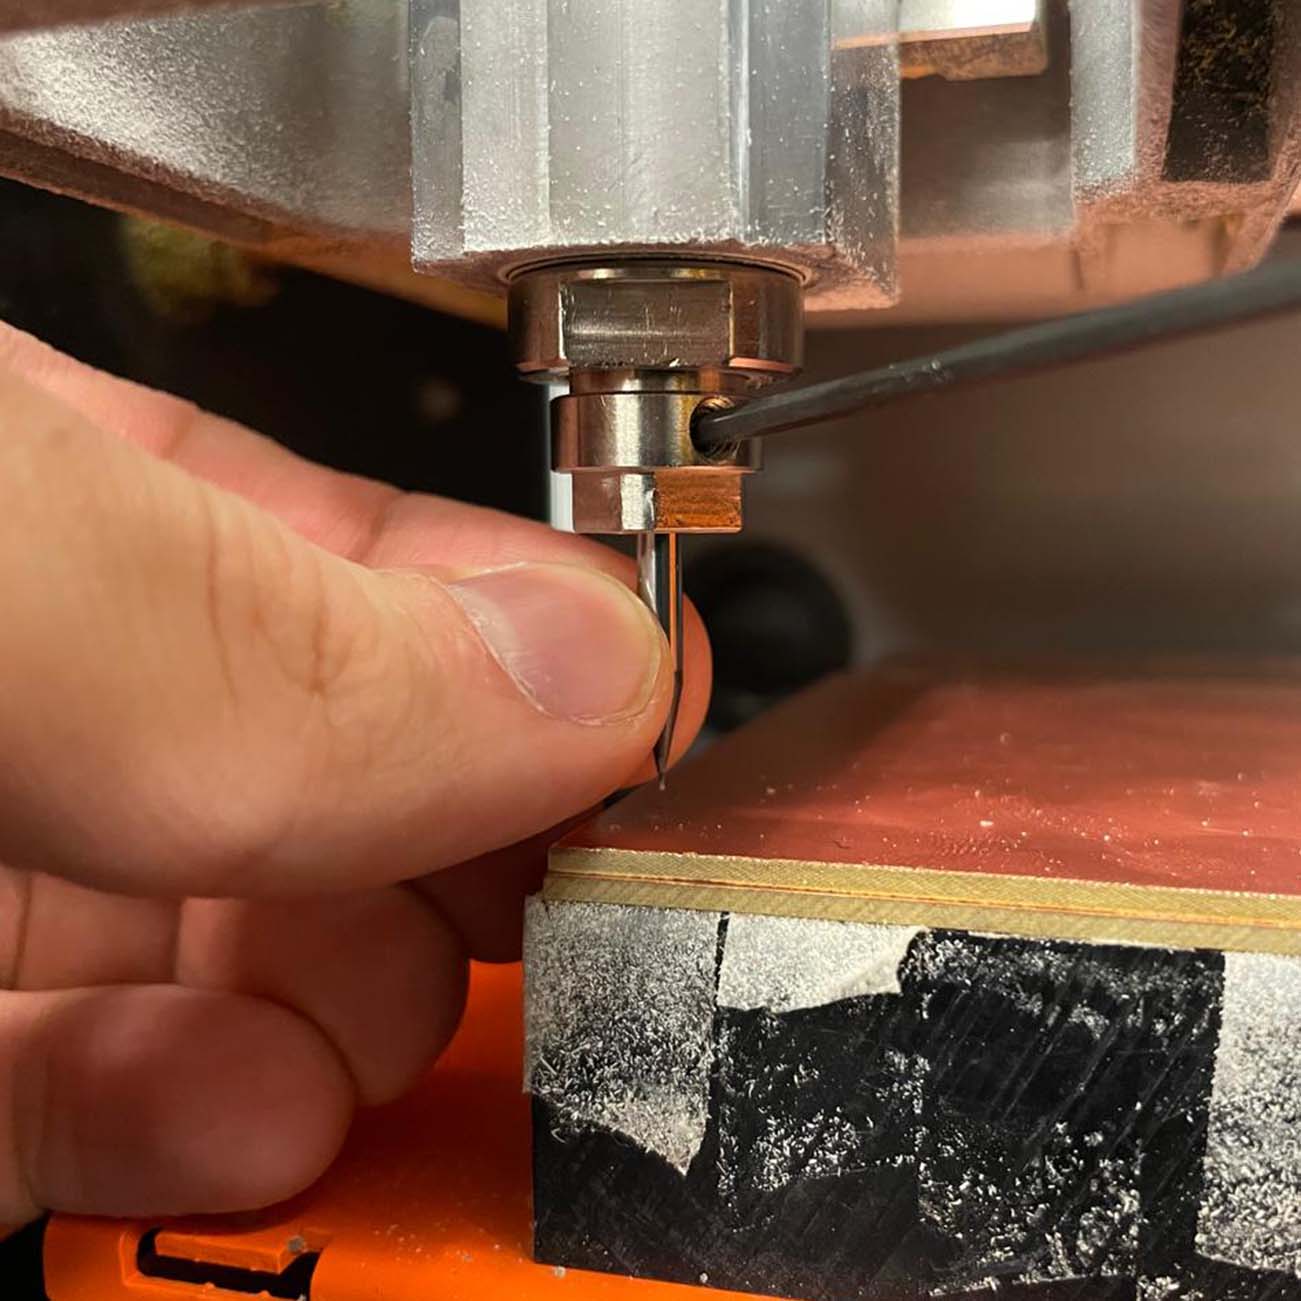
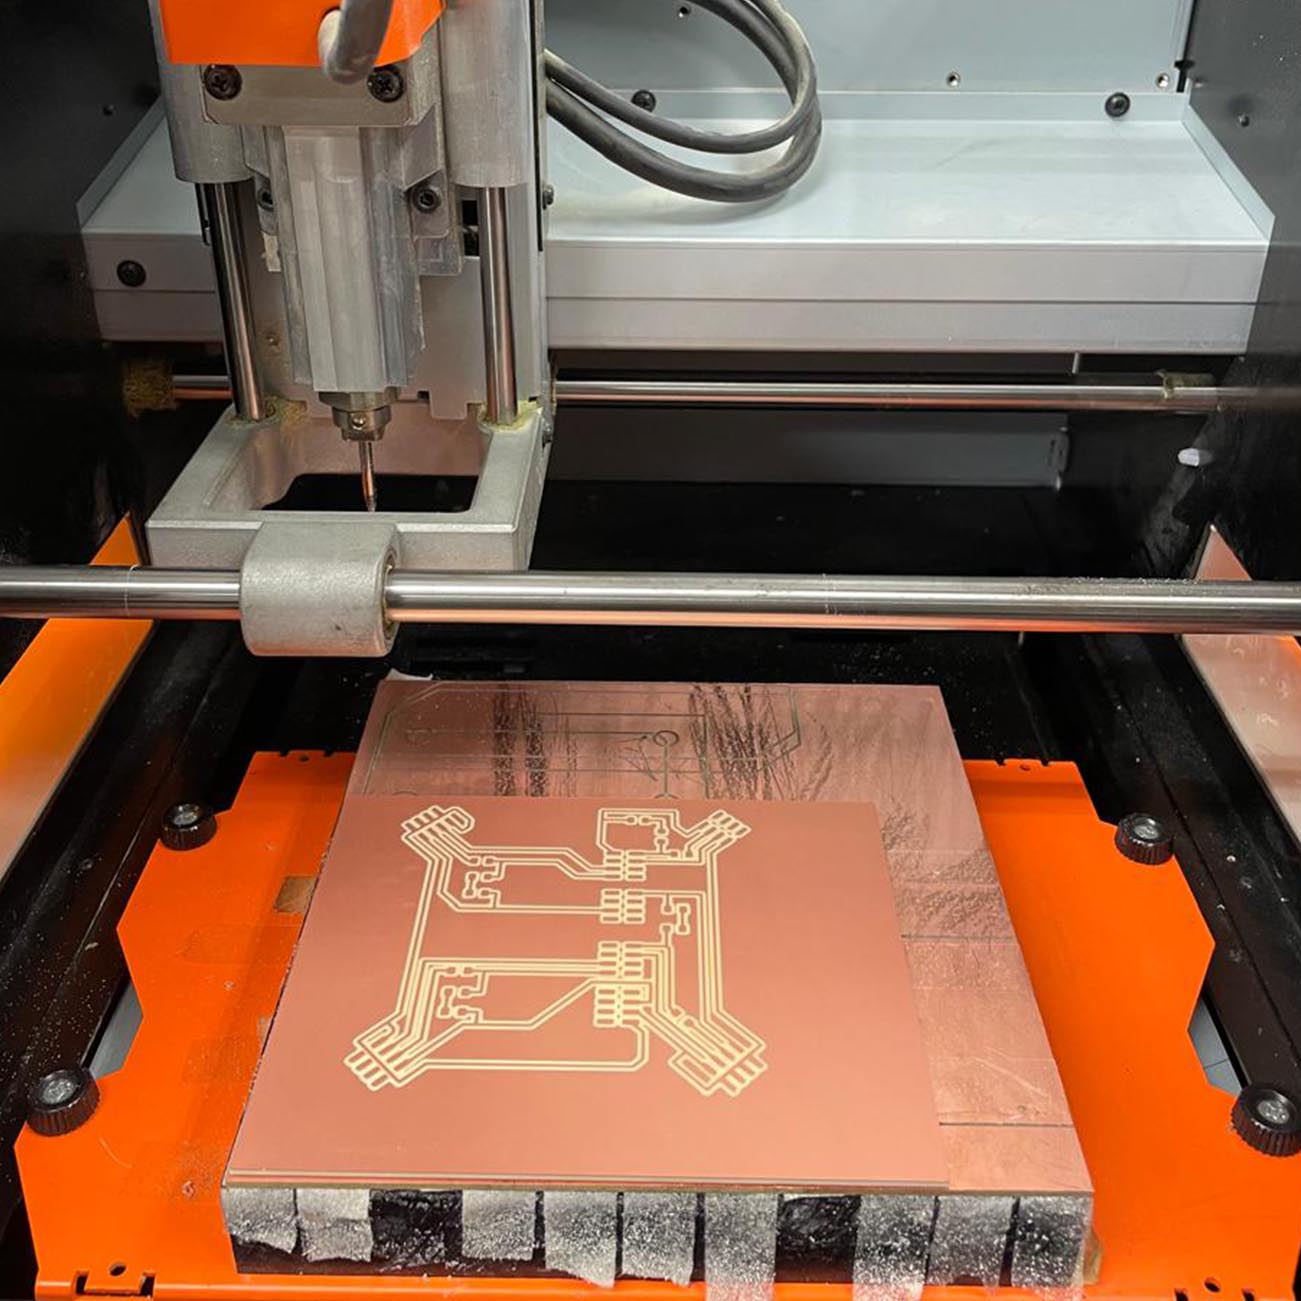
Once I had my design ready, it was time to mill it. As always, the arcitecture shop's online give proved quite useful to go over the process. https://archshops.mit.edu/modela.php . Shoutout to Shah Paul, who helped me get large enough panels for my pcbs at 7pm on a Saturday, and to Alex Stewart, who showed me how to safely use the miter saw to cut it, thanks!
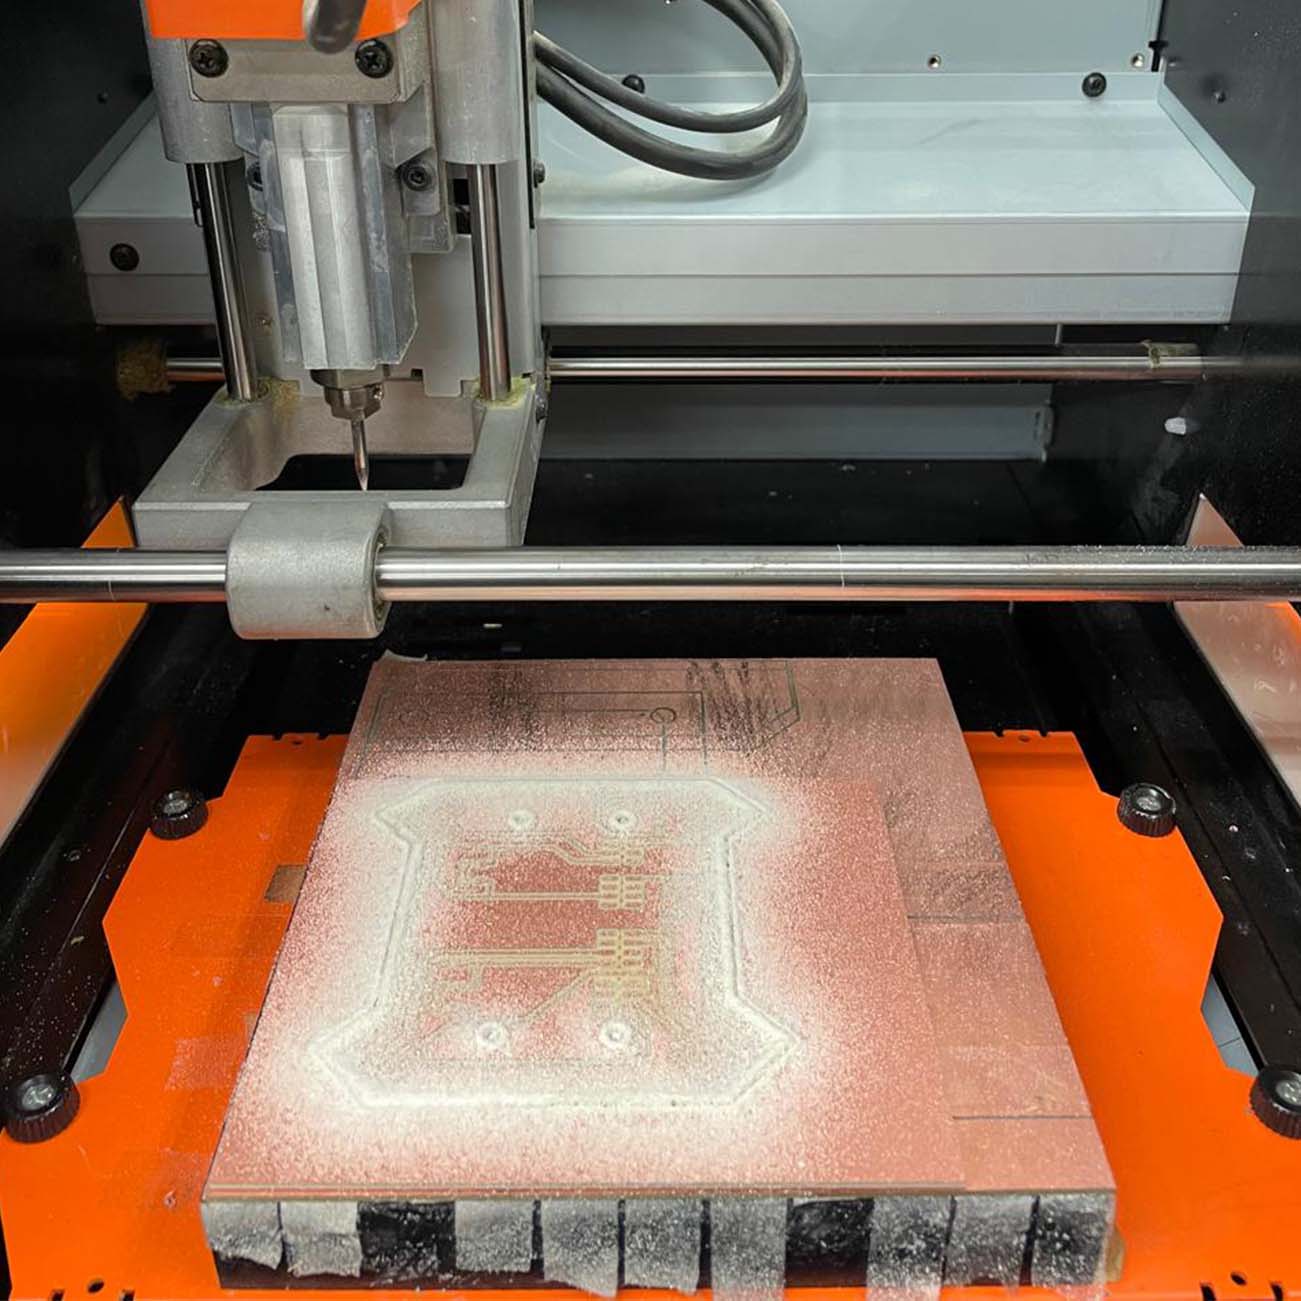
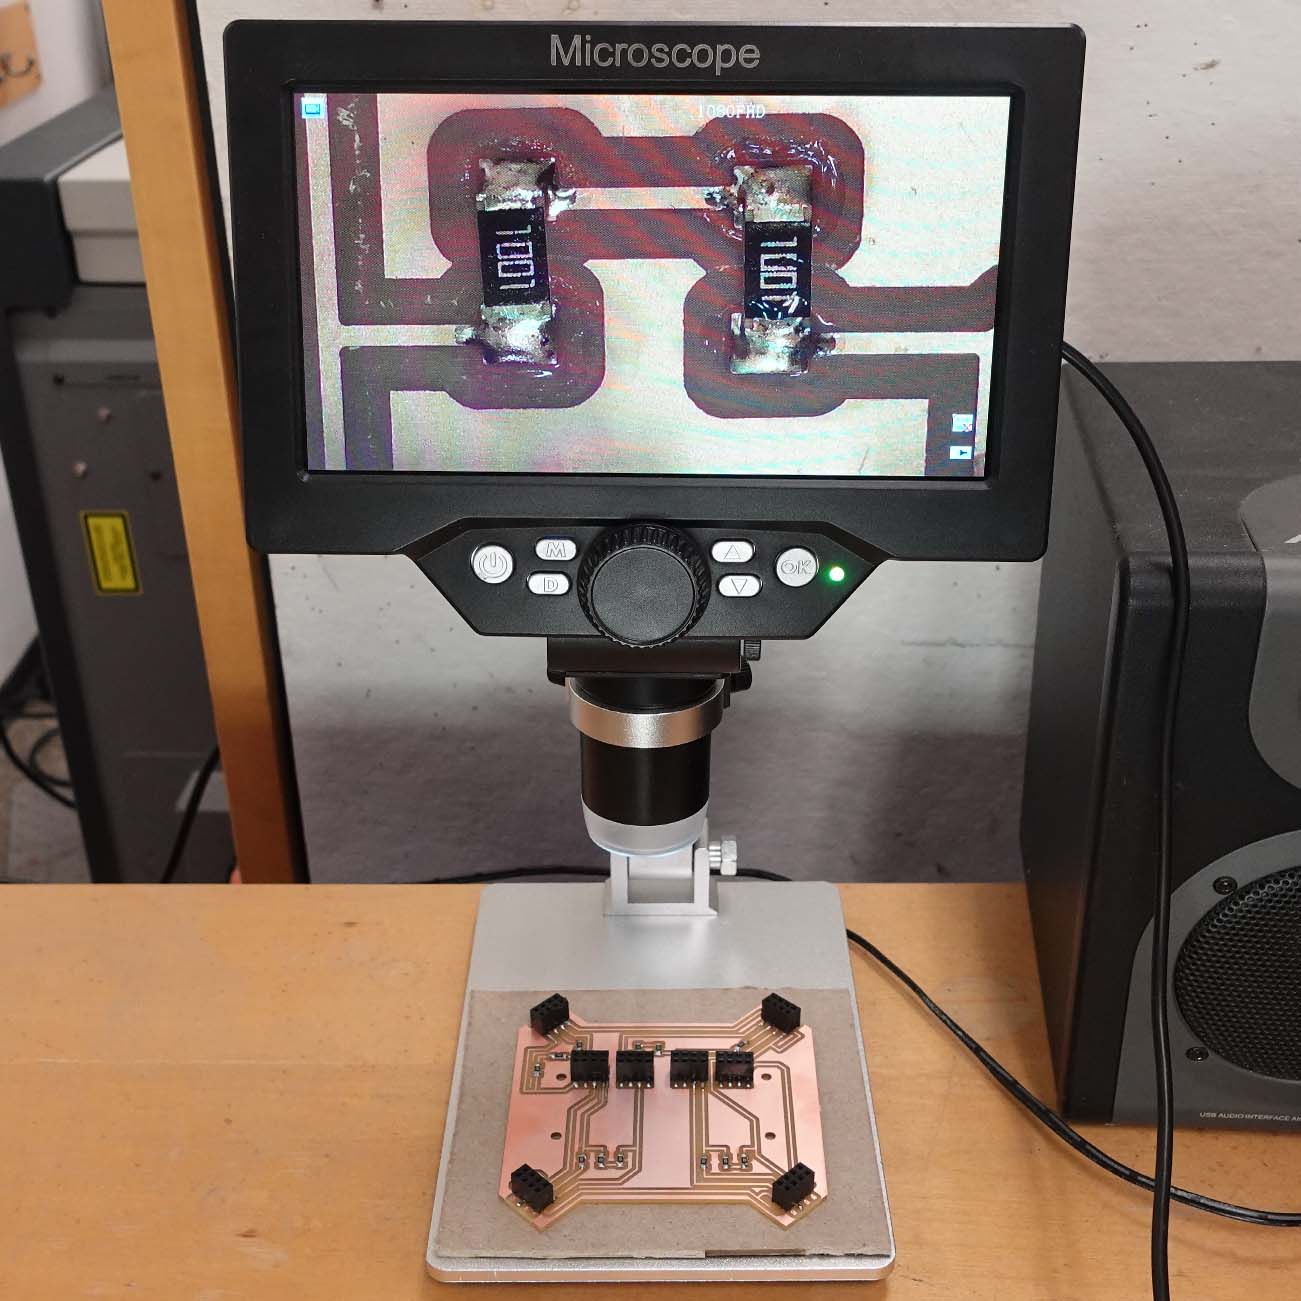
The milling itself was straightforward. After exporting from KiCAD as gerber and generating my pngs from Quentin's gerber2image tool, I installed the 1/64th bit and ran the Cu png in mods, and then I switch to the 1/32th bit for the edge cut mill.
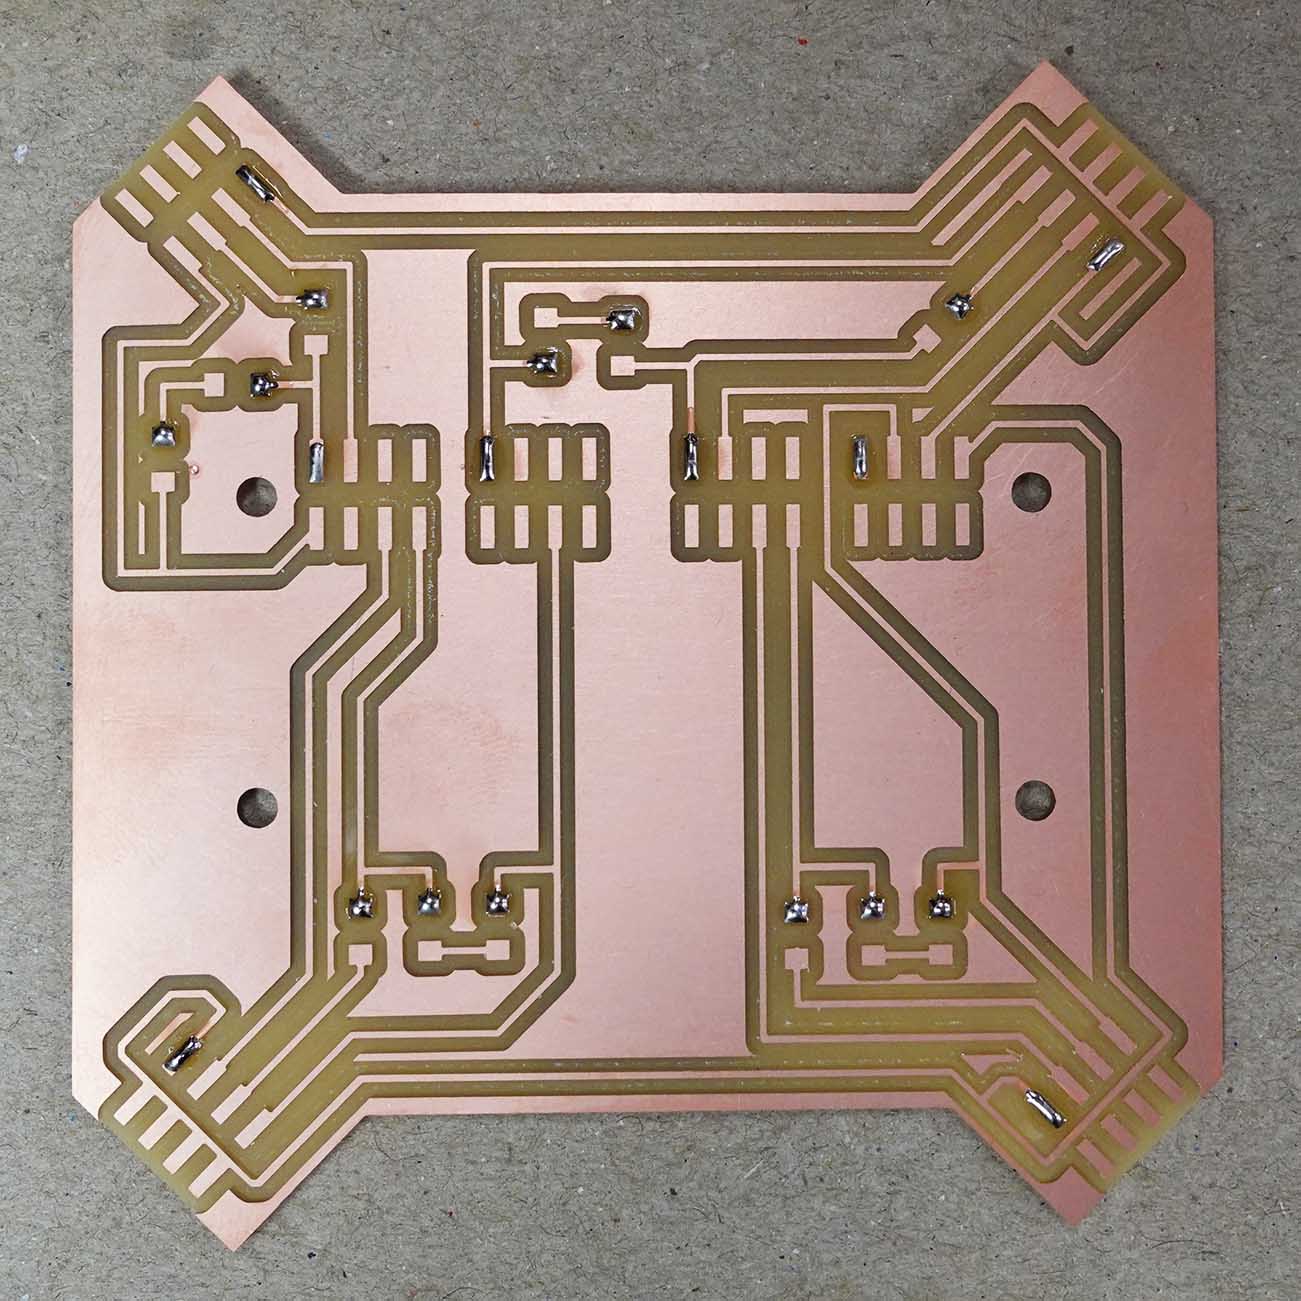
Then, it was time to solder. As usual, I started by placing one drop of solder for each component, then fixing the componenets in place on that point, and finally soldering the remaining connections. A small novelty was that I used my raspberry pi as a measuring tool, ensuring my headers were at the correct distance for the pi to slide into place.
Spiral 3
Distance Sensing
Before moving forward, I tested my distance sensors. This meant setting up remote control of my raspberr pi with RealVNC viewer, and uploading a script that measured the distance on all of them simultaneously every second. The test was succesful, and I was able to move forward.
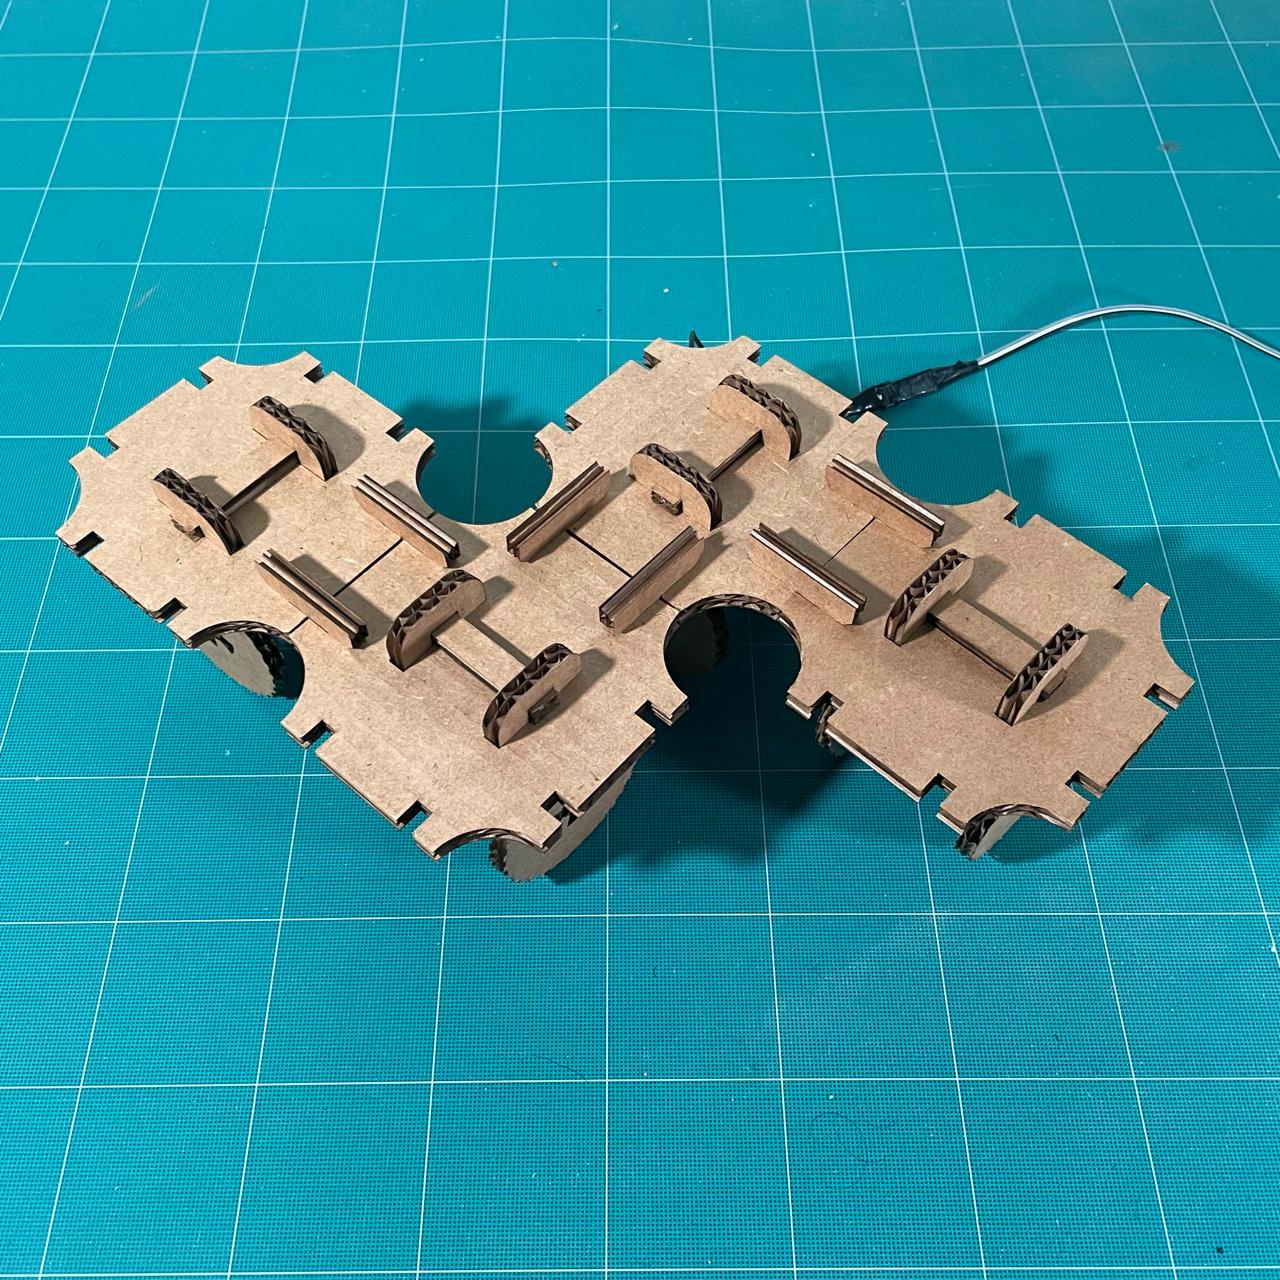
Spiral 3
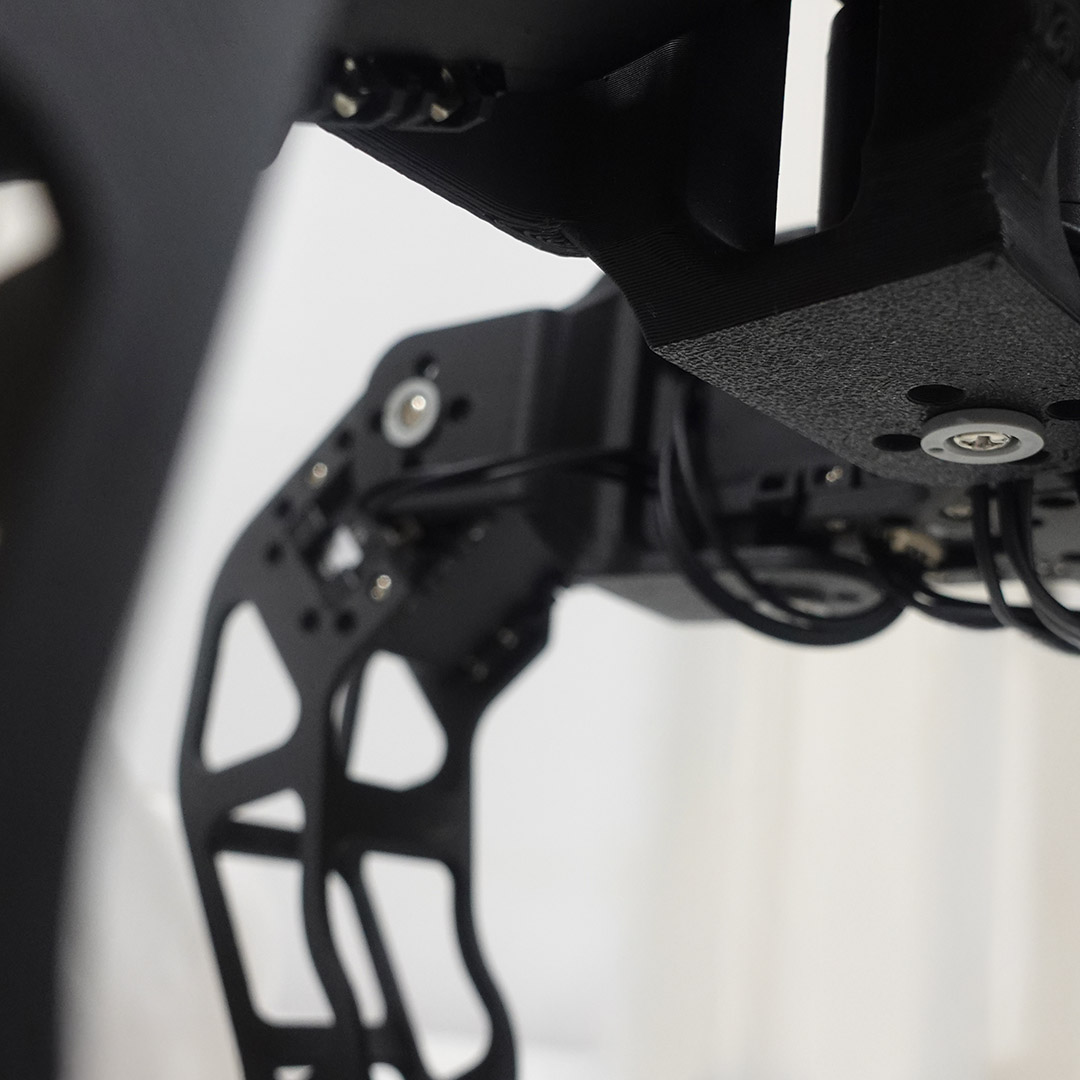
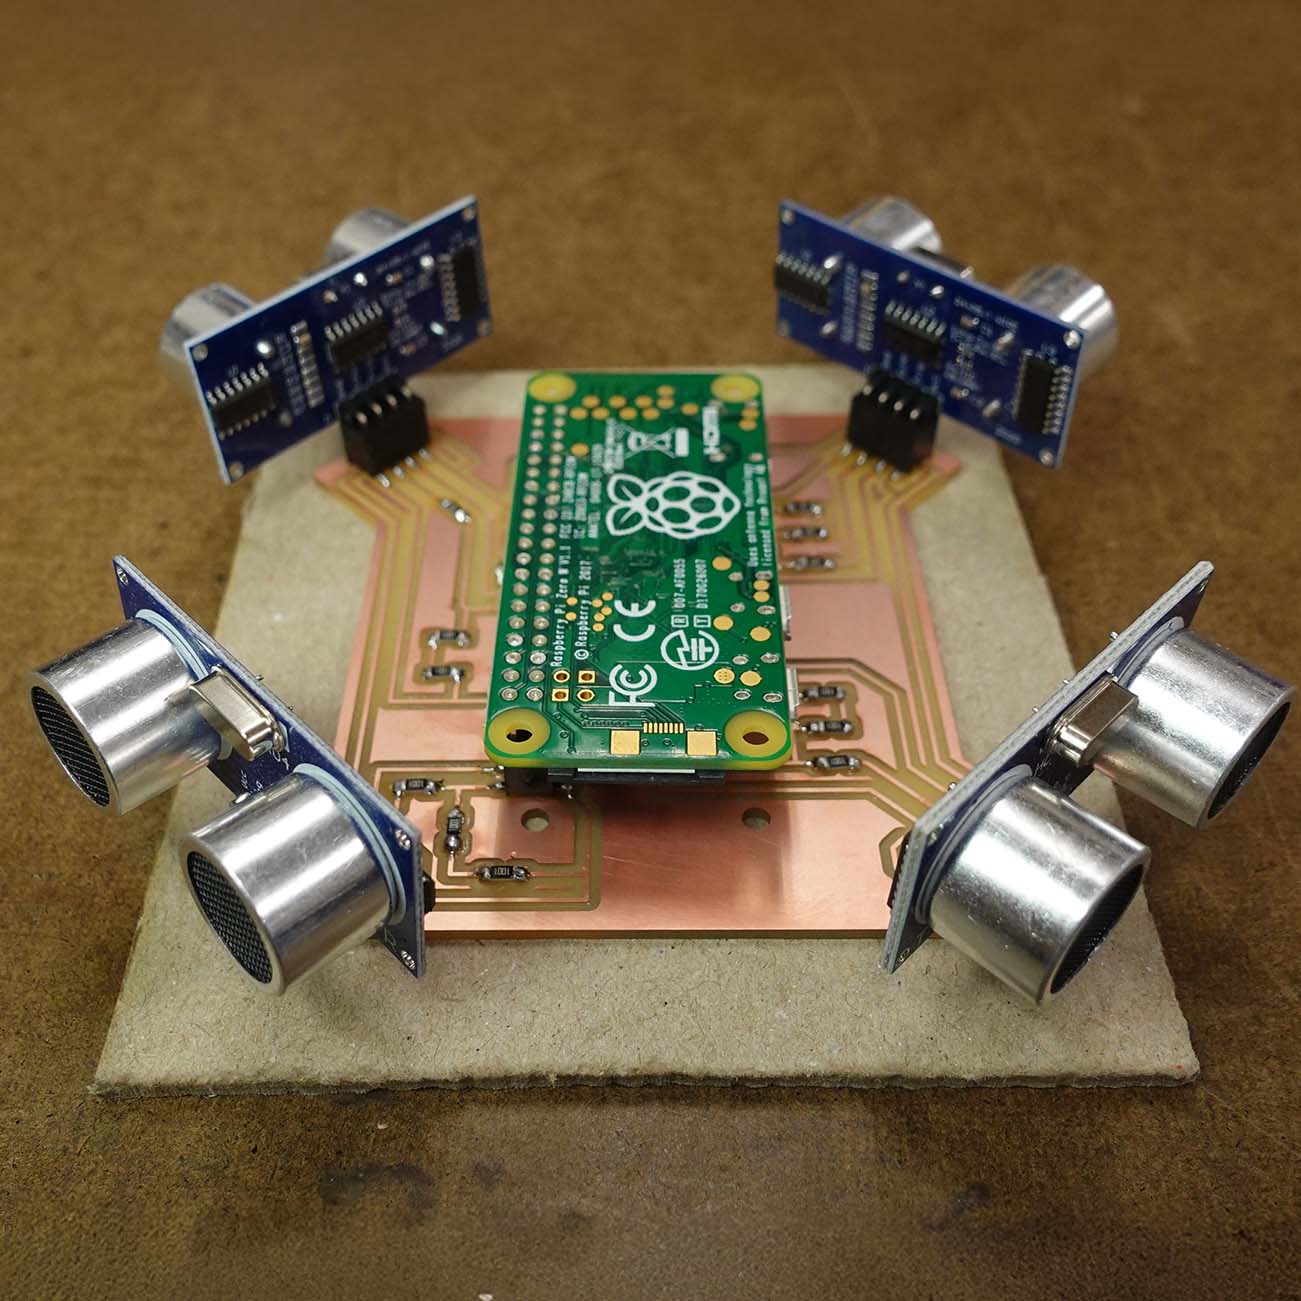
Assembly & Deployment
Next, I 3d-printed the new pieces of the robot and reassembled it, keeping the old legs but updating all the central body. And finally, I adapted my code to the new body, adding behaviors for the gripper.
Note Neil:
I plan on continuing the project and updating the site. Thanks again for all the help and guidance!!