Week 4
Group Assignment
I worked with Jacqueline on the group assignment. Our results are documented on the section page.
3D Printing
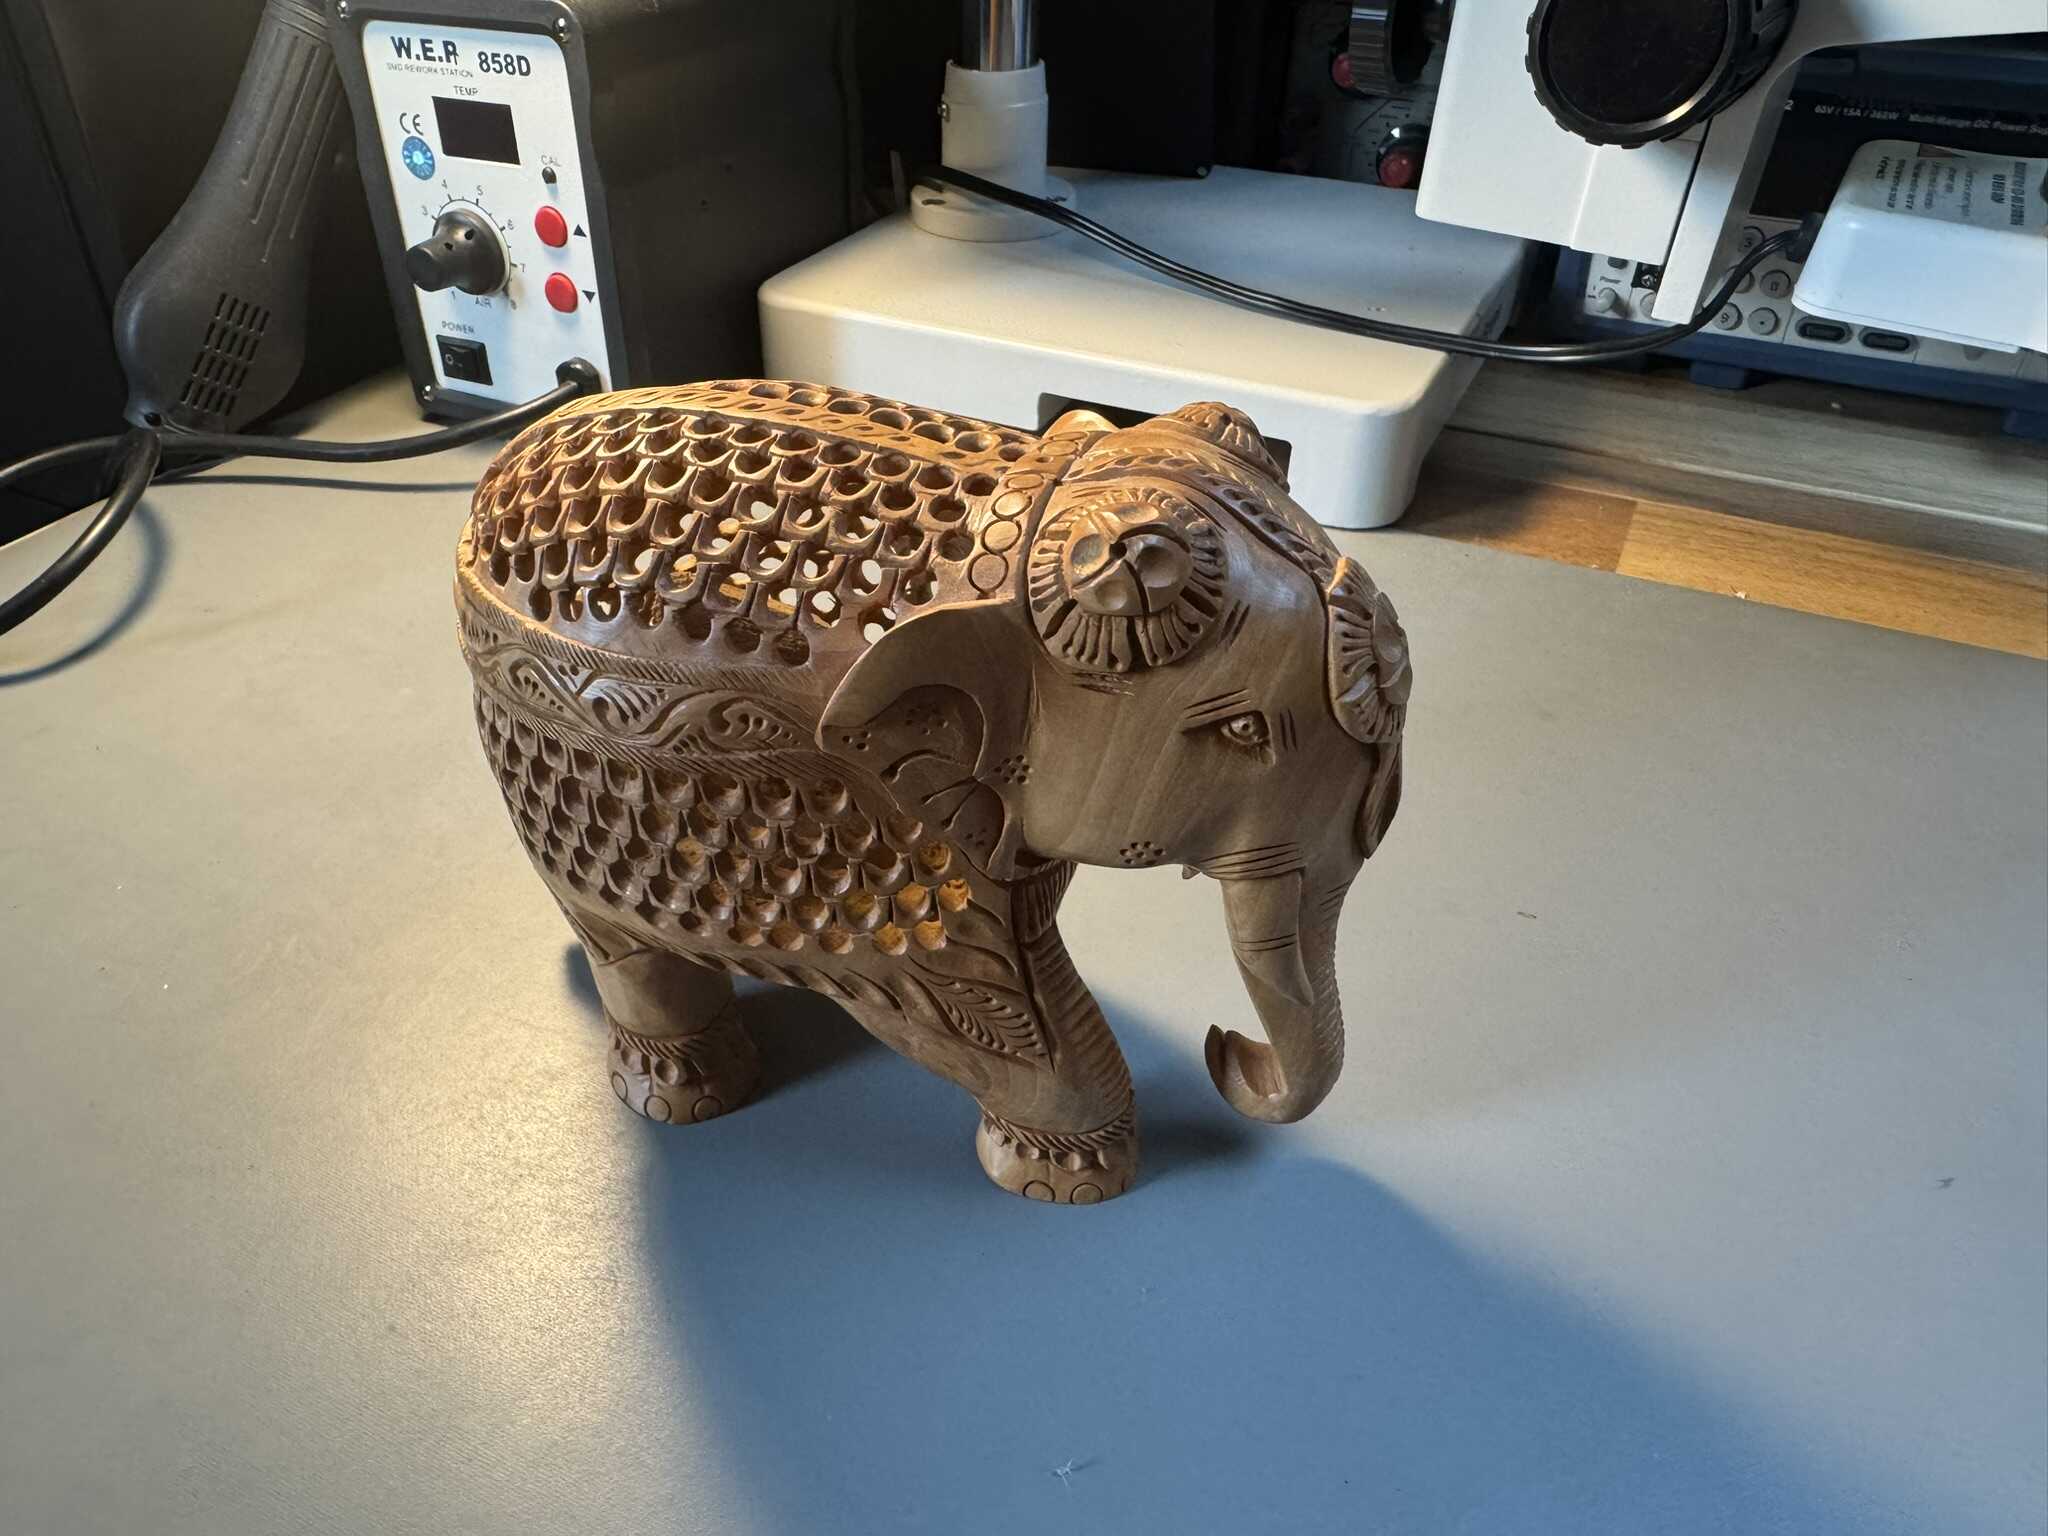
I wanted to print something like these elephants that I have (one is inside the other):
Technically, these were manufactured subtractively, but it’s a feat.
Initially, I wanted to print a 3DBenchy
inside a 3DBenchy (3DBenBenchychy).
The initial challenge was that 3DBenchy comes in STL format,
which I understand is a mesh.
I needed to turn one of the 3DBenchy’s into a shell of its former self,
which I believe means it has to be a solid.
I tried using Fusion’s Convert Mesh tool,
but quickly found out that 3DBenchy has way too many triangles
(225,154; a warning comes up past 10,000).
I tried running anyway, but with each combination of settings, the situation was hopeless.
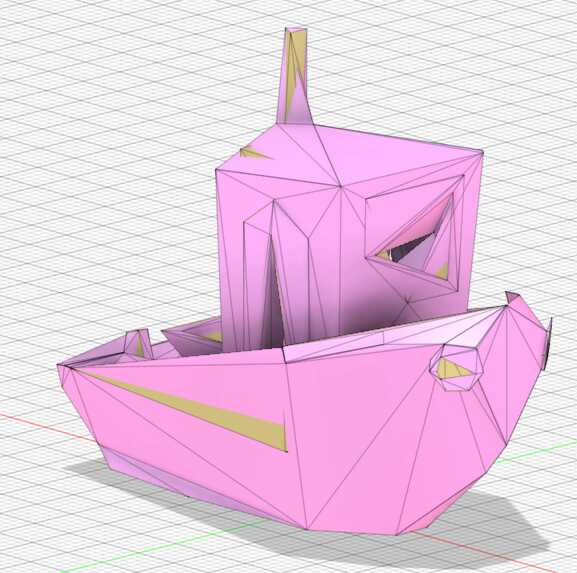
Next, I found the Reduce tool in the mesh menu.
I tried setting it to an Adaptive proportion,
but it seemed that no matter what, the triangles were reduced by too much:
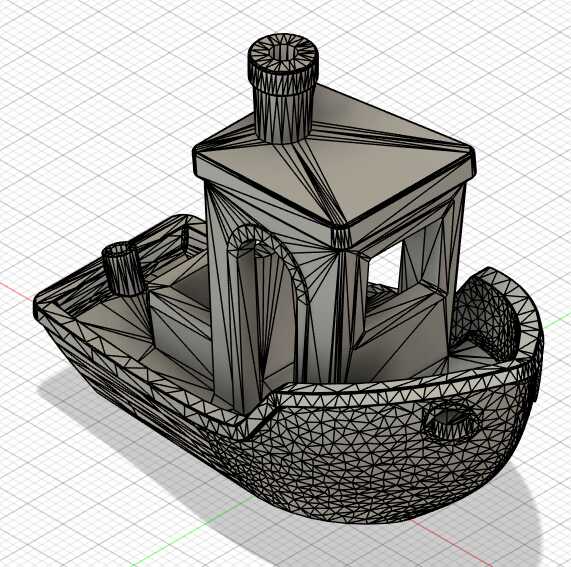
Setting the tool to exactly 10,000 worked, though, and then the conversion went pretty quickly:
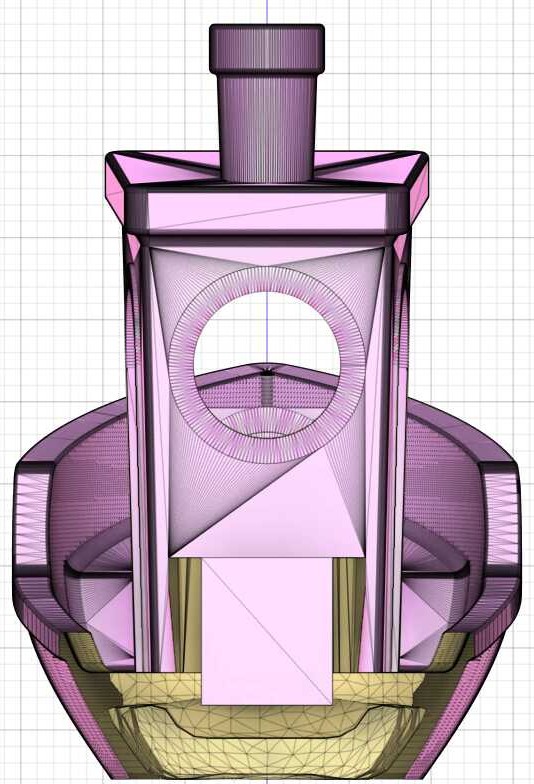
Turning 3DBency into a shell was harder than I anticipated, however, because of the many faces. I went back to the reduced mesh, to try to turn that into a shell directly, but I cross-section revealed why that wasn’t straightforward either:
At this point, I decided to switch back to the elephants. To make things simpler, I modeled the elephants as spheres. I put one spherical elephant inside the other. Unlike the original design, I decided to make the inner elephant free-floating.
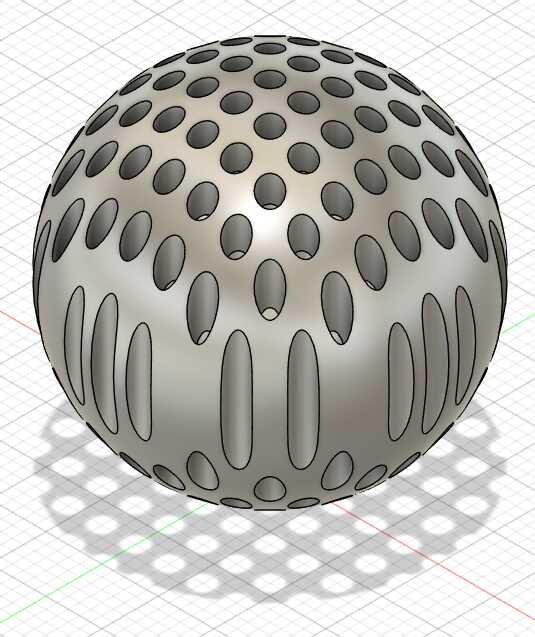
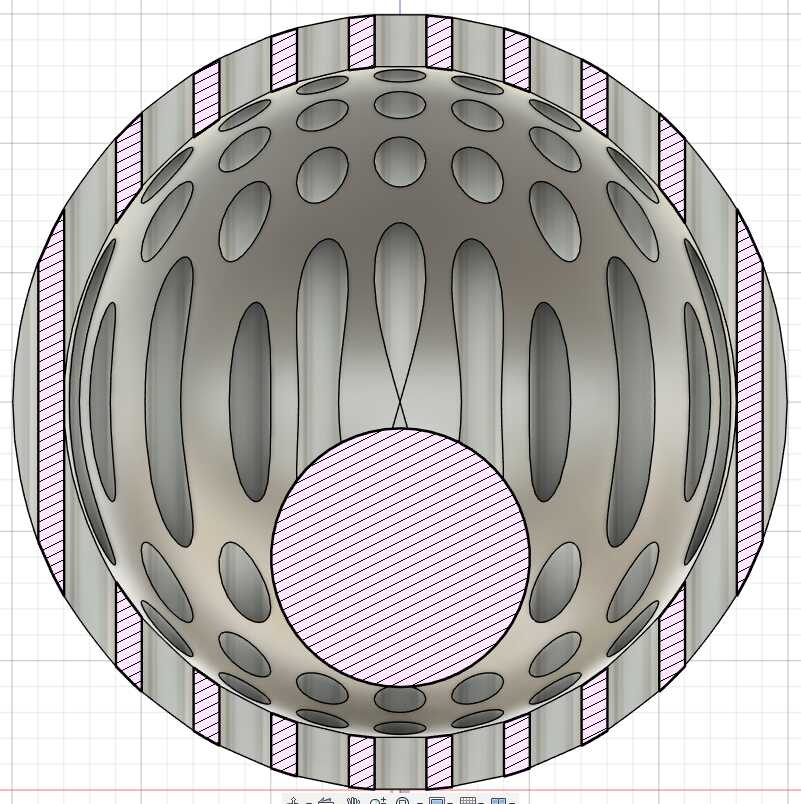
The outside diameter of the larger elephant was (parametrically set to) 30mm. The inside diameter of the larger elephant was (parametrically set to) 26mm. The outside diameter of the smaller elephant was (parametrically set to) 10mm. I made a grid of holes of 2mm diameter spaced at a 3mm cadence through the larger elephant. The result is shown below:
I loaded the design into PrusaSlicer. On load, I was asked if I should consider the two elephants to be one object. I found that if I selected No, the two elephants overlapped. So, I moved one elephant closer to the bottom of the other (as shown above; originally I had them cocentric) and selected Yes. I used default settings to start, but received a warning about supports, as expected, so I asked the software to generate support material. I then sliced the design and printed it on one of the printers in the shop.
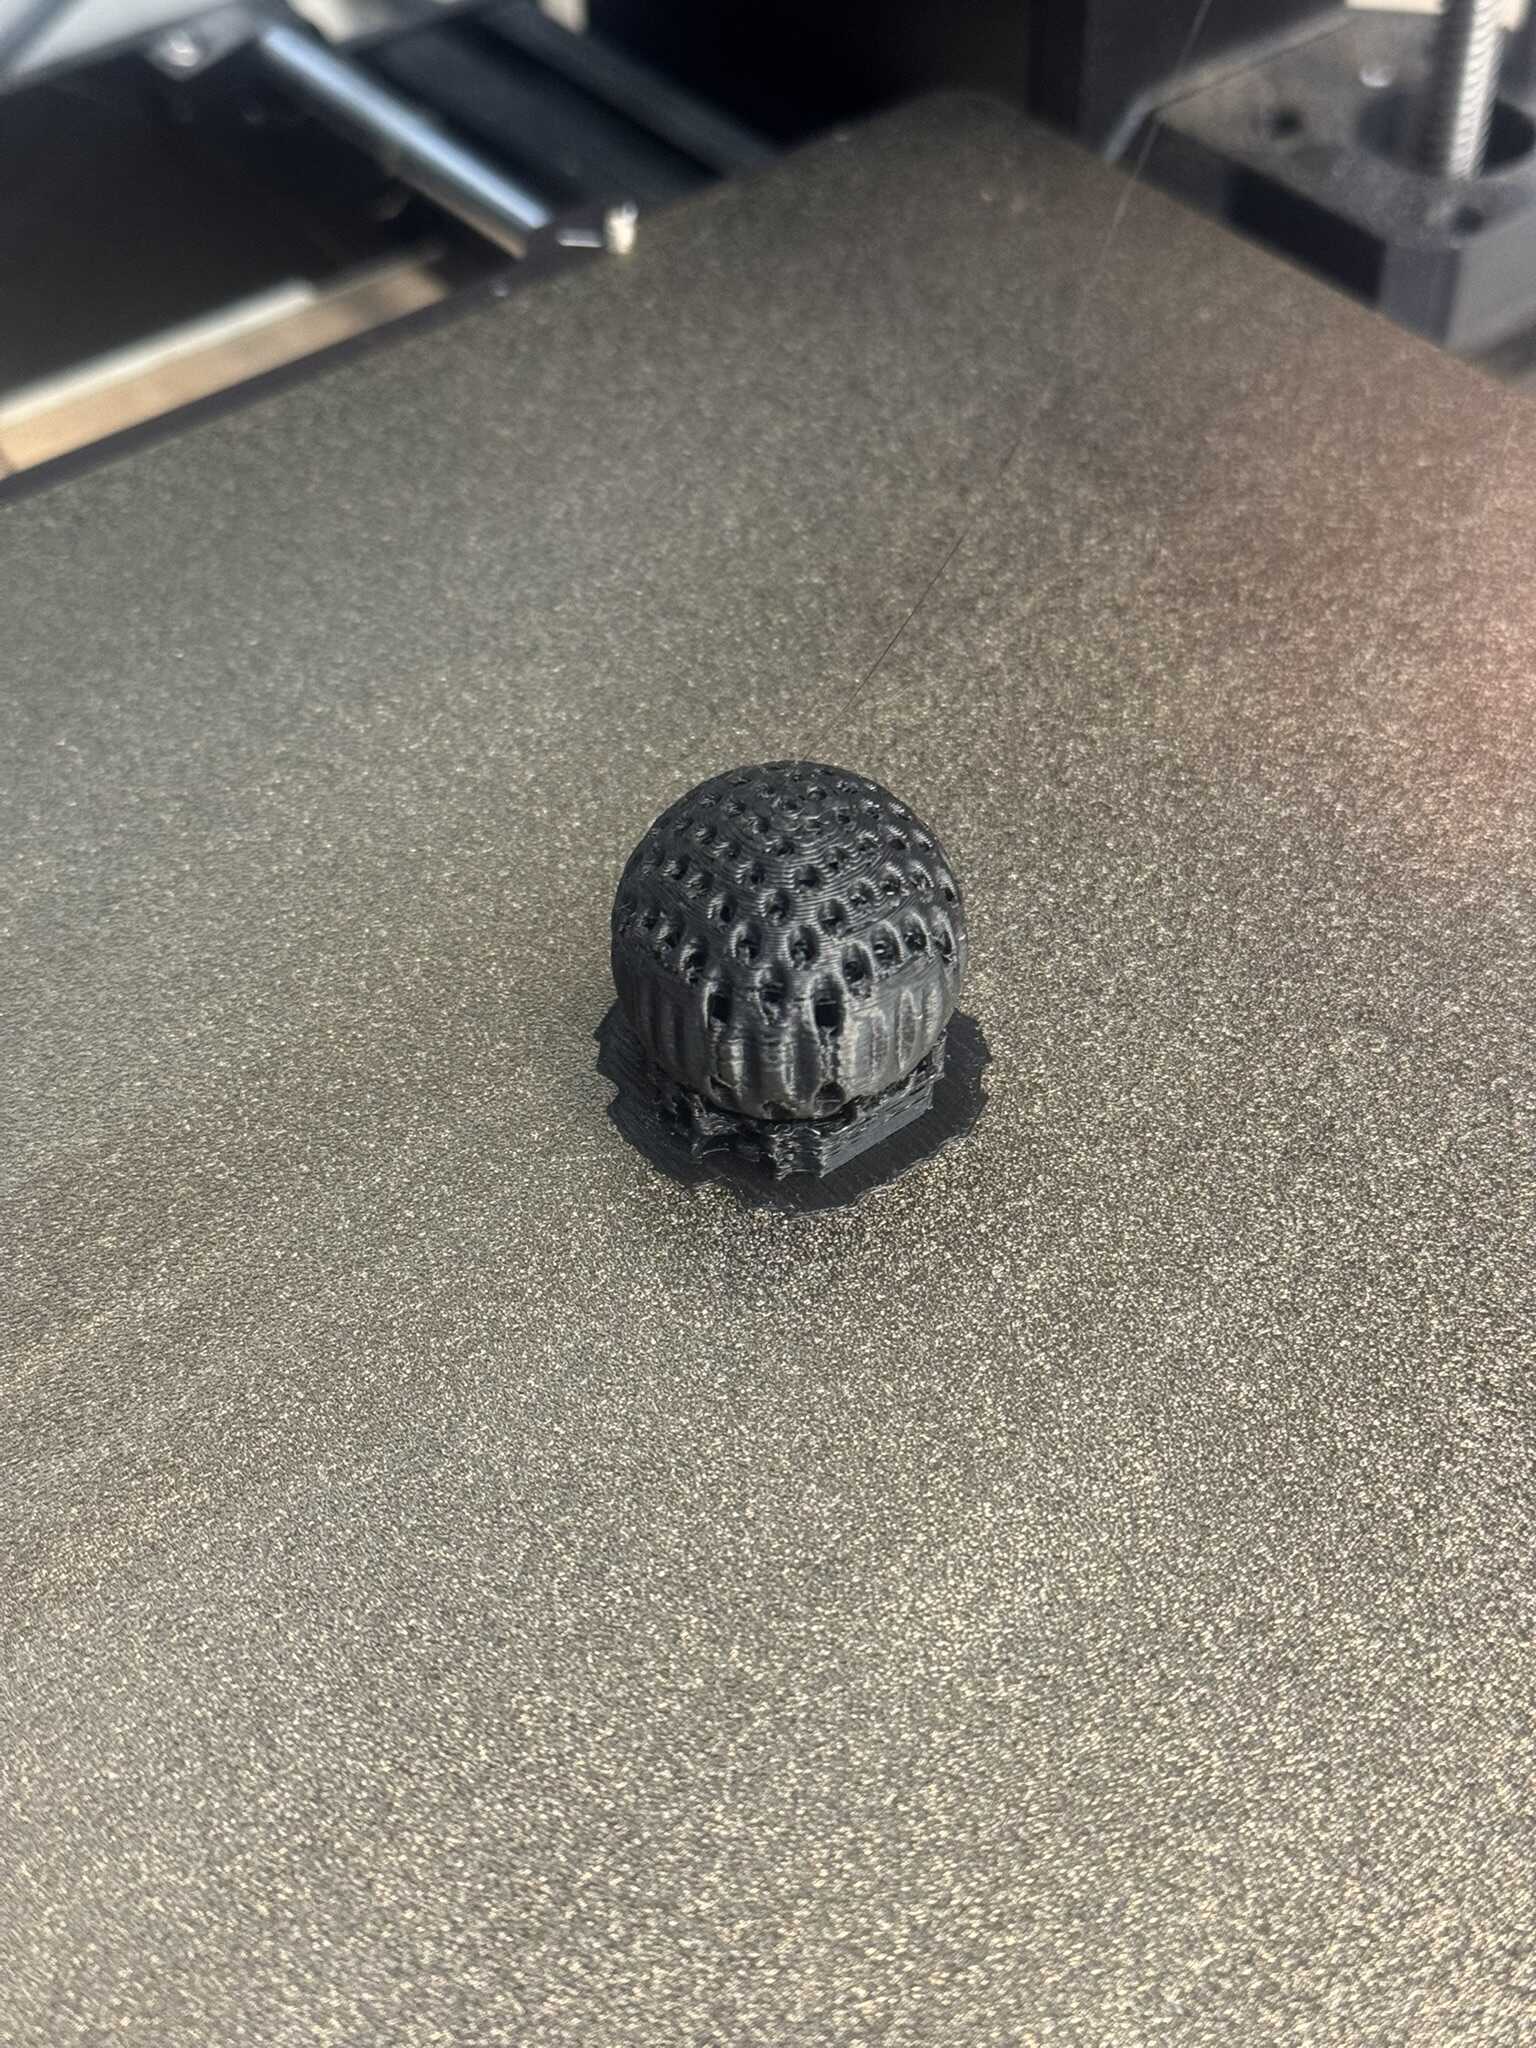
The output looked pretty good to me as the printer was running:
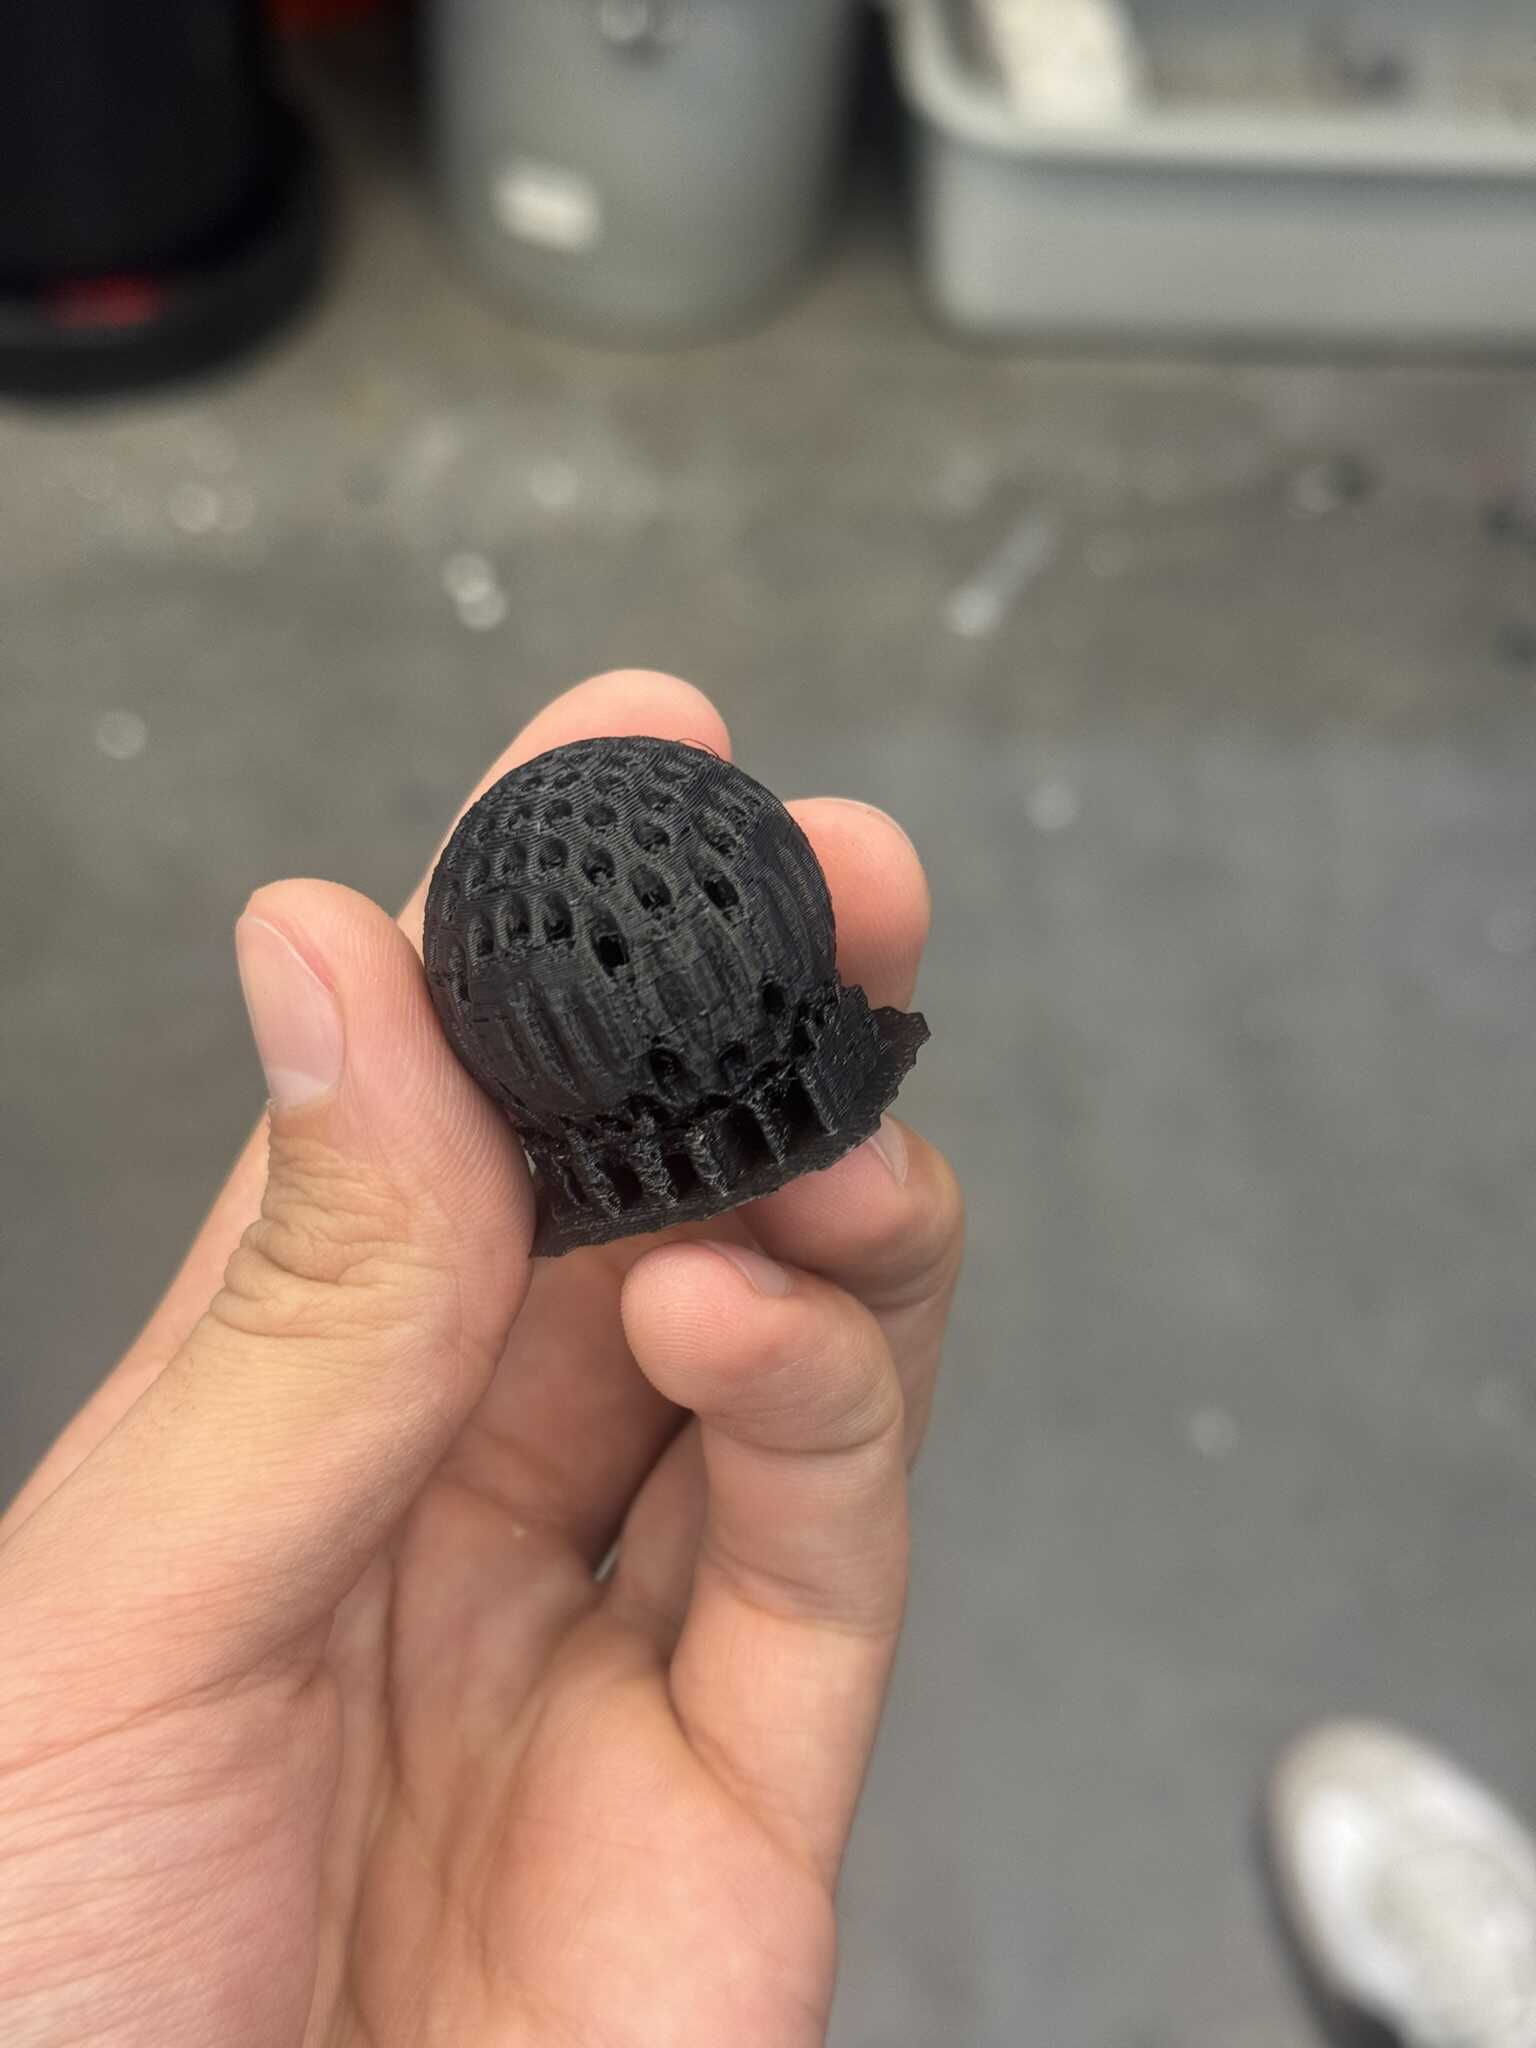
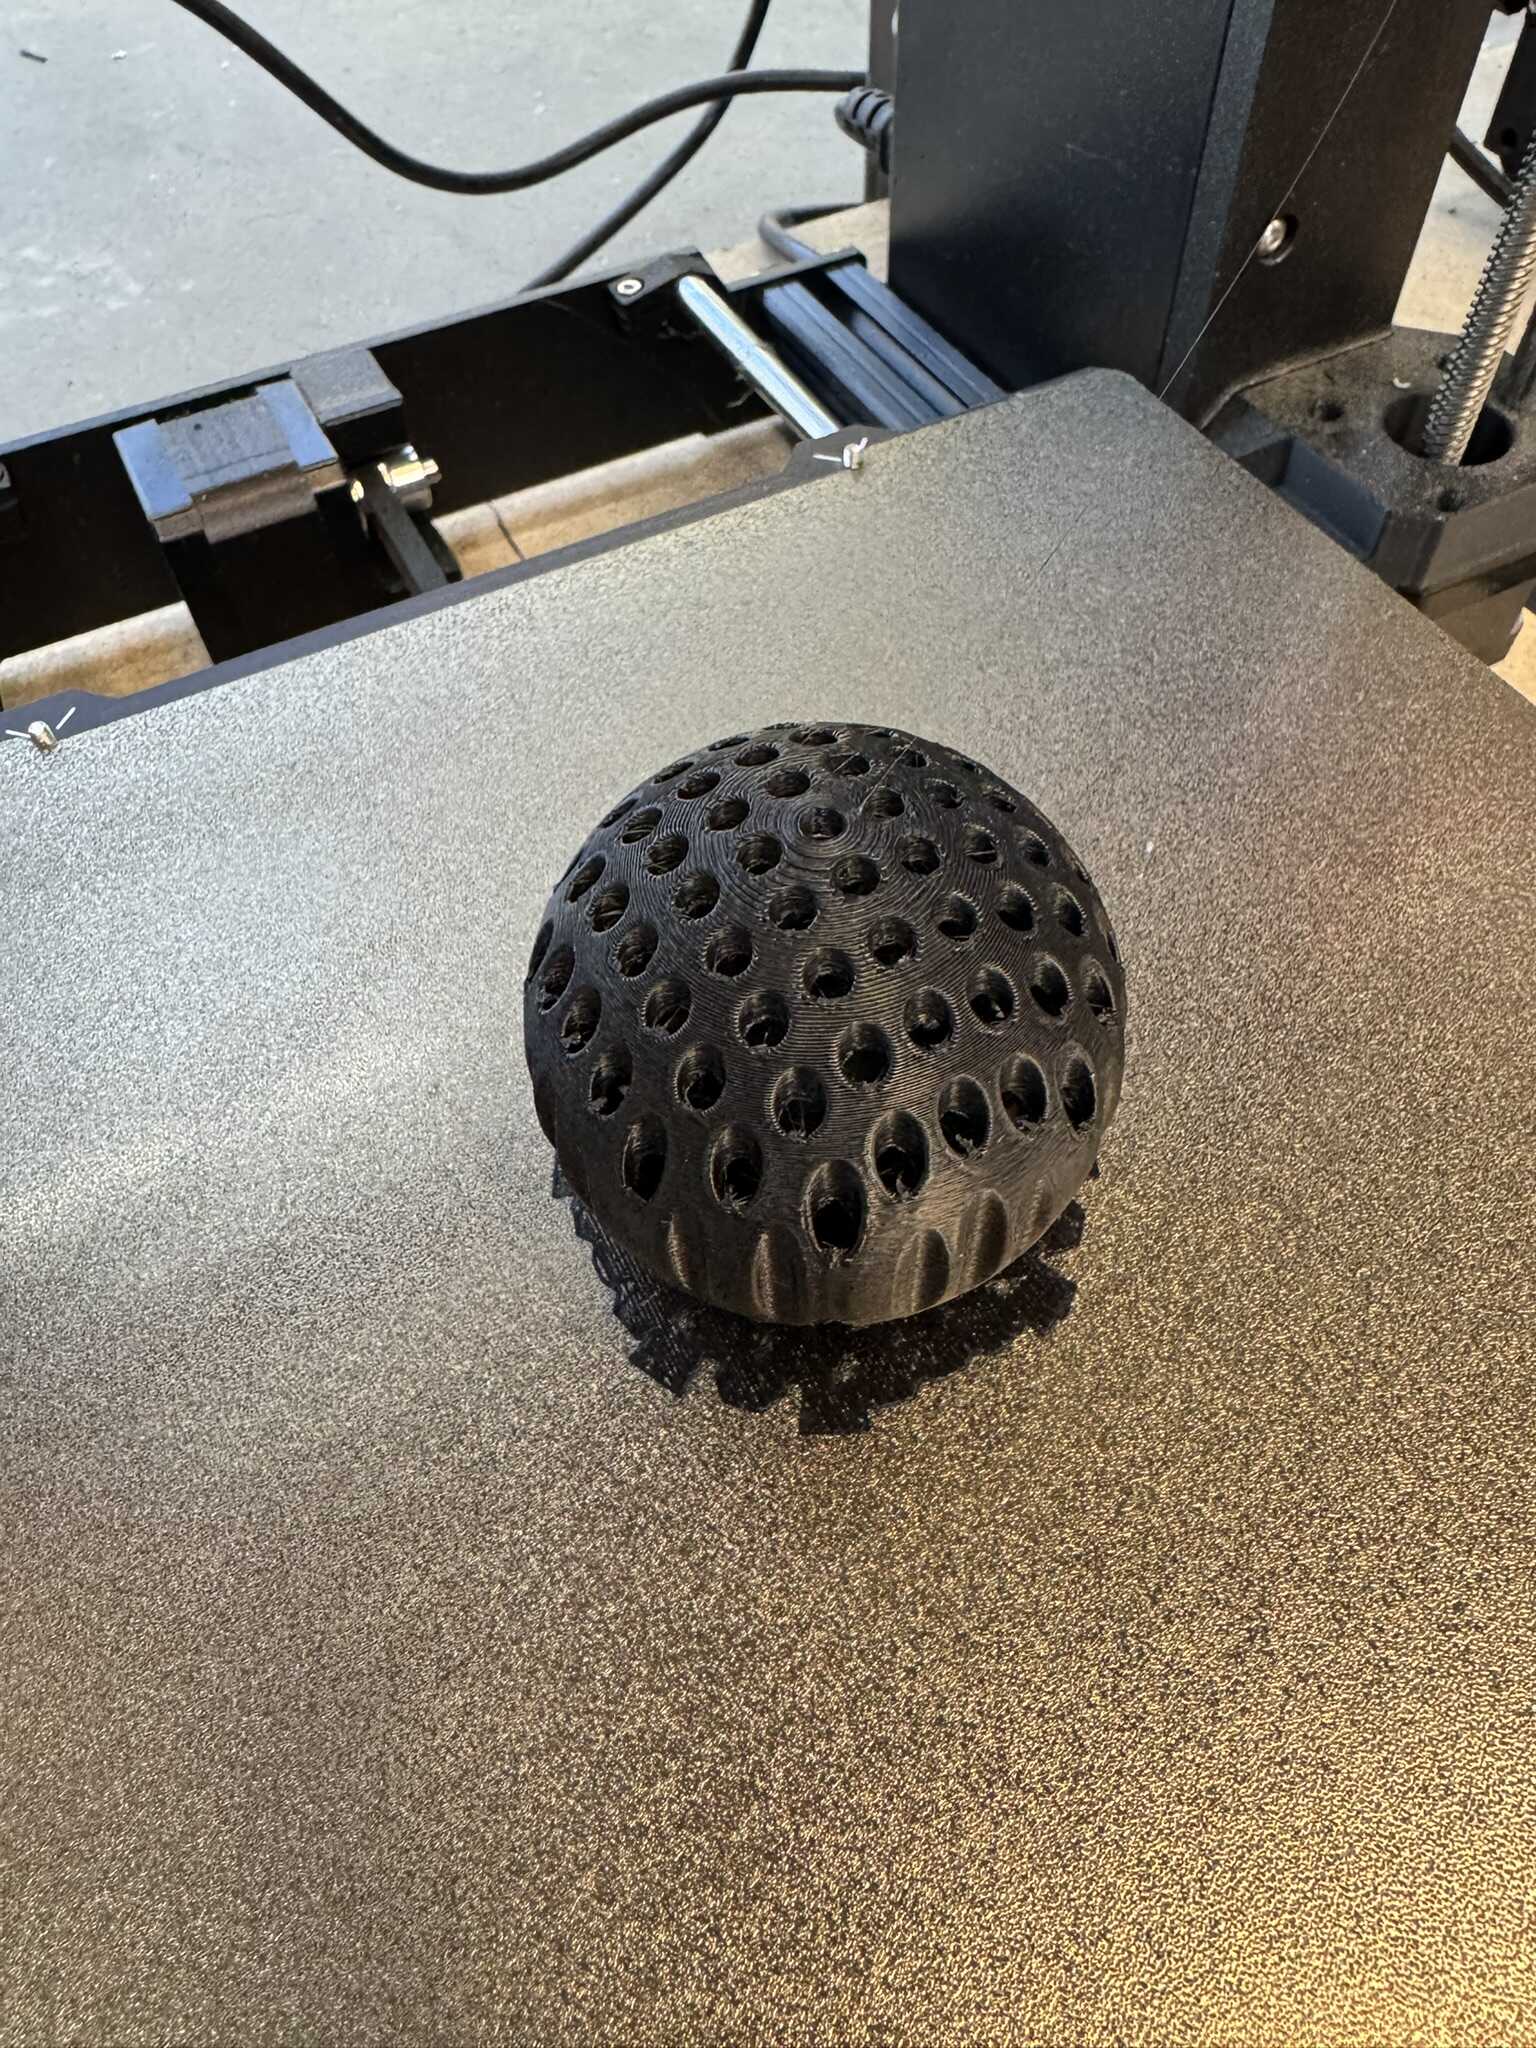
The final product is shown below:
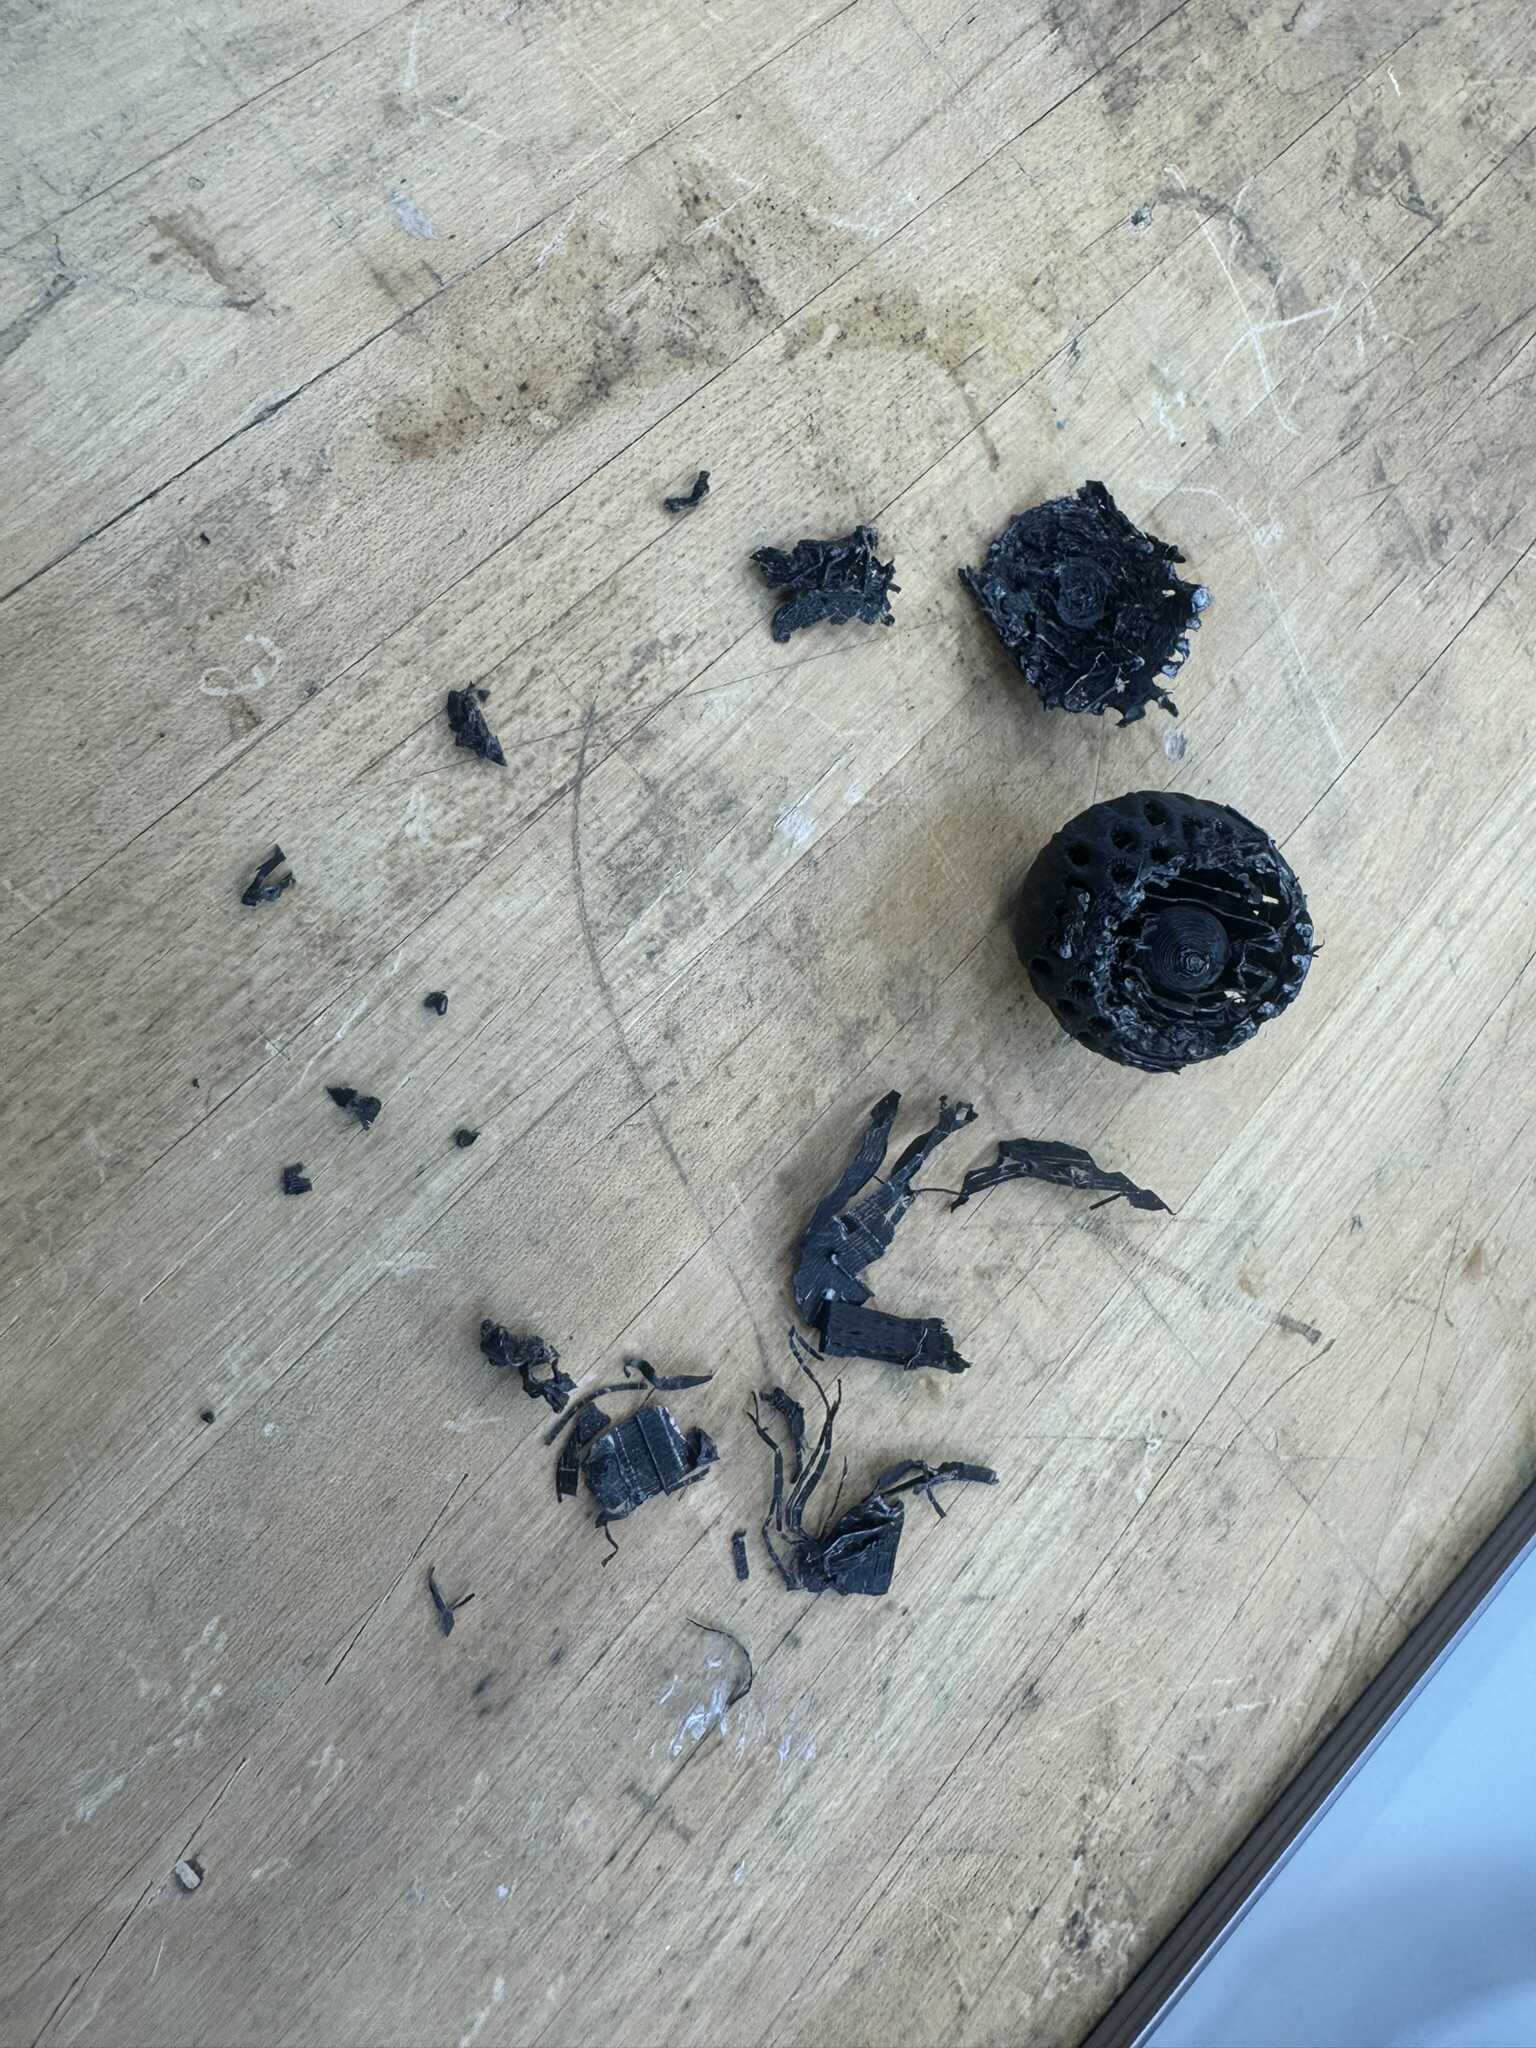
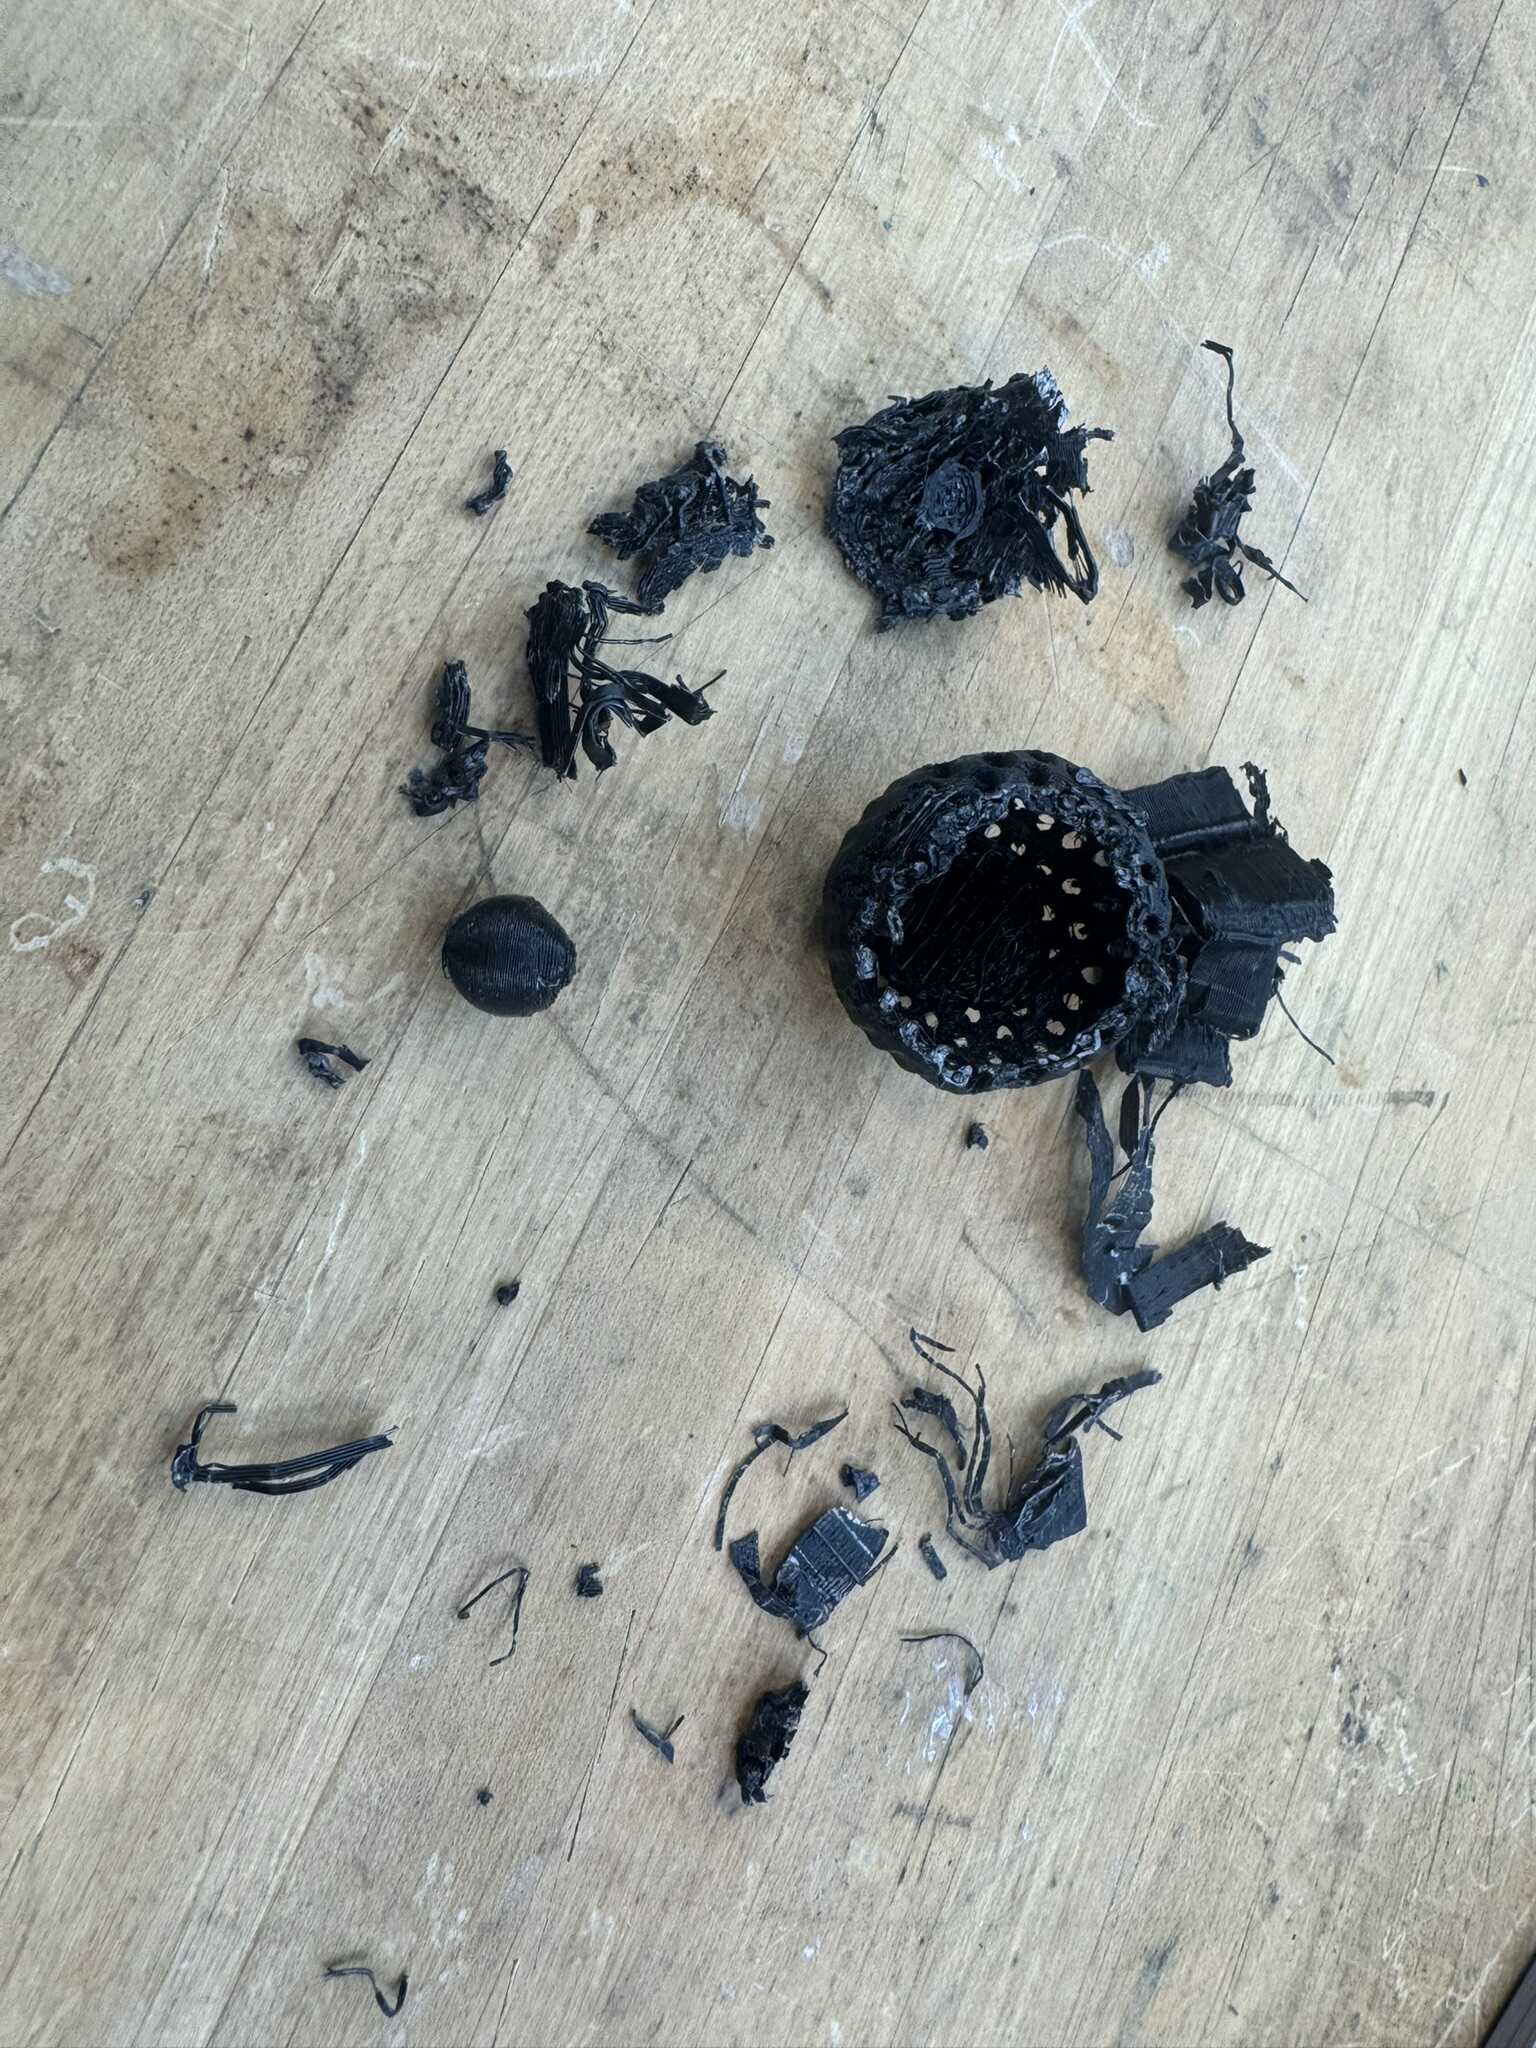
When I tried to remove the supports, however, I realized there were some problems. I was not able to get them off at all without breaking the bottom of the large elephant.
And when I looked inside, I found that the small elephant was fixed in place by the supports:
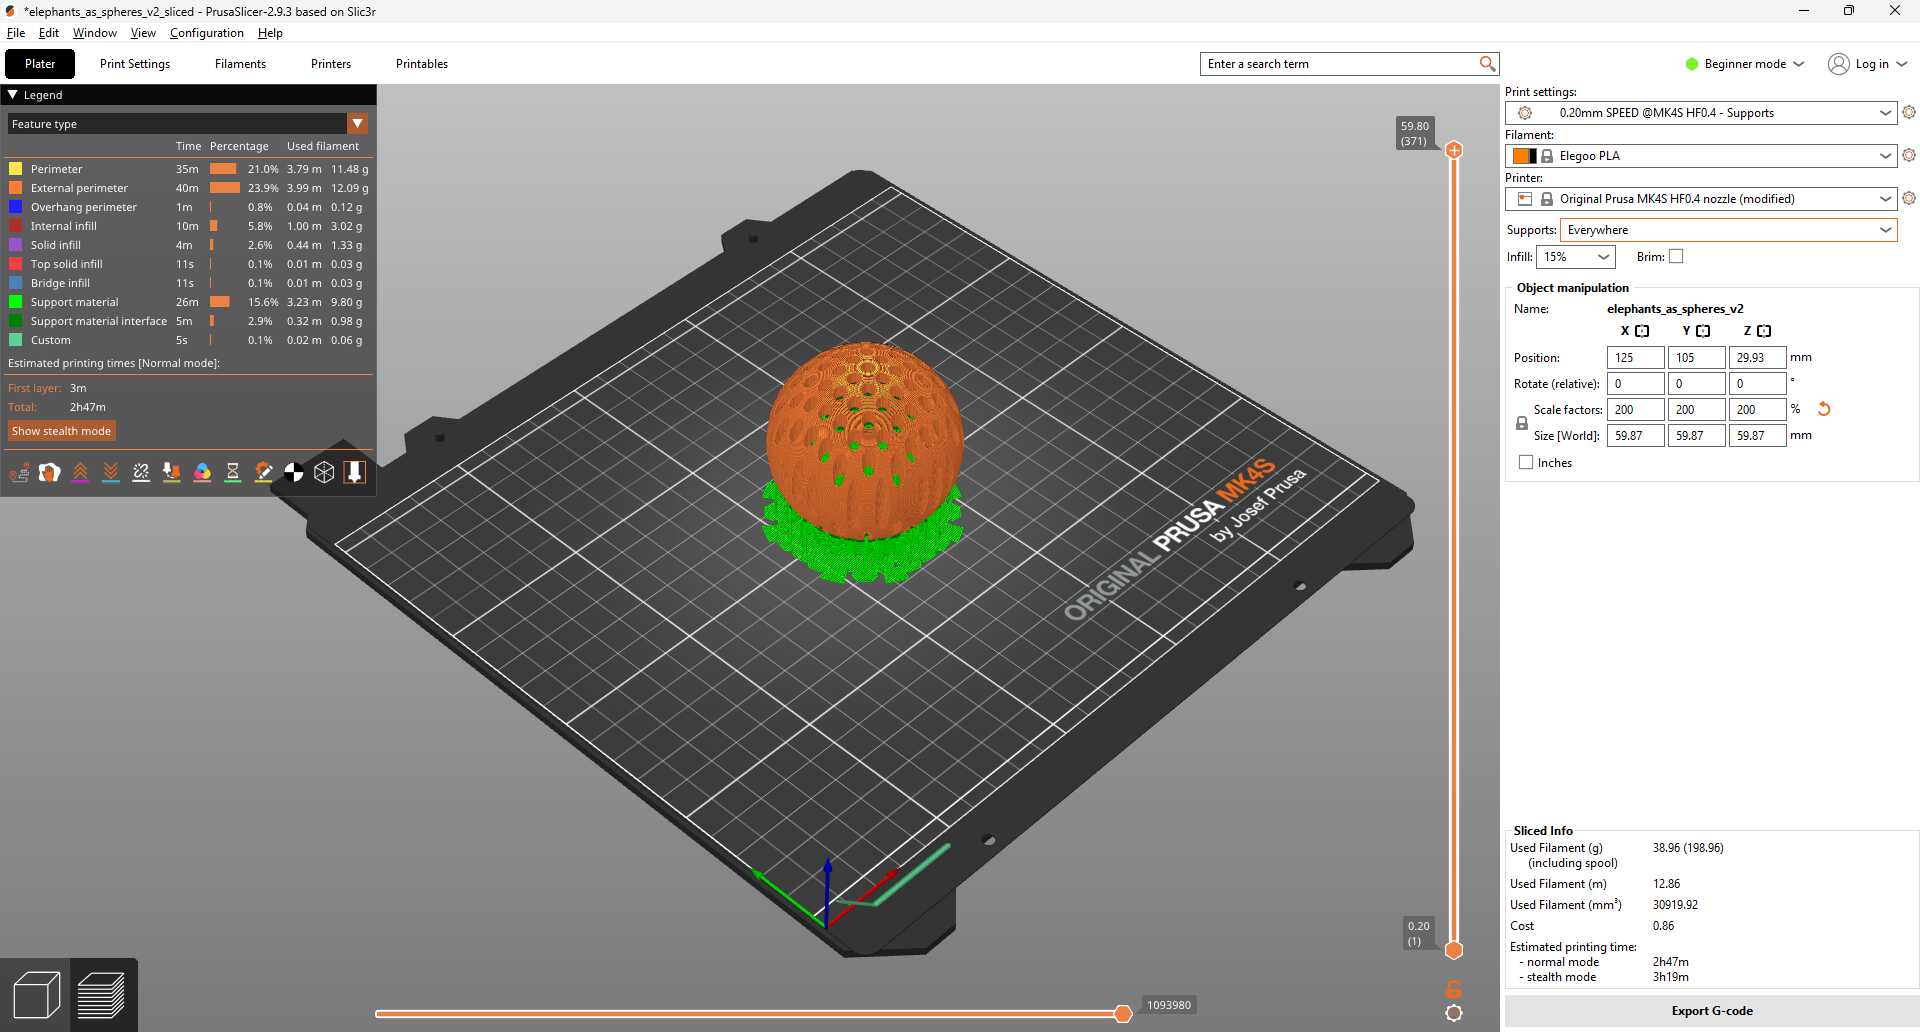
My first attempt at a solution was to scale each dimension by 200%:
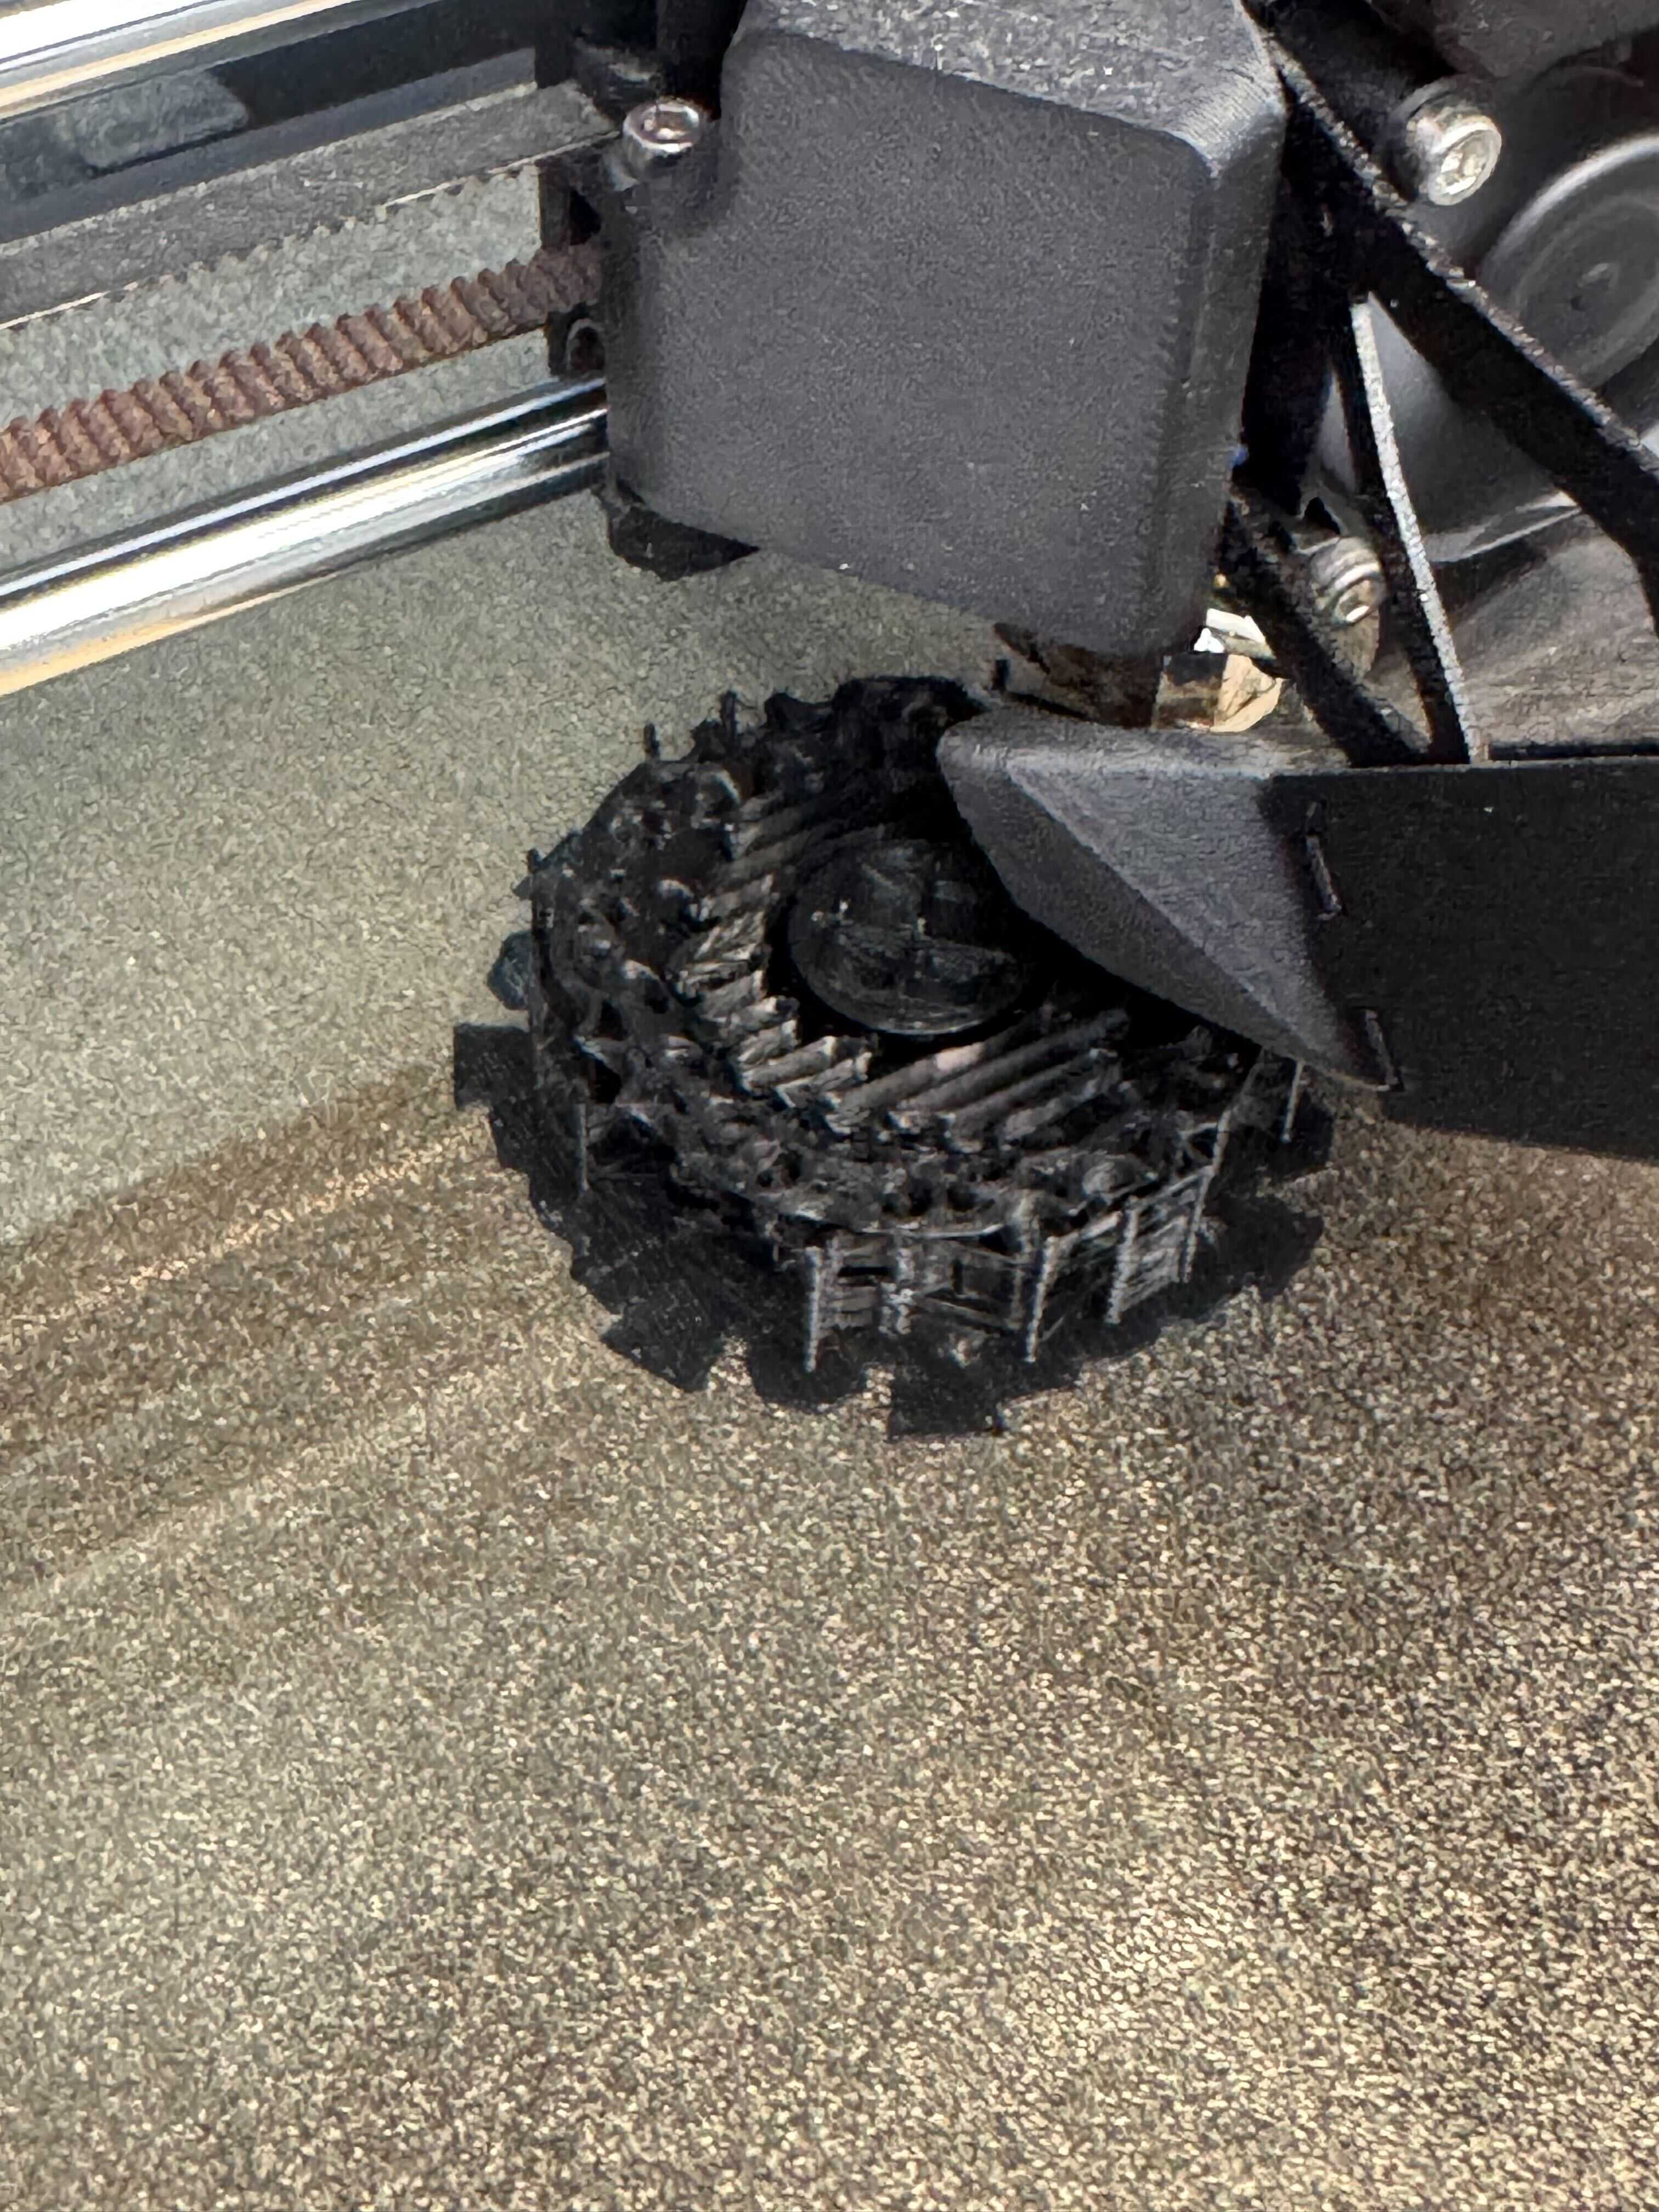
However, as it was printing, I noticed a familiar problem:
Upon closer inspection of the PrusaSlicer GUI,
I noticed that supports were set to Everywhere.
I changed the setting to Support on build plate only and launched a third attempt.
That worked well!
The supports came of really easily. I was also able to release the inner elephant with just a little nudge.
3D Scanning
I was eager to scan this piece that fell off of my wife’s car so that I can replace it:
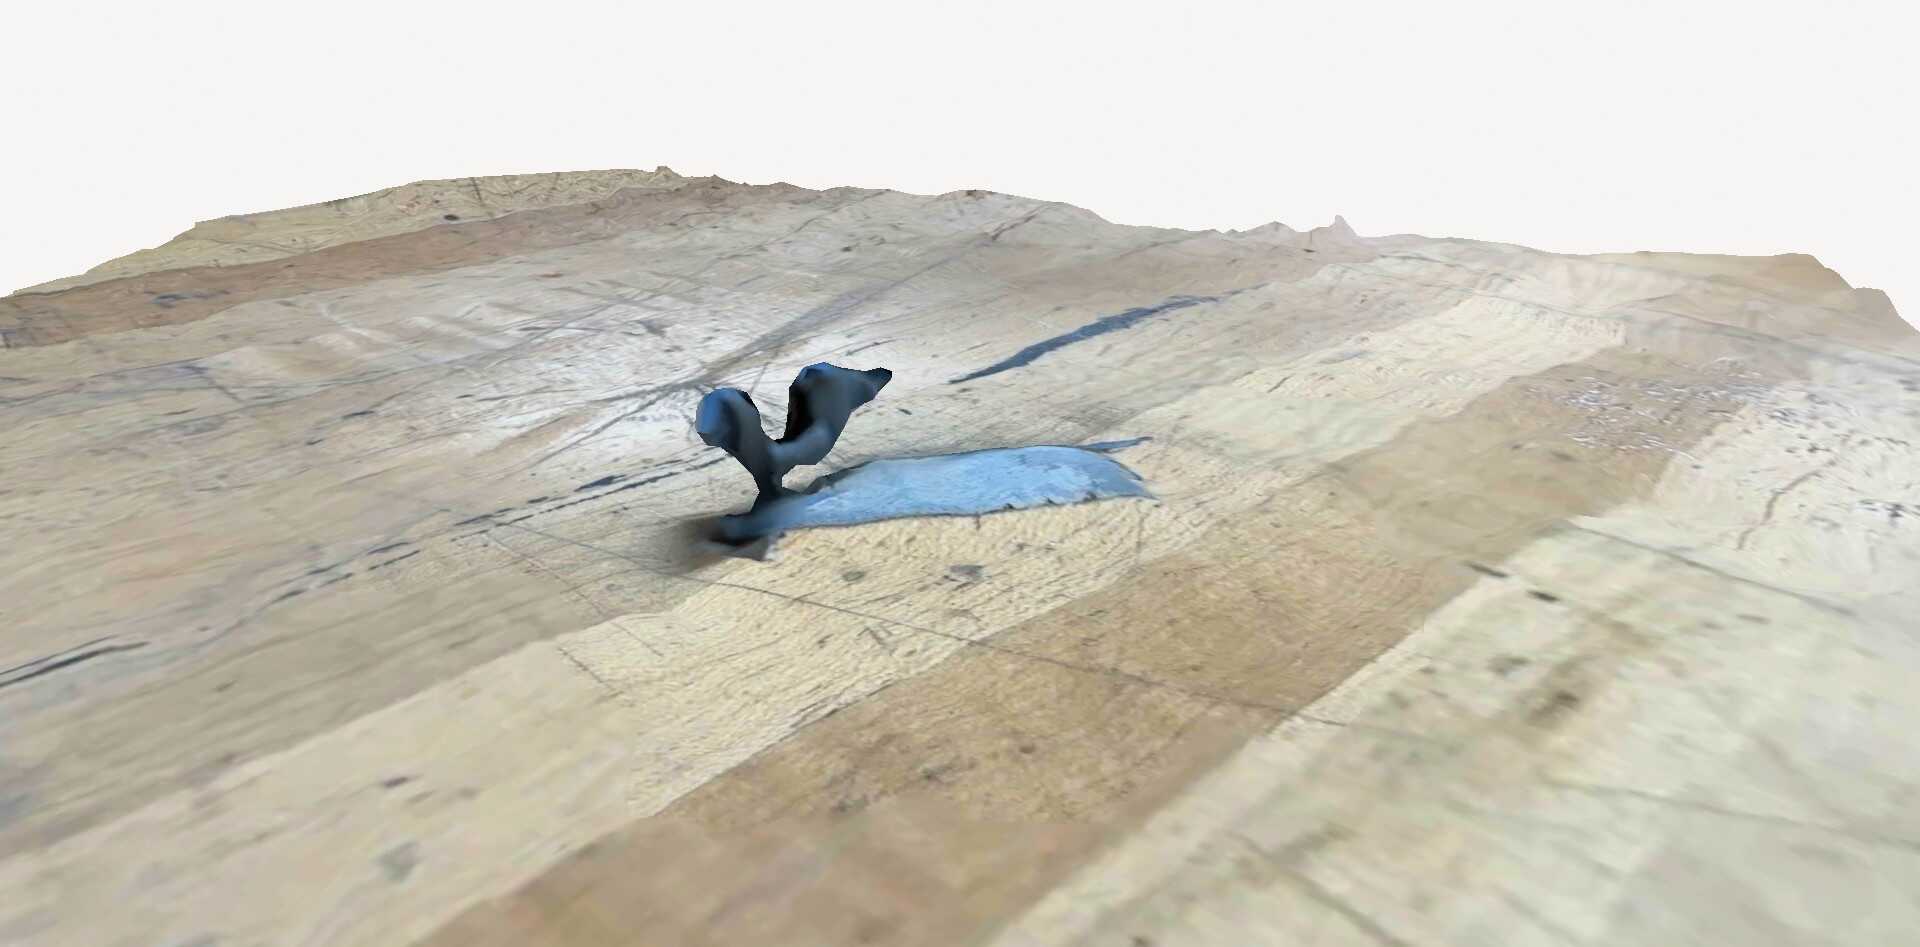
I tried using the Polycam app on my iPhone 15 Pro. When I launched the app, it dropped me into an object scanning mode without asking for settings. Using these unknown defaults, I attempted to scan my piece. The result was underwhelming:
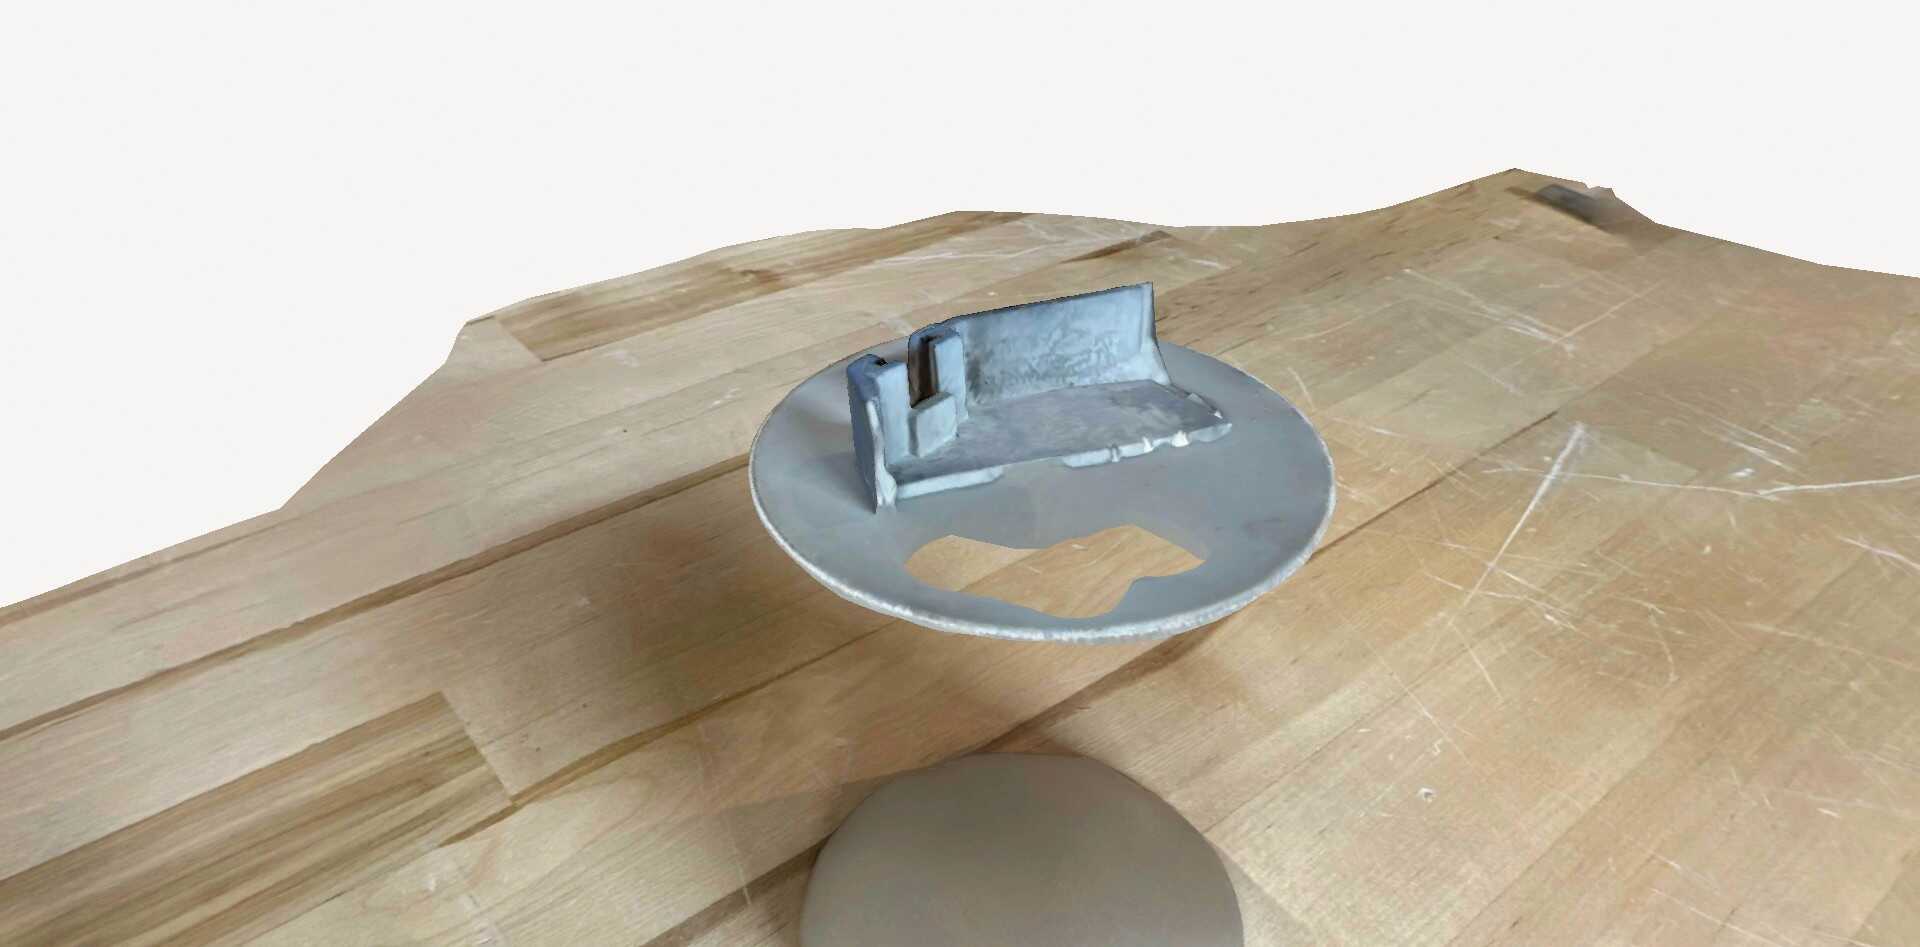
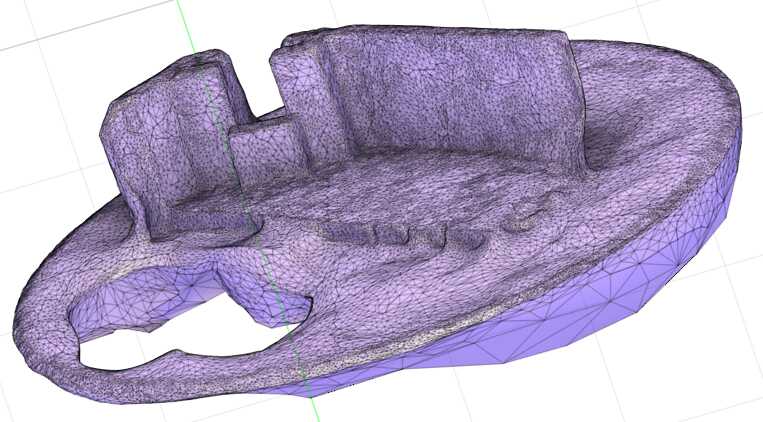
From the metadata, I found out that I collected 44 images and used LiDAR mode. This result included 6,424 polygons, and the Texture Resolution was 4k. Next, I put the piece on top of an inverted pencil holder and collected 150 images of it from all angles. I used Photogrammetry to process the image, in Raw detail. The result was much better:
This result included 128,591 polygons. The Texture Resolution was still 4k.
I exported the result as a .obj and imported it into Fusion.
It included part of the table and the top of the pencil holder,
but not the sides of the pencil holder:
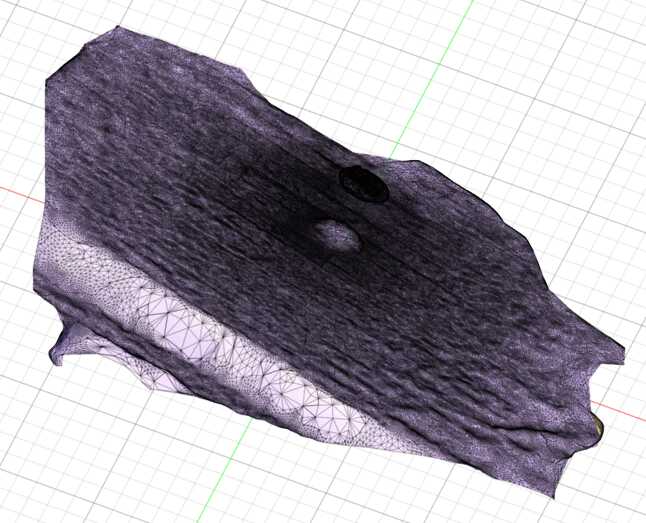
I was able to remove the table, but not the top of the pencil holder:
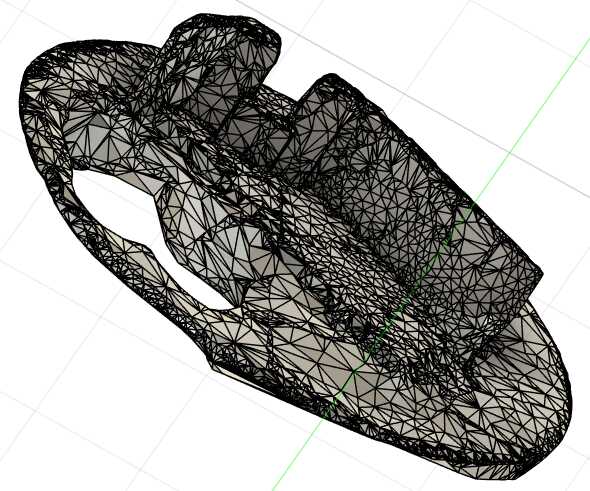
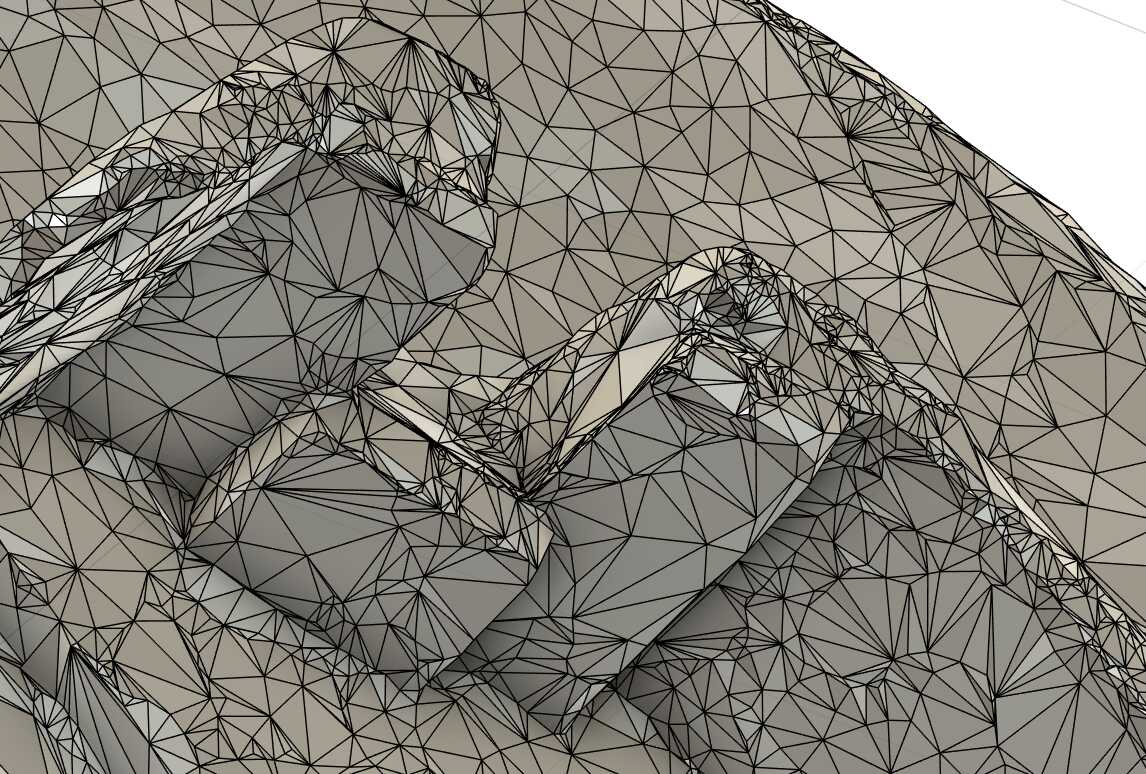
I then converted the mesh to a body as before:
I was impressed by the level of detail captured off such a small part, but it was not detailed enough to be printed and used:
3D Scanning, Part II
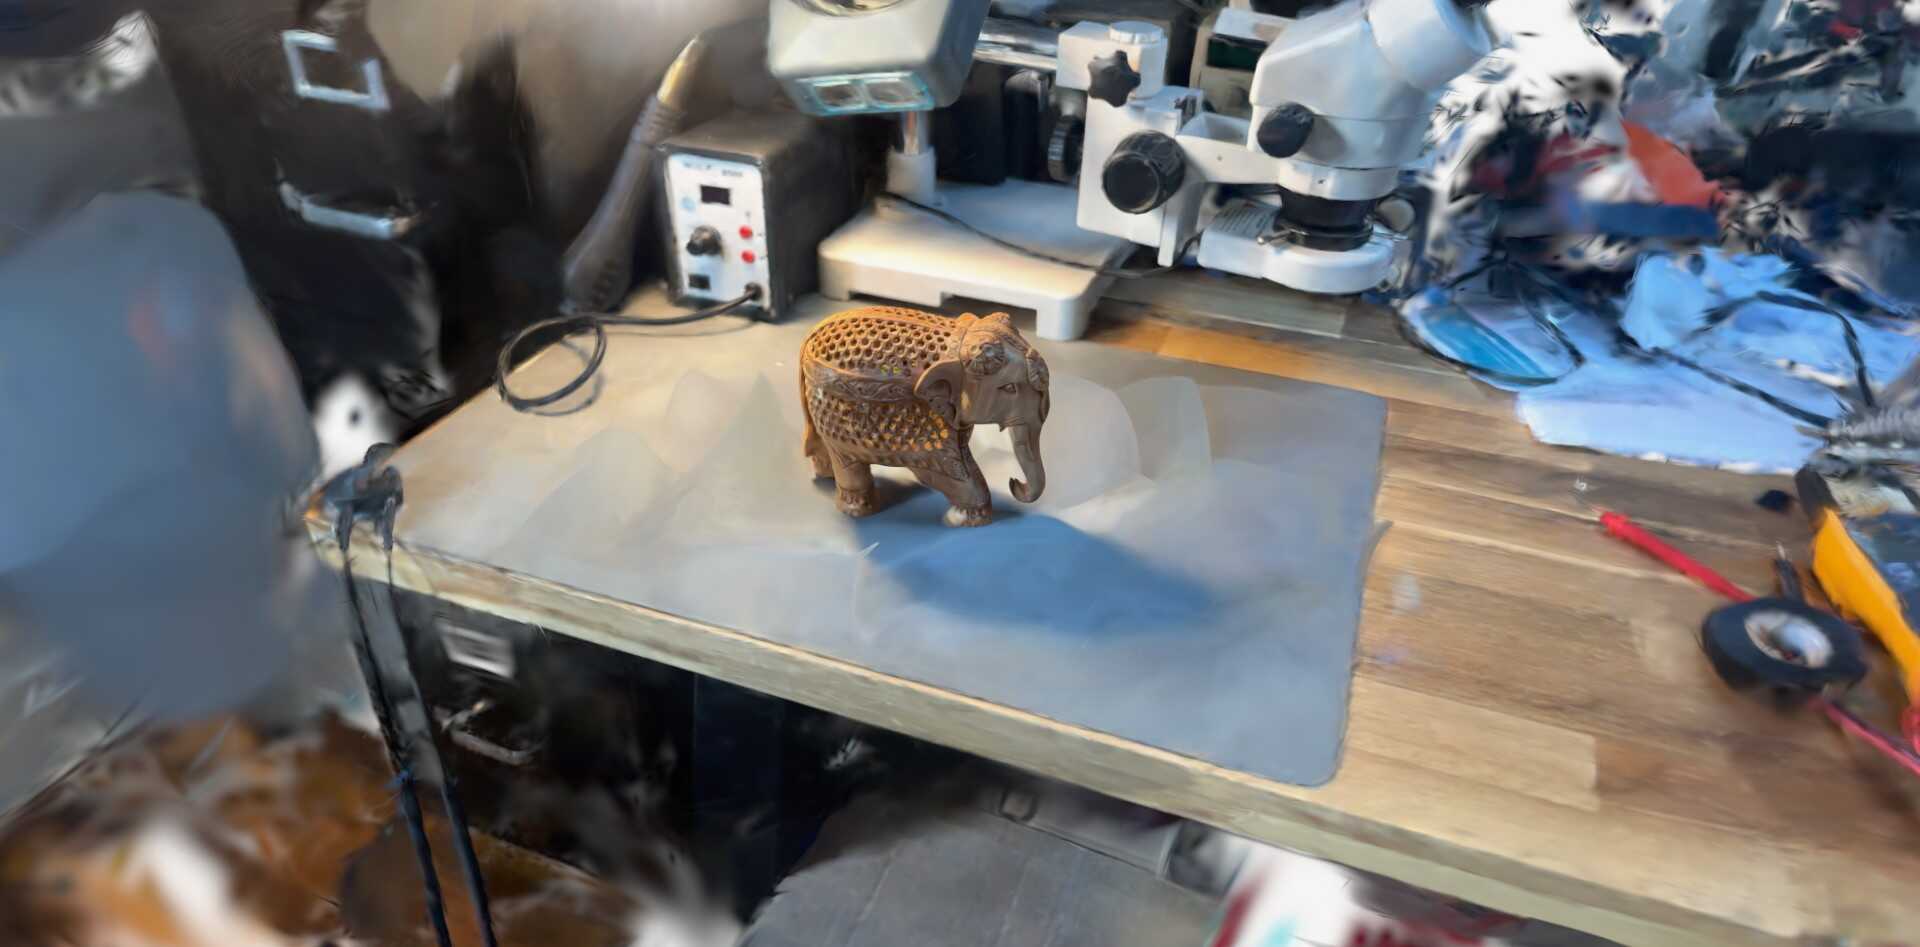
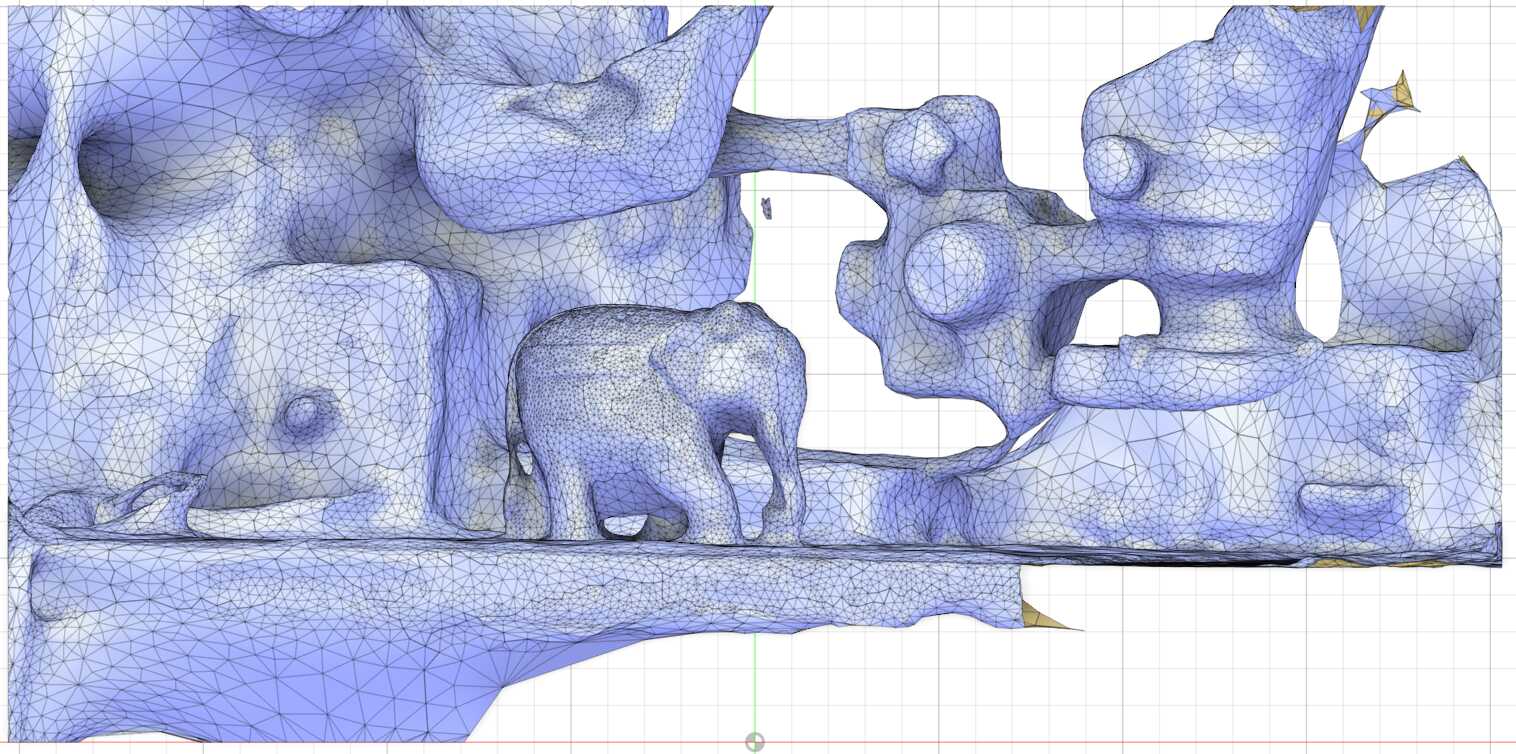
To wrap things up, I went back to the elephants in Figure 1. I signed up for a free trial of Polycam Pro and scanned them on my desk at home. I collected 75 images and used Gaussian splatting to process the image. The result is below:
I exported the result as a .obj and imported it into Fusion.
It included 51,801 triangles.
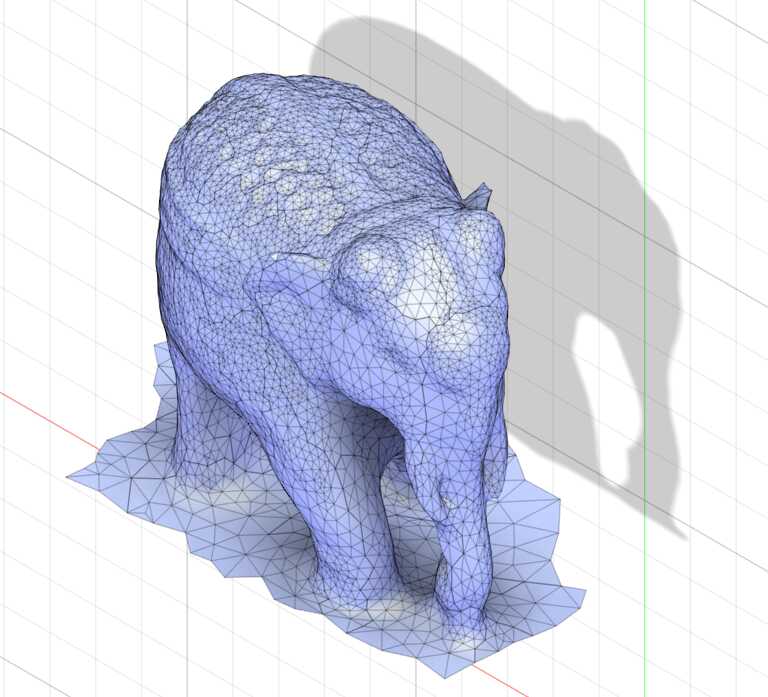
I used Direct Edit to crop the background away, leaving 13,745 triangles:
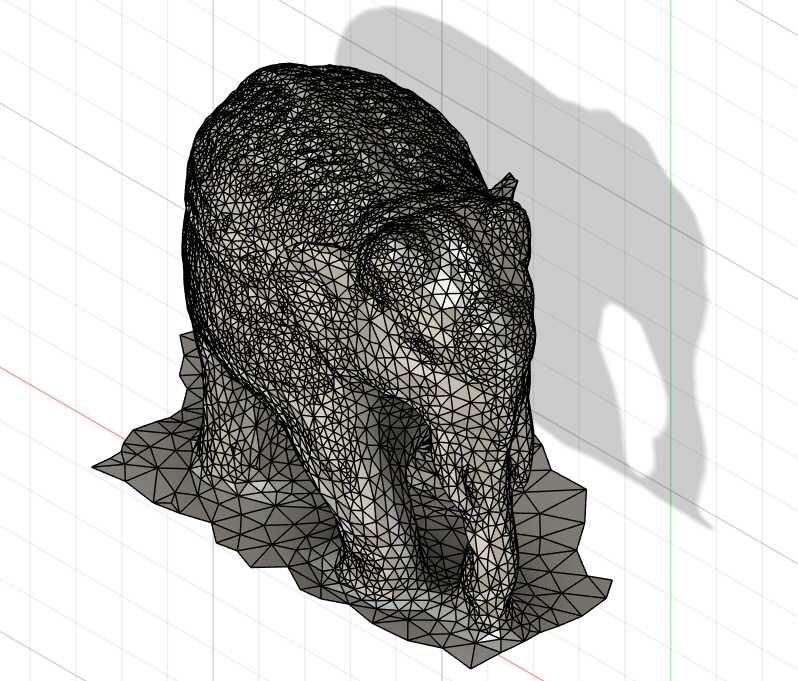
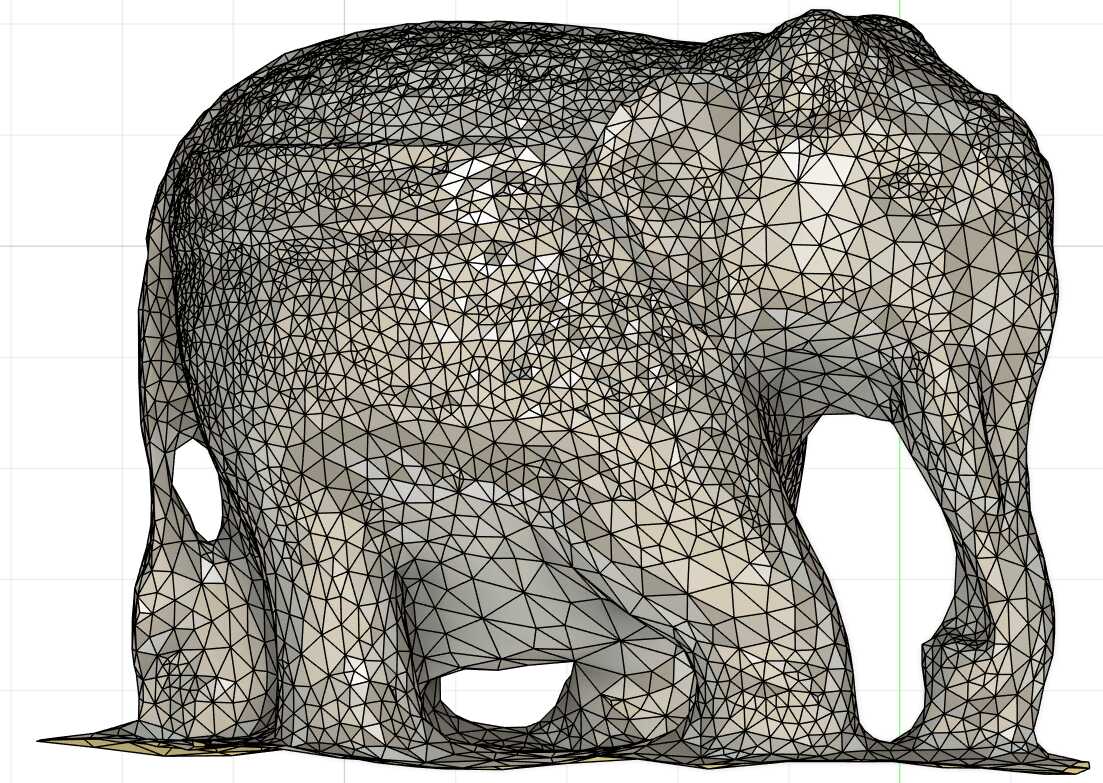
Then I converted it to a body:
Overall, the result was not significantly better than the previous test. Only one of the two elephants was captured, which was expected. Disappointingly, the large elephant’s trunk and tail were connected to the floor, as seen in Figure 25. The next step is to try other 3D scanning tools, such as the Ferret Pro.
