Design and Molding
Group Assignment
For the group assignment, we tested the CNC machine for molding the wax. I documented the process of using CBA's new CNC machine.
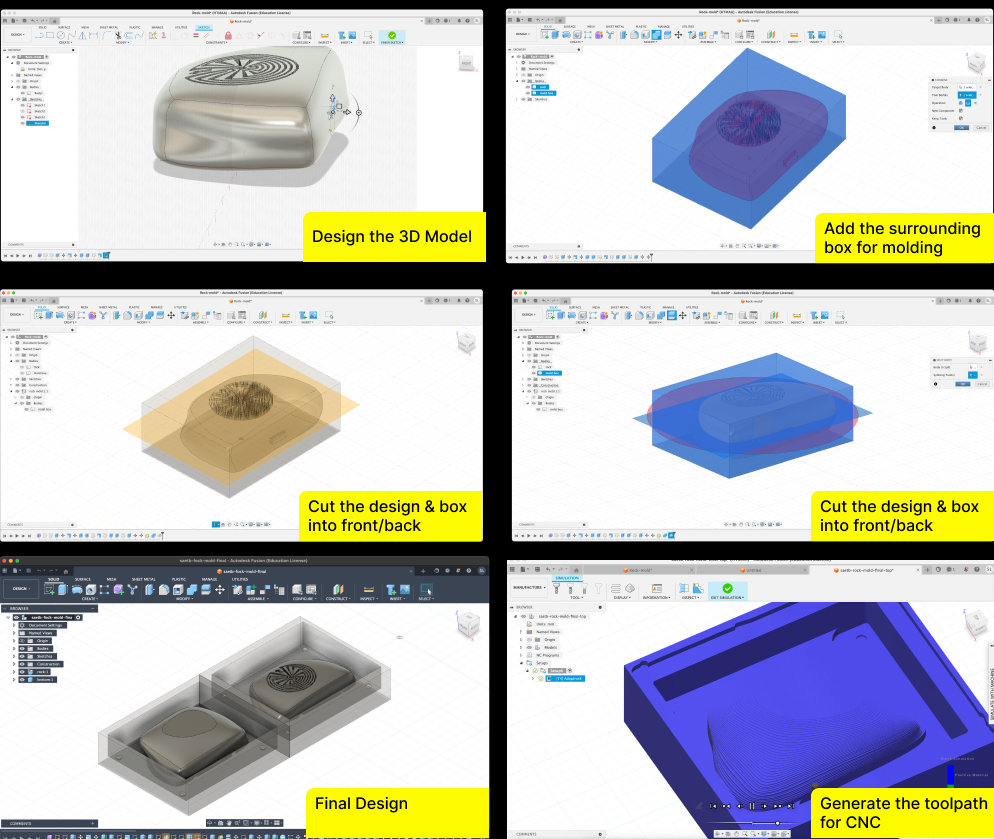
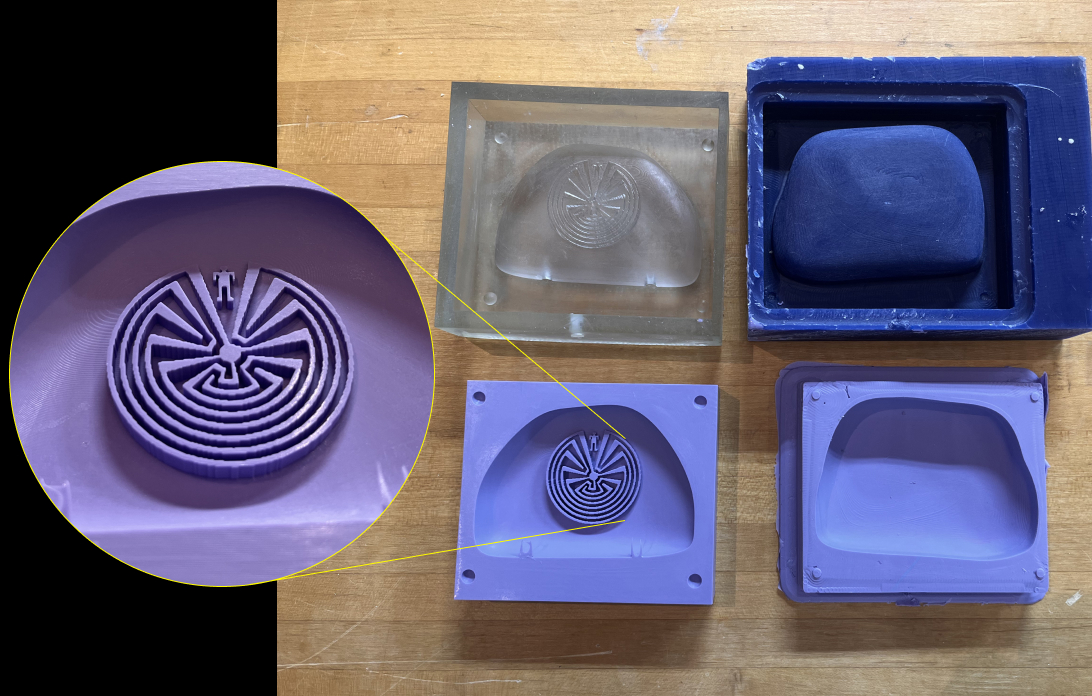
Designing Rock
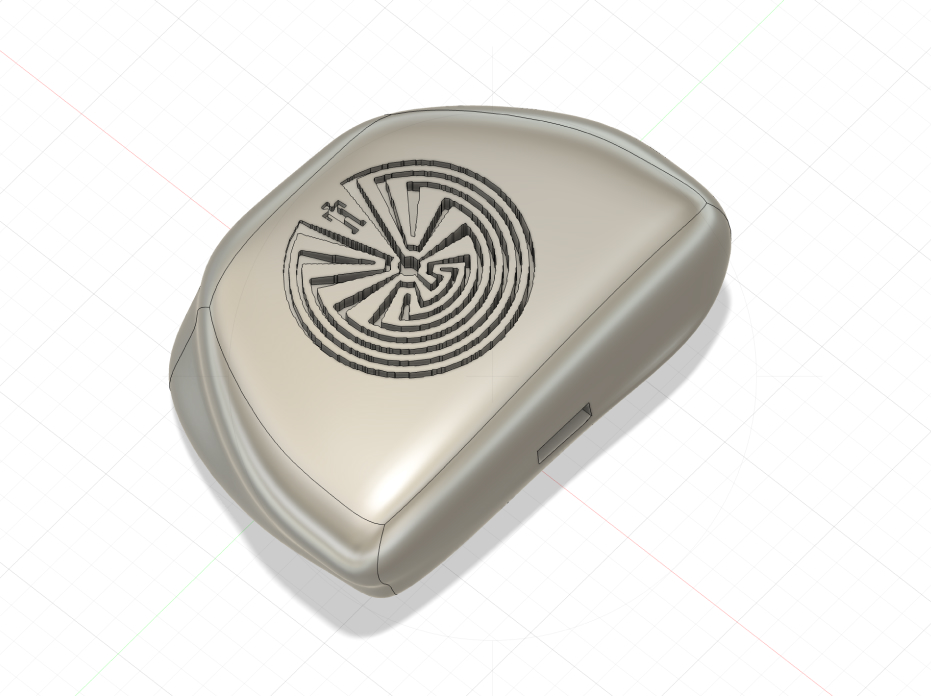
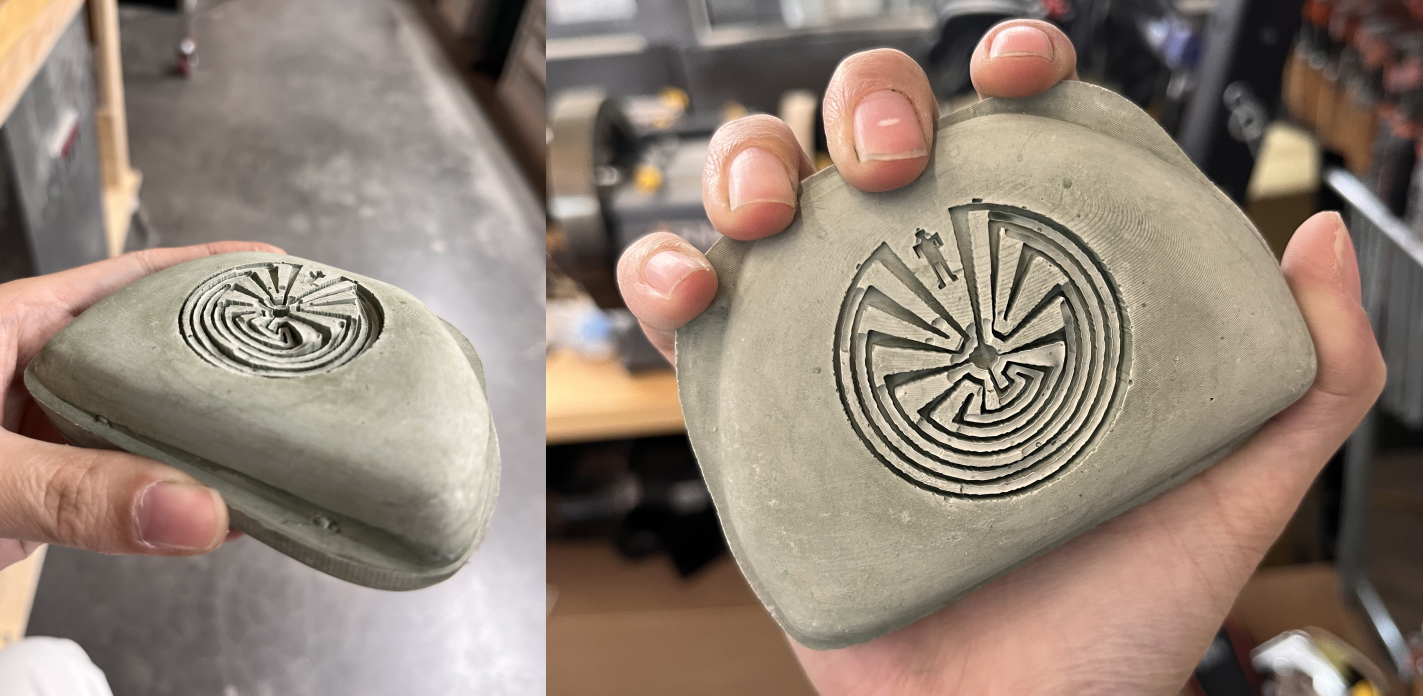
This is the final design for the rock. I measured the size and form of the rock with paper that fits in my hand, and then used Fusion 360 to make the shape. Then I added the Native American 'Man in the Maze' pattern, which is a symbol from the Tohono O'odham (or Papago) Indians of the Central Valley in Arizona. It's a visual representation of the Tohono O'odham belief in life, death, and the afterlife. The maze shows our journey through life and the roads we choose, the many turns and changes. Through all of our struggles and lessons, we grow wiser and stronger as we progress towards the center of the maze. The meaning of the symbol matched with my research question, so I decided to add the symbol to the rock. I used an SVG file and extruded the pattern.
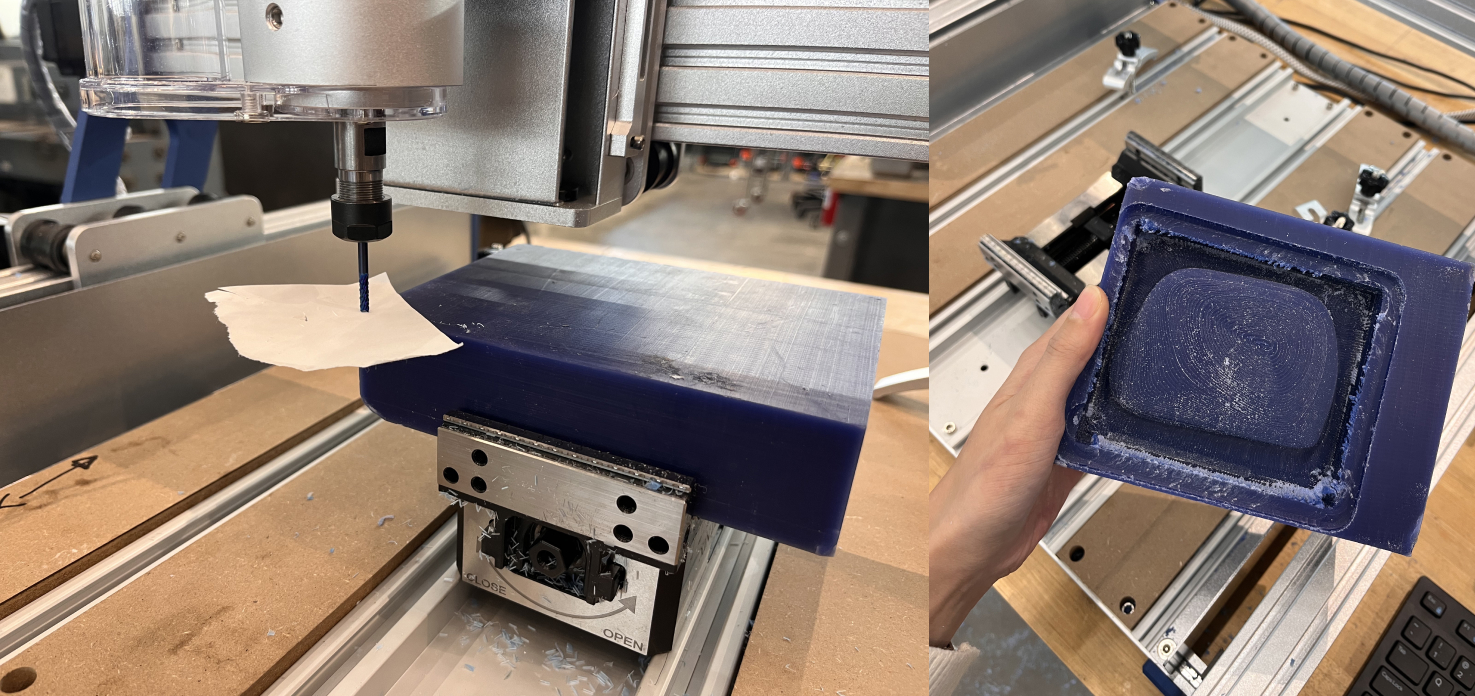
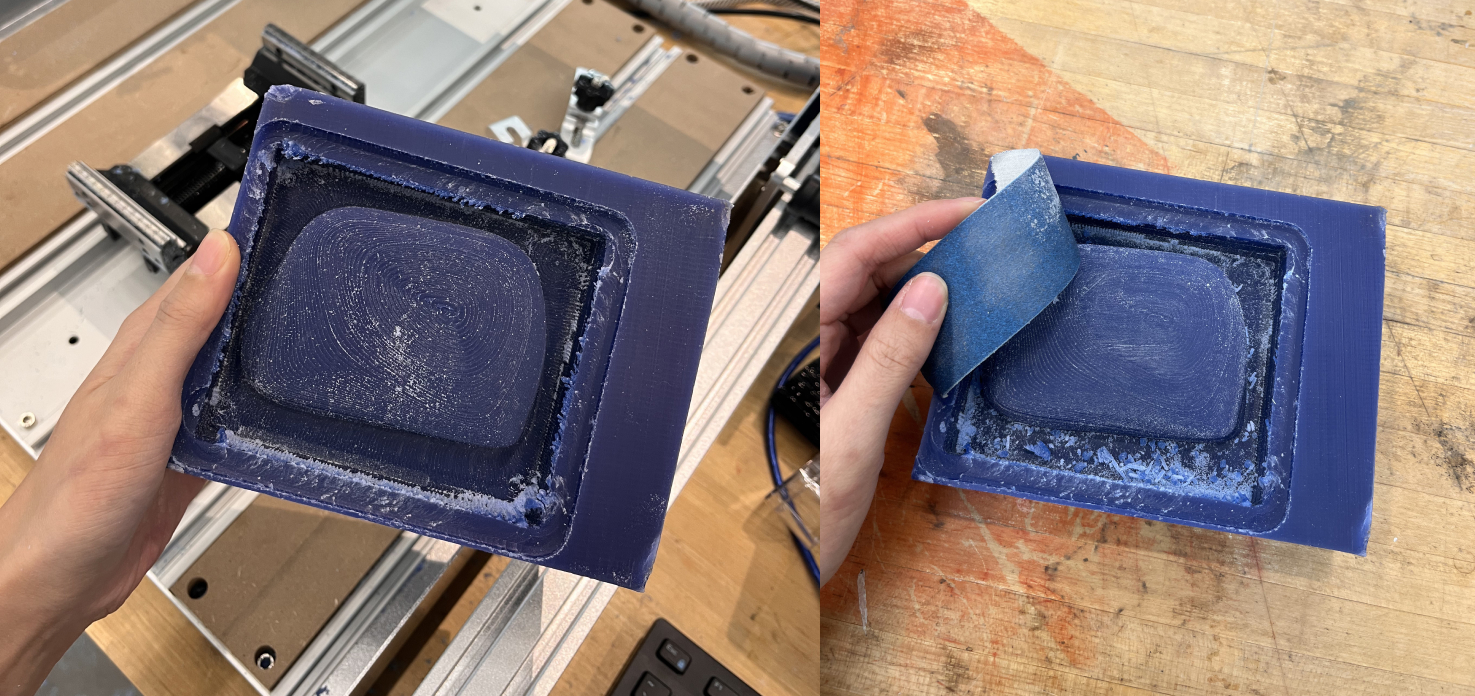
CNC Machining
I broke the endmill because the toolpath was not properly set, causing excessive force on the tool.

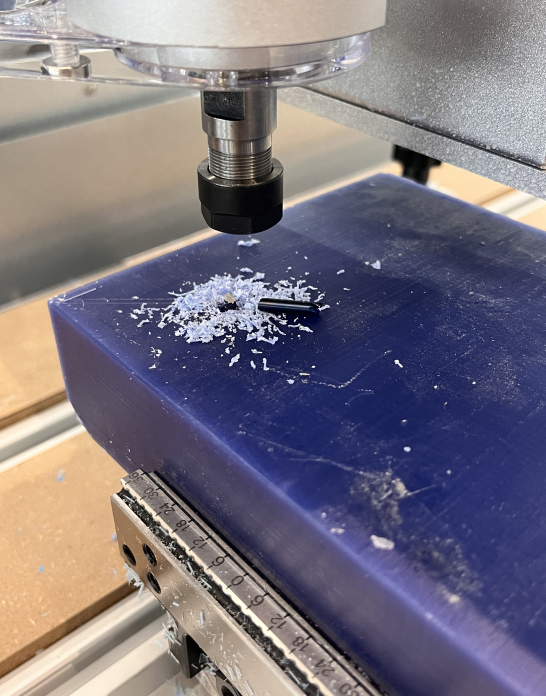
I scraped the wax after the CNC machining process.
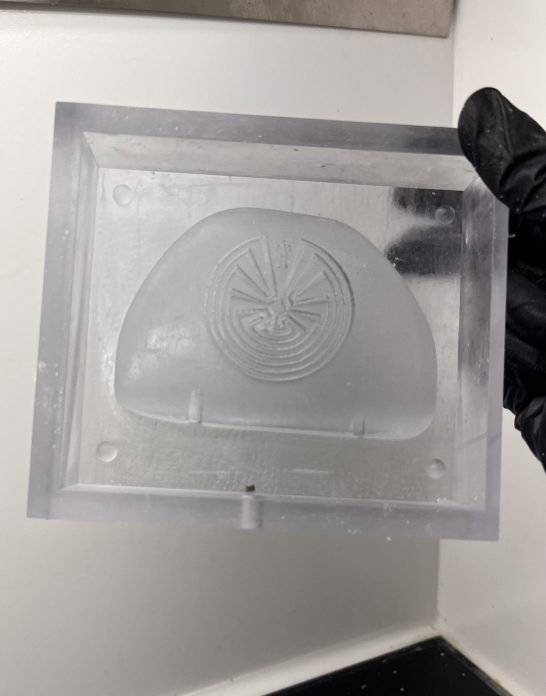
SLA Printing
I changed to using SLA printing. The process is:
- SLA print takes a long time. Wait for it.
- Post-process the print by washing and curing.
- Cure the print under UV light for durability.
- Ensure the print is fully dry before molding.

The final result turned out beautiful with the precise pattern.
Because we made a hole for the SLA printing, I hot-glued the hole closed.

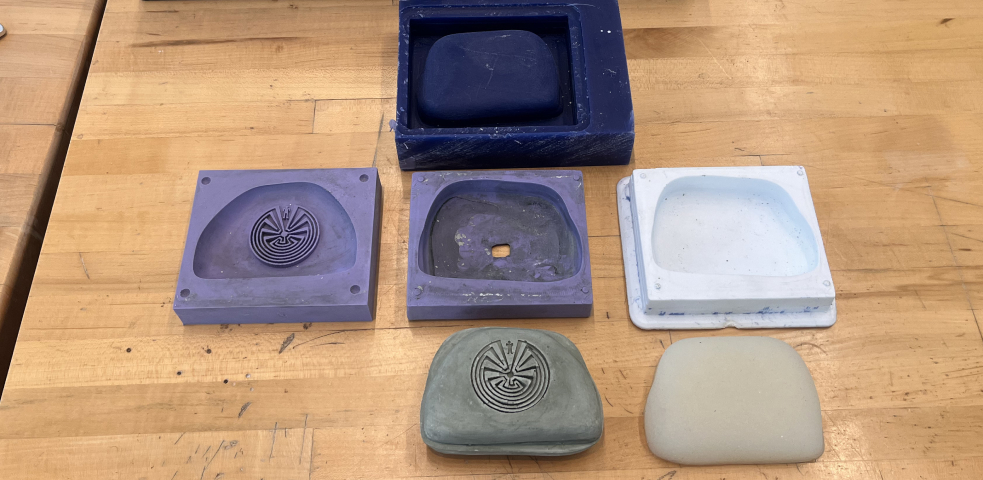
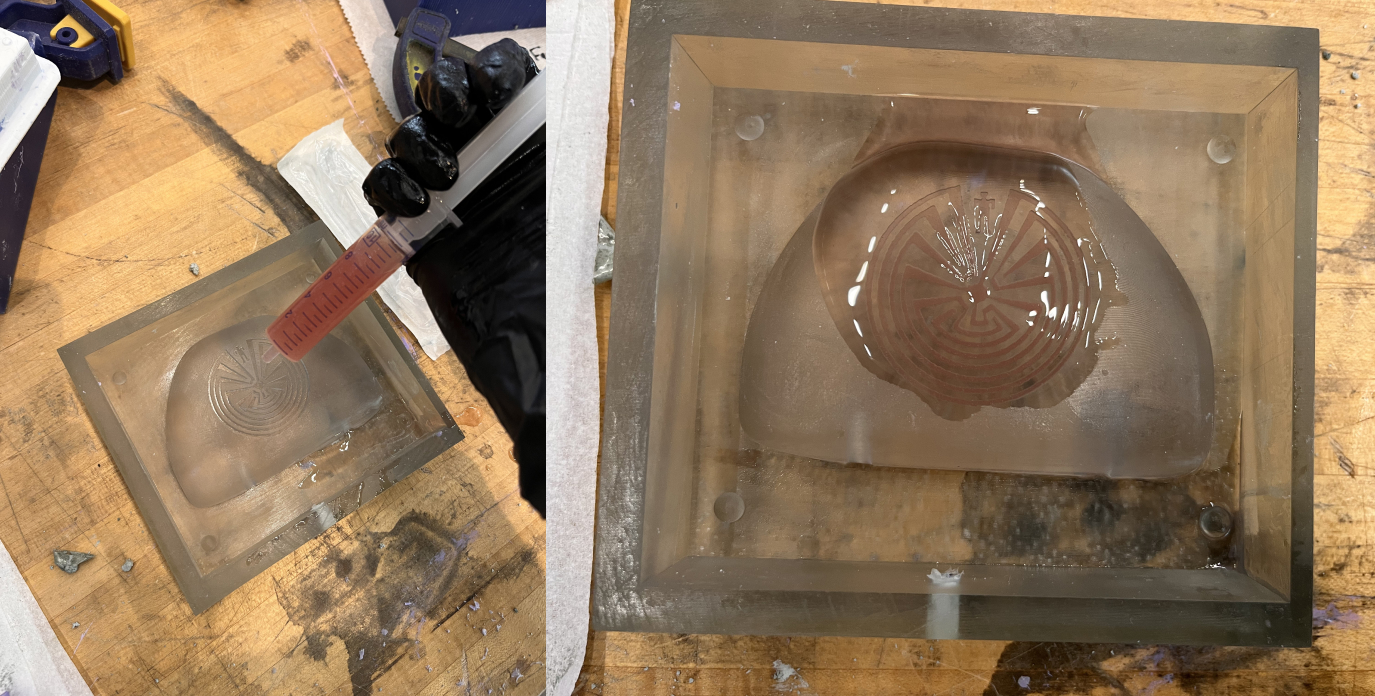
Soft Molding
Used Oomoo for soft molding to create a flexible mold for casting.
- Mix the Oomoo part A and part B thoroughly.
- Pour the mixture slowly to avoid air bubbles.
- Allow the mold to cure for 6 hours.
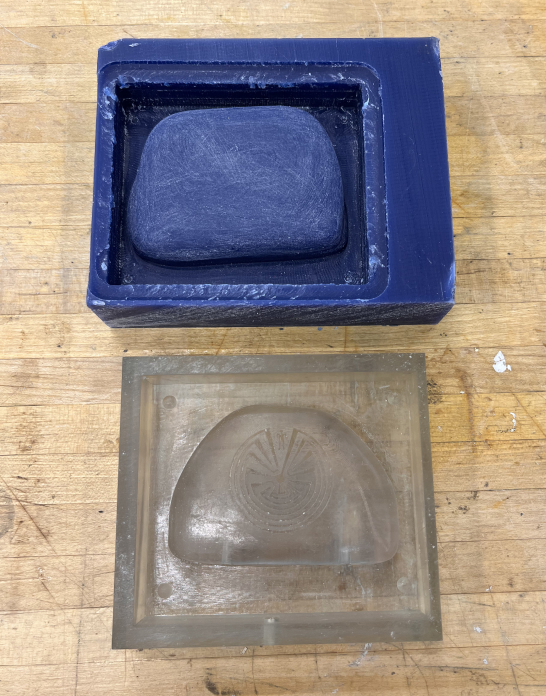
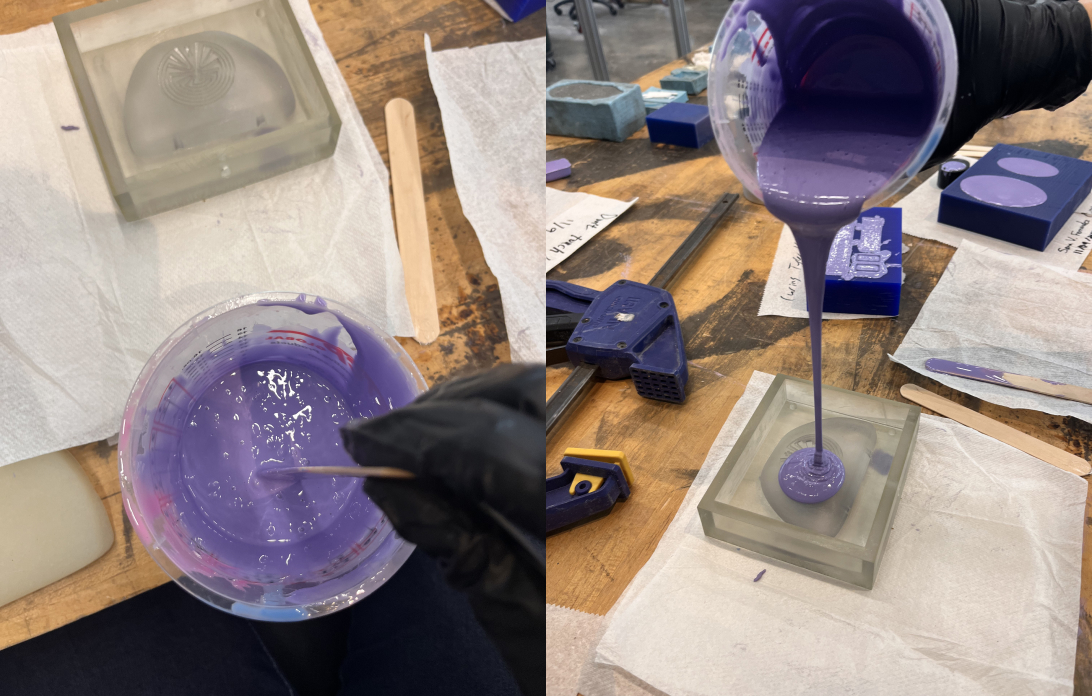
The mold is super precise with the detailed pattern!
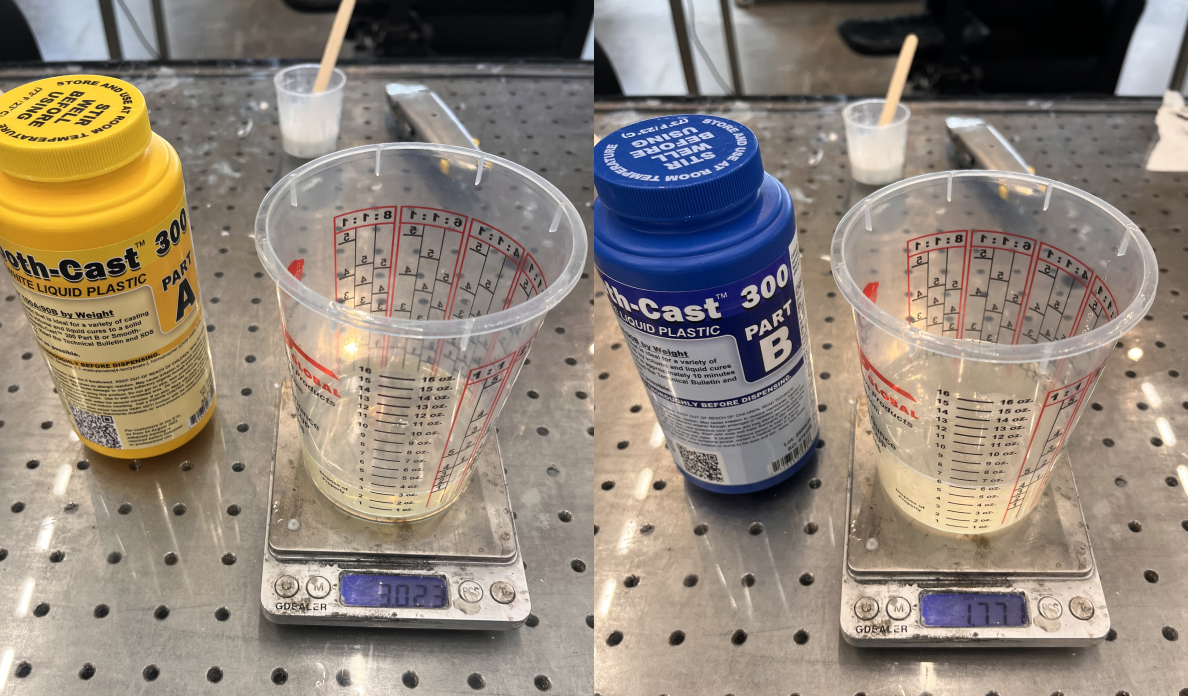
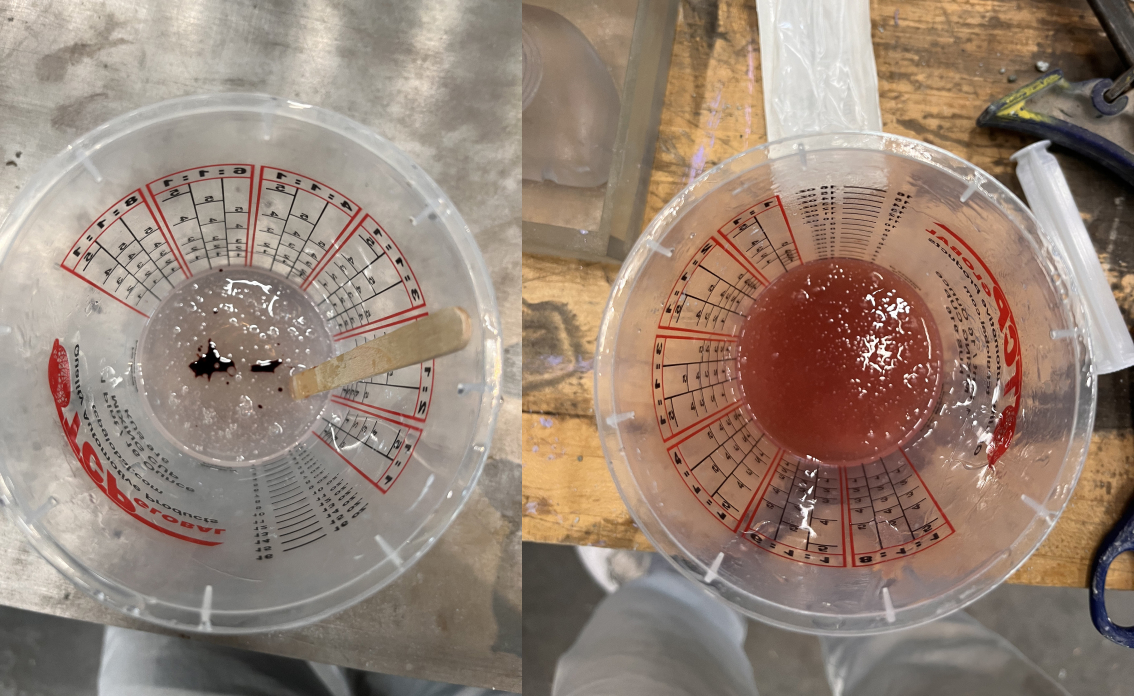
Casting
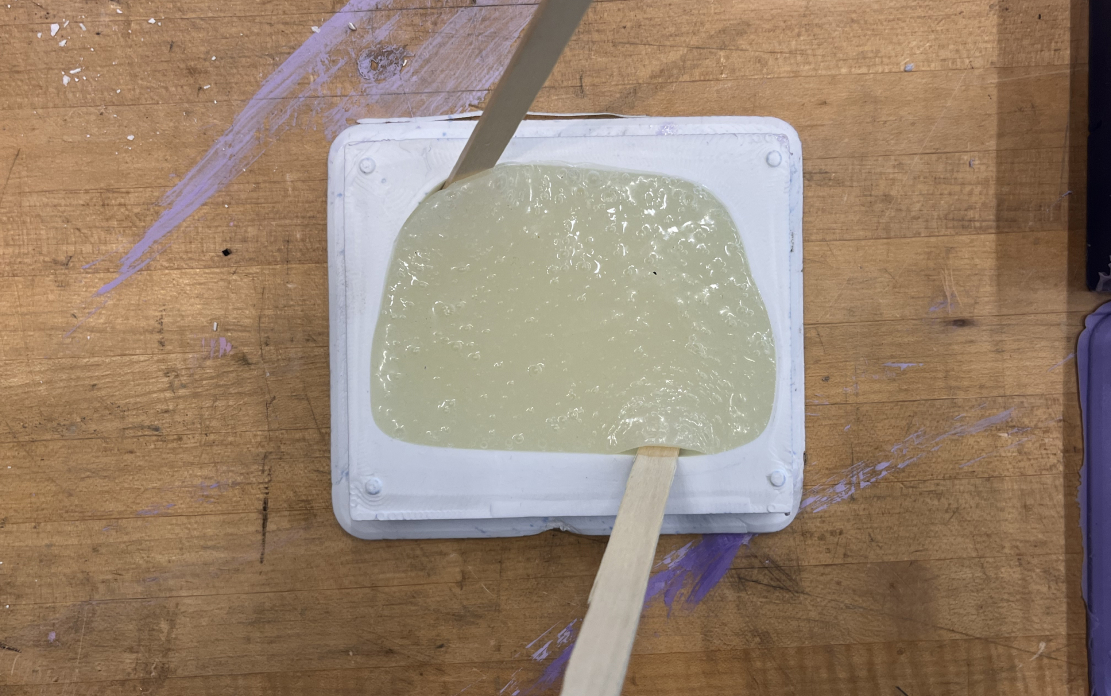
Material 1: Plastic
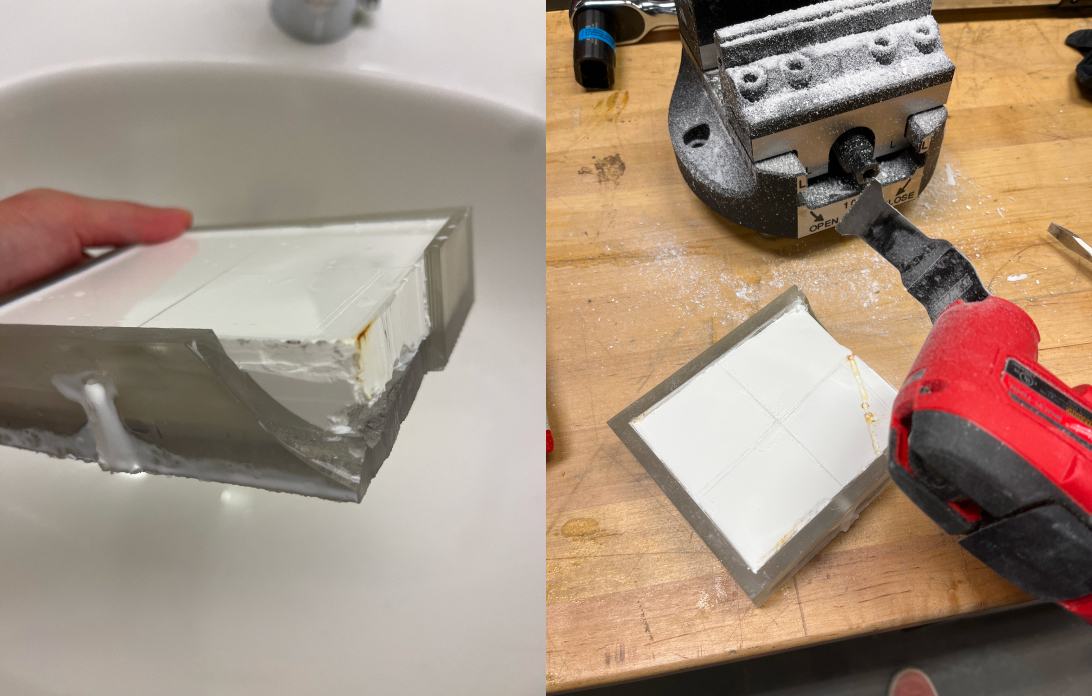
I accidentally poured the plastic in the first round for making the cast. It was a terrible experience to get this out.
!!!!!!DO NOT POUR HARD-TO-HARD!!!!!
For the plastic, it thickens fast so you need to mix and pour quickly.
I succeeded in making the mold out for the bottom part, but for the top part with SLA printing, it would never come out. This caused me to print another SLA mold.
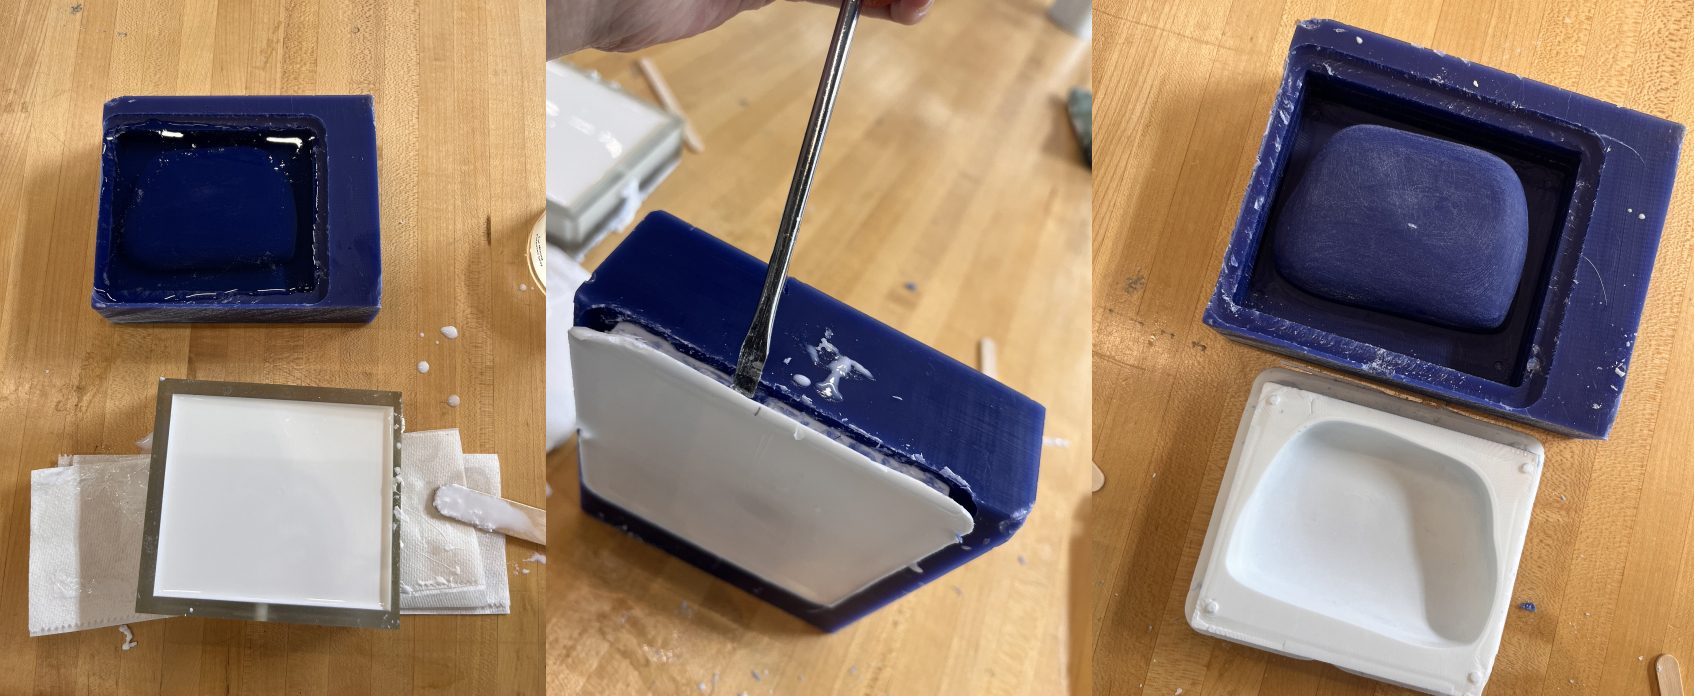

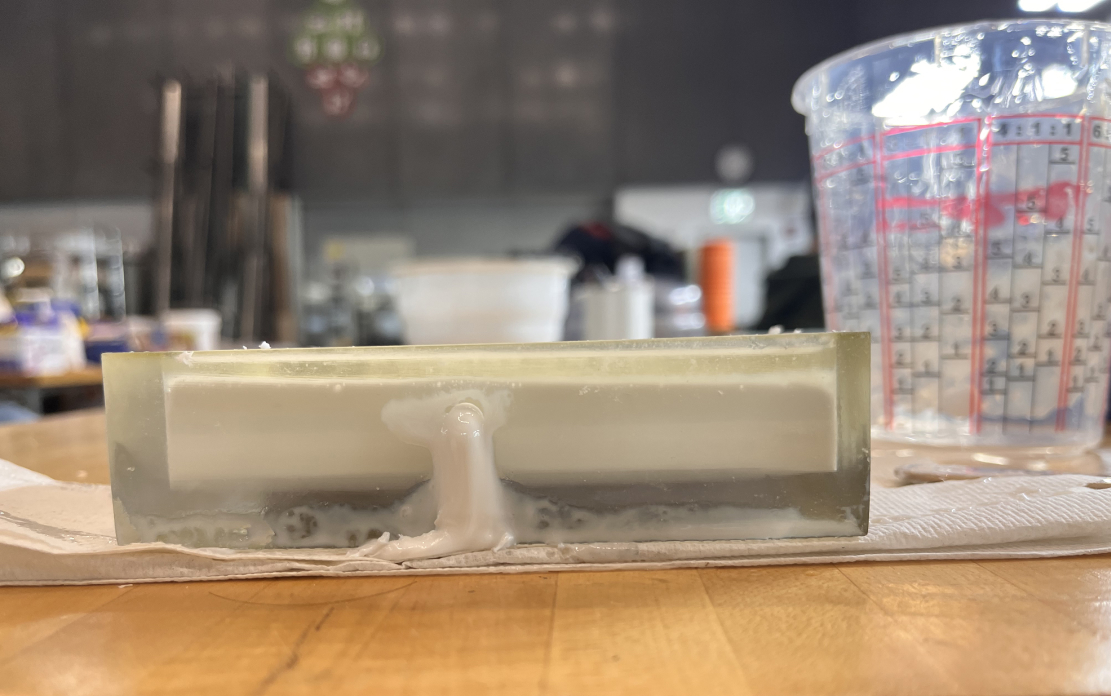
Material 2: Hydro Stone
After preparing all soft molds, I finally poured the Hydro Stone. For the first attempt, the measurement followed the guideline written on the box, but the material was too squishy and watery. Eventually it didn't work out and didn't dry.
Kat helped me make the material again. She said the mixture should be like 'pancake batter' rather than following the instructions—trust your instinct.
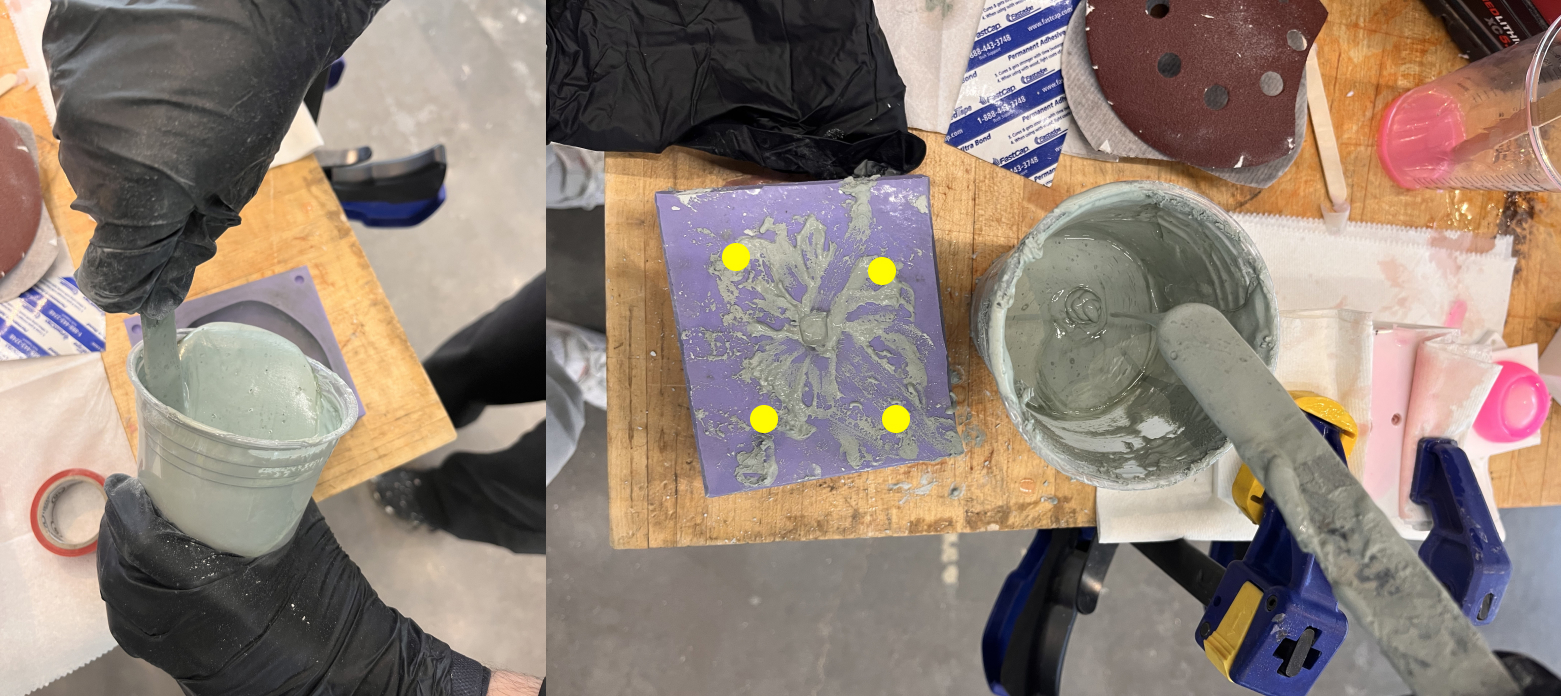
After pouring from the bottom, I checked if all parts were filled by pushing the edges of the mold.
The front part turned out amazing!!!!

However, the back part had some air bubbles and didn't work out well.
Material 3: Color Ink
I tried with silicone, adding color ink to the pattern on the front part.
The color wasn't clear enough.
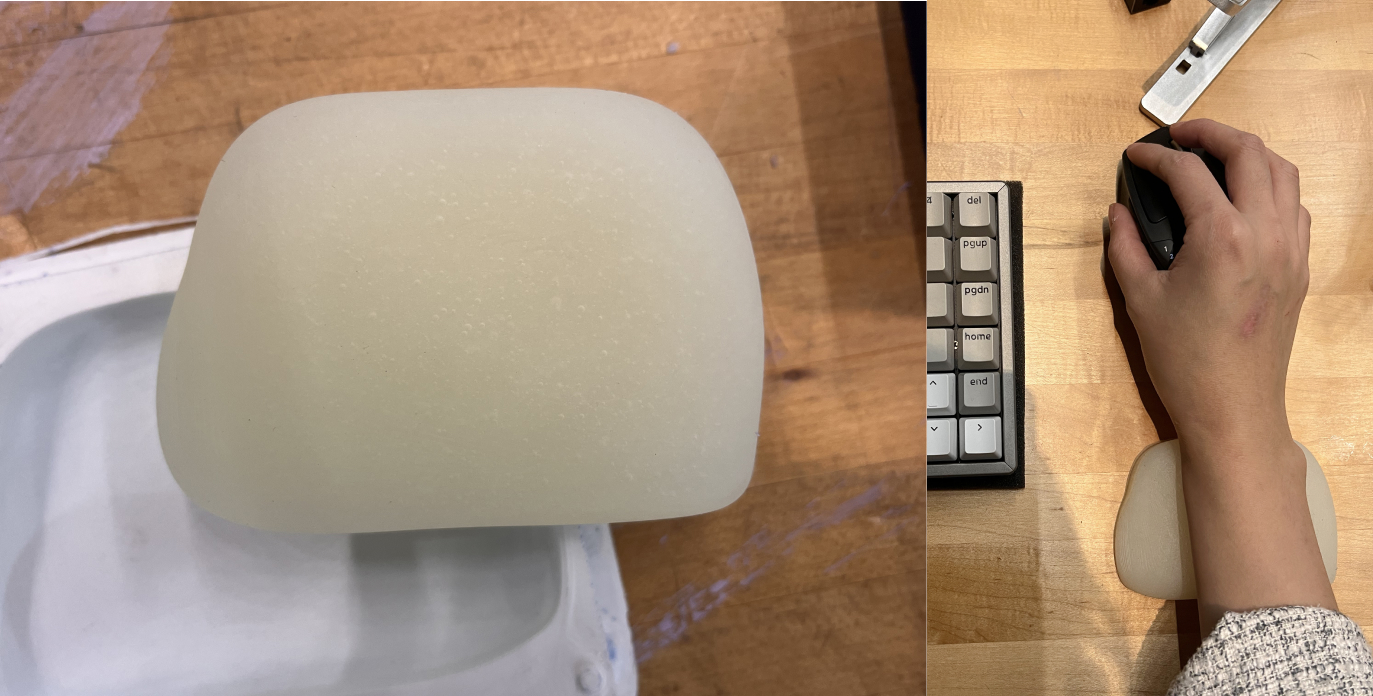
Material 4: Silicone
In the meantime, while waiting for another SLA print, I cast the bottom part of the rock with silicone and it's useful as a mouse hand support!
Putting Electronics Inside
Adjusting the Size
I wanted to try putting the electronics inside from my previous week and make the hole for the microphone, then cast the entire rock with electronics.
I had to adjust the size of the electronics so I could connect with the USB-C. To cast the parts with electronics, there are a lot of considerations before doing it.
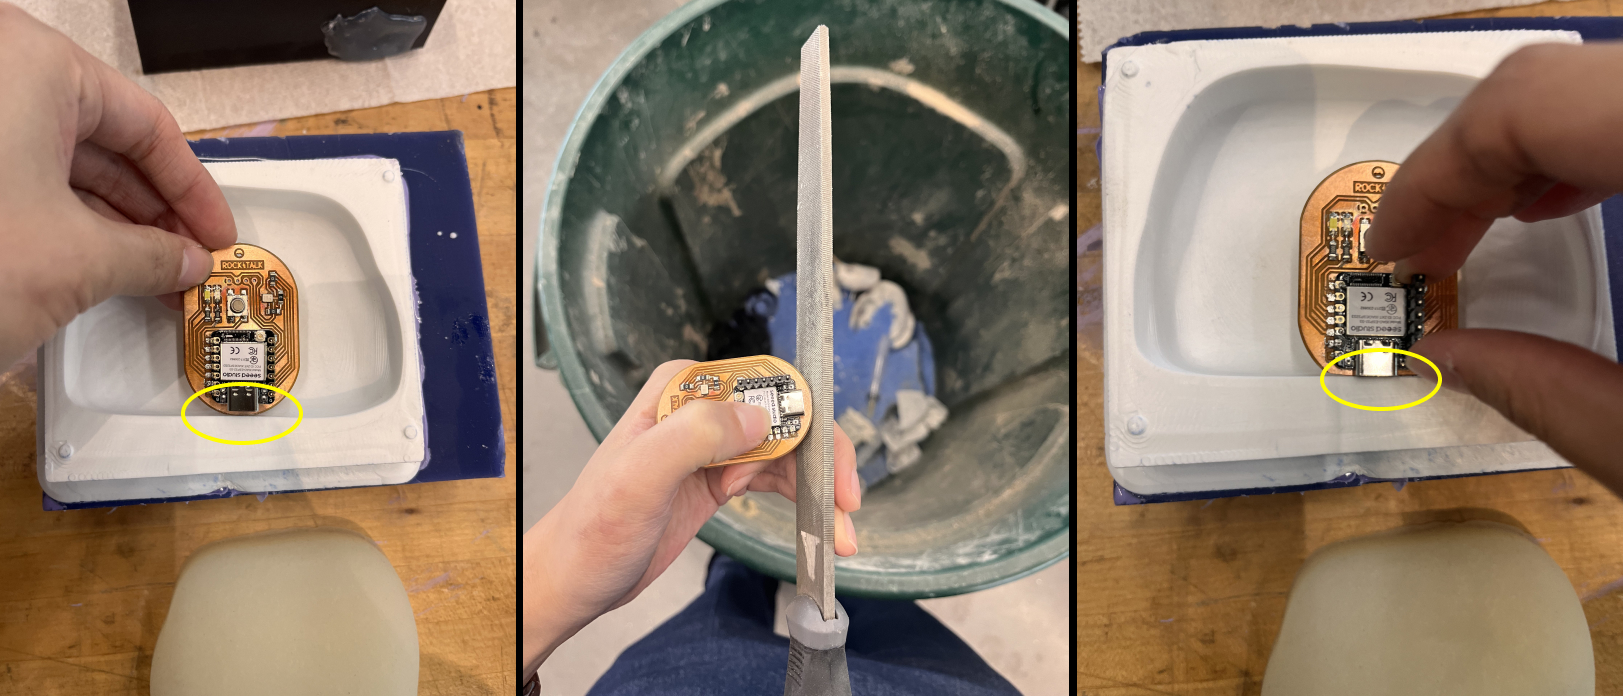
- Make sure electronics fit properly inside the mold.
- Seal all the openings that need to be exposed to air (like the microphone).
- Ensure proper insulation to prevent short circuits.
- Use non-conductive materials for casting to avoid electrical hazards.
- Test the electronics thoroughly before casting to ensure functionality.
Appendix
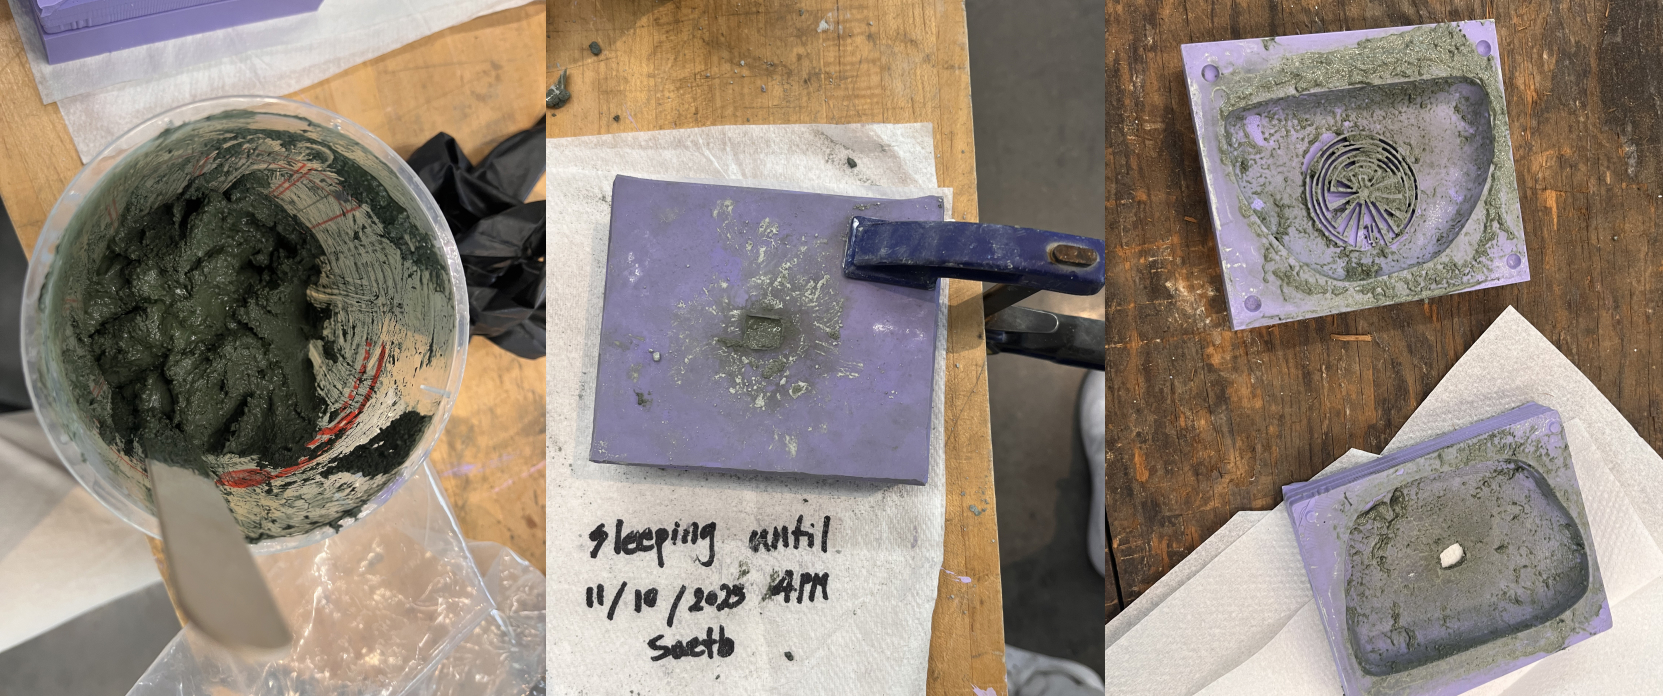
Everyone's Sleeping Molds
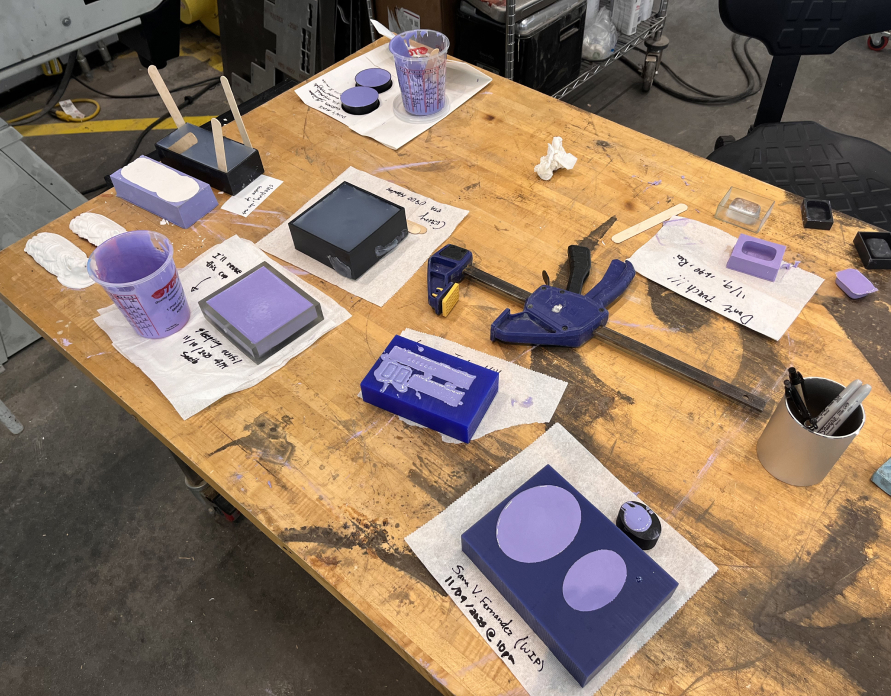
It was cute to see that everyone's mold had their own memos for sleeping time 😴