Design and Toolpath
Designing Hanging Chair


For this "making something big" week, I wanted to make furniture that I could lay down on. I decided to make a hanging chair. However, after designing it, I realized that our board was too small to cut all the pieces. My CNC machine time was on Friday, so I decided to cut only the pieces that could still assemble the basic shape of the chair.
Using CNC
Basics of CNC
Dan taught us how to use the machine and how to set the zero axis.
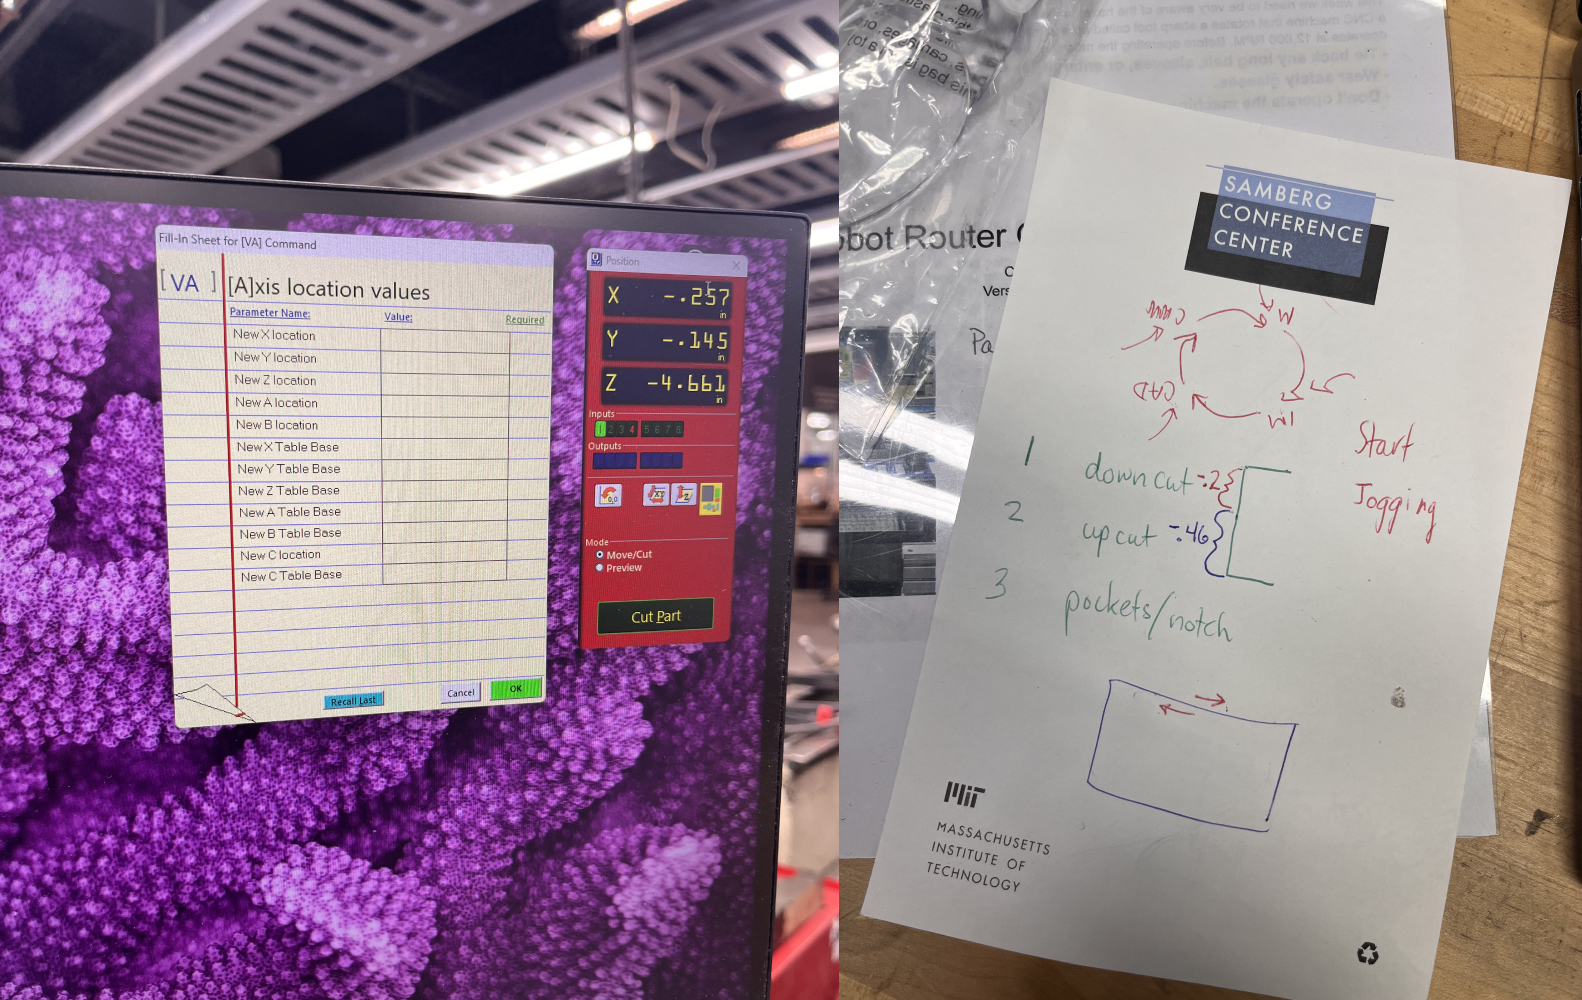
For tool selection, we have down cut, up cut, and pockets & nuts bits. Each is used for:
- Down cut: Produces a clean top edge, ideal for finishing cuts on the surface.
- Up cut: Efficiently removes chips from the cut, preventing clogging and overheating.
- Pockets & nuts: Specifically designed for cutting pockets and recesses for nuts and bolts.
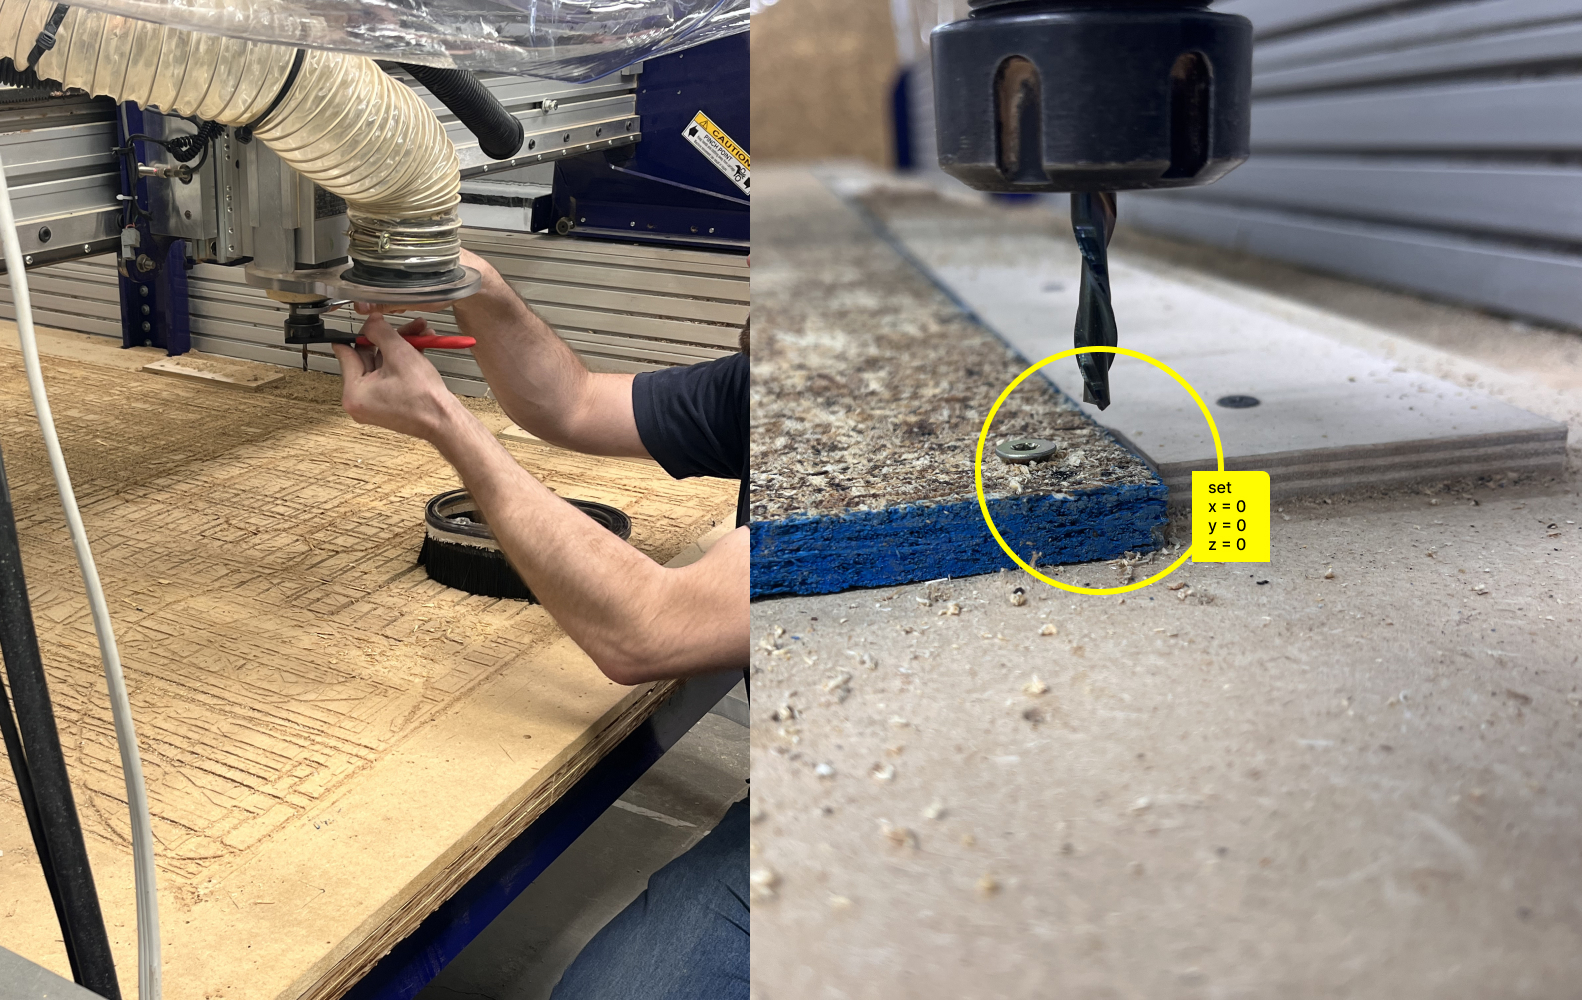
Set the machine endmill to the zero position before starting the cut and test the Z-axis zero with paper.
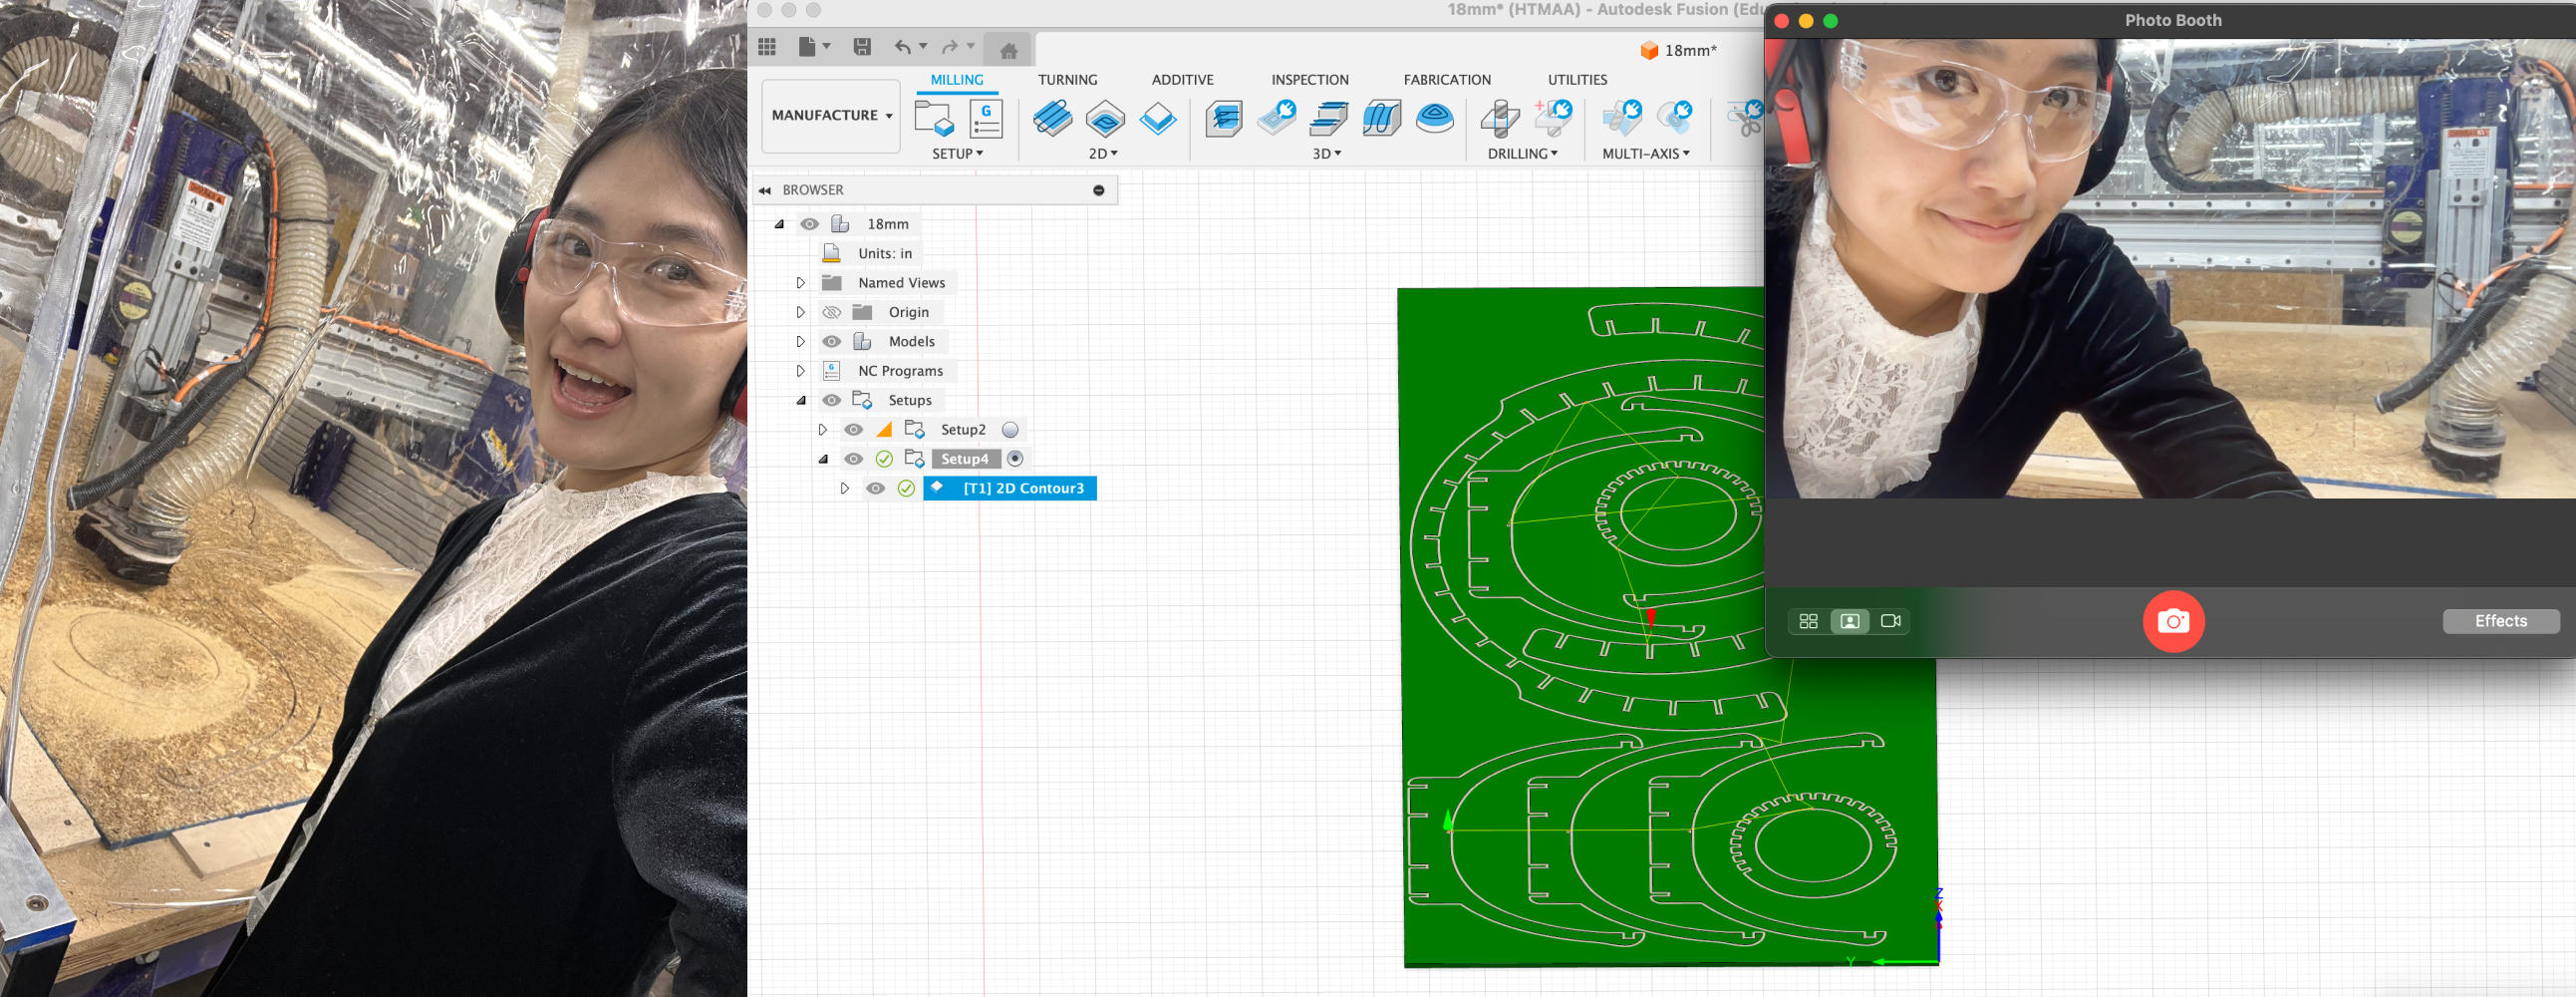
Starting the machine! BE CAREFUL!!
After Machining
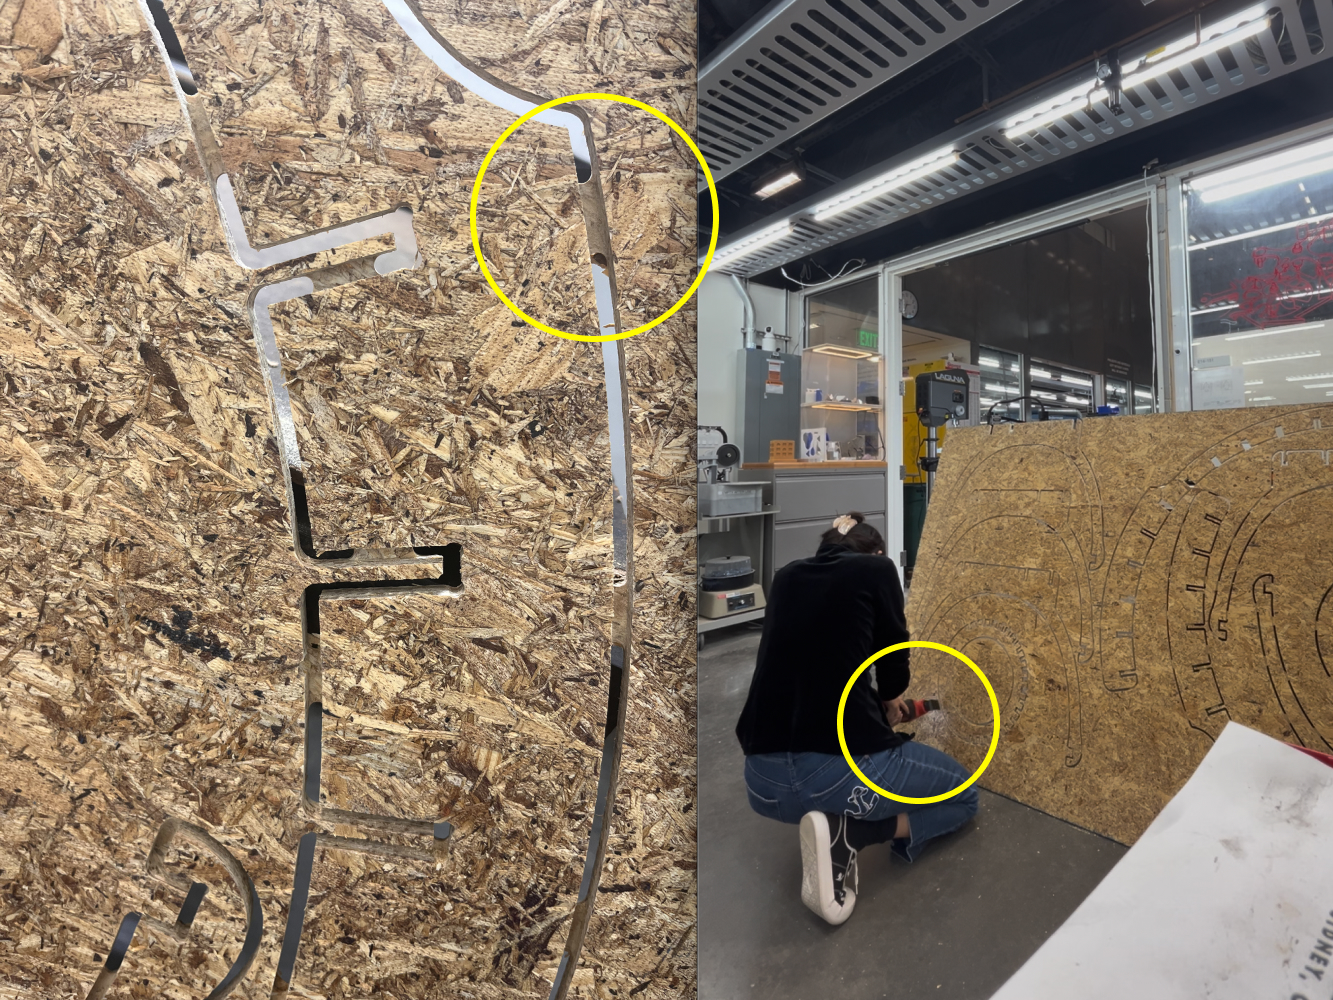
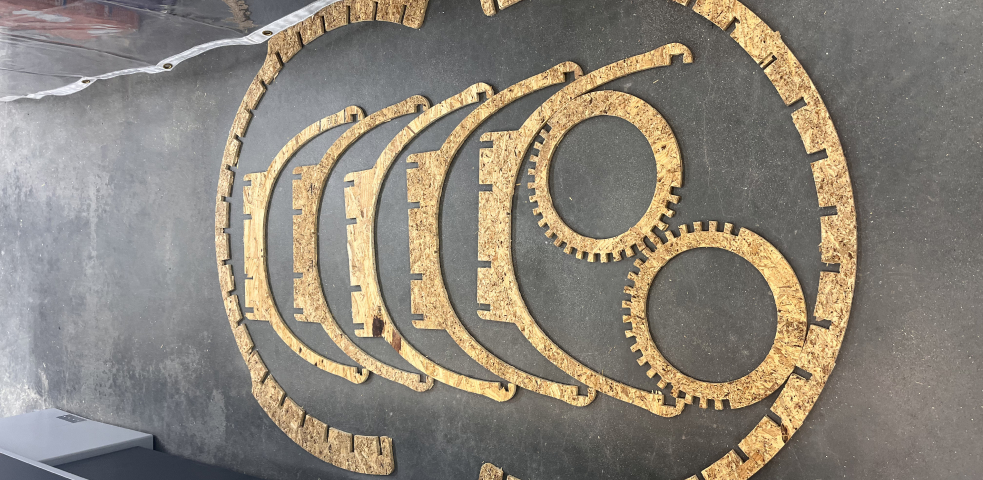
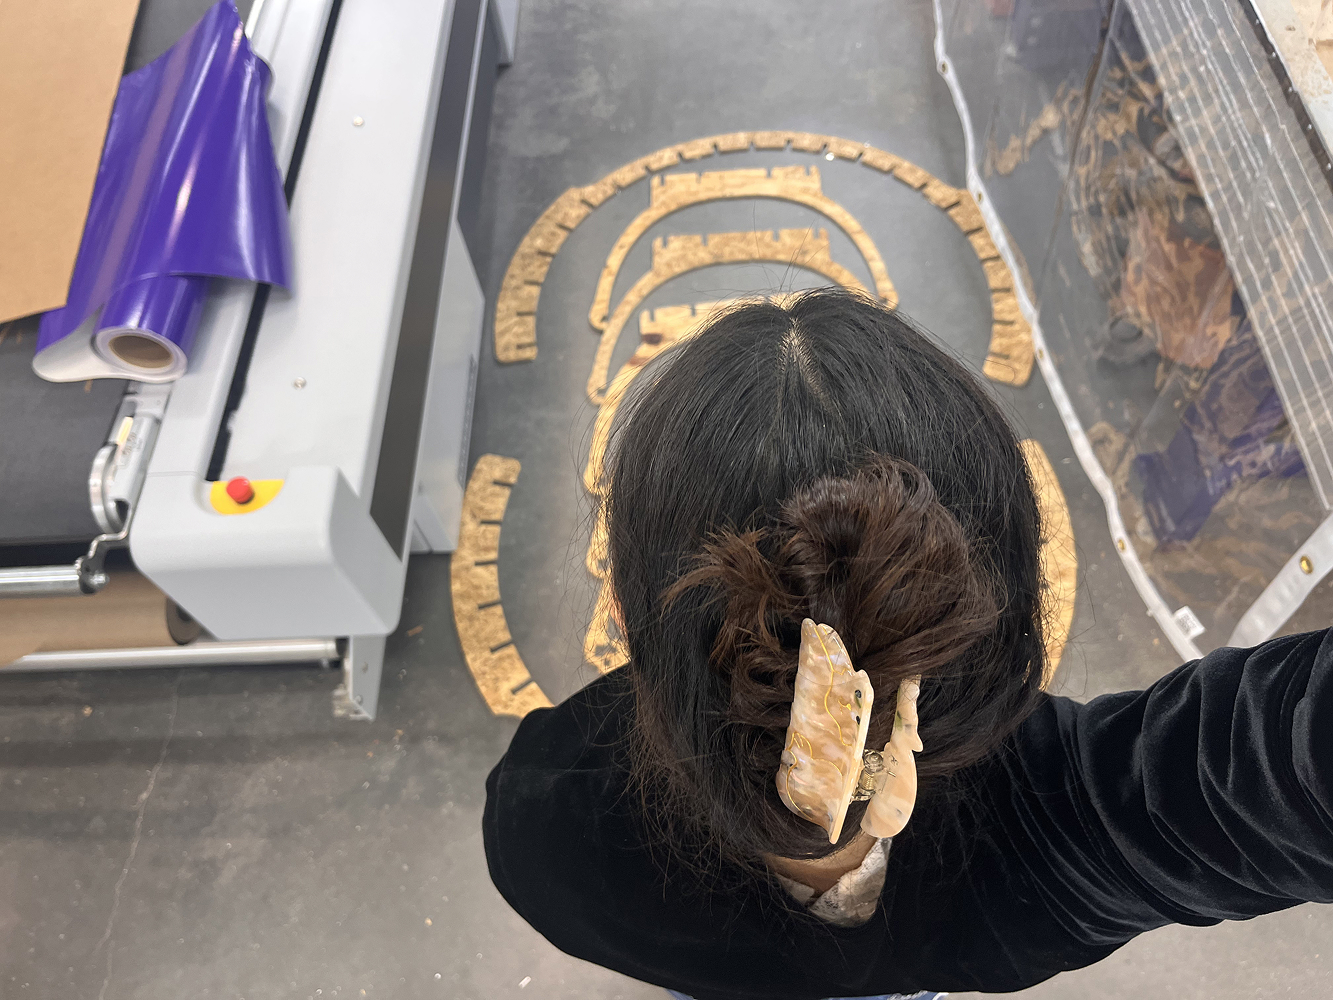
After the machining process, the pieces were cut out from the plywood sheet. They still have connections (tabs) between the pieces and the board to secure them in position during cutting, so we had to clean them up manually.
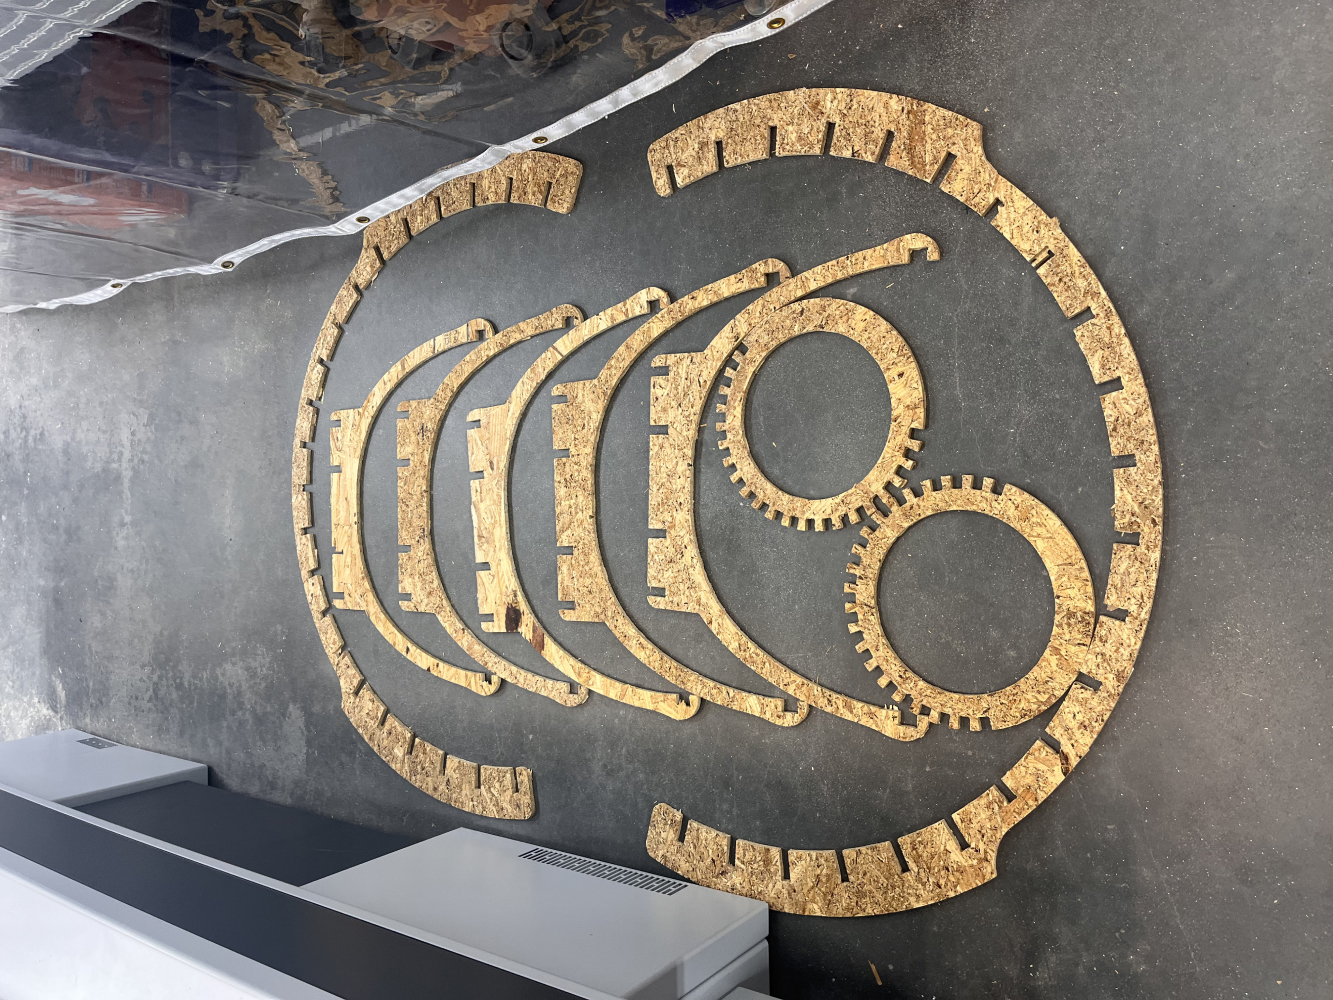
These are HUGE pieces!
Assembly
ISSUES HAPPENED....
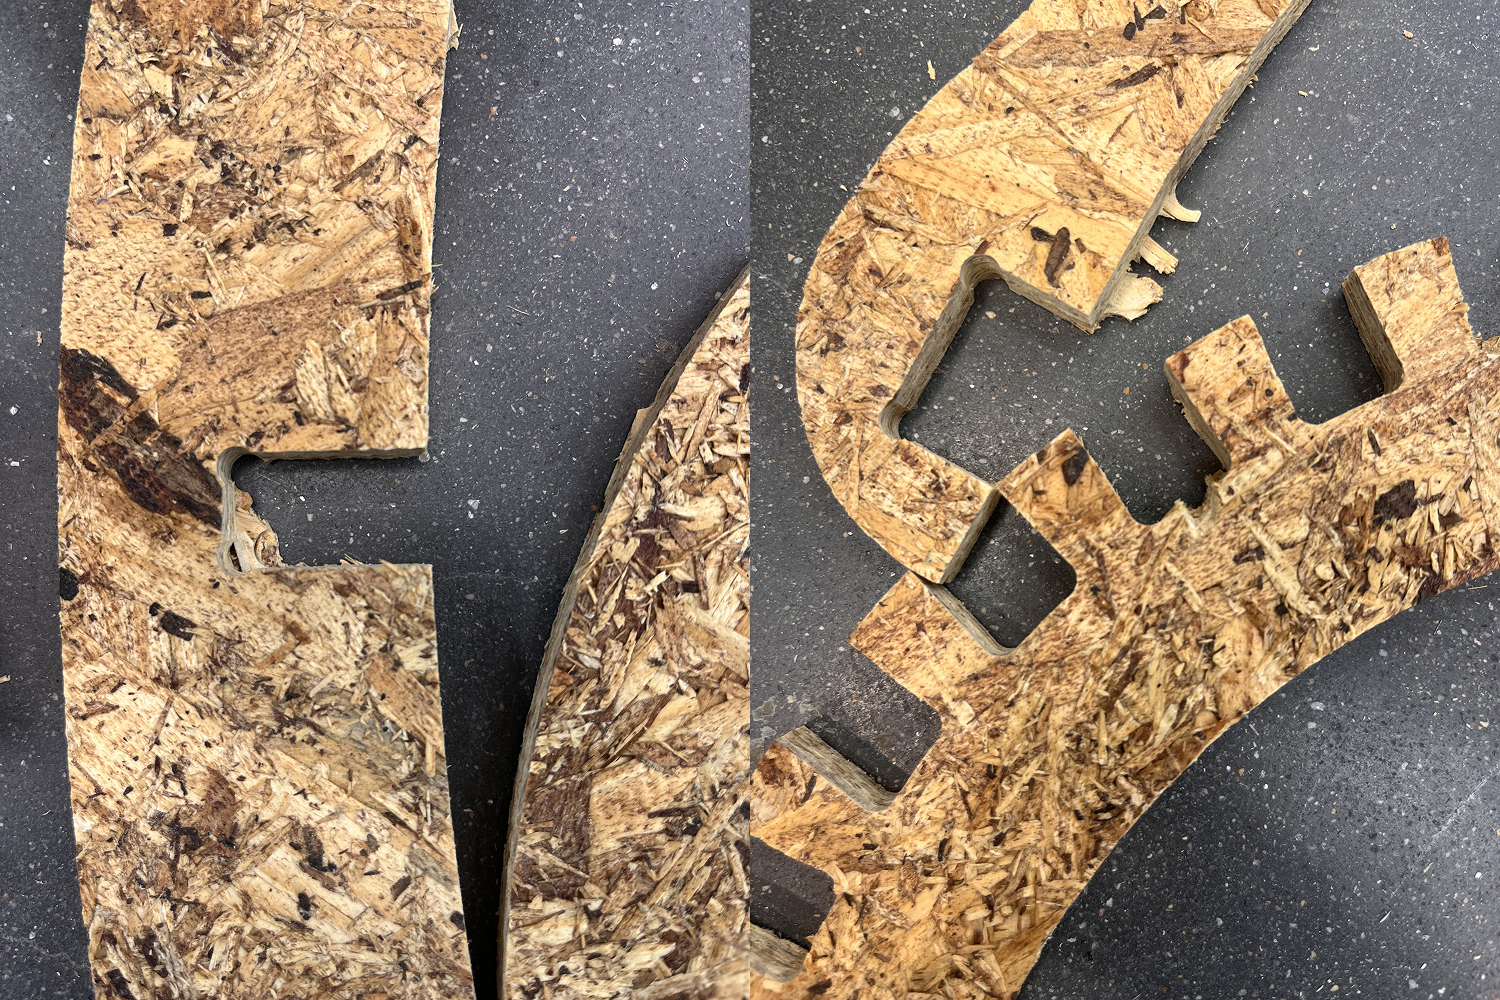
The dogbone size didn't match well enough for all the components to fit together as a puzzle.
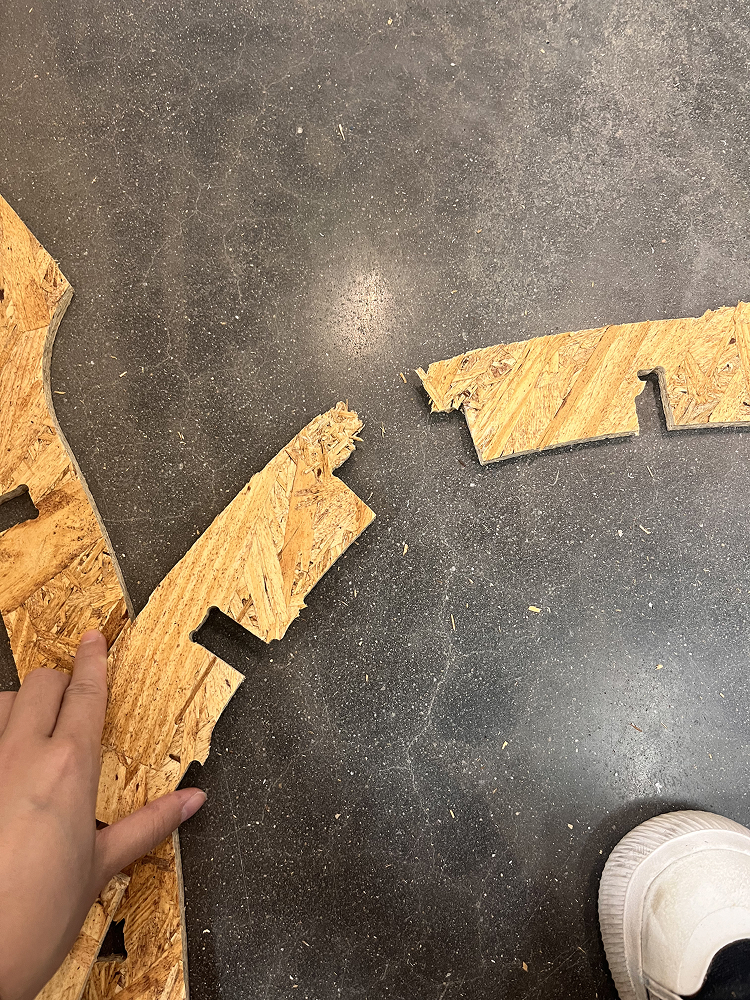
Because our material wasn't strong enough, I accidentally broke some pieces while assembling it.
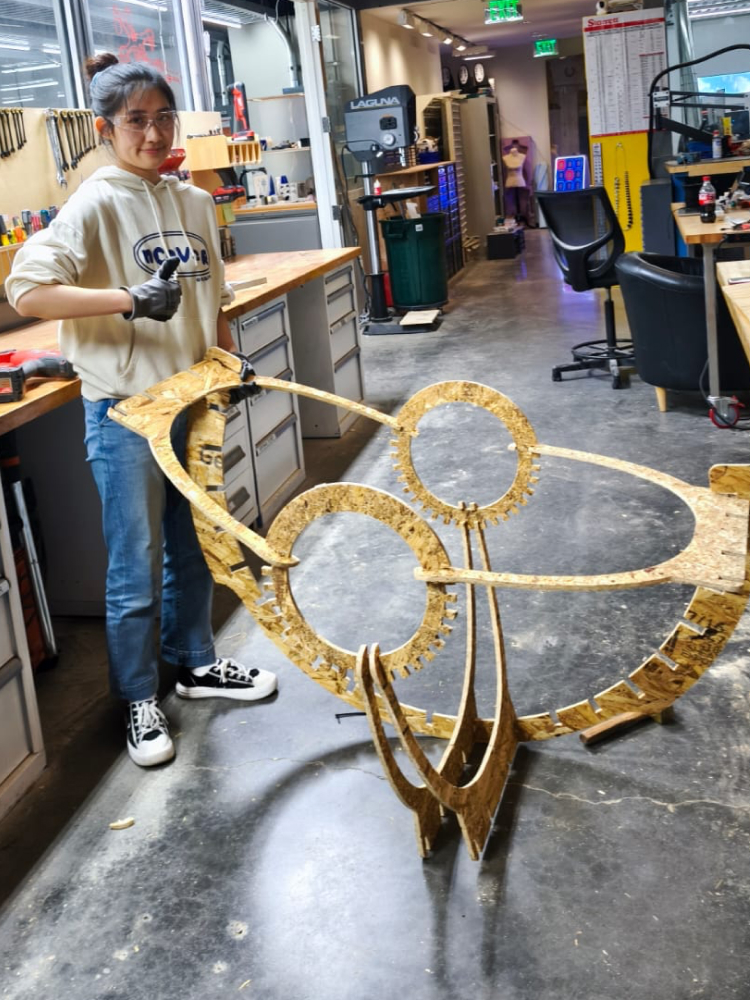
With the surviving pieces, this is the final assembly photo before it fell apart..... It was an (almost) hanging chair....
Appendix
Learning from Failures
- Size constraints matter: Always verify that your full design fits within the machine's cutting area before finalizing. My design exceeded the available board size, requiring last-minute modifications.
- Tool selection is critical: Different bits produce different finish qualities. Test cuts help determine the right tool for your material.
- Kerf compensation: Account for material removal by the bit width when designing press-fit joints.
- Material preparation: Ensure the plywood is flat and securely clamped. Any warping can cause depth inconsistencies.
- Dogbone fillets: Internal corners need dogbone fillets to allow square parts to fit properly, since the round bit cannot cut perfect interior corners.
- Material strength testing: Test the material strength before committing to a full design. Thinner plywood may not support structural loads.
- Joint tolerance: Allow for material compression and expansion. Tight fits can crack weak materials during assembly.