Molding and Casting
Group Assignment
1. With my group I learned how to safely cast and mold.
When dealing with potentially toxic substances, it is important to review their safety data sheets. This week we were to create a silicone mold and cast material into it, so I reviewed the SDS documents I found online for the substances (Fig. 1A).
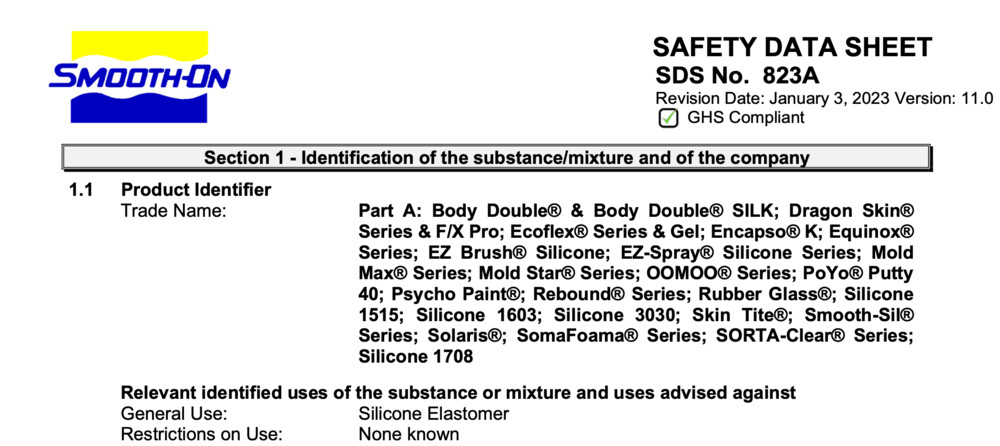
Fig. 1A. Reading the SDS for "OOMOO" silicone.
Under the guidance of Jen O'Brien, we learned how to mix and then pour the silicone into a premade mold (Fig. 1B). A tip she gave is was to ensure complete mixing though a shearing, not scooping, motion before pouring in a slowed and controlled manner.
Fig. 1B. Mixing the silicone.
To prepare for the individual assignment, Jen told us to send her a CAD file of our mold design and she would assess it to see if it would be feasible to make.
Individual Assignment
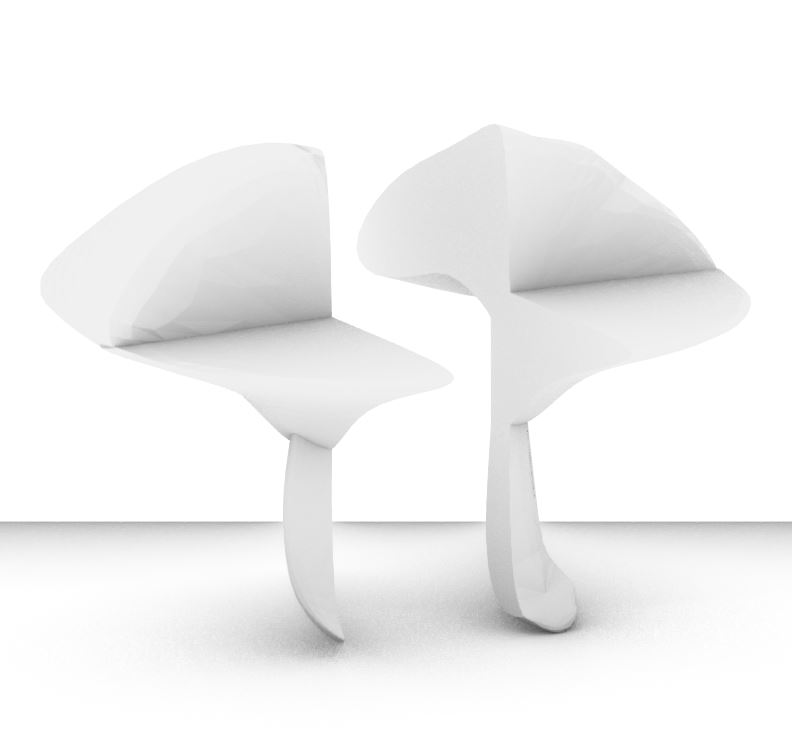
2. I designed a mold and casted an abstract mushroom-inspired form
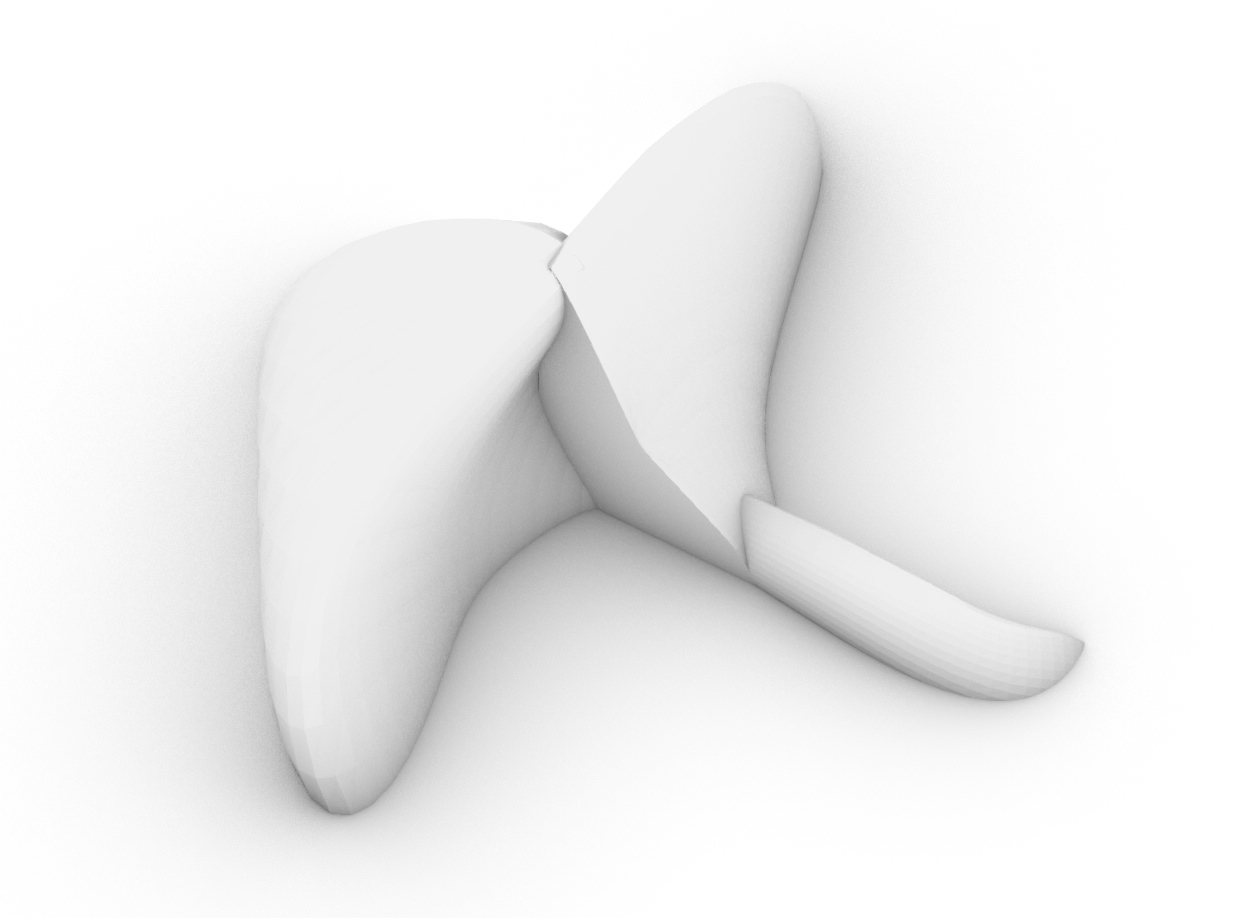
This file above is the 3D I designed that is inspired by mushrooms
Jen provided us with a template of the machinable wax that would serve as the positive mold to be used to create a negative mold out of silicone. This CAD file included a the design split into two parts in the machinable wax, a representation of the maximum volume available to design a part, the tool part that would be used to mill the wax, the registration features that hold the two halves of the mold together, and the inlet for pouring the casting material into the mold.
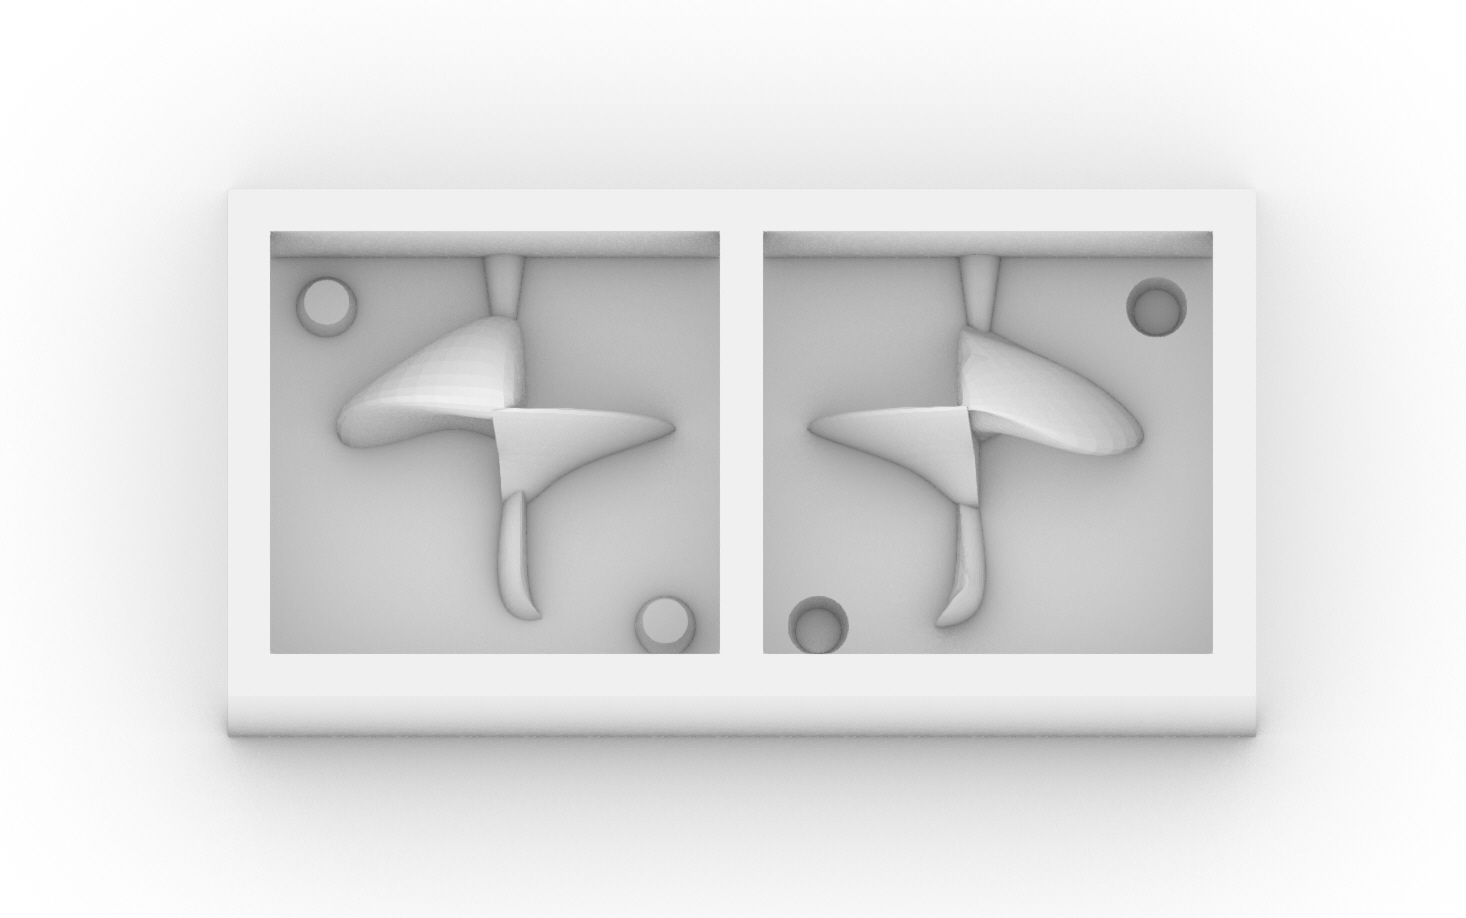
This is 3D view my mushroom object split in half and modeled into a castable wax mold to be milled.
Then I converted the rhino file into .step format and submitted to Jen.
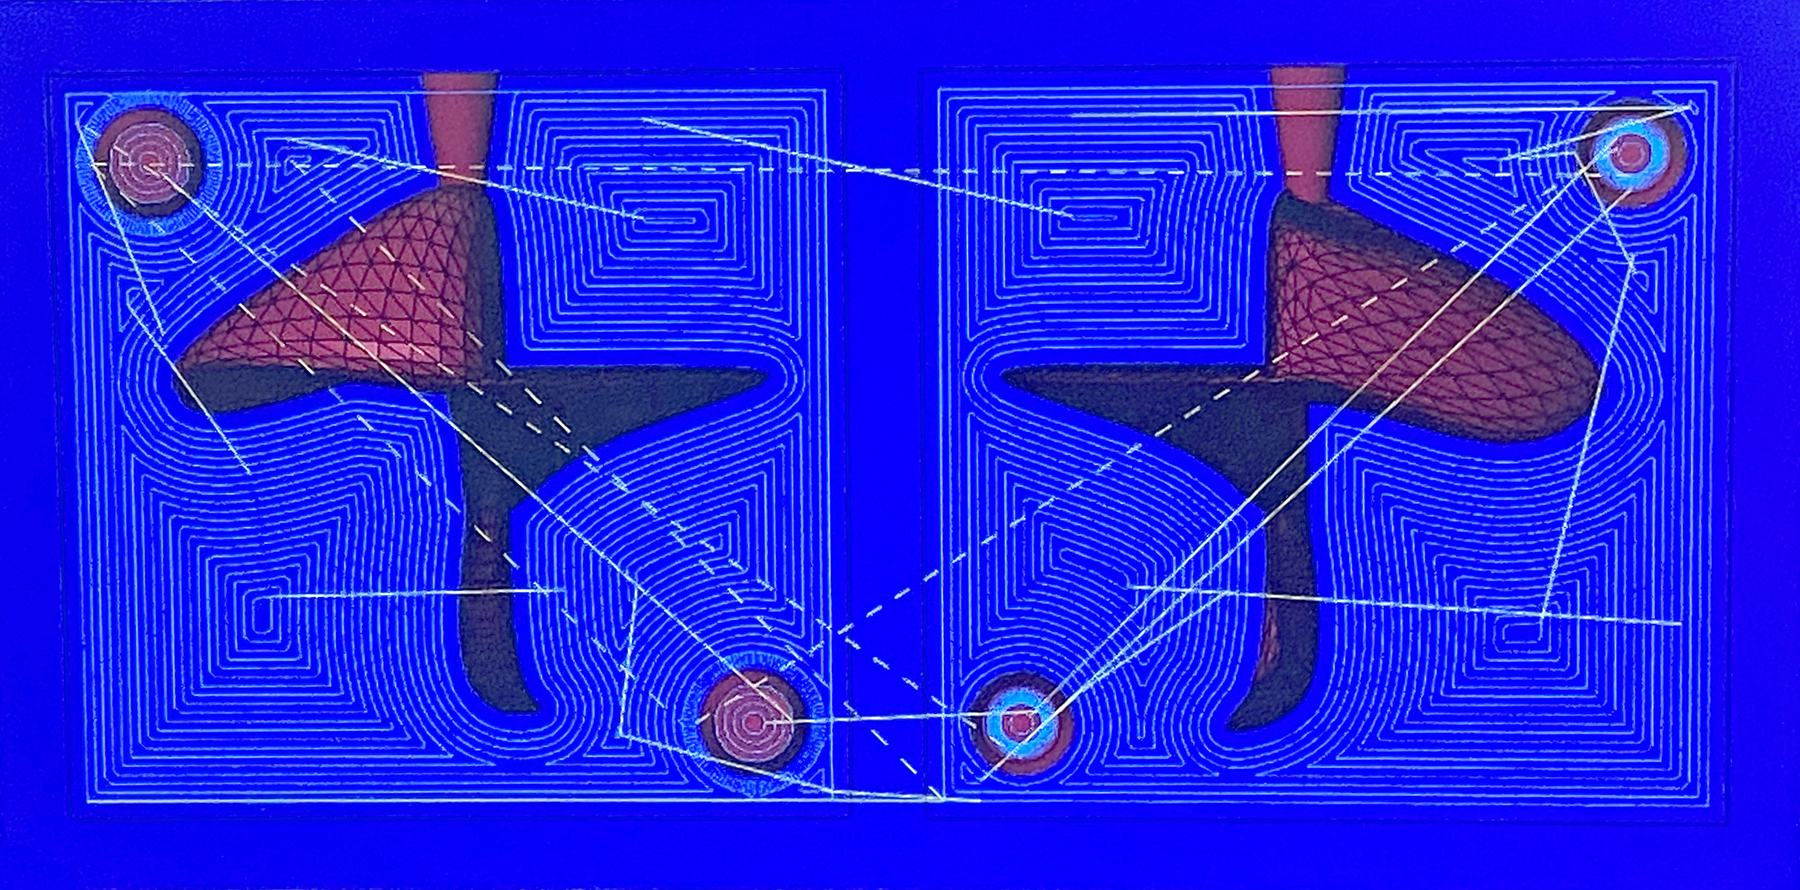
Before submitting the file to the milling machine, this is how the file looks on the screen with the toolpath pre-configured.
Since my object has many curved surfaces, I consulted with Jen whether the mold will be milled accurately, and Jen mentioned that most likely not, due to the limit of the milling machine only operating similarly to a vacuum former being able to shape an object from the top, and that any edge surface sloping downwards should slope outward instead of sloping inwardly and creating a pocket that a milling cutter cannot reach. My object had an edge that folded inwardly and creating a negative space that would make the machine impossible to carve the area all the way like the picture above.
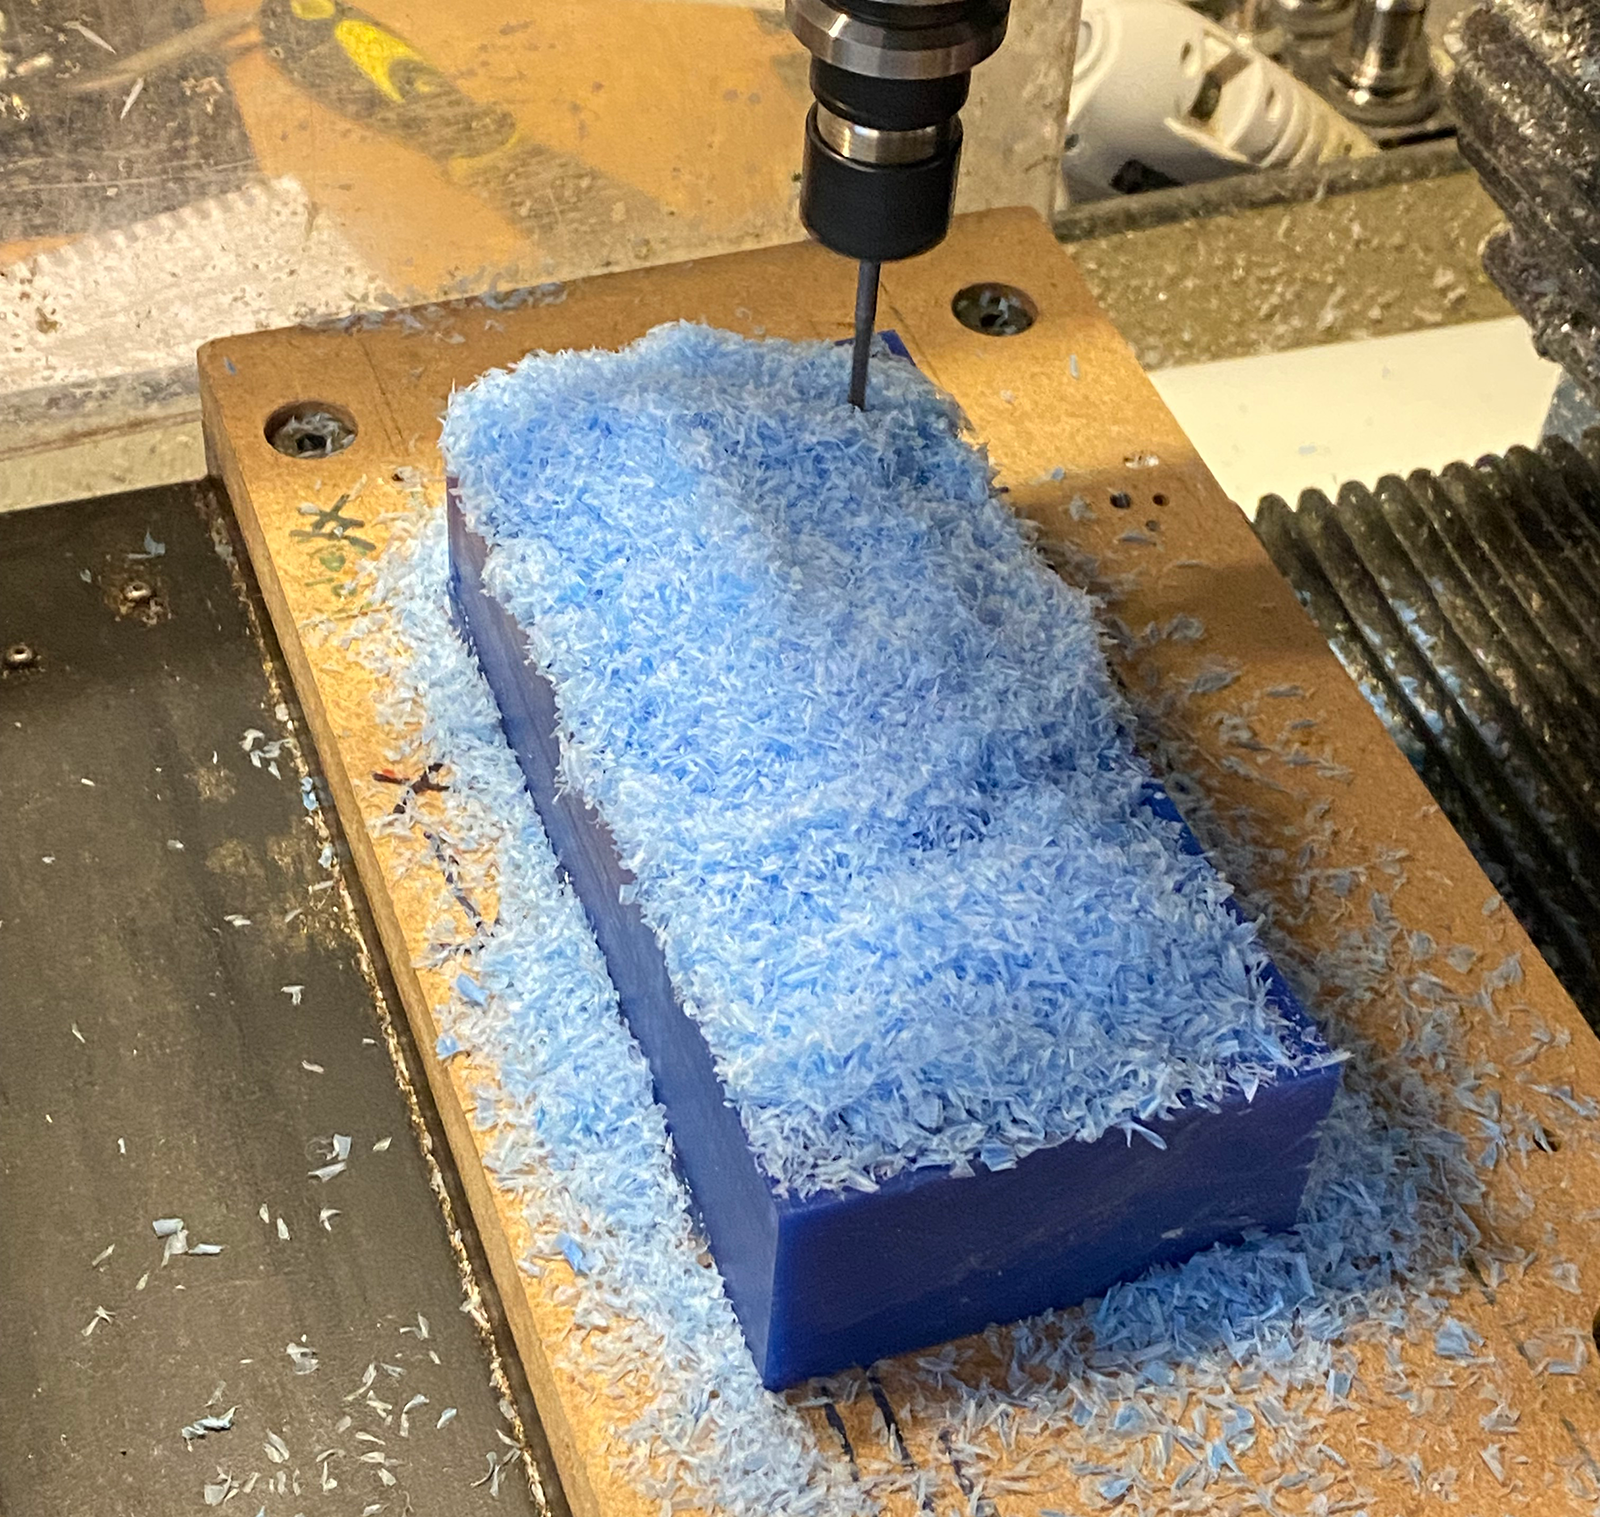
Wax milling in process. I think the whole milling process took a couple hours.
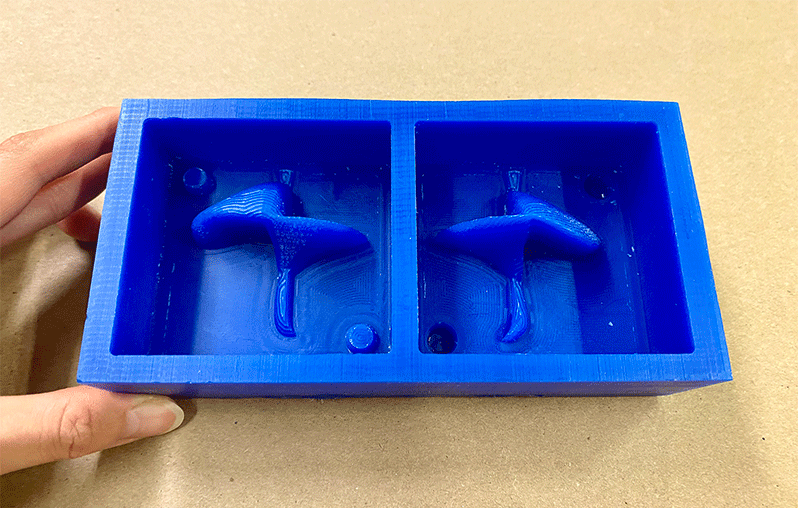
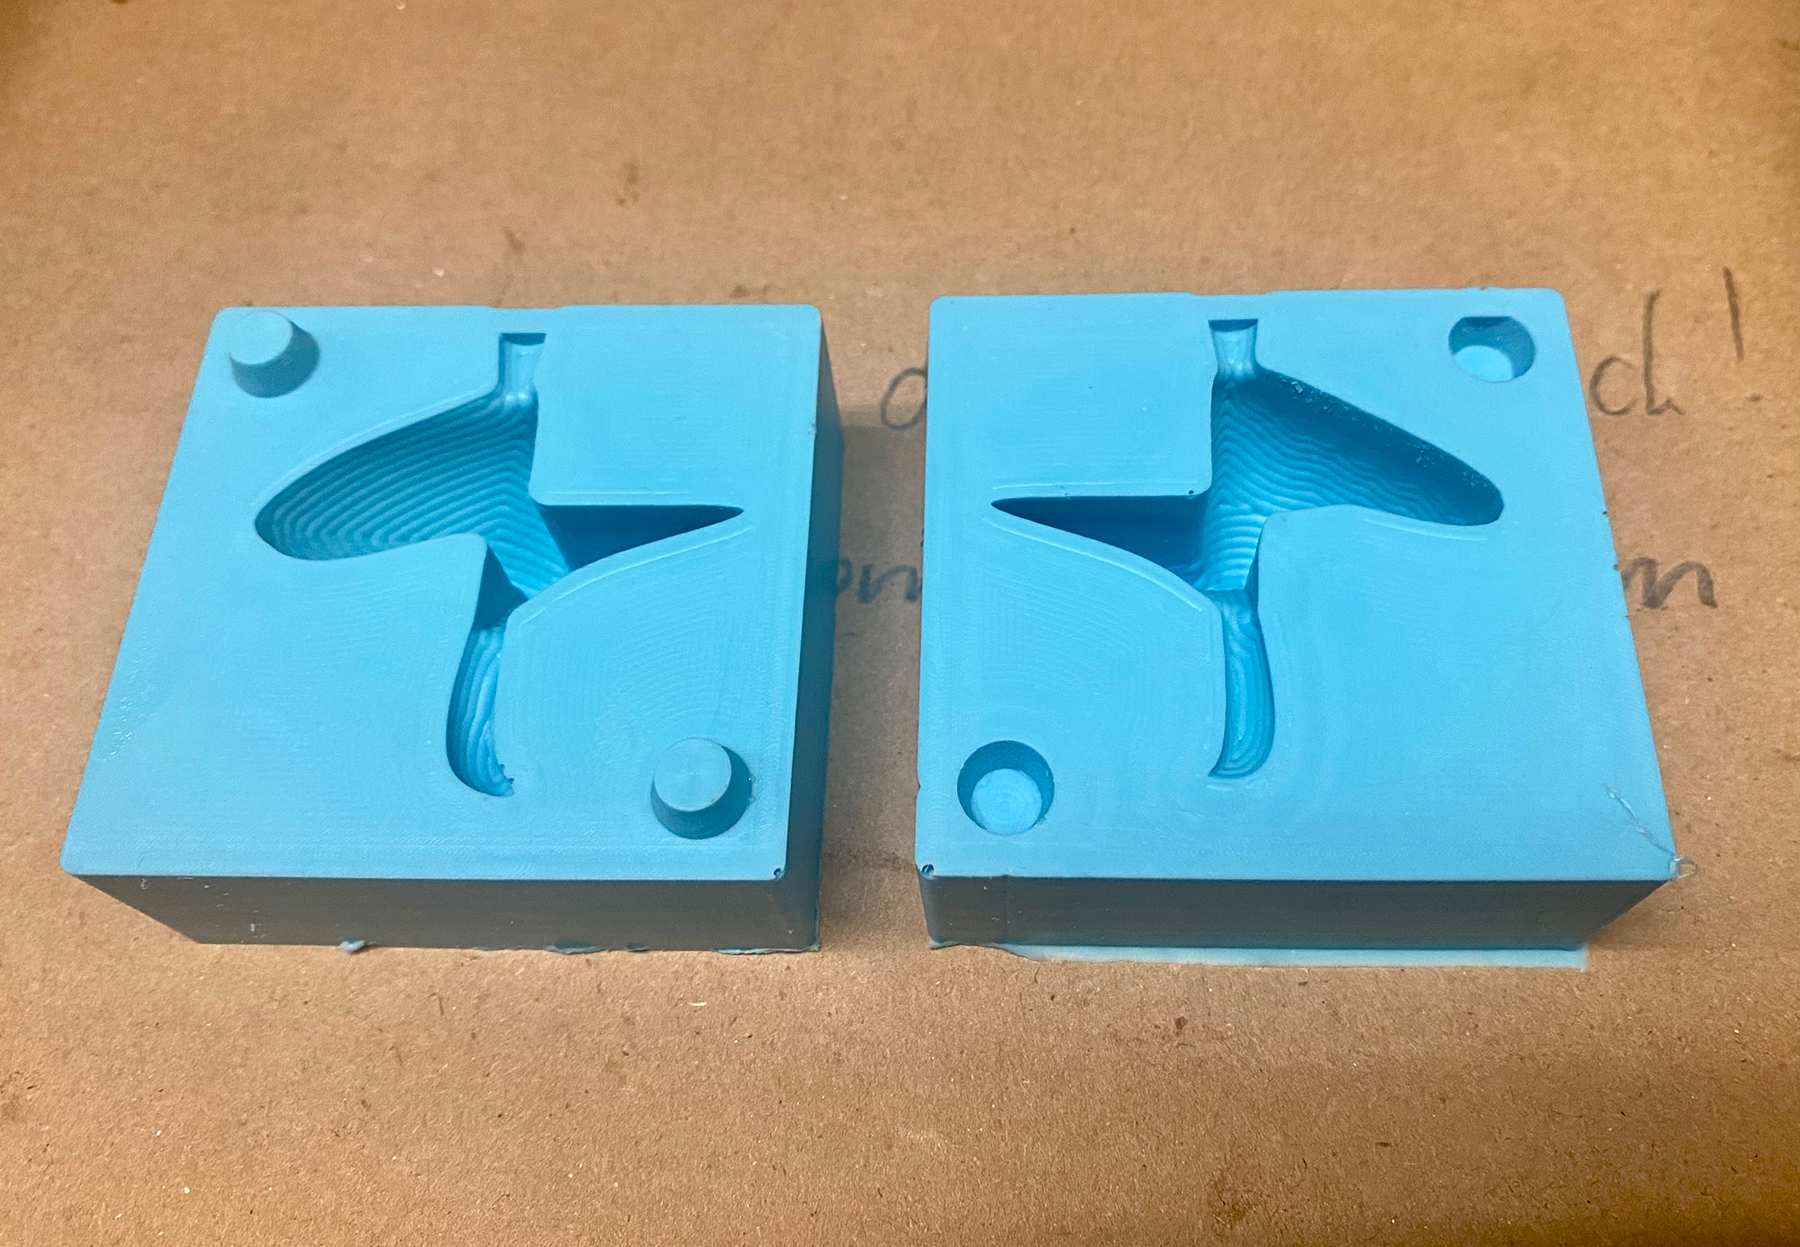
The is the end result of the mold after the milling is finished. The surface does not look as smooth as some of the examples shown in the class. Regardless, I was happy with how it turned out. I even liked the texture created from the tool path of the milling cutter.
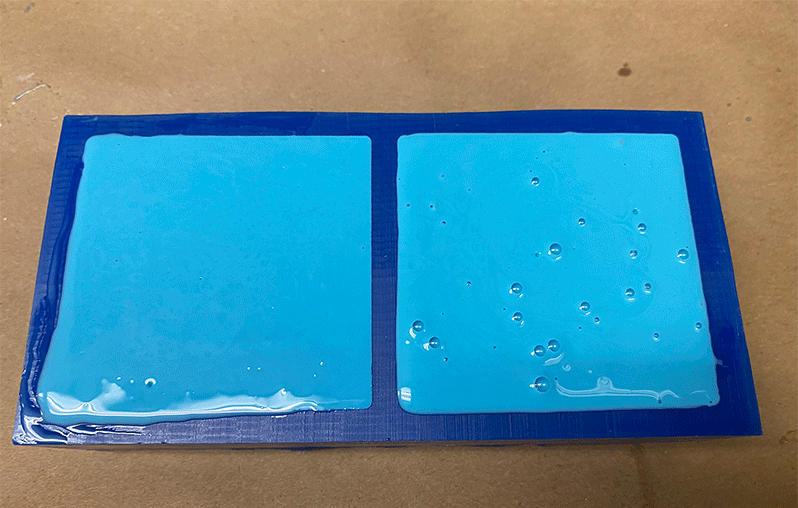
The image above is after pouting the 50:50 OOMOO silicone mixture into the mold. There were a lot of bubbles on the surface.
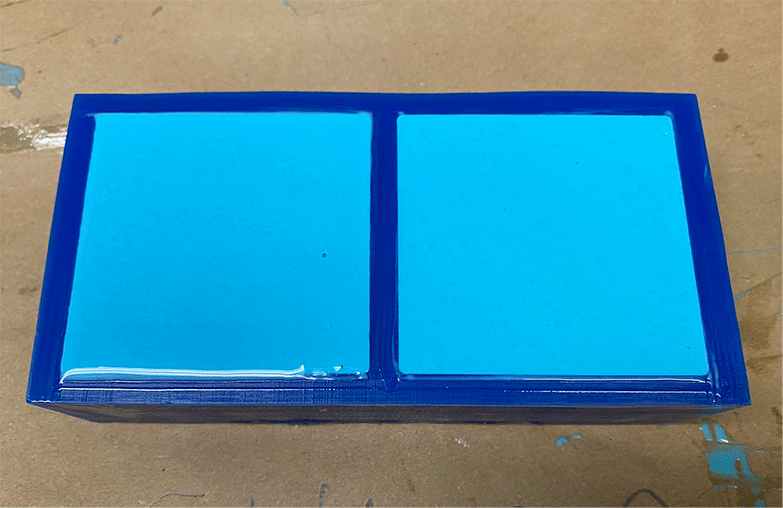
The image above is after spending a few minutes gently holding the mold above the table and dropping it multiple times until all the bubbles got out.
After waiting ~3 hours for the OOMOO mixture to cure, the two molds turned out pretty clean. No holes created from the bubbles, it captured all the negative space to be casted.
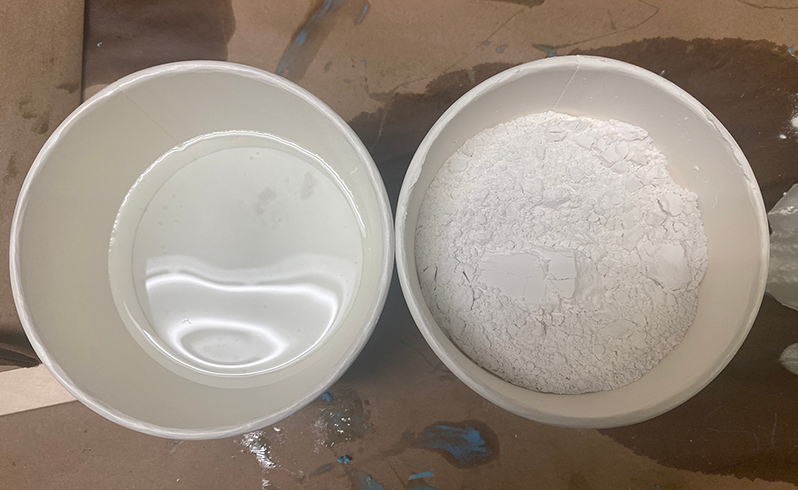
The next step was to mix the drystone powder with water until reaching the right consistency of sticking in a finger and getting it coated.
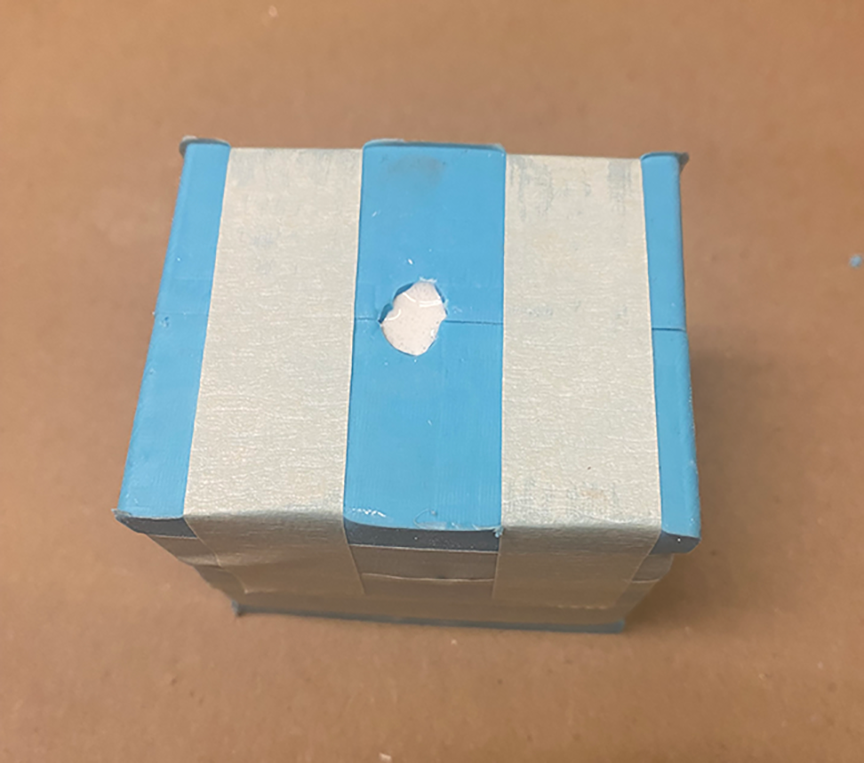
This is after the drystone mixture has been poured into the mold. I tightened the two molds together to prevent them falling apart. Due to the inner space of my mold being extremely narrow and a bit complex, I had to keep sticking a thin needle like object into the hole while pouring to ensure that there are no air bubbles trapepd inside.
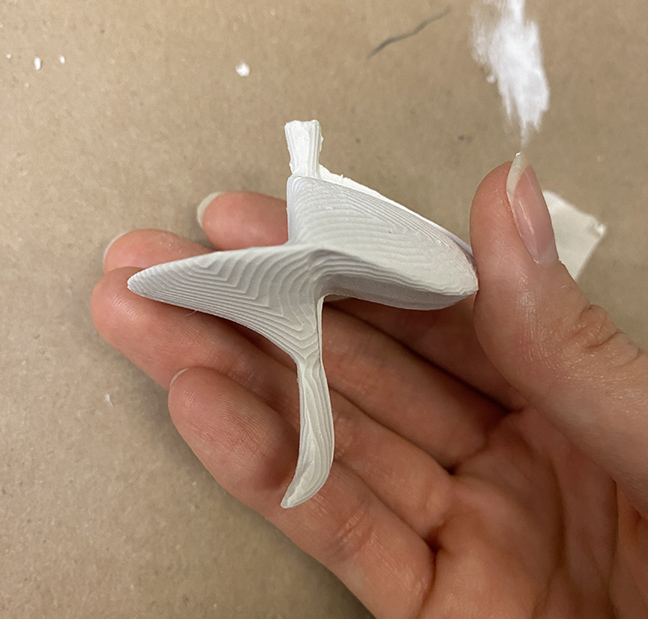
The casted object was taken out of the mold approx. 30 min later pouring. It came out as a whole! Unexpected, as I expected that only part of the mushroom shape would be casted.
The result with the beautifully imperfect texture with a little horn added to the shape as a residue of pouring. I acknowledge that this is not a perfectly casted object as the two parts do not align precisely. However, I learned a lot during the process and now have a better idea of how I want to split and place my mold object in the future. Next time, I would like to cast with chocolate.