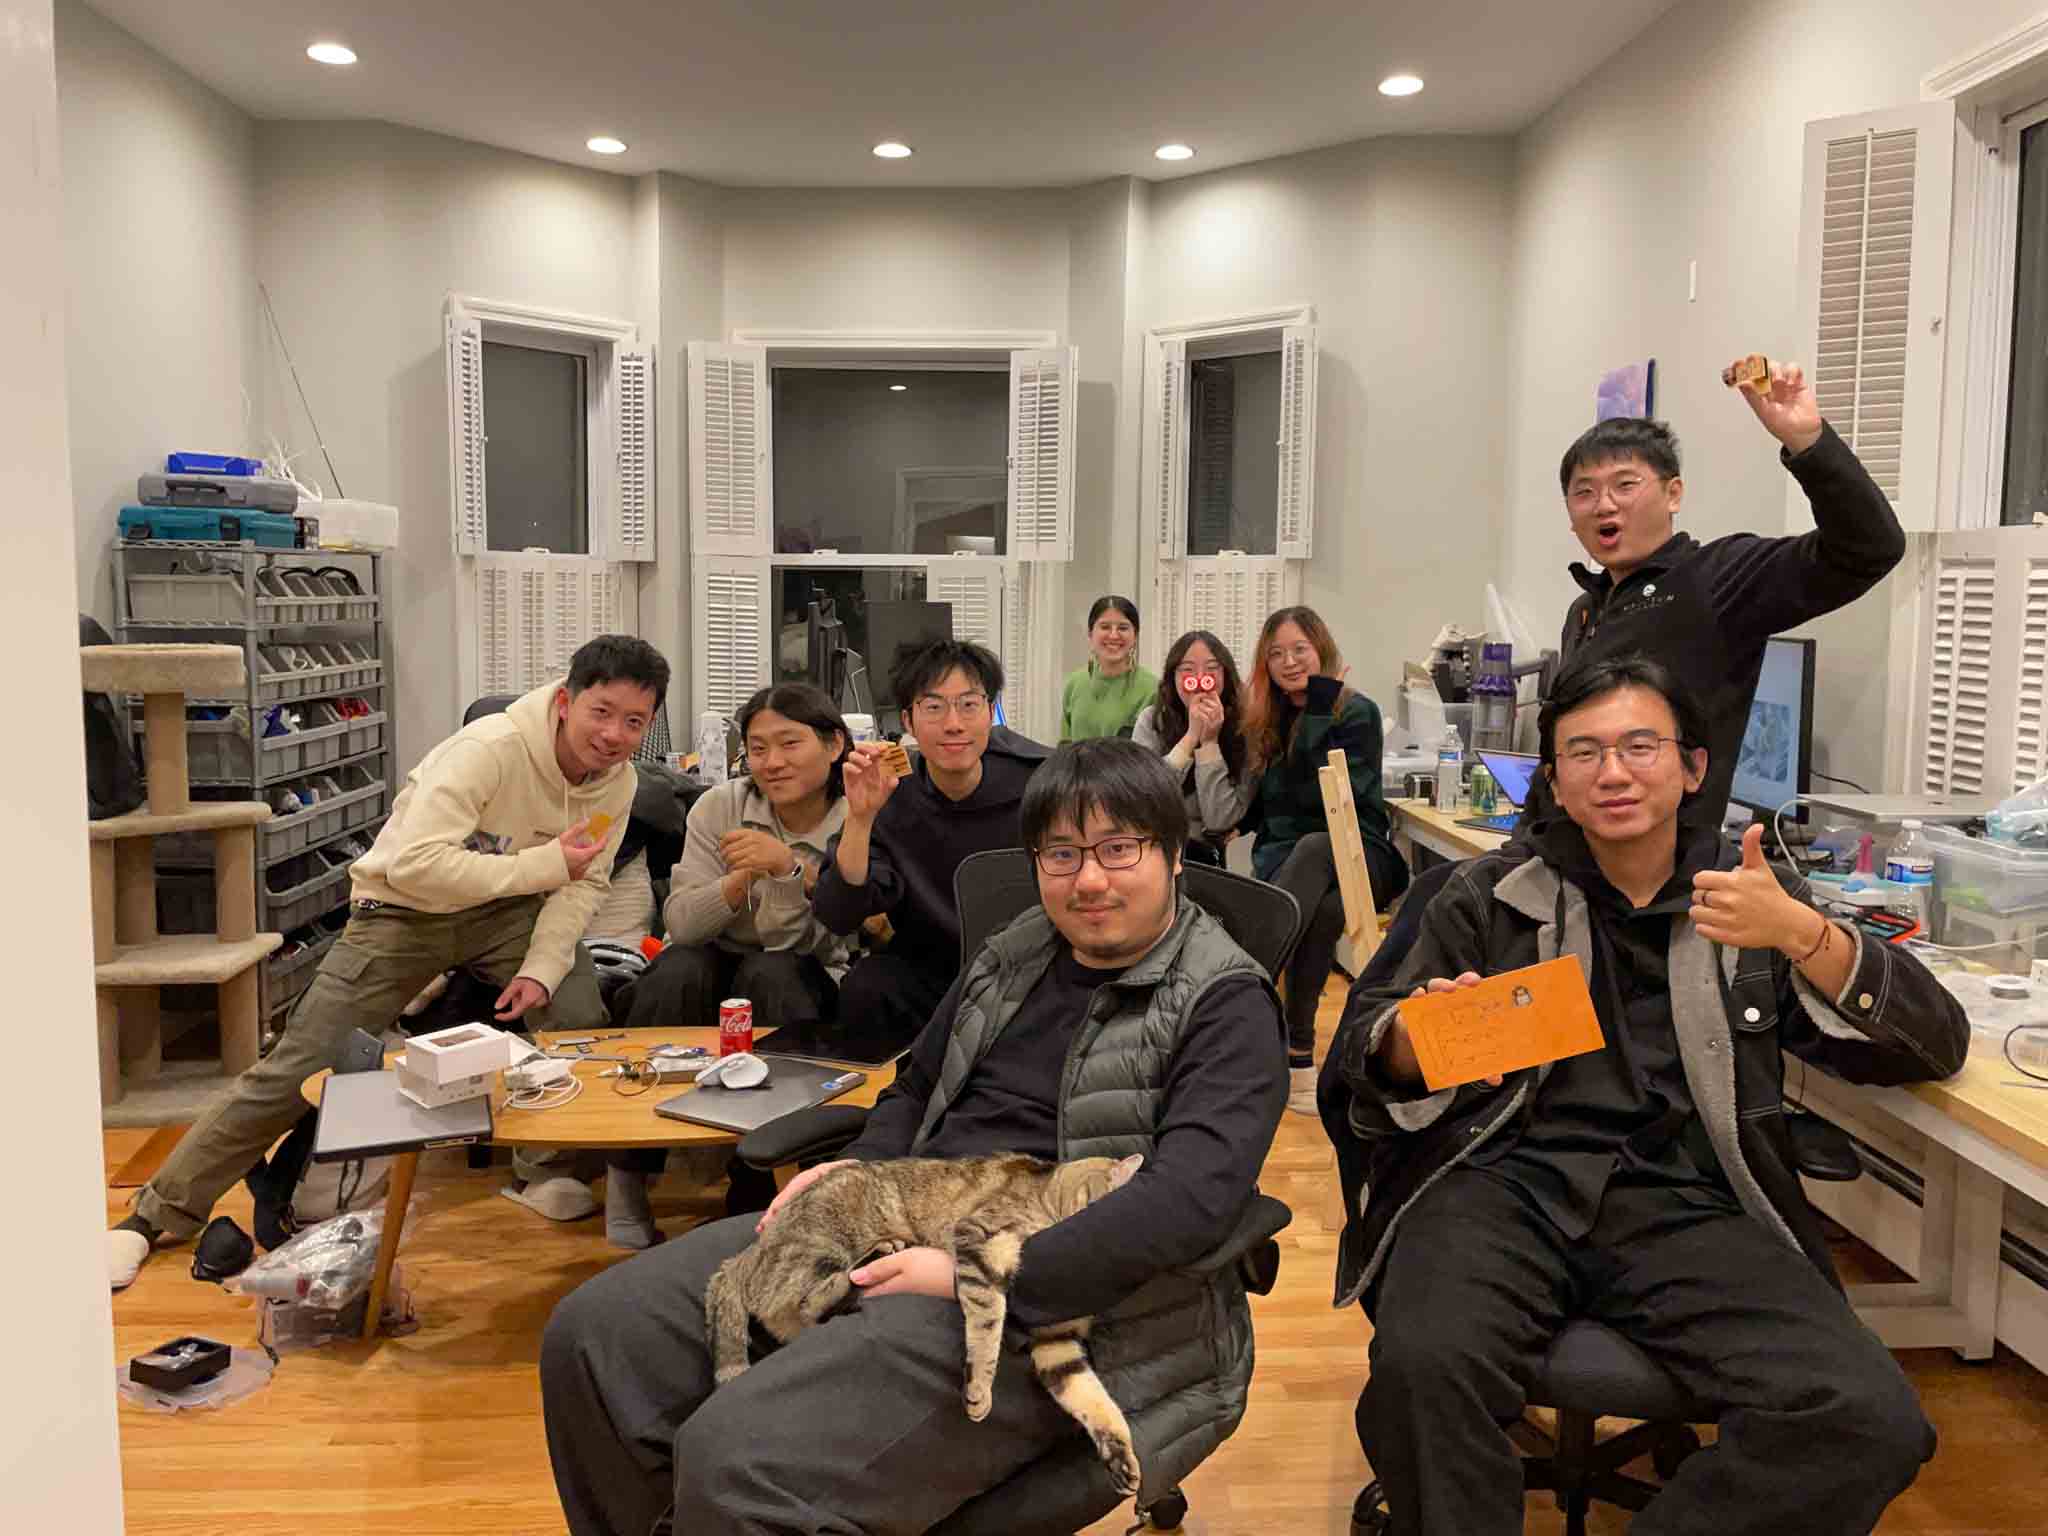
2:30am on a tuesday night.
For the final project, I want to recreate my childhood memory in the form of a card game reader.
Battle card games like Yugioh usually is accompanied by an anime series. In the Yugioh anime, the charactors battle their cards on these advance hologram machines that bring the monster into real life.

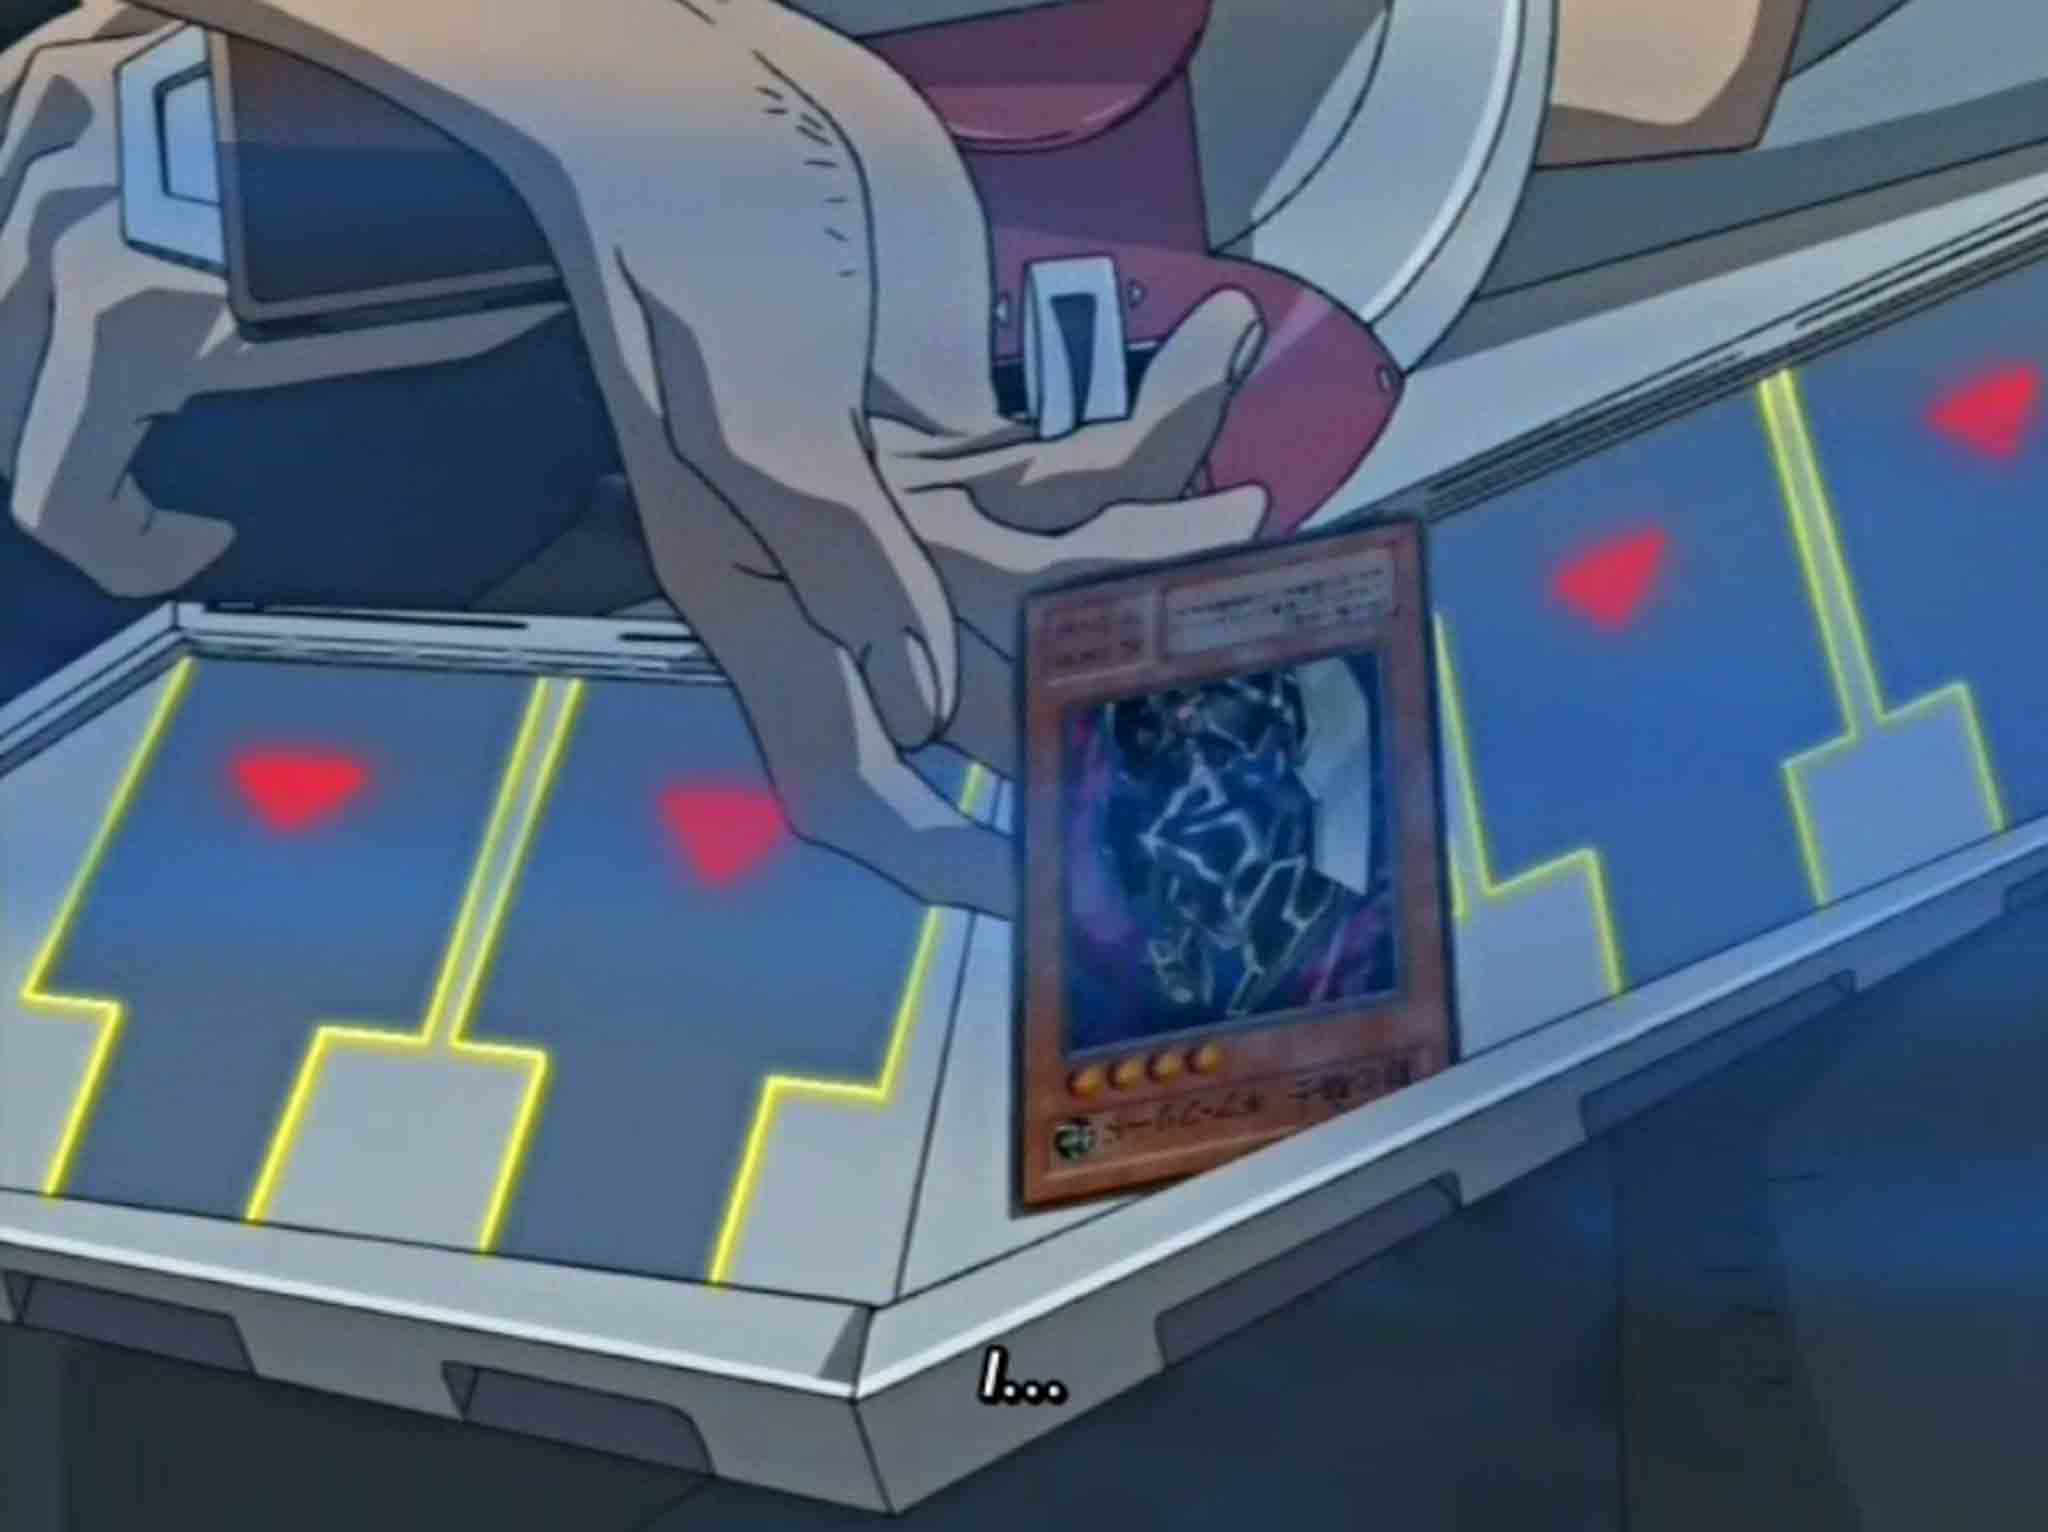
The battle stadium in the anime look like so:


My friend Lingdong and I played alot of Yugioh this semester as an outlet from working and staring at the computer screen. But the card game is very tedius and requires alot of thought. We then decided to create our own card game that simplify this experience.

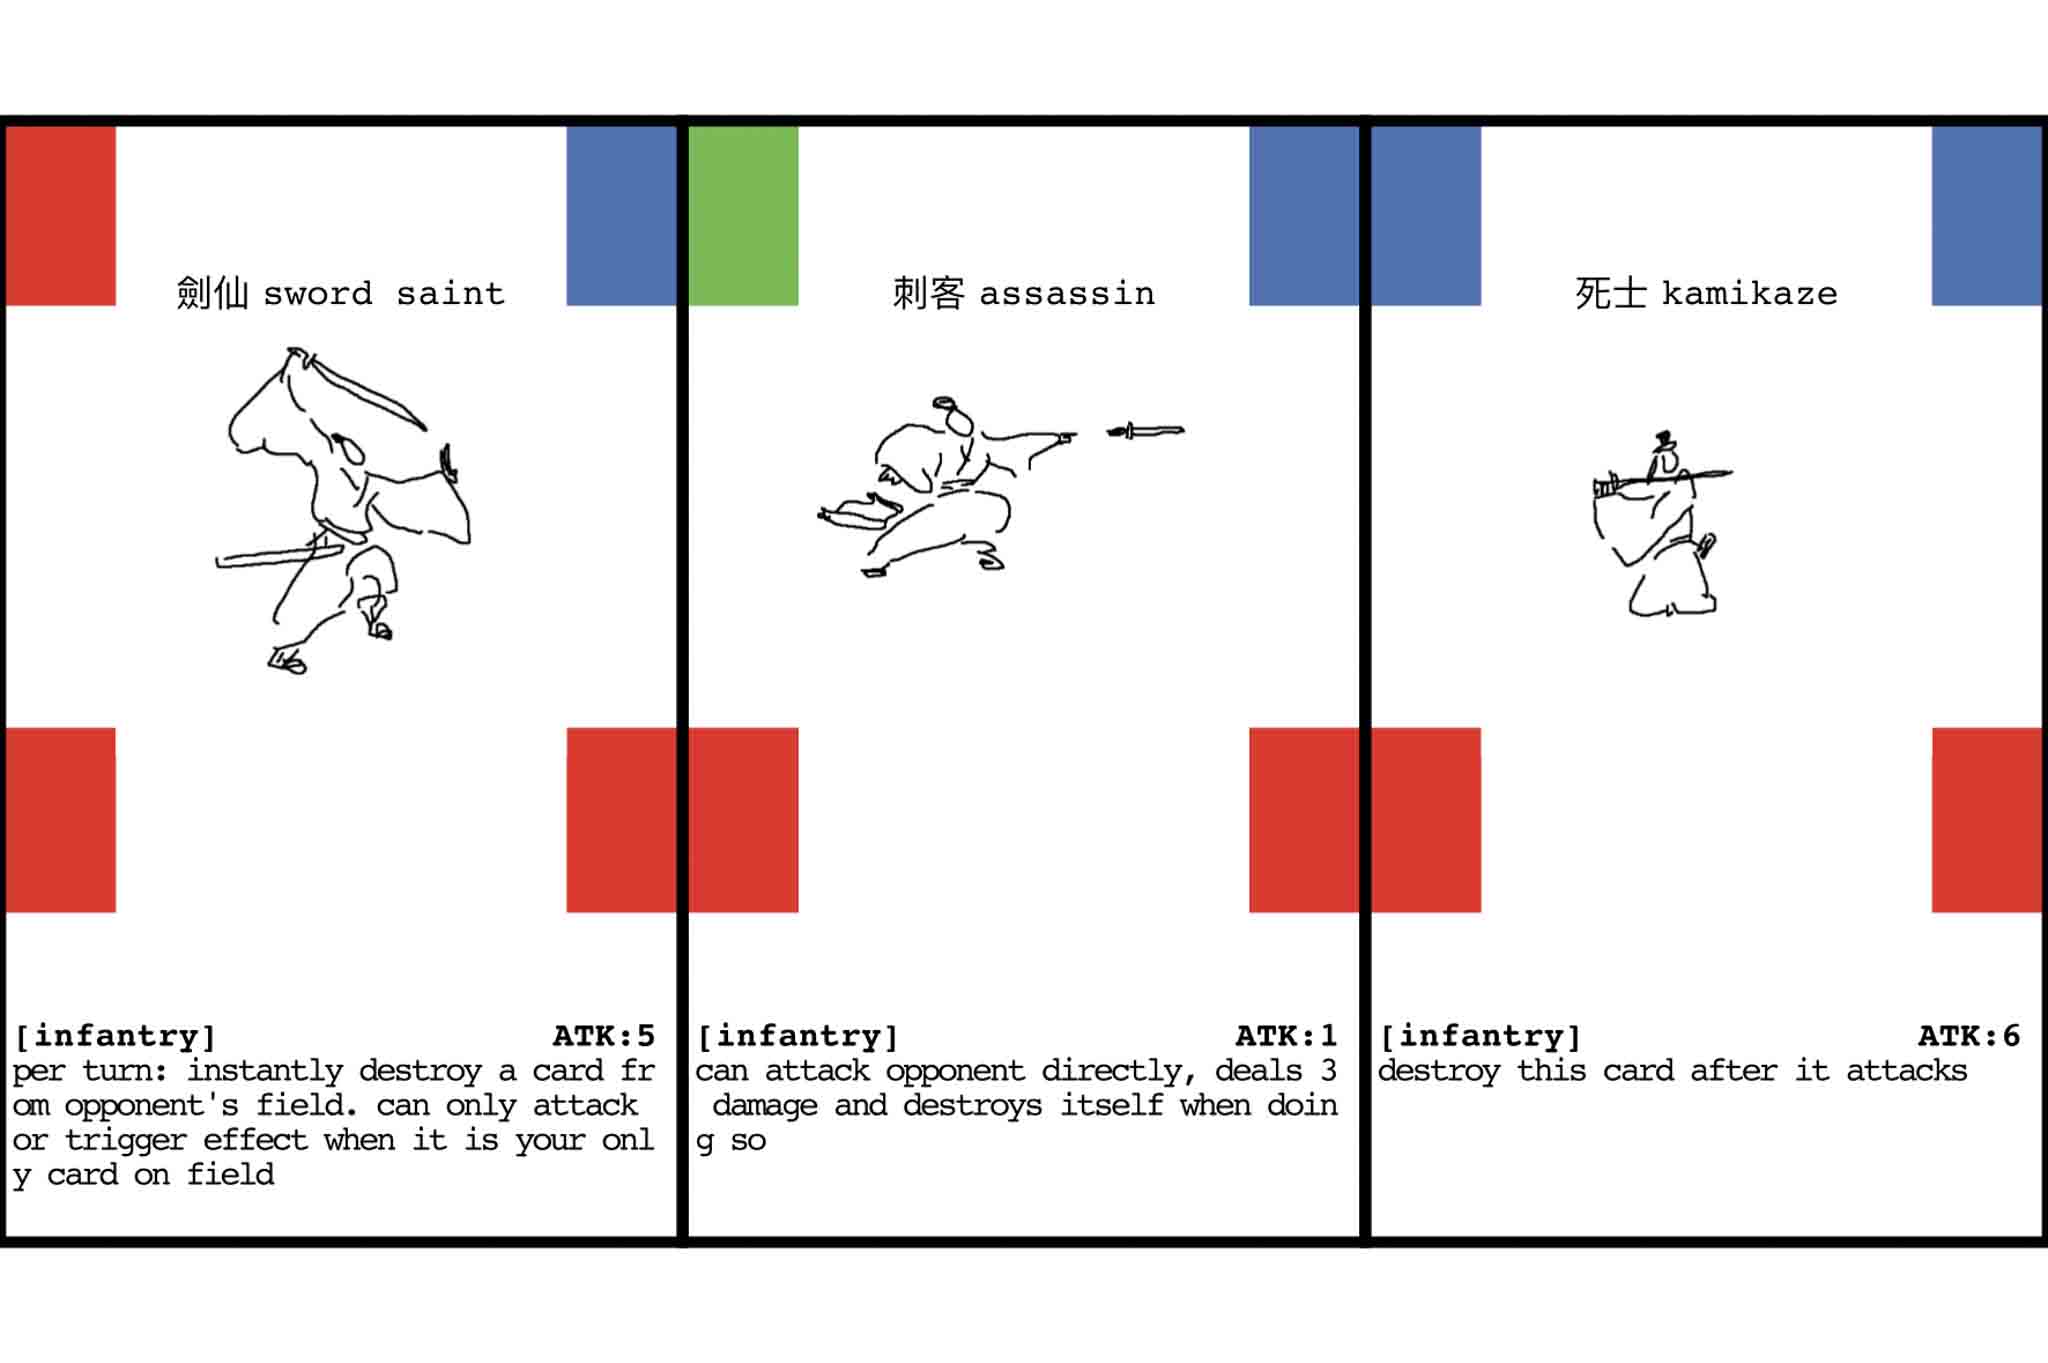
We play tested our game with a lot of friends but many people found it confusing and hard to remember all the effects and stats change. We thought it would be helpful to create a machine like the ones in yugioh to help user calculate stats and remember effects, and down the line, we can add more special features to make the game more dynamic.
We used a simple script to assign different RGB color combination to the charactor designs.
To recongize the cards, I used the color recongizing trick with phototransistors from one of the sensor tutorial earlier in the semester, here is the inital protoype for testing:


I tested the sensor with a photo printer printed color square, and to ensure we can recongize each color accurately I used 4 squares to have different combination.
After testing one phototransistor module, I made 3 more to see if they can all be recongized at the same time.

With this, I realized that the color patches needs to have some distance between each other and ideally should be enclosed to ensure the RGB led doesn't bounce on to other color squares.
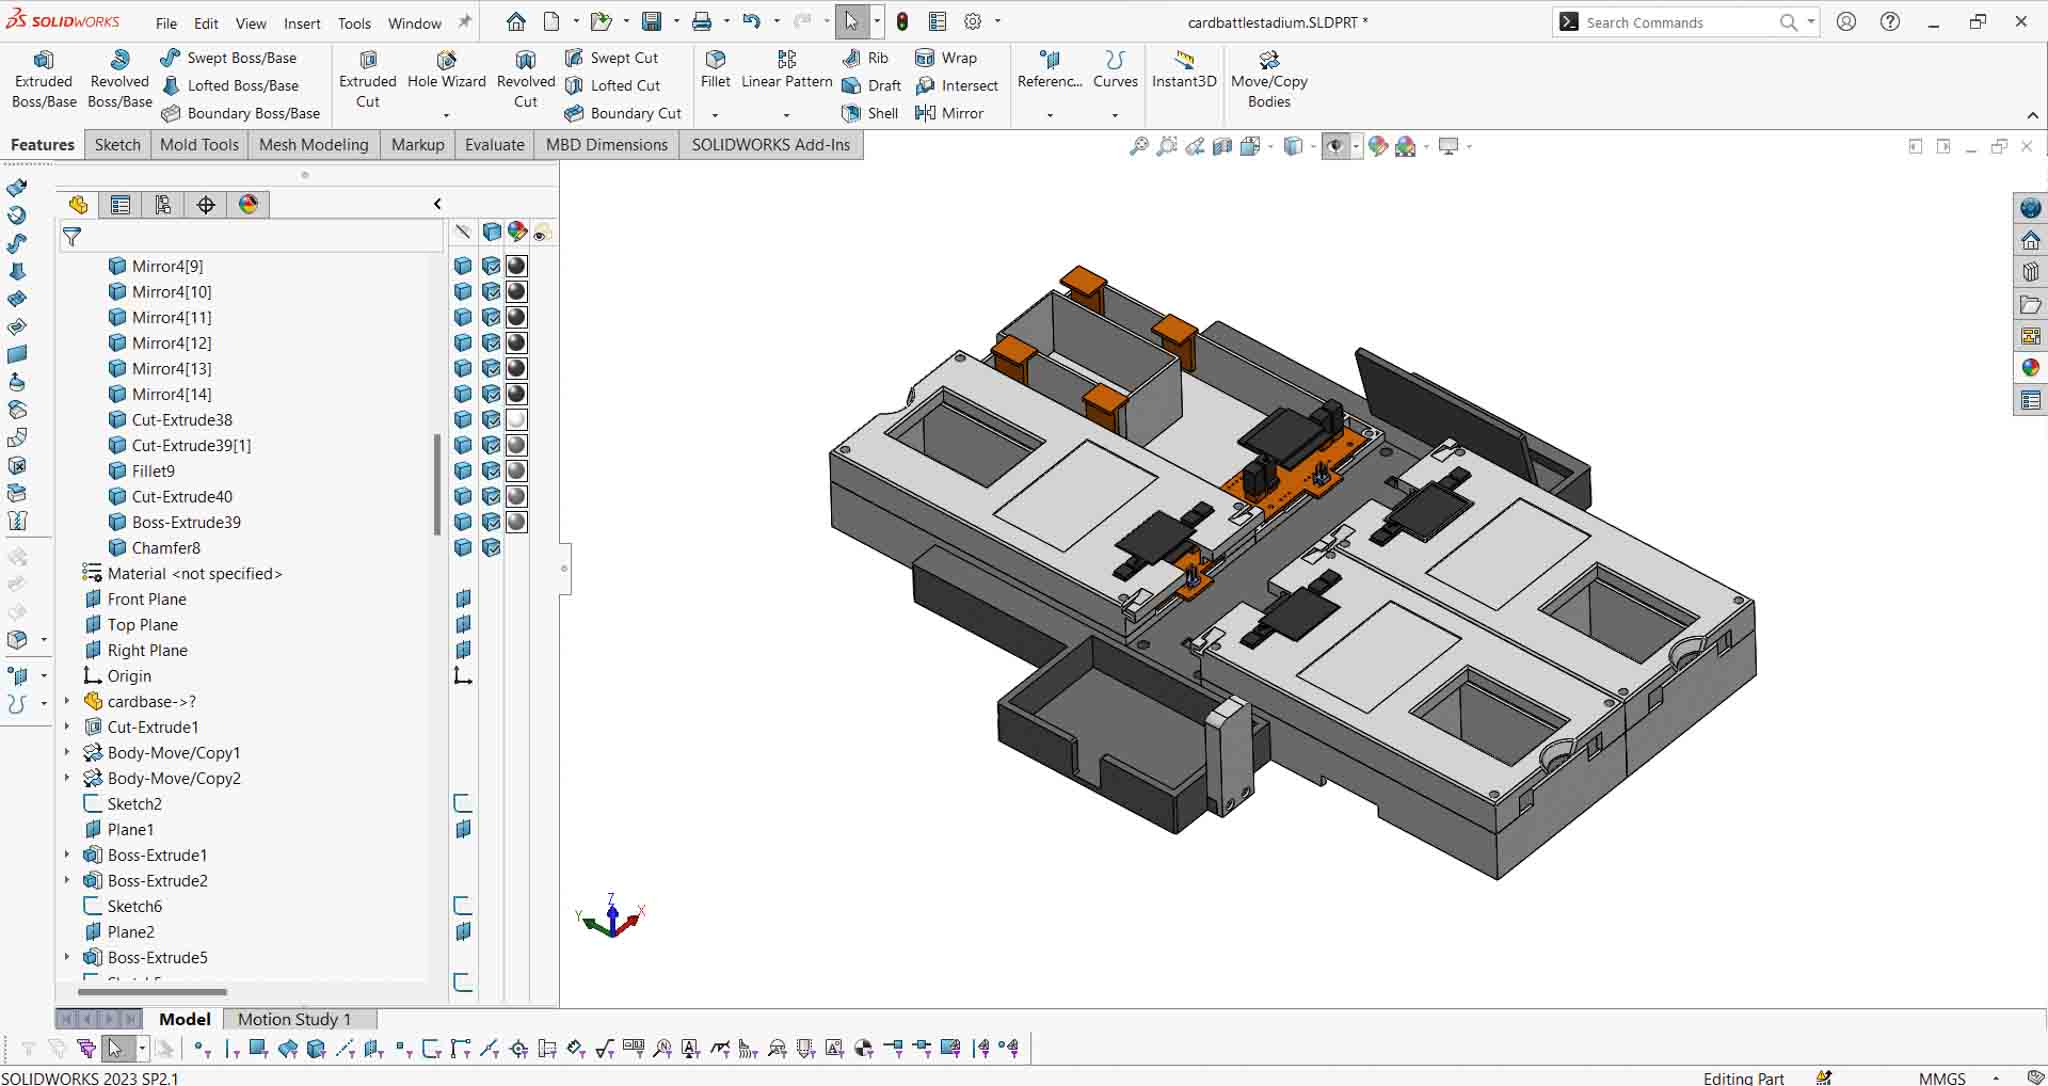
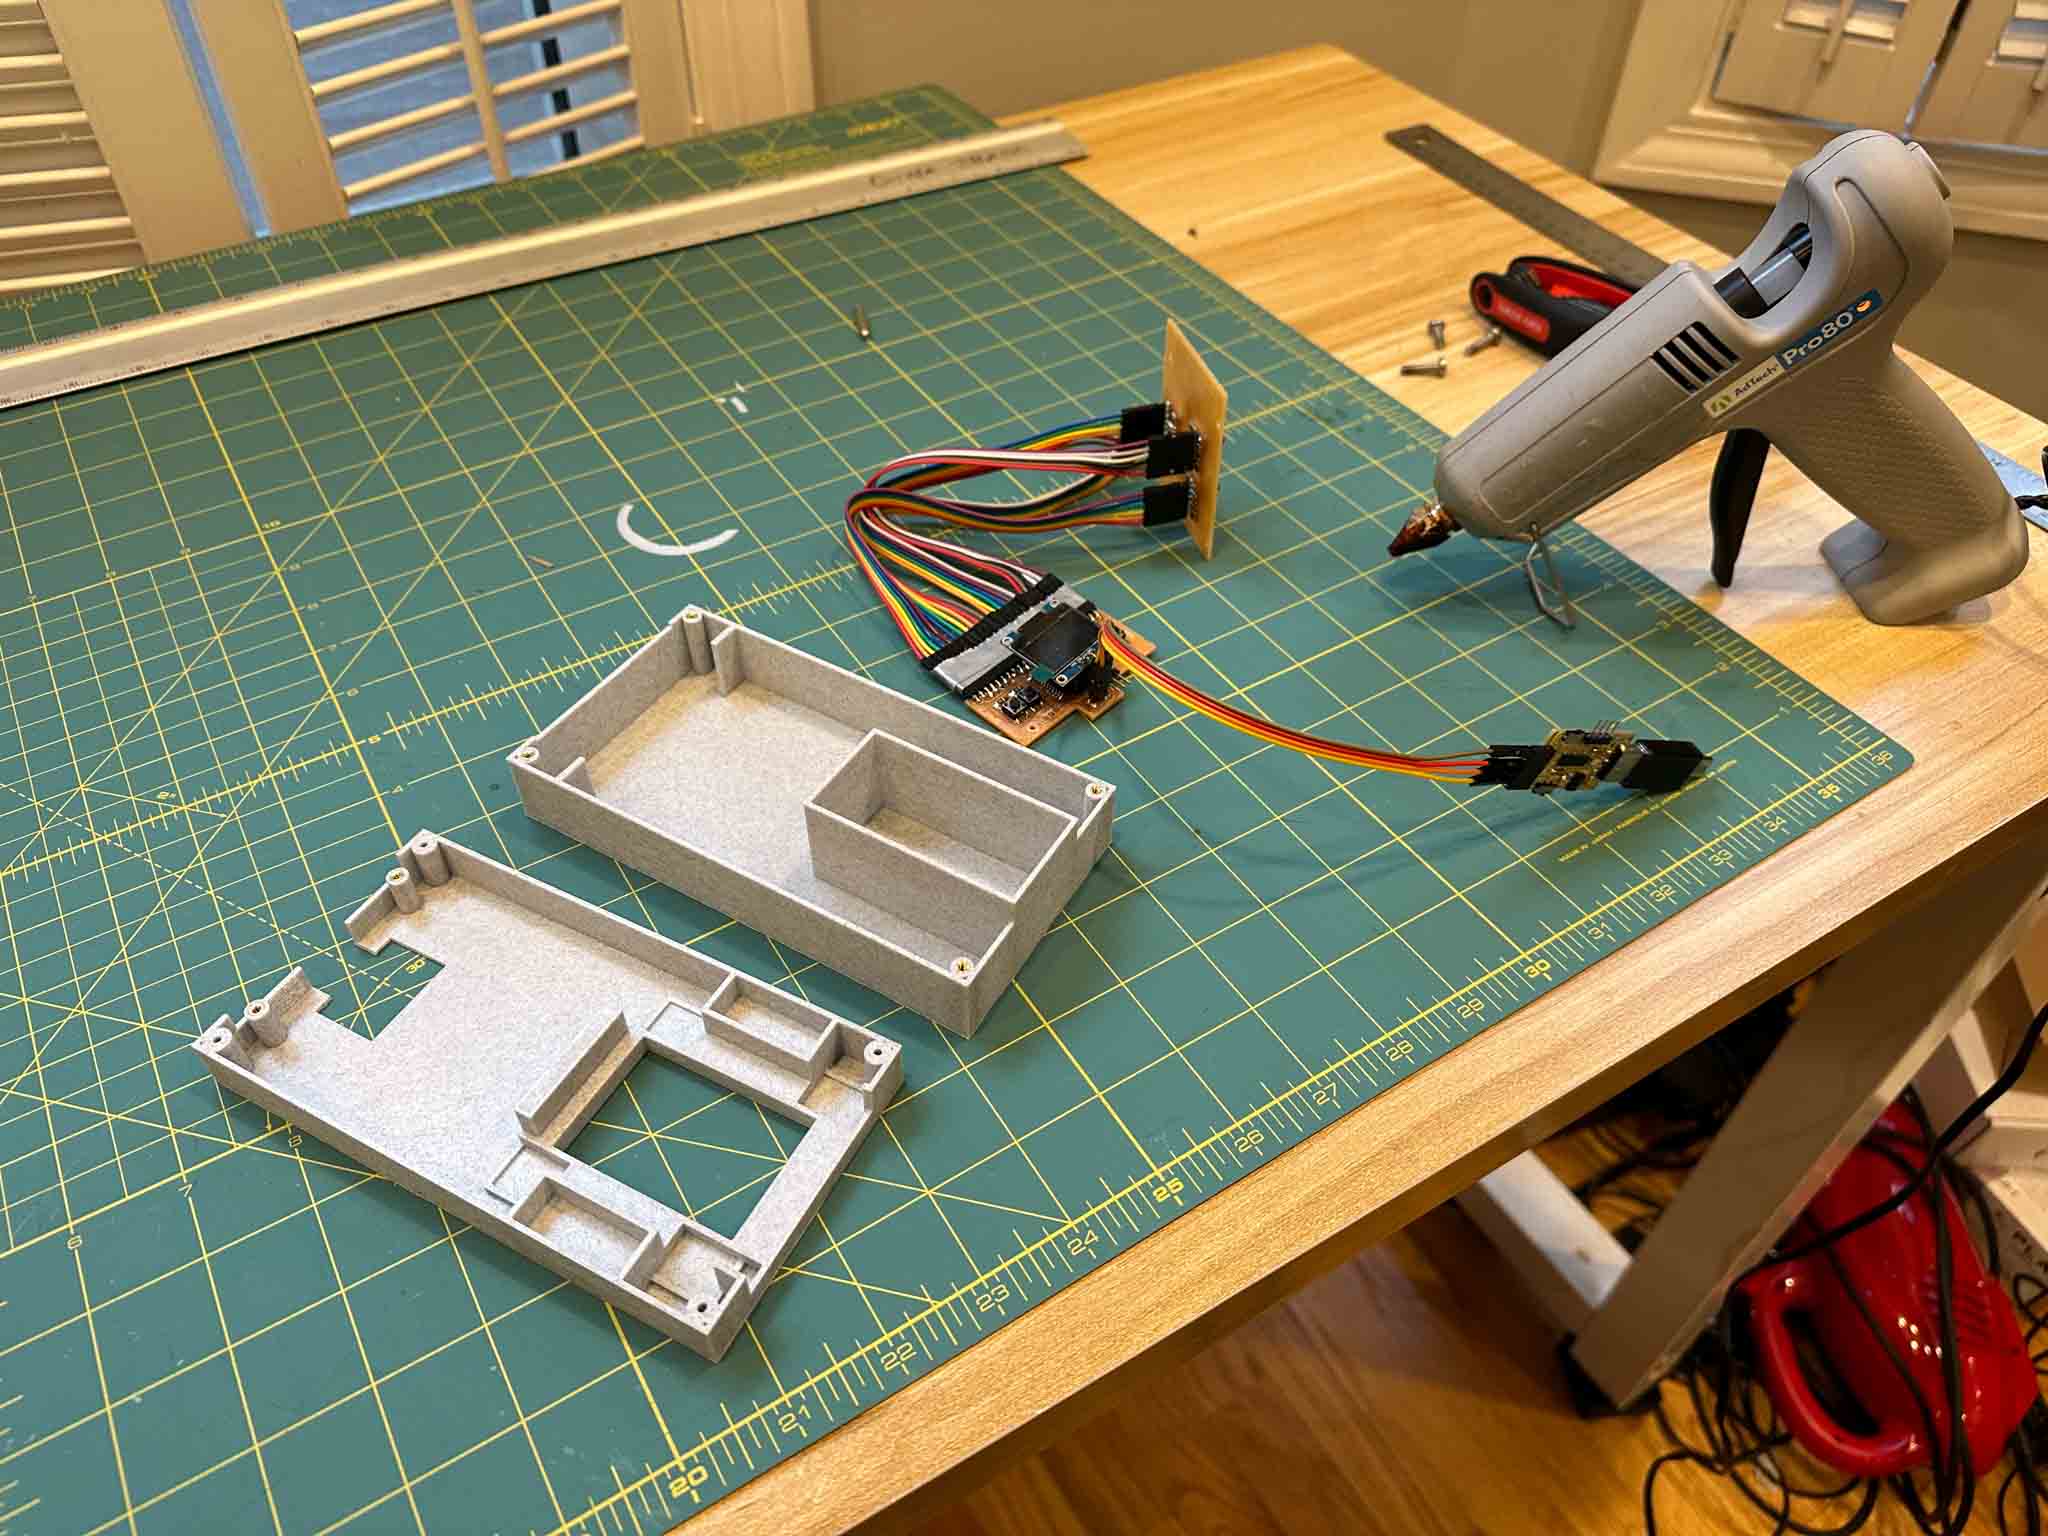
I started working on an 3D printed enclosure that can house everything properly.
The housing design is made to be modular so users can customized their battle stadium based on their needs.
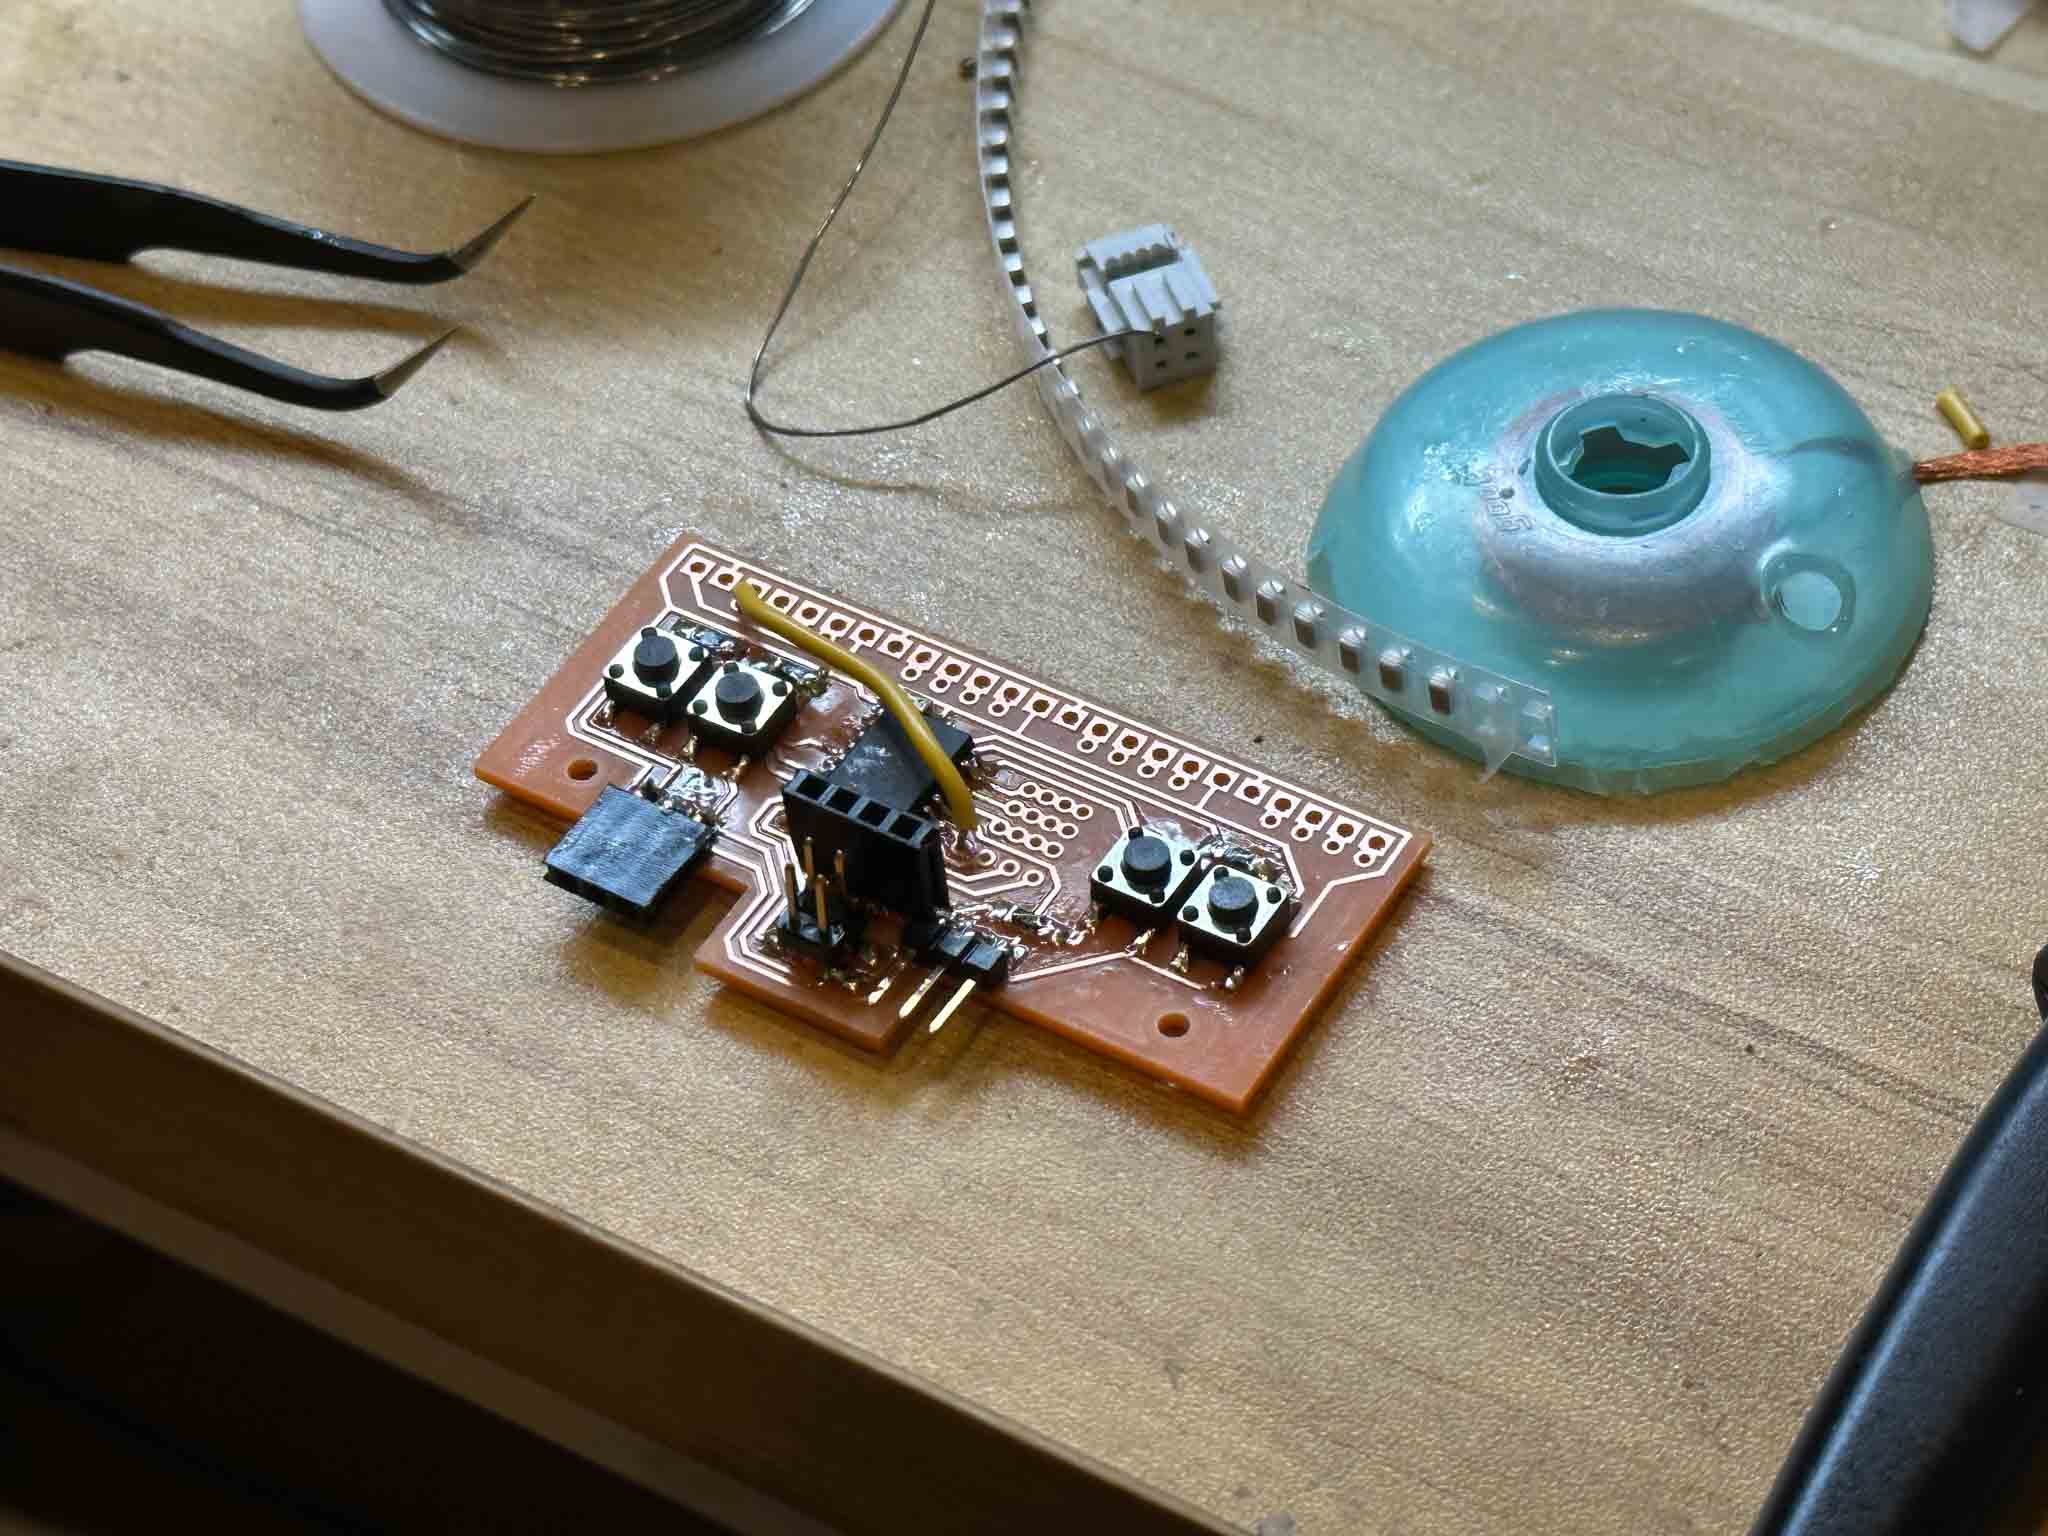
I then started working on the PCB control board that host the Oled display, control the 4 phototransistors, and input buttons. After discussing with Lingdong, he recommended using an Attiny3216 for my purpose.


Cutting the PCB was easy, they most challenging part of this project came with all the soldering I have to do on the main control board. I have to solder different headers, resistors and worst of all, the wirings that connects to the pins to control the phototransistors.
This process was made even harder with the configuration in which I decided to put the female headers which were through holes but solder on like surface mount. The copper patterns keep peeling off with constant adjustments of the solder and high temperature.

The other parts that was time consuming was soldering the phototransistors which I need to make 16 of. Although not as hard as the control board, the quantities and the alighment consideration makes this process tedius too. I think I'm gonna take a break from soldering after this project.
Initally I thought soldering the RGB led was gonna be hard, but it turns out to be a very easy task.
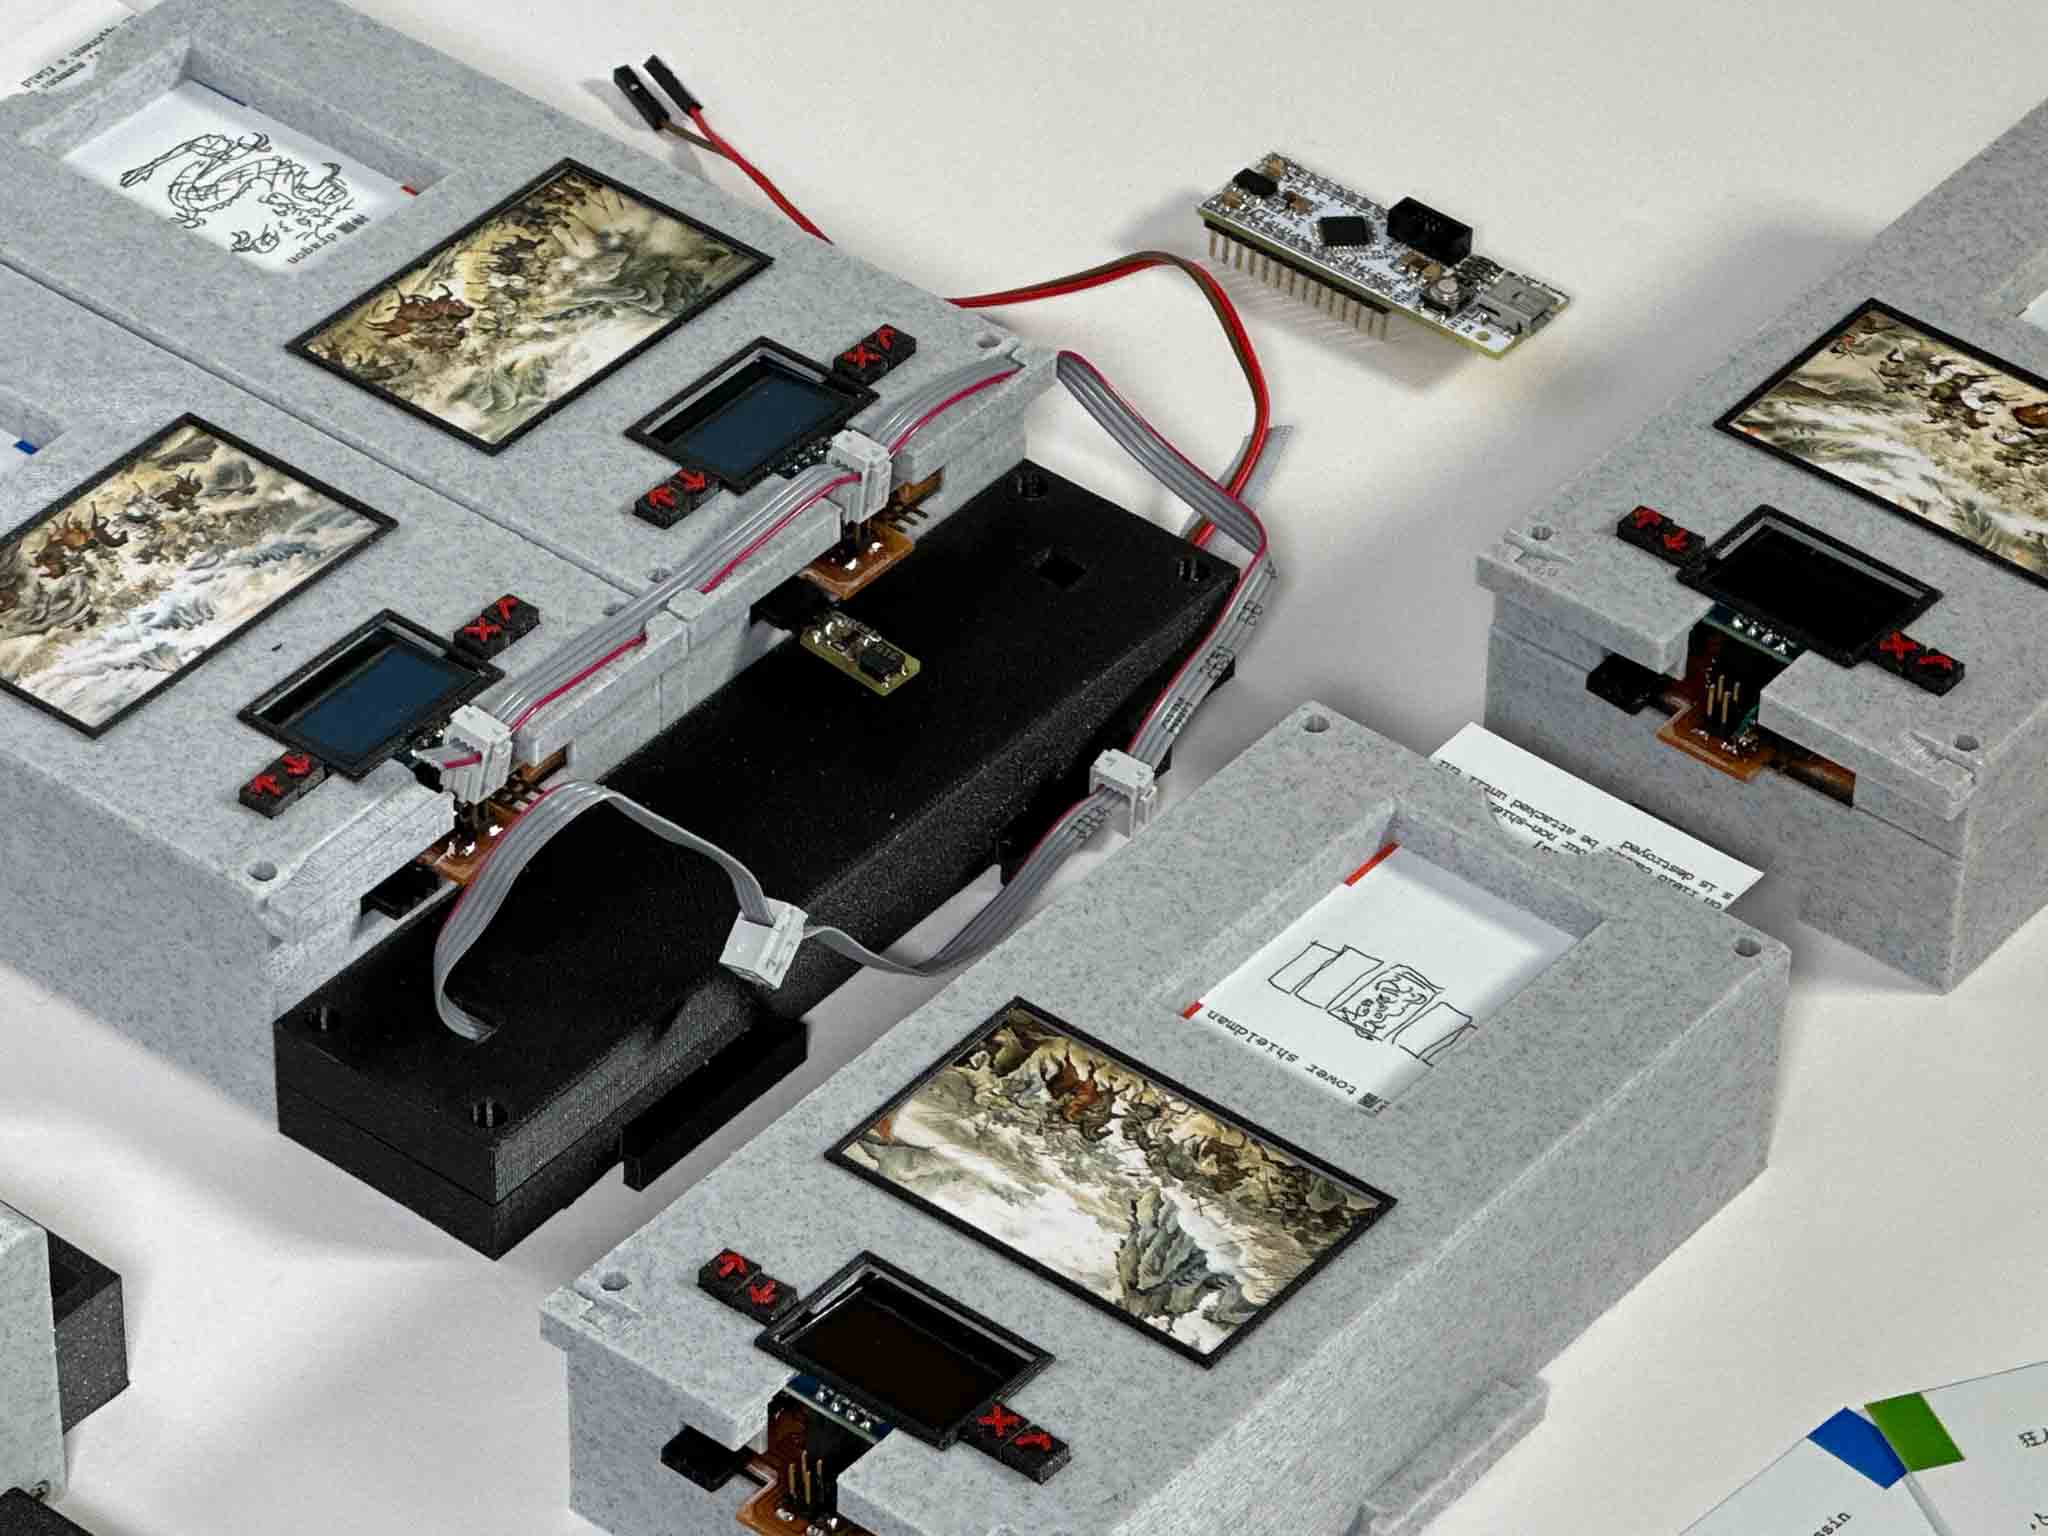
With everything soldered and printed, I begin assembling my first battle stadium module.

Everything fits well, a few Oled screen did not work initally but after doing a bit of resoldering, everything work as intended.


Testing the tolerance and fit of the different printed modules.


To connect the modules electronically, I used this cable to connect each module through the expose pin.
I was initally worried that there wouldn't be enough power to power 4 Oled screens and 16 RGB led but everything worked out with 5 volts.

Everything assembled physically and electronically.

Here is the final prototype with everything assembled:


final demo:

final HTM demo:


This is just the inital prototype of the battle card stadium, down the line, we will add more features to make the experience more interesting. Shout out to the amazing TA Lingdong Huang, who helped me a ton on this project.
2:30am on a tuesday night.
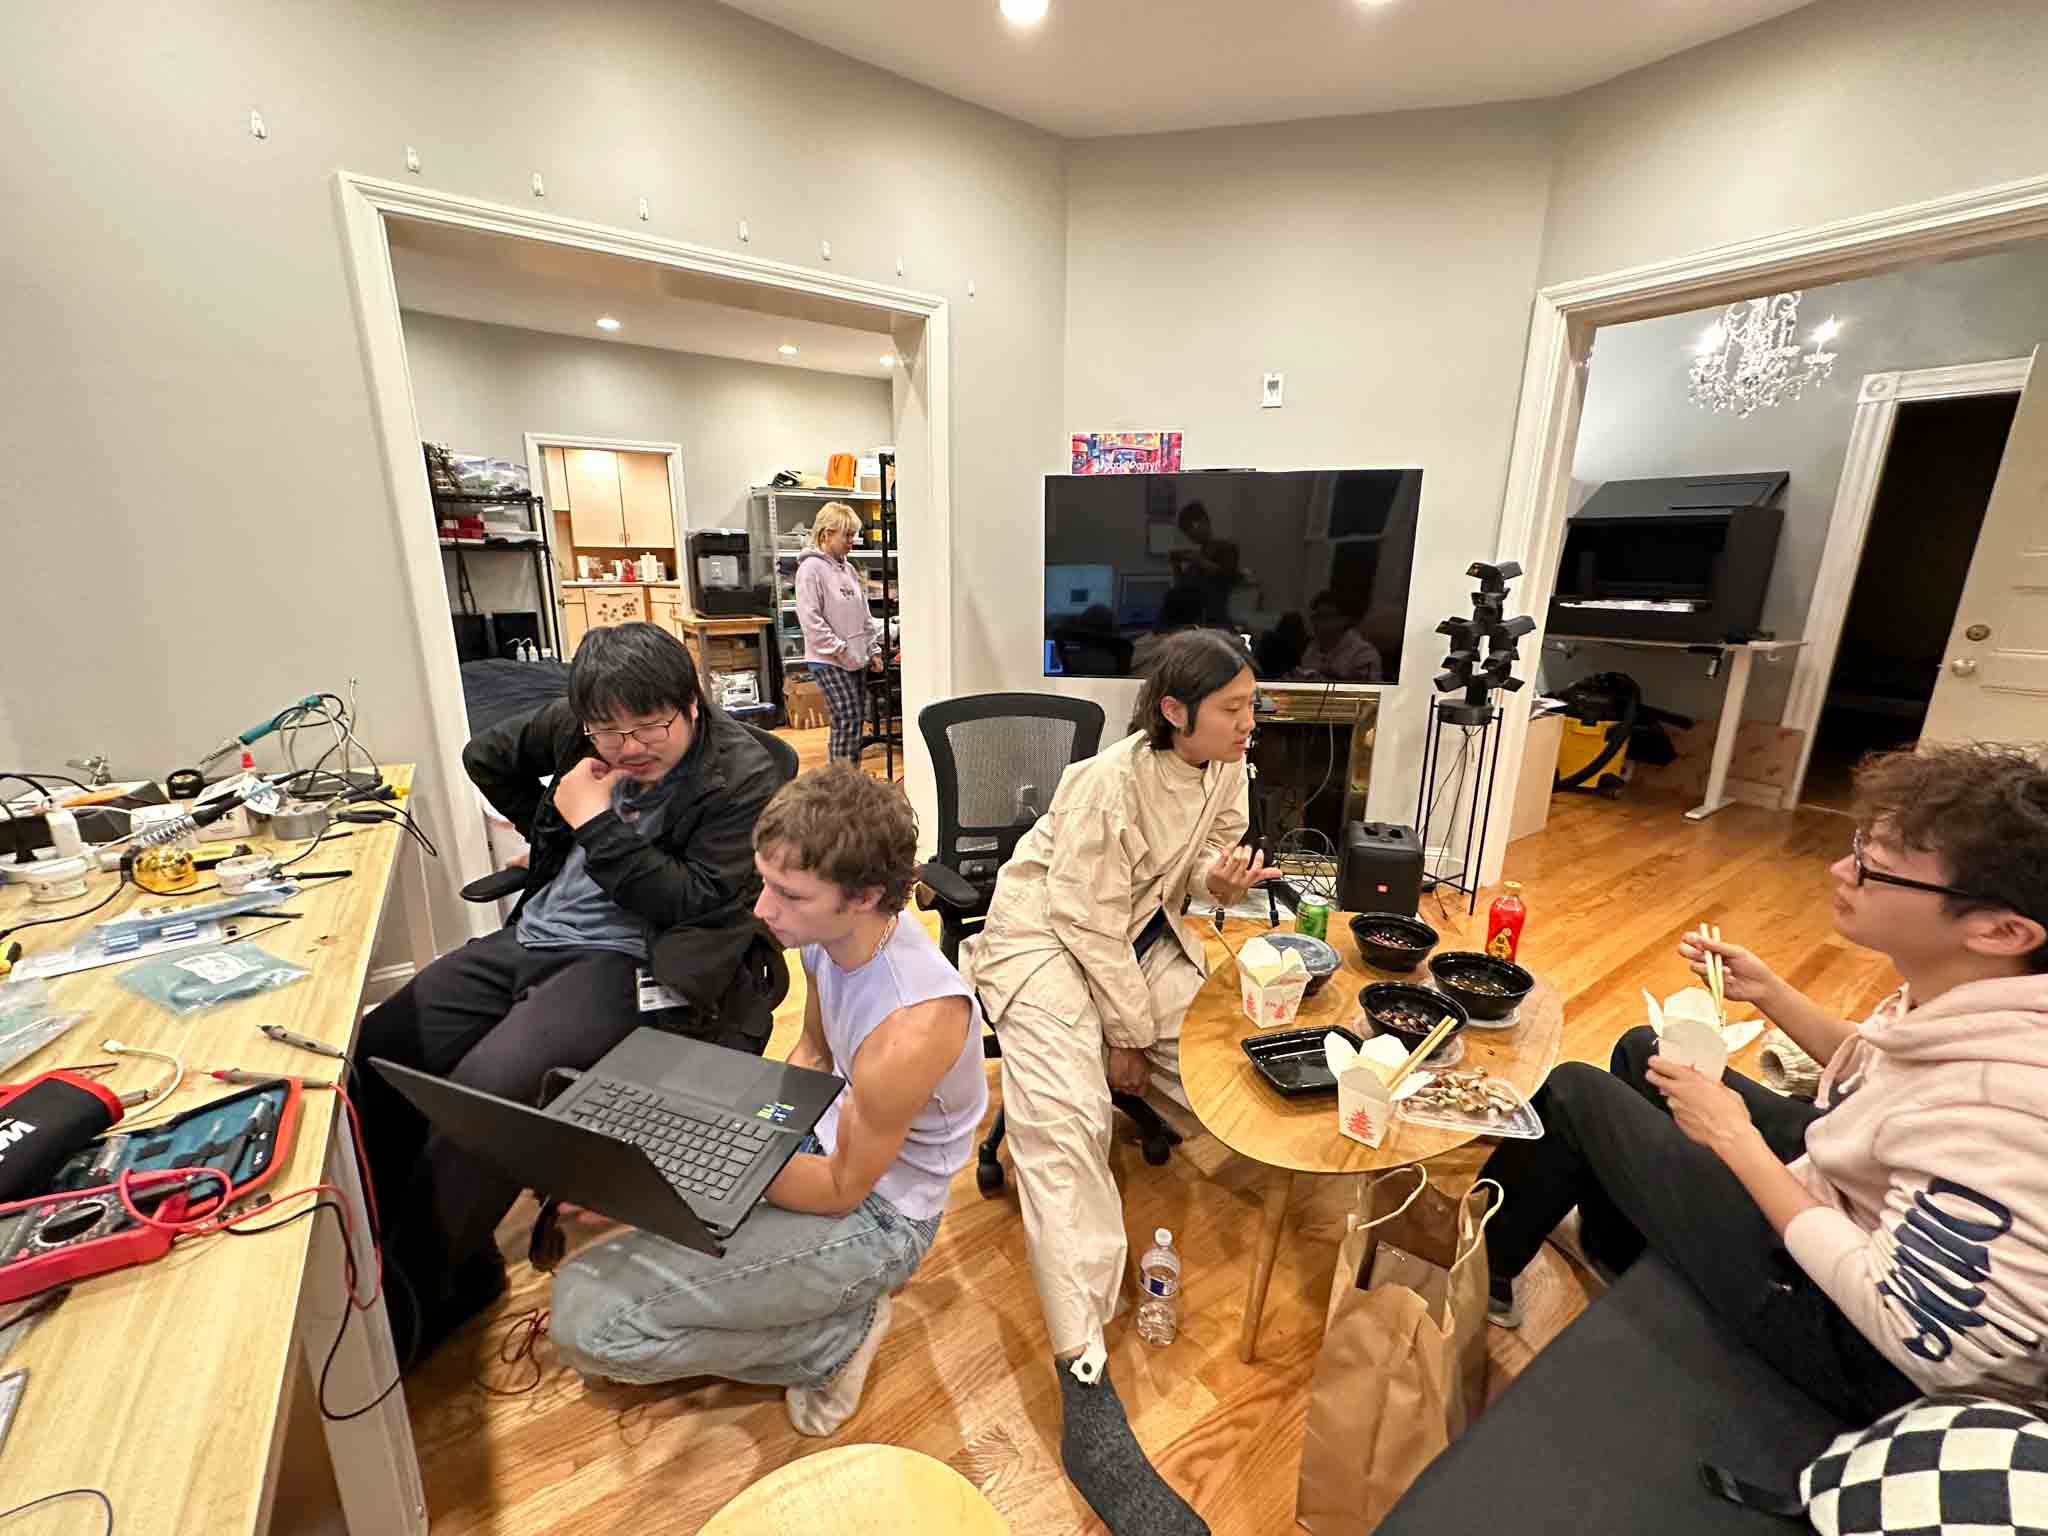
TA Lingdong saving lives.
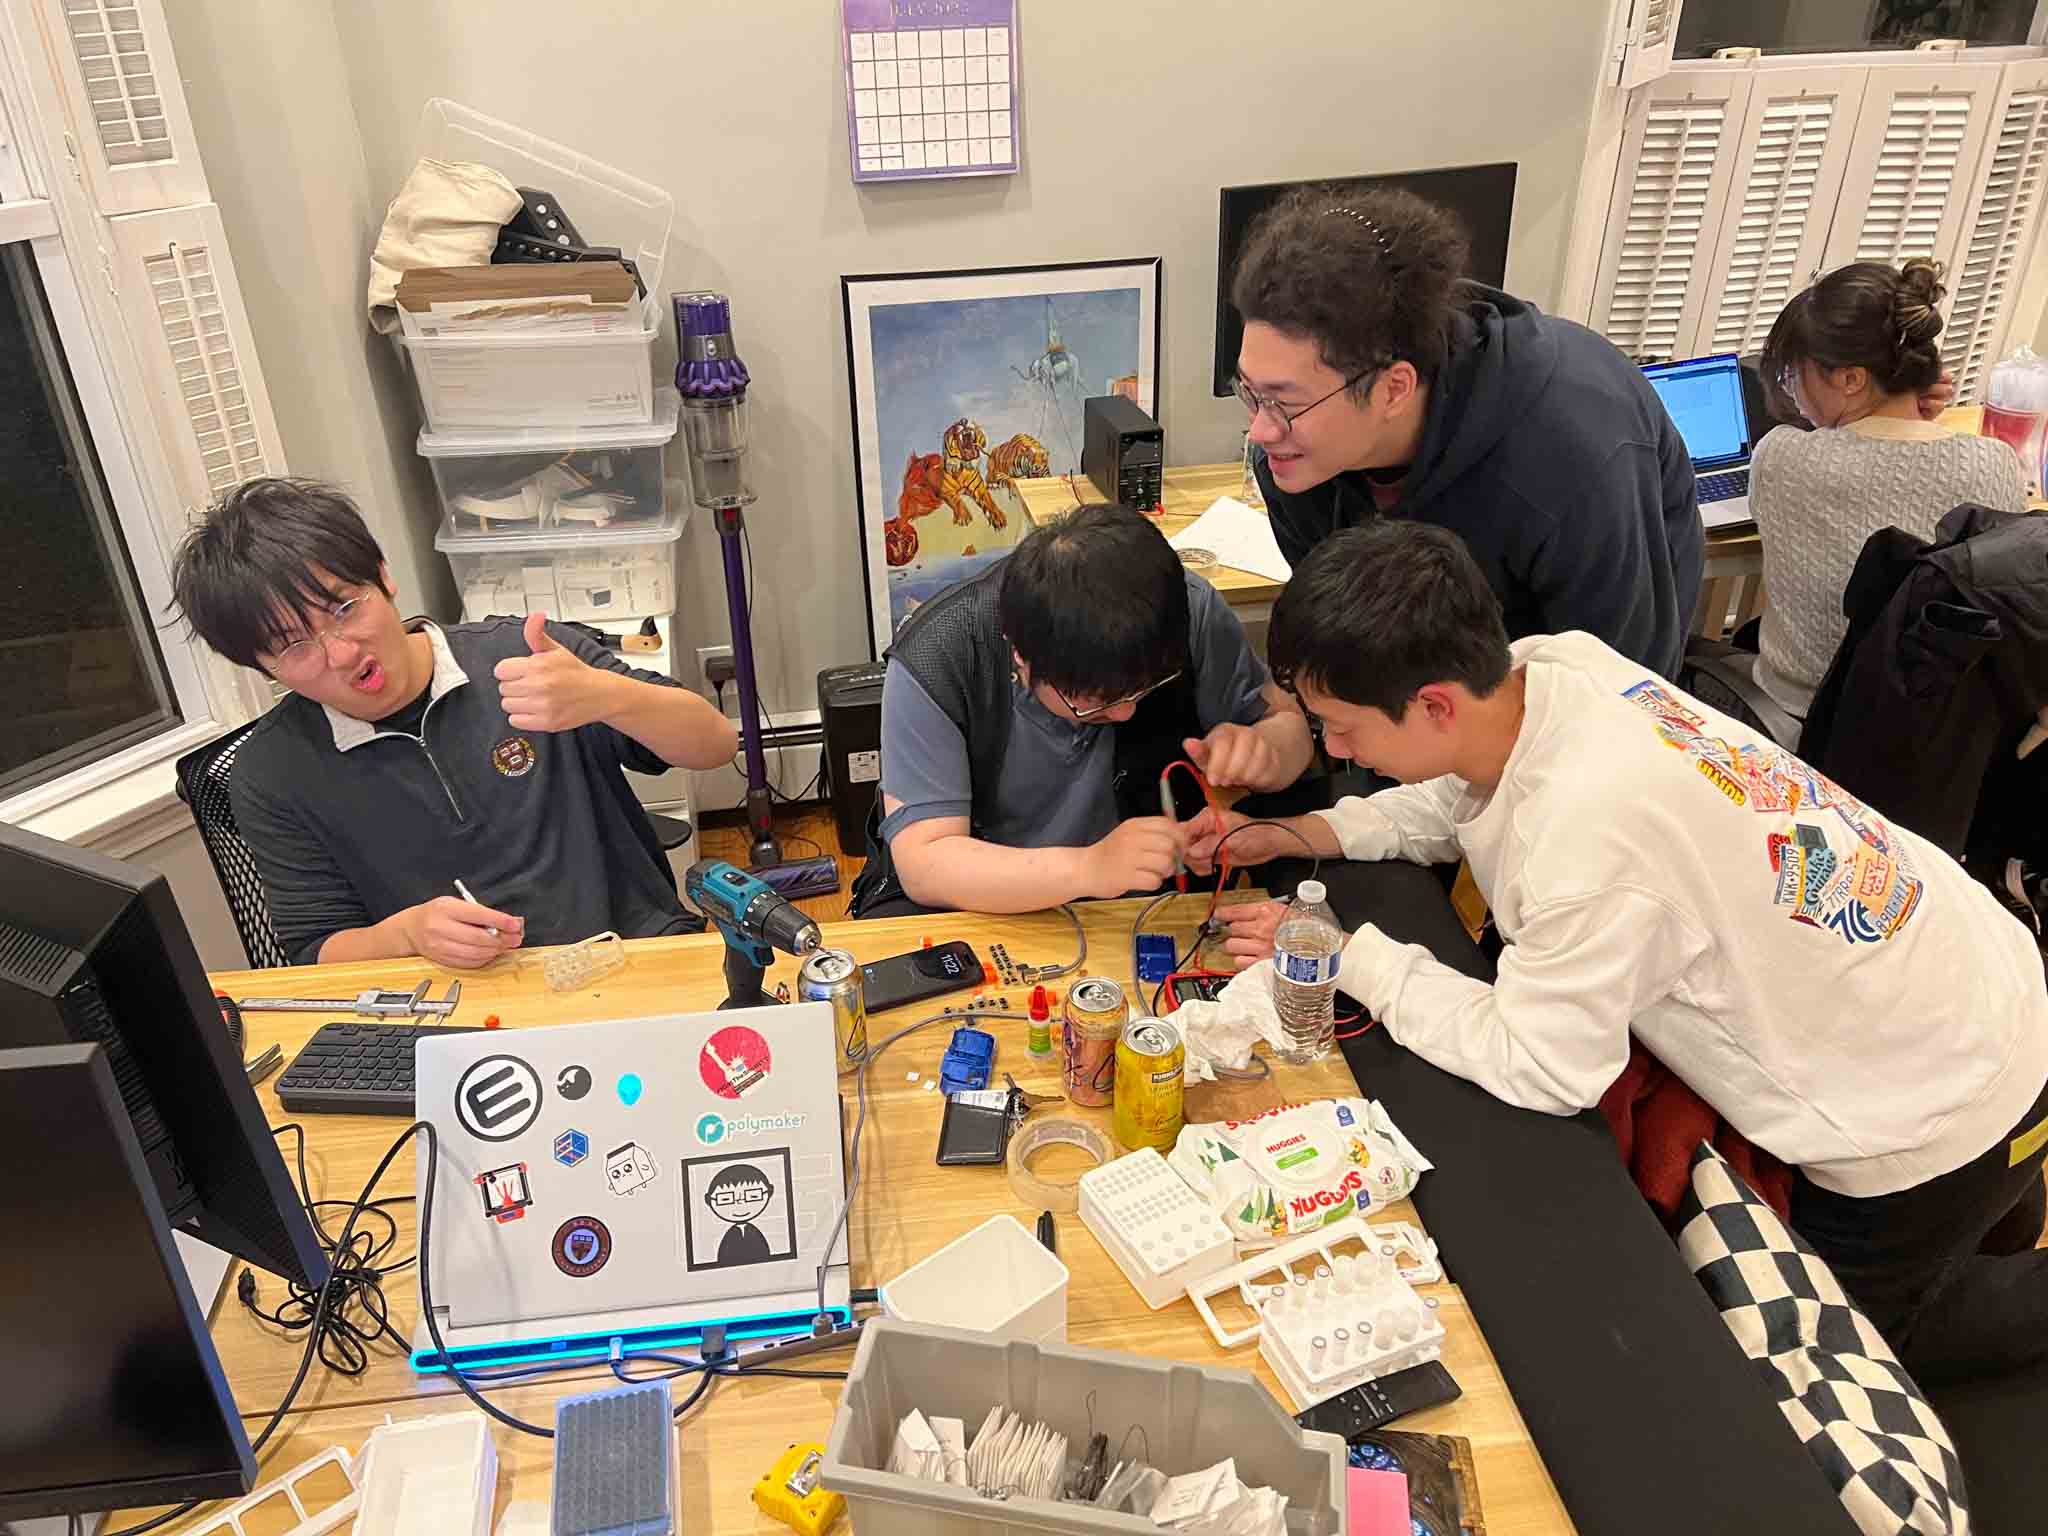
painful pcb debug is more fun together.
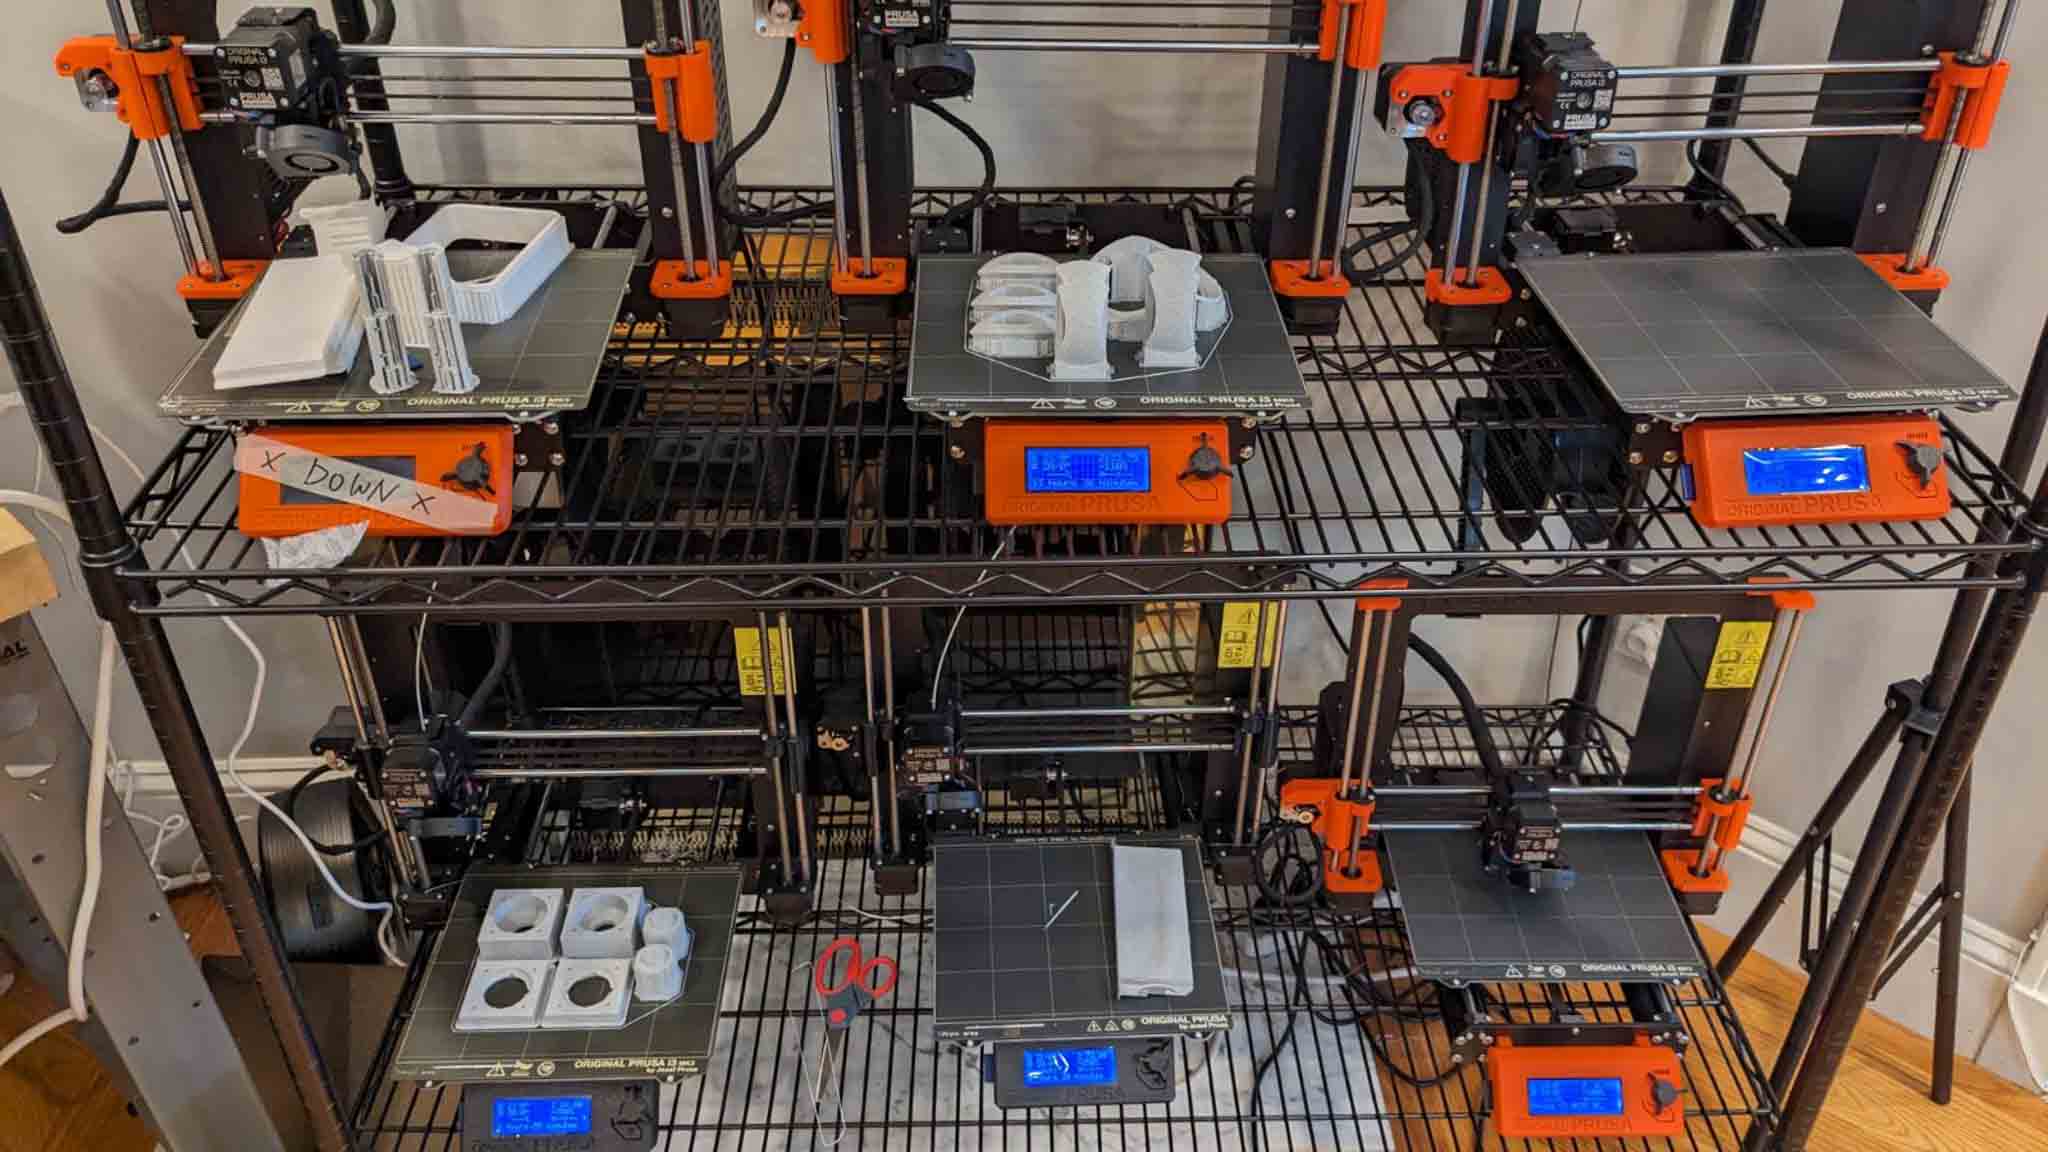
Prusa x6.
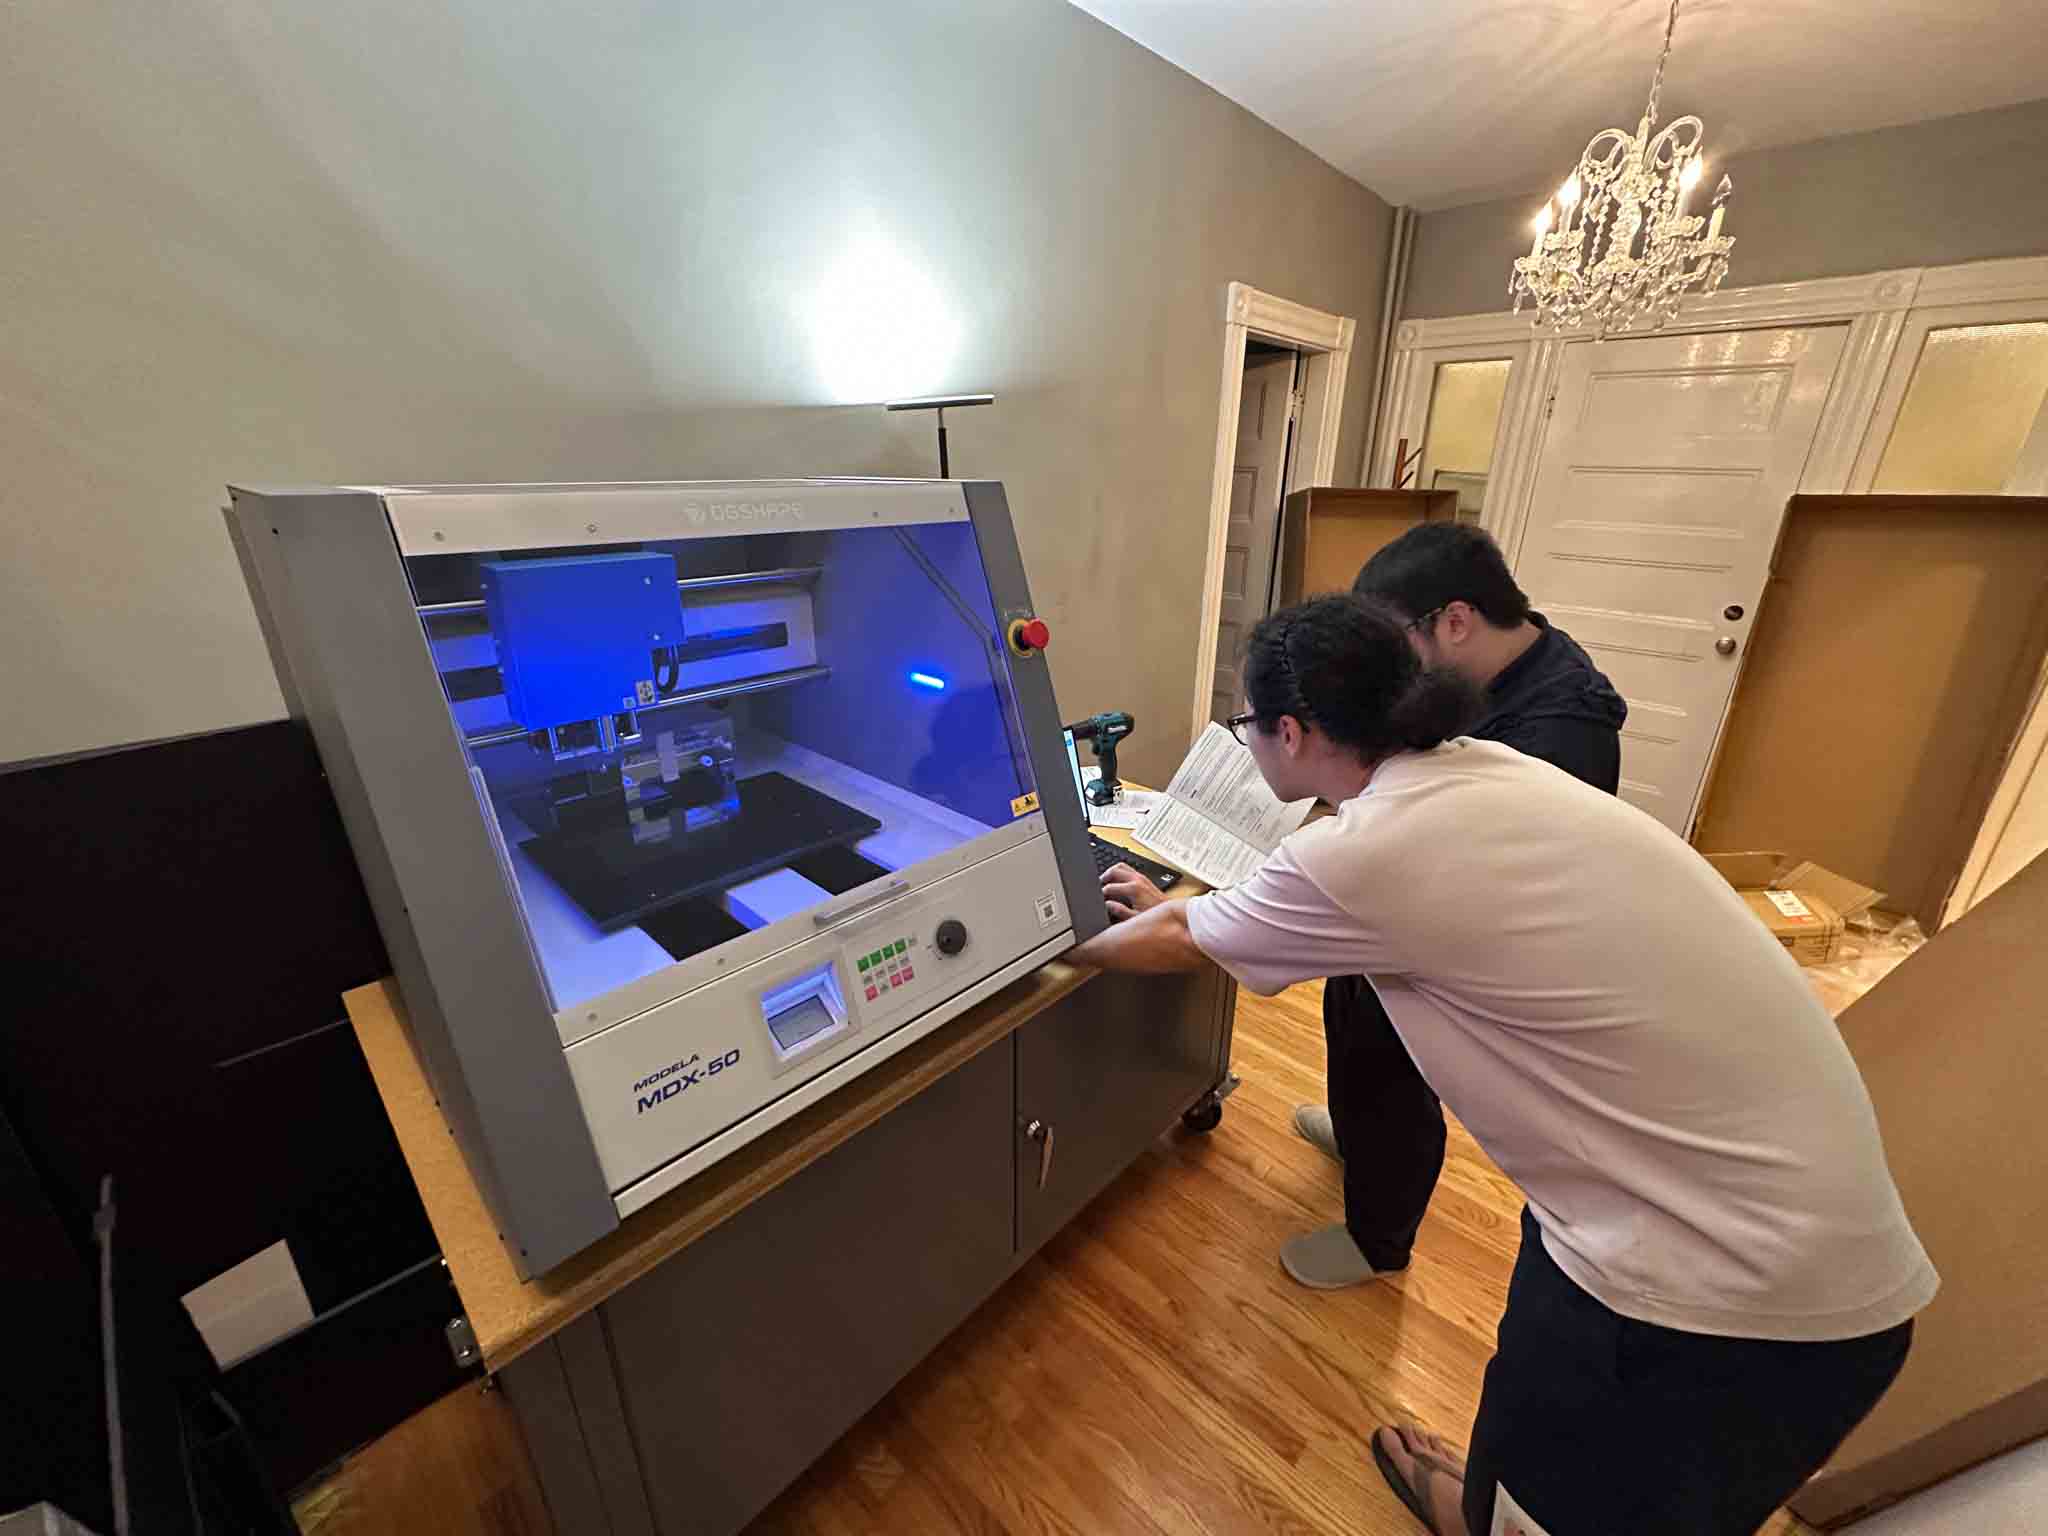
MDX50
Welcome any HTMAA classmates to use our space and equpiment located next to harvard GSD. We have a MDX50, 6 x prusa and a Form3 SLA printer.