Assemble an AVR Programmer
Concept
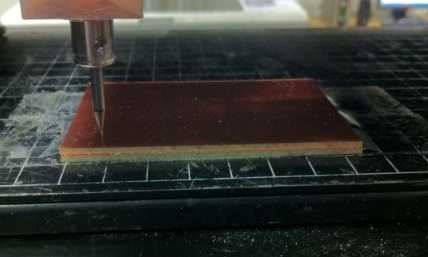
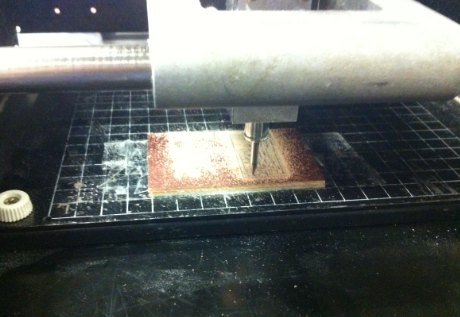
Using the tools available in a FabLab, assemble a programmer for AVR micro-controllers. Besides the soldering equipment, the primary tool utilized was a Roland Modela milling machine.
Milling Process
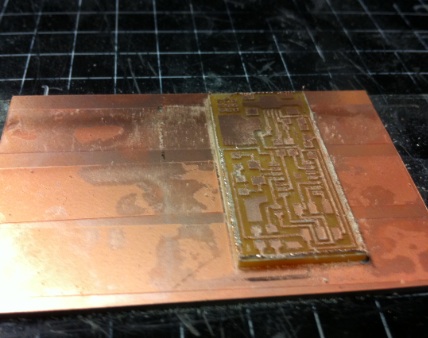
The lab has special boards coated with copper and the substrate is a plastic - it does not contain the traditional fiberglass. This makes the milling of circuit boards less toxic. The circuit was described as a PNG file which the Fab Modules converted first to a multiple-pass path, and then to milling instructions for the Modela.
Stuffing Process
I have not had much experience with soldering, and almost none with surface mount. Those components are tiny - just at the limit of what my eyes can focus on effectively.
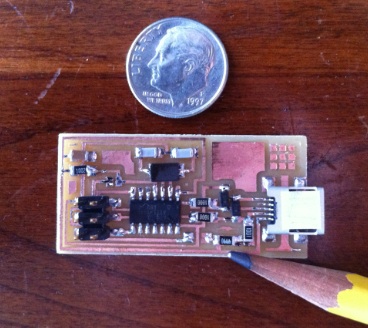
The pencil tip is pointing at a resistor. The pencil tip is about the same size as the soldering iron tip. I can almost read the label on the resistor: 4990 - indicating 499 ohms (the last digit is the exponent in scientific notation. So yes, a thousand is a hundred.)
Programming
Programming went really well because TA Brian Mayton was in the lab. Actually, I think he was hungry and could leave if I was finished. :-) But he connected the device, and loaded the AVR program. We were able to verify that it was recognized as a USB device. After programming it, two connections needed to be removed. One was a zero ohm resistor (bridging another trace) and the other was just a dab of solder. Removing the resistor was a bit tricky and really required 3 hands. (Thanks again Brian.)