Scanning and Printing
Concept
Try scanning something and try 3D printing something. For scanning, I stuck with Photofly.
Scanning
Photofly is a free web service from Autodesk for converting a set of images to a mesh representation. That is, it's a scanner that works from pictures.
To start, I tried 7 pictures from my iPhone of a banana on a dark counter top. Of the seven pictures, the software was able to register 4. To verify I what I had, I exported the OBJ from Photofly and opened it in MeshLab.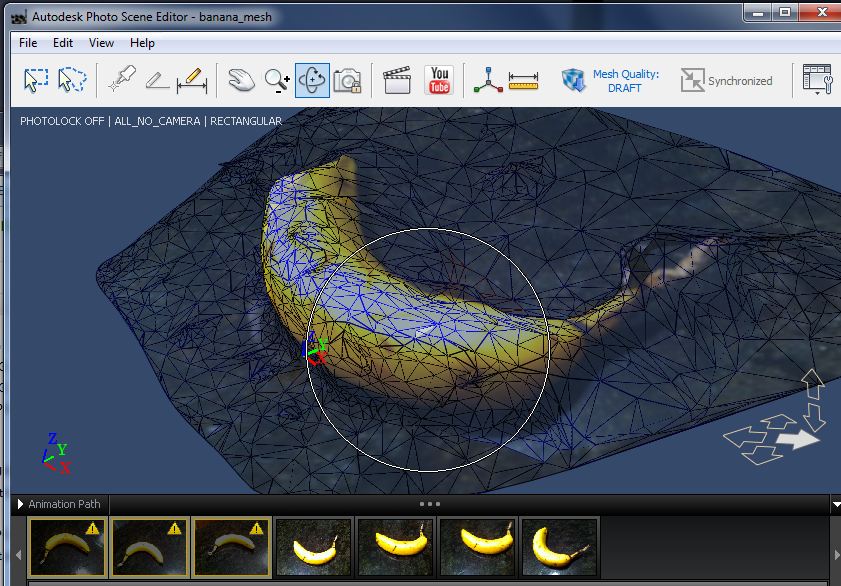
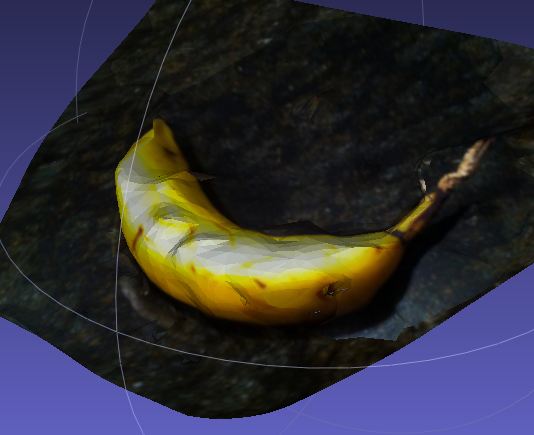
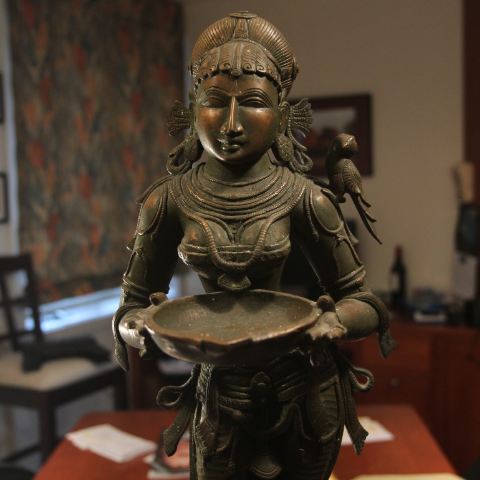
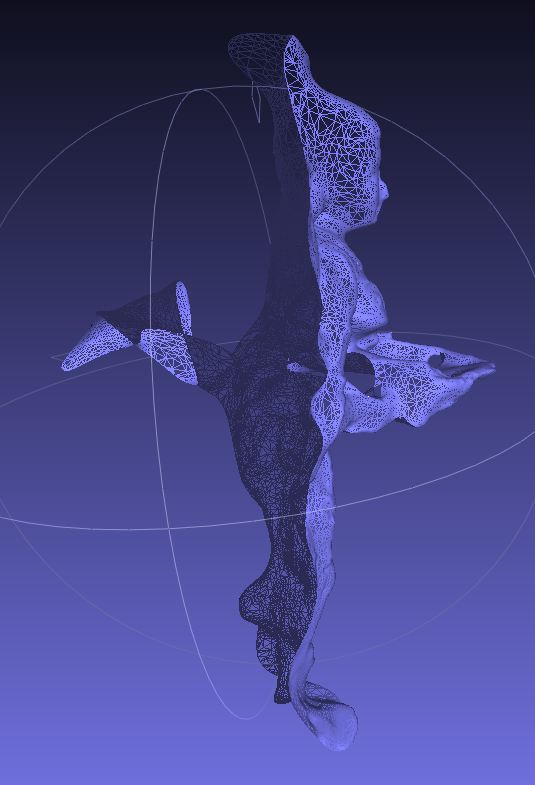
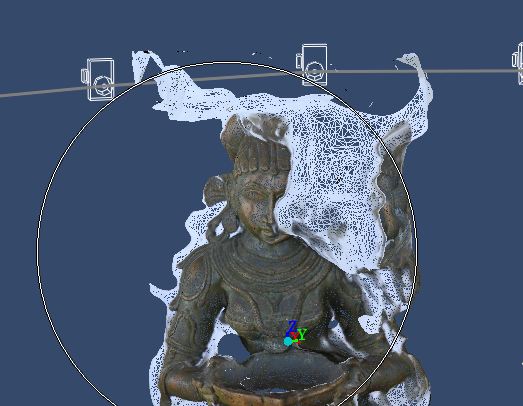
Not bad for 4 photos from an iPhone! So I got aggressive and wanted to make a mesh for a detailed bronze statue of a handmaiden. Getting the front half was easy. Getting the registration of photos from the back of the piece was very frustrating. I kept getting half a solid.
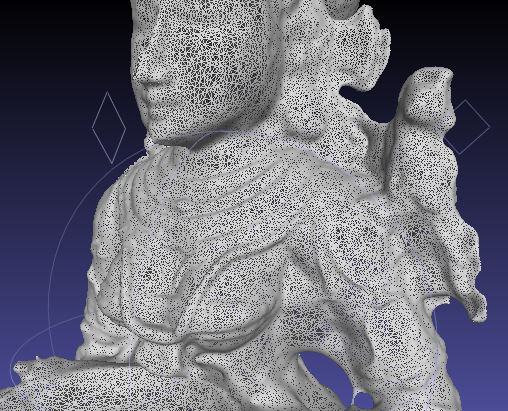
The handmaiden statue.
Only the photos in front would register, resulting in half a model. After getting the data from Photofly, working with the model was easier in MeshLab.
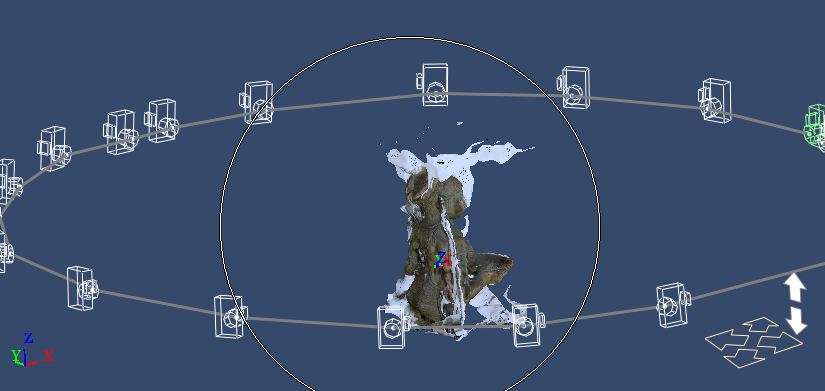
To actually get the back, I ended up not following instructions. I tricked the software by rotating the object and taking the photos from the direction with the best light. The tutorials talked about moving around the object to take the pictures. I decided that the lighting changes were causing confusion for the software. So instead I rotated the object keeping the good light in front. I also hung a white towel behind to remove any confusion in the background. Finally, I got a 360 degree model. The software assumes I walked around the model.
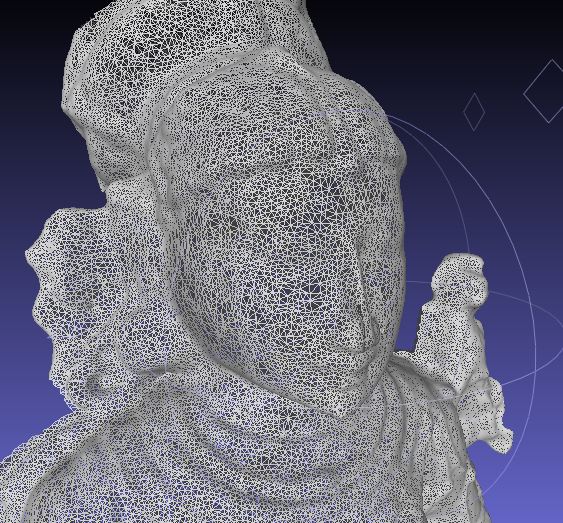
Hey, that's pretty good!
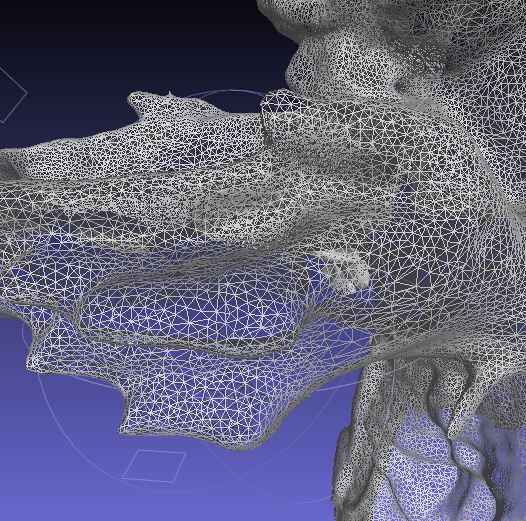
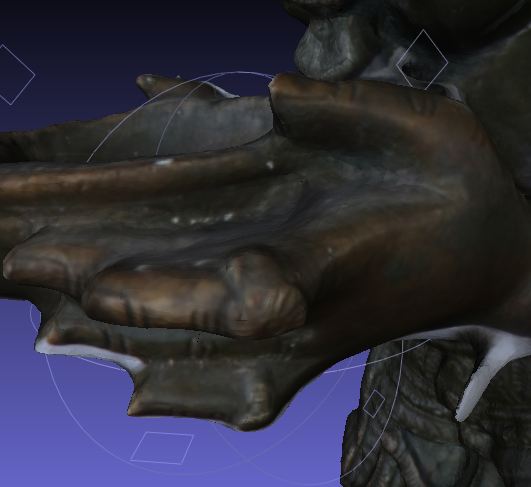
Check out the face detail.
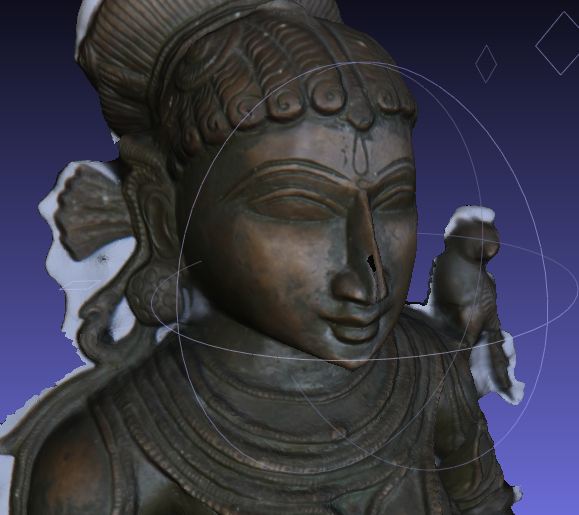
With texture info, this looks pretty awesome. Look at this detail of the hands. The mesh is just able to distinguish the rings on her fingers. With texture info, they show nicely.
This process was not trivial. Sometimes things went awry. Remember this when someone invents a Star Trek style transporter: wait for later revisions.
A bad mesh.
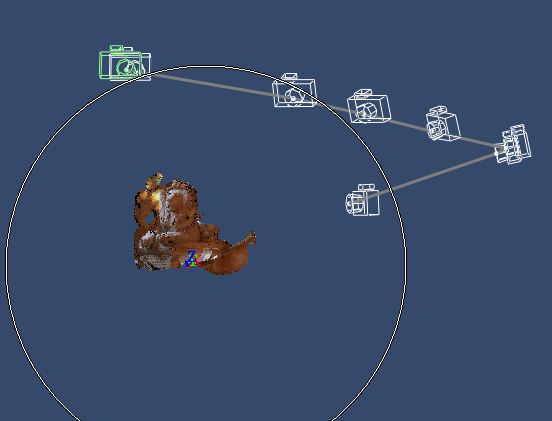
This was fun enough, that suddenly everything looked like a scan-able object. We were at the Boston Public Library took a set of photos of this lion on the stairway. Notice how the camera locations reveal the photographer coming down the stairway. Once again the photos of one side worked great, but the back side could not register.
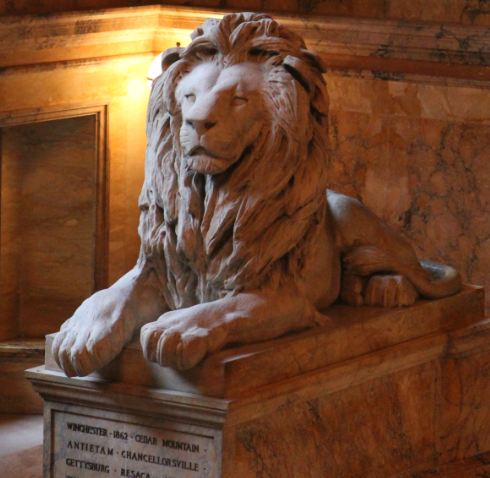
The location of the camera is calculated by the software. The photographer was moving down some stairs to take these photos. The camera locations reflected that.
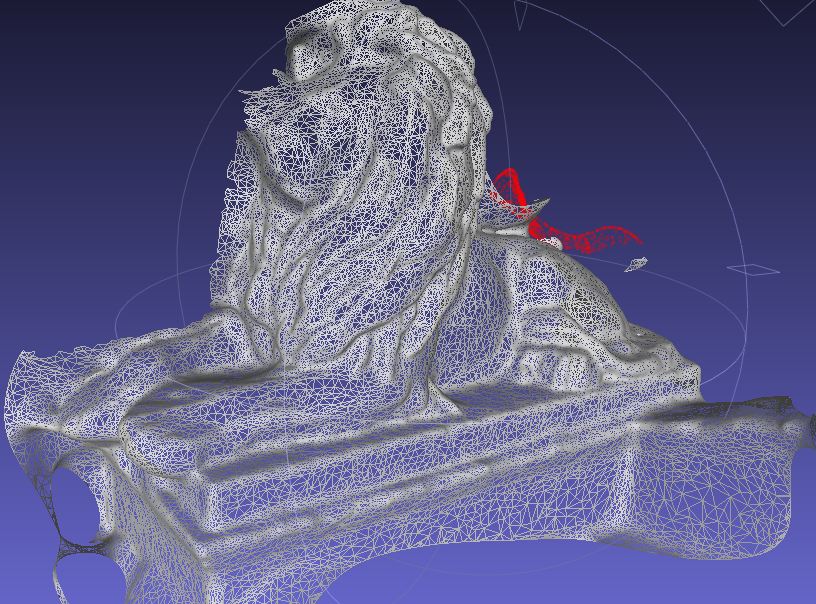
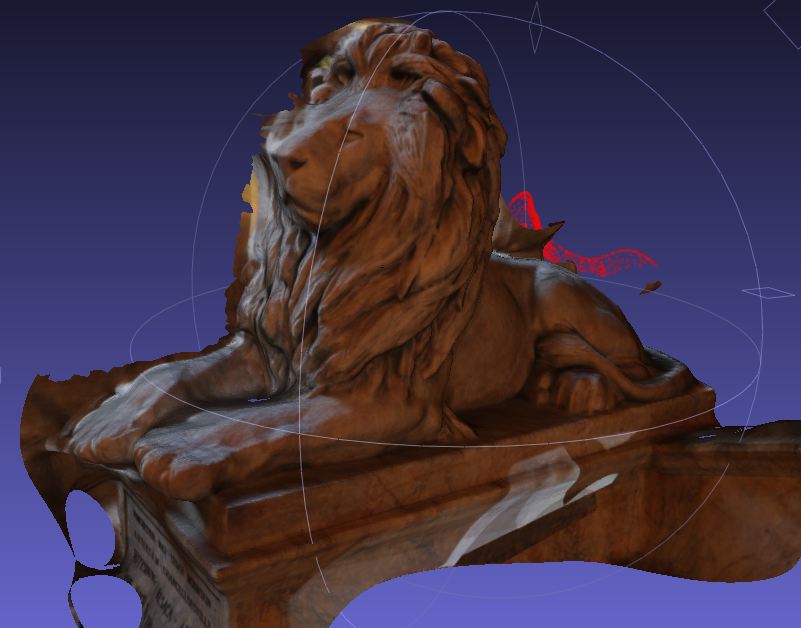
Again, nothing showed in back, but what did register showed nice detail. This is a close up of the back foot and end of the tail. Only 4 or 5 photos were needed.