Week 3: Electronics Production
This week’s assignment was to mill out a PCB according to given specifications (traces and interior), stuff it with components (these ones), and then flash it with given software.
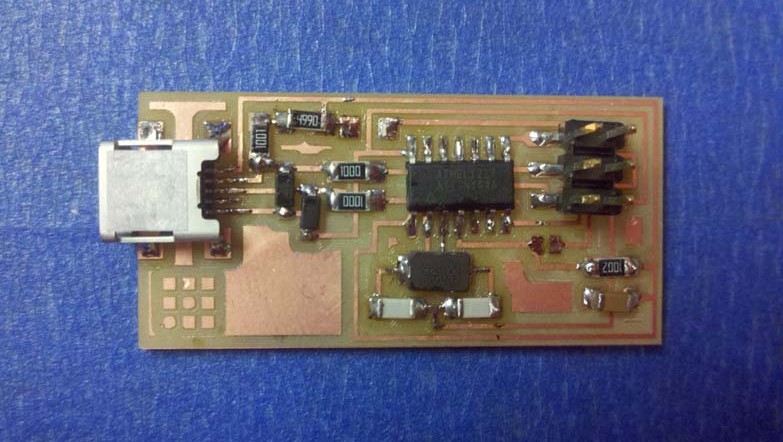
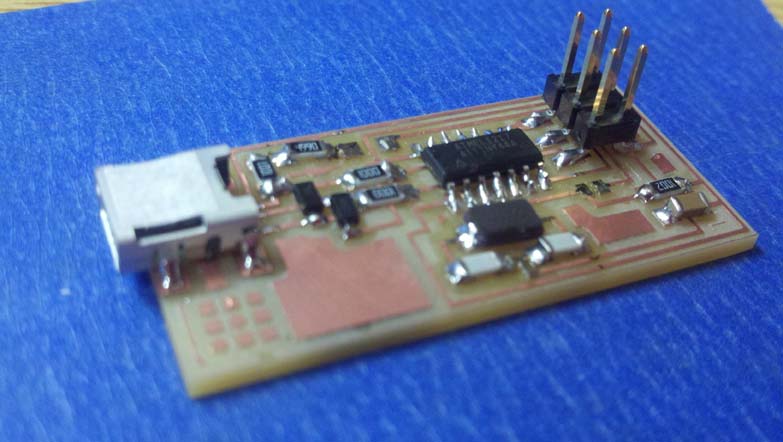
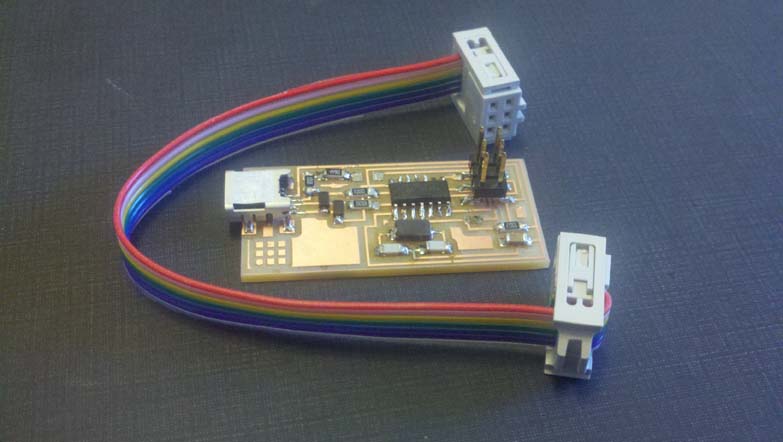
The final products looked like this:

Milling the traces

Top View of finished board

Isometric View

Board with accompanying cable
Because this project was constrained, how other projects were/are not, the process was the most important thing. So here, documented for my own edification, are the best practices I'd do for making the PCB again (I may have to).
- Milling the board
- Make sure end mill is pushed down onto board before milling traces or interior, or it won't go down far enough.
- Use the blade horizontally to get the entire blade underneath the board and gently use it as a lever to get board off, without putting too much stress on one part of it (which could result in cracking).
- Wash board immediately afterwards, before stuffing, so solder can stick where it ought (traces and components).
- Stuffing the Board
- (This one is courtesy of IDC TA, Rob) List out all components needed and then put a stick of double stick tape next to it. This makes it easier to find those components later (and know which ones they are) and easier see which components you have already put in.
- Work from the inside out, with the smallest soldering iron tip. If you can't use the smallest soldering iron, then wait for it to be free! Or, alternately, get much better at soldering.
- After each component, use a multimeter to check for continuity (where it should and should not exist), and use ohmeter to check correct intallation of resistors. This will decrease need for debugging later, since you check as you go.
- Programming the Board
- In the Makefile, line 16 may need to be changed with 'II' instead of '2'... seems to depend on which computer is being used.
- When in doubt, unsolder then resolder the capacitors, which are probably wrong.
- Store in an anti-static bag