Week 4: 3D Printing and Scanning
This week our assignment was to 3D print something, and 3D scan something. Those could be the same thing (print the thing you scan), but I couldn't get my scan quite cleaned up and into a printable state. So, I investigated scanning using cute erasers, and printed a few things having to do with my final project.
Scanning
I have 3D scanned once before, and it was playing with a Microscribe because I was an intern at the company that developed it (Immersion), who later sold the technology to someone else. I traced around the mouse on my desk, played around with the resulting point cloud, and was glad I didn't have to 3D scan regularly. But I gave it another go this week, with the NextEngine in the IDC. My first idea had been to scan a ring of my grandma's that has opals in it. Because opals are so sensitive to temperature, I can't safely wear the ring during the winter. I thought I could scan the ring, then print myself new ones that can be worn in the winter. Of course, it's not the same thing. But I thought it would be cool. Unfortunately, this wasn't possible for several reasons. The ring is shiny, which doesn't help the 3D scanner, and I wasn't willing to put powder or matte spray on it. Secondly, it has a lot of minute details, which the scanner can't handle well. I decided to forgo this option... for now.
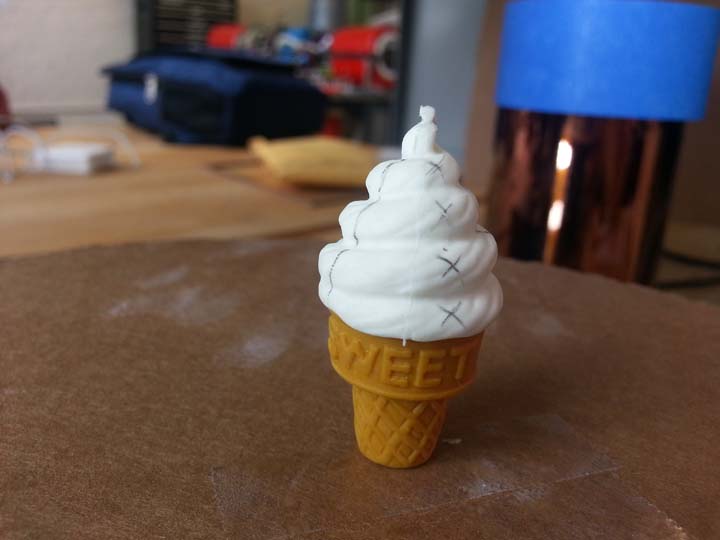
So, the first thing I scanned was a little eraser I have in the shape of an ice cream cone. It was light colored with a matte finish, which I knew worked well with the scanner. I put little marks on it, which showed up in the scans. But when I went to fuse, it was as if they didn't make a difference.
Markings help the images fuse
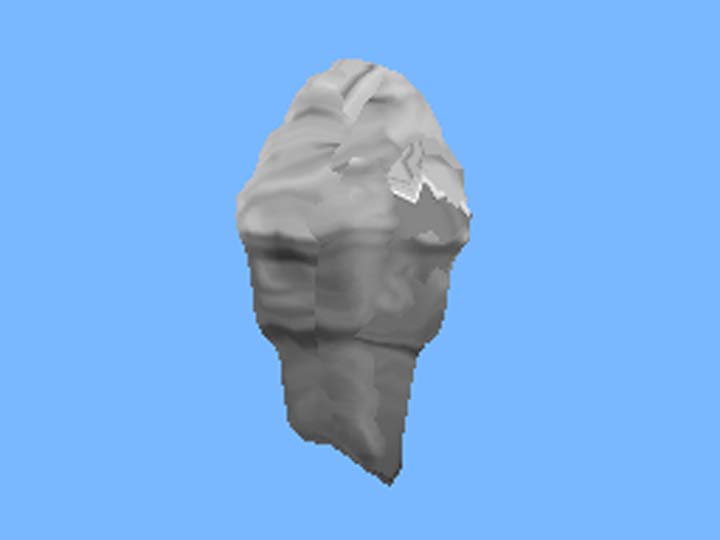
... but apparently not enough
So I thought- maybe the sides were too similar. The features/sides aren't different enough for the scanner to tell them apart for fusing, maybe? So I took another of my little erasers - the one that looks like strawberry cheesecake (I think). I put marks on it, and took a 360 scan.
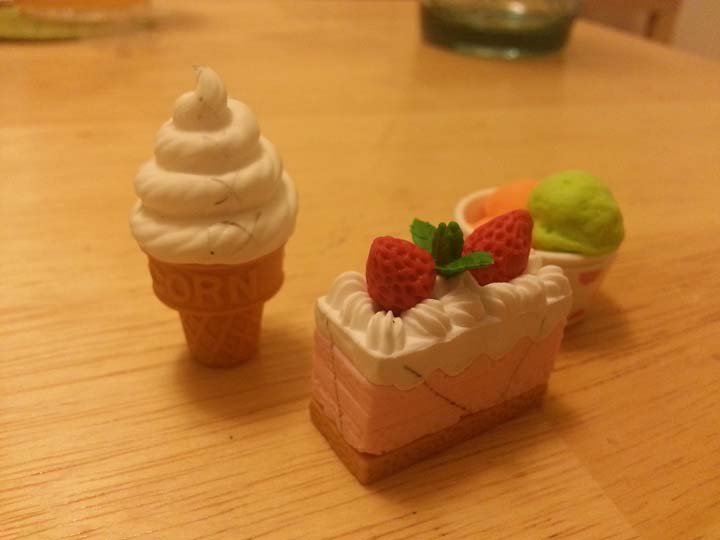
Candidates for scanning
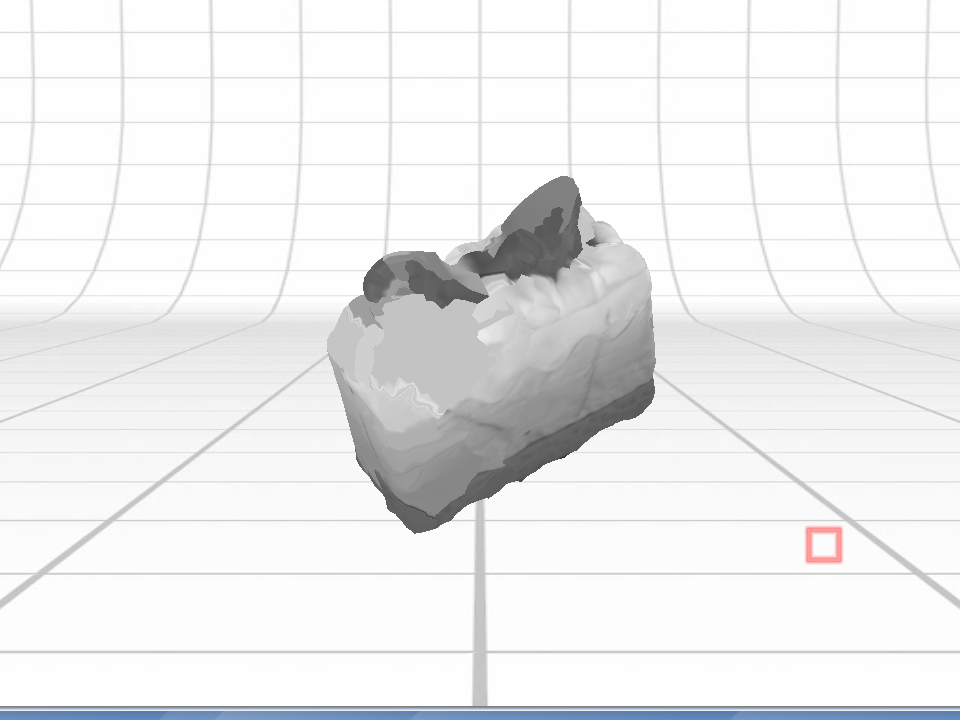
The cake does a little better!
Even with fusing and taking images of the top, the cake did not look great. It also looked blobby and melted. But I found that flat surfaces do better than bubbly ones. After scanning and manually fusing, without much to show for it, I decided to also try scanning one of the pieces I printed (see next section). The outside is all flat surfaces, though the material is a bit shiny.
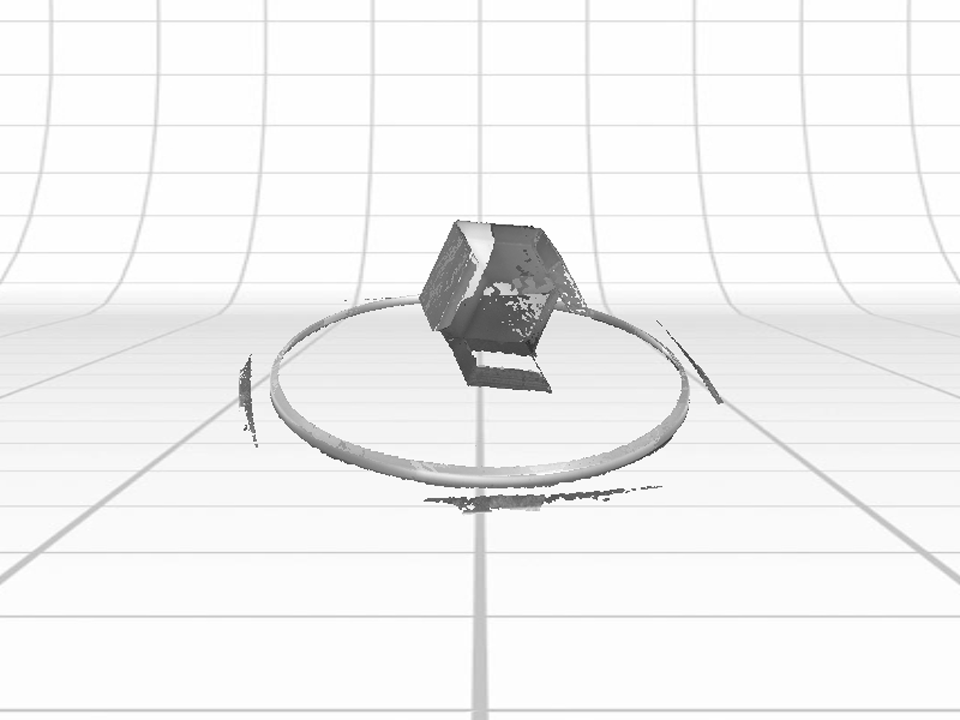
Scan of puzzle side
STL's of ice cream, cake, and puzzle side are at the bottom. For any future scanning, I'd hope to have a part with entirely visible profiles - i.e. something that can be cast. If a mold can go in and out, that means a laser beam can shine in unhindered, so it doesn't miss any surfaces. Other than that, I'd try for it to be high contrast (but on the lighter side overall) and matte finish.
Printing
I had much more success with the 3D Printing portion of the assignment. I am comfortable with 3D printing on Dimensions, Objets, ZCorps. There is no 3D printer I have met and did not feel comfortable using. So instead of investigating printing the same way I did scanning, I decided to investigate an idea for my final project. I modelled a possible form for a lunchbox that opens on command.
This particular box is called a 'Pennyhedron' and I read about it in this book when looking at wooden puzzle forms for Week 1. It's page 56 if you want to follow along. The puzzle is constructed from 12 identical pieces, which are glued together to form two sides of the puzzle. But even though there are two pieces, the puzzle can be difficult because the seam (where the parts come apart) is not obvious. And to take it apart requires an awkward grip with three fingers.
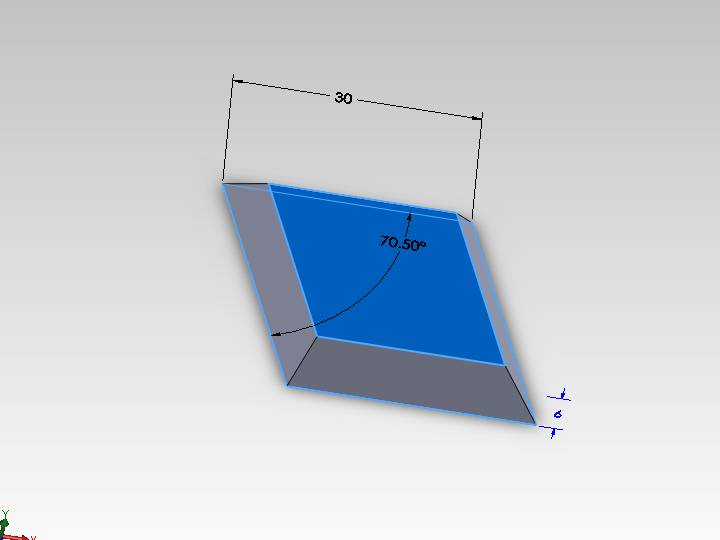
Each tetrahedral piece
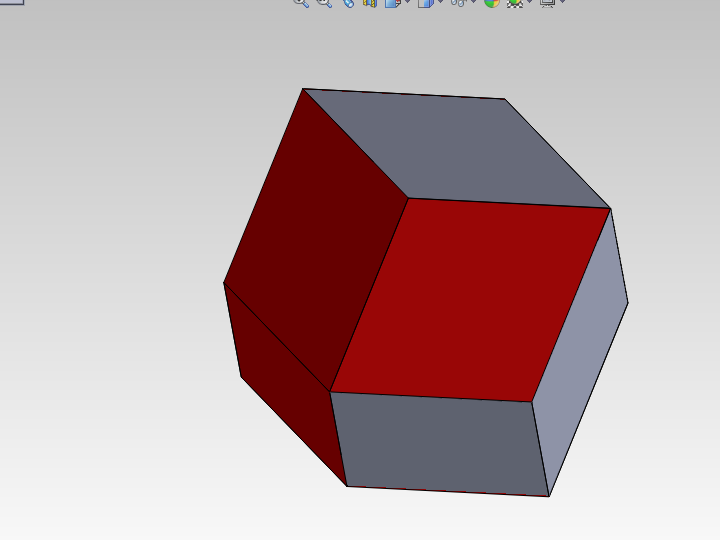
Two sides fit together
For my first trial, I sent the two sides to James to print on the Dimension. They looked fine (and were a beautiful red) but failed in two critical ways. Ideally, the puzzle is difficult to figure out, but once you know the secret, it's easy to take apart. The first iteration was the opposite. It was easy to see the seam from the fit and the grain from the FDM, but incredible hard to take apart because of the tight fit. The pieces were crisp because they were mostly straight lines/edges, and the STL files were excellent approximations of the geometry. The Pennyhedron box is also pleasant to make, as you only change two dimensions - length (it's a parallelogram with sides of equal length) and height. I think my box would have thin walls (to fit more inside), some wood puzzles make them out of pyramids, where the chamfers are the entire sides.
Two separate pieces
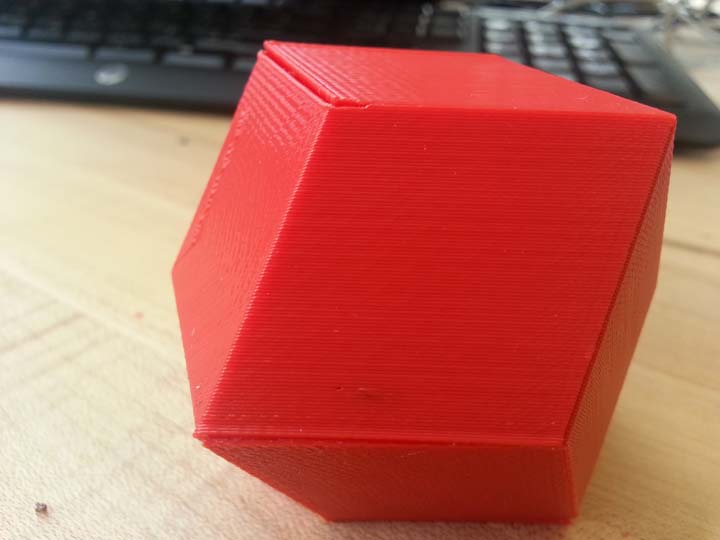
Seams are clear up close
Puzzle snaps together... too snugly
"I have not failed. I have just found 10,000 ways that won't work." -Thomas Edison.
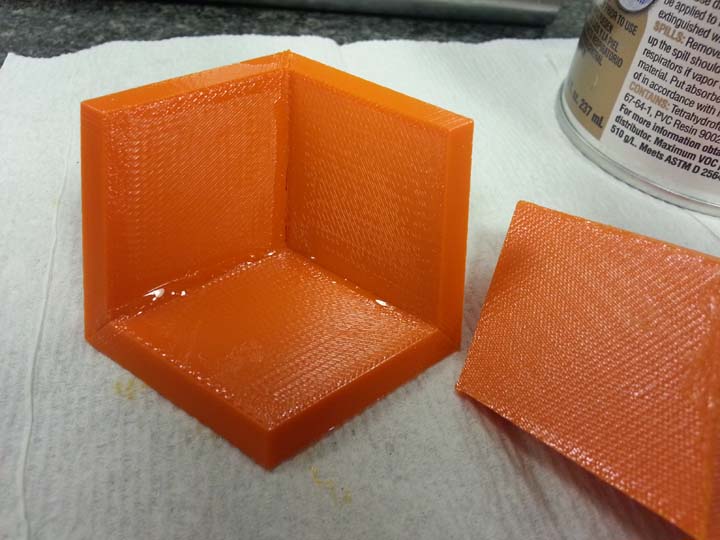
So for my next trick, I printed the 12 pieces individually (as they are made when the puzzle is made from wood). I did this using the Dimension in the Edgerton Center Student Shop because other students were using the Dimension in the IDC and it seemed... greedy... to use it twice. These came out a lovely orange, and I fused them together using PVC Primer and PVC Cement. The primer softens the surface, mostly for PVC piping that is a very tight fit. In my case, it means the pieces could be fudged a little to get them just how I wanted them.
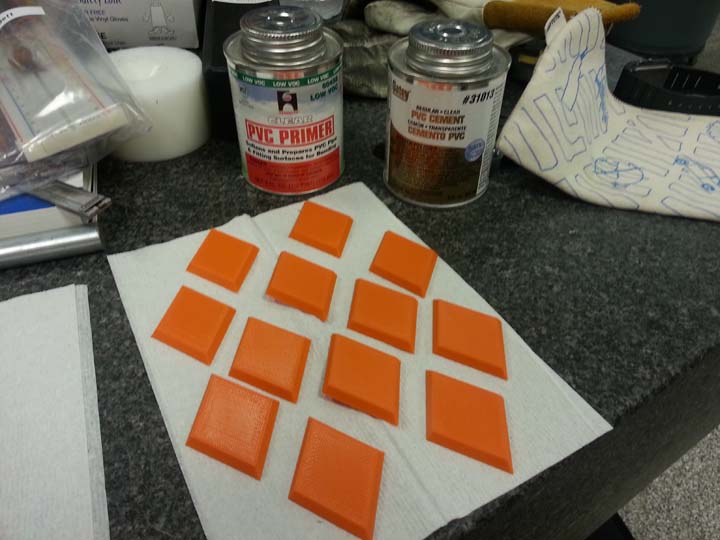
Pieces with PVC Primer, Cement
Don't skimp on the glue
The orange puzzle also had somewhat visible seams, and upon closer inspection of the CAD, I saw that there were thin strips of interference between the pieces. For the final project, I'll want to resolve that. I also think it would be easier to fit them with pieces more like pyramids, but for space inside I need thinner pieces. I think that making more accurate CAD will allow me to do this. In the end, both puzzles look good when together. Sanding will help the orange one's seams be less apparent.
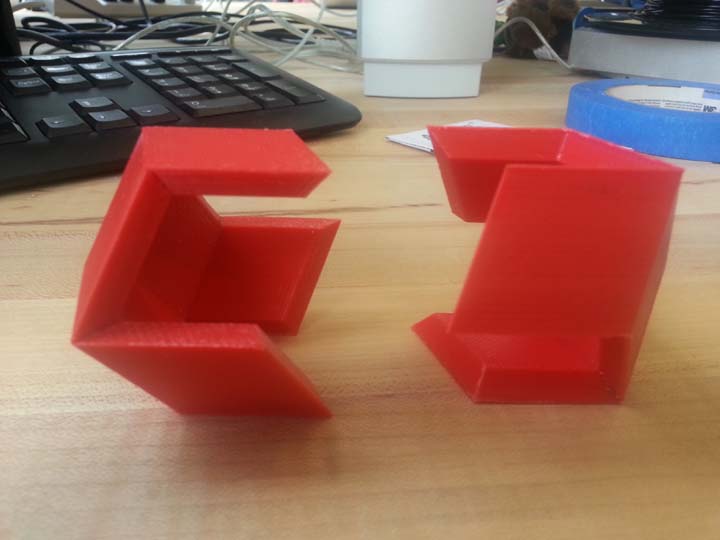
Both Puzzles
The orange one's seams are visible, though less so than the red one. It is also much easier to take apart (once you know how!)
Files
- Printing: Pennyhedron Box
- Tetrahedral Part: SolidWorks | STL
- Side A Assembly: SolidWorks | STL
- Side B Assembly (mirror of Side A): Solidworks | STL