Ben Z. Yuan - How to Make Almost Anything
Week 14: Composites
This week
Composite parts are hard.
Assignment: machine a mold and use it to create a composite part
I decided to attempt part of an enclosure for my final project. I laid out the internal components in OpenSCAD and determined the proper size for the bottom half of a hypothetical two-part enclosure.
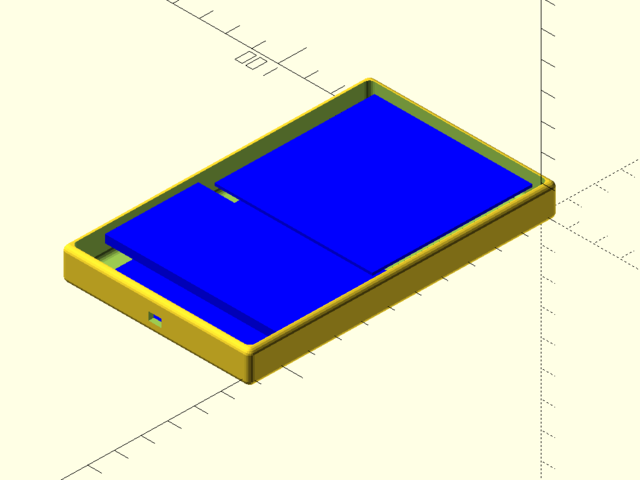
The EDS CNC router was inoperable when I arrived to machine my mold, but in any case my hypothesized part was small enough to use the Roland SRM-20.
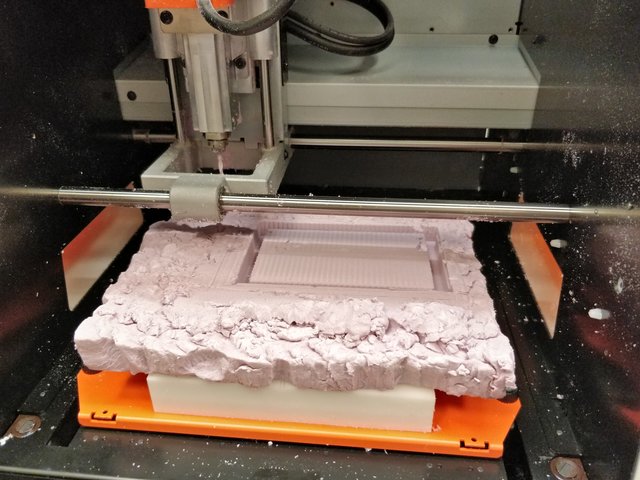
In order to fabricate a composite part, several pieces need to be composed in layers (from bottom to top):
- The mold.
- A sheet of plastic film (upper surface coated in mold release agent).
- Layers of fabric (I used a layer of burlap sandwiched in layers of linen) soaked in activated epoxy resin (I used Entropy Resins ONE Epoxy with ONF Hardener).
- A perforated sheet of plastic film, to permit excess resin to bleed out during compression (lower surface coated in mold release agent).
- A layer of loose fiber matting to act as ‘breather’ and absorb excess resin.

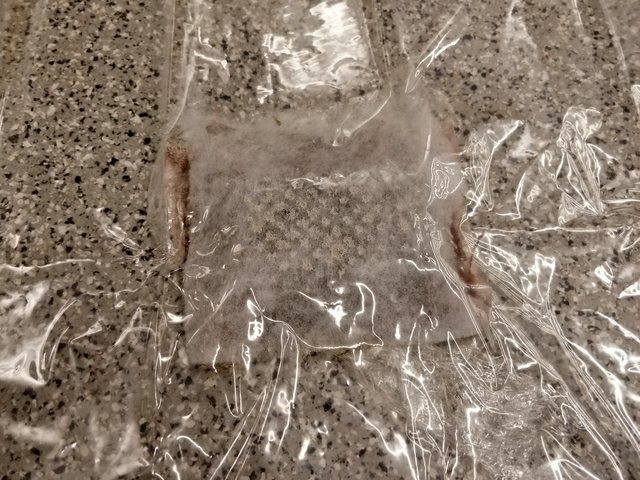
These are all placed in a vacuum bag. Compression is achieved by drawing air from the vacuum bag and then sealing the bag. The part is then allowed to cure overnight.
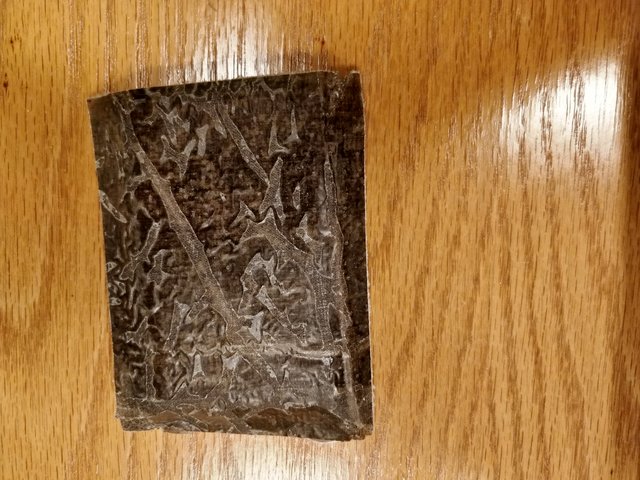
Unfortunately, a one-piece mold is no good at capturing sharp corners:
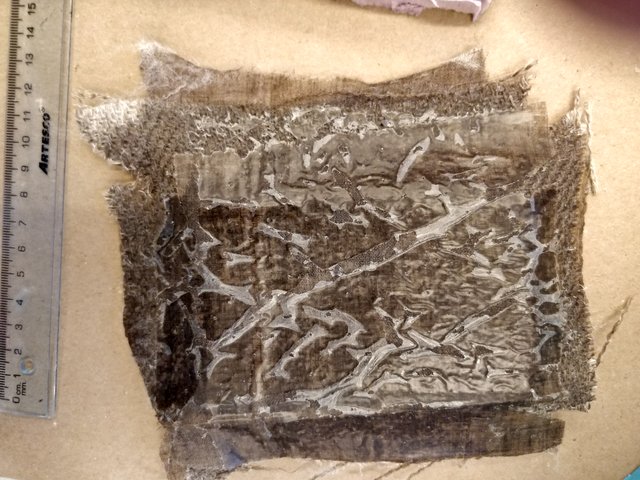
I would have probably had more success with a two-part mold, or a mold sized to be much taller than the final enclosure. It seems like the process in general is more suited to larger parts without small sharp features.
With the bandsaw in EDS, I cut away some of the excess material. This revealed some portions where the lamination seems to not have happened properly (possibly due to insufficient pressure from the vacuum). I thought that, nevertheless, if I were to cut away a bit more, I might be able to attach the resulting composite panel on the final enclosure, to add a bit of extra impact resistance. (This ended up not actualizing due to timing constraints.)
