-

- Final Project Journal 01
- Computer Controlled Cutting 02
- Electronics Production 03
- 3D Scannnig + Printing 04
- Electronics Design 05
- Computer-Controlled Machining 06
- Embedding Programming 07
- Molding + Casting 08
- Output Devices 09
- Machine Design 10
- Input Devices 11
- Interface + App Programming 12
- Networking + Communications 13
- Composites 14
- Final Project 15
- Misc
HOW TO MAKE (ALMOST) ANYTHING
Kevin Guiney
Composites
Xmas tree project

The composite:
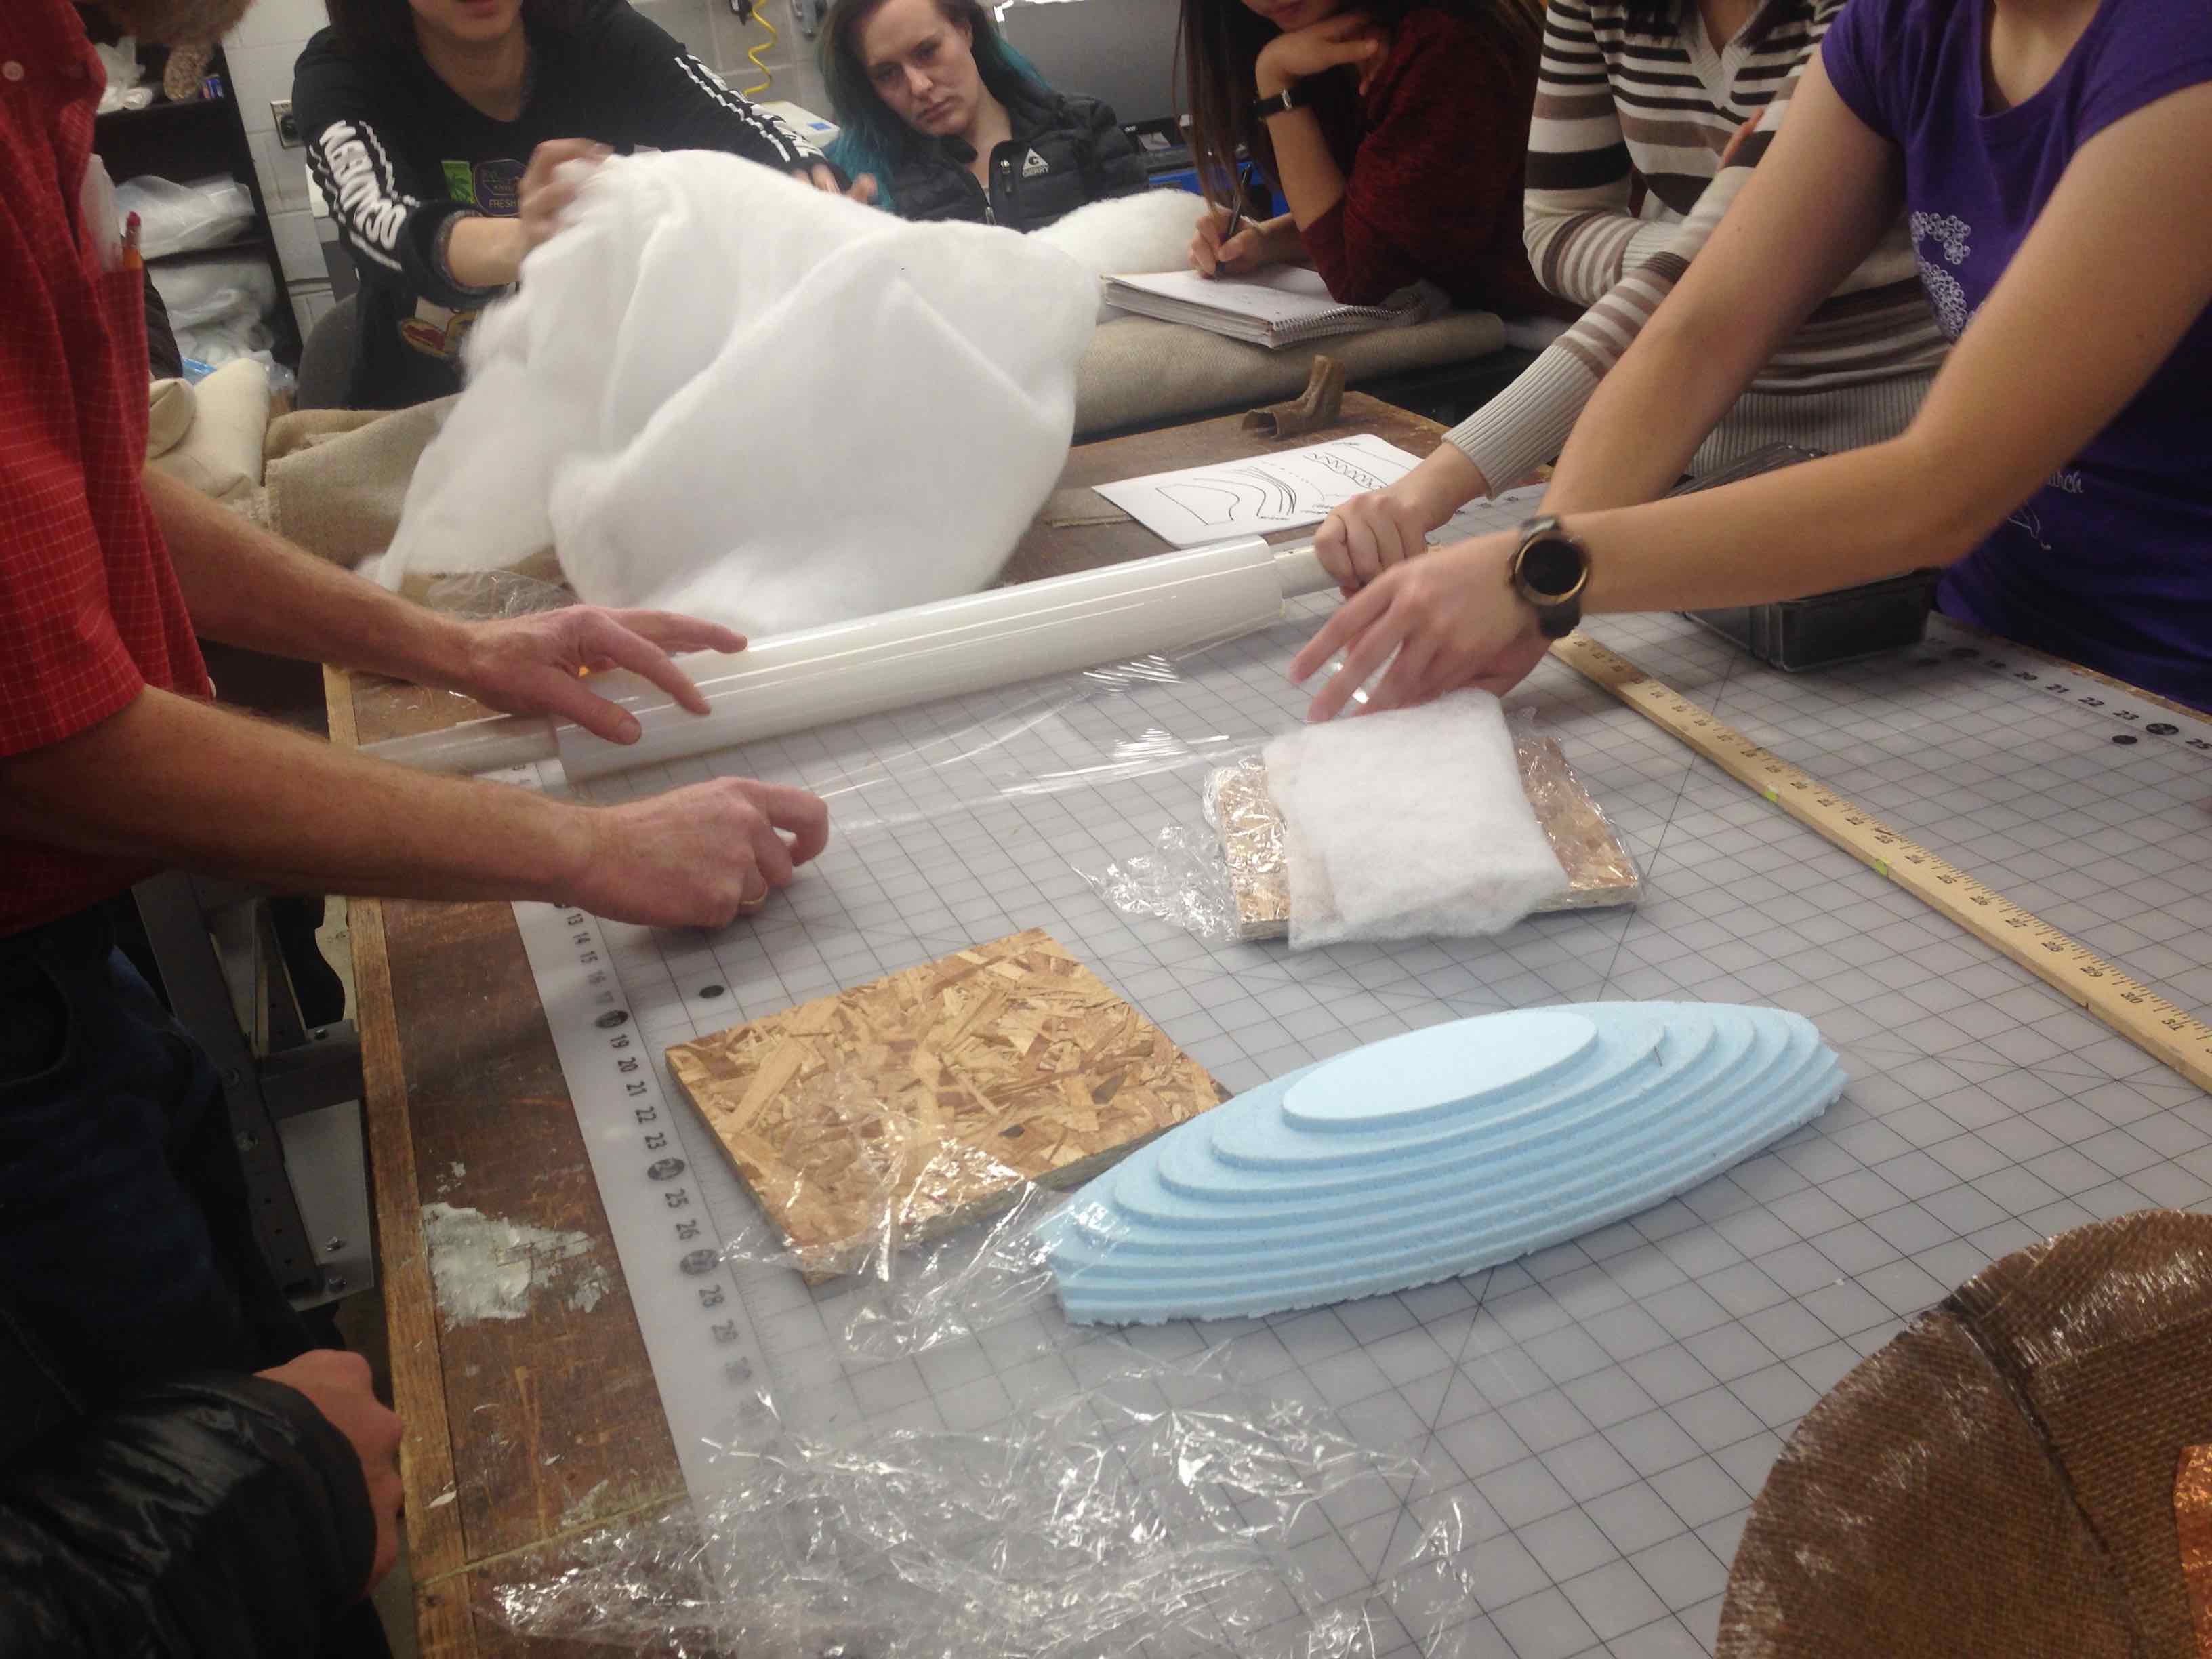
We met as a group to do a training and make a coupon. Everything seemed pretty straight forward.
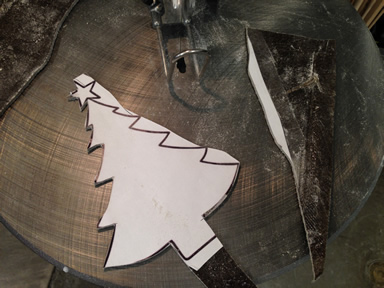
I decided to make a Christmas tree shape. Something smallish and simple. If I”m able I’d like to put an LED on it. Something I could keep on the mantle during the holidays. There was a coupon in the lab that Rob had laser cut. I thought this would be a great way to have a crisp finish piece and cover up some of the rough parts of the shape. So I would do my tree two different ways: 1) a tree cut out of foam core and 2) flat layers I would then laser cut into shape once hard.
I designed my very simple tree in Fusion 360. Unfortunately I got an error when trying to export, saying they were having some downtime issue. You can track all of Autodesk apps statuses here: https://health.autodesk.com
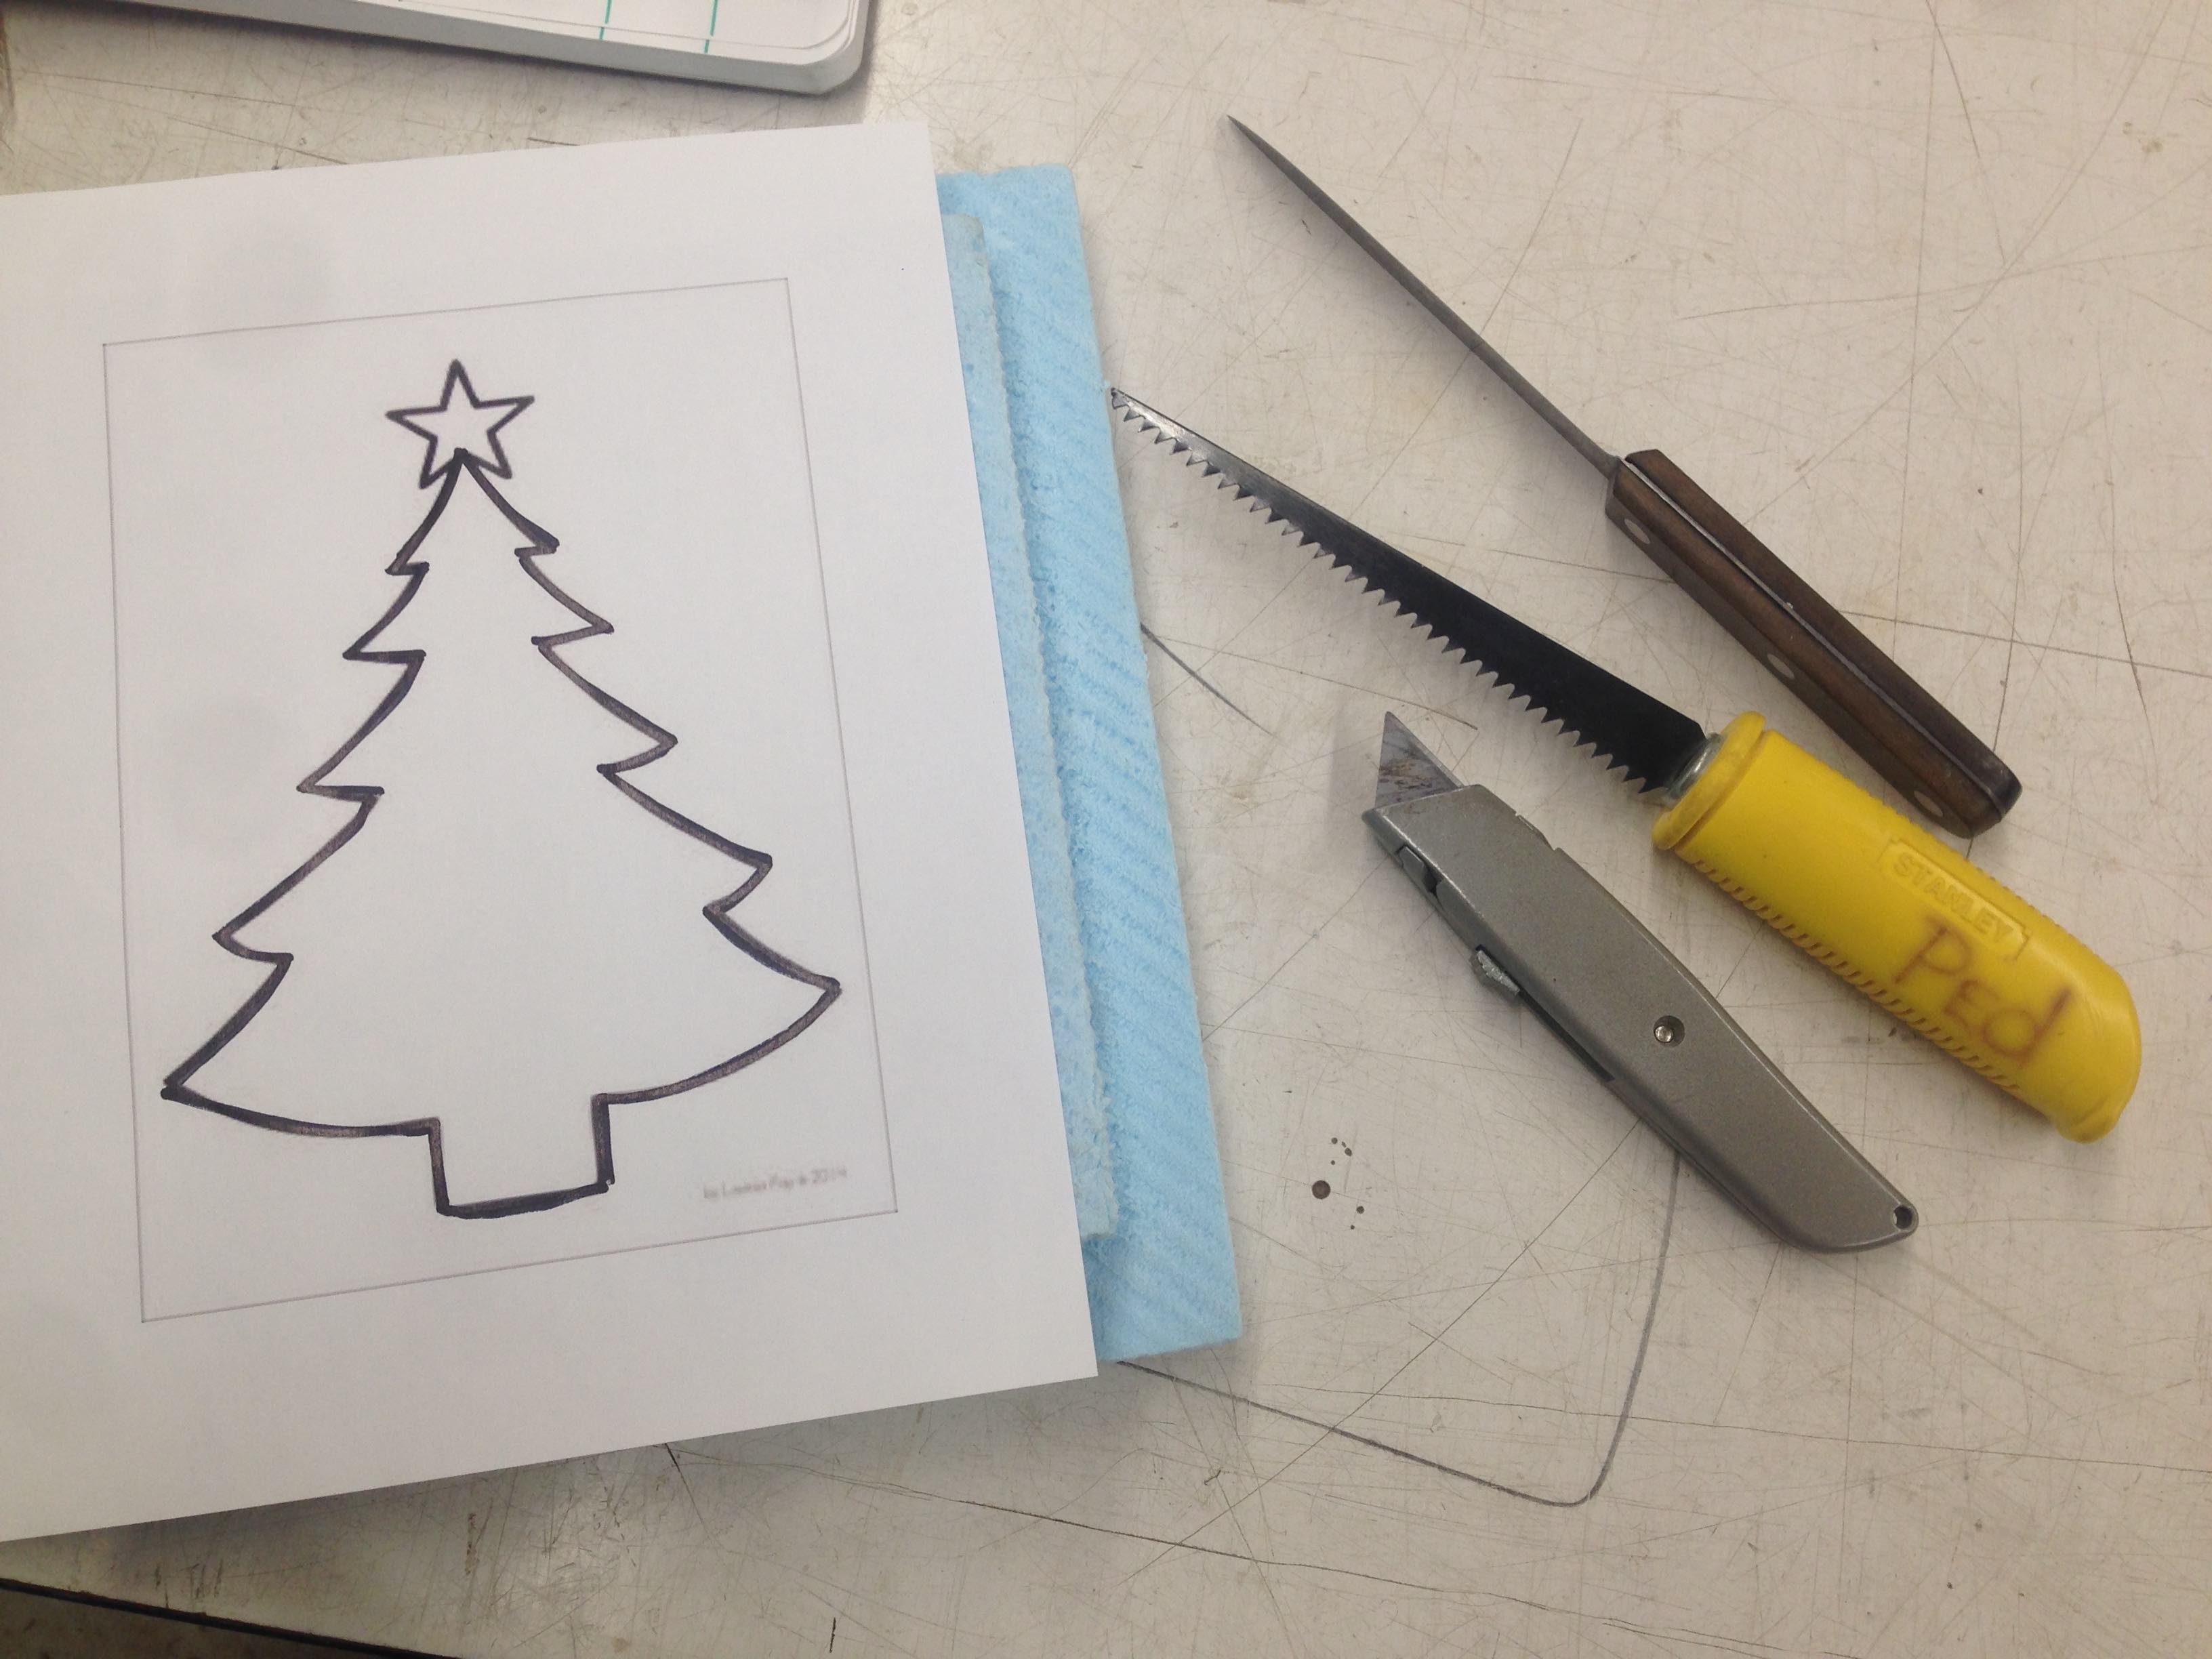
I really wanted to get my composite done, because tomorrow would be the best day for me to lasercut. So after an hour of waiting with still no luck, I printed out a outline of a Christmas tree, taped it to a piece of foam core and cut out the shape with a drywall knife. The edges were kind of rough, but I didn’t think it would get that much detail in the corners anyway.
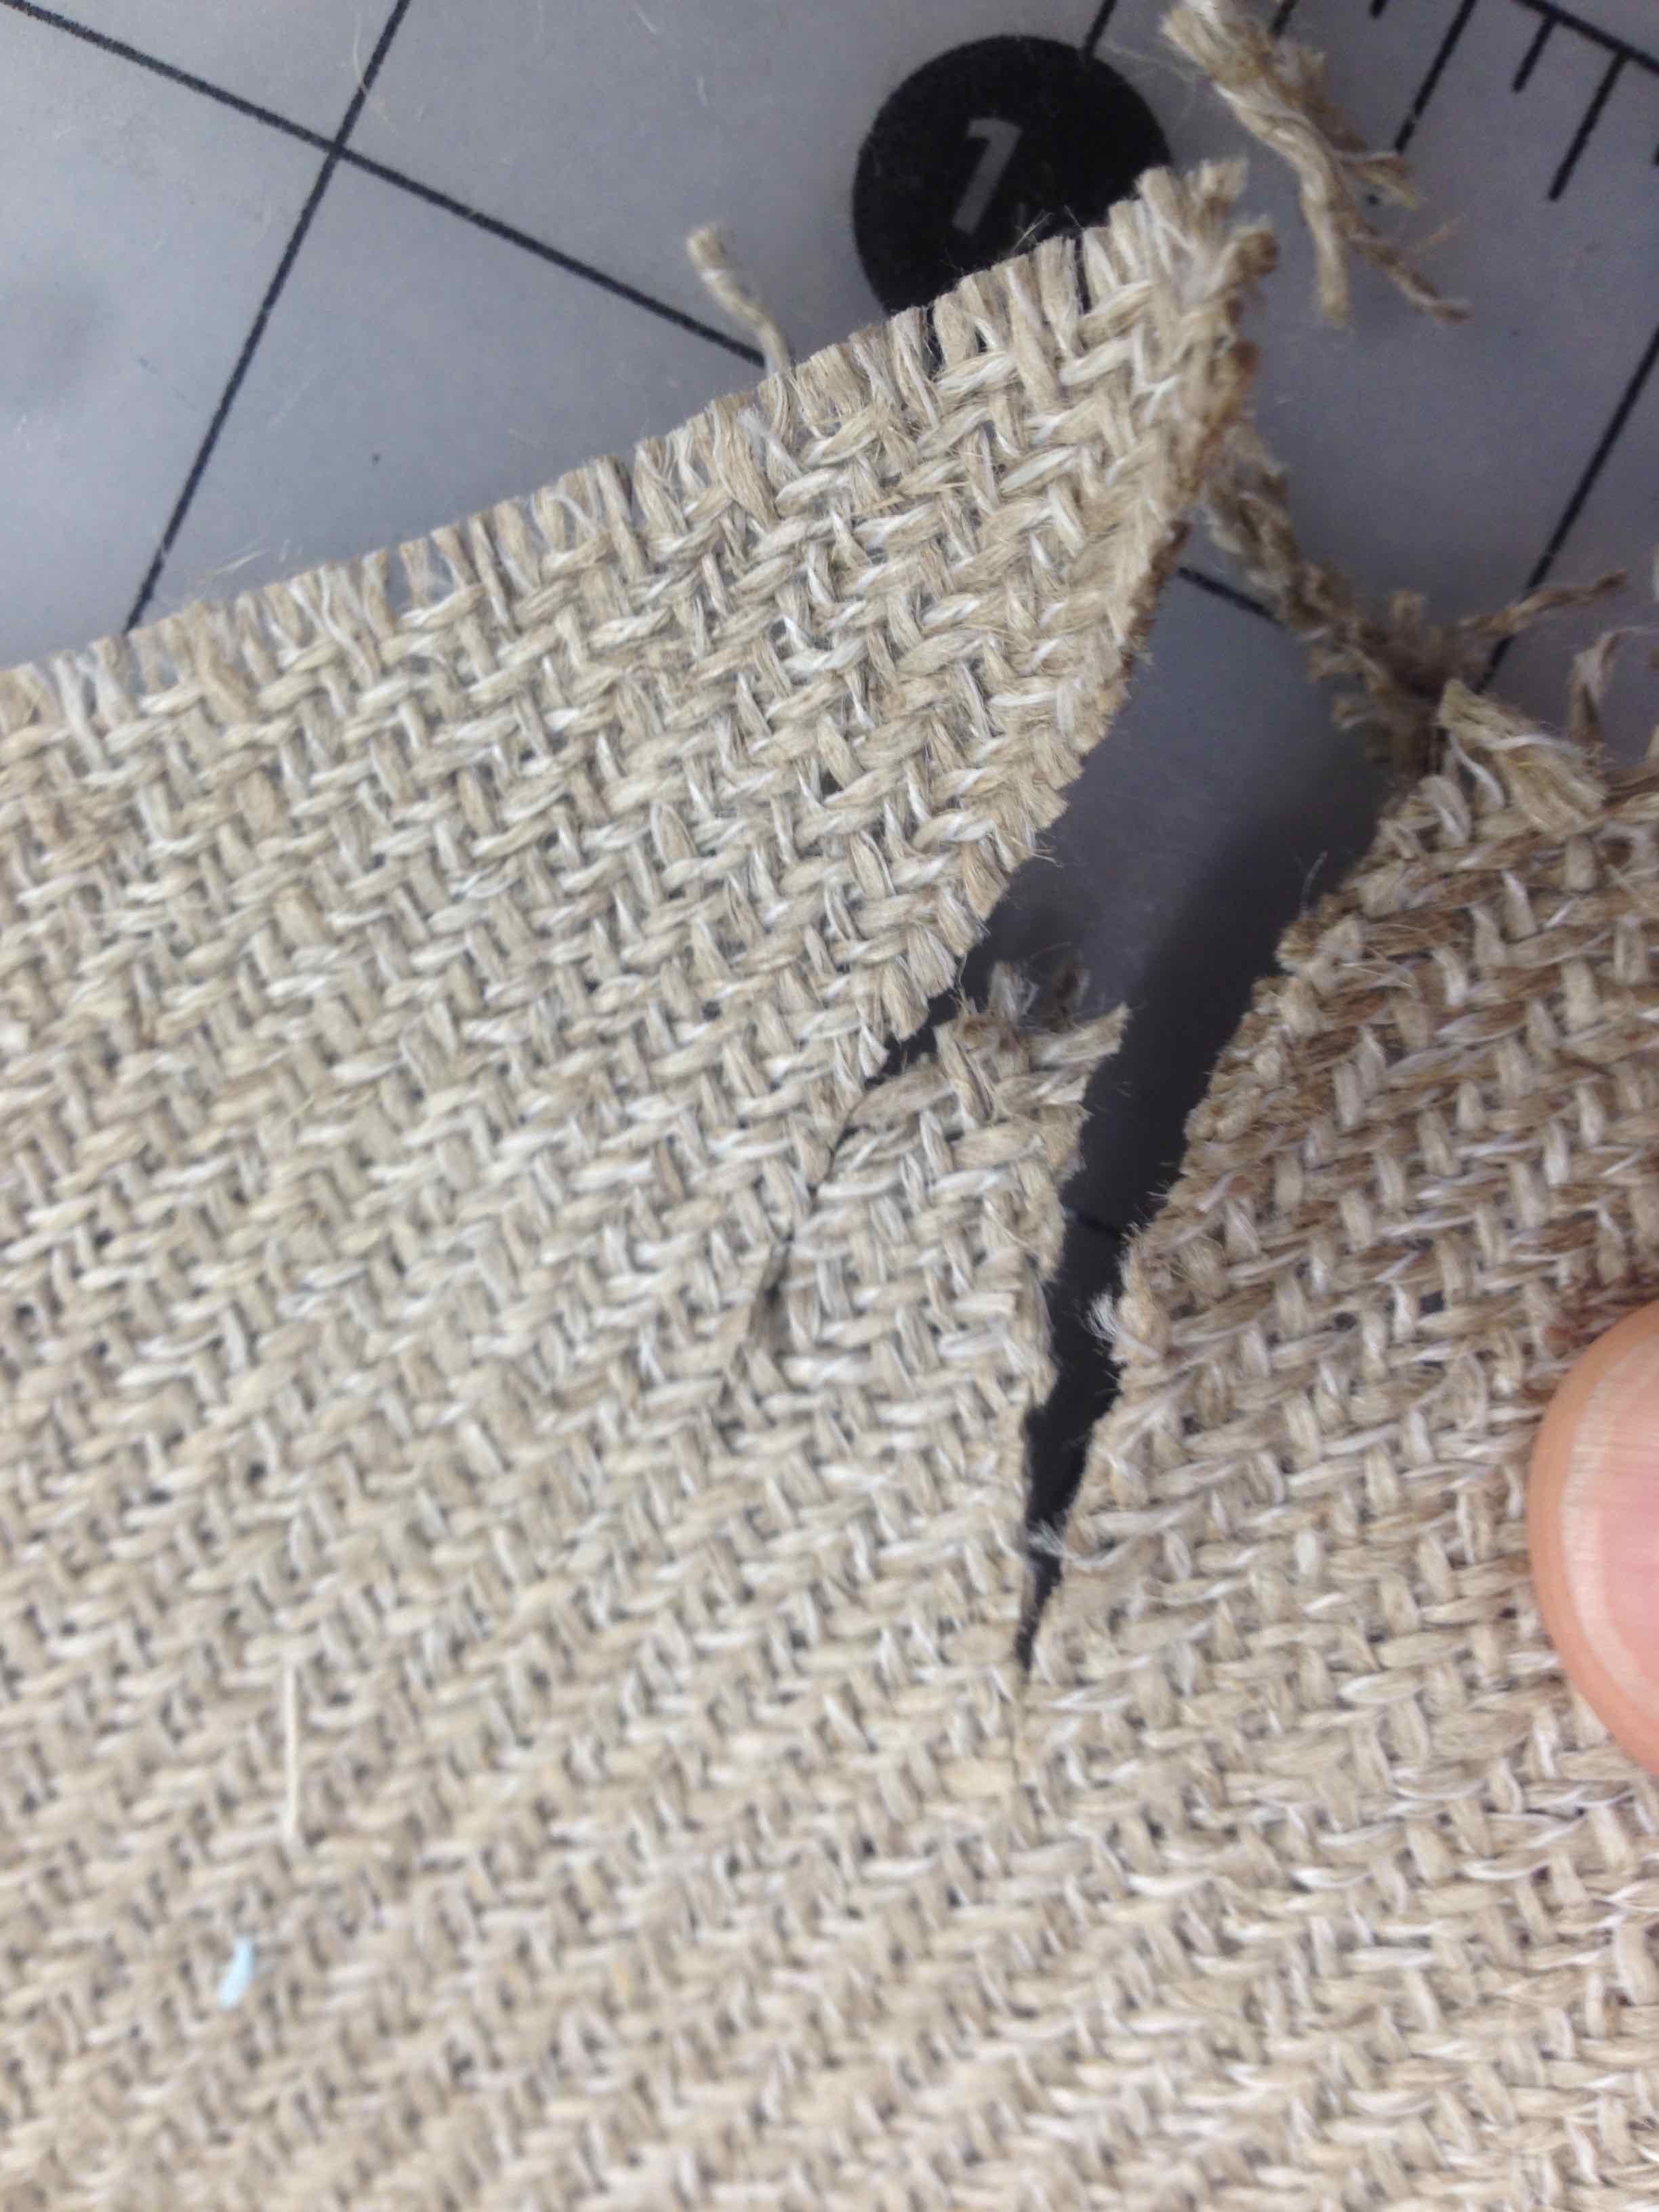
With my cutout I went to do the epoxy. First I cut out 4 sheets of fabric for each of my attempts. I thought it would be interesting if I could just a pattern that would look like the branches of a tree in the fabric. I could lay it as a top layer and it woul dgive a subtle texture. I found this wasnt' possible because cutting somethign small make the fabric fray.
I wrapped the foam with saran wrap as a release layer. For my flat piece, I wrapped a flat piece of wood. I put on gloves and mixed the epoxy. 2 parts A and 1 part b. For both pieces I used 6 full pumps of A and 3 full pumps of B. I mixed well and then spread it on the individual sheets one by one and build up the layers. When done I added a release layer, which was saran wrap with holes punch thru. Once suction is applied, this will allow the epoxy to seep out and form a tight bond. Then came a breathable layer, which was white fluff material which will allow the air to be sucked out of that layer, Finally another release layer so the epoxy doesn’t stick to the bag. Making holes in the saran:
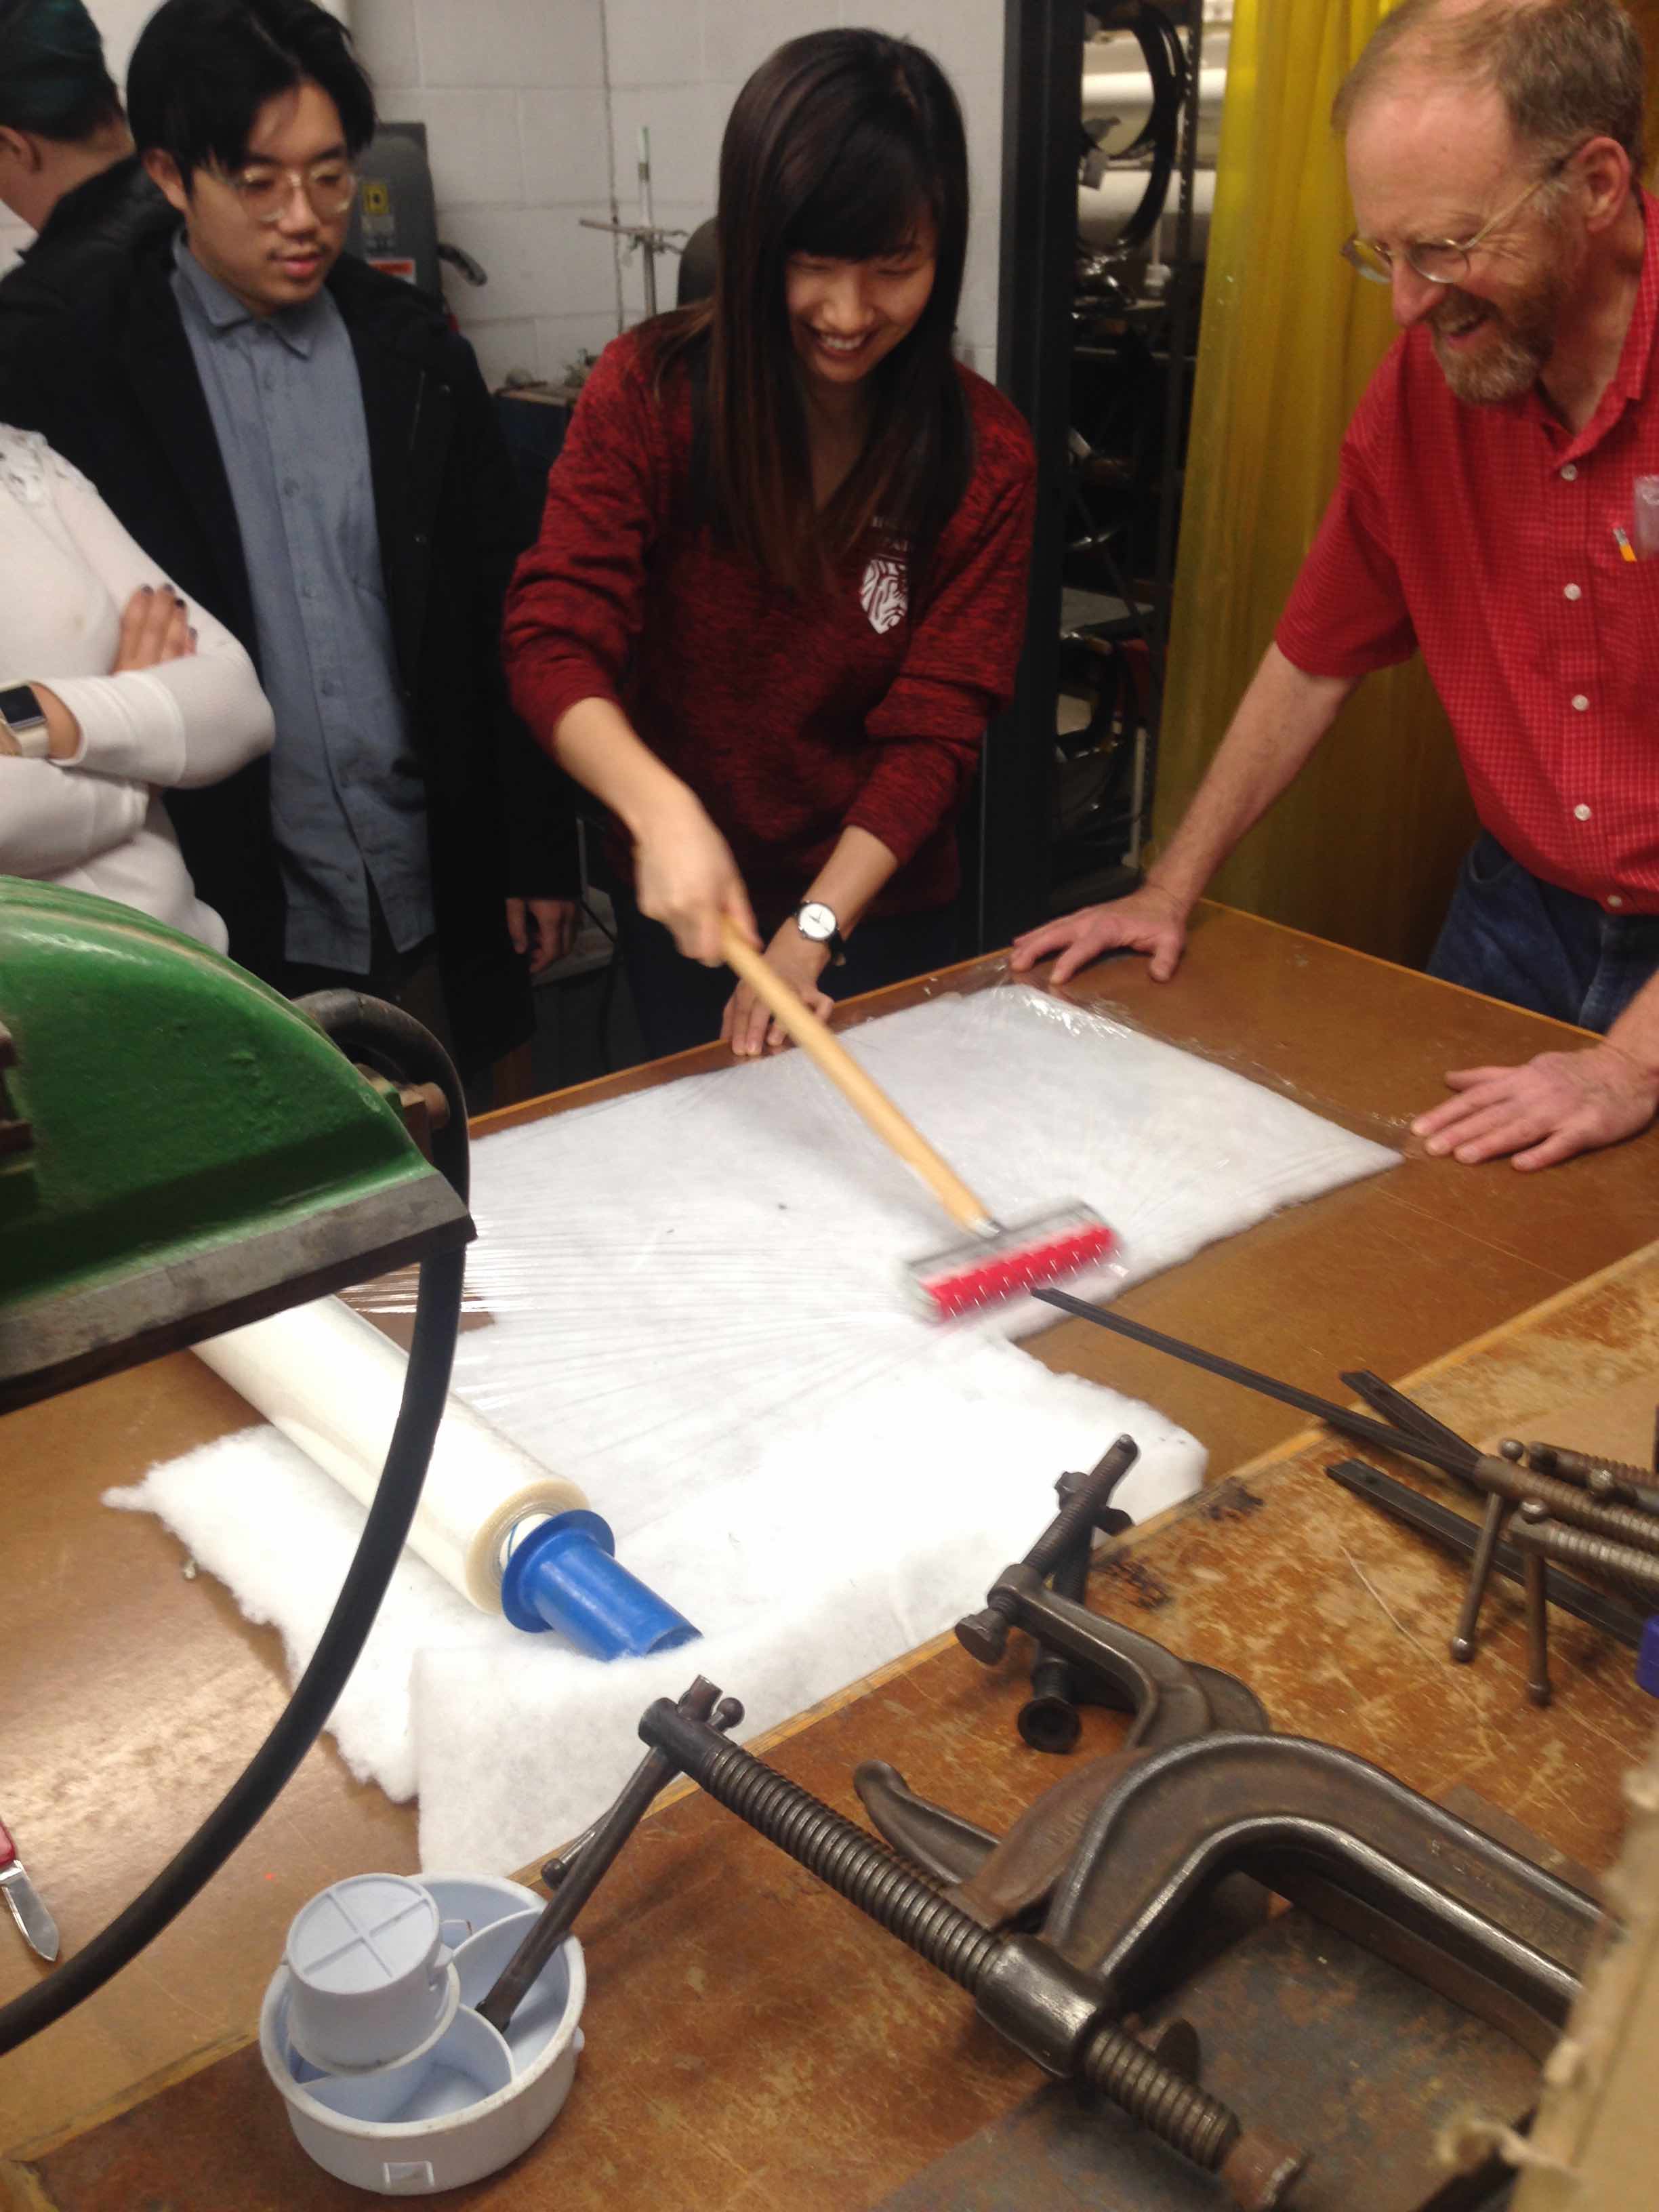
I used the vacuum sealer, since my objects were small. The empty bags are under the lid of the machine, where there is a cutter as well. I put the tree in the bag, turned on the machine, hit Seal, and pushed one end of the bag in. It pulls it in and after a little wait, it seals the one side. Turn the bag around and push it in. No need to push button, it knows it’s the second side. It pulls it in and sucks out all the air before sealing it. All set! You can really fell the heat of the reaction now. I set them aside and will open the bags tomorrow morning.
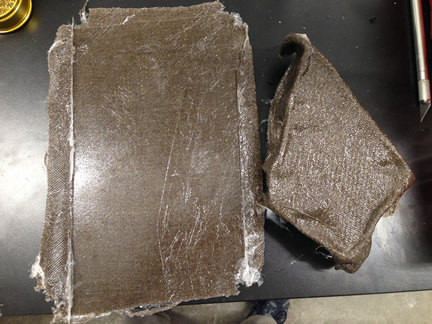
I opened my vacuum bags in the morning. The flat layers looked pretty good, and I’m glad I made them to cut out a tree shape. The tree formed around the foam was very misshaped. I suspects the fabric wouldn’t go in the crevices, but I didn’t realize that it would compact them all because they were so thin. The end product looked like a melted arrowhead.
 Board-
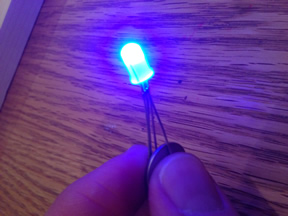
I'd like to have a light at the top of my tree. I found this one I'd like to copy. It's a RGB buld that fades between the colors. There was code and a guide here.
A refresher on designing a board. I opened up the application Eagle. A good guide on how to use it is available here: https://learn.sparkfun.com/tutorials/using-eagle-schematic Another useful guide to reference (and hopefully learn) is How to read a schematic: https://learn.sparkfun.com/tutorials/how-to-read-a-schematic
The process for designing this board was:
- start a new schematic click on the add button (or type ADD in to the text entry field). I have the fab library already installed.
- For this board I have added in a ATTiny, isp, a 10k ohm and a 10ohm resistor and two items that were not in the fab library: rgb led and a 3 v battery clip on. I’ll have to find out on Monday if we have the cell battery and the clip in our inventory. The batteries are easy to get, but I may have to salvage it from some old device.
- On the left hand menu I click the Value button so I would know what each part was. I don’t have a lot on this board so I didn’t need the NAME function to rename anything.
- Now I can wire everything together. Remember not to use the WIRE tool, which is really for line drawing, but use the NET tool to connect them
- Hit the Generate/Switch to Board button to begin the layout.
At this point I switched over to Fireworks, an illustration program. I like using this to have more control over how everything is laid out. I have brought in old schematics and copied the sizes of the traces and components. This process worked well for my final board and I repeated it here. The only part I couldn’t figure out was a trace for the 3v battery. For the sake of time right now I’ll just run a wire off the board and tape the battery with electrical tape.
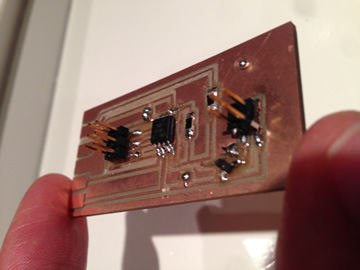
The next morning I decided to add a regulator and go with a 9v battery, just because it would be easier to connect and we had everything in stock. My final word are using a 9v and I also wanted to stick with what I knew how to do, instead of figuring out the 3v connection. Milling and stuffing went smooth, but when I connected the battery I saw smoke. Turns out my regulator was on backwards. I was looking at an old board as reference, but after checking the data sheet I saw where in/out/ground should be. 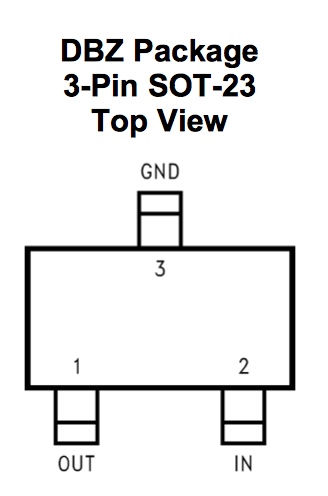
I still couldn’t get it to program, seeing the dreaded -r. I checked my traces, tested with the multimeter but still could not find the problem. Eventually, the time I was spending on this part was too much. I decided instead of a led light that fades from one color to another, I’d just have a steady yellow light glowing. Some electrical tape and copper vinyl sticker paper with a battery did the trick.