-

- Final Project Journal 01
- Computer Controlled Cutting 02
- Electronics Production 03
- 3D Scannnig + Printing 04
- Electronics Design 05
- Computer-Controlled Machining 06
- Embedding Programming 07
- Molding + Casting 08
- Output Devices 09
- Machine Design 10
- Input Devices 11
- Interface + App Programming 12
- Networking + Communications 13
- Composites 14
- Final Project 15
- Misc
HOW TO MAKE (ALMOST) ANYTHING
Kevin Guiney
Molding and Casting
This was fun week and I had a lot of success (and learned from some failures). I started early and was done by Friday with the main parts of the mold and it gave me a chance to experiment some more..
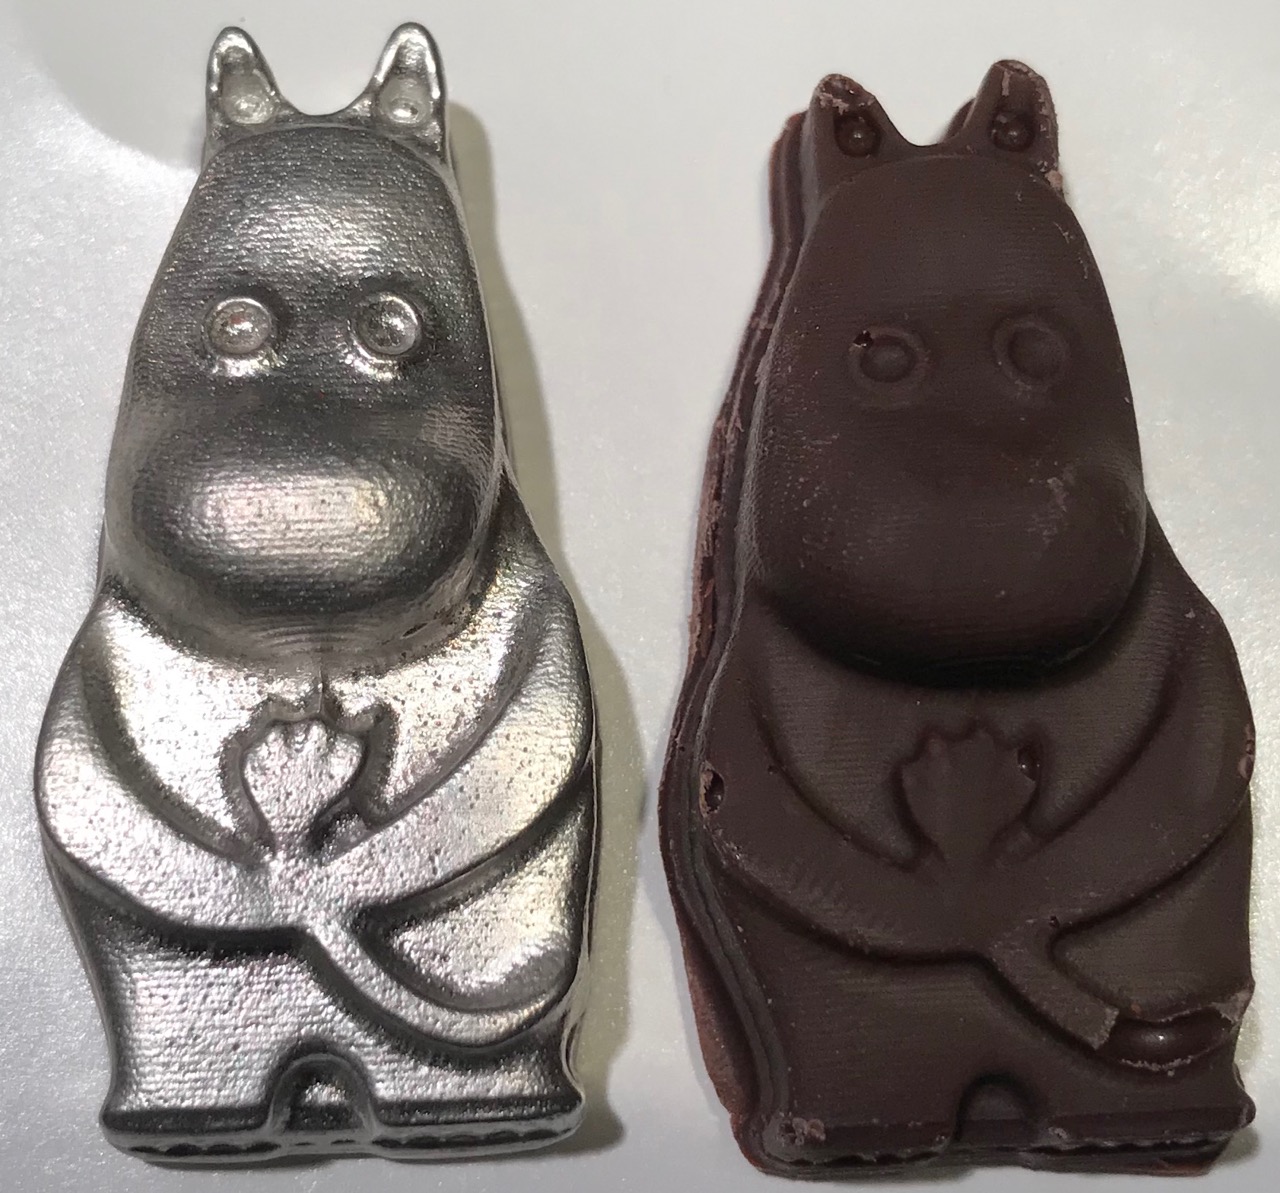
With Halloween coming up, I had the thought to do a food safe mold and make some chocloate candies. There is a Finnish cartoon character named Moomin that my daughter and her best friend (whose dad is from Finland really enjoy). The fact that this cartoon isn't popular here will really make the chocolates a novelty.

Here is a really good guide on milling with the shopbot. I felt a lot more comfortable with it after this week that when I uses the big amchine for the Make Something Big week. V-carve itself has good tutorials and I found some things I was doing wrong (mostly to do with the plunge depth) by watching them.
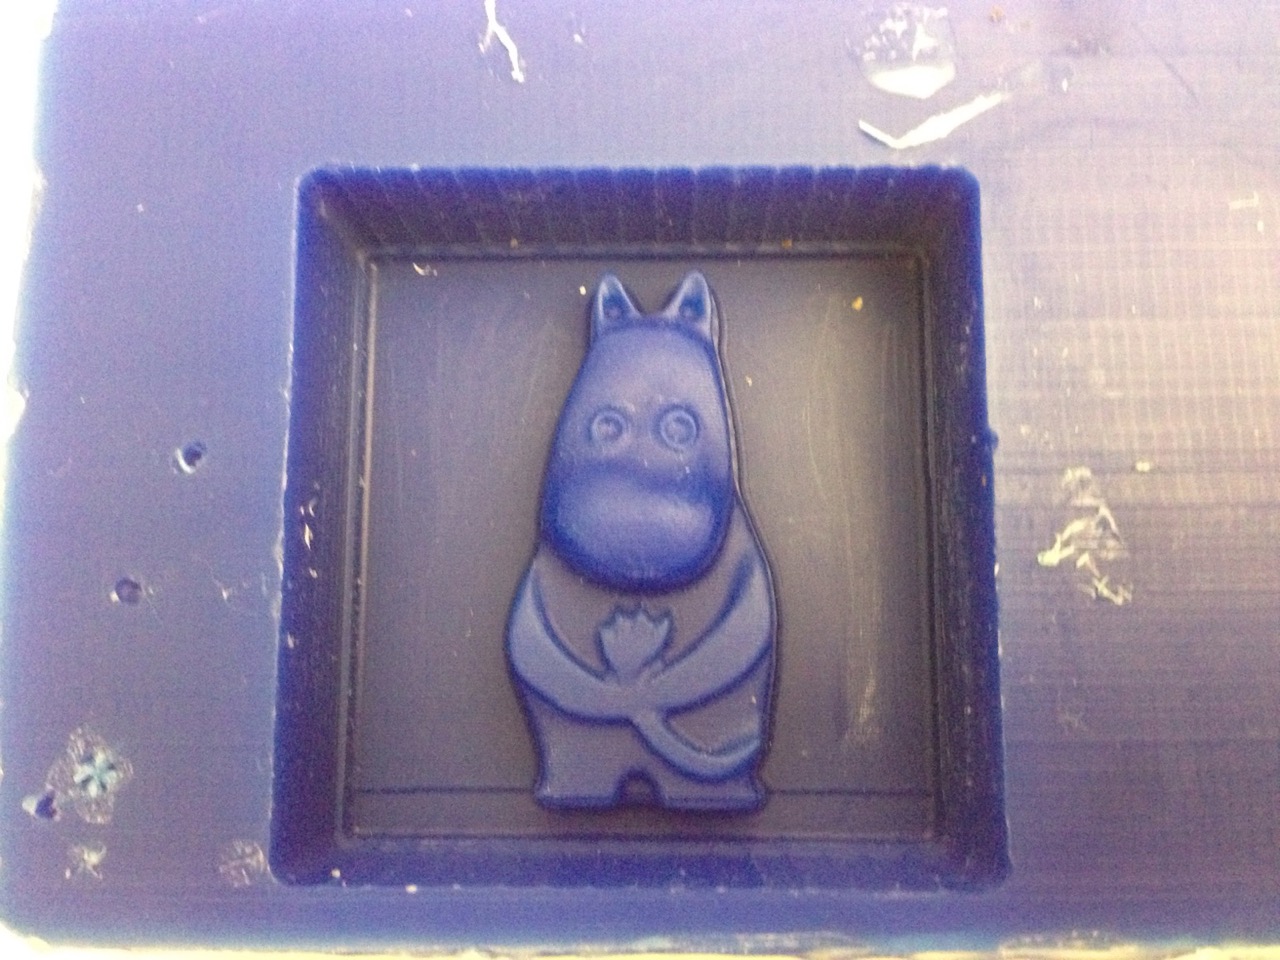
I started out I ran into a problem right away and ruined a block of wax. It looked all torn up. What it turne out to be was by plunge depth went down too drastically. My mill sank down into the wax too deep and didn't have anough room to diplace what it was removing. In addition, because the shaft of the mill was surrounded by wax, it started to melt
Additional Bonus
1) I've been attending SEAS project nights on Tuesdays, and this we worked out perfectly as the topic was molding and casting. The first thing I did was dip my thumb in low temp wax (melting point 120 degrees) I'd let the layer cool and harden, which took a couple minutes and then did it again. after about 4 or 5 layers I had a good mold around my thumb. It was fairly easy to slip off. I mixed up so material, added color in to get it to be close to my skin color and let it sit upright in a cup. After about 1/2 hour, I cut the wax away (wax molds are usually one and done) and had my thumb:
The next thing I did was cast a chess pawn. I have a chess set that is missing one pawn, so this was a great opportunity to replace it. I covered the original in a release agent, similar to vasiline/chapstick, being sure to fill in all the tiny cracks. I painted on a lot of layers and let it harden for about 20 minutes. Pulling it out was a challenge because I didn't want to tear the mold, but after some wiggling it came free. I mixed up my batch of material and poured it in the mold. I decided to try the vaccum to pull out any air bubbles. Here is where I made a mistake. Because my mold itself was so soft, it warped it a little. Next time I'll know to do this step while the material is still in the cup. Besides the warp, the copy came out looking pretty good. It's very rubbery, whivh helped with removal from the mold, but if I make it out of something harder, like the original piece, I will probably have to cut away the mold.
A person from , a molding /casting supply store in Brighton did a how-to session in Lamont Library. We saw different materials to make our molds and objects out of. One of the biggest differences was the setup and curing times. One tip I picked up was to mix in one cup, then transfer tall the contents to a second cup and continue mixing. This makes sure that everything is throughly mixed and there are not pockets of umixed stuff hidden in a corner when just using one cup.