the hostile plant
a final project
1. concept
are all your real plants dying because a.) you don't know how to water them, b.) boston is in a perpetual darkness, or c.) someone keeps mysteriously consuming them, despite their known toxicity?
and do you find fake plants to be much too obviously fake for your refined existence?
well, worry no longer! at last, i present to you a fake plant of your dreams! it does precisely what all those other fake plants don't do– it aggressively moves! it makes itself known! it's a plant!
2. initial ideation
"hostile" may be a misnomer. i originally wanted to make a light-orienting plant, and it later occurred to me that a proximity-sensitive plant would be more fun, and it later occurred to me again that i liked the two set-ups equally.
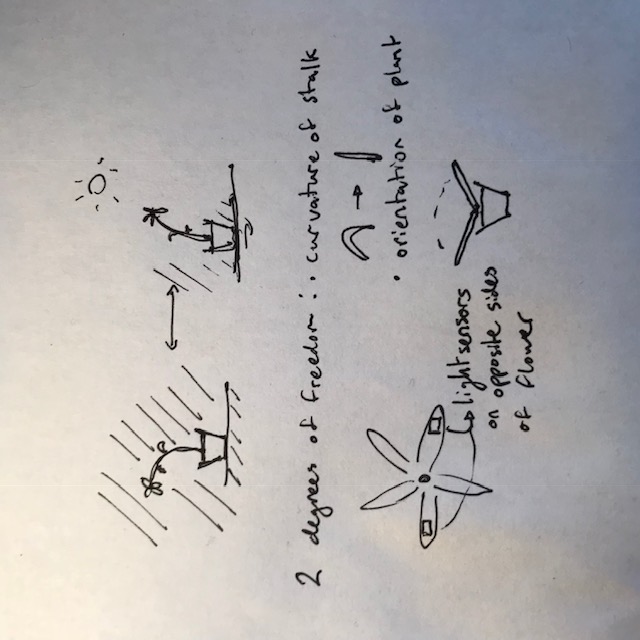
the original system i came up with for this idea was: phototrophic origami house plants
these would basically be braitenberg vehicles, but with less movement. each plant (a flower, a stalk, and some amount of leaves) would be actuated using a servo motor, which would be hidden in the "roots" of the plant, and SMA (shape memory alloy) (nitinol/flexinol) wires embedded into the stalk/petals of the structures. The motor rotates the whole plant so that it orients to the light source. The SMA wire wilts/unwilts the plant. It finds light using the difference between the readout of two phototransistors.
a sketch of the origami + SMA system
There are a good amount of projects from previous years that are functionally the same as that version of this project (light-orienting devices).
after trying to set the shape of shape memory alloys, i decided i no longer liked that route of actuation. zach (EECS section TA) suggested looking into pneumatic systems, especially to get rid of the servo motor (which creates decidely mechanical-looking/sounding motion/noises).
so, during wildcard week, i did inflatables with agnes.
3. physical plant(s)
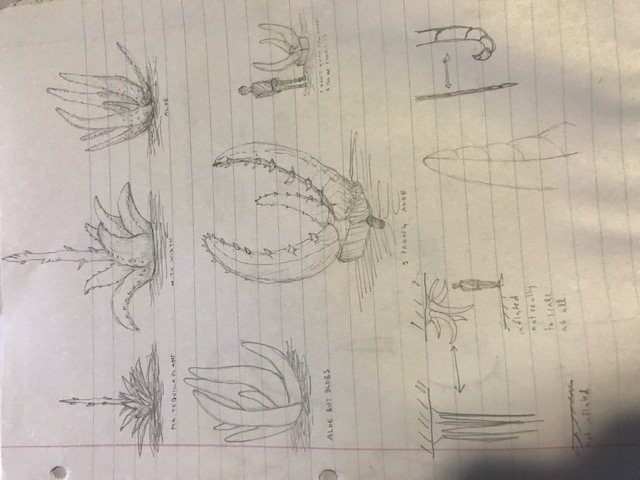
my plan was to make something aloe like that would hang upside down from a ceiling. it would inflate when embedded phototransistors reached some threshold value, and otherwise deflate.
sketches + CAD
pencil sketches of plants and inflatable plants
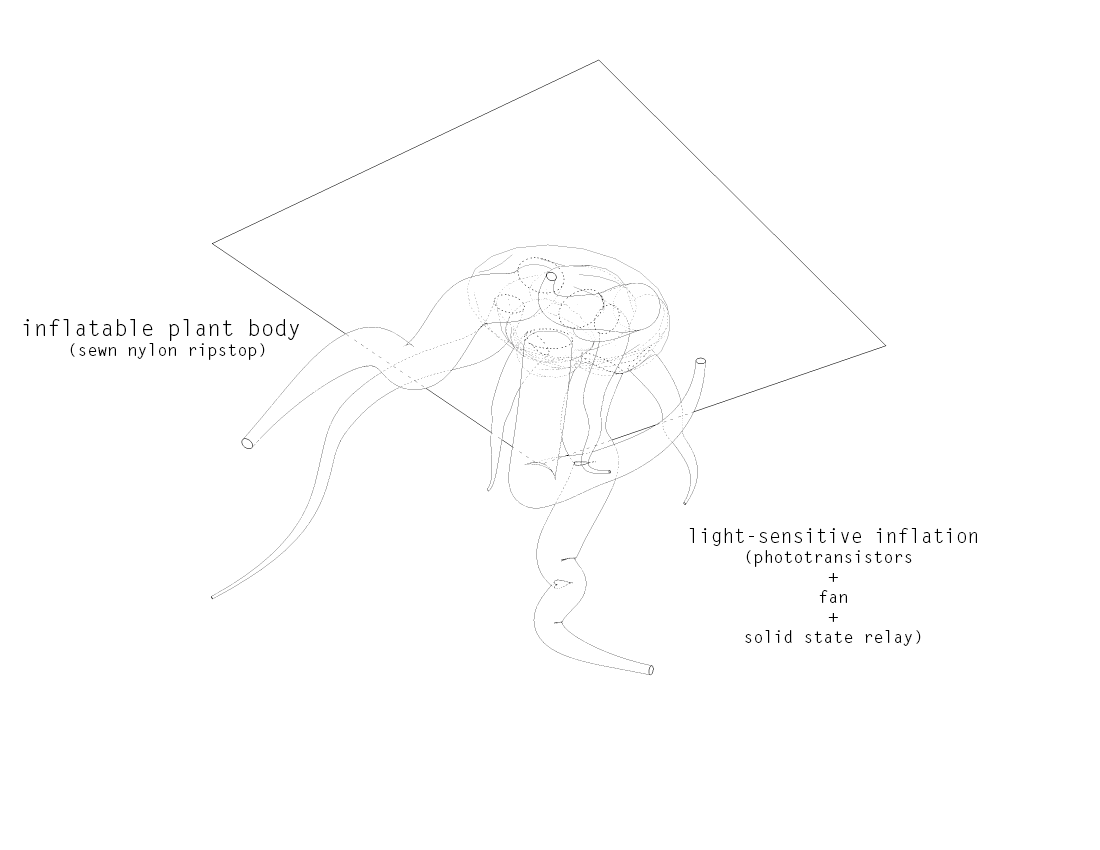
what i ended up making did not so much resemble those sketches for a variety of reasons, though primarily expedience. some plans of this inflatable made in rhino/grasshopper are below.
the plant hanging from a ceiling
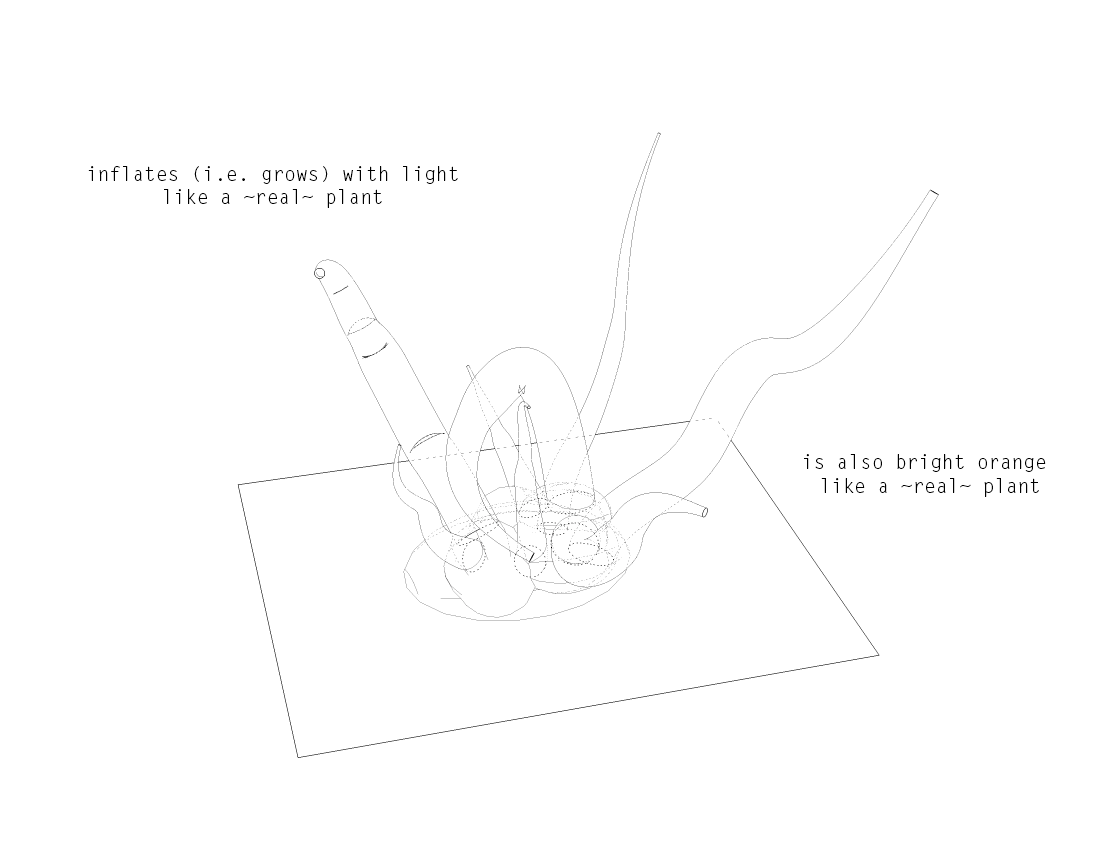
it can also be oriented upright
rhino is a good CAD software for this application because it has a very easy to use surface unroll (UnrolSrf) function.
This is a screen shot of some shapes that have been unrolled in Rhino.
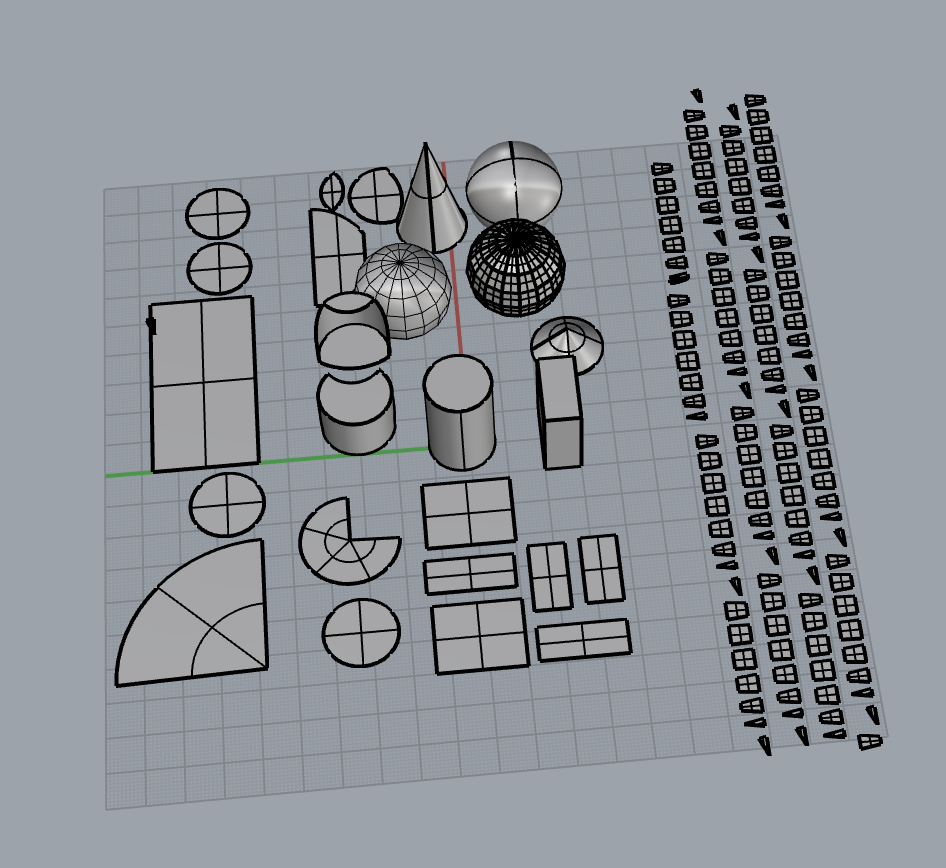
UnrollSrf handles things with one direction of curve really well (e.g. cones, cylinders) and things with more than one direction of curve (e.g. a sphere) not at all. In the case that you have curvature in multiple directions, you can use Smash, which will try to unroll the object anyways, and you can reduce the tolerances for UnrollSrf. Failing both of those, which happened with the sphere in the above image, you can convert the object to a rough mesh, and then back to an object again, and then unroll it (this creates a sphere-like polygonal thing that you can unroll).
one of the roots, unrolled with smash
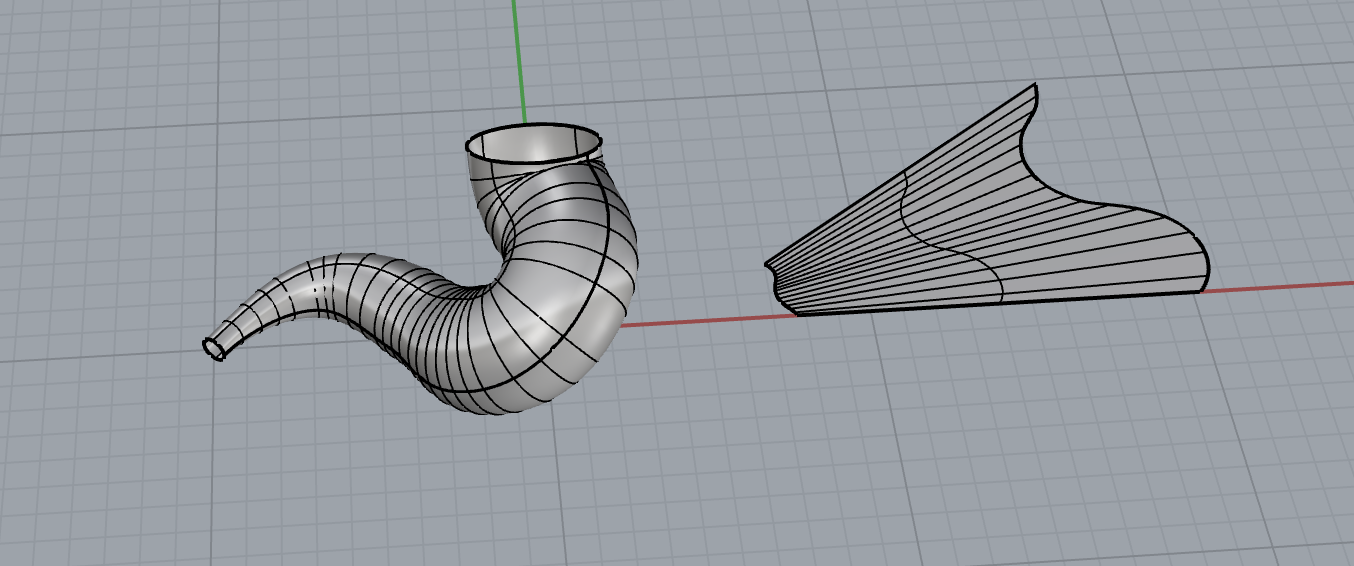
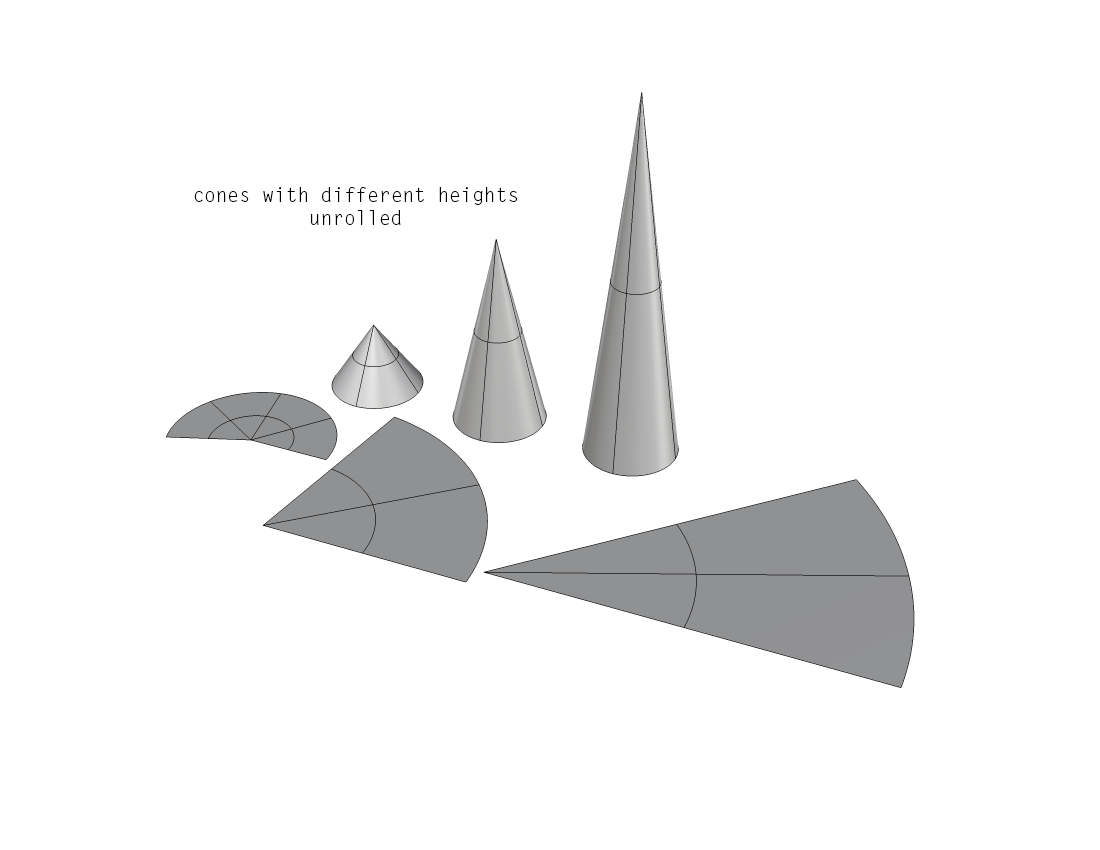
a hypothetical rhino-based workflow would be to design the 3d object, unroll it, add tabing, and then laser cut either the fabric or a set of reference shapes. i did not use this work flow because the geometry i wanted was all doubly curved, and i did not like the way rhino handled those surfaces (see the above image for reference). instead, i made long cone shapes, and deformed them by taking the fabric in at sections. rhino is still useful for this because it removes the guesswork (or math) from cutting angles + lengths to yield the desired radius and height.
three cones with different heights to illustrate this point
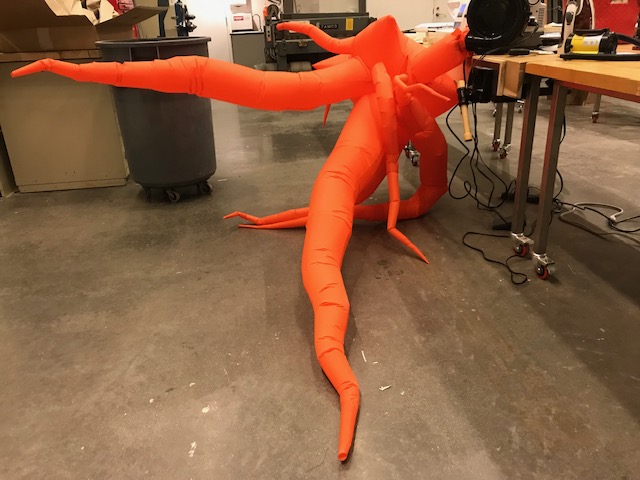
mr. carrots
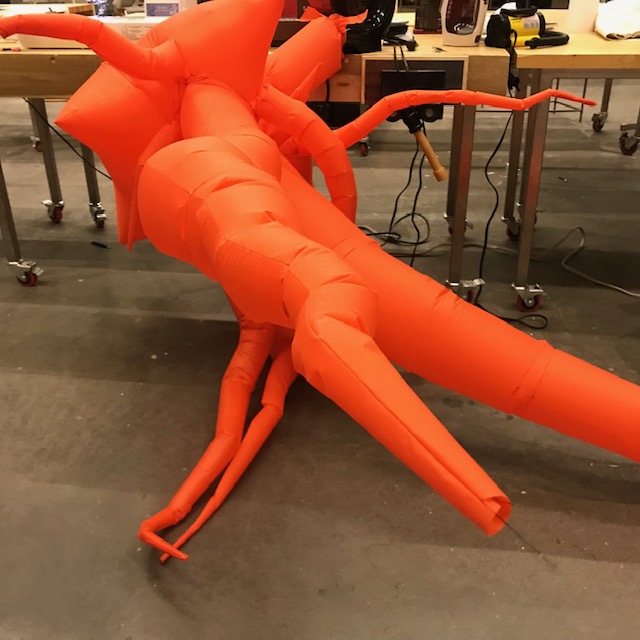
I sewed the shape with ripstop nylon in orange because there weren't other colors, haha. I like how it looks though now. For more details on how the sewing went, go to my wildcard week page. in the meantime, here's an obscene amount of photos.
inflating the shape for the first time
detail view
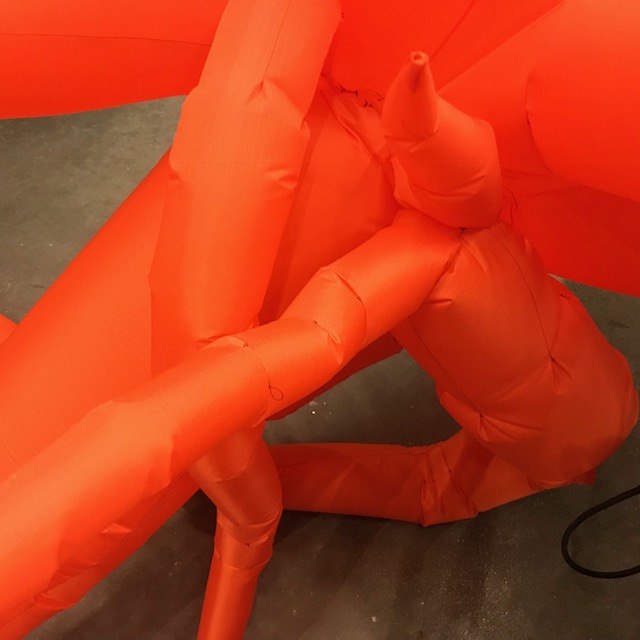
another detail view
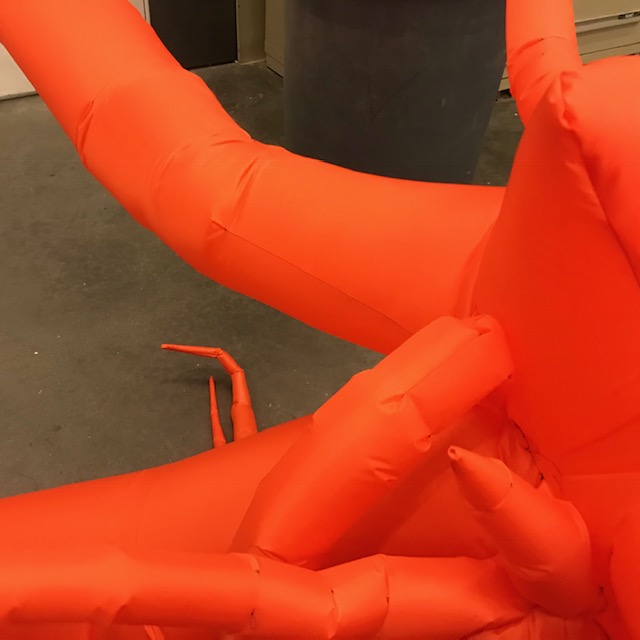
yet more of this shape
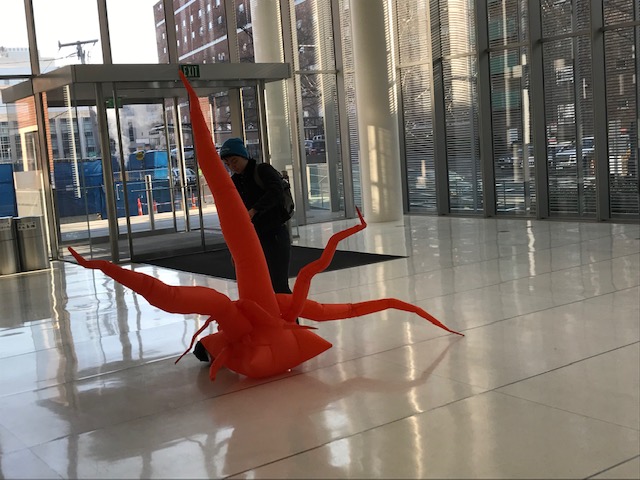
in the real world and inflated. thanks Agnes for the photos.
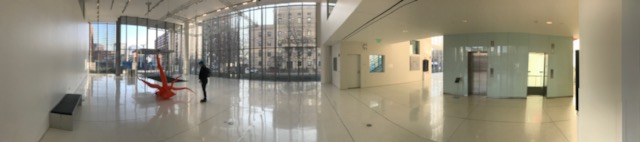
a panorama
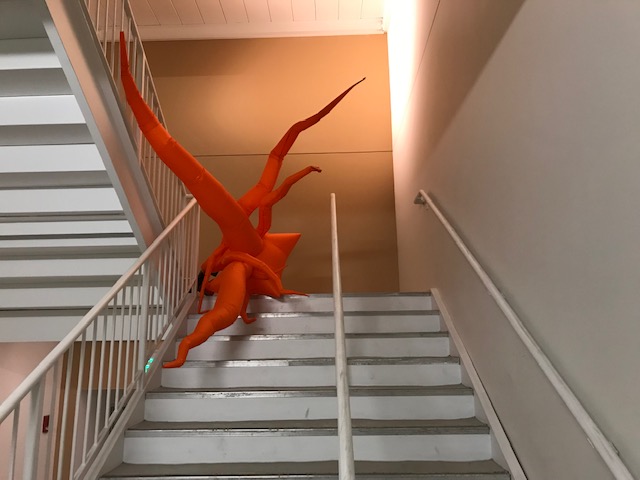
in a stairwell
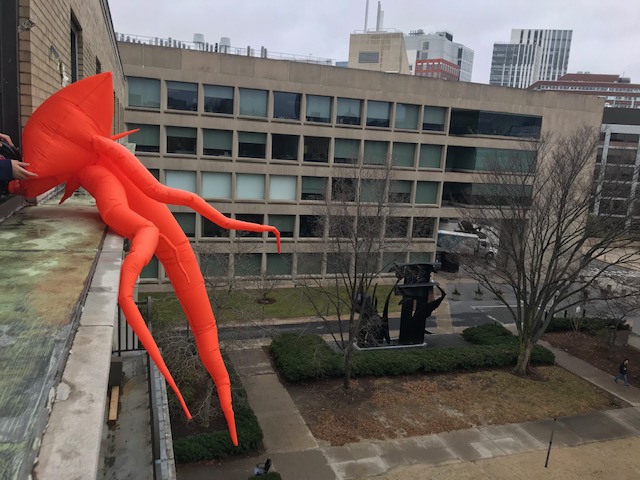
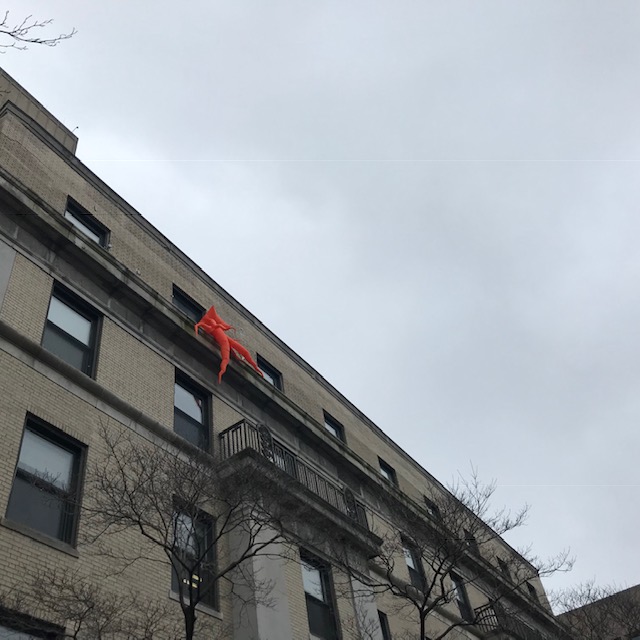
in its natural habitat

courtyard folk didn't notice mr. carrots

ah yes it's named mr. carrots
a sophisticated name, i know

hm, the majesty of brutalist architecture
mr. carrots works quite well. it's worth noting that as sewn here, the inflatable is not air-tight, and needs to be constantly inflated. because i wanted inflation/deflation action, this is actually quite ideal, but it makes long-term installation much more difficult.
soft robotics route
at one point (up until i realized i could make inflatables during wildcard week), i thought i would make something much smaller. the most accessible and cool route for that is with a soft-robotics style of fake plant. this year, both Ravi and Lara did soft-robotics final projects. I found Lara's class page to be very helpful and illustrative.
to start with (and tbh end with) i more or less did this project. some pictures are included below.
3d printed mold, yellow PLA, Sindoh printer
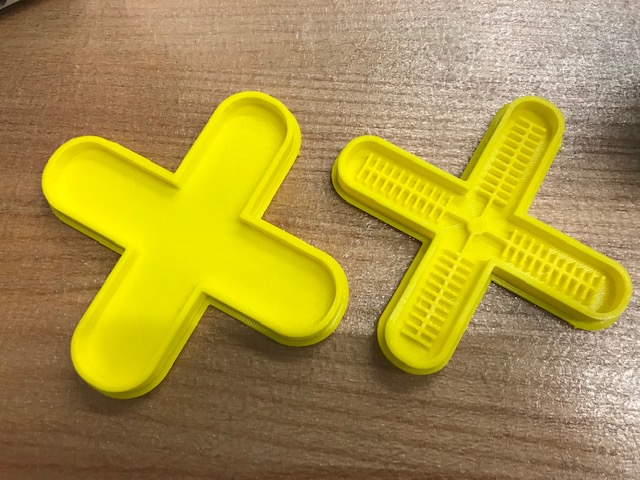
this is actually the best thing i've printed on a Sindoh, and part of me thinks that might be because i don't have to remove the raft/supporting structure. the main issue with this is that the print peeled off the base plate a bit on one end, so there's some asymmetry that i don't think matters.

i used eco-flex 30 for this. for my first try, i also cut out the shape out of a relatively non-extensible fabric because i thought that would help guaruntee the curling's directionality.
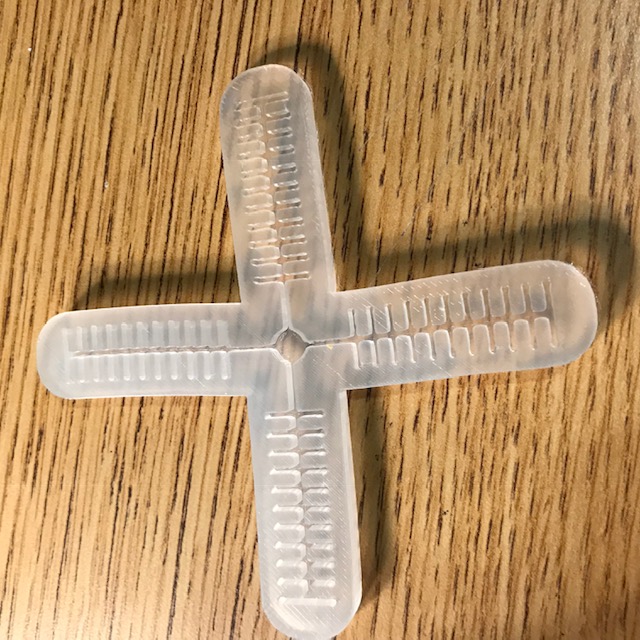
the top half (with air channels) turned out very nicely. the lower half (with fabric) turned out less nicely.

the lower half on this one was way too large, and i also might've accidentally sealed most of the airways when i was sealing the two halves together. either way, it doesn't inflate meaningfully. the 3v dc motor pump i borrowed from the harvard section couldn't drive it at all and i could get a sad, almost imperceptibly twitch from exhaling with too much effort. i made another two of these, getting rid of the fabric and thinning up the base layer more.
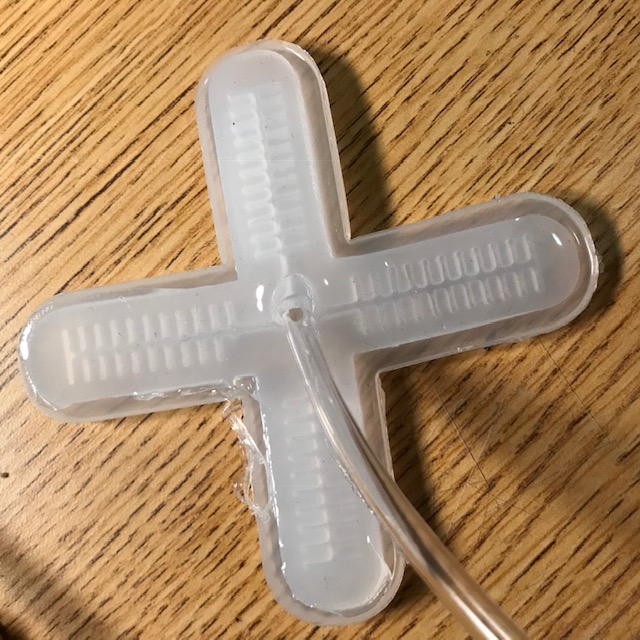
sealing the two sides together and gluing the intake tube on
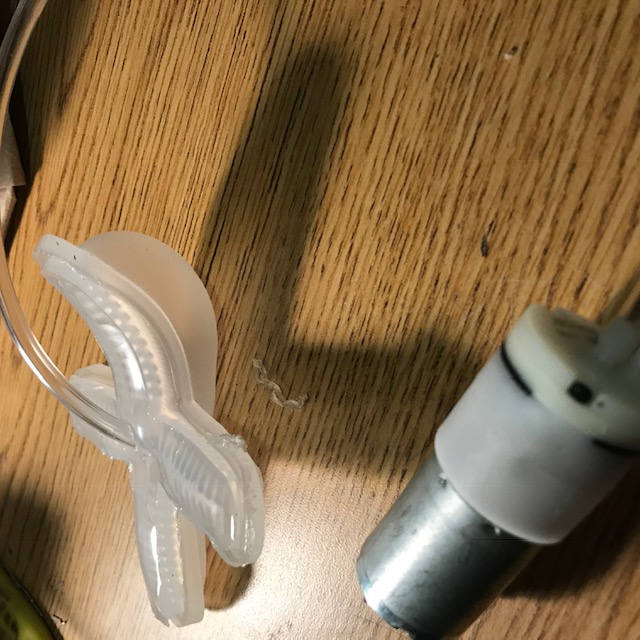
finished and sealed (version 2) (no cloth layer)
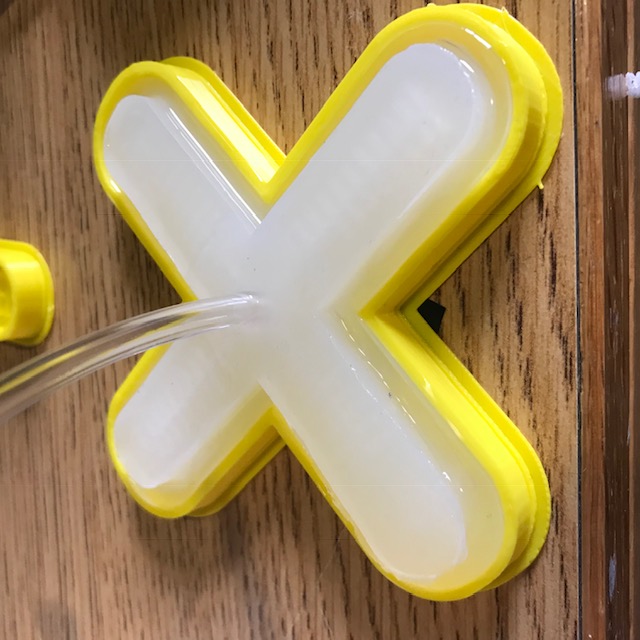
inflated. note the assymmetric inflation and also maybe the wrond directionality.
i also decided to try lasercutting a mold, because that would have a substantially faster production time compared to 3d-printing (or milling, on the machine i have access to)
laser-cut outlines
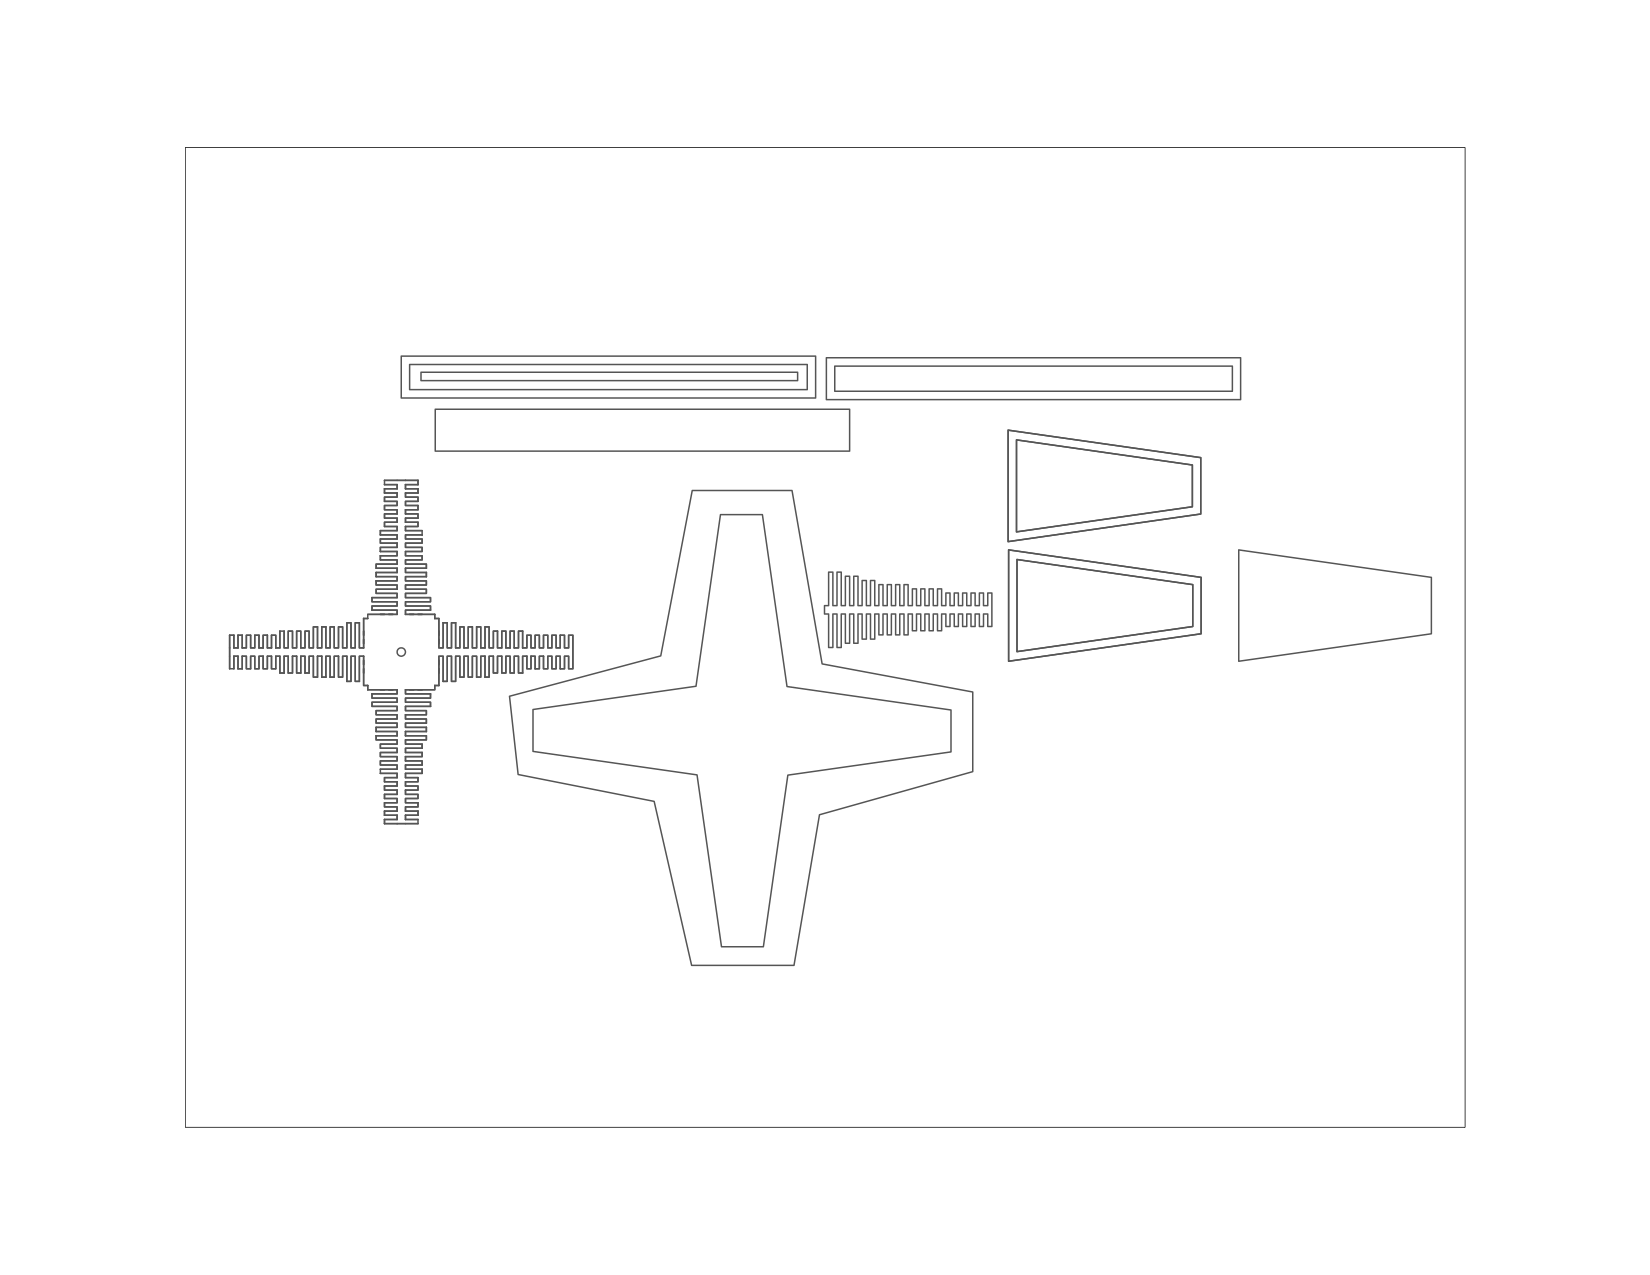
one side of the laser cut shape and the mold
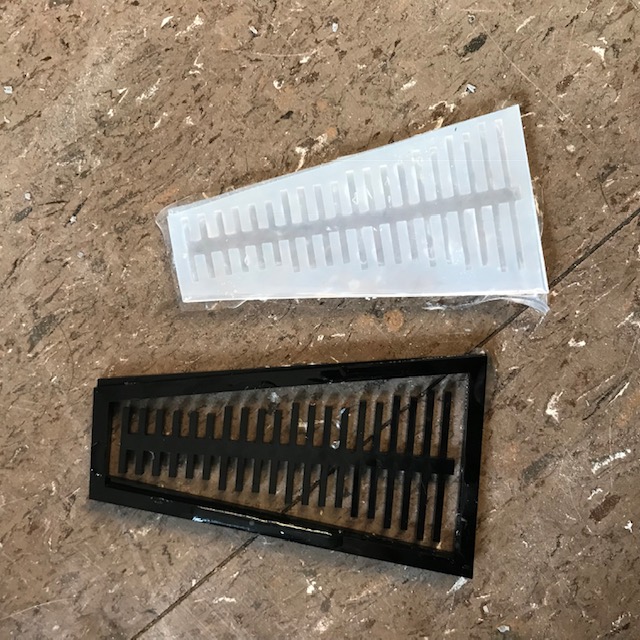
i haven't gotten very far with this approach yet, but i intend on further pursuing it, as the dc motor pumps are cheap and accessible, and i will soon lose access to the nice fan that i was using.
4. electronics
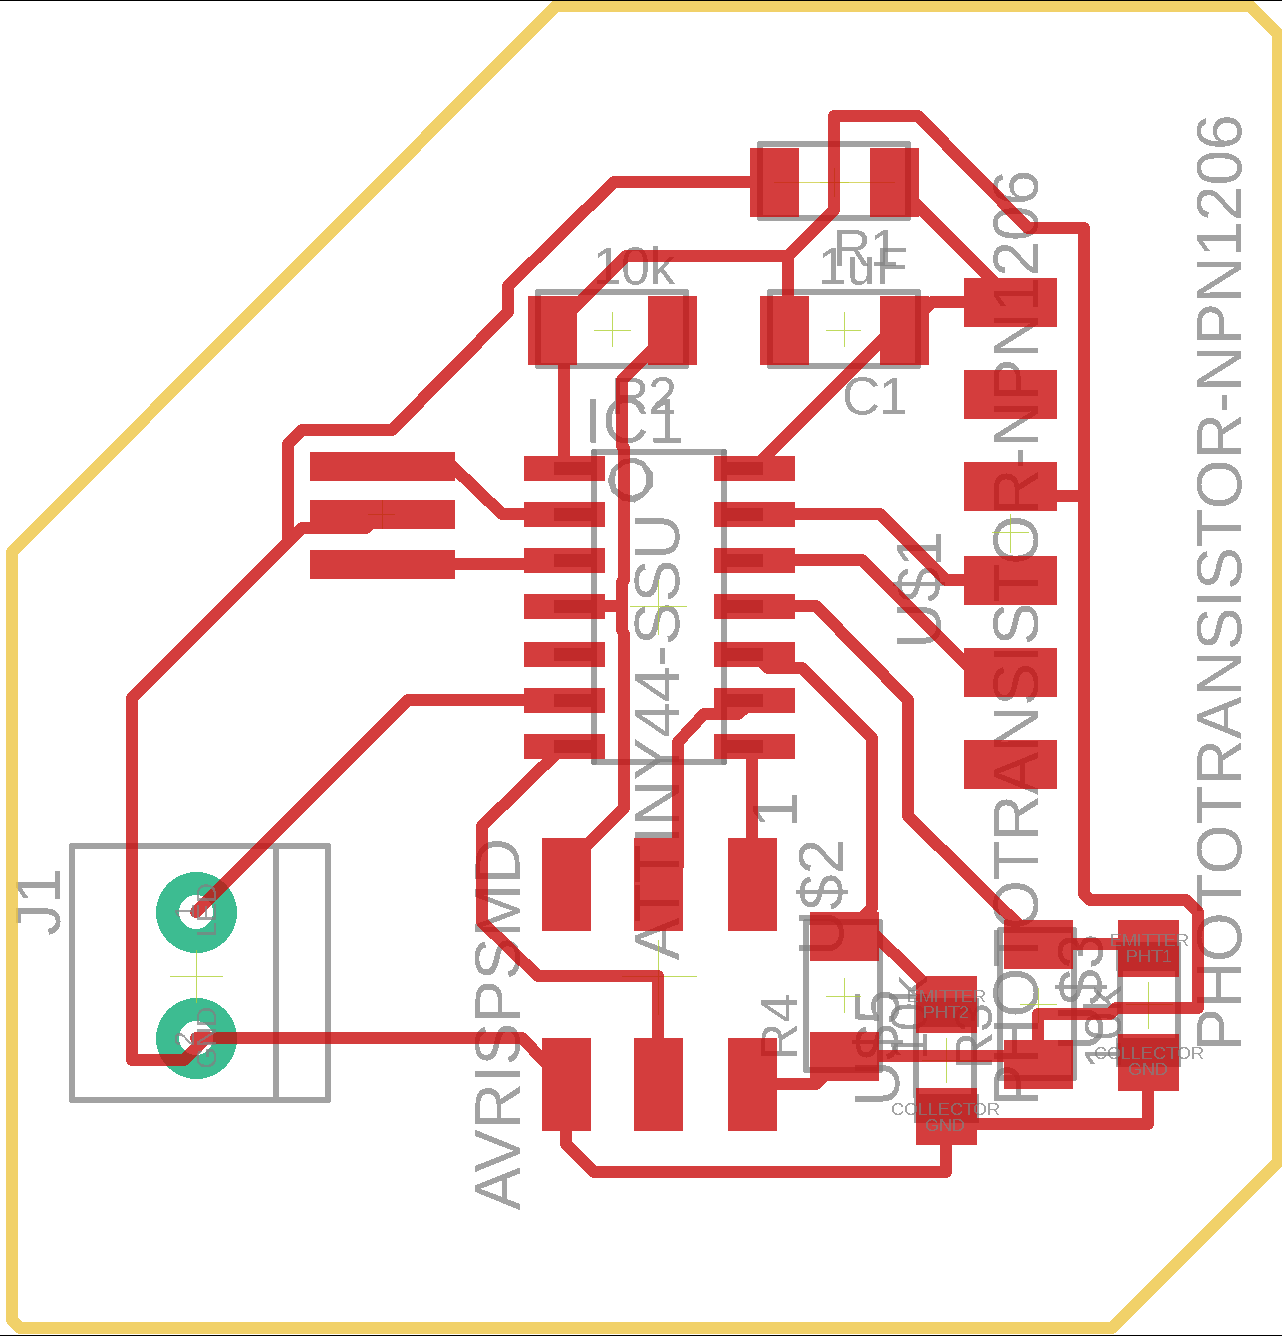
the electronics for this project are very simple. the logic is a direct read-sensor-value-and-then-write-something-high-or-low. for mr. carrots, i made a few boards: one based on an attiny44 with two phototransistors and a solid state relay, a 5v regulator board, and break-outs for the phototransistors if i wanted to place them elsewhere. i also made a motor control board for the soft-robotics route, but ran out of time to test that.
schematic for the phototransistor/relay board

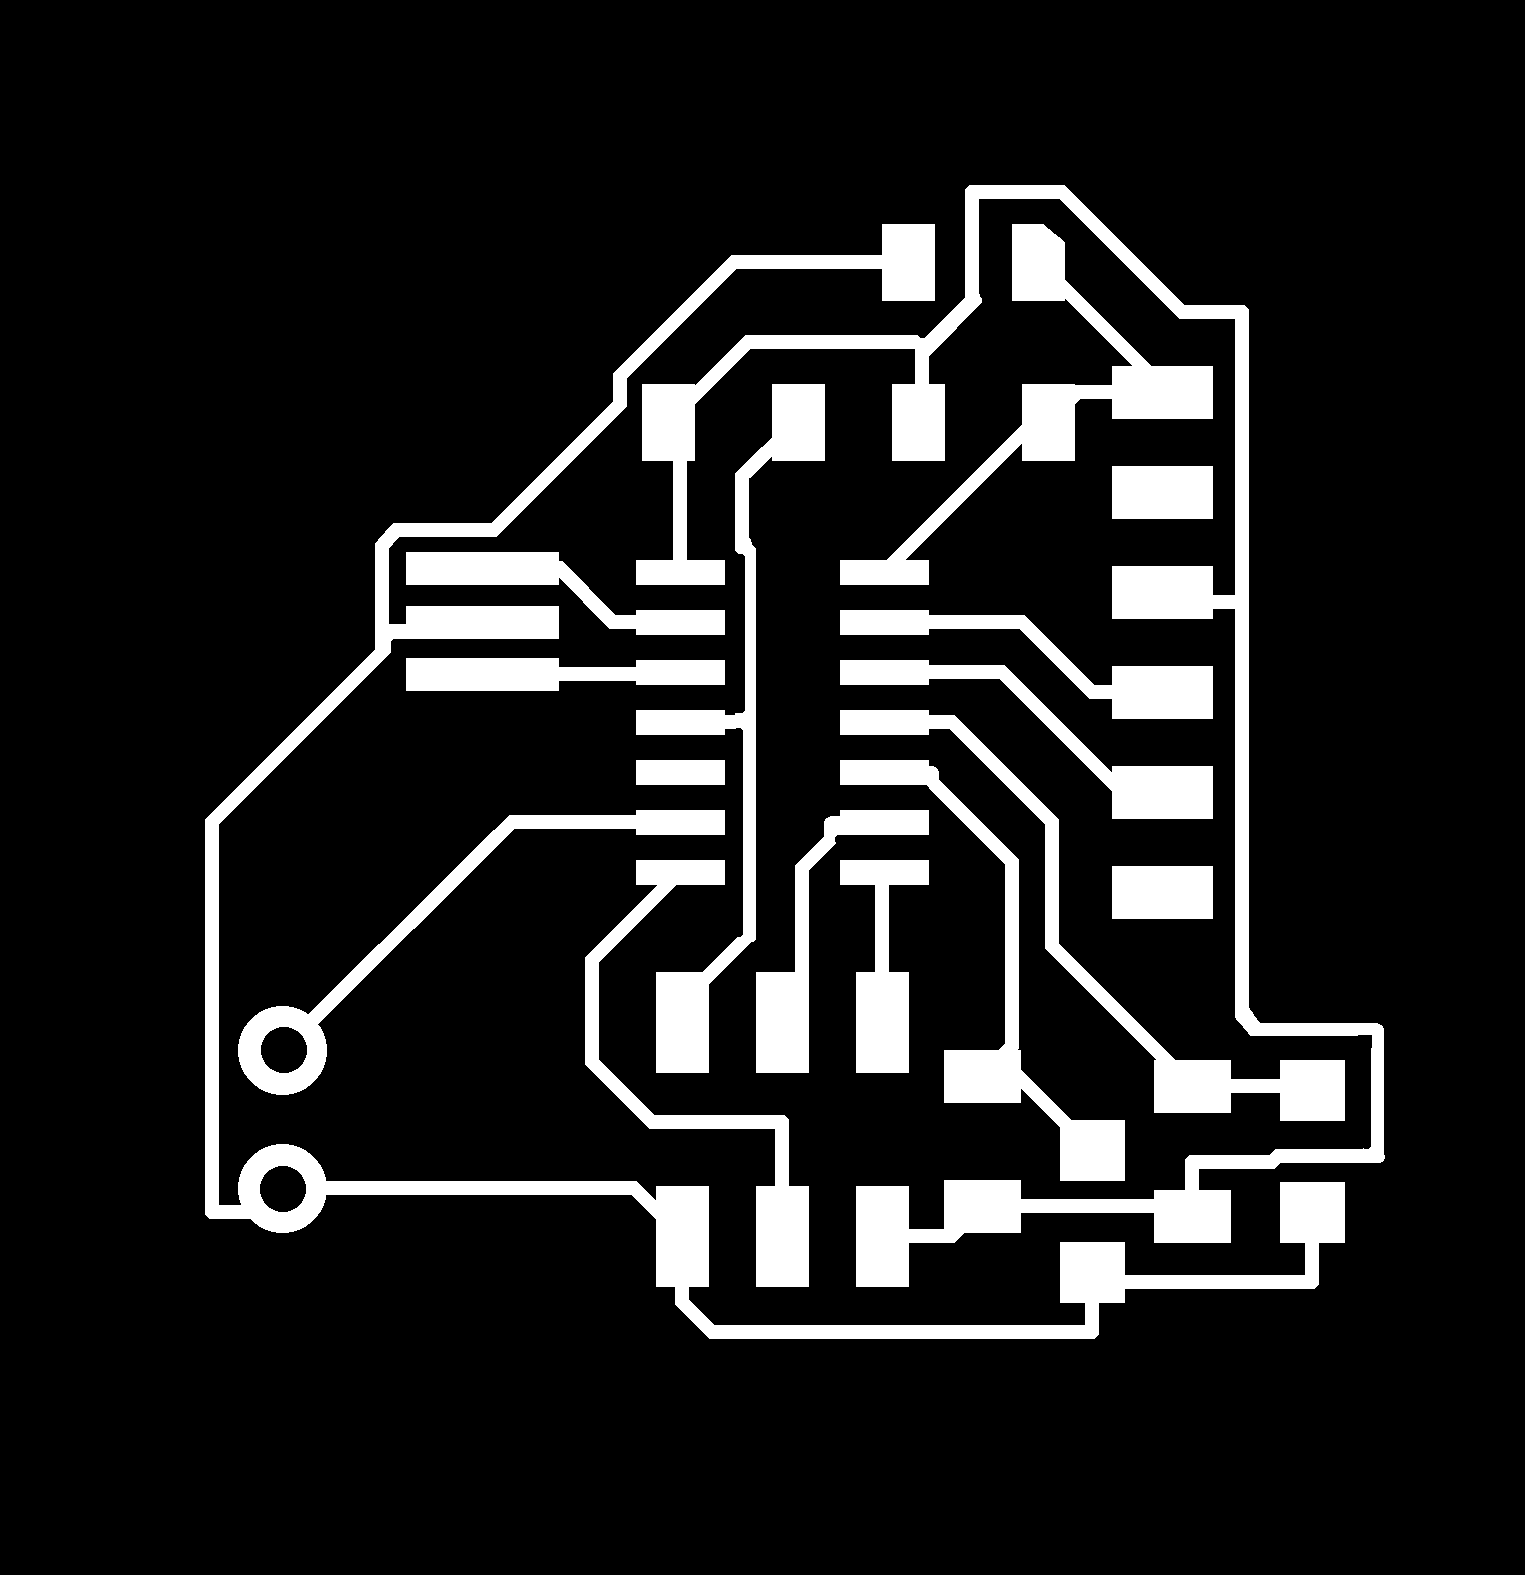
layout for the phototransistor/relay board
traces for the phototransistor/relay board
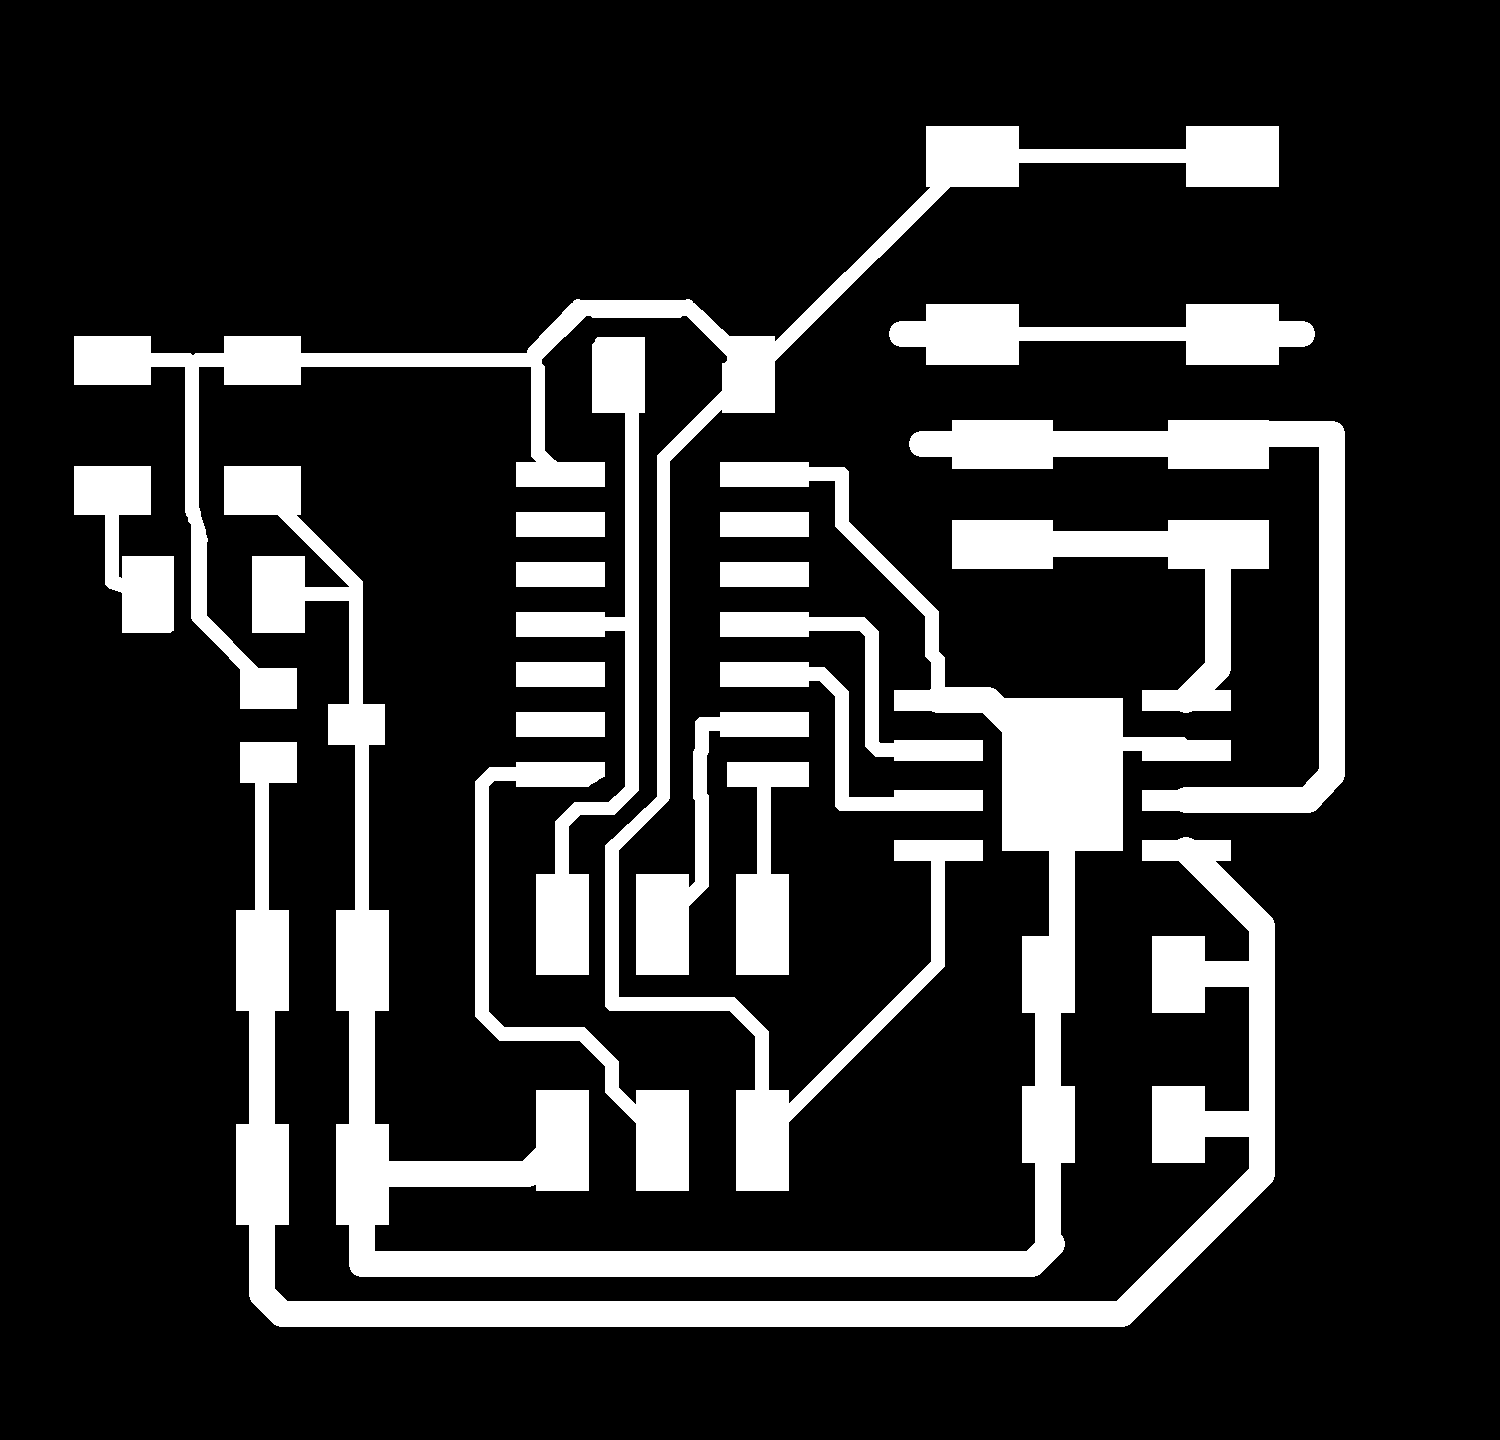
schematic for the motor control board
traces for the motor control board
traces for two phototransitor breakouts

edge cut file for phototransistors

traces for 5v regulator

the boards were designed and laid out in Eagle, milled on a Roland SRM 20, with path planning done on mods.
notes: the 5v regulator board was kind of stupidly laid out. i designed it an unholy time of night and for whatever reason decided i wanted a 2x3 header and for that to be the Vbat input? but for one of those to also be my 5v VCC output? and then in addition to that i wanted a two pint header for VCC? why? more notes: i labeled the relay switch traces LED, because i wanted an LED on the board so that I could see when the relay was on/off, but then the relay i bought already had that functionality, so i deleted the LED off my schematic but didn't rename the traces.
i programmed the board in the Arduino IDE. i've attached a simple demo file here: demo file. the board reads an analog voltage from the phototransistors, and if either of them meet a certain threshold, it digital writes high to the relay (which takes 3-32v and switches 24-480V AC at up to 40A. the switching is done on the high line, for safety purposes. in your standard US 3-prong cable, the hot line is black, white is neutral, and green is ground.
from software, the plant can also be used as a proximity sensor (take an average of the light level for a bit, and then look at deviations from that), the plant can also be made to pulse on/off, etc.
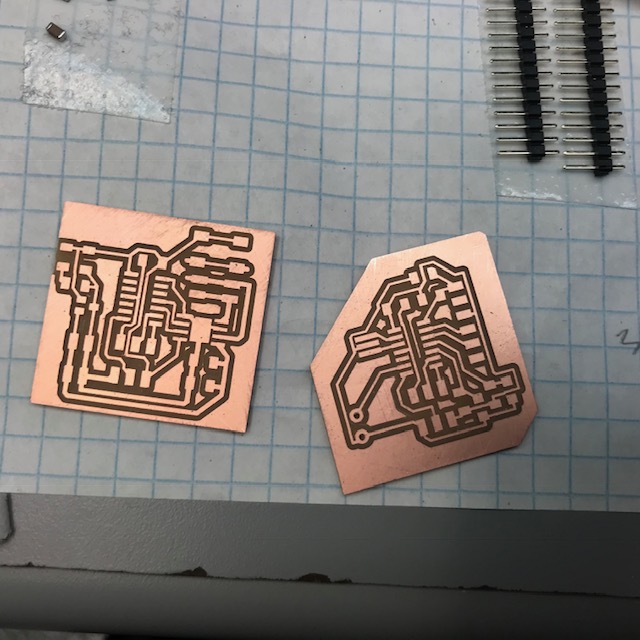
freshly milled boards, yum
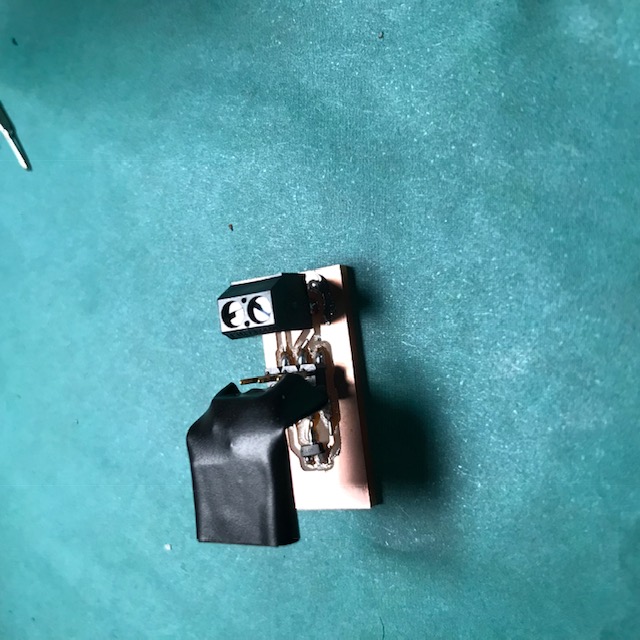
stuffed phototransistor board, with tape because i gently ripped some traces off and had to tape them back on :( :( :(

stuffed 5v regulator, with questionable 90˚ m-f header adapter
wired relay + socket set up, turned on as indicated by the red light
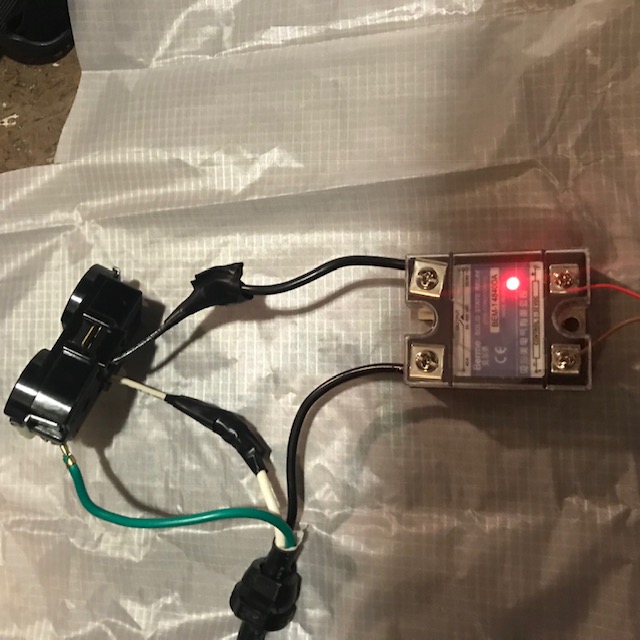
also, yIkEs it looks suspicious
i got the socket head and fat wires from a trashed surge protector... that's why it's a duplex set up.
5. putting it together
here, putting it together really just means housing the electronics. in keeping with the plant theme, i wanted to cast a plant pot with hydrostone. attempt 1 at this (a few weeks ago) involved one side of an oomoo mold and attempts to slip cast the hydrostone. this did not work, and was an ugly mess to boot, so i tossed it (also, i think i improperly cured the oomoo, becuase after de-molding the mold, i two walls which were not supposed to touch fused together and had to be cut off, reducing the overall volume of that mold. Attempt 2 at casting this was very last minute and also unfortunately failed. i have (had now, i guess) a good amount of kind of crappy masonite from a different project a long while ago, and i thought that this would be a good time to get rid of it. i modeled two shapes in fusion 360, and fed the .stl files through LuBan, which is a software Prof. Larry Sass, who i urop-ed for over the summer, developed. LuBan takes models, slices them, and then lays out those parts for 2d-cutting. it has an option where it generates a mold of the object for you. i didn't love the way LuBan handled the curved surfaces, so i cut out the angled one. but, i wasn't paying too close attention and the made the cutting tolerance about an order of magniture higher than it should've been, and none of the pieces fit together. :( tragic.
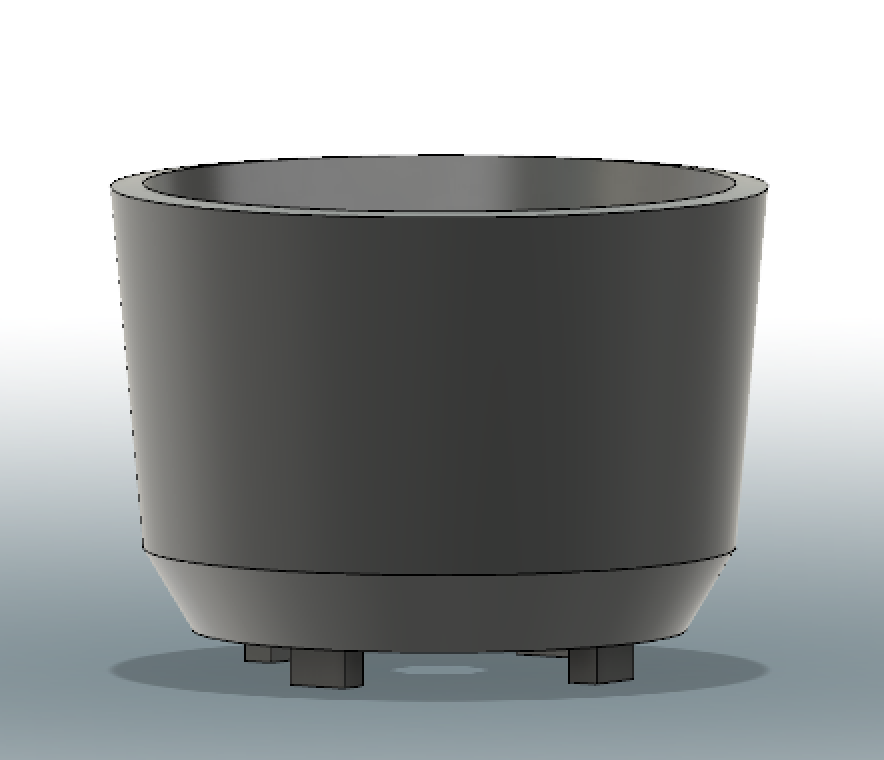
rounded pot
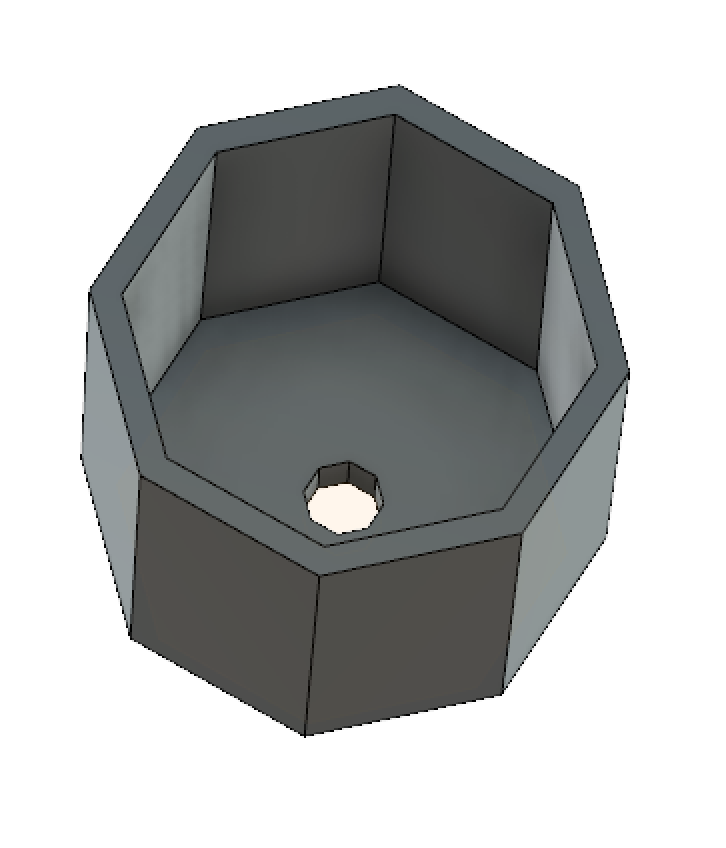
not rounded pot
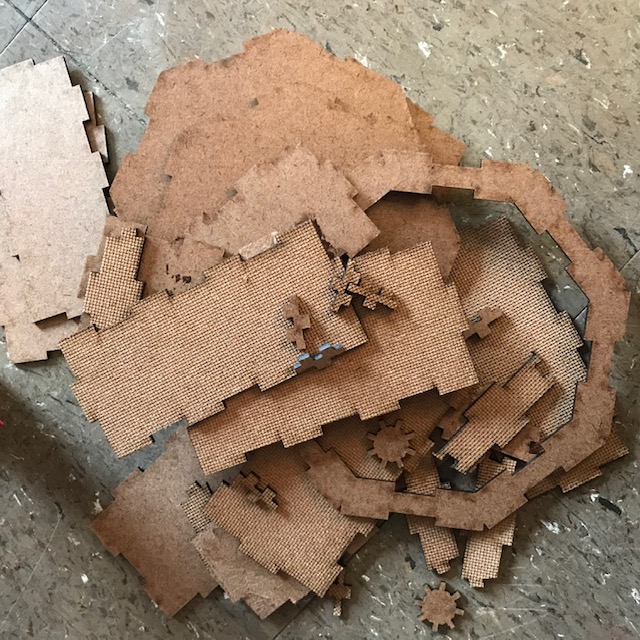
failed laser cuts
since i was running out of time, i just cut out a small box to house the electronics in. it's cut out of acrylic.
laser cutter outlines
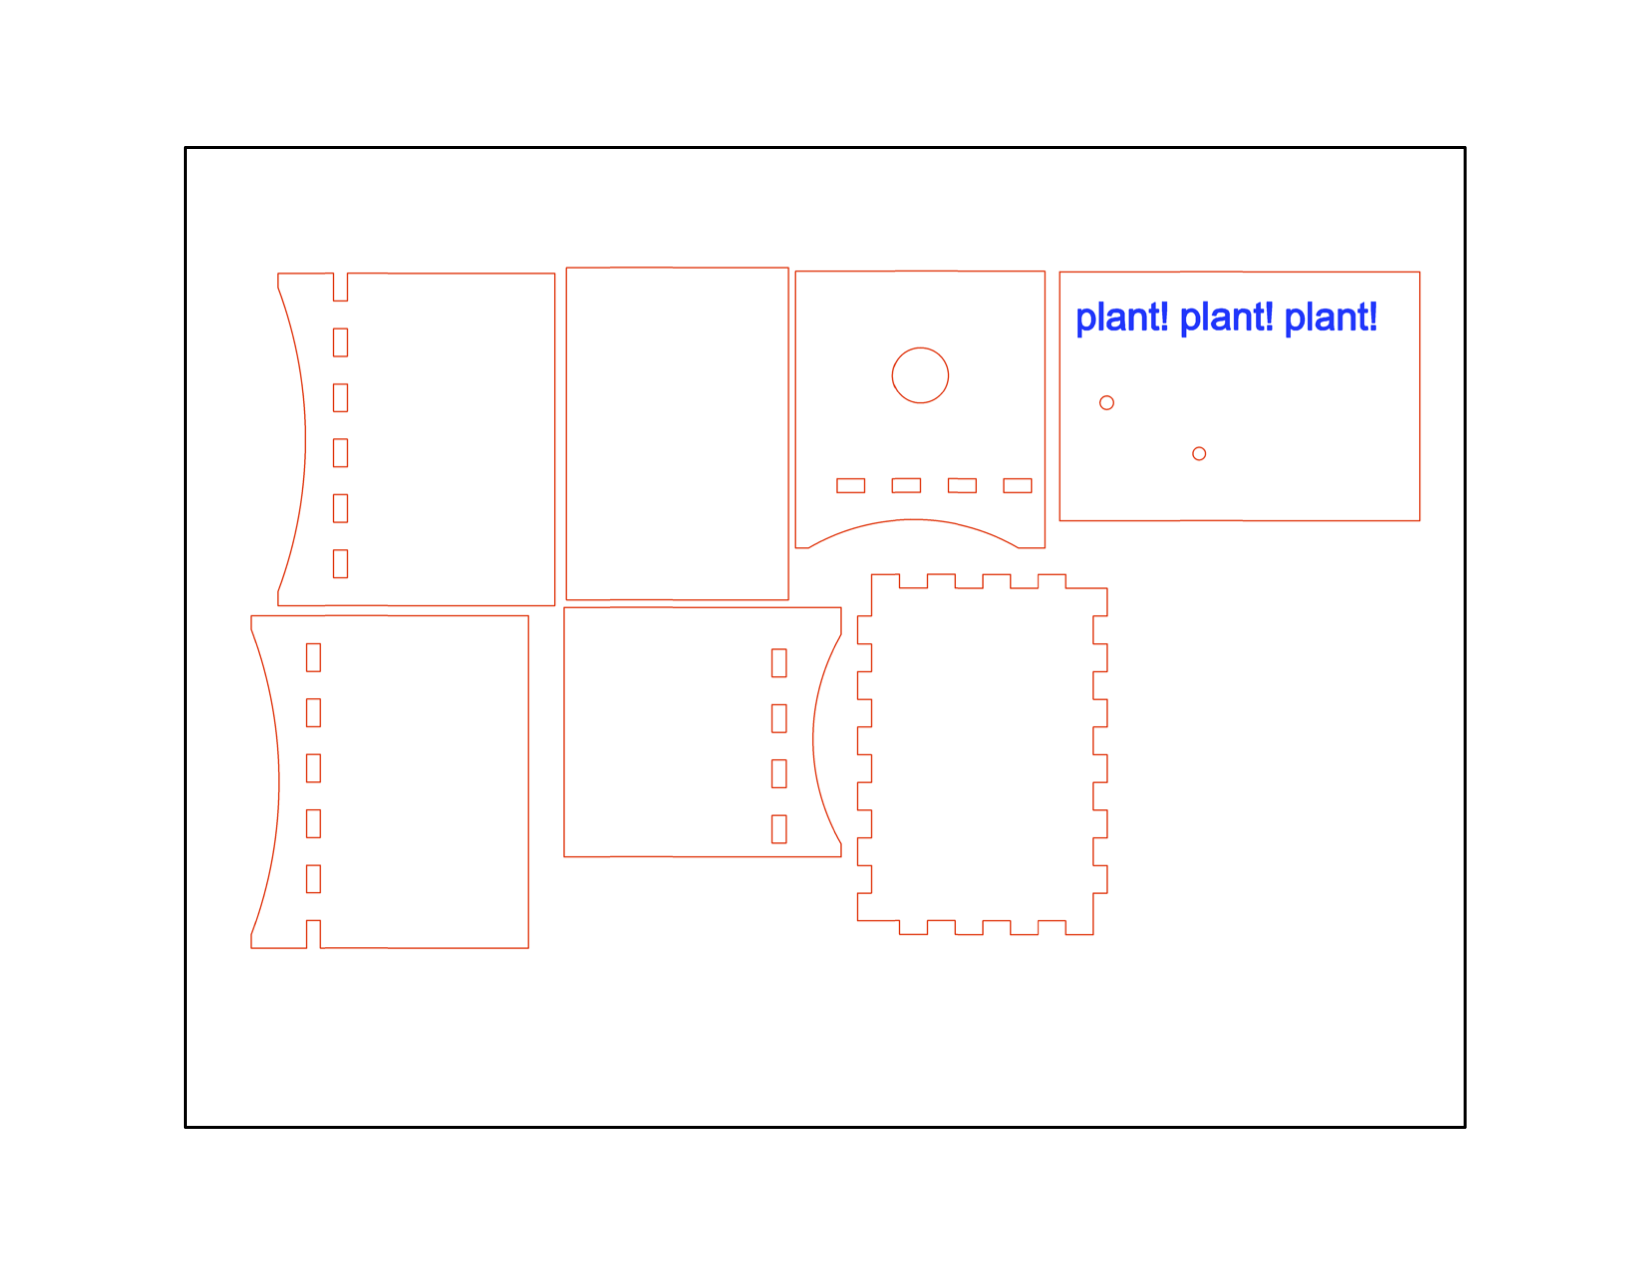
the box
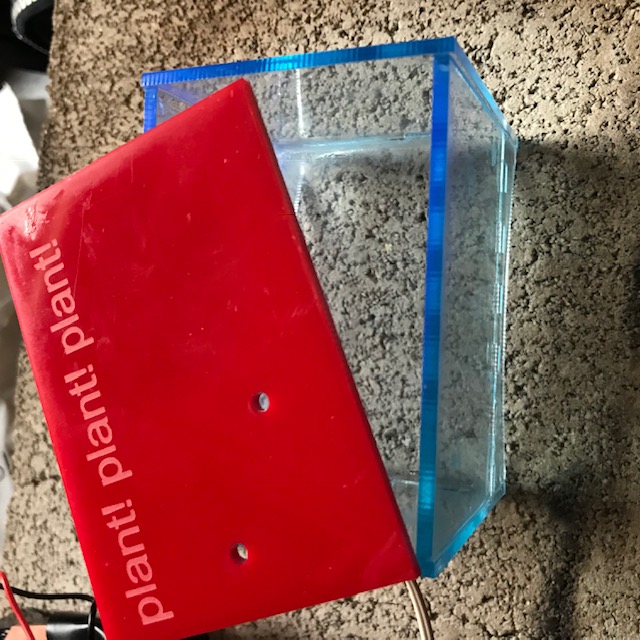
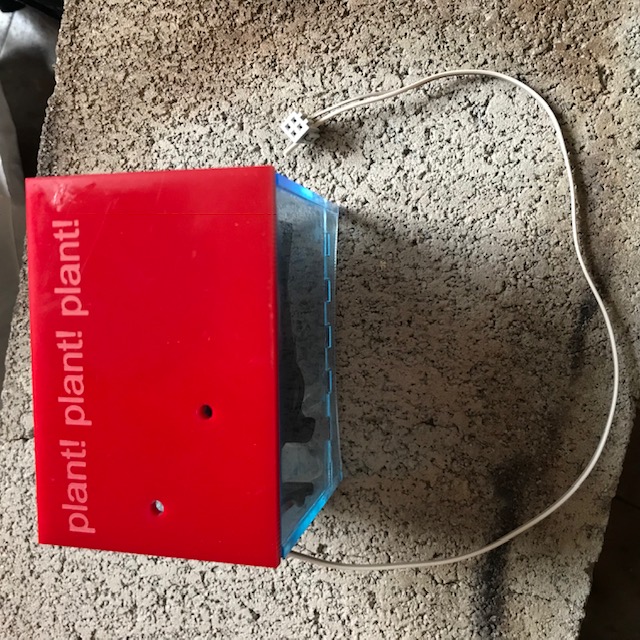
the box w/ stuff inside
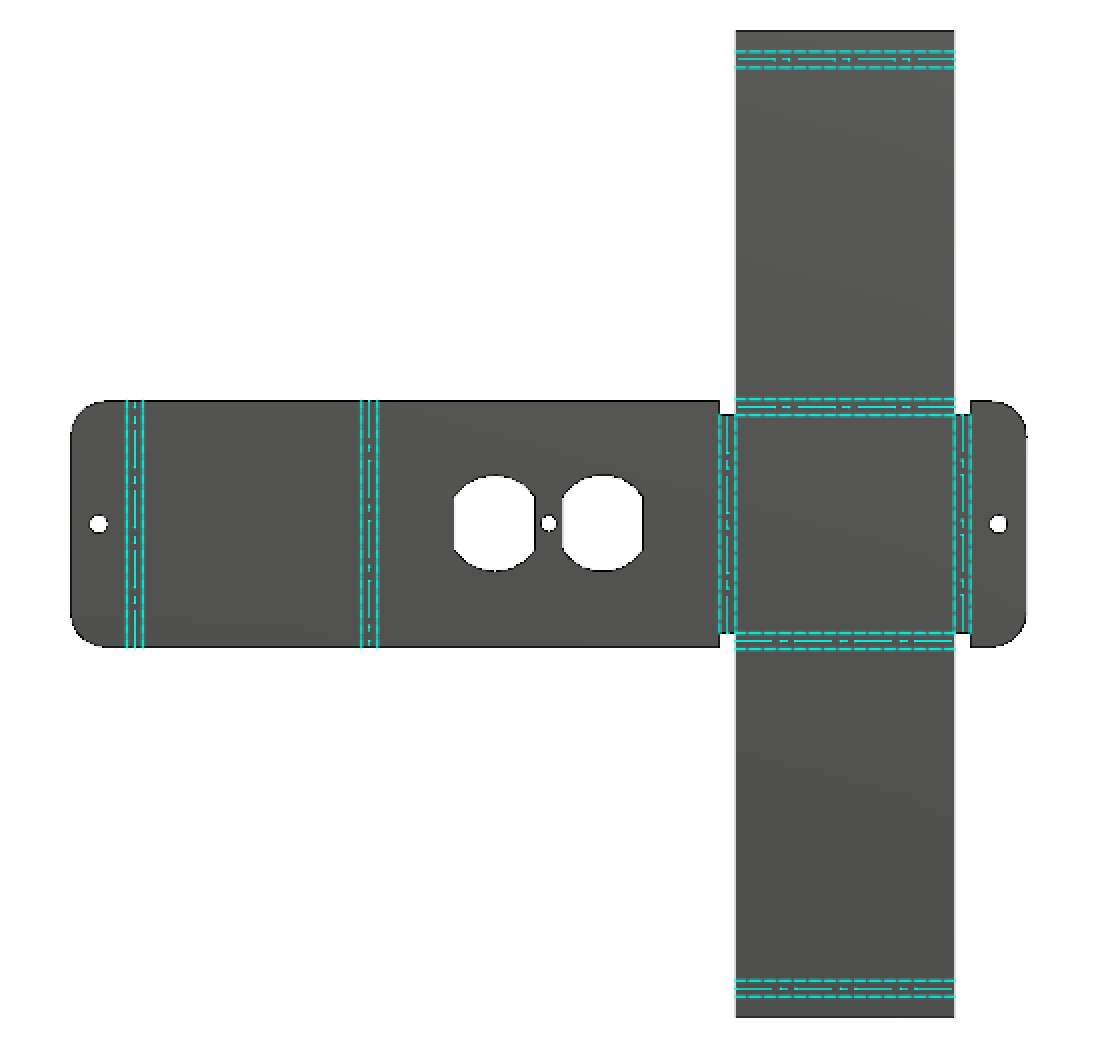
for the relay + electrical socket, i wanted to make a housing out of sheet metal, and used fusion 360's sheet metal mode to model that. however, i also ran out of time to learn how to use the FabLight (the CBA shop's metal-cutting lasercutter), so i made some slight modifications to the model and laser cut it out of acrylic. i really don't like the way finger joints look, so i didn't add any to this box, and while i stand by that visual assessment, it's really miserable to glue these things together. (like it's 3am, you're sitting on your floor, there's super glue everywhere, your eyes hurt, and the window has to be open because the super glue and the solder and the freshly lasercut masonite all smell so strongly but it's also below freezing outside and the wind is actively screamig, and you're like i should've cut finger joints. anyways. so i made that box, too.
sheet metal layout
lasercut acrylic box

i then decided i wanted extra length on my air-intake tube on mr. carrots, so i elongated that.
and that was it for putting it together. during the final, i stuck mr. carrots through a cinder block so that he'd stay anchored on the table.
6. bill of materials
for mr. carrots
- ripstop nylon: $0, from wildcard week (~$4/yd otherwise)
- inflation blower: $0, borrowed from Agnes (~$65-$100 otherwise)
- attiny44: $0, from fab inventory ($1.18)
- solid state relay: $10.99
- misc. electrical components (e.g. resistors, headers, wire): $0, from fab inventory (~$1 total)
- acrylic: $0, from fab inventory (~$3.65 per square foot)
- electrical outlet/extension cable: $0 from loading docks ($1.40 for 2ft extension)
7. references
people's work which i found useful, at one point or another
- Lara's page from this year
- Agne's inflatables page
- Merav's page from 2014
and previously linked content