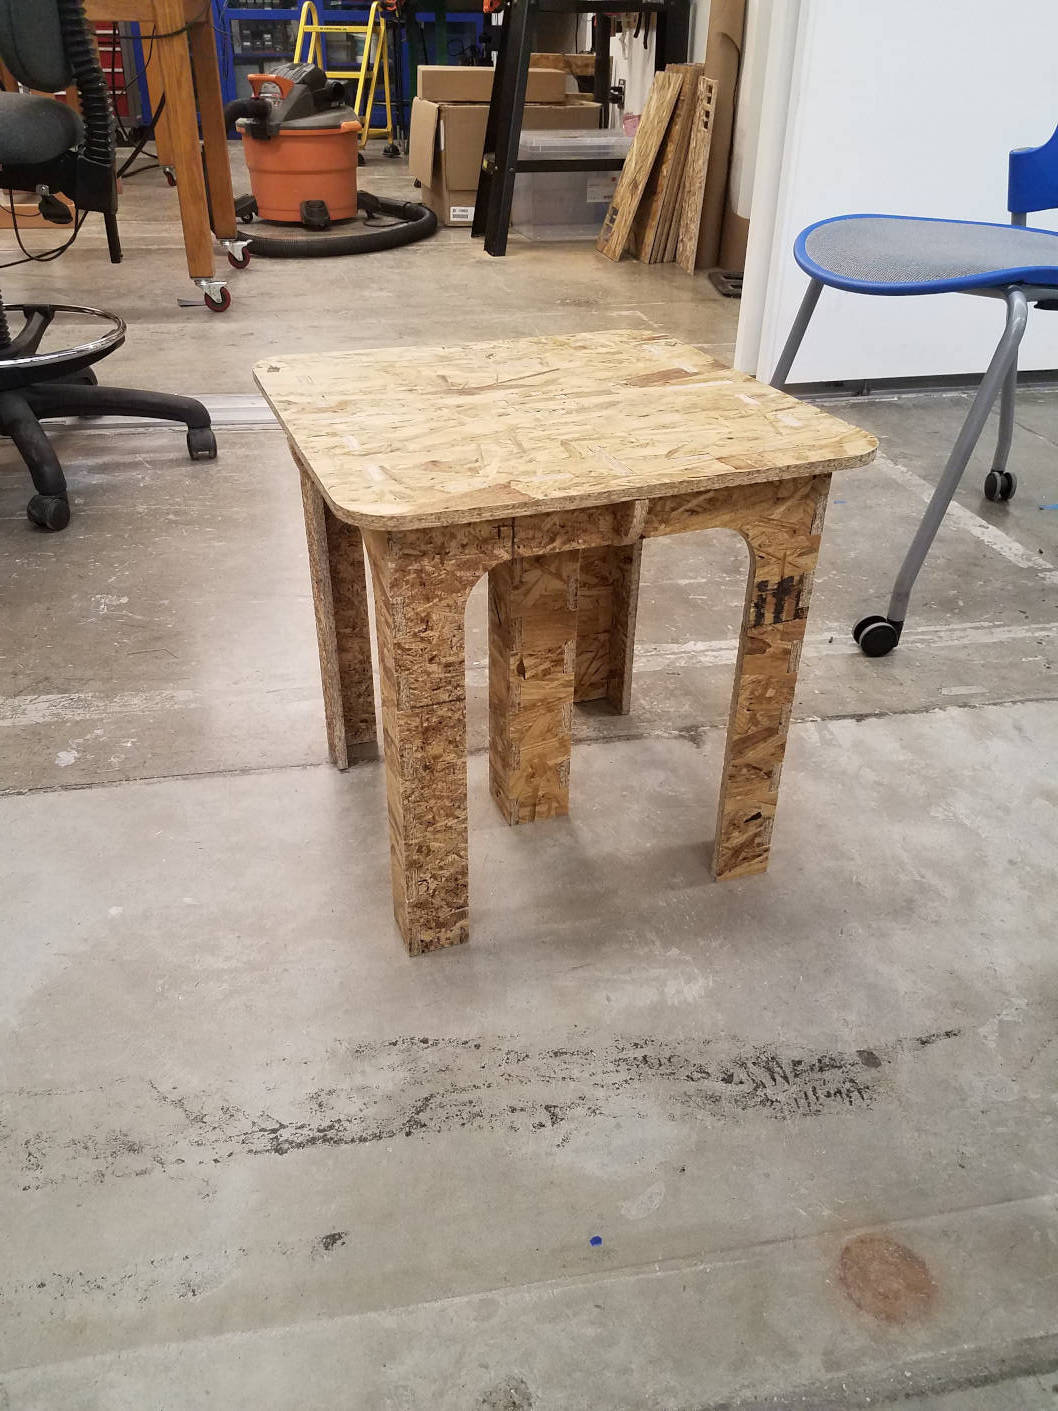
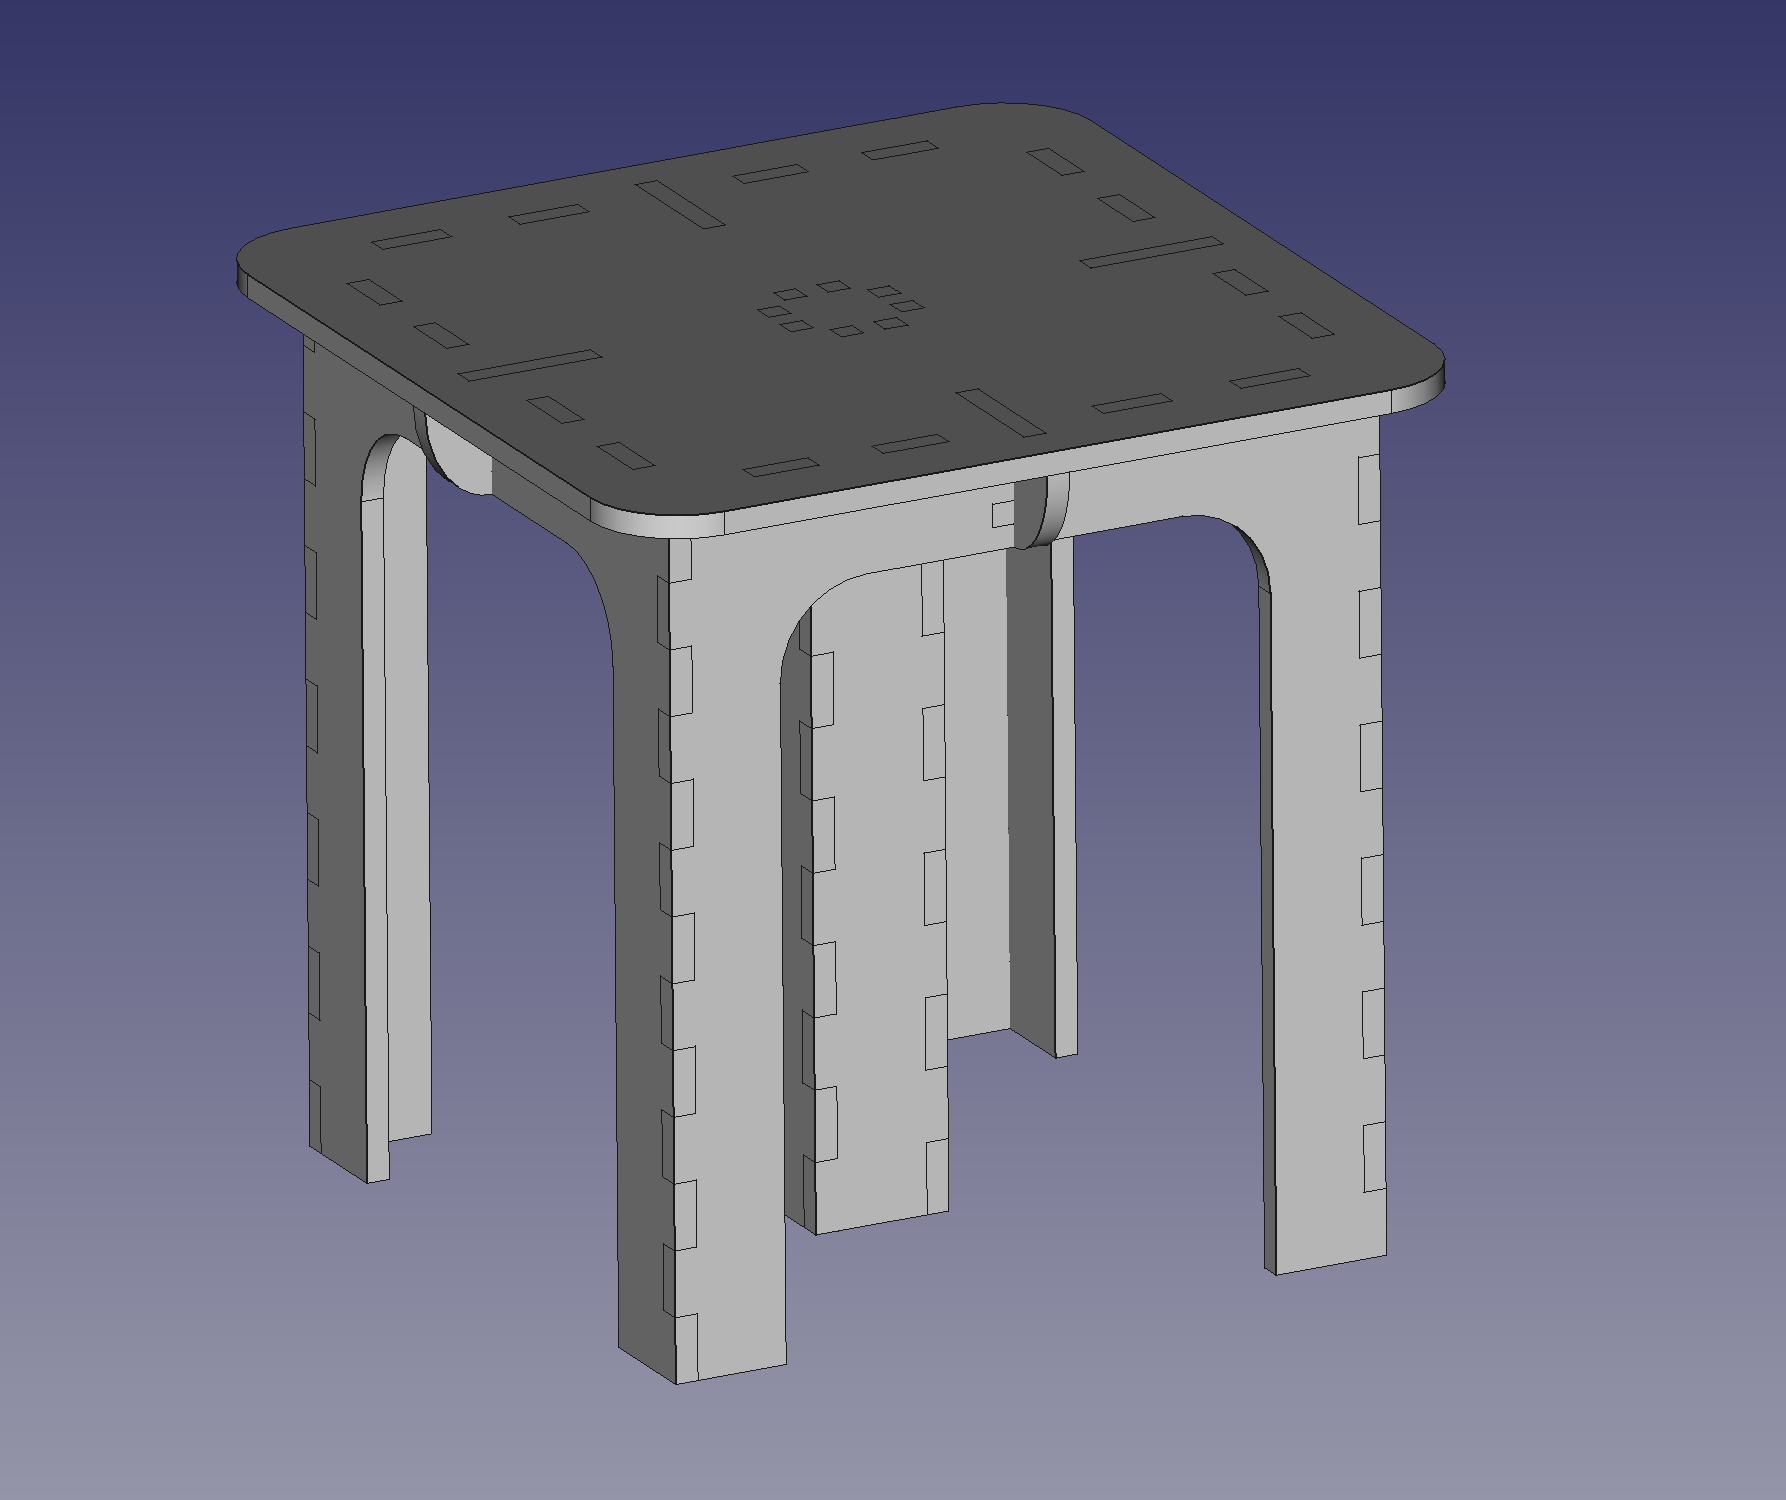
Designing a press-fit table
For this week, I wanted to create a press-fit table that could hold up a cushion for me to sit on in my room. To do that, I worked with FreeCAD to design the parts. I ran into a couple issues with the UI in FreeCAD, which made me want to learn Fusion in the upcoming weeks. One of the biggest was issues with the clone function in part design -- the positioning of the clones would often not copy correctly, either only copying the absolute location or messing with the parameter in some weird way. Either way, it caused issues when I tried to change parameters. I found the clone function in the draft workbench to work much more reliably, even though I couldn't figure out why.
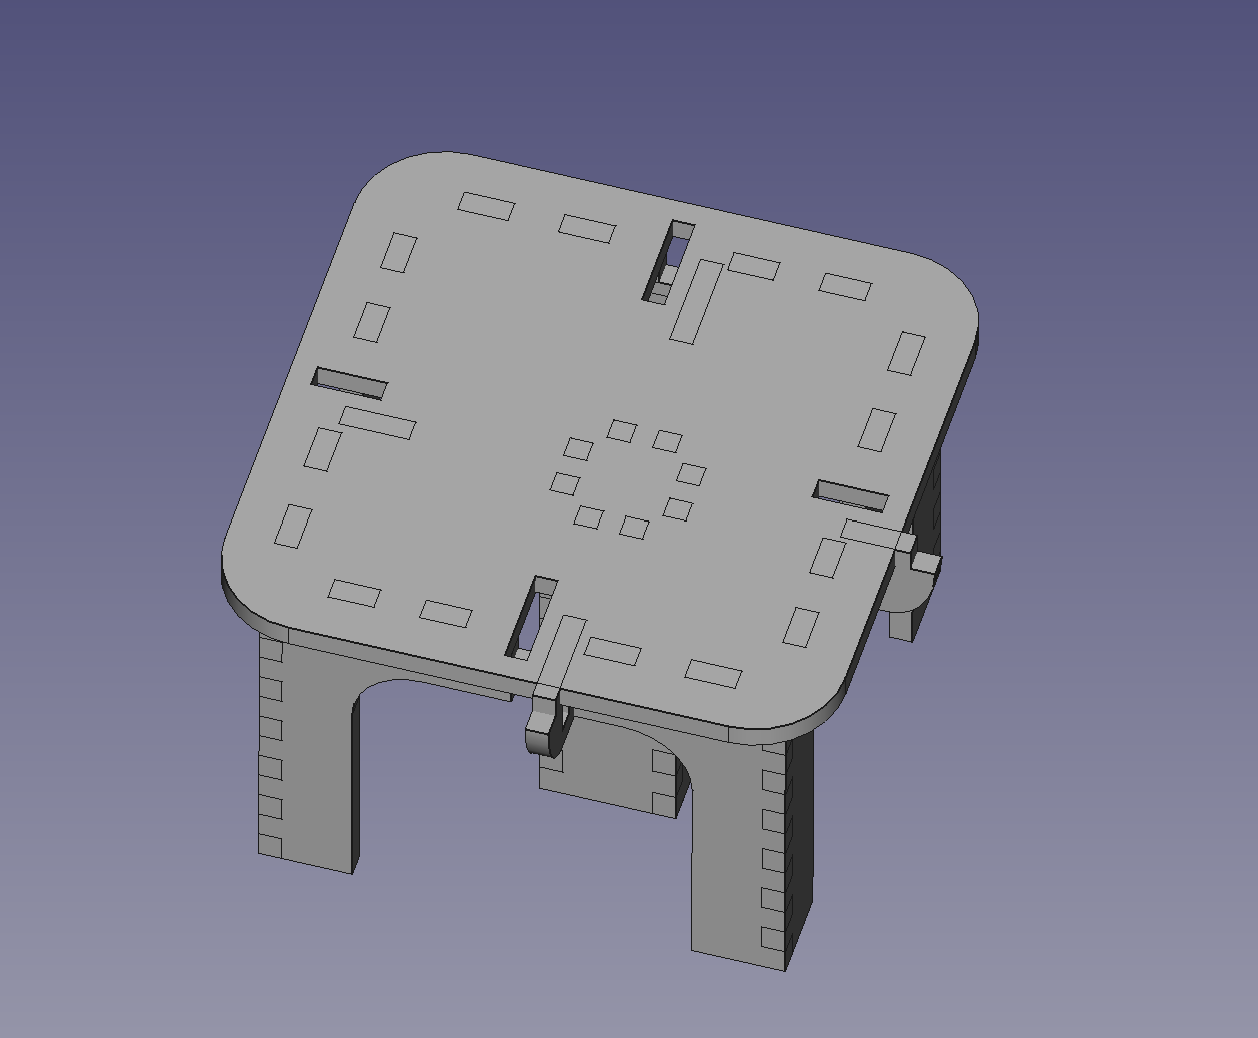
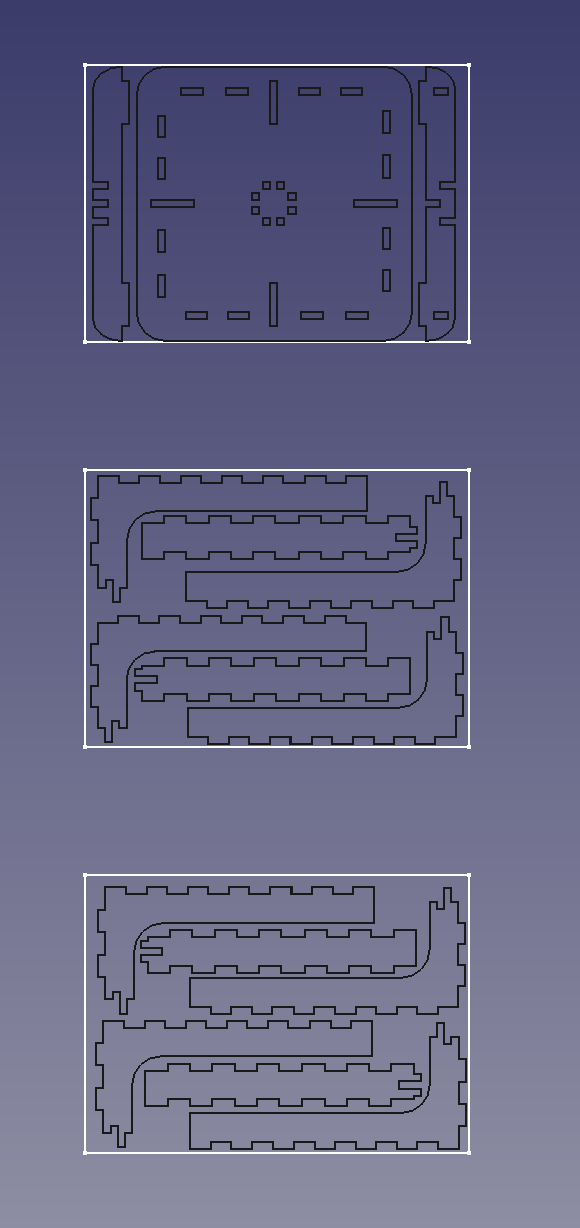
After fixing that issue, the final design was good to go. I used the laser cut workbench from week 1 to export the parts in a 2D layout, and positioned them inside squares that I sized just under the ShopBot bed, for machining. I exported those layouts as 3 separate dxf files.
Machining on the ShopBot
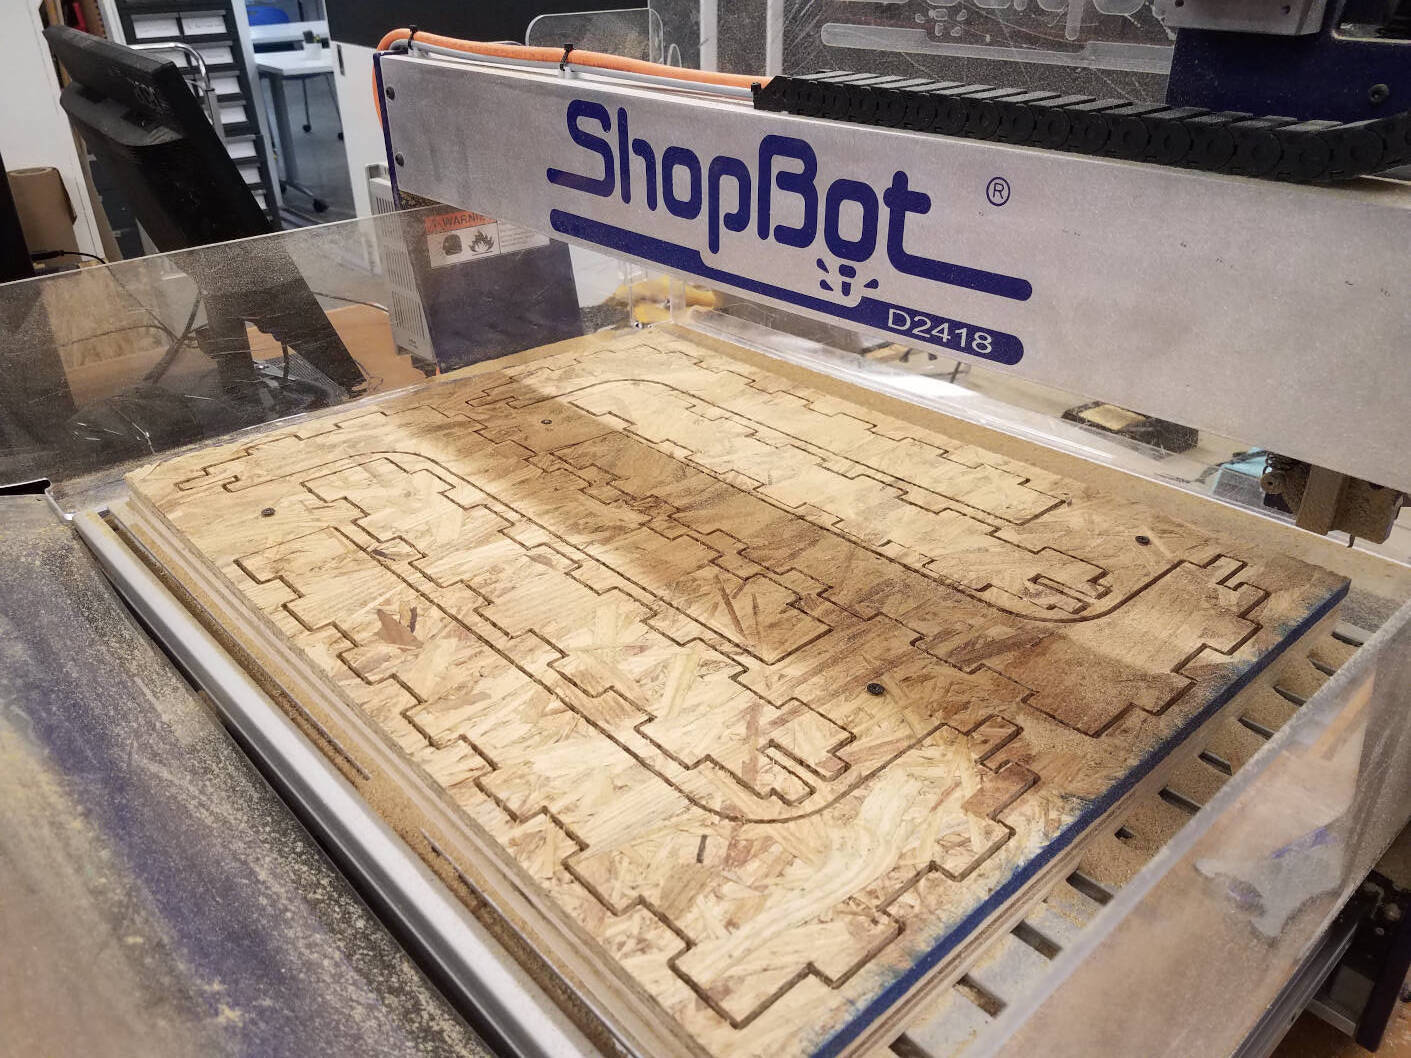
I opened the dxf files in Aspire, which was an awesome software. It allowed for easy vector manipulation, including joining all the dxf vectors that were supposed to make contiguous shapes, and putting dog-bone corners on all the slots. I changed up the layout of the parts in order to have two copies of the same sheet instead of two slightly different ones for the legs. I wrote the toolpaths, screwed in the placeholder screws (by hand, which was a tedious mistake that I fixed), and got started.
The process I followed was to set screws in the corners of the piece, run a drill path for final screwholes, move the screws into those holes, then run the final toolpath. Before running the drill path, I raised the Z origin far above the board in order to check my positioning with an air cut. Because I knew where my final path would be relative to the screwholes, this let me check the whole process.
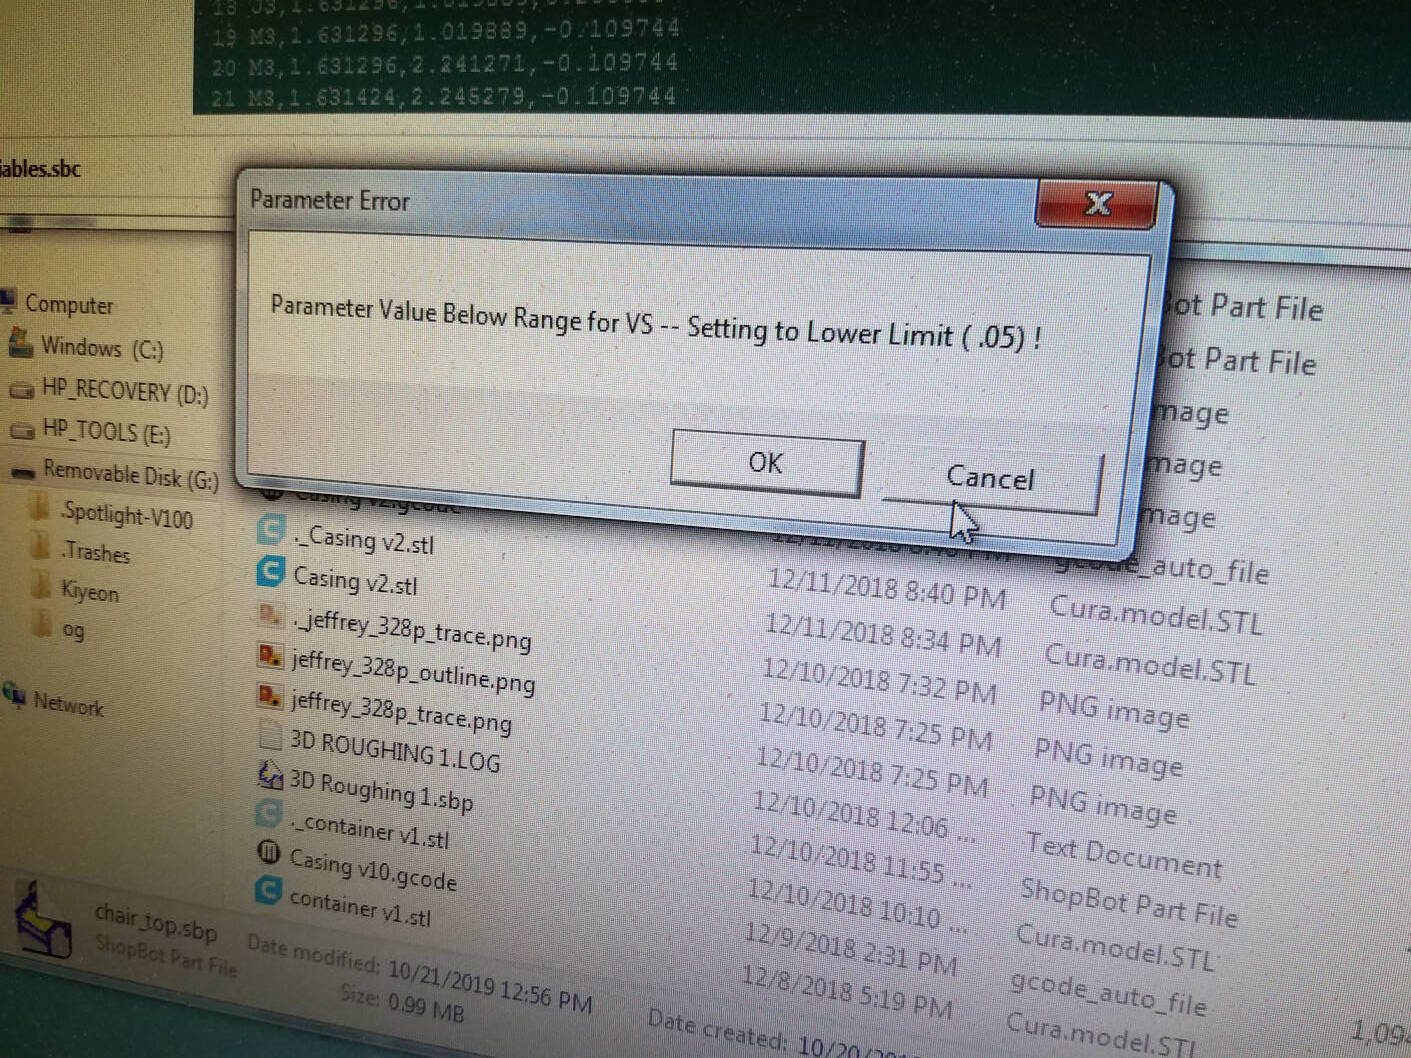
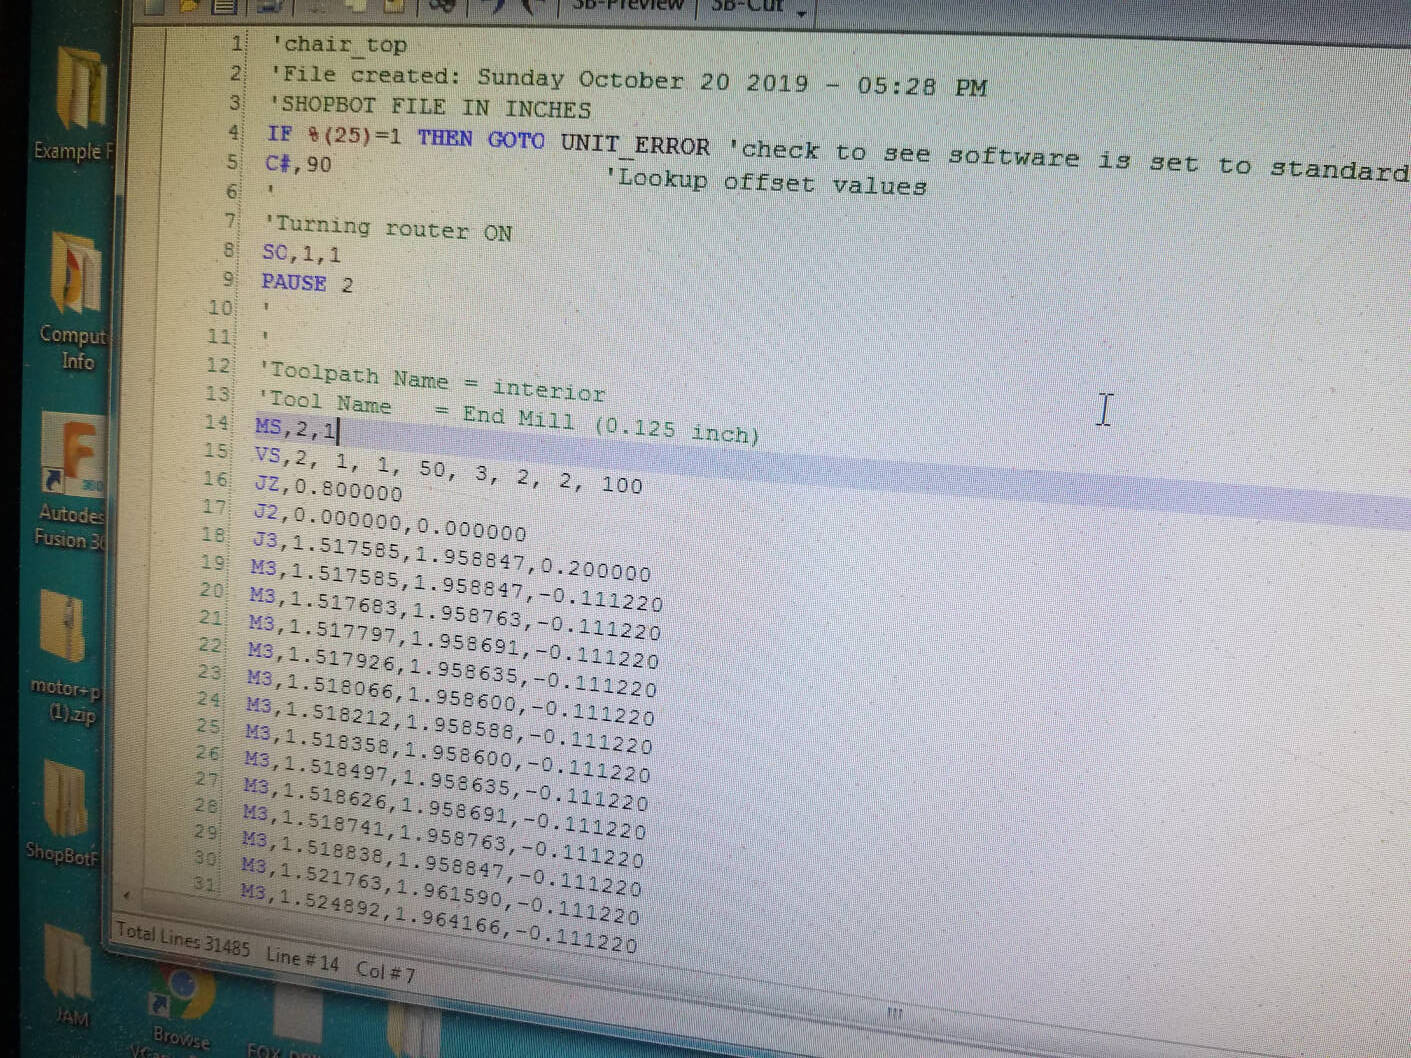
Unfortunately, I ran into a couple issues. The first of which was something to do with the exported tool speed. The tool path set the machine speed to 0, which the ShopBot fixed by lowering it to the minimum of 0.05. This was waaay under the typical 2 that we found to cut cleanly as a group, and I tried to manually set the speed inside the job, stopping and restarting it. This worked well for a couple times, but I learned not to expect perfect behaviour when the spindle failed to restart one time, resulting in a broken end mill. After that, I went into the machine code and edited the MS command, as well as adding a full VS command that I had been using to manually set the speed. I didn't run into speed problems after that.
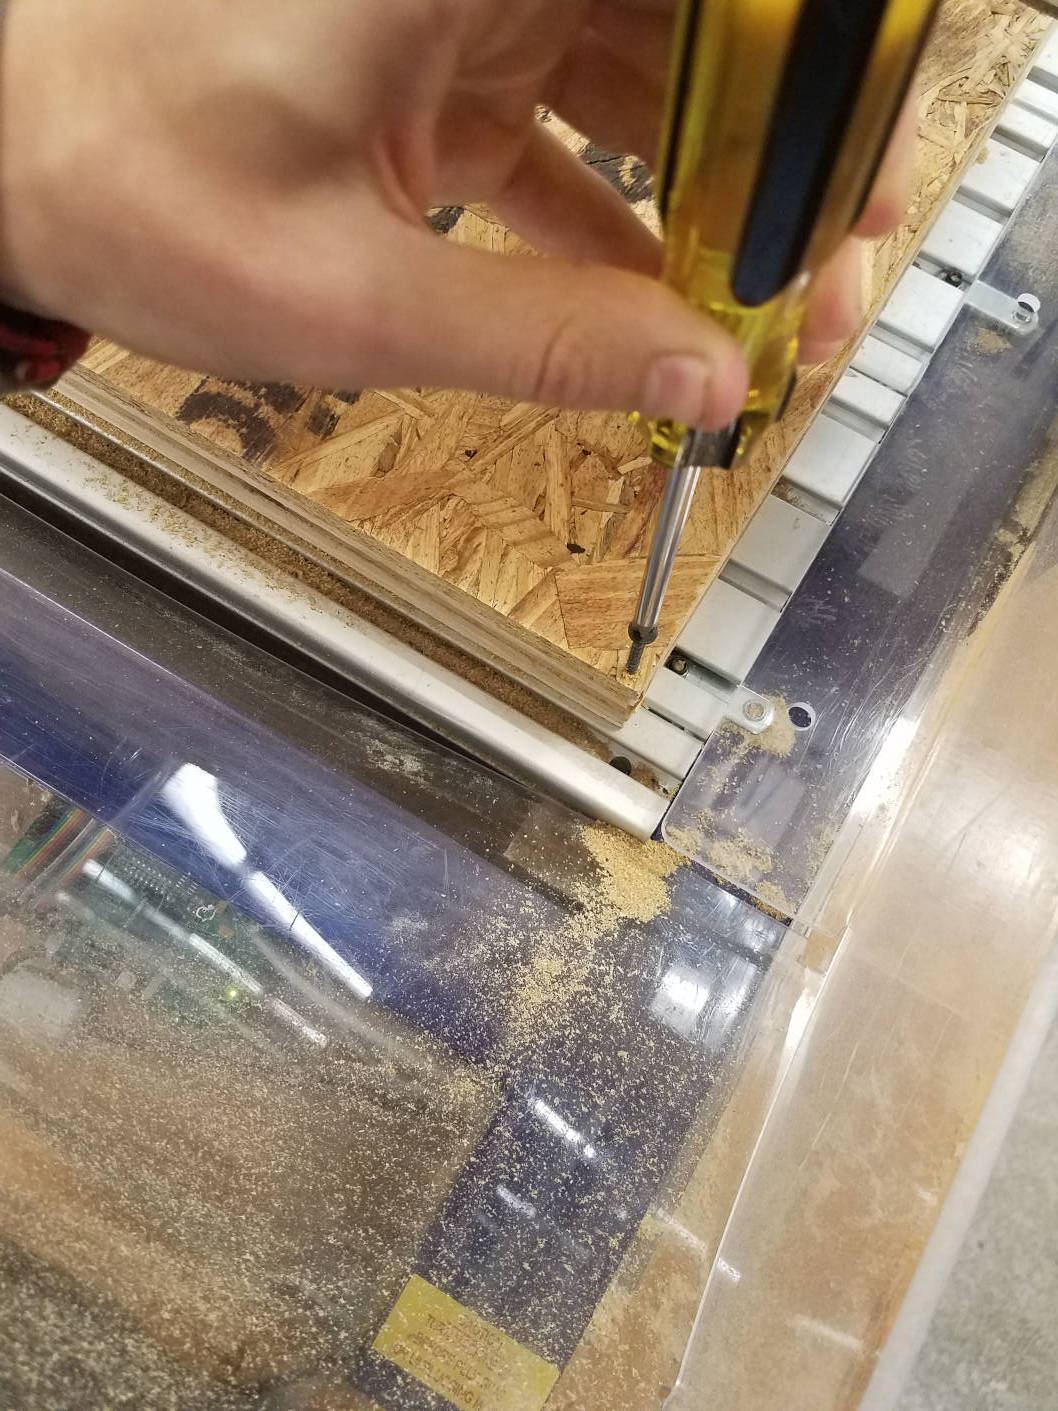
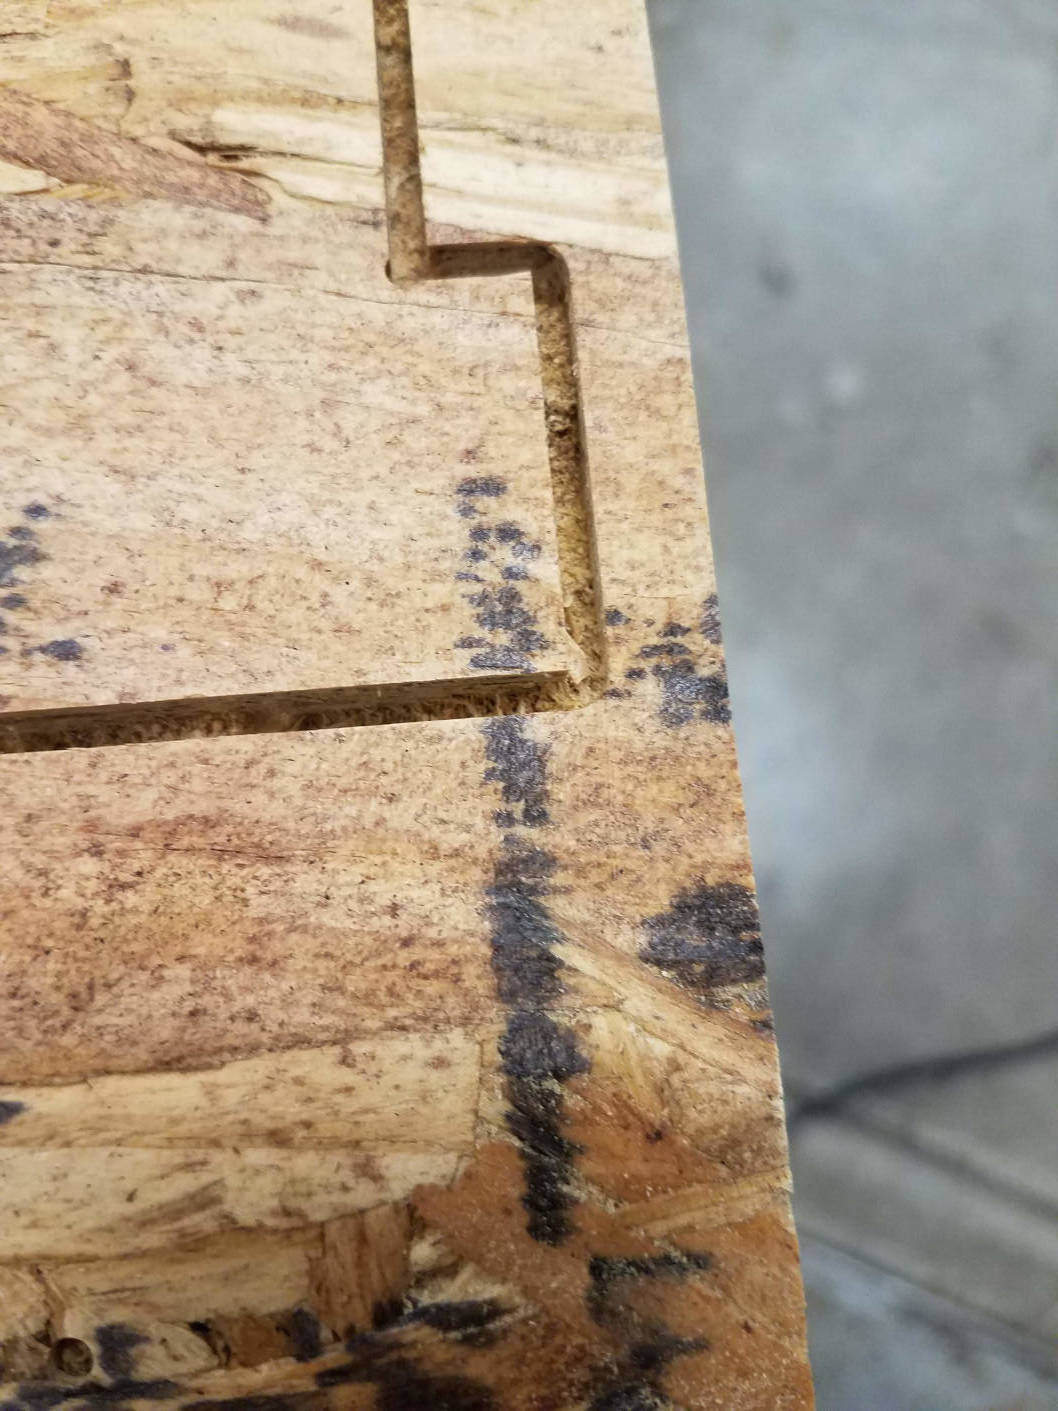
After that, I ran into errors with the varying thickness of the materials. The boards weren't consistently thick, and the second version of the legs I ran didn't cut all the way through (just barely, but enough to cause issues). I unscrewed the piece before seeing this, which meant I couldn't run it again with a lower origin. I tried to use the jigsaw to cut the pieces out, but it ended up as more trouble than it was worth, so I just cut another board. It again just barely didn't clear, but I checked how far the spindle removed from the origin while moving above the board, and lowered the origin by a third of that. That cut cleanly, and I was good to go.
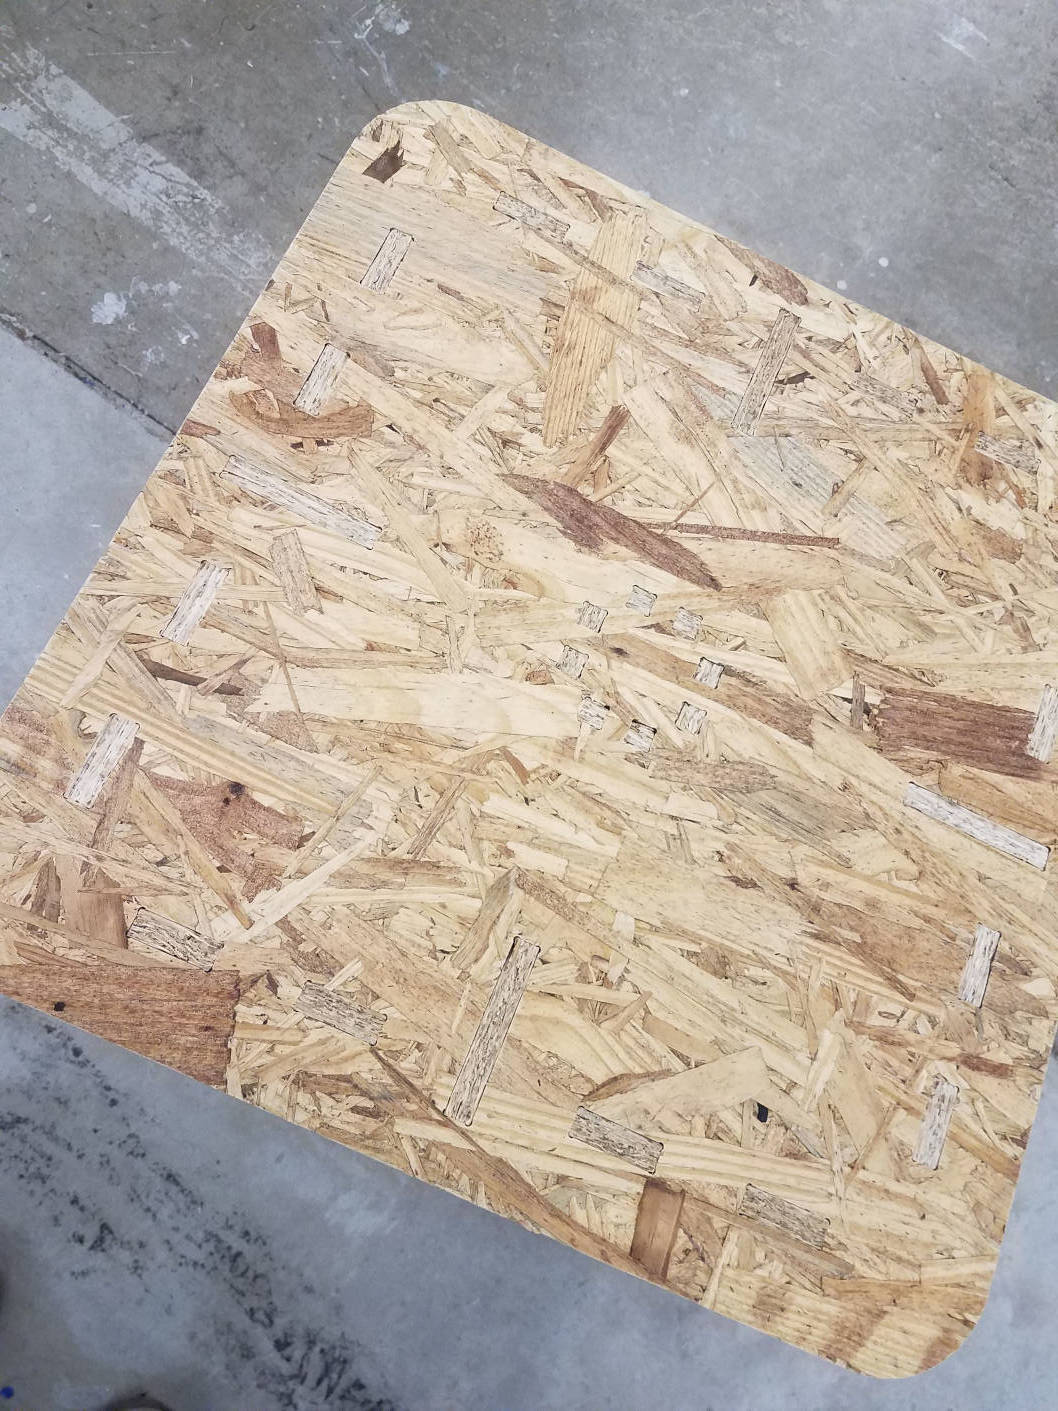
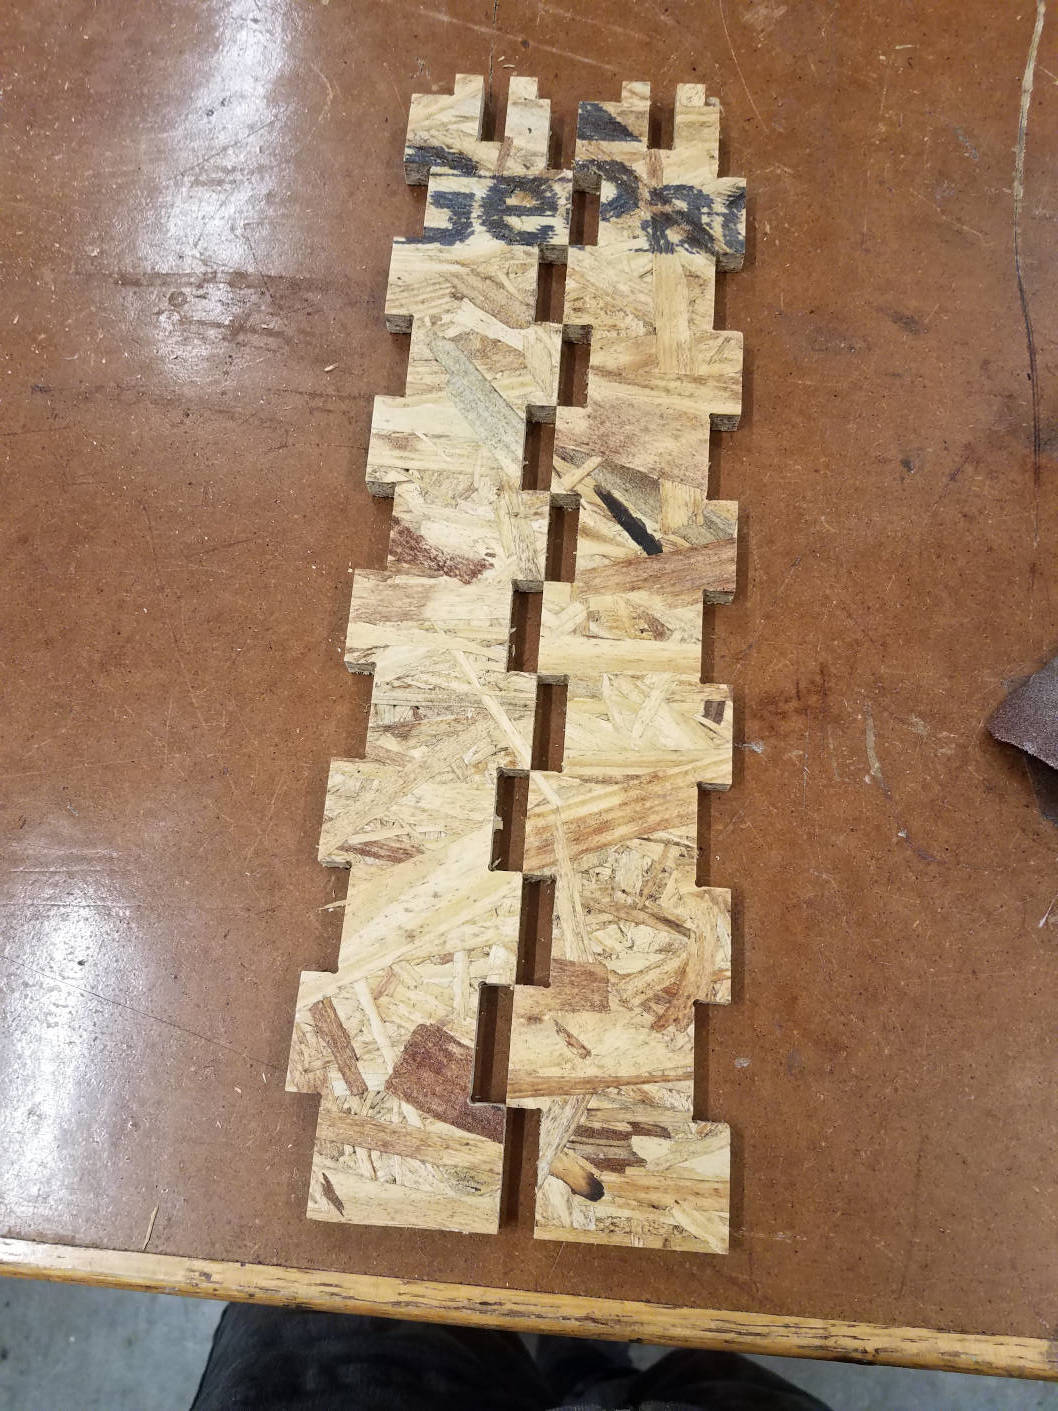
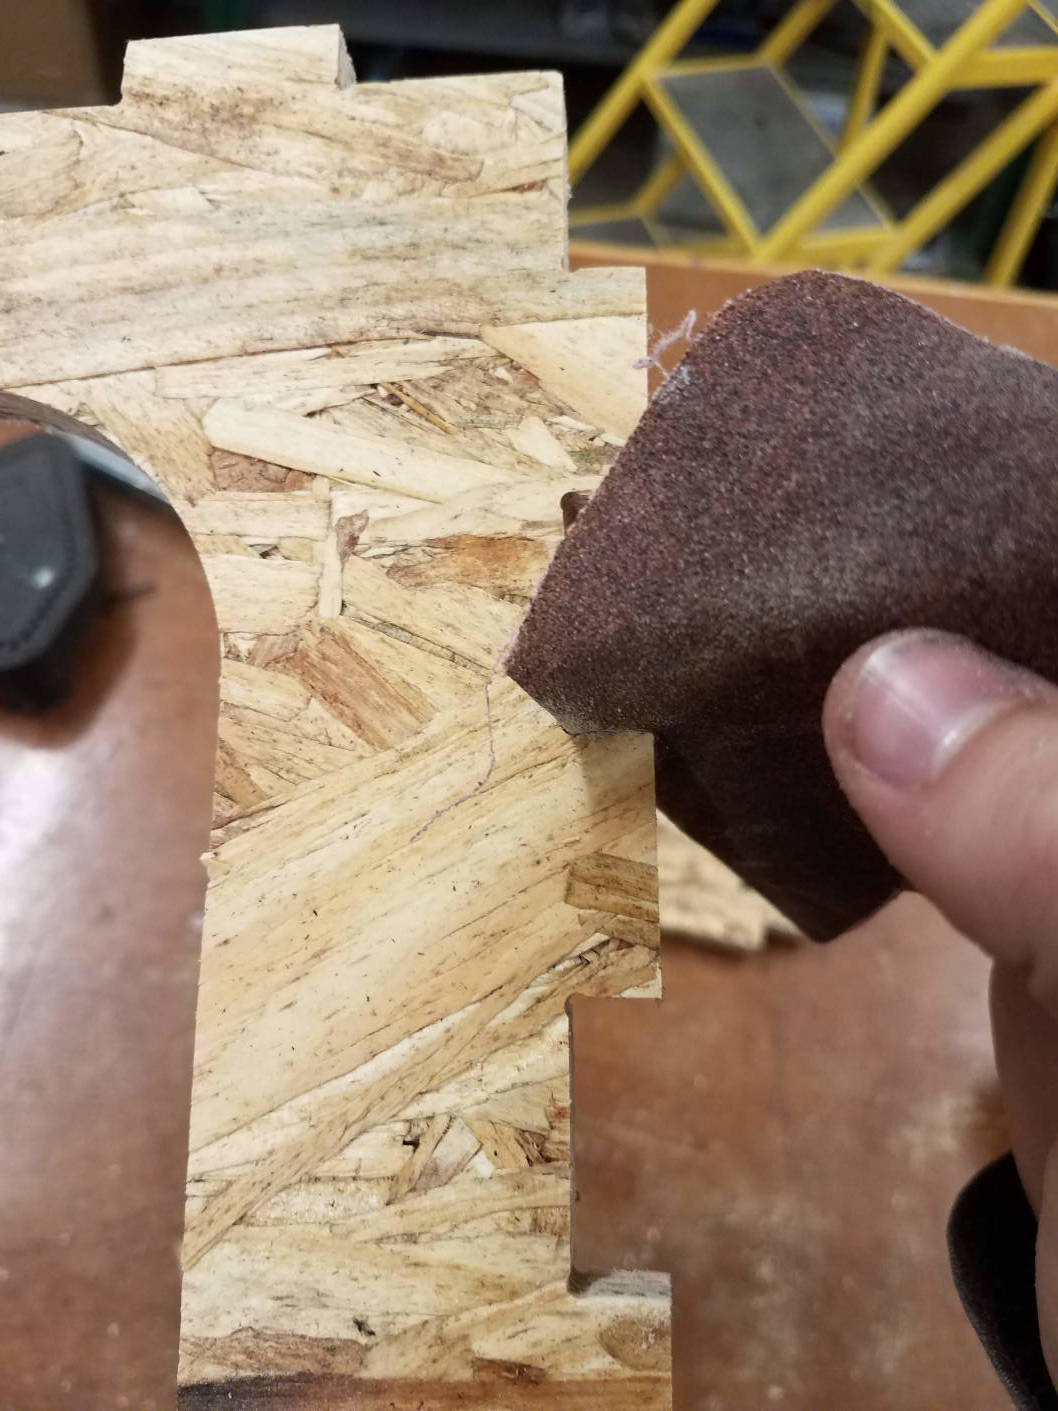
I had a bit of trouble getting the corner joints to stick together. Because of the varying width, I didn't want to try and give the edges a tolerance, in case anything was too loose. A little bit of sanding fixed this up well.
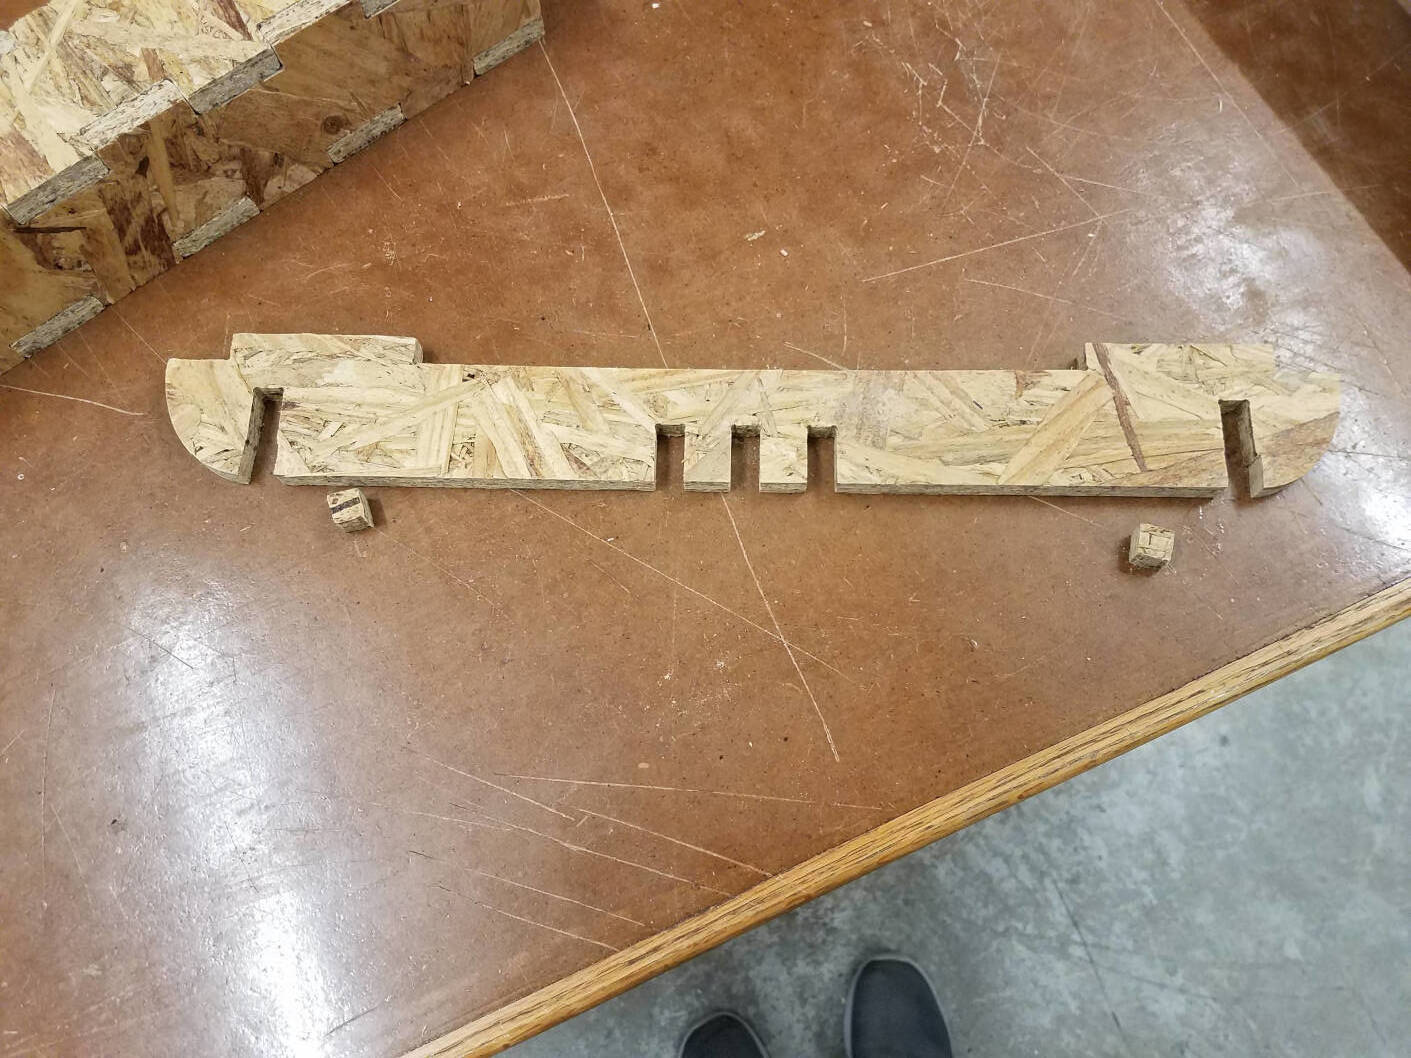
The final issue I encountered was one that I had worked really hard to avoid -- I couldn't assemble the pieces! Almost everything was designed to be able to be pushed in from some angle, but one joint just had no entry angle that wouldn't break another joint. I resorted to a sad hot-fix: taking the jigsaw and turning a tab hole into a full slot. The assembly was possible after that.
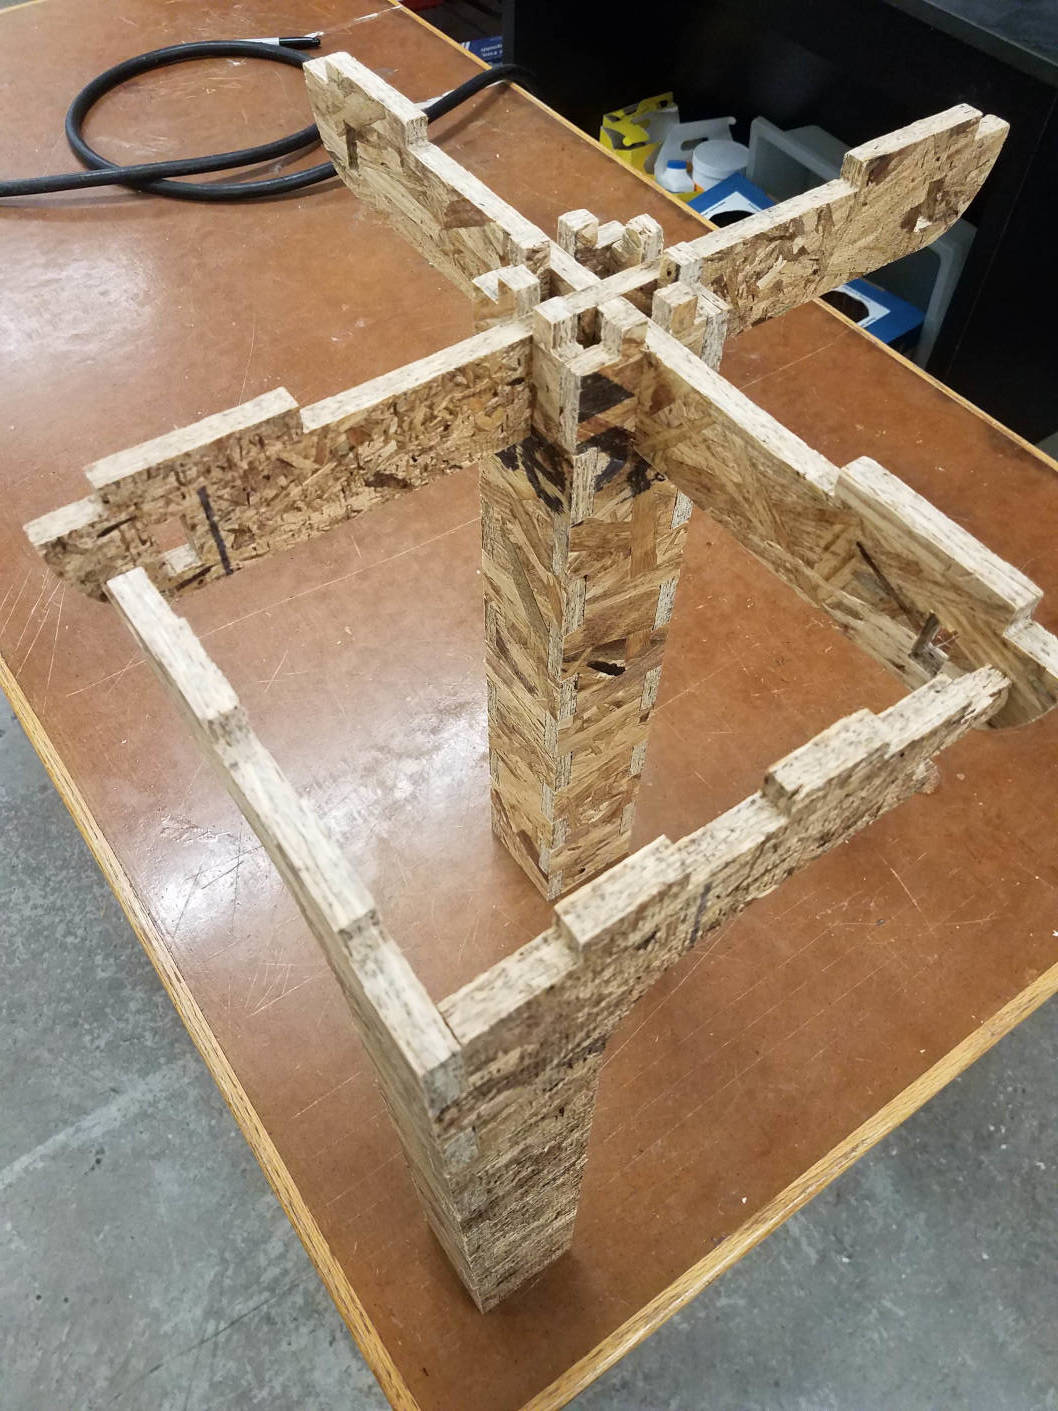
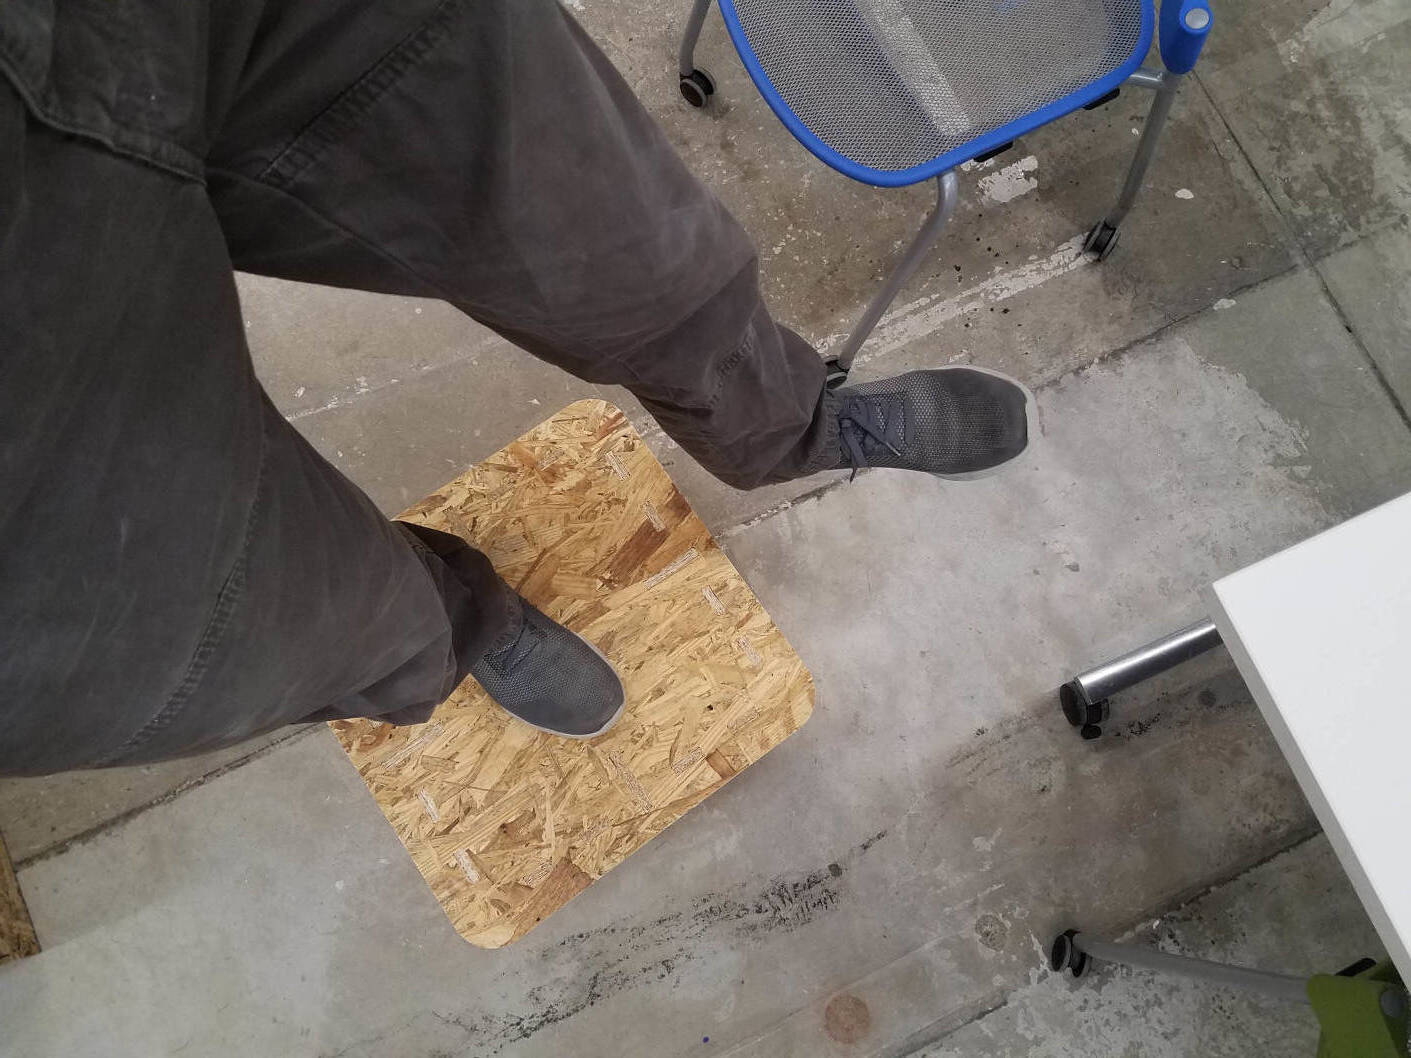
At the end of the process, I was really scared by one last thing. The tolerances on the top piece were super tight, and error propogation looked like it was going to make the top nearly impossible to fit on to every tab at once. I sanded a bit, and contemplated sawing the top into a couple sections to attach. However, after a smacking it with a mallet for upwards of 3 minutes, the tabs started to all slide in! The top ended up fitting perfectly, if pretty snug. The design holds a great amount of weight, and is as wobble-free as a 5-legged table can be!