3-D Scanning and Printing
This week's assignment was to scan and print 3-D objects.
Scanning
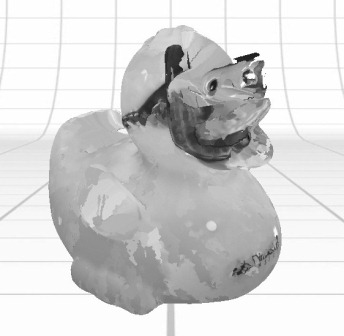
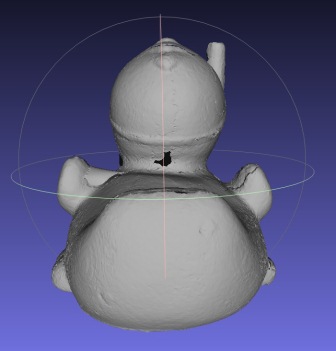
I thought I chose a relatively simple object to scan: a snorkeling rubber ducky I got at a recent career fair. However, it turned out to be more complicated than I anticipated.
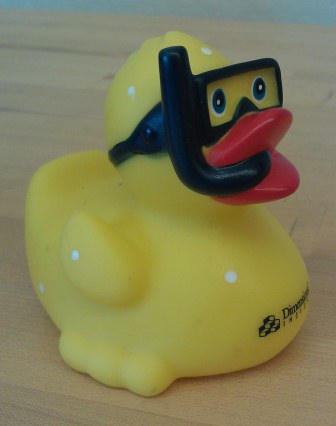
Before my first attempt at scanning, I placed three alignment dots on the front of my duck: two on his body and one on his forehead. The placement of these dots was less helpful than I had hoped. The duck's snorkel blocked the scanning laser from reaching the duck's forehead--the top dot was not captured in any image. Also, I was unable to align the images of the sides and tail of the duck because I did not place alignment dots there. I placed more dots all over the duck's body and scanned it again.


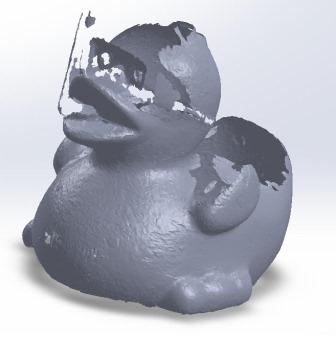
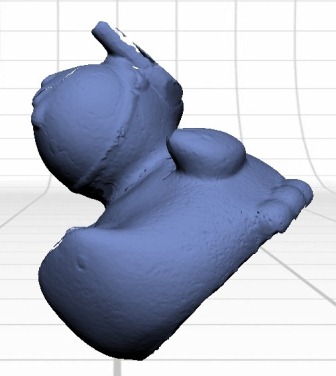
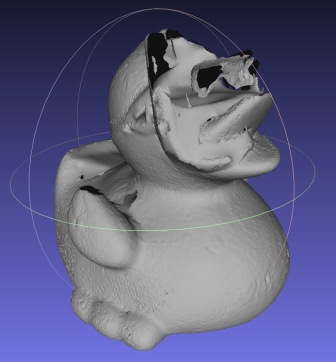
After the second scan, I noticed that it wasn't only the snorkel and mask that were blocking the laser from scanning a certain area; the wings and tail blocked the scanner from seeing the curved back, too. This left my 3-D model with holes between the wings and the head and the tail and the head:
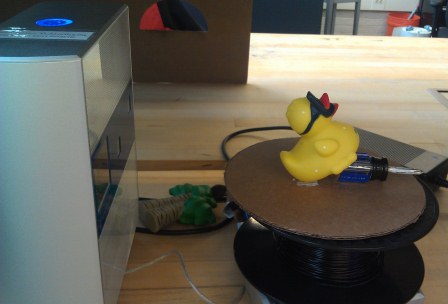
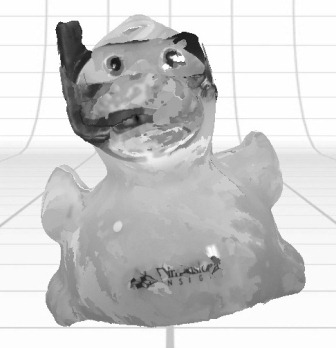
In order to fill in the holes, I scanned in the duck from a different angle. I wanted the scanner to catch the details of the duck's forehead and back, so I propped it up on its tail, using a screwdriver for support. This time, instead of taking a 360-degree scan, I scanned only a bracket around the back and sides--I figured I could fill in the bottom relatively easily later, and I wanted to minimize the images of the screwdriver.
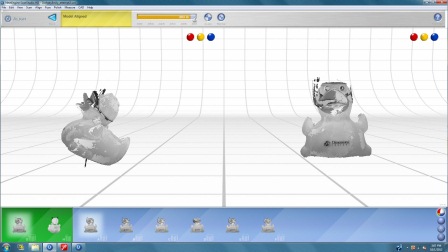
After scanning the object from the two angles, I used the NextEngine scanning software to align, trim, fuse, and polish the 3-D images. I aligned the two scans by placing the pins on the same dots and then trimmed away the screwdriver residue. Next I fused the images and filled in the remaining holes. Unfortunately, due to the dark color of the snorkel, I never had enough of the snorkel captured to piece it completely together.

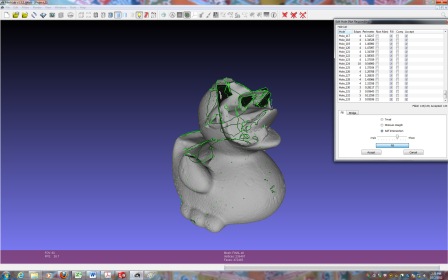
The duck still looked rather messy, and there were definitely some unfilled holes, even though the software claimed to have filled all of them. I opened the .stl output file in another program, MeshLab, in order to fix it up.
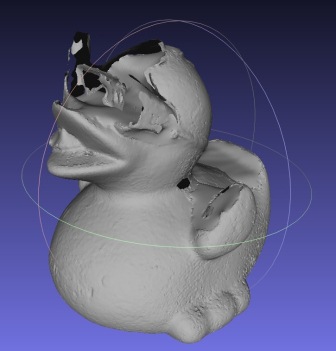
The details of the scan were a lot easier to see in MeshLab than in the NextEngine scanning software. I noticed that the NextEngine software had incorrectly filled in holes: it attached the top of the left wing to the body and filled in the holes on the face underneath the mask rather than reconstructing the walls of the mask. This in effect flattened the face and left the mask floating. The software also had difficulty filling in the snorkel inside the beak and muddled the components together.
I tried to redo and repair the hole-filling in MeshLab. Unfortunately, I didn't have much luck. The program froze every time:
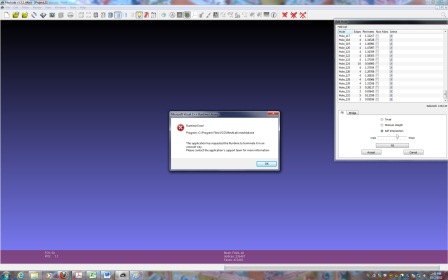
The fourth time MeshLab failed and froze my computer, my entire system crashed and the evil Blue Screen of Death appeared. In order to avoid any damage to my computer, I decided to stop and leave my imperfect duck as it was. You can access the final .stl mess (oops, I mean mesh!) here.
Finished with the duck, I thought I would try to scan in something more interesting:
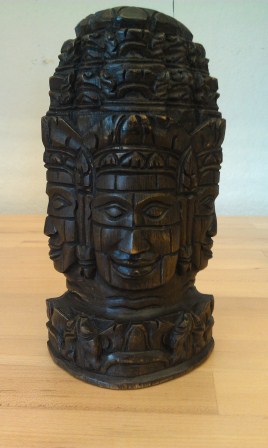
This is a wooden replica of the heads carved into the Bayon Temple in Angkor Wat, Cambodia. Sadly, this object failed to scan due to the darkness and matte of the wood. The scan showed up completely blank. I thought I could try again after covering the head with talcum powder or painting it white, but I was afraid of ruining the object and decided against it.
Printing
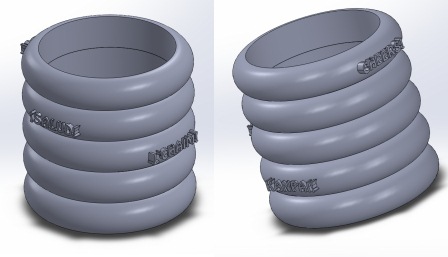
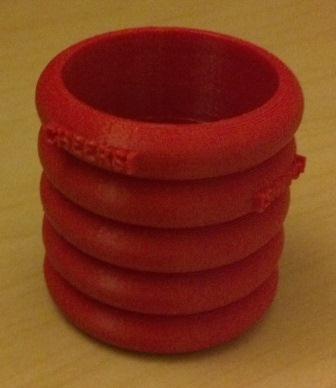
Printing was a lot more straightforward than scanning, but probably because I wasn't actually the one printing. I designed my item in SolidWorks and emailed the .stl mesh file to the TA, James, for printing on the higher resolution Dimension 3-D printer. I created a shotglass shaped like stacked donuts with "cheers!" written in English, Spanish ("salud!"), Hebrew ("l'chaim!"), and Japanese ("kanpai!") around the glass. You can access the .stl mesh for the shotglass here.
Files