Week 5: Electronics Design
This week, we learned about electronics design by making a simple board with an ATTiny44 microcontroller.
I started by reverse engineering the board and putting the schematic into Eagle. After putting in the initial layout, I added in an LED (with a 1K resistor) and a switch that the microcontroller could interface with. My schematic is shown below.
Hello World Board: Schematic

After creating the schematic, the next thing was to make a board layout. Placing the components on the board and figuring out how to route them effectly turned out to be quite a challenge. After ~2 hours of routing and re-routing, I ended up with the following board below:
Hello World Board: Board Layout

Next, I exported the traces as a 600 dpi PNG to interface with the viynl cutter and the PCB mill and went to the shop to see if I could viynl cut my circuit.
Hello World Board: Traces for Cutting

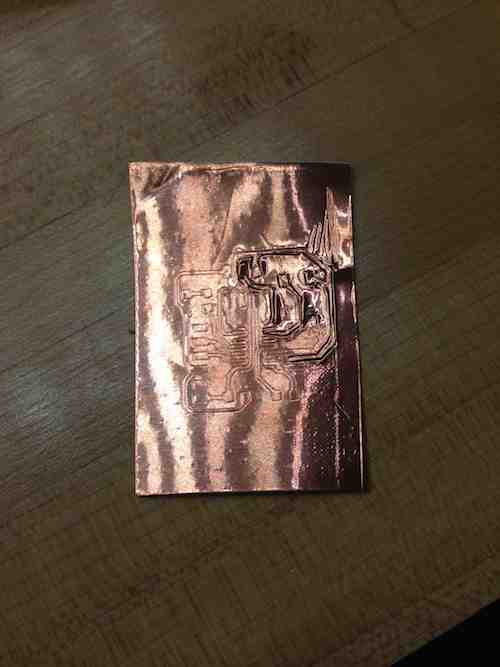
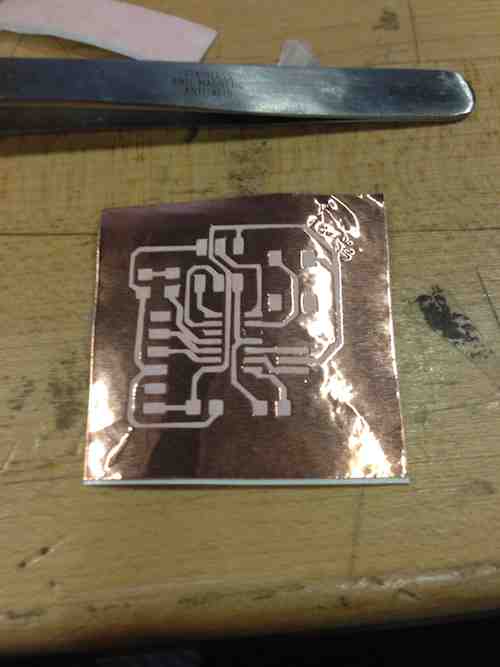
Disclaimer: I tried cutting ~30 viynl-cut circuits, varying the depth of the knife, the force, and the speed. White some of them almost worked, and I learned tips aobut weeding the circuit while it was on the tranfer tape, in the end it did not work. Here are some of my attemps:
Hello World Board: Viynl Cutting Attempts


Some lessons learned:
- You can go over the traces twice or three times without changing the origin. This may help cut the copper all the way through.
- The settings I found best were a force of 65 and a speed of 2 with ~1mm of blade sticking out.
- Not everything will cut out. You have to be pretty good with an Xacto Knife to weed the circuit
Next, I milled the circuit (which went pretty well on my second attempt) and stuffed my board. Check out the finished board :)
Hello World Board: Finished!

Thanks to Jean-François Duval for all the troubleshooting help and Madeleine Abromowitz for helping me fix the PCB mill!