Week 6: Molding and Casting
This week, we learned about molding and casting. I originally drew up a screw and a bolt in SolidWorks, since I wanted to see if I could cast them. However, when I thought about the design, I realized that it would be almost impossible to mill these parts out of wax. So instead, I found a nail polish bottle with a screw top and decided to mold that.
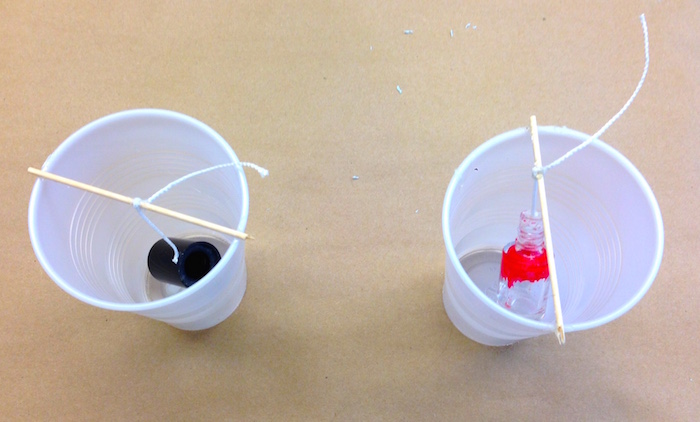
I first set up the bottle for placing in the mold, attaching hot glue sticks to the ends of each mold in order to makes sprues for pouring in the casting material.
Preparing the Bottle for Molding

One I prepared the bottle, I mixed up the molding material (silicone) and poured it into the mold. Since I had big molds, I them let it sit overnight.
The Molds Drying

Next, I cut the molds out in a jagged pattern and placed them in new cups to hold them tightly together. One issue that I ran into was that the silicone inside of the top of the bottle popped off and I had to reattach it by putting a paper clip through the two parts (not the most stable solution, but it worked)
I then mixed up the plastic and poured it slowly into the cups.
Plastic Casting the Bottle

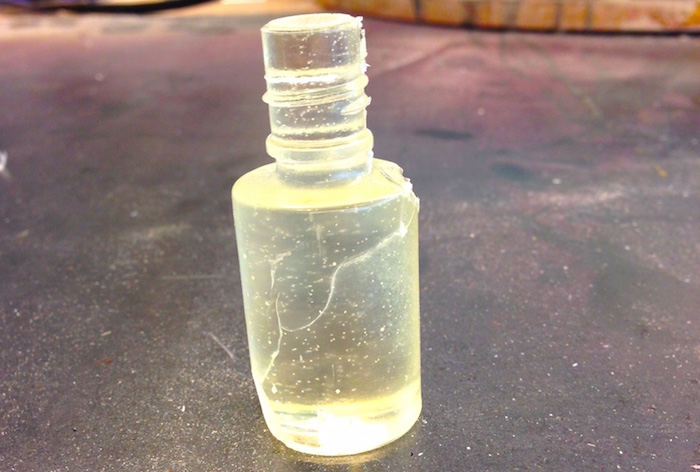
When the plastic dried, I was able to cut it out and see that, while the screw top was a little lopsided (courtesy of the makeshift paper clip rig), the mold worked great! The top was able to be screwed on and off the bottle perfectly.
As a second step, I tried casting electronics in the bottle, making new molds to do so. The concept worked; as you screw on the top of the bottle, it completes the circuit and lights up the LED cast inside the bottle.s
Final Plastic Bottles


From left: (1) original bottle, (2) bottle with no eletronics, (3) bottle with electronics, (4) another bottles with electronics