09 > output devices


First the usbtiny driver from Adafruit needs to be
downloaded before it can be recognized in the Device Manager.
Plug in the device and when prompted, choose to install driver
from the downloaded location on your computer. andrew mao's
page was useful: steps: 1 compiler/toolchain to convert code
(c) to machine code (hex) according to makefile (make). 2.
upload settings 3. upload generated code to memory of
microcontroller using fabisp to talk to it.

I followed this guide to set up the IDE arduino environment
set the target microcontroller & programmer in Tools
In the hello file set the target pins & upload

Alternatively AtmelStudio is a similar setup to
Arduino. I followed this guide: I copied my code into a new
executable project file, added an external tool for the ATtiny
microcontroller,
Despite it not completing the workflow, my
preferred method was through WinAVR and AVRdude where you can
just reference the files through the command line to give it
instructions as opposed to having to work in a external
environment. A few commands are useful to note:
make -f filename.make #compile into hexcode
make program-usbtiny-fuses #one time instructions?
make -f filename.make program-usbtiny #upload
My next challenge was trying to understand how the
communication via code works with the hardware. (urbanhonking)
provides a good breakdown of Arduino internals.
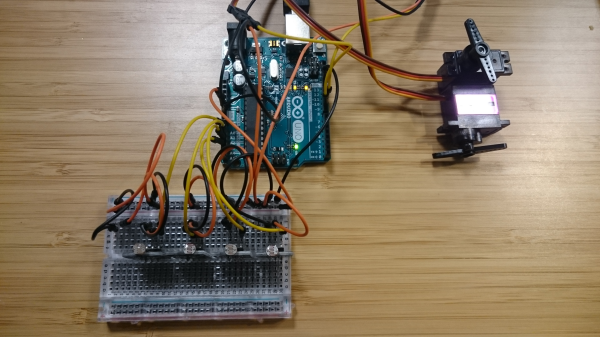
Part 2 > Servo > Solar tracking device
Since my final project is going to be kept outdoors, I
wanted it to have an independent power supply for the
electronics it houses. In order to maximize solar potential
- i wanted to add a solar tracking device that would use
light dependent resistors to maneuver 2 servo motors. I was
going to integrate a few different electronic systems so
started by producing a fabduino so that I had enough pins to
feed in. I followed this tutorial
and this guide
to programming it.


I used the following command to check
communication with the device before uploading anything to it.
I used the Arduino IDE to program the board. Using the usbtiny
as the programmer, first had to add the fabduino board to the
list of boards: this comes up as the Fabduino with
Atmega 328p with 20Mhz external clock.
avrdude -c usbtiny -p atmega328p
Once this was confirmed, I uploaded bootloader via the boards.txt file from the tutorial. A flashing light on the board confirmed my success! See the video here! But thats where success ended with this board... and many struggles ensued trying to get it to respond to programs uploaded to it. It also would not communicate without the usbtiny, though it should be able to use the ftdi cable alone. Consultation with many experts still left me stumped, and I even tried the linux workflow using ubuntu on a virtual machine all to no avail yet. More debugging to come - it could be an inconsistency with the crystal resonator, so I will try to remove it and use the internal clock!


