Process
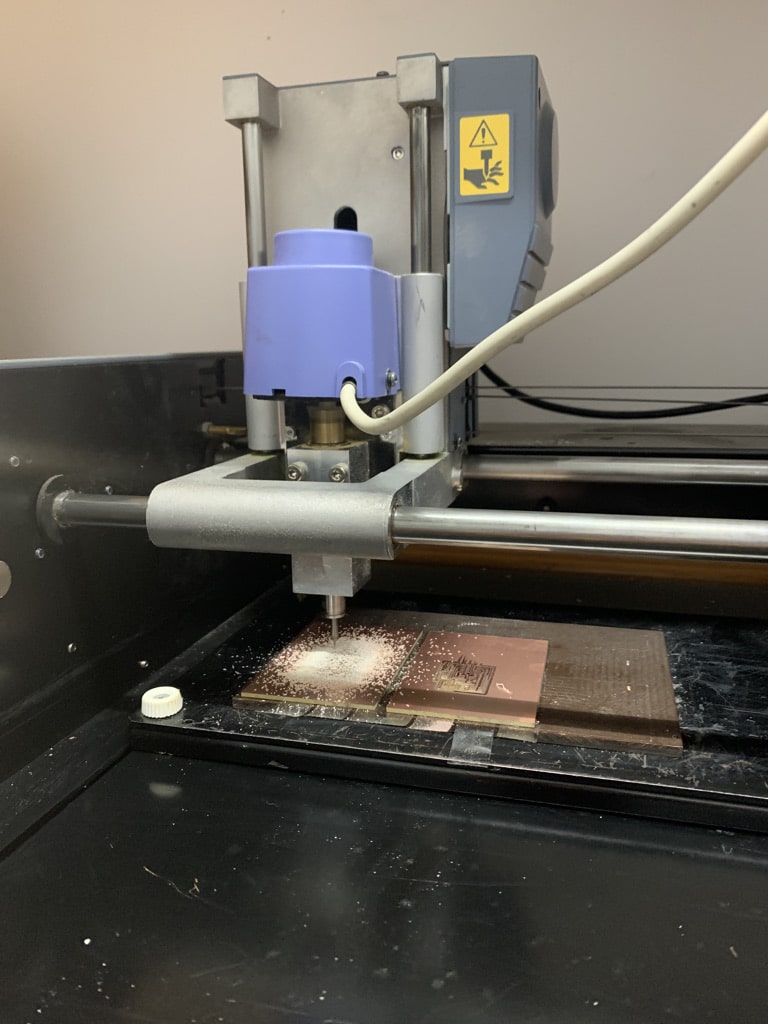
Fridays being a busy day at the lab, I ended up using the blue milling machine--used in case the orange one is in use. Based off results, it is obvious why this is a backup machine. Initially, things were looking pretty good! I taped the bottom of the sheets carefully, configured the settings and pushed down the bit as I tightened it, resulting in the desired "white dust" shown in the image of the milling machine, a sign that the drill was milling to the right depth.

Unfortunately, it became clear that the bed was not completely level once the drill finished milling out the interior trace of both pieces, only one board good enough to use. It can be assumed the bed bows downward towards the center, resulting in the bit not reaching the board as desired (see image).
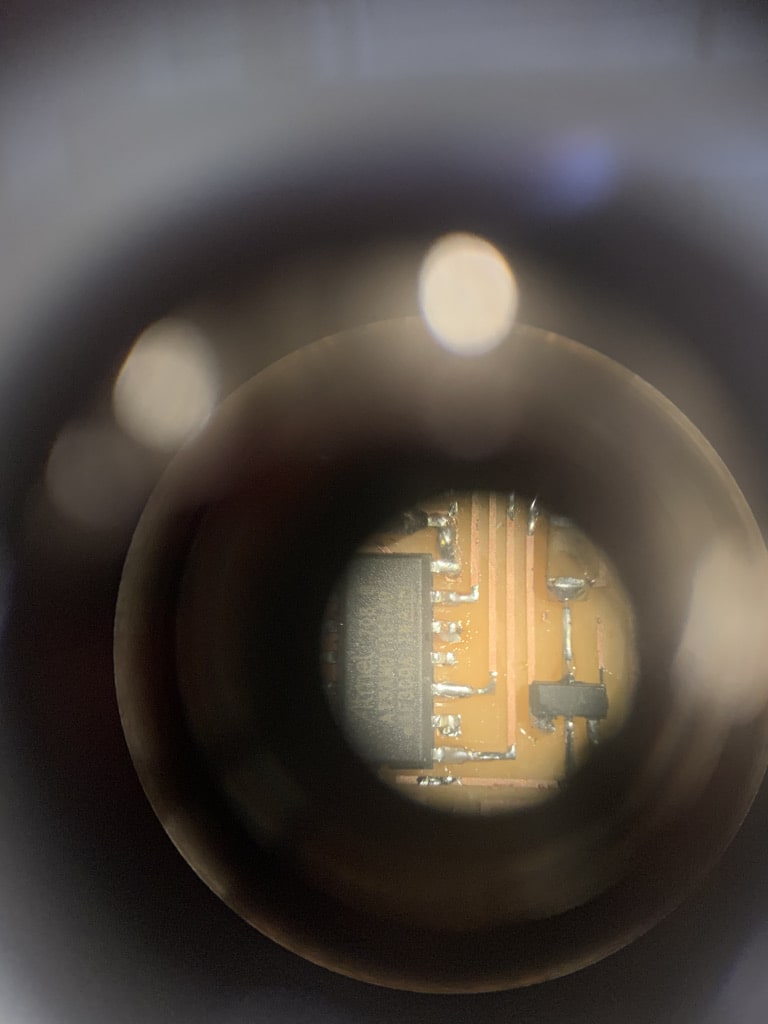
The soldering process was rough, as it usually is for me, exacerbated by the extremely small scale we worked on and my super-non-surgeon level of steadiness. The microscope helped with seeing the smallest details, but it did not help my lack of soldering skills, as the image exhibits.
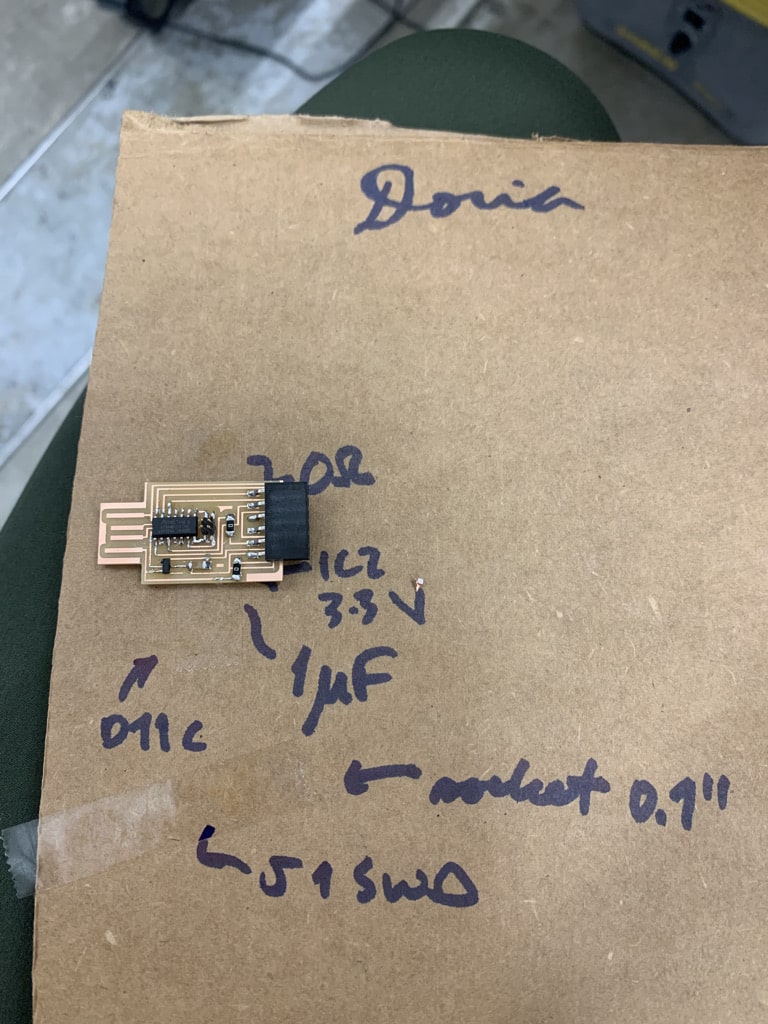
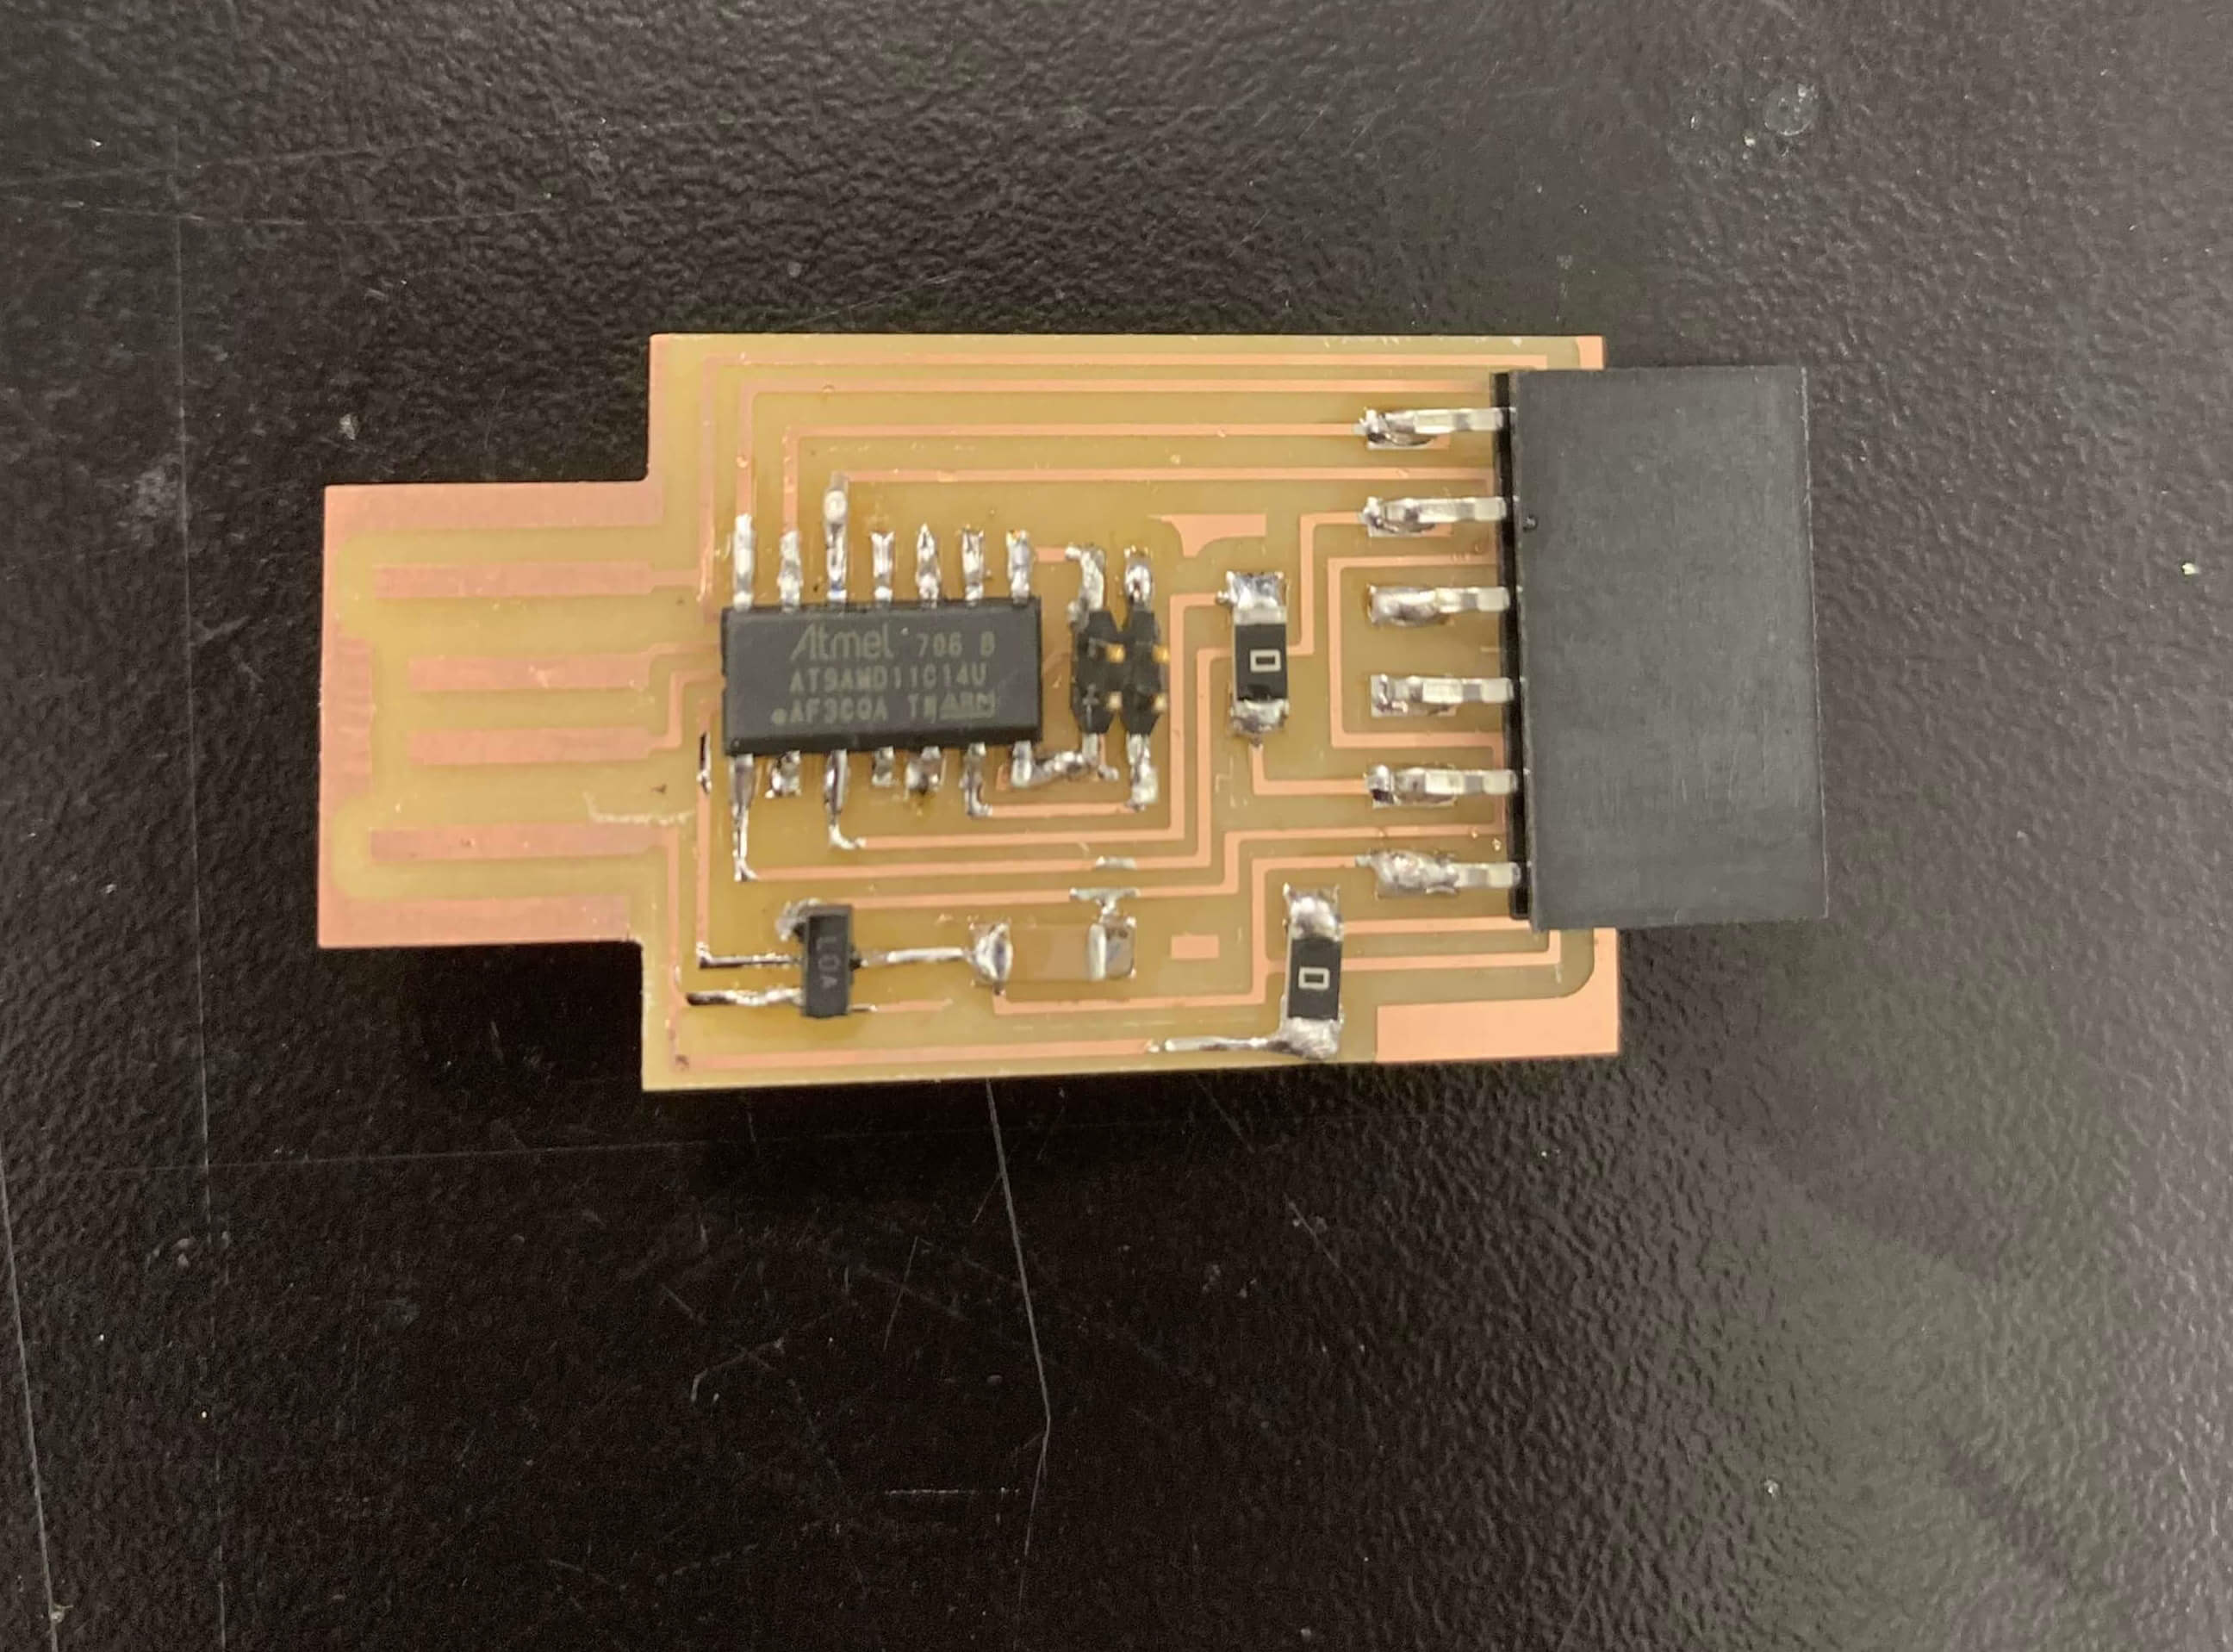
It might be obvious from the images shown but this board is definitely not the prize winner of Harvard HtMaA, unless you give A's for effort ;). After many mistakes and rounds of copper braid use, since everything stayed in place and there are no paths soldered together by accident, I decided it is good enough for me!
Click to see this week's Group Work