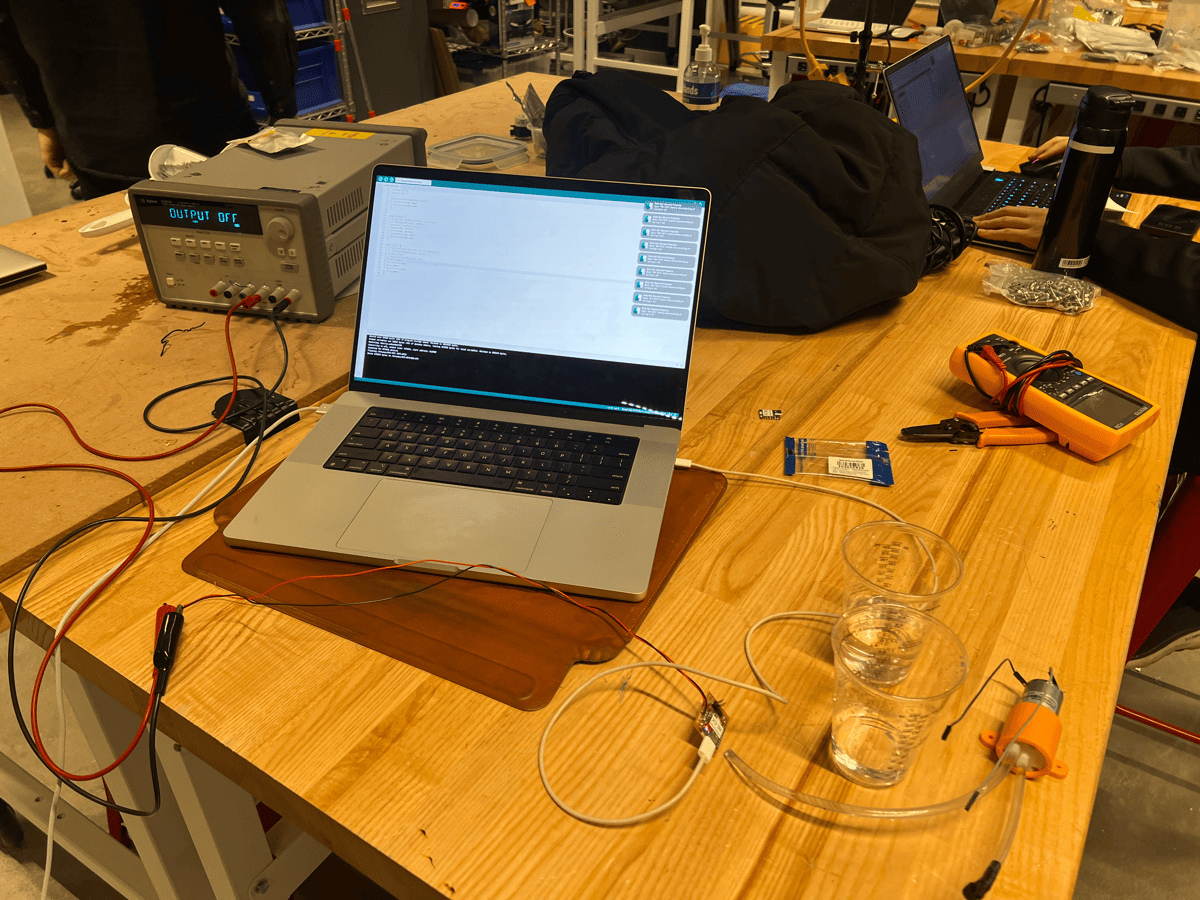
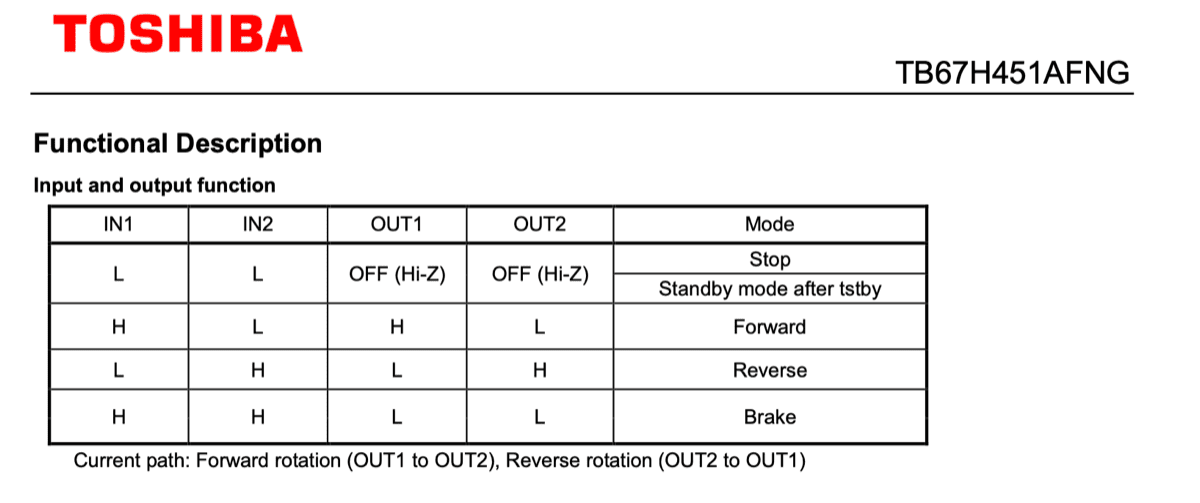
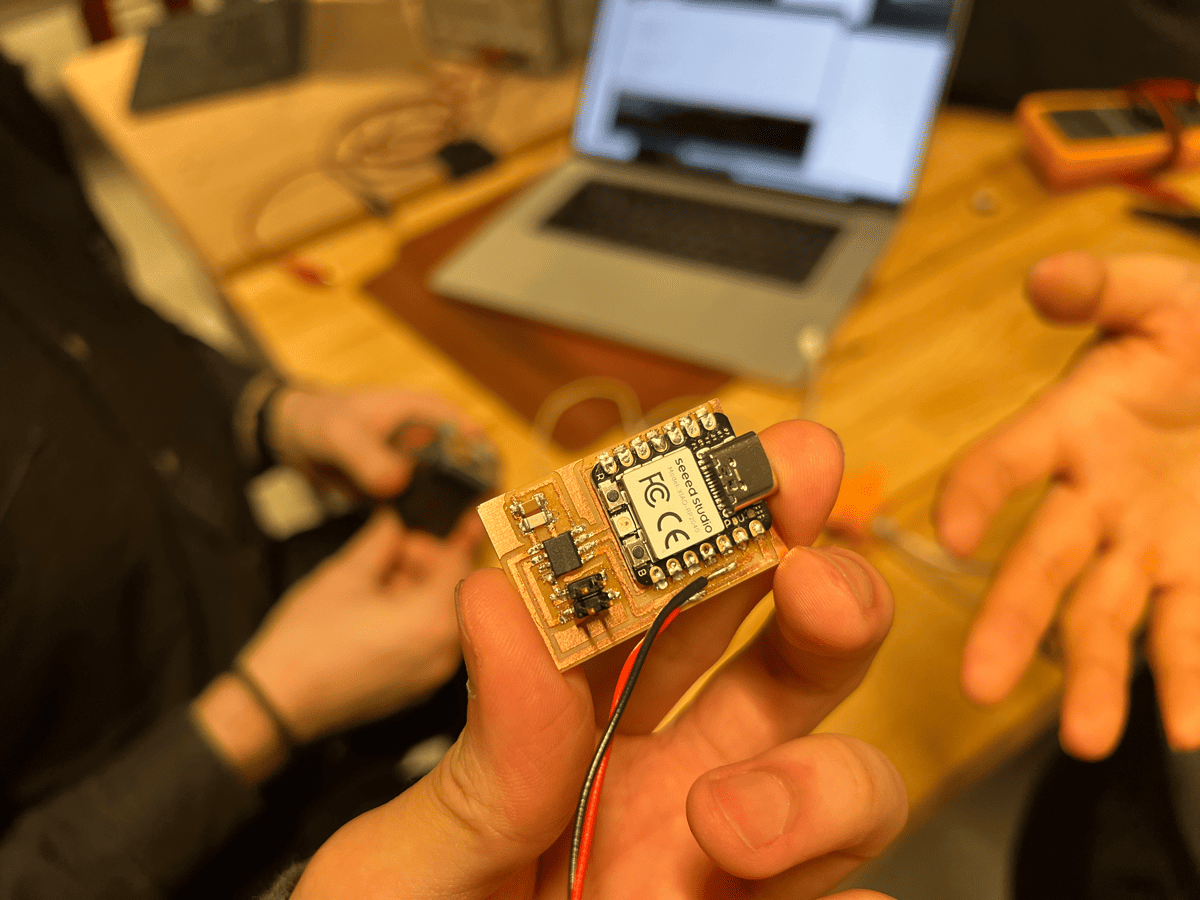
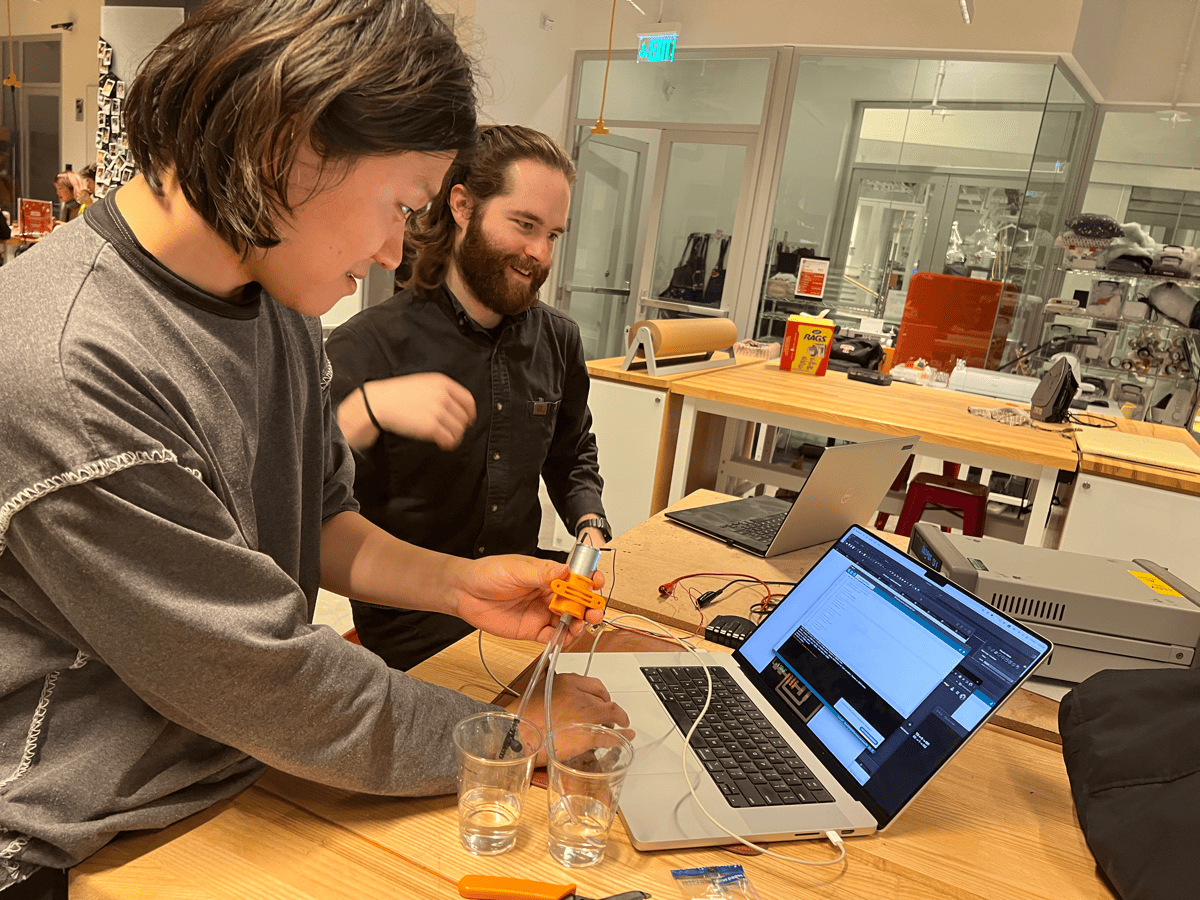
On Friday night, with Jake’s help, we made the pump working. Jake walked through us the basic of the H-Bridge. H-Bridge, correct me if I am wrong, works essentially like a logic gate to control the direction and on/off status of the current. It’s useful for controlling motor or speaker. We had a minor setback when we accidentally burned out an H-Bridge due to a tiny hair causing a short circuit. After replacing it and cleaning out the traces, it seemed to work properly.
So, we first edited the embedded code. We wrote a simple function that we can later call from the high-level website interface, and then incorporated osap library for the connection. We discovered that the pump we are using (EDLP 600-D128) is one-directional, which means it can only pump thing from one side to the other, not vice versa. The main activatePump function is quite straightforward. The only input parameter is duty, which regulates the pump speed (0 = stop, 255 = full speed). During testing, we also found out the relationship between duty cycle and pump speed isn’t linear. Value below 150 doesn’t seem like it is doing anything. This threshold might increase with more viscous liquids.
Next, we cloned the modular-things repository from GitHub and added a 'pump.ts' file to the 'things' folder. A TypeScript file. a strict syntactical superset of JavaScript, which means that any valid JavaScript code is also valid TypeScript code. The main difference between TypeScript and JavaScript is that TypeScript allows for checking type correctness at compile time, while JavaScript is dynamically typed and checks types at runtime. We finally linked the pump in the index.js, and the pump was ready to use on the local server.
We also made a little interface, where you can press a button and activate pump for a second. However, unfortunately the control board got broken later (the connector header went off), and we tried to use the stepper board to control the pump. Everything worked well except the last step — We were having a hard time to pair the pump. Will cycle back to it and get it solved on Monday night with TAs’ help.
The importance of the nozzle is to figure out the best way to dispense the bleach, and the correct fit
for the image processing style. Depending on if it is programmed to move in a line, or drip drops at
certain coordinates the nozzle should be designed accordingly.
On Friday, the first iteration of the nozzle was made and designed using Fusion 360, going off of the
general dimensions, with taking into
consideration the tube and how the nozzle holder and nozzle interact. They made a basic nozzle similar
to a 3D printers extruder in order to accommodate for the drip system they were thinking would be used.
After printing out the nozzle and its holder, it was determined that it needed more tolerance in
between the two pieces.
Second Iteration
Due to the fact that the gantery had to be remodelled to make up for lost movement and loose bearings,
there was then the job of remodeling the needed pieces as well as the nozzle.
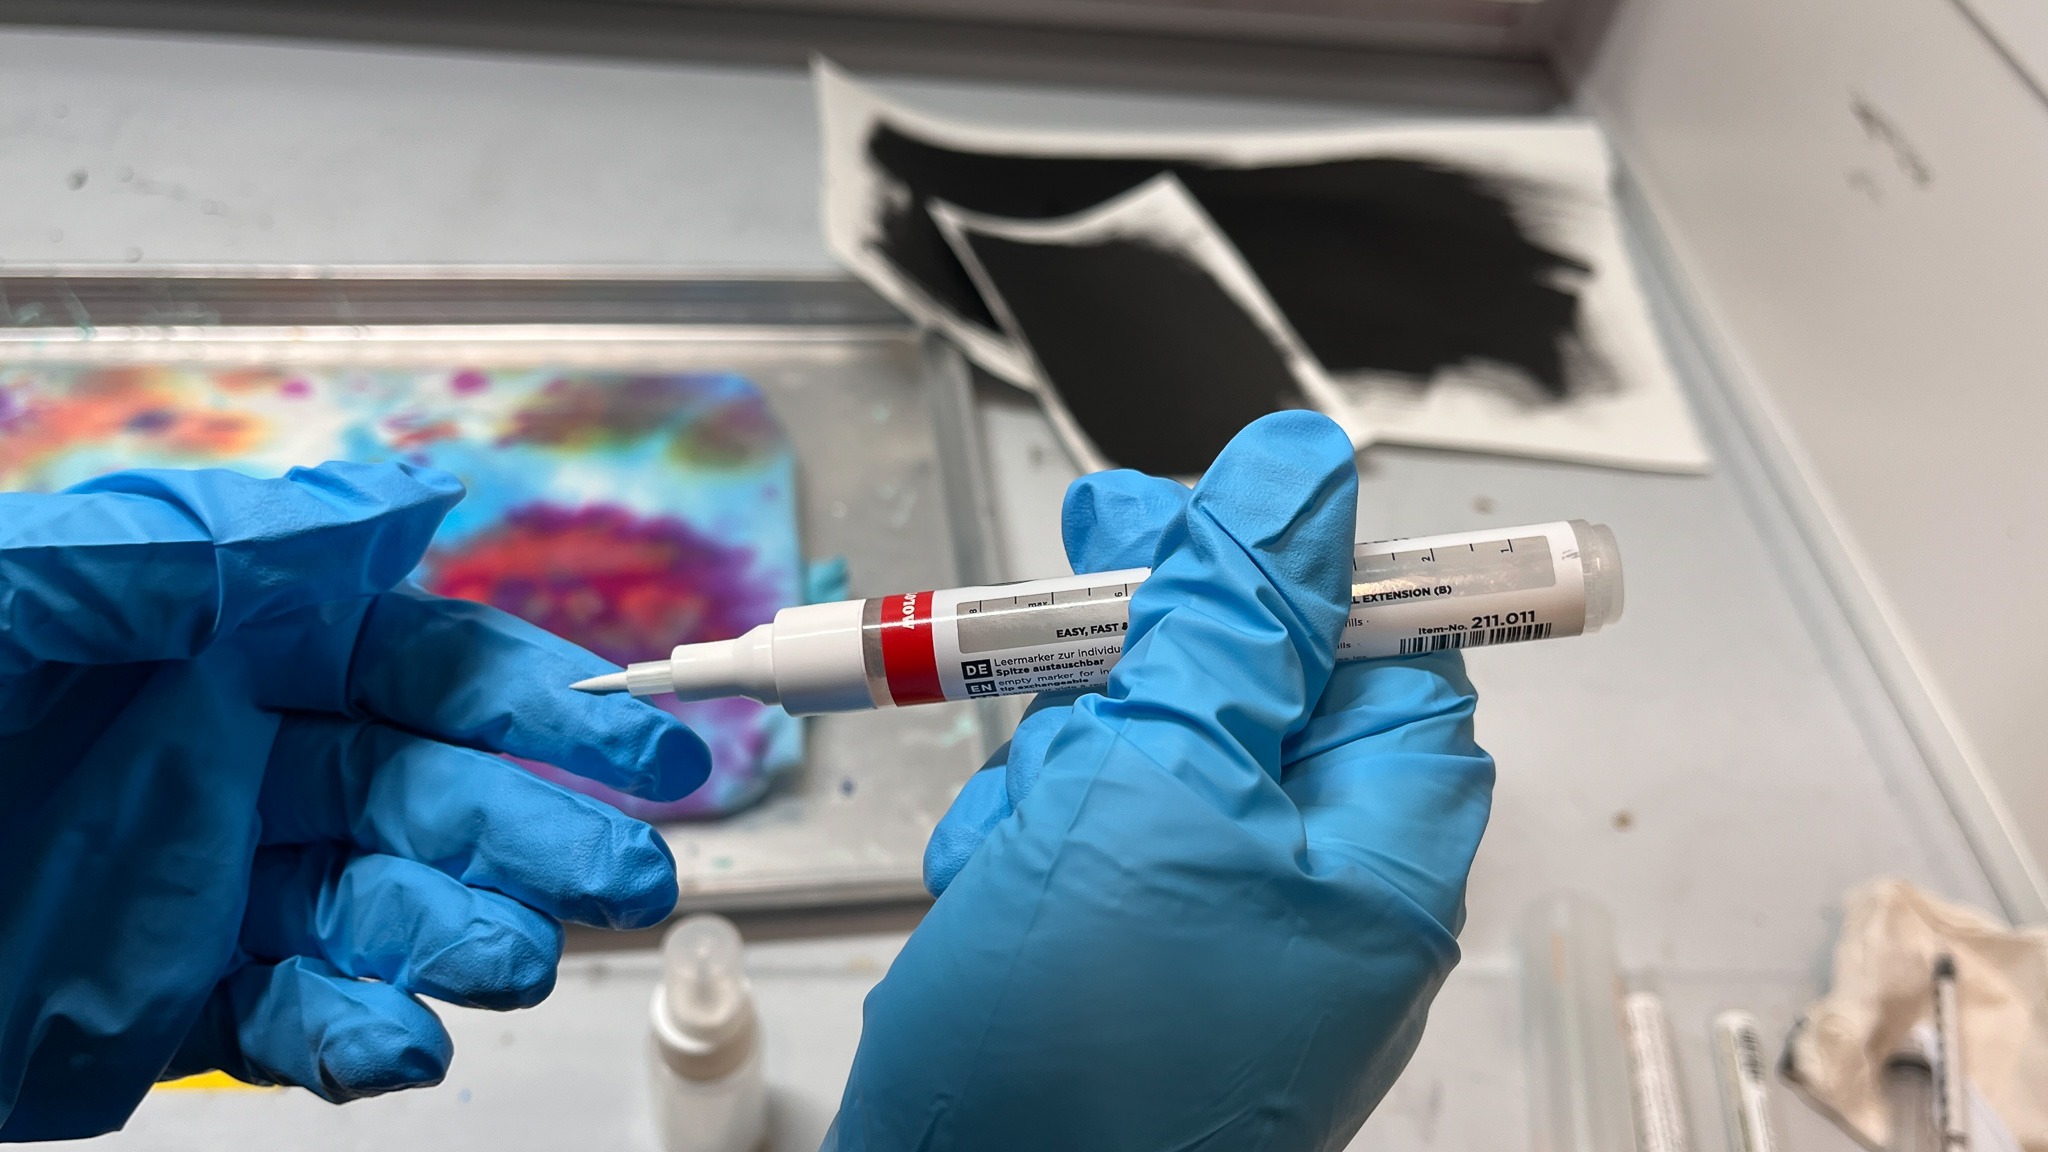
Marker Holder
After realizing the issues that come with the bleeding outwards of the bleach droplets, a
change from normal funnel shaped nozzle to a syringe, brush, or marker was needed for greater control
and definition. So to make sure there was a tool for if the path style changed a marker holder was
created.
In order to see the best concentration and method of application, a few tests were conducted.
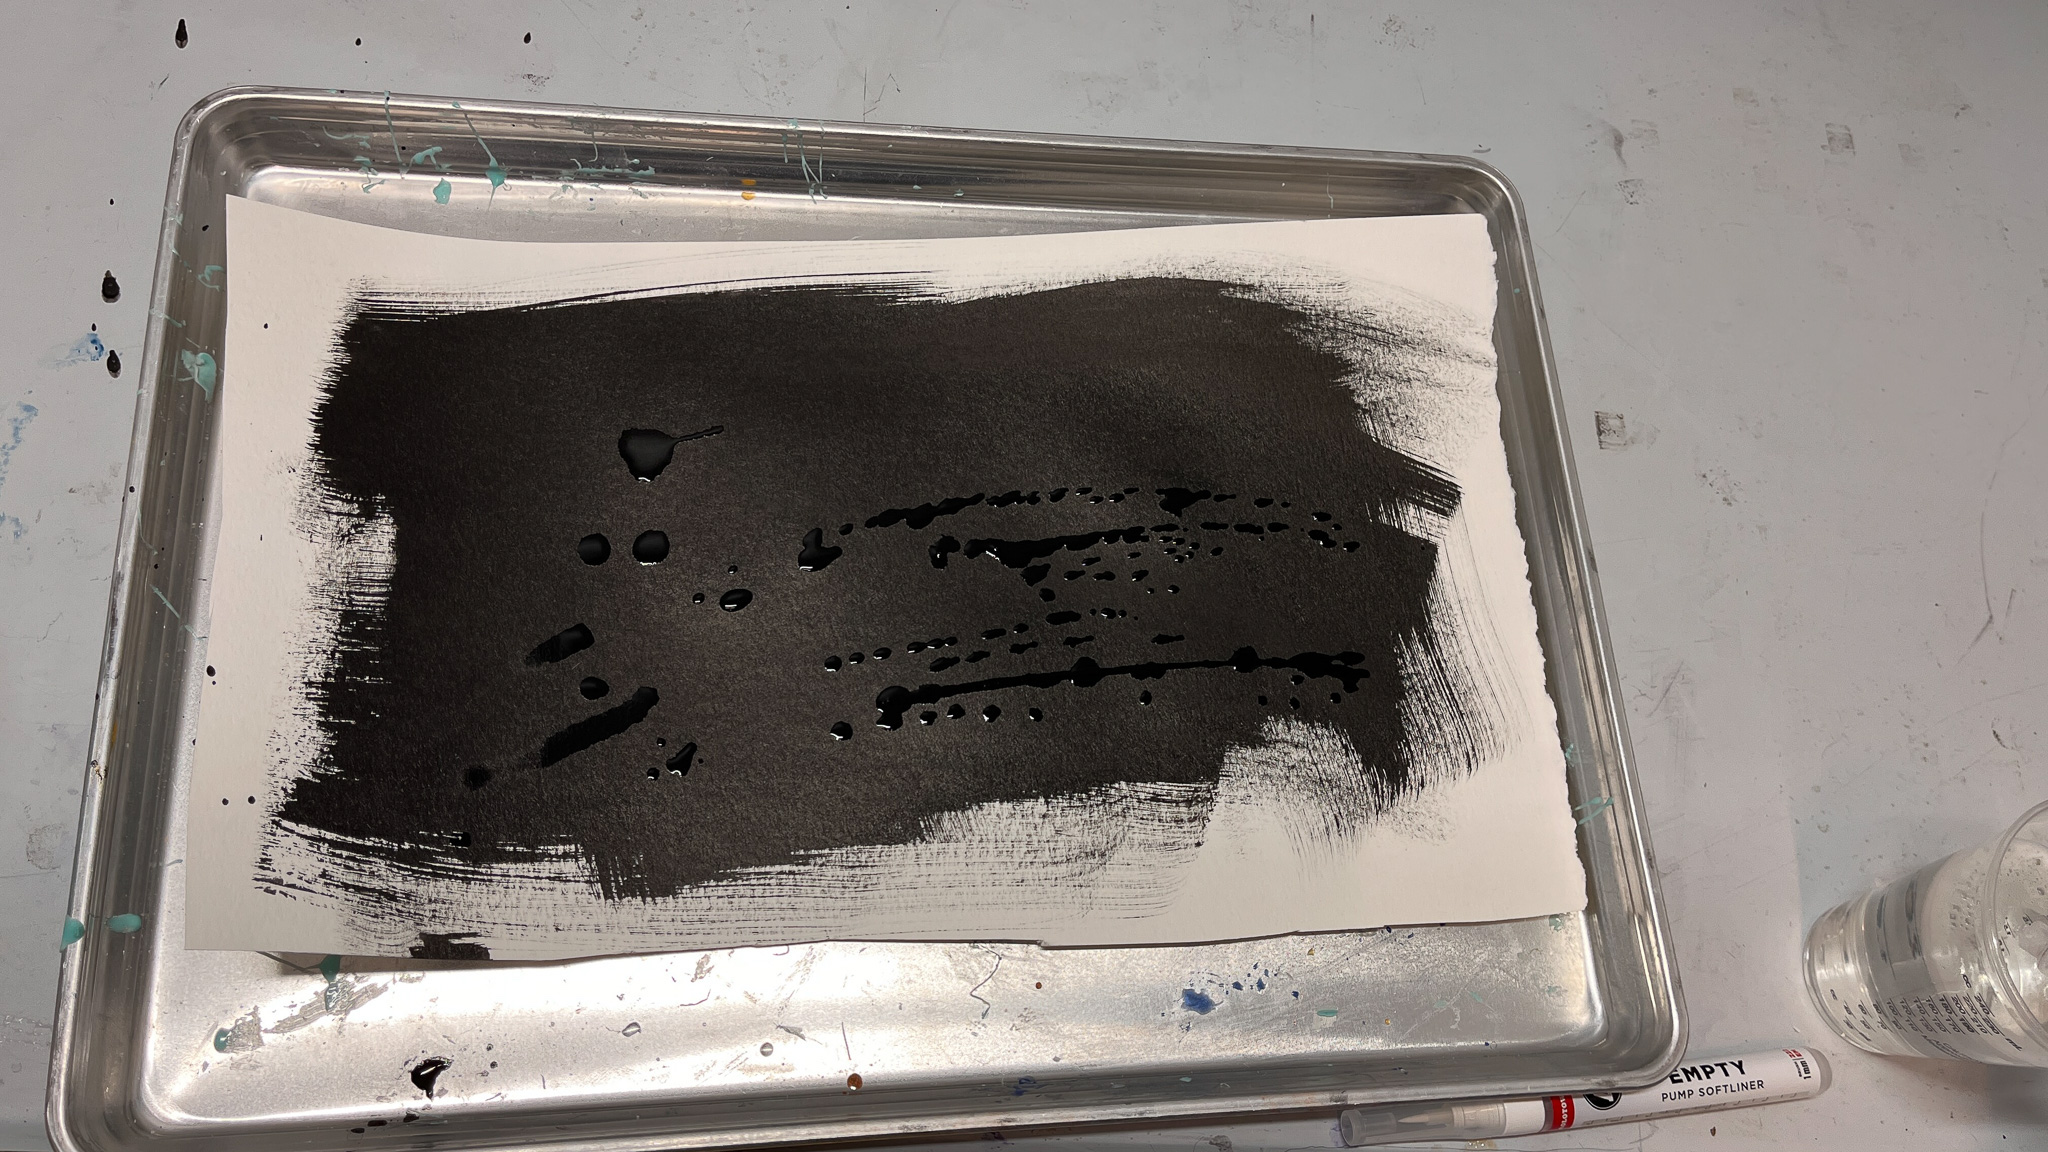
First, there was a test to see if black ink on paper would be able to be a good test subject with bleach,
which in this case was wrong.
So to test out different concentrations for the best result, based on research, it was said to use 1 cup of
bleach to every gallon of water, which ended up being around 10 ml of bleach to every 170ml of water. But
this showed to have very light and not very reactive results. So for a more aggressive version, but still
doesn't destroy the fibers if taken care of correctly, was a ratio of 5ml of bleach to 15ml of water.
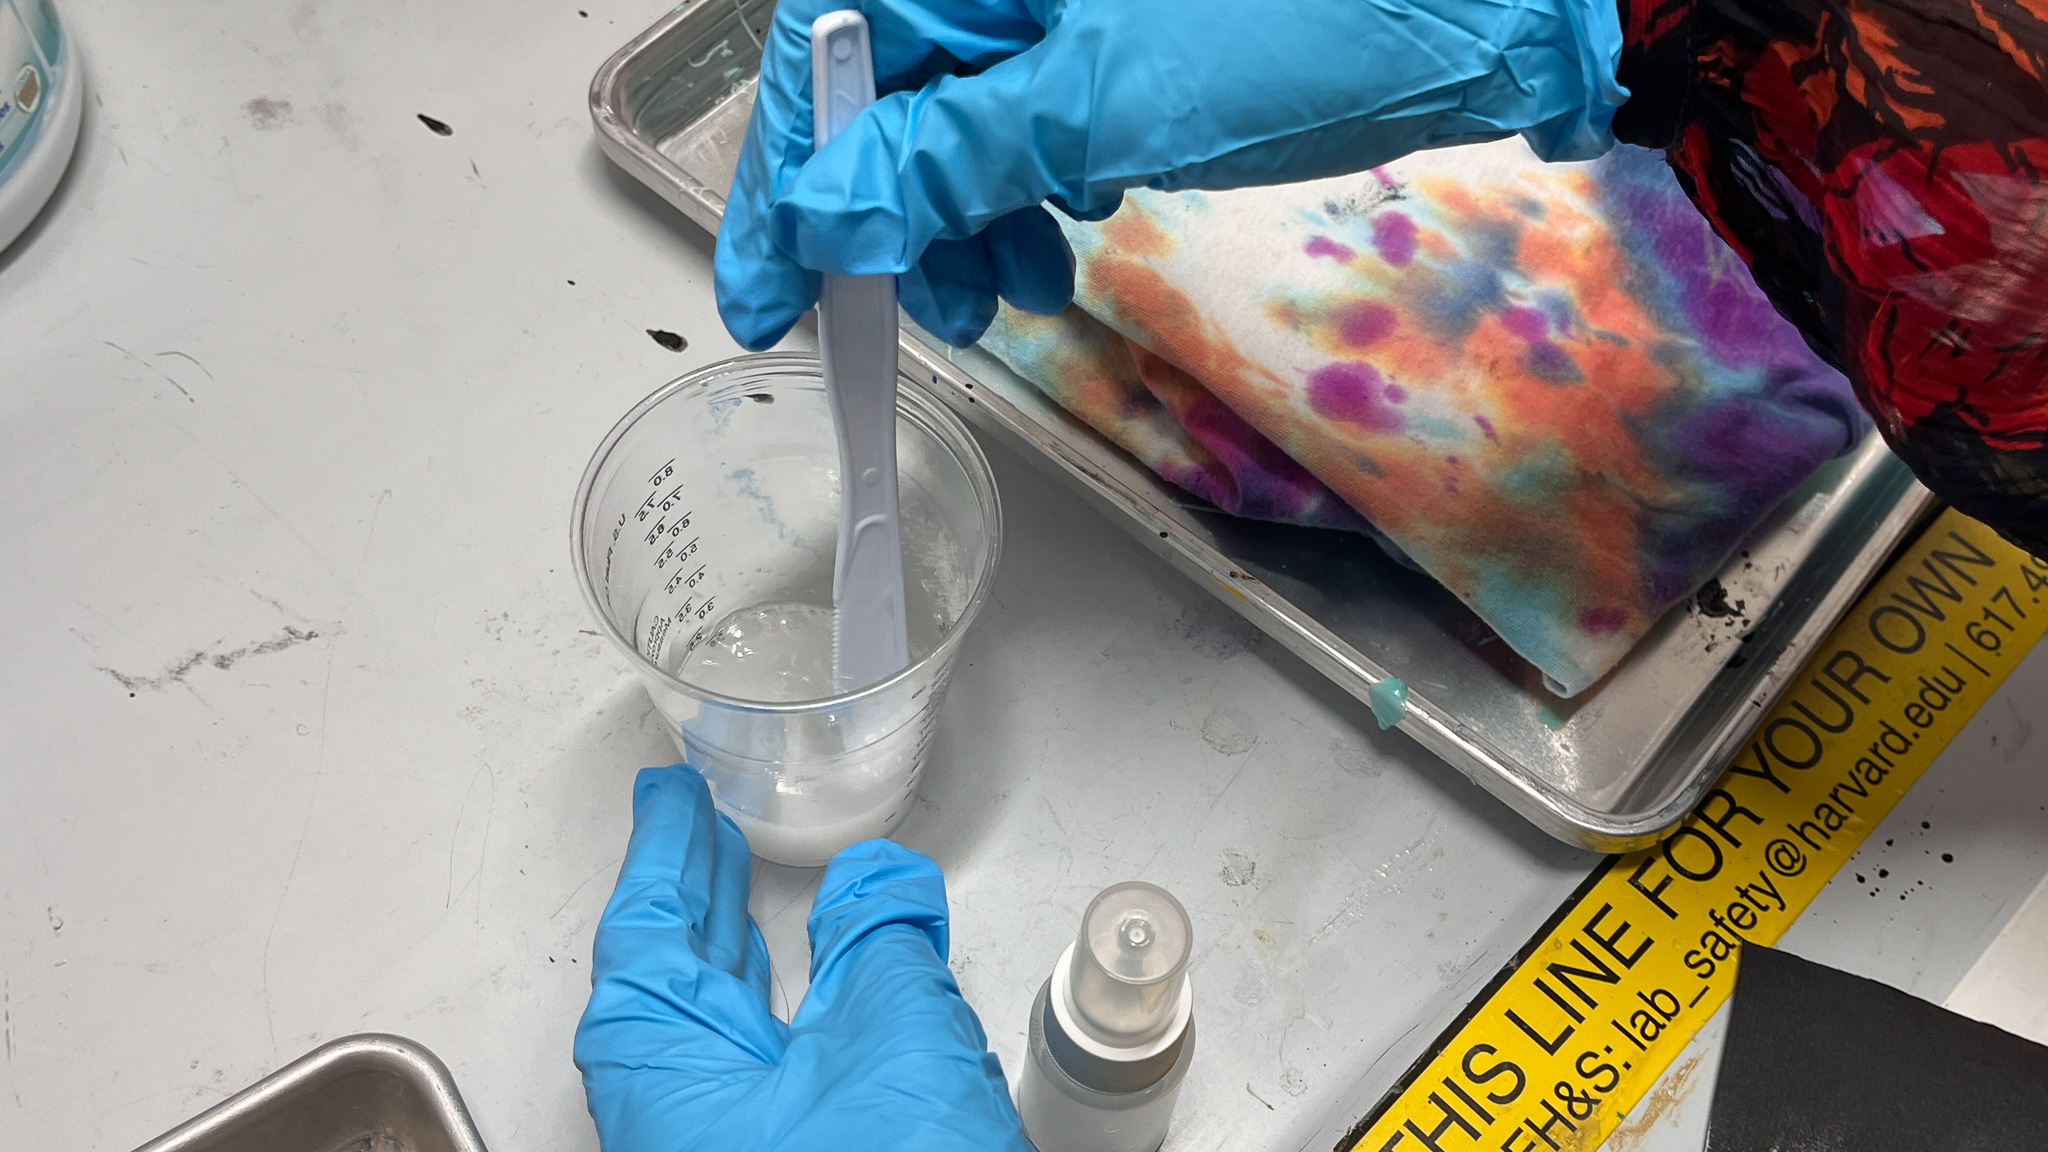
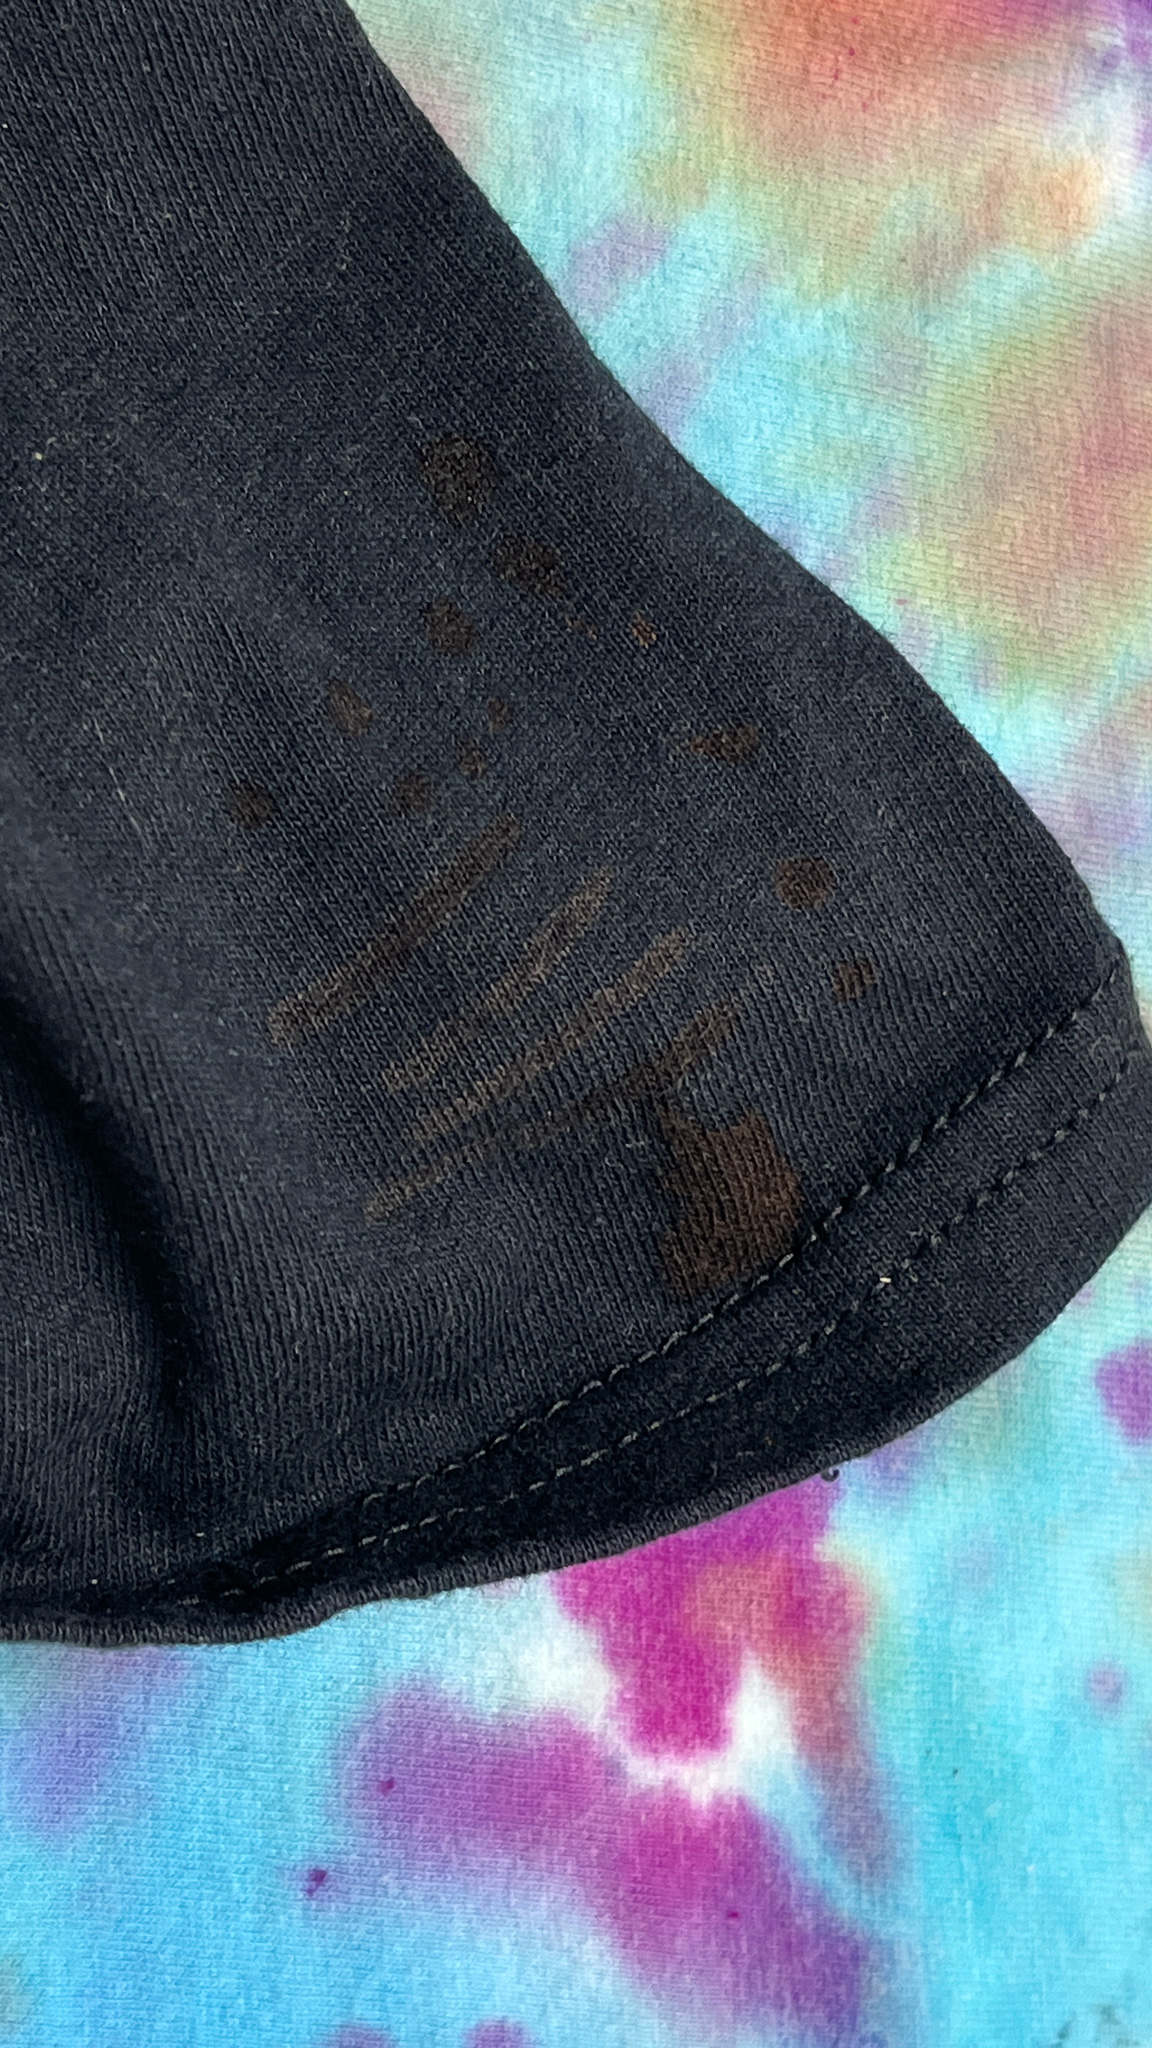
Another test was to see if the 3% Hydrogen Peroxide would stop or lessen the degradation of the fabric fibers
when sprayed onto the bleach. Normally if left on for more than 10-15 minutes it would create holes
in the shirts. But the Hydrogen Peroxide causes a chemical reaction that is caused by
the oxidation of hypochlorite ion to produce oxygen gas and chloride, which causes bubbles to form and
neutralizes parts of the bleach.
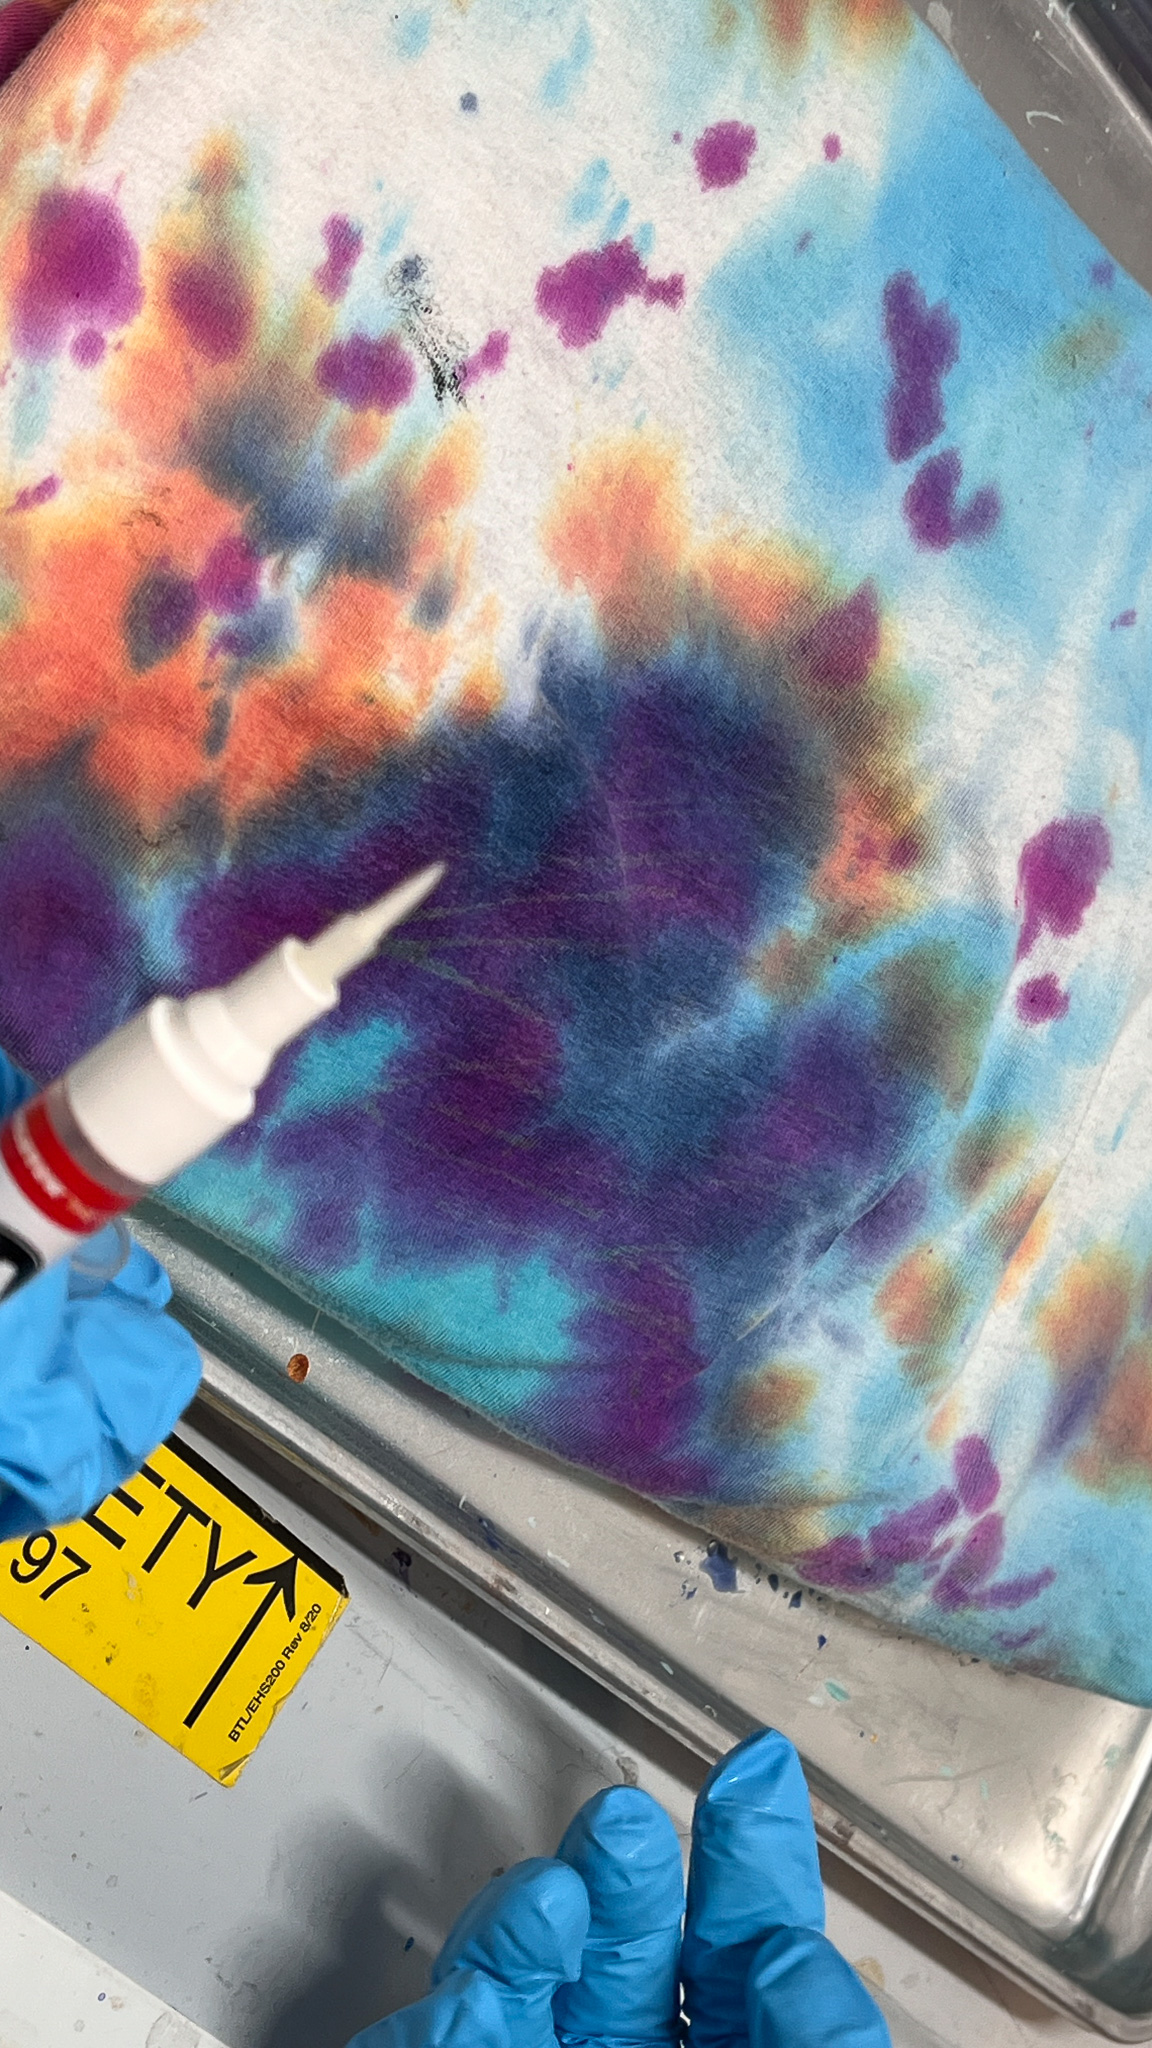
Then the final test was to use the different extruding devices,
with filling up the small squeeze bottle, a felt marker tipped brush pen, and a thin headed syringe, it was
noticeable that the dot sizes and distribution were much bigger and less controllable with the squeeze
bottle which had the closest similarities to the nozzle types made. While the brush pen had the best control
and could create clean lines, the only downside was that it would dry up if not kept hydrated from the pump.
Lastly the syringe when pressed into the fabric had decent control when used in a very specific way, but
with a little too much pressure it becomes very uncontrollable.
 01
01
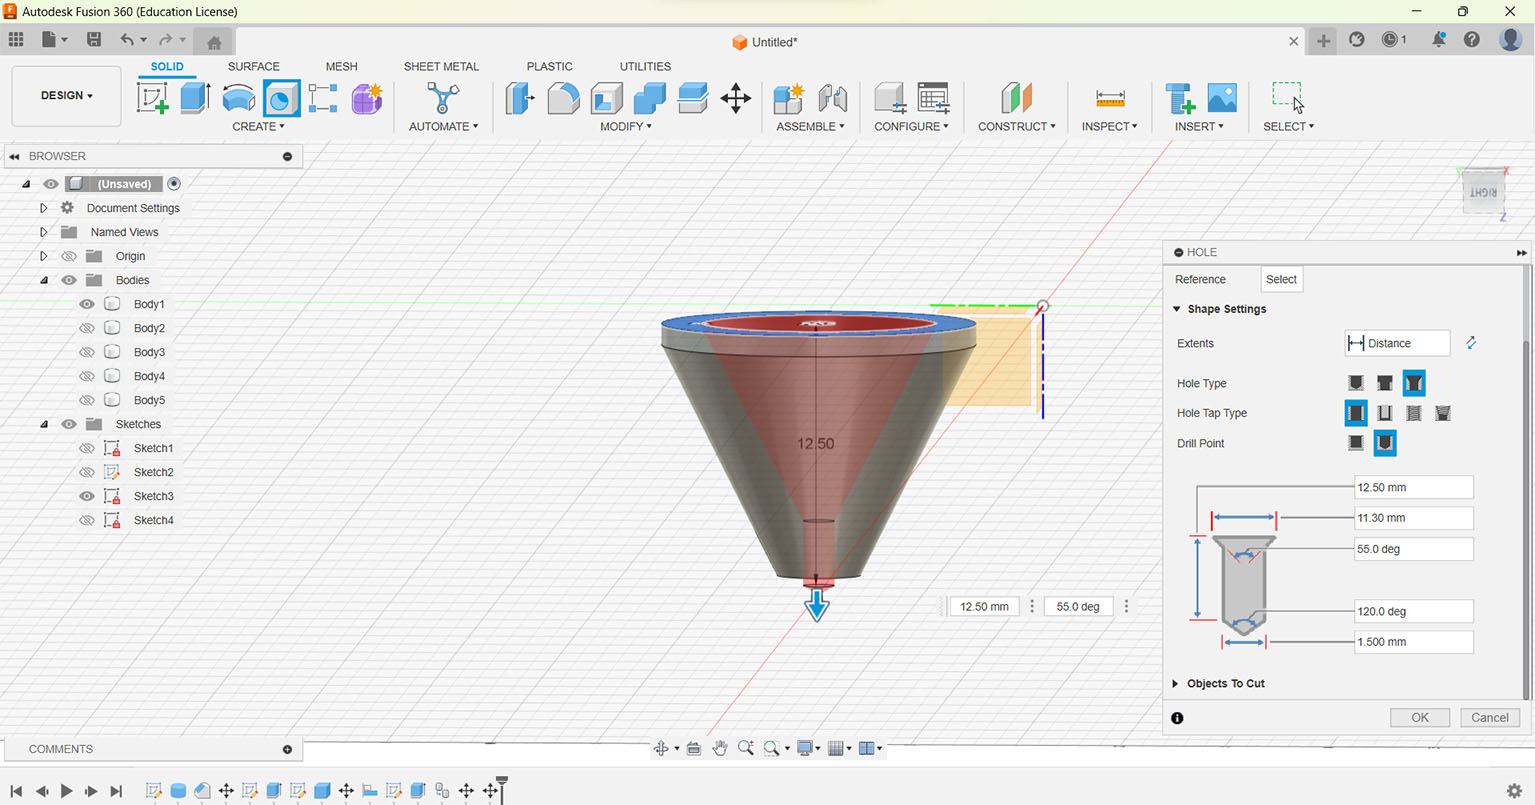 Creation of the Interior of the
Nozzle Head
Creation of the Interior of the
Nozzle Head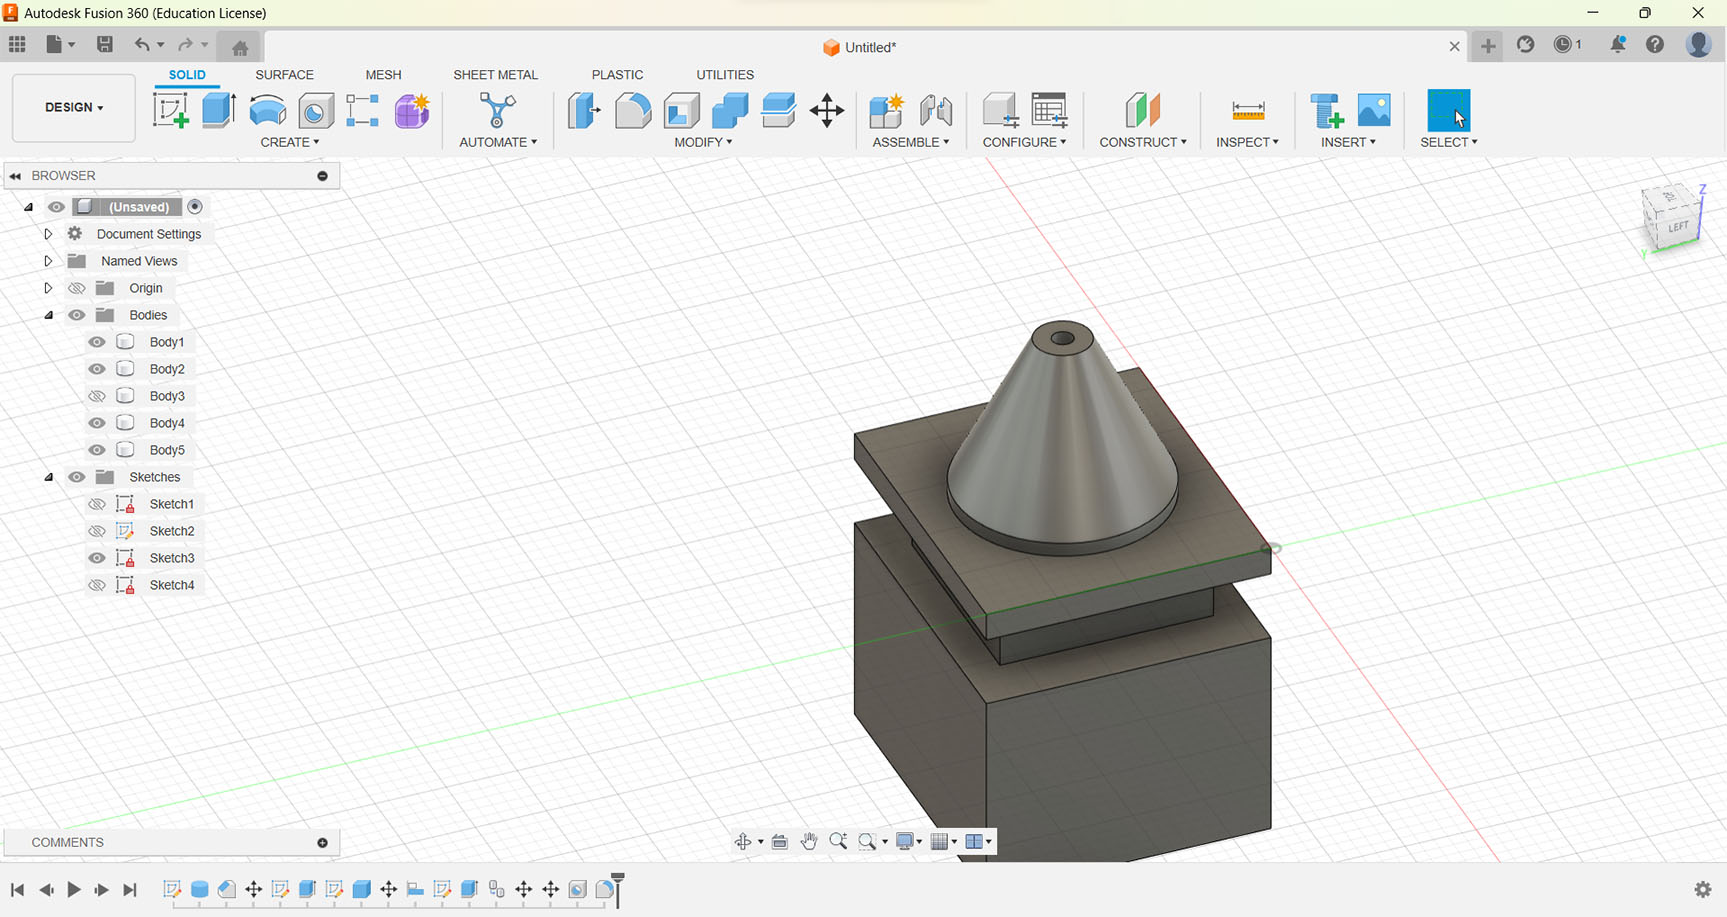 General Idea of the First
Iteration
General Idea of the First
Iteration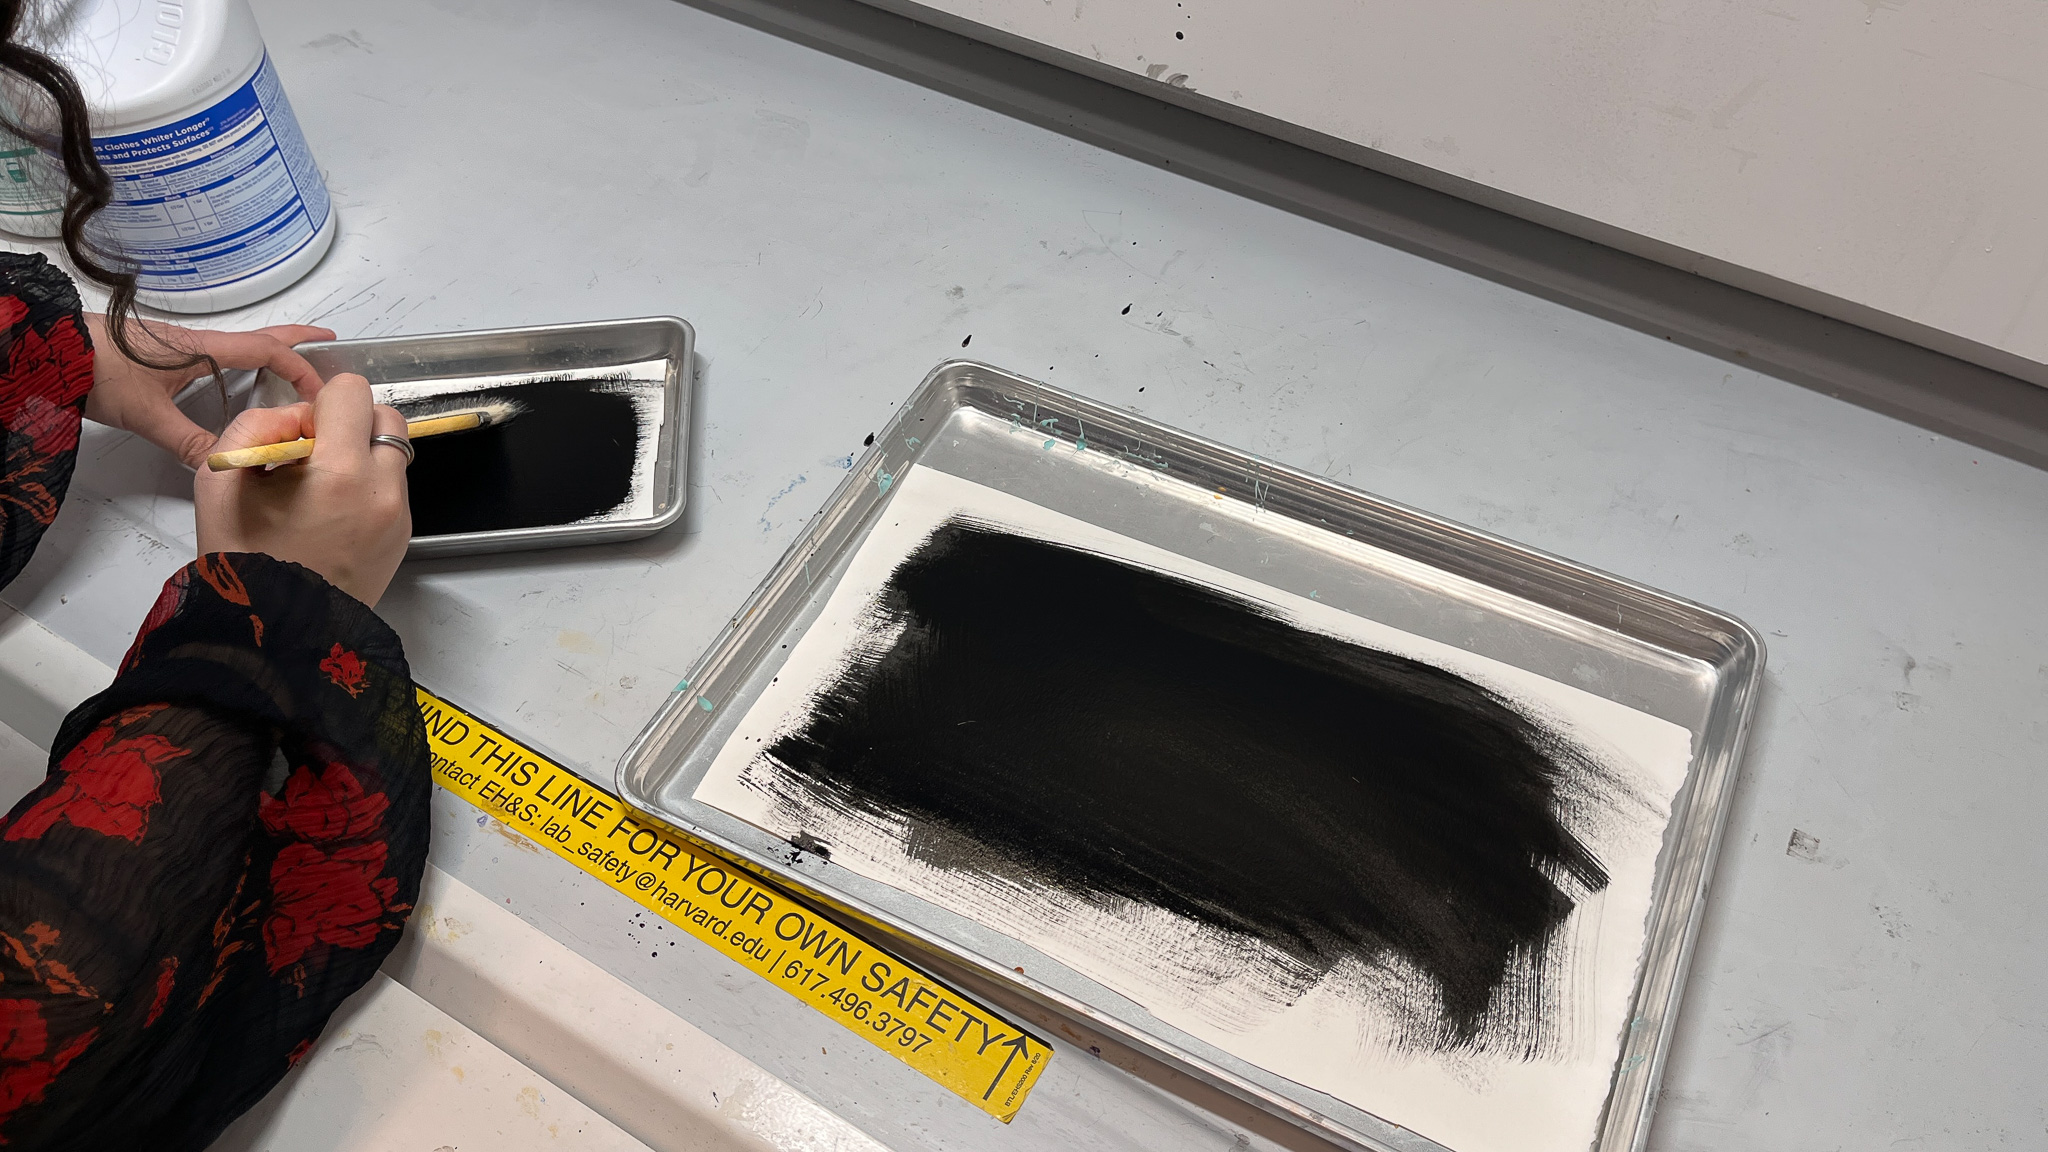
 10 ml of bleach to every 170ml of water
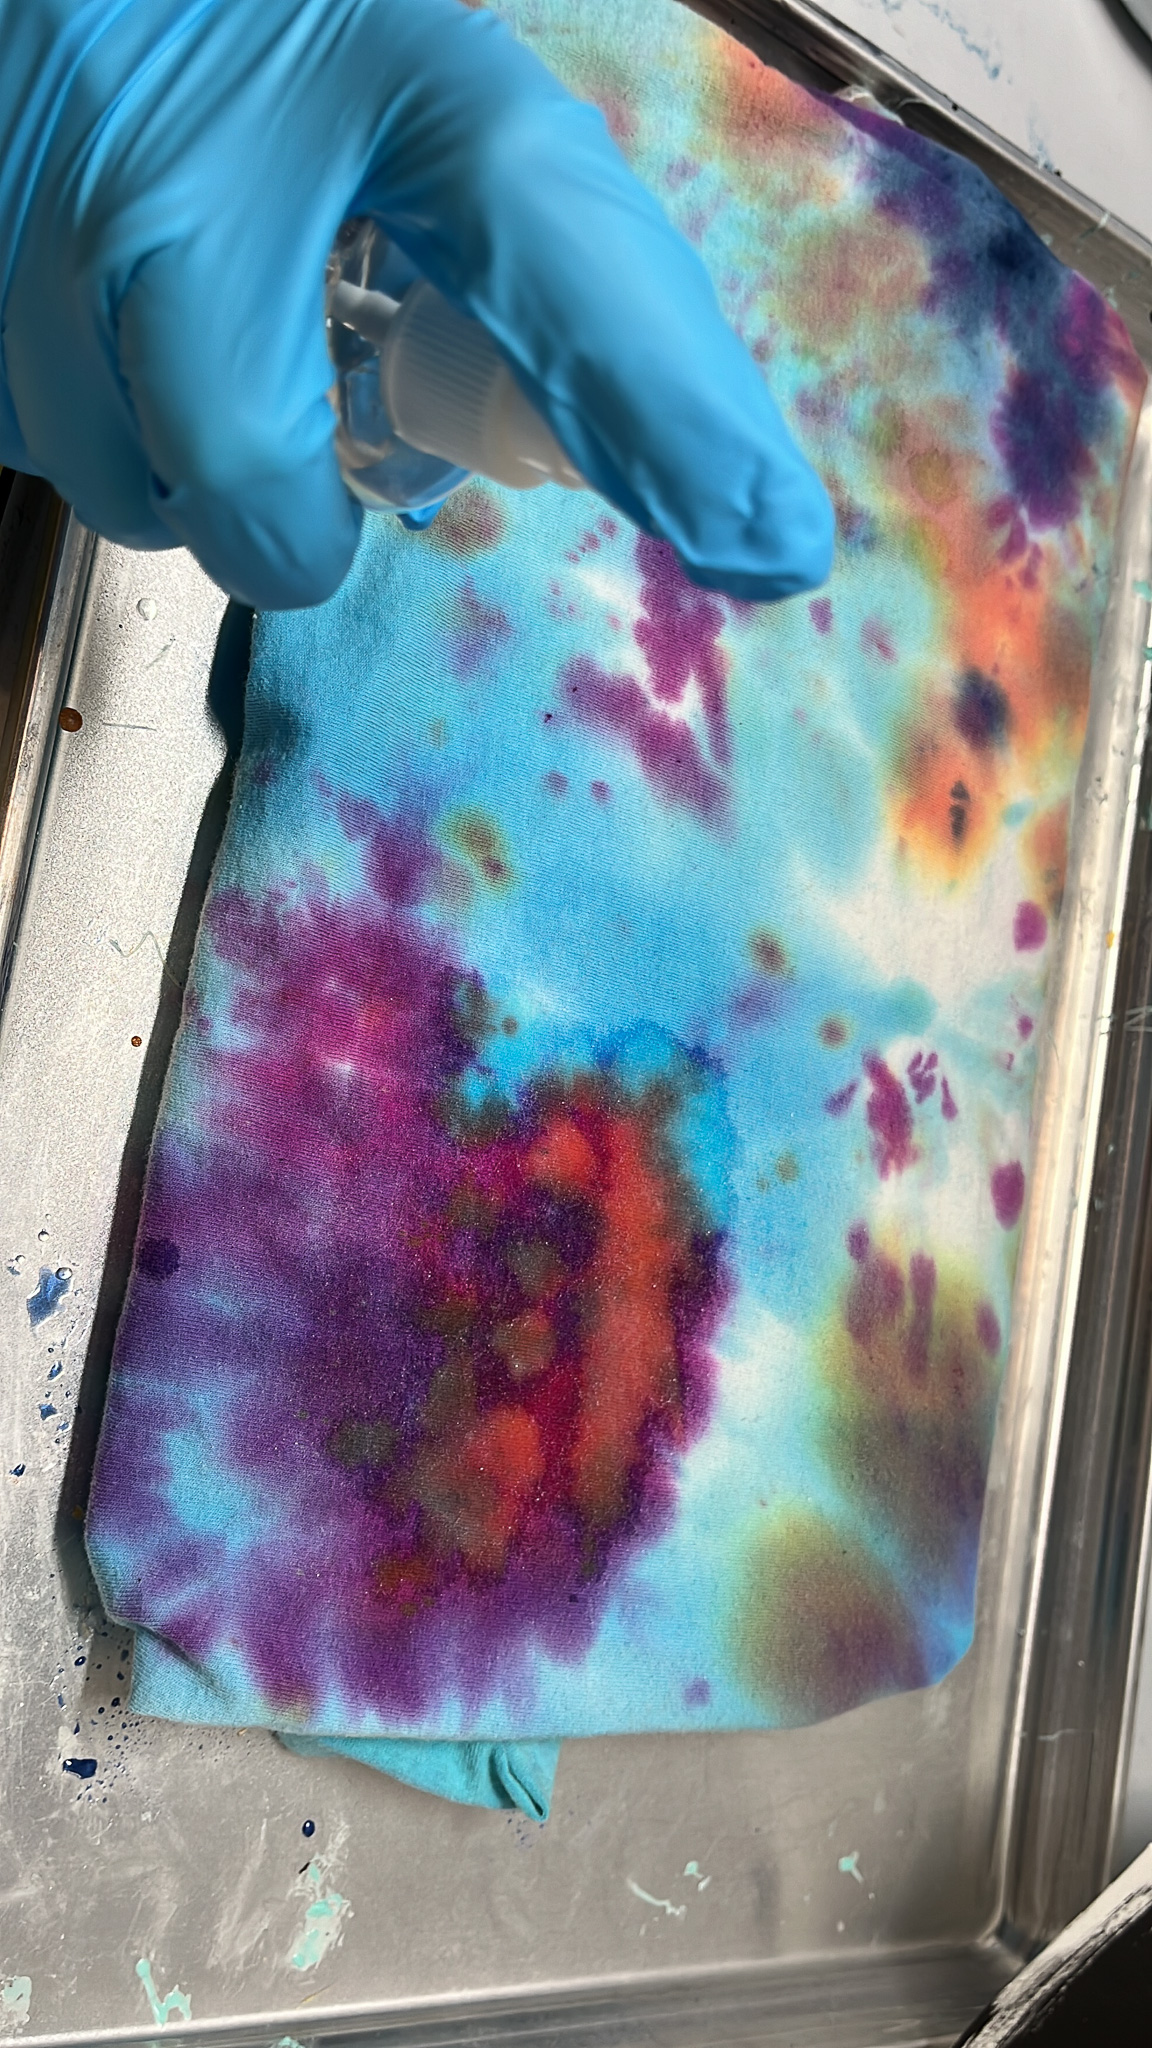 Spray 3% Hydrogen Peroxide to stop or lessen the degradation of the fabric fibers
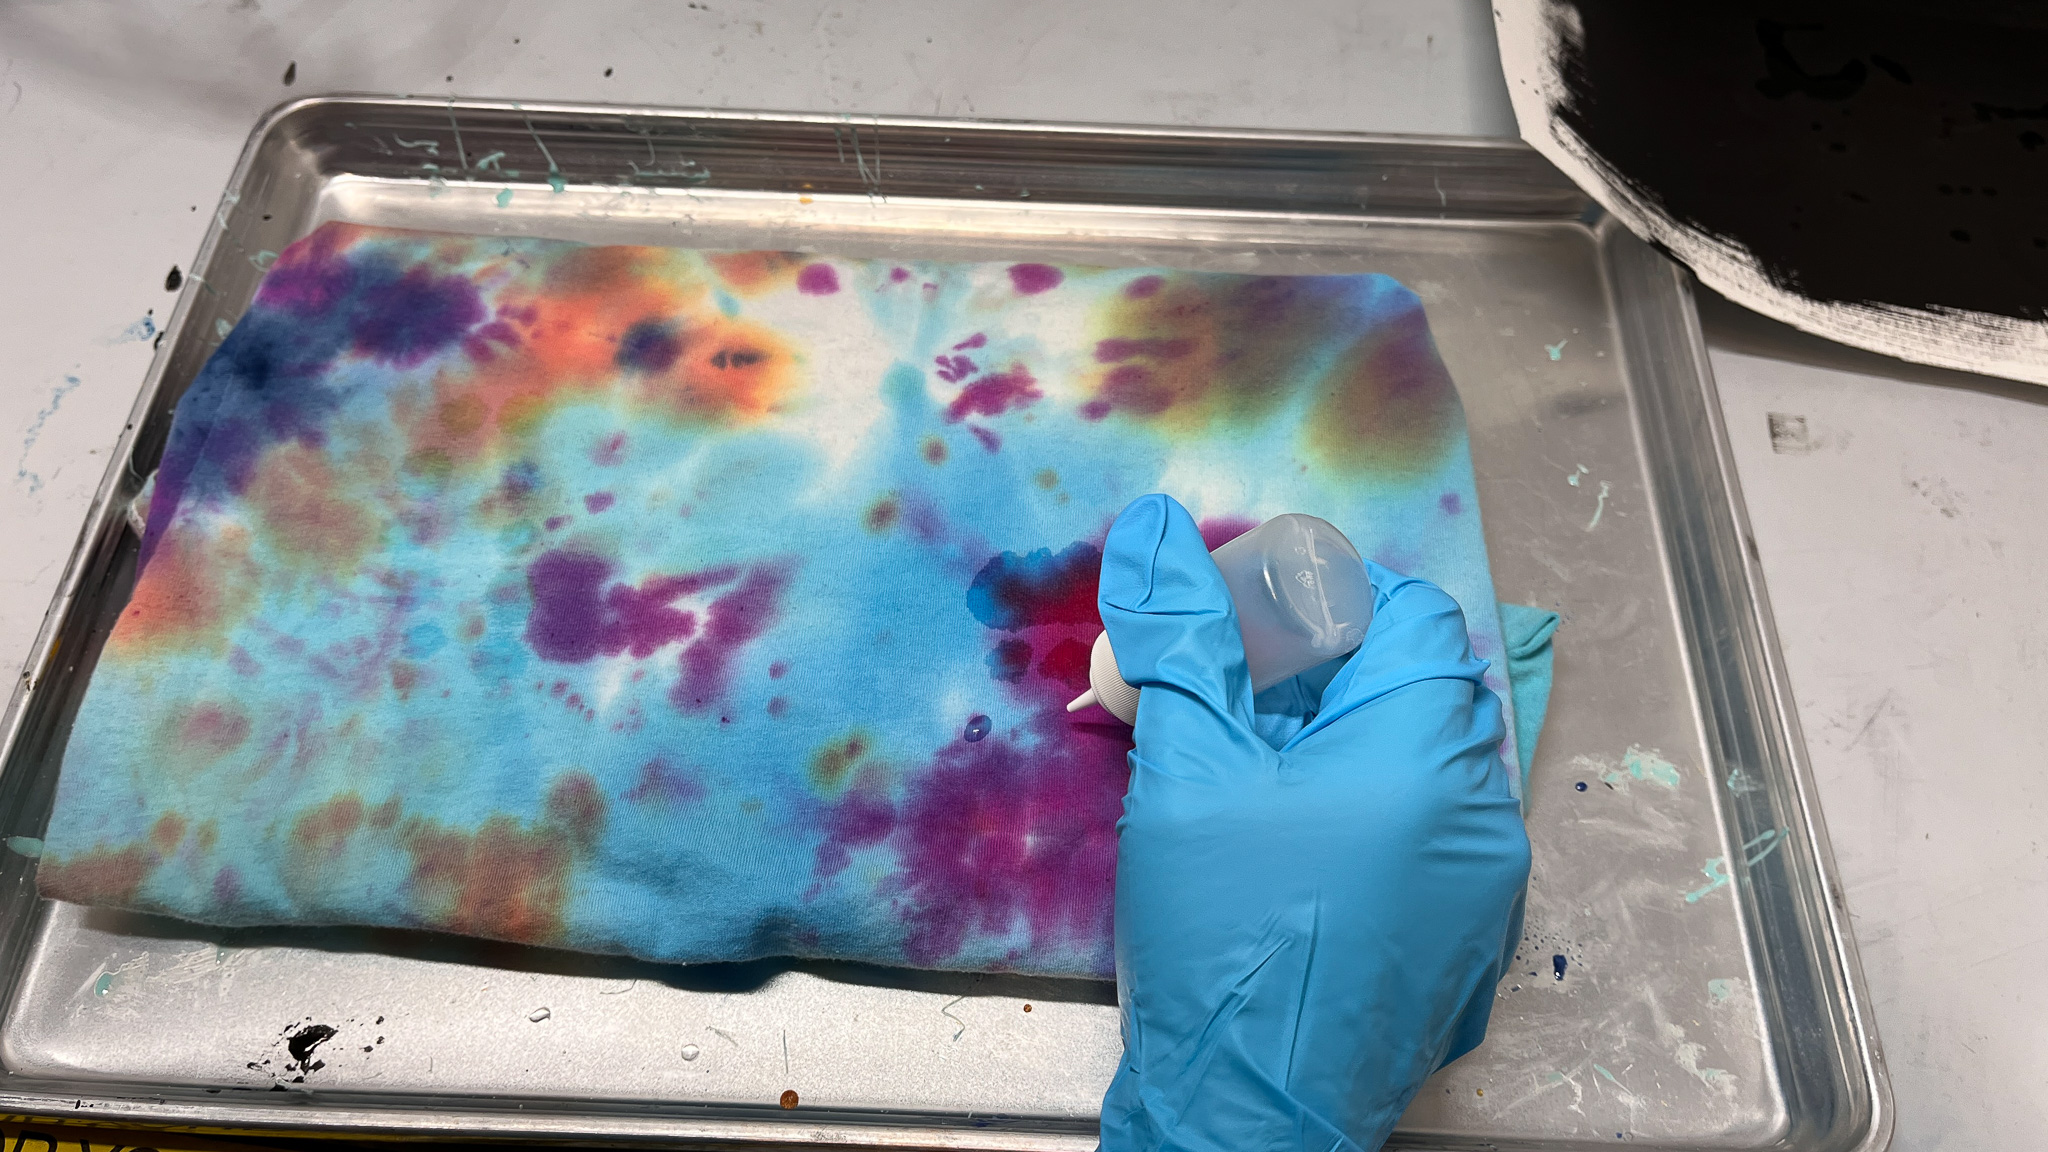
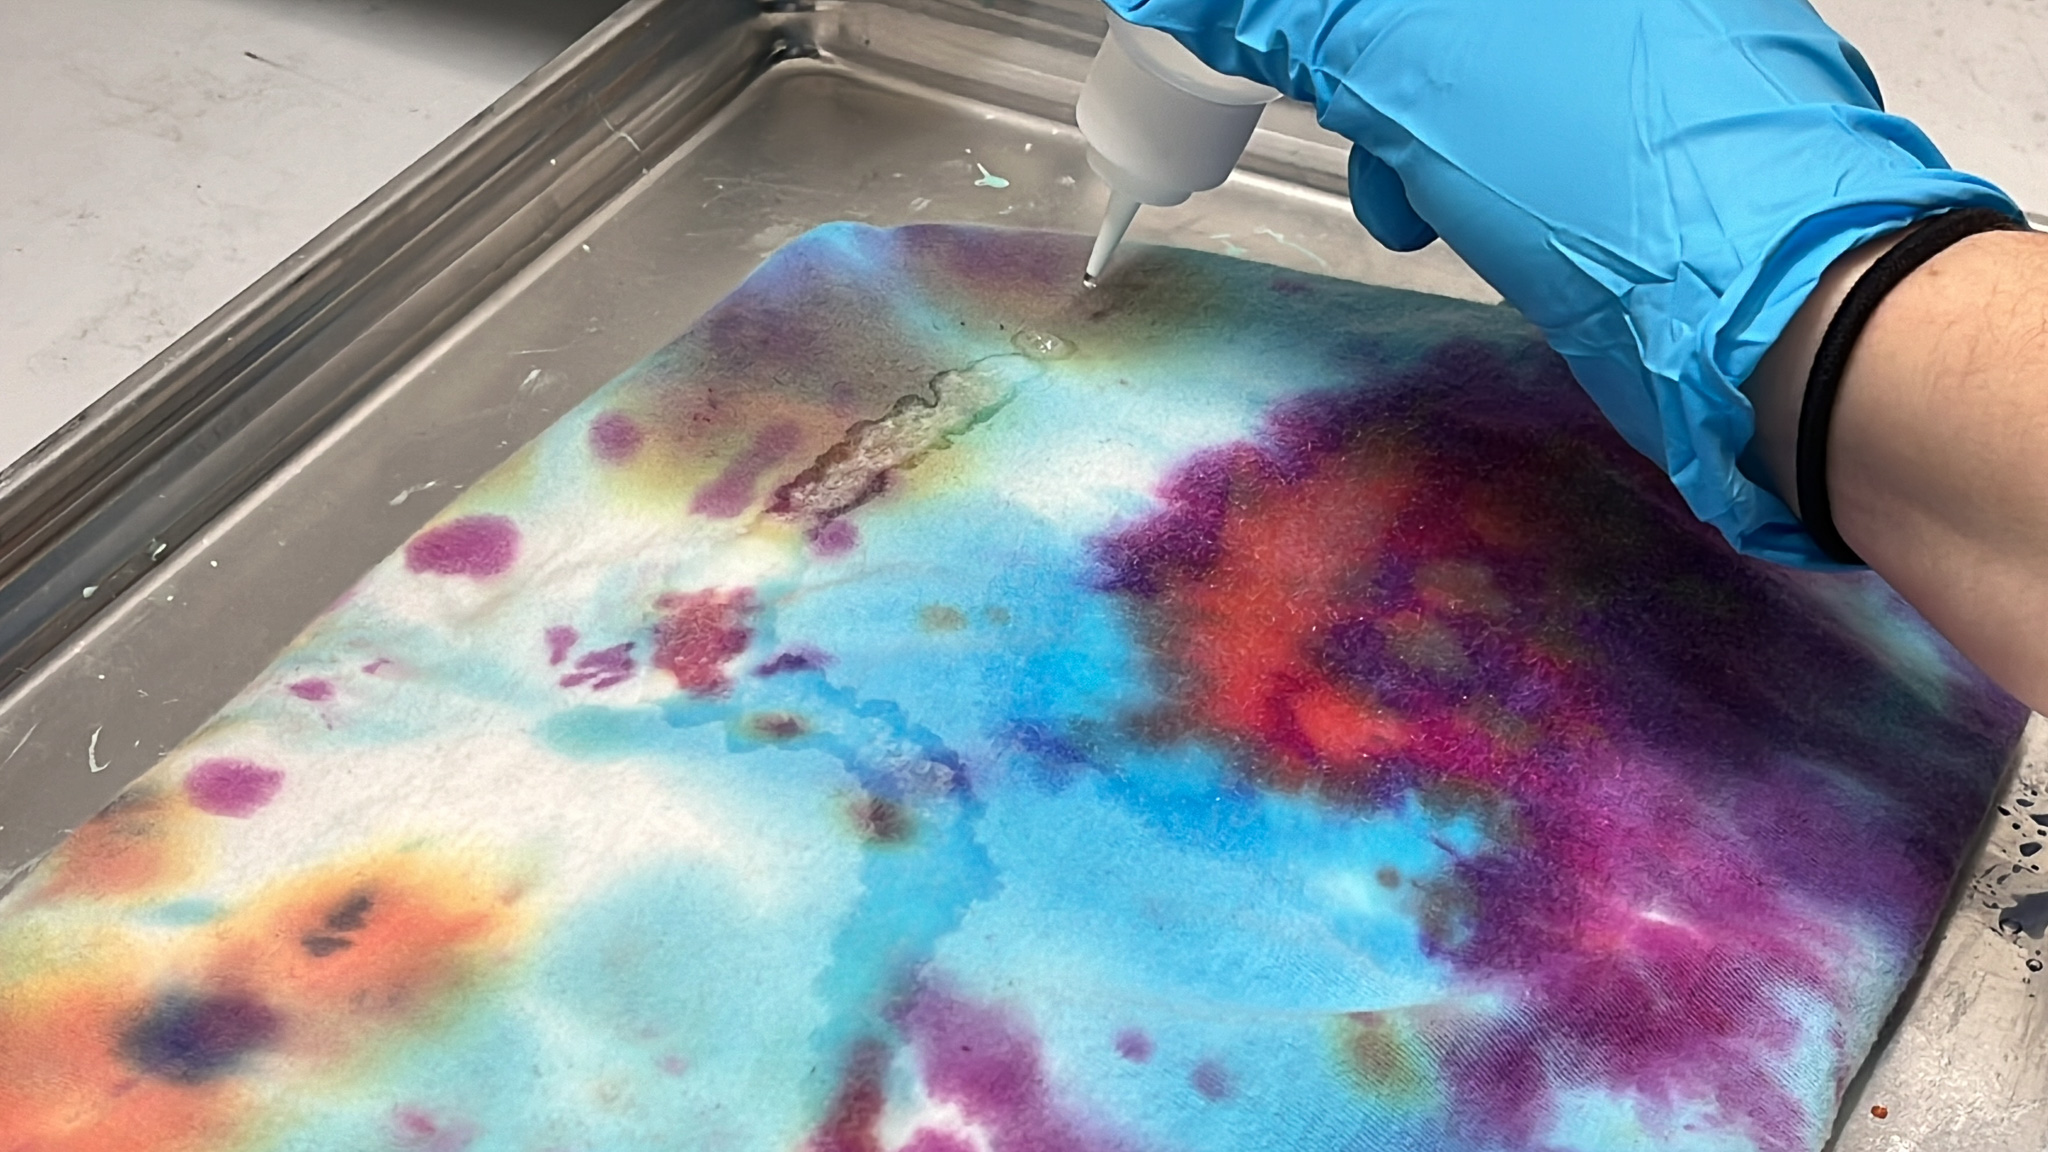
 Drip bleech test on fabric
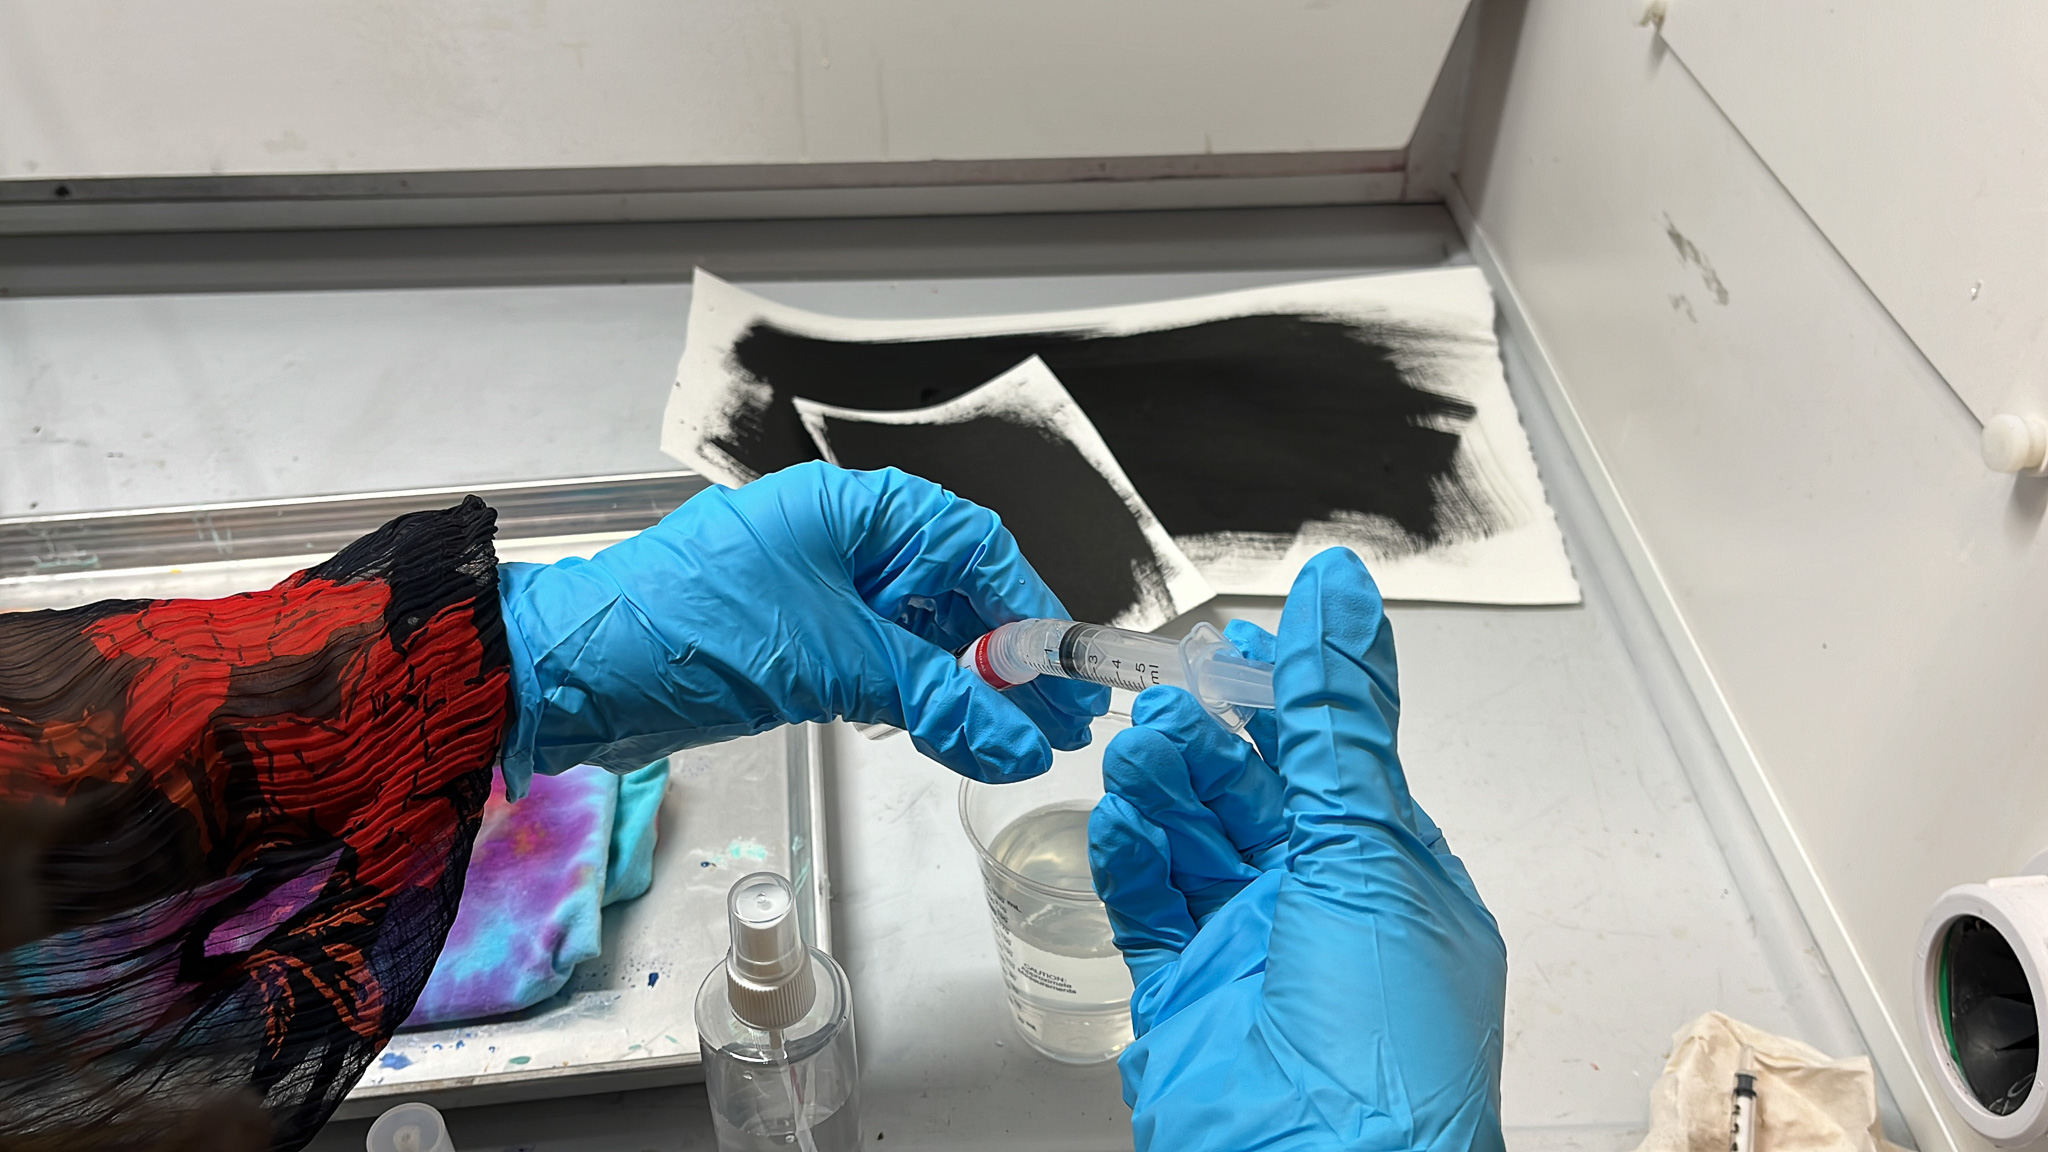
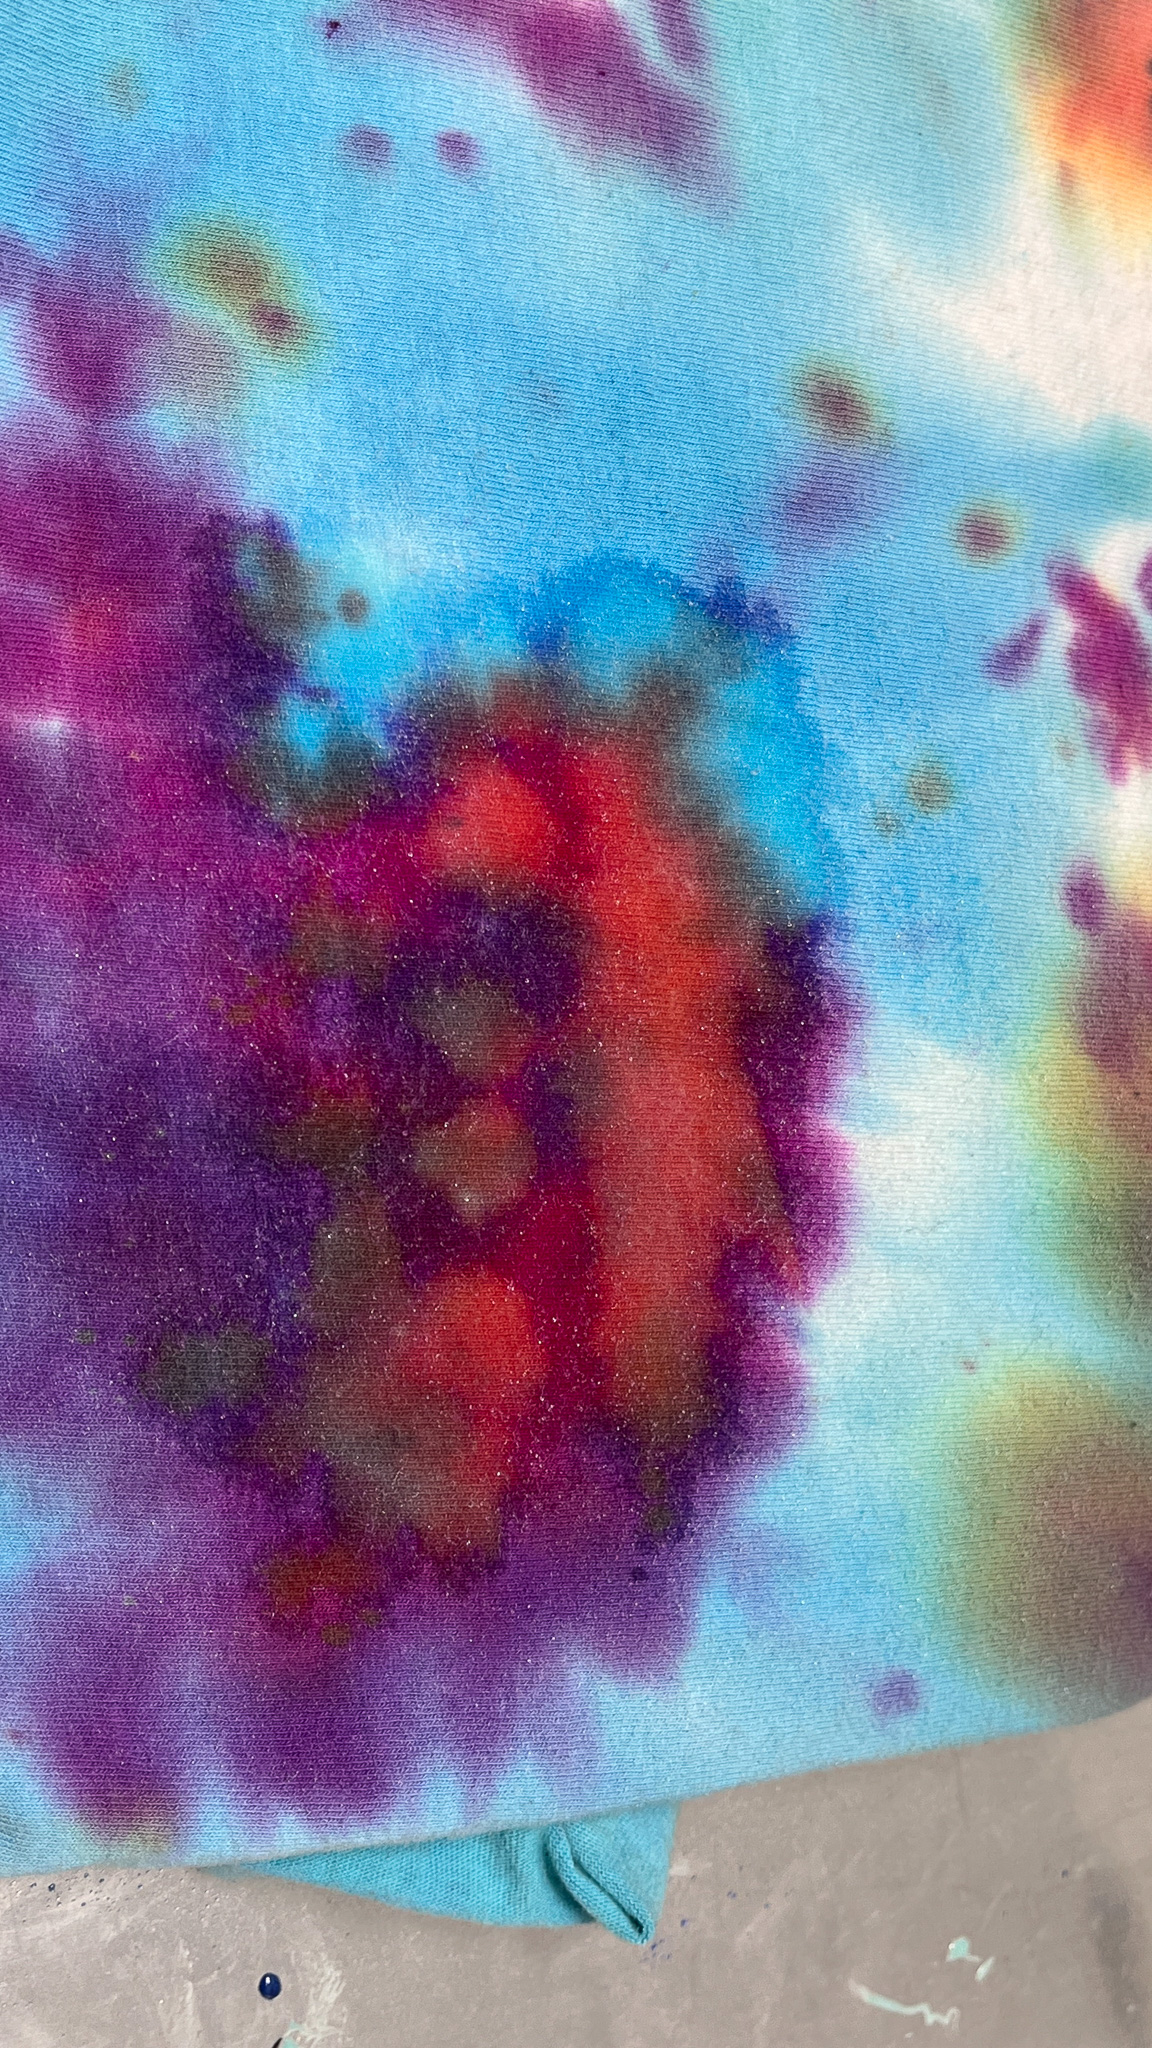
 Collective bleech drawing on shirt
 Beautiful outcome