| Catherine Ni |
Haoheng Tang |
| Backend |
Frontend |
| Image processing algorithm |
Phototaking, image uploading, machine manipulating |
Image Processing
Catherine mainly worked on image processing.
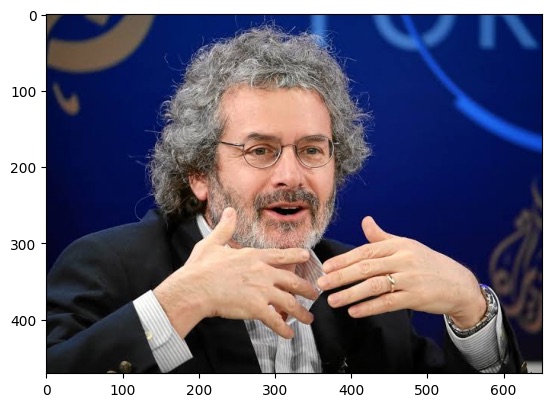
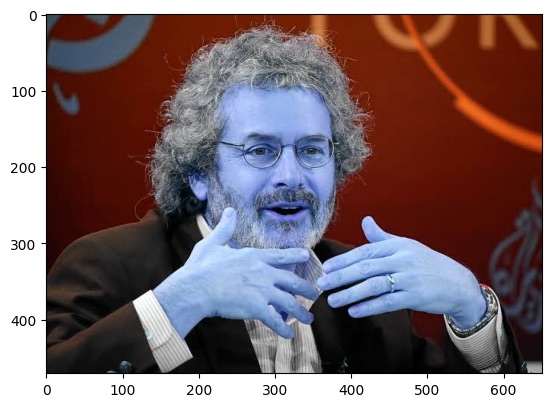
We wanted an image of Neil's face on the T-shirt. So we started with images of Neil's face.
We followed a few links on different ways for getting edge detections. link1 link2 link3
Cartoonify
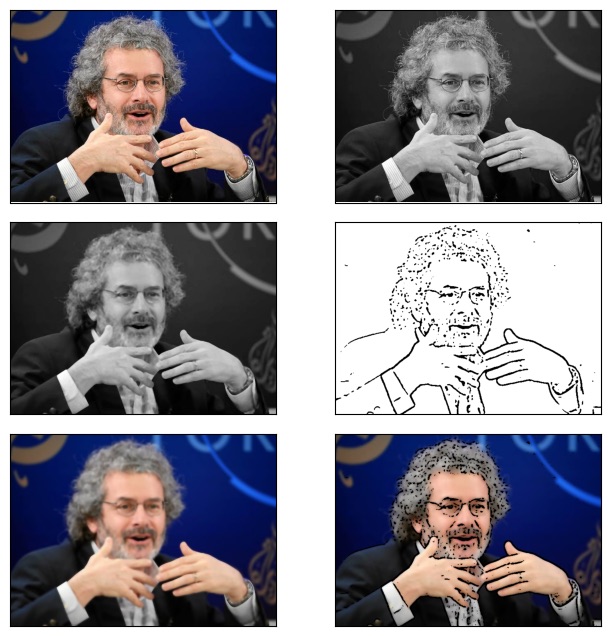
We first tried to cartoonify the image. It is achieved using OpenCV.
The approximate approach is the following:
- Grayscale the image
- Apply median blur to the image and the grayscale image
- Apply adaptive threshold to the blurred grayscale image for edges
- Use bitwise and to combine filtered image and edges
Some other methods for edge detection
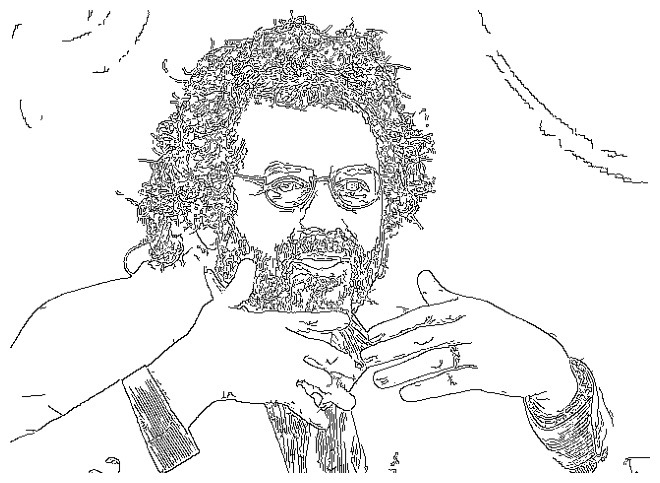
Other methods are then also explored to find the edges.
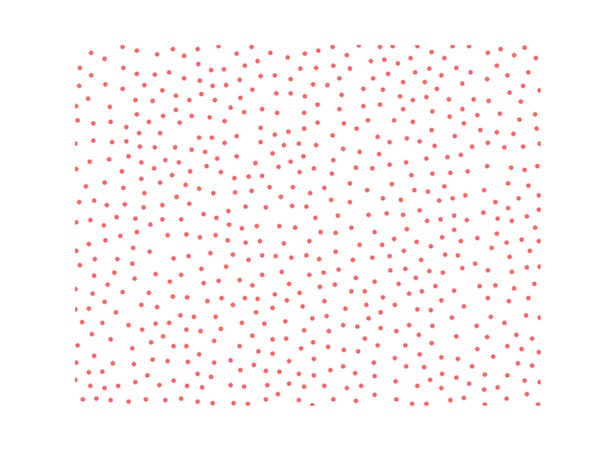
Poisson Disc Sampling
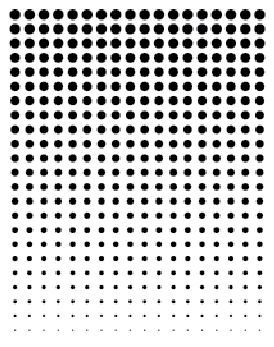
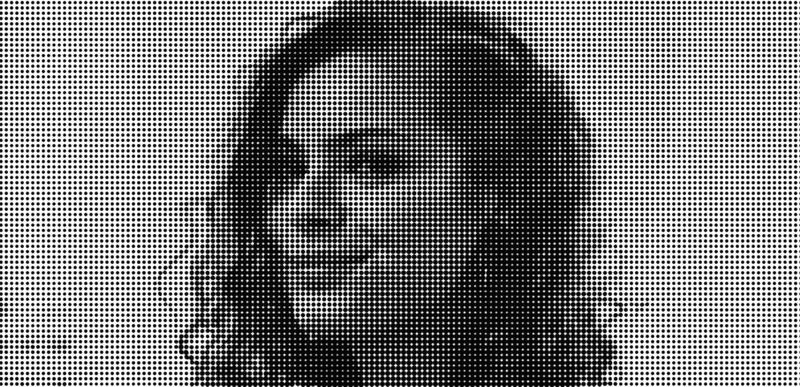
We then found out a very cool pattern called halftone.
This fits what we wanted since the bleach drops from the pump.
We used poisson disc sampling to randomly sample dots from the image space, and max pool on the image at the dots to get the dot size.
The code is here.
Line Algorithm
During testing with bleach, we realized that the drops of bleach will spread too much and it's hard to recover a meaningful pattern using dots.
So we tried to do a line pattern. The edges found were modified to one pixel lines, and the image is then down sampled so that it contains less dots.
The code is here.
All code for algorithm's are here.
User Interface
Haoheng mainly worked on the Interface.
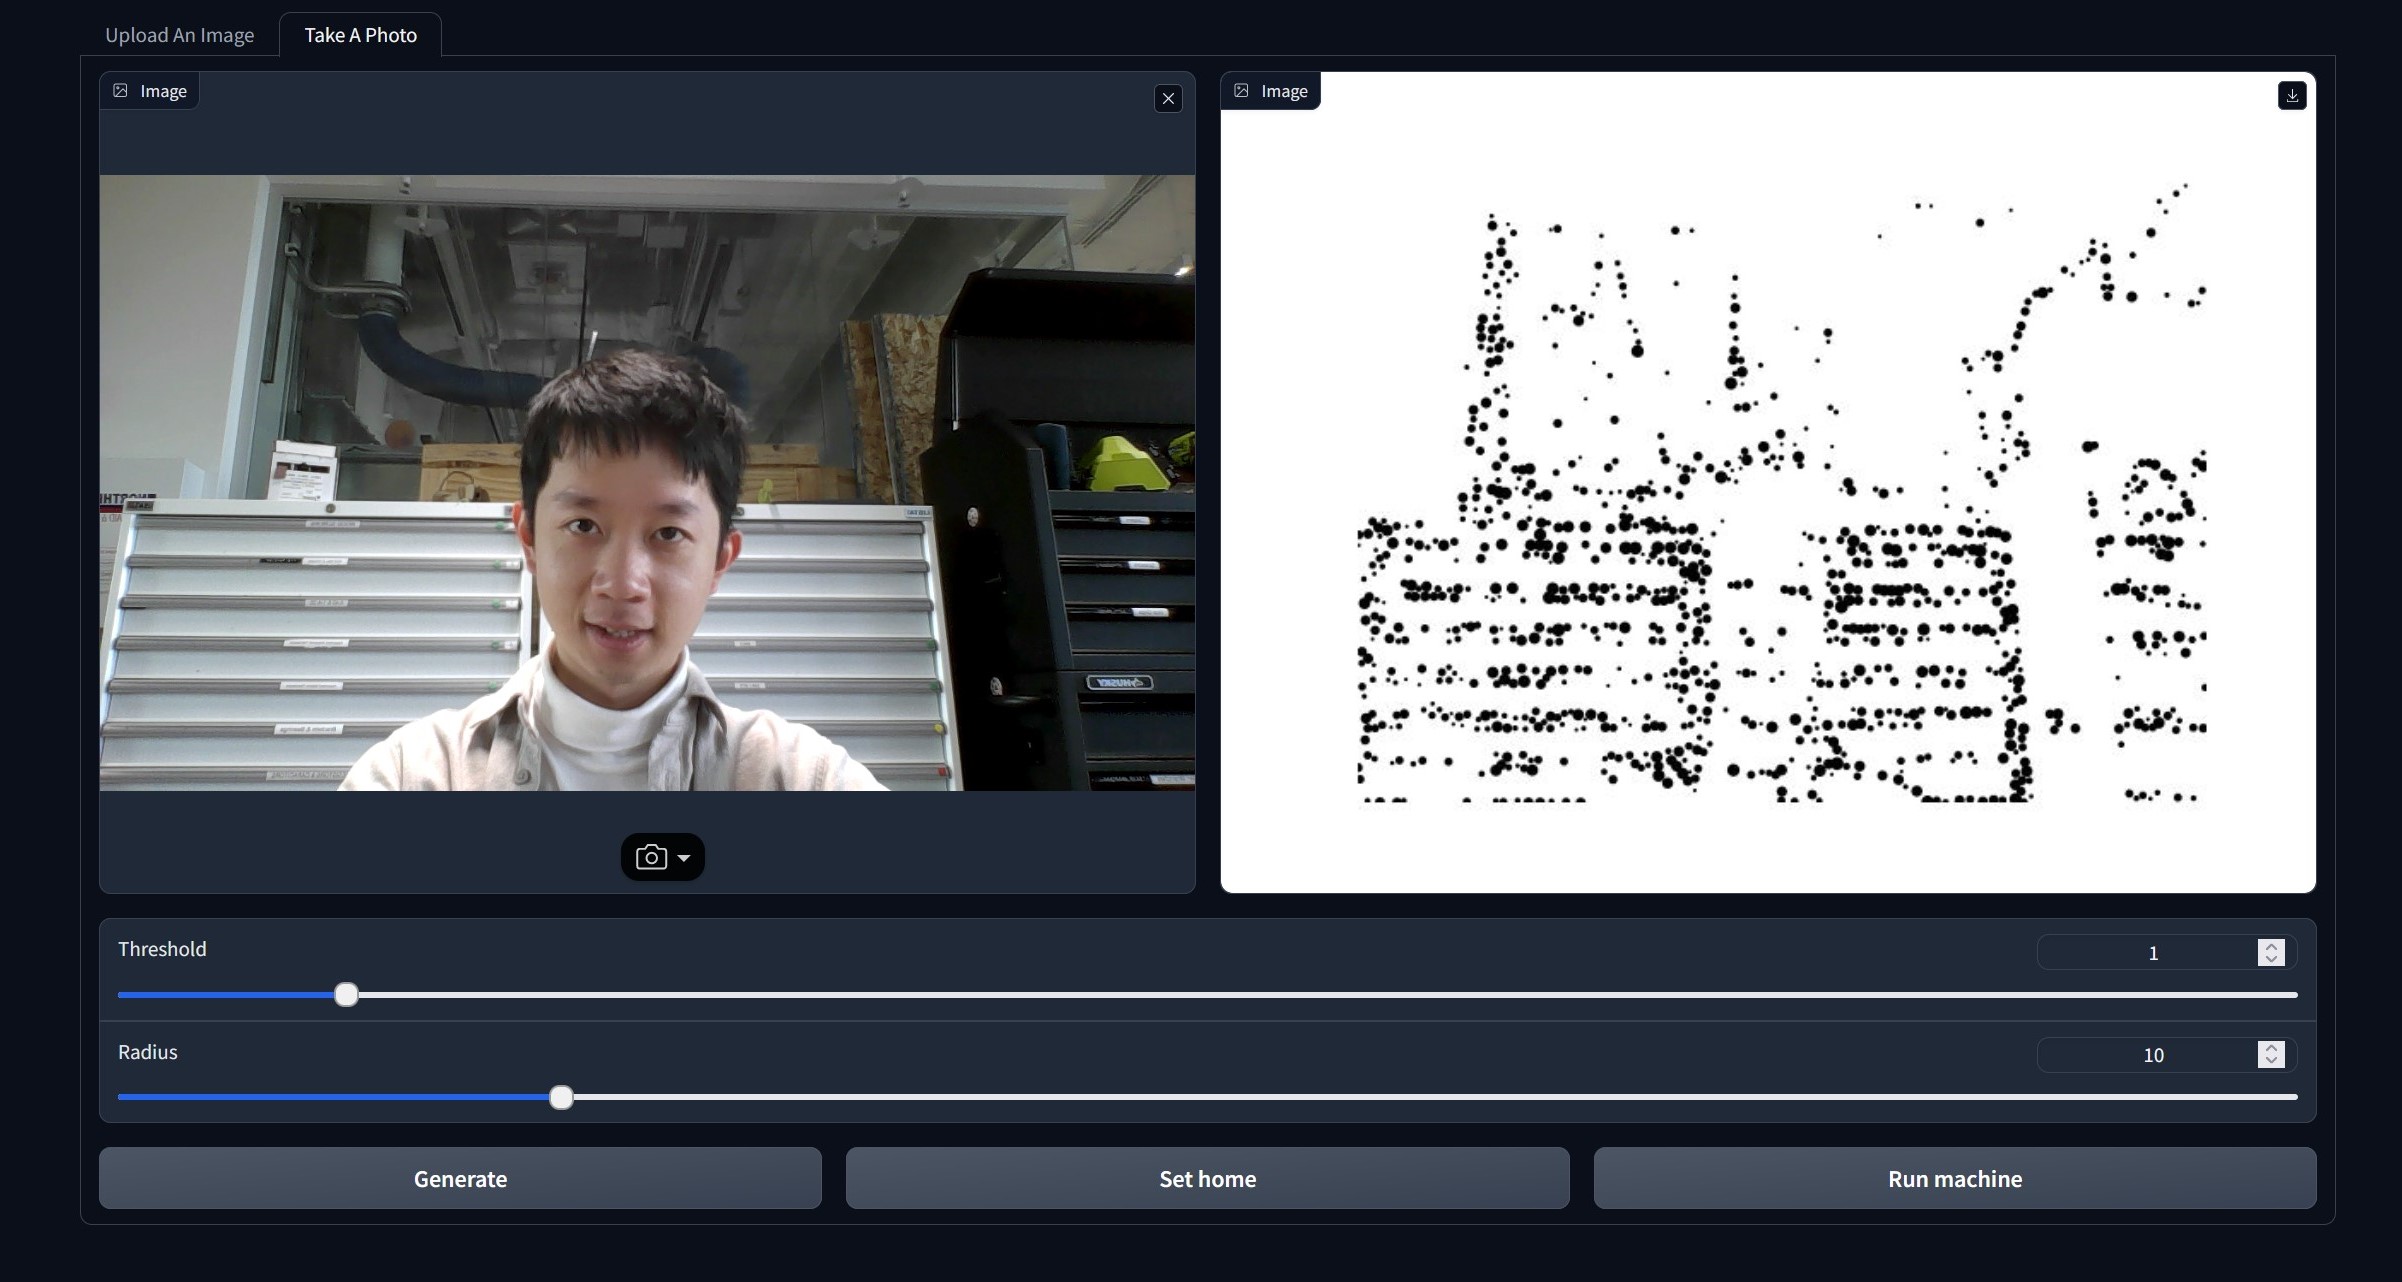
We wanted a nice-looking and easy-to-use inferface where we can upload a picture from local paths or take a photo with the webcam and generate toolpath using the algorithm provided above.
As the algorithm above was written in Python, the most convenient way to integrate it to our interface is to use Gradio, a library in Python for building and sharing maching-learning app.
With the use of Gradio, we can combine the backend (algorithm) and the frontend (interface) into a single .py file. What's more, Gradio provides some pretty and easy-to-use components for users to control the parameters needed for image processing algorithm.
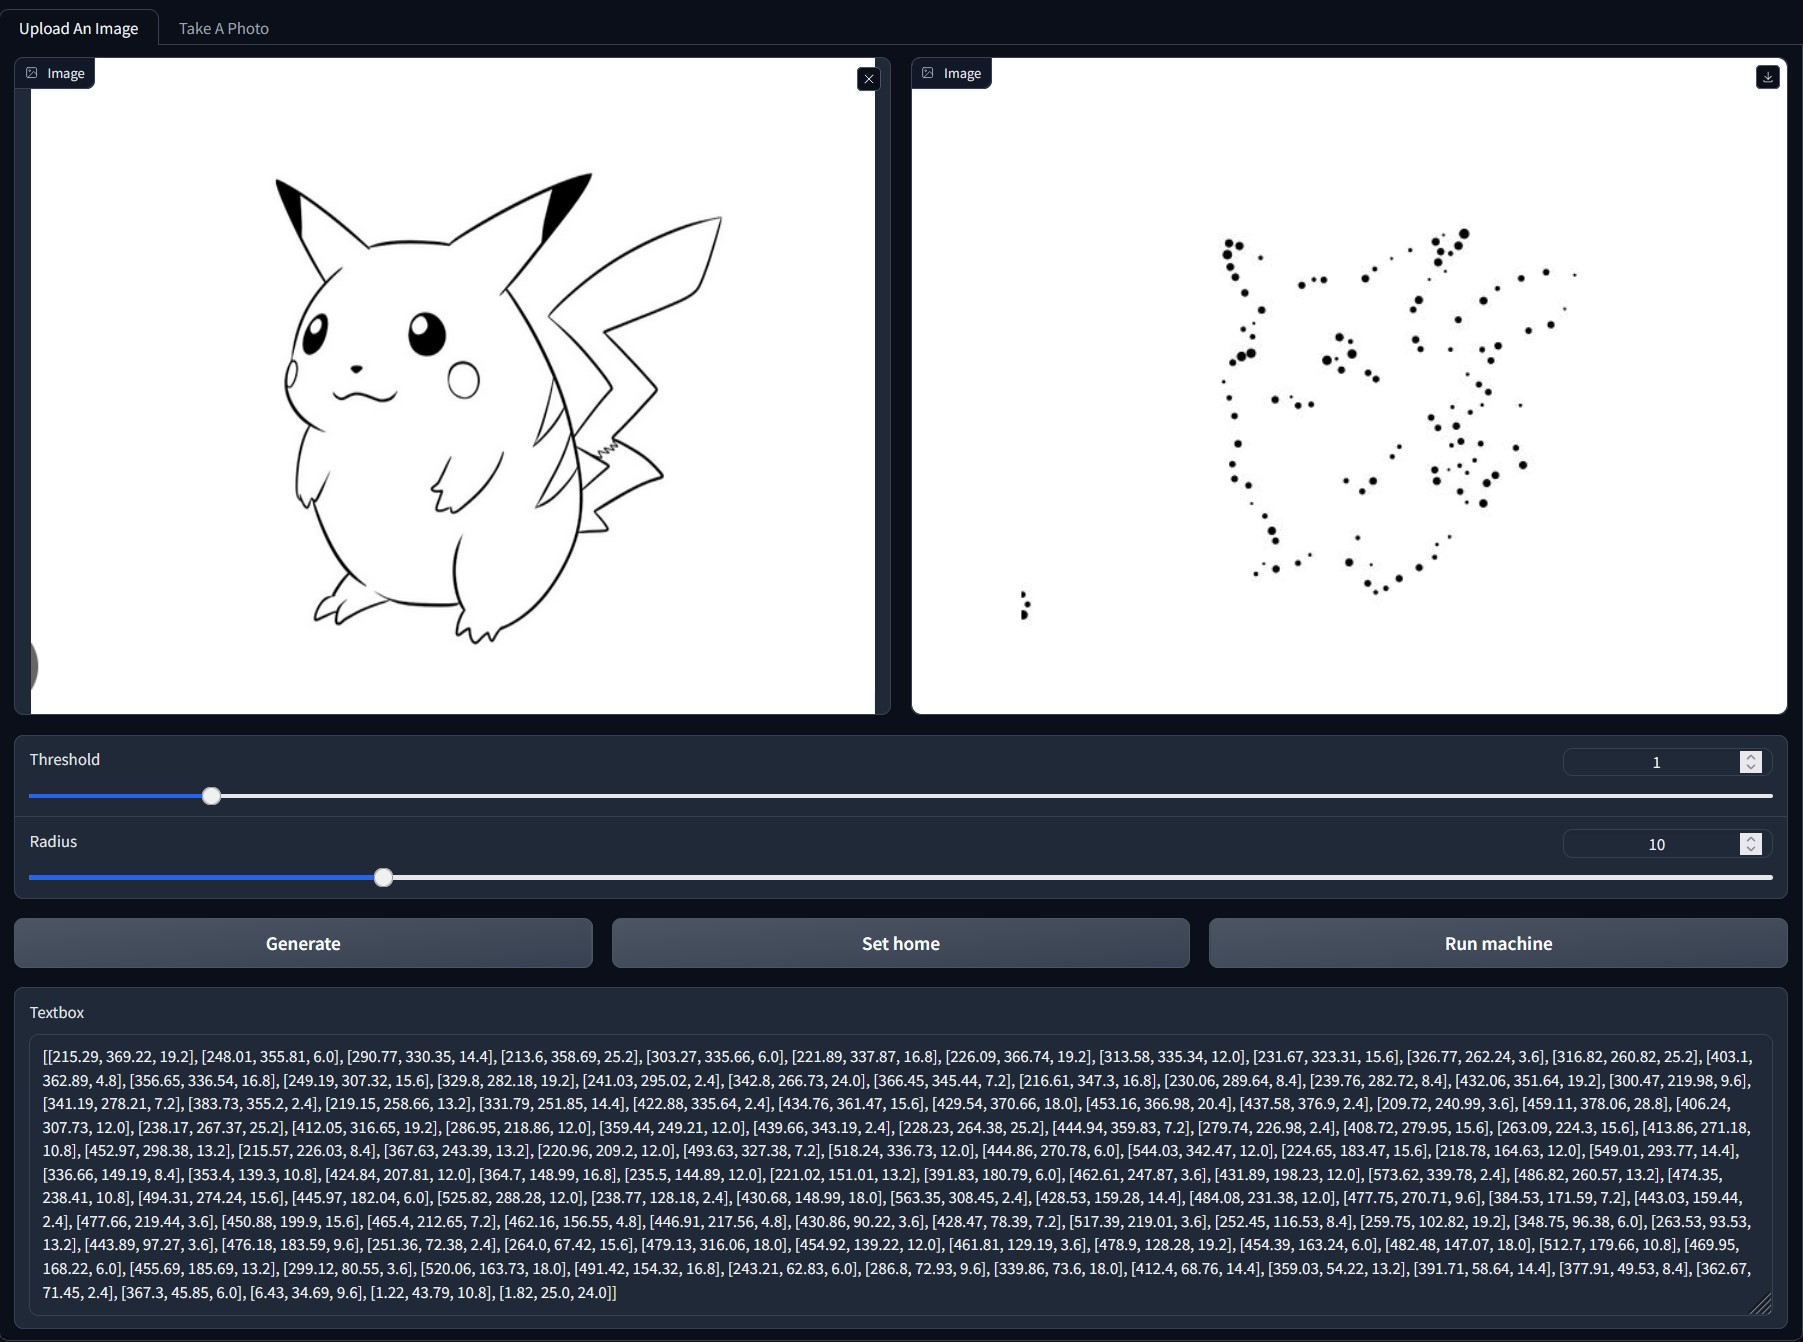
Upload a picture of Pikachu!
Simply drag an image to the input box and press the "Generate" button, and you will get a processed image and a list of toolpath for the machine. The toolpath would be automatically sent to the machine and it will start printing.
Take a photo of yourself!
Otherwise, you can take a photo of yourself using the webcam under the "Take A Photo" tab. This will use the captured photo as an input and generate a processed image and a list of toolpath based on that.
You can also adjust the amount of dots and dots' radius with the use of the "Threshold" and "Radius" sliders, respectively.
The trick behind it is simply a function and event defined as
btn.click(halftone, inputs=[im, thres, r], outputs=[im_2, array])in which "halftone" refers to a python function that has the image processing algorithm, "btn" refers to the "Generate" button, "thres" refers to the "Threshold" slider, "r" refers to the "Radius" slider, "im" refers to the left input image box, and "im_2" refers to the right output image box.
Another thing to be noticed is that every button on the inferface has a unique id to ensure that it can talk to the machine through Moduler Things.
Haoheng's code is here.
To run the code you need to
1. Install the latest version of cv2, matplotlib, pandas, plotly, sys, numpy in Python
2. Run the .py file, and the following line will show up:
Running on local URL:http://127.0.0.1:7860 To create a public link, set `share=True` in `launch()`.
Click on the local URL and the interface will show up in your browser.
 Canny
Canny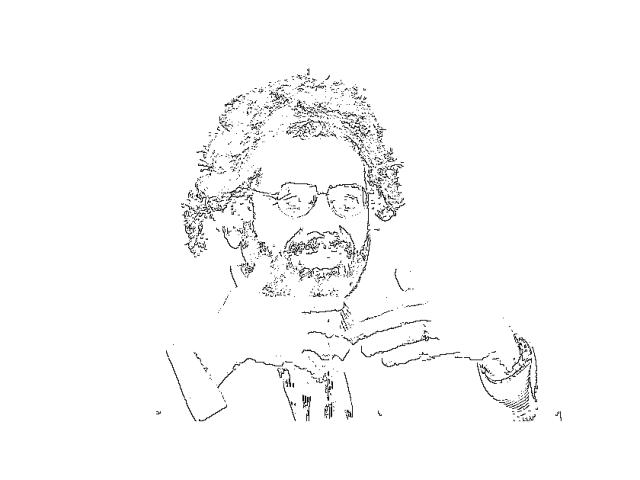 Occlusion edge detection
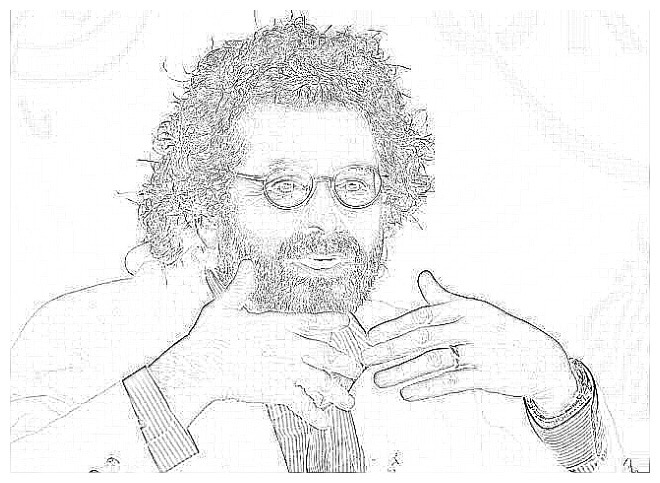 PIL Filter
 Poisson Disc Sampling
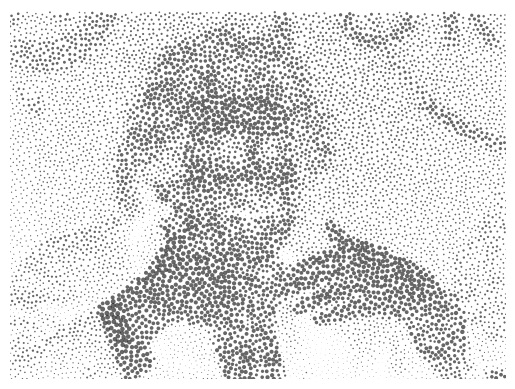 Sampling Neil
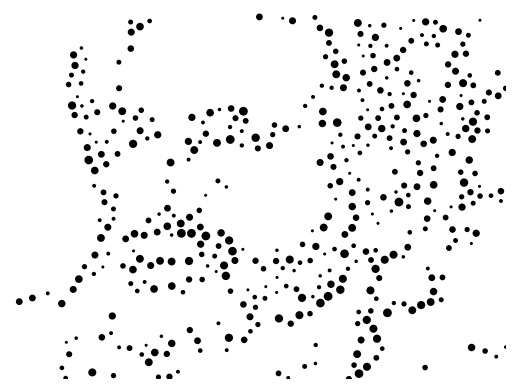 Sampling Neil, but only on edges
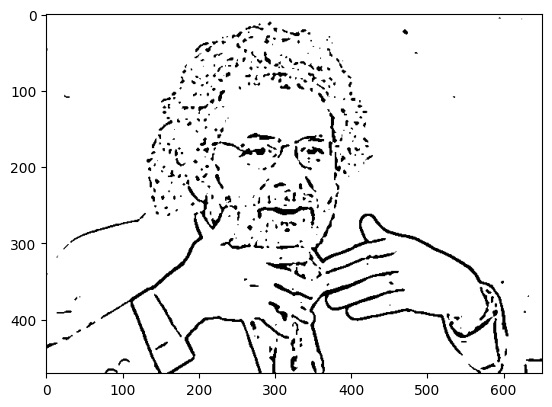 Original edge
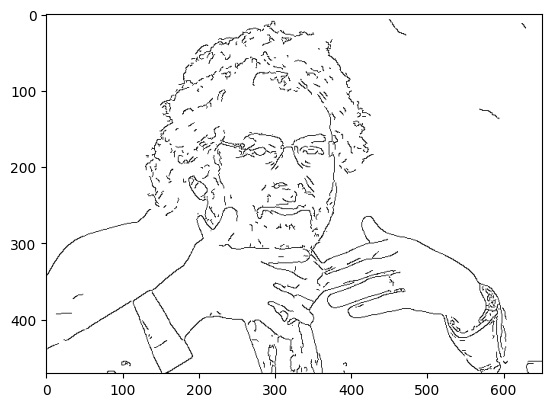 Thin edge
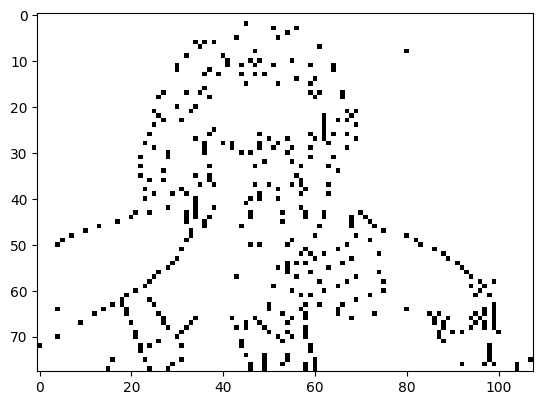 Downsized edge
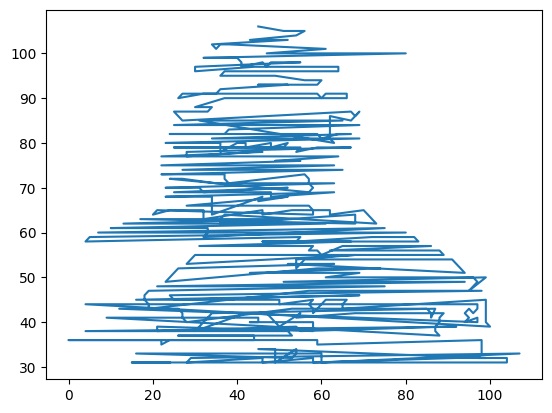 Simulated tool path (horizontal lines are side effect of machine moving around)