
Aijia Yao
MIT EECS • HTMAA 2025
Week 4 – 3D printing & Scanning
September 2025
This week was mainly about 3D printing & Scanning.
What I Did
- Follow this link to the group assignment.
- Testing and get to learn about the 3D printer.
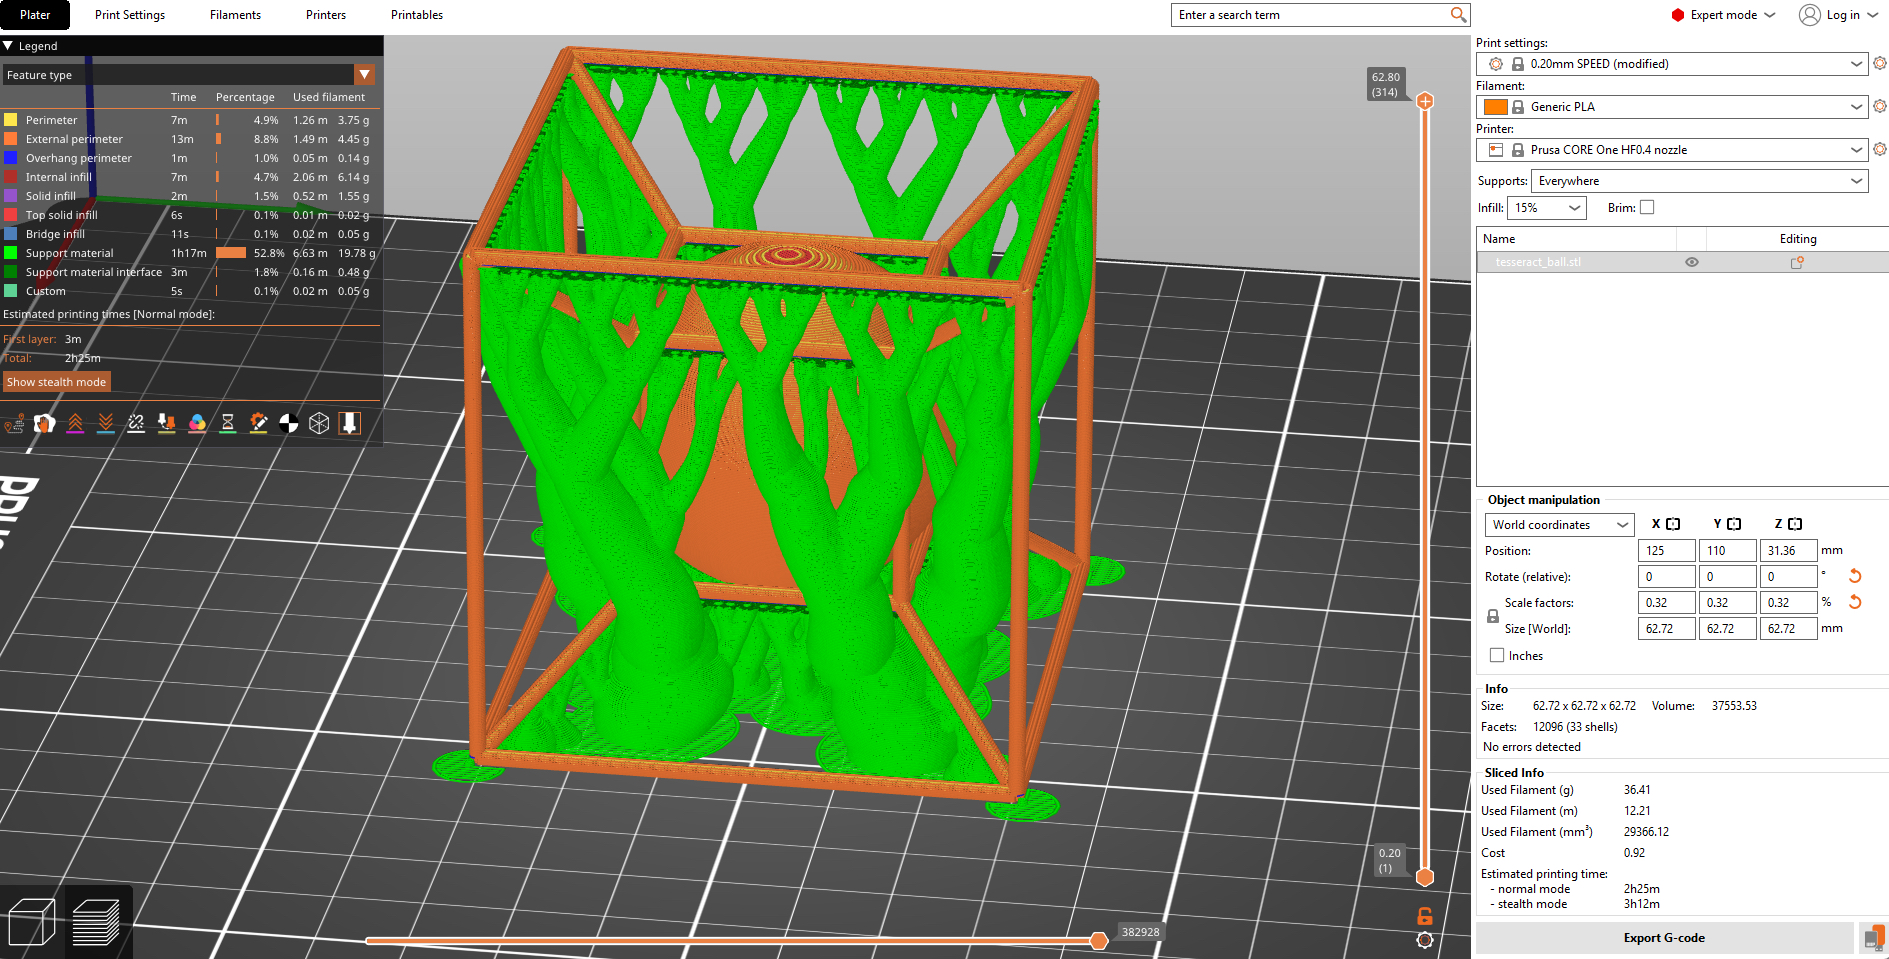
- Designing the tesseract and preparing the 3D model for printing with slicer.
- 3D printing the tesseract model and testing its structural integrity.
- 3D scanning a fire extinguisher with iPhone LiDAR and learning about mesh editing.
3D Printing
Notes for 3D printing
- Pick the correct filament when setting up a 3D print job.
- For instances, PLA is easier to print with and more environmentally friendly, while PETG offers better durability and heat resistance.
- Different filament materials have different temperature settings, so it's important to note it correctly.
- Infill density is important for the strength of the print.
- Lower infill is preferable for lighter/faster prints.
- Supports are needed and necessary for overhangs.
- Brim is useful for small bases to improve adhesion.
- Done with slicer settings, export the G-code for printing.
What I want to 3D print
Since we are required to design something that cannot be made subtractively, I decided to design a tesseract (4D hypercube) model with something in the middle.
Post 3D Printing
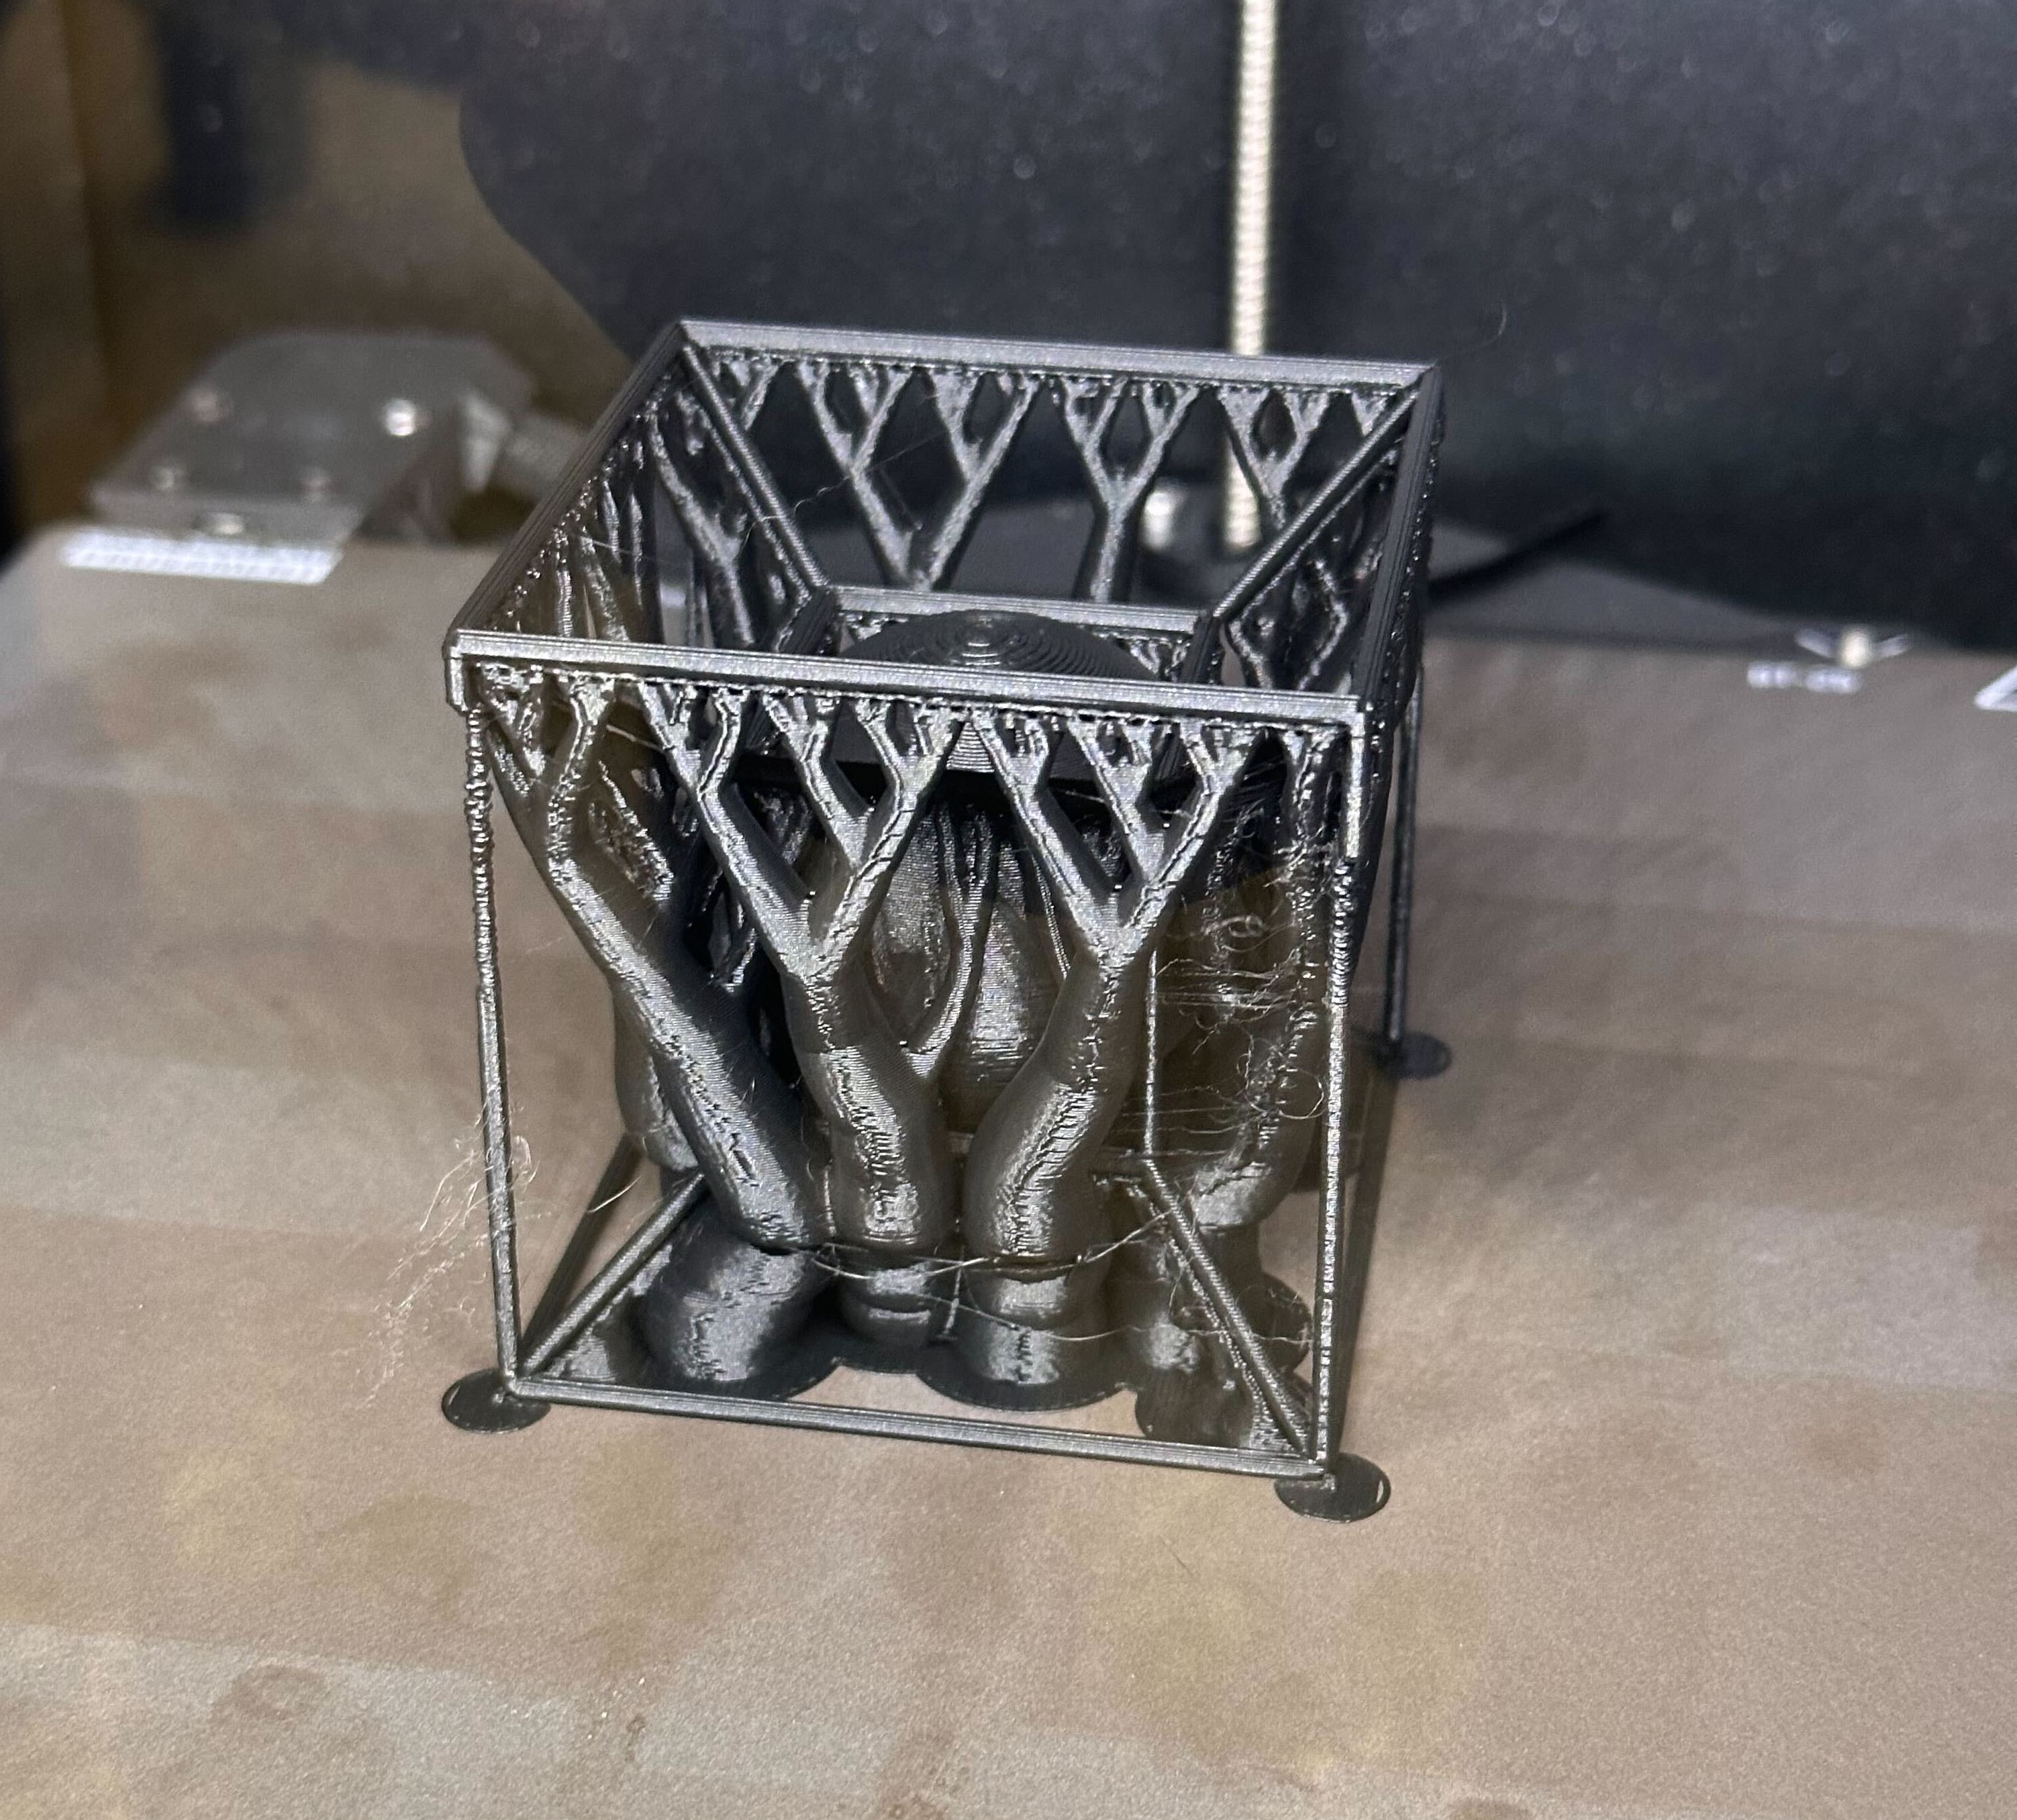
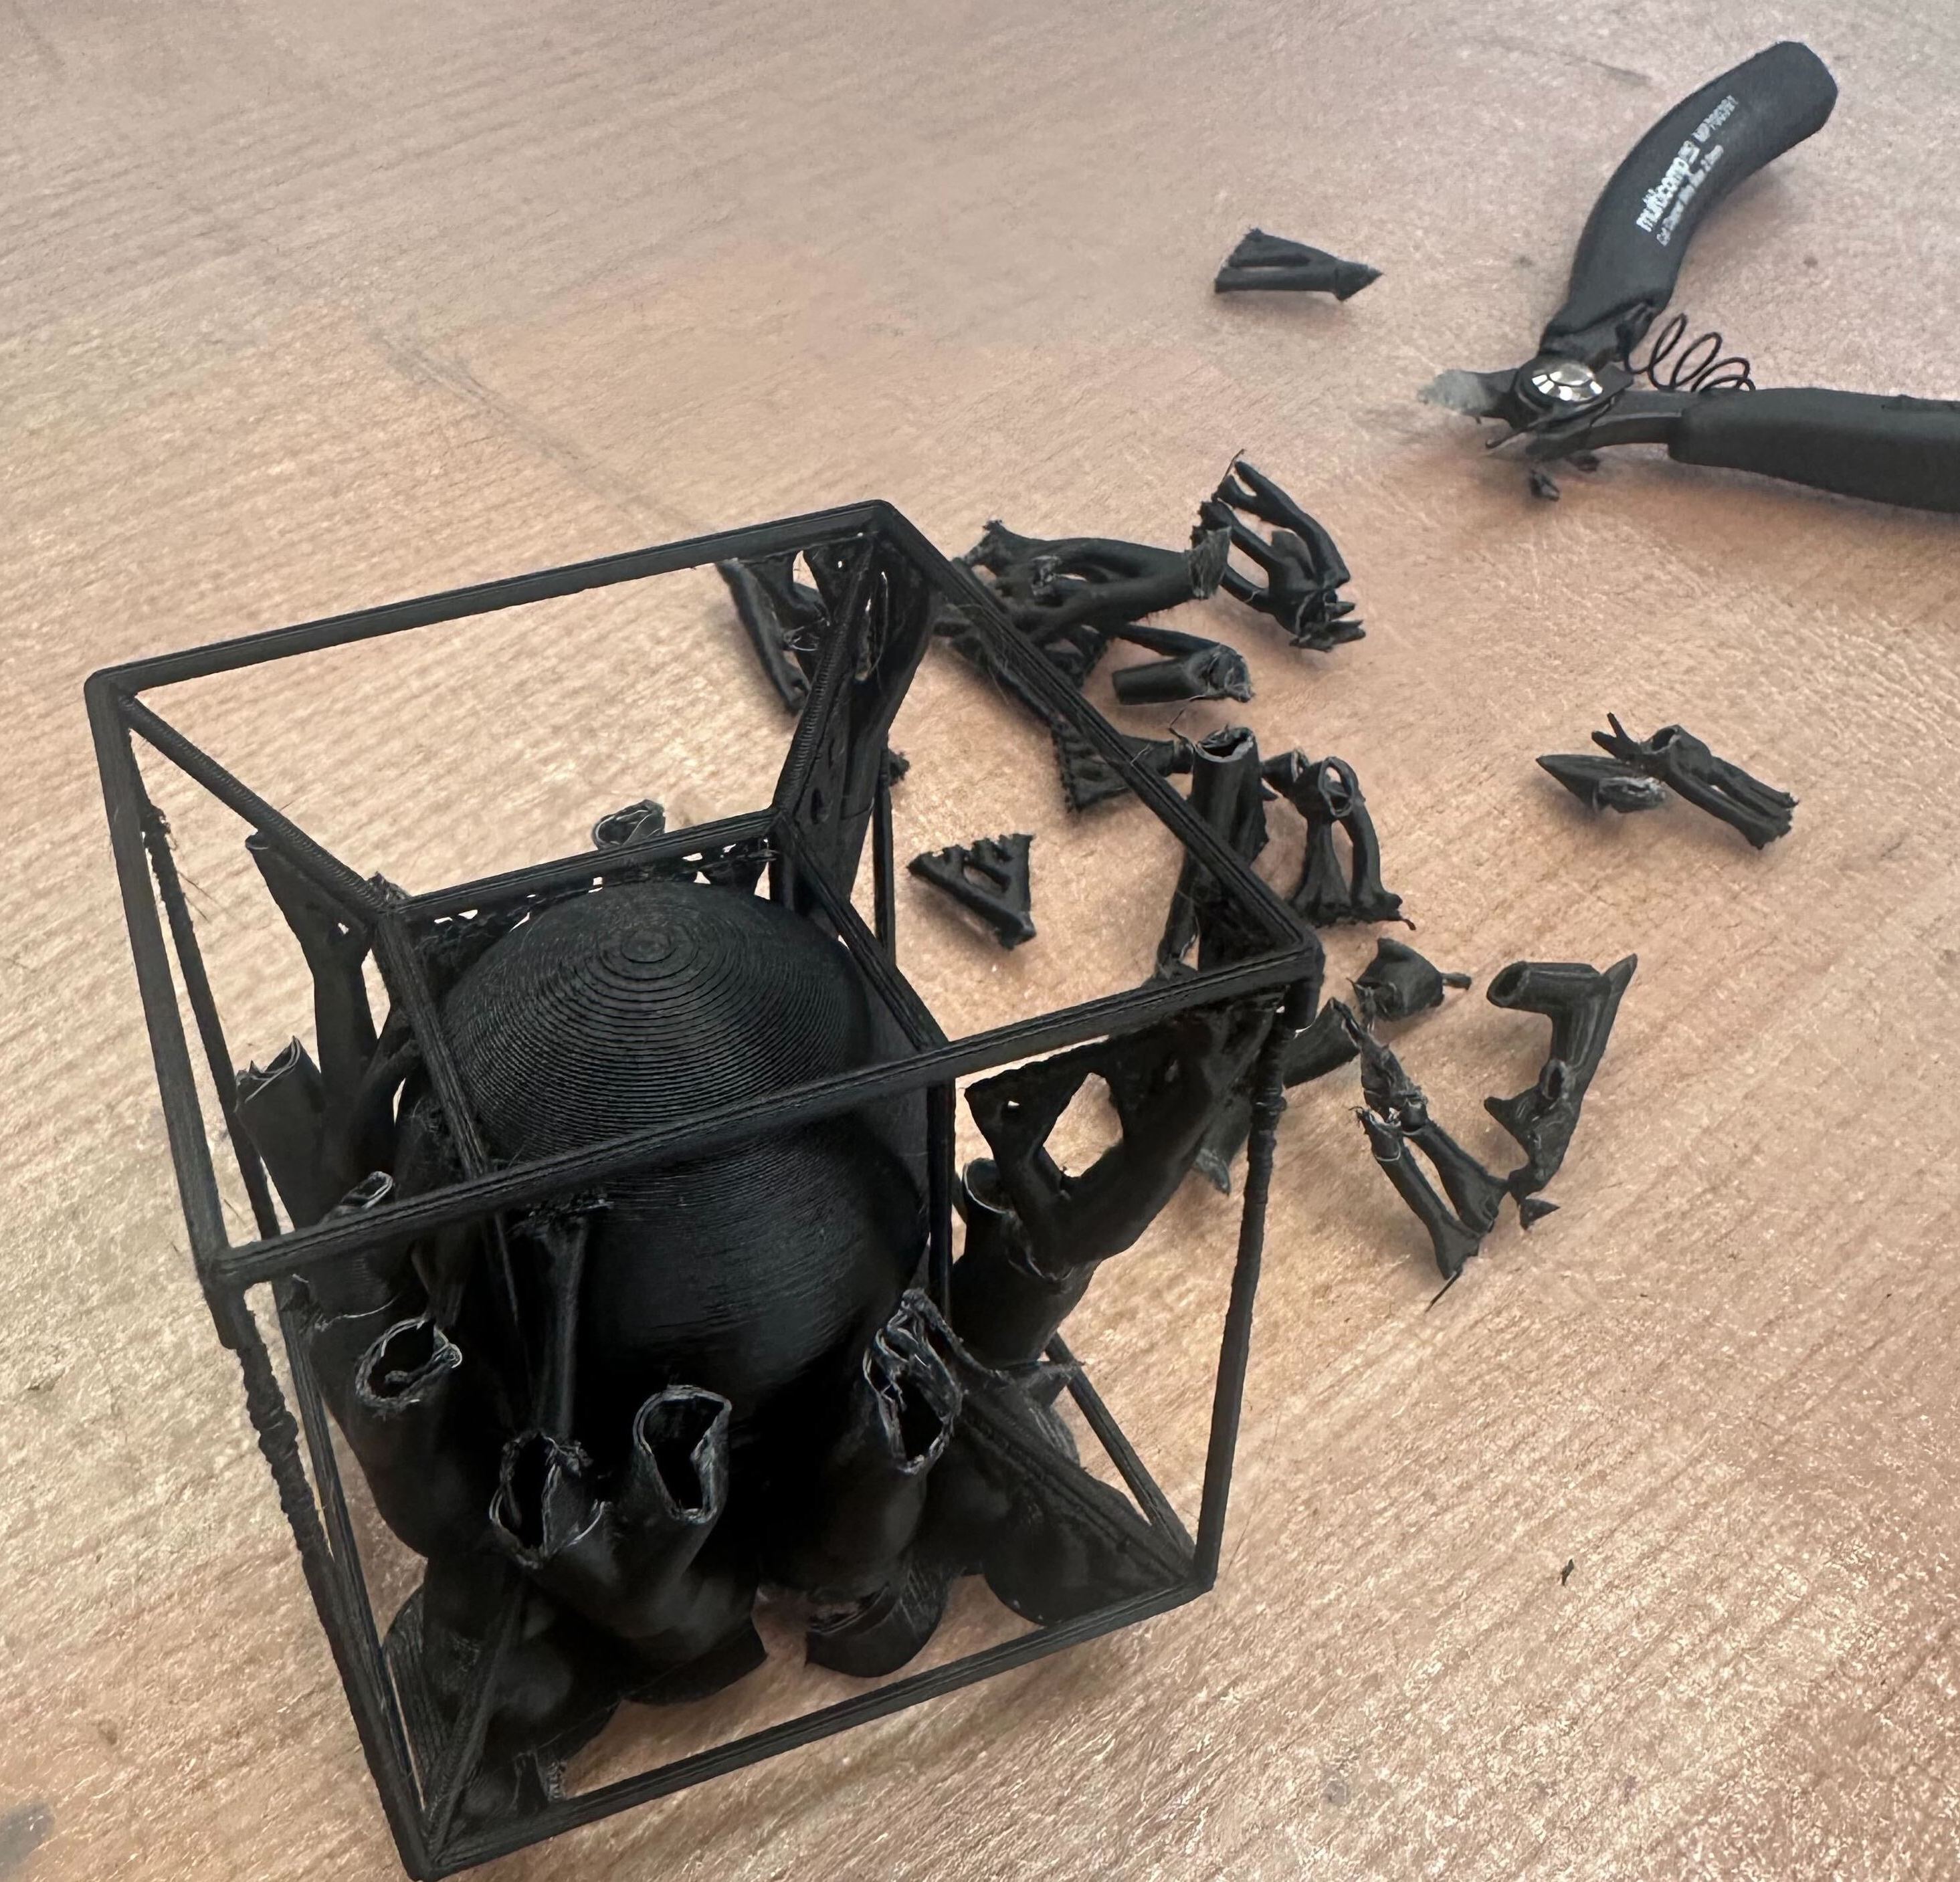
After the printing, I did some post-processing including cutting away the supportting structures and using super glue to fix one broken edge.
Below from left to right are the images of freshly printed object, in the middle of cleanning and after cutting support:
3D Scanning
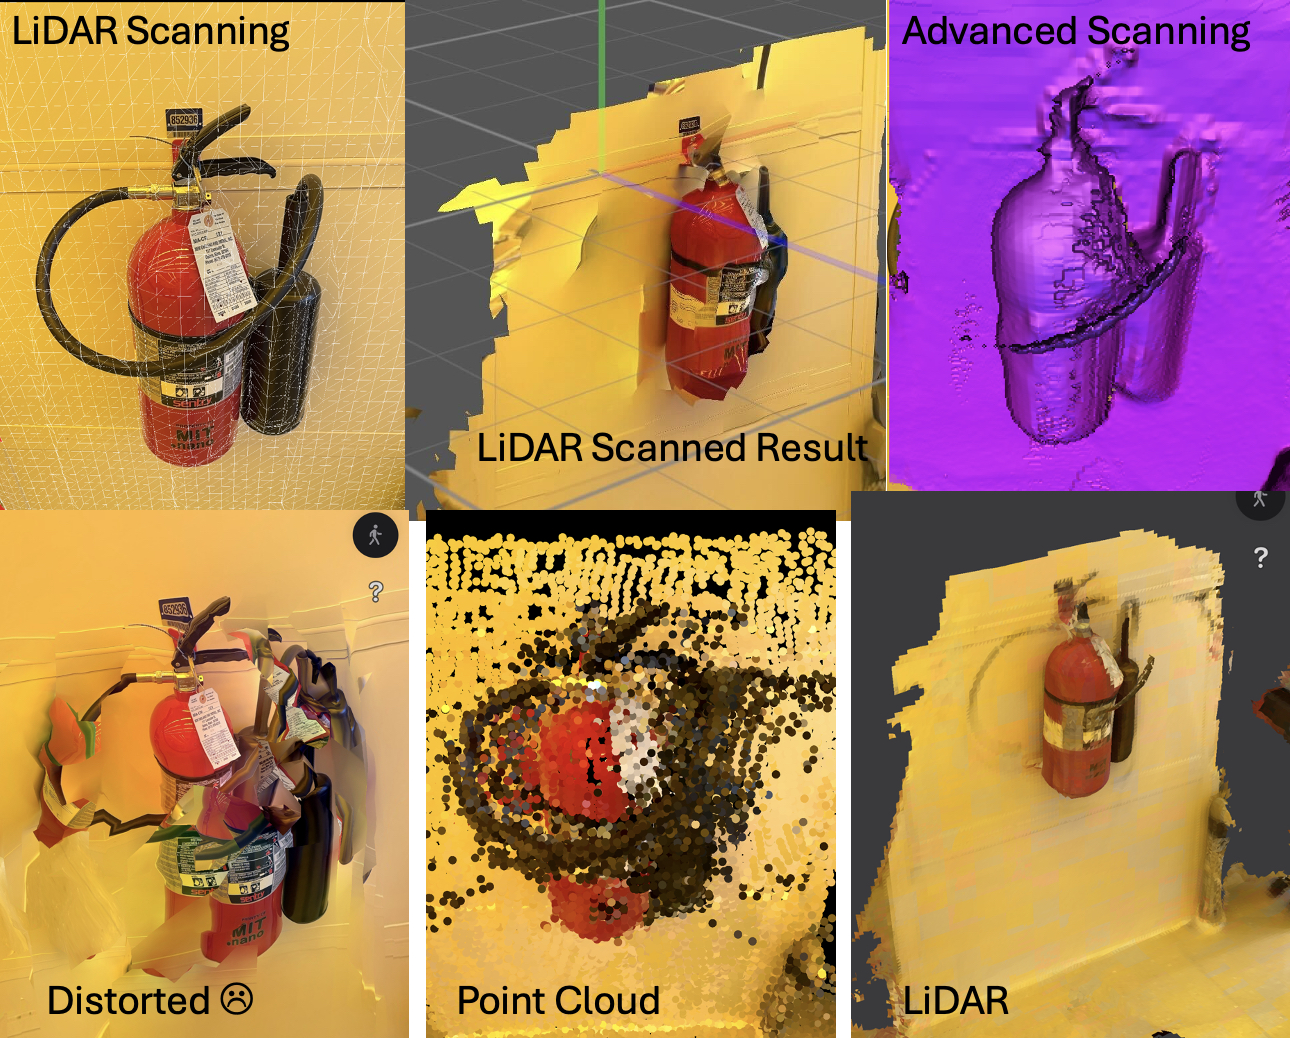
For 3D scanning, I used the iPhone LiDAR scanner and PolyCam app to scan a fire extinguisher in MIT.nano. The scanning process was quite straightforward and easy to follow. Check out the results showed below:
Other Notes
- The 3D printer we used is a Prusa MK3S+ with a 0.4mm nozzle.
- The slicer software we used is PrusaSlicer, which is free and open-source.
- Ackowledgements: many thanks to the course staff(shout out to Anthony for 3D printing/scanning intro&help and Jesse for help with the 3D printing process) and my peers for their support and feedback throughout this week. ChatGPT usage check here