21+ years ago, I was christened Jessica Therese Shoemaker. It has been my birthright—nay, my destiny—to create a shoe ever since. What that shoe would do, however, was still an open question. While walking down the Harvard Bridge shortly after our discussion of input devices, I found myself wishing that the song I was listening to was faster, so my steps could better align with the beat. From that moment, the idea crystallized: I wanted to make a shoe that would dynamically play music based on the speed at which I was walking.
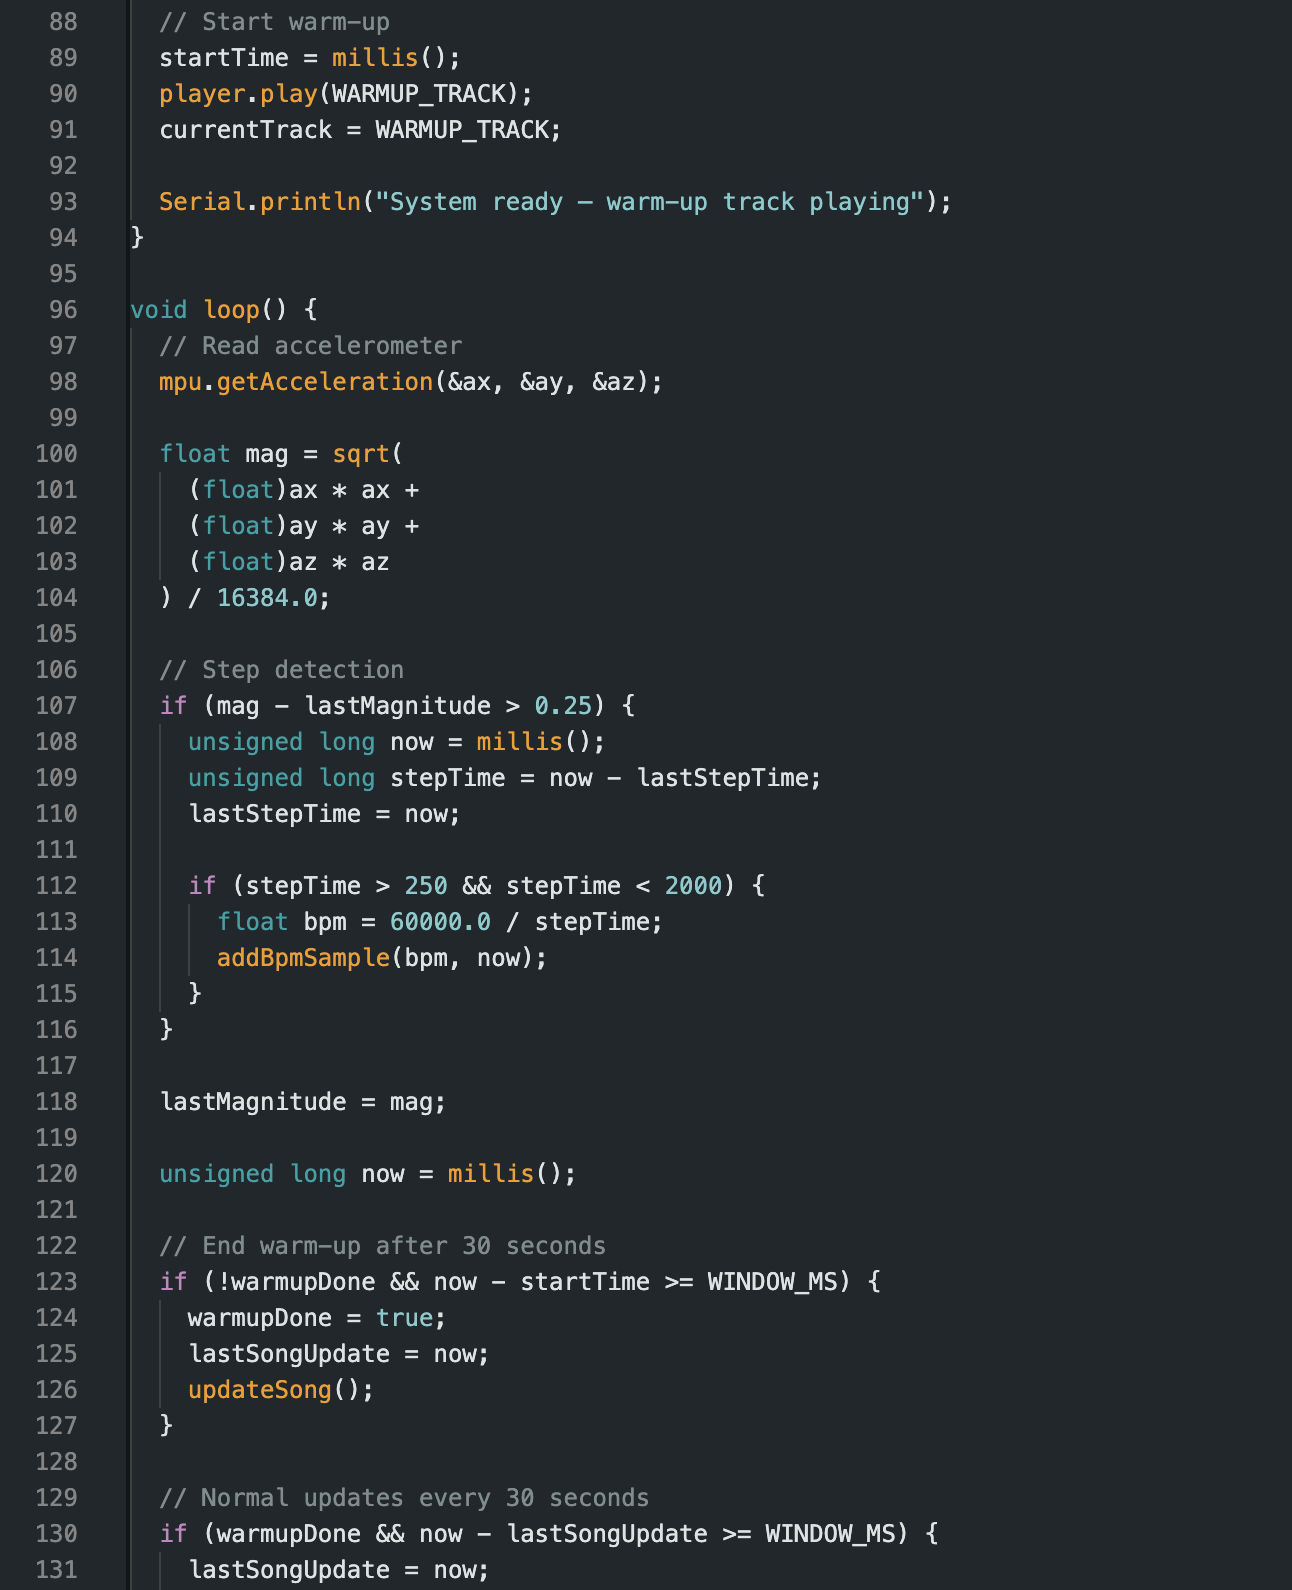
The core idea of this project is simple in concept but complex in execution: the shoe continuously measures walking speed using an accelerometer, computes the median speed over the past 30 seconds, maps that value to a beats-per-minute (BPM) range, and plays a song at the corresponding BPM. The result is a wearable soundtrack that adapts to how fast (or slow) you move through the world.
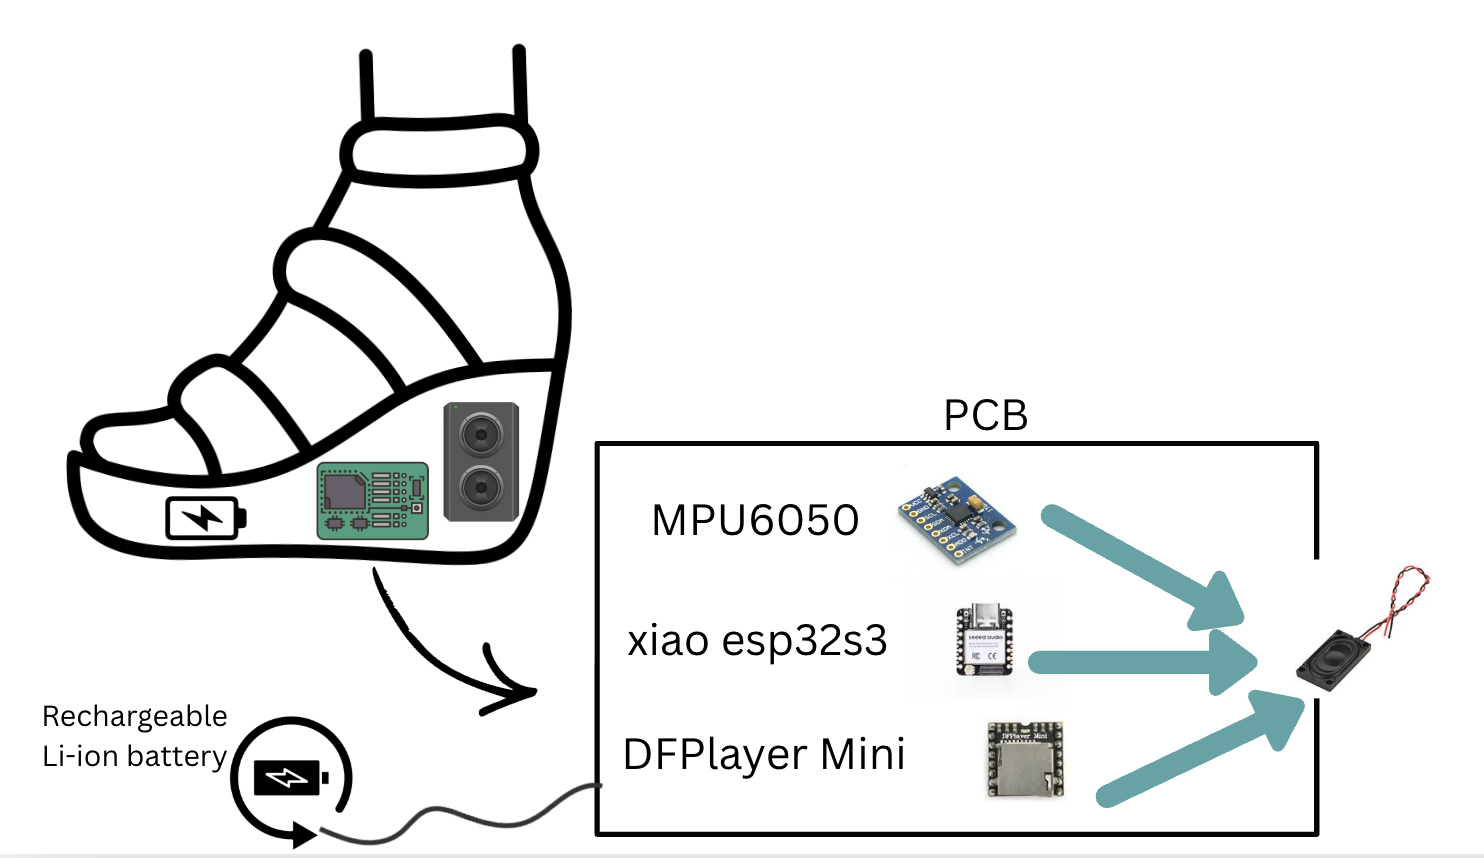
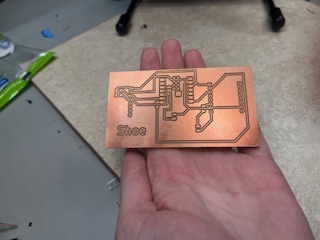
The foundation of this project was laid back in week4.html, where I designed my first PCB capable of supporting the core functionalities of the system: sensing motion, processing data, and outputting sound. I milled this board in week5.html, and then spent weeks refining my understanding of the accelerometer (MPU6050) and the DFPlayer audio module during the input and output weeks (week7.html and week8.html).
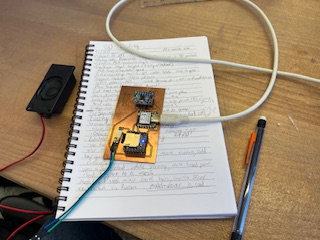
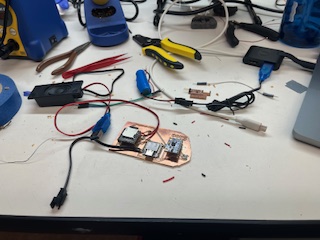
The code I used during early testing was not my final implementation, but it was invaluable for validating assumptions and debugging hardware connections. Below is the initial PCB after all components were assembled:
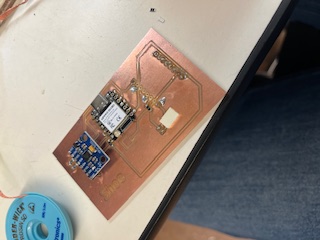
Later, in an attempt to reuse components, I removed the speaker output pins from this board. In the process, I unintentionally ripped up several traces—damage that would come back to haunt me later in the project.
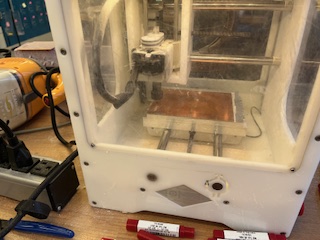
To make the shoe fully wearable and untethered from a computer, I designed a second PCB that could be powered by a battery. My first attempt at milling this board used a dull 1/32” PCB conservative end mill, resulting in extremely rough cuts. After scraping the edges, the board was still technically usable, so I soldered it and attempted assembly. Unfortunately, when inserting the microSD card, the SD card holder snapped off the DFPlayer in a way that was not realistically repairable.
Faced with a long milling queue, I tried removing and replacing the DFPlayer. In doing so, I managed to rip up even more traces:
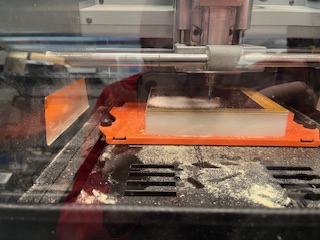
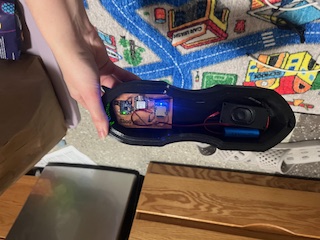
At this point, I returned to the mill and remade the board entirely:
Despite the improved fabrication quality, the DFPlayer still refused to function reliably. This turned out to be a common issue in the lab, with no clear fix other than redesigning around a different audio solution—something I did not have time for. Ultimately, I returned to the very first board I had milled in week 5, as it was the only one on which the DFPlayer worked consistently.
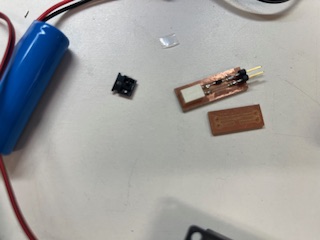
Since that board was never designed for battery power, I manually soldered wires to the 5V and GND rails to power it. To protect the battery in the event that the board was accidentally plugged into USB while the battery was connected, I designed and milled the smallest PCB I have ever made: a diode protection board.
After extensive testing with Quentin and Anthony, we discovered that the diode severely limited current flow—no matter what configuration we tried. At this point, I tested something that was explicitly not recommended. Anthony specifically warned me that this was a fire risk. I moved the USB cable far away and connected the battery directly.
It worked.
While this solved the power problem, I avoided using the battery during active development to reduce fire risk. I also soldered the speaker wires directly to the board because the original traces had been destroyed during earlier rework attempts.
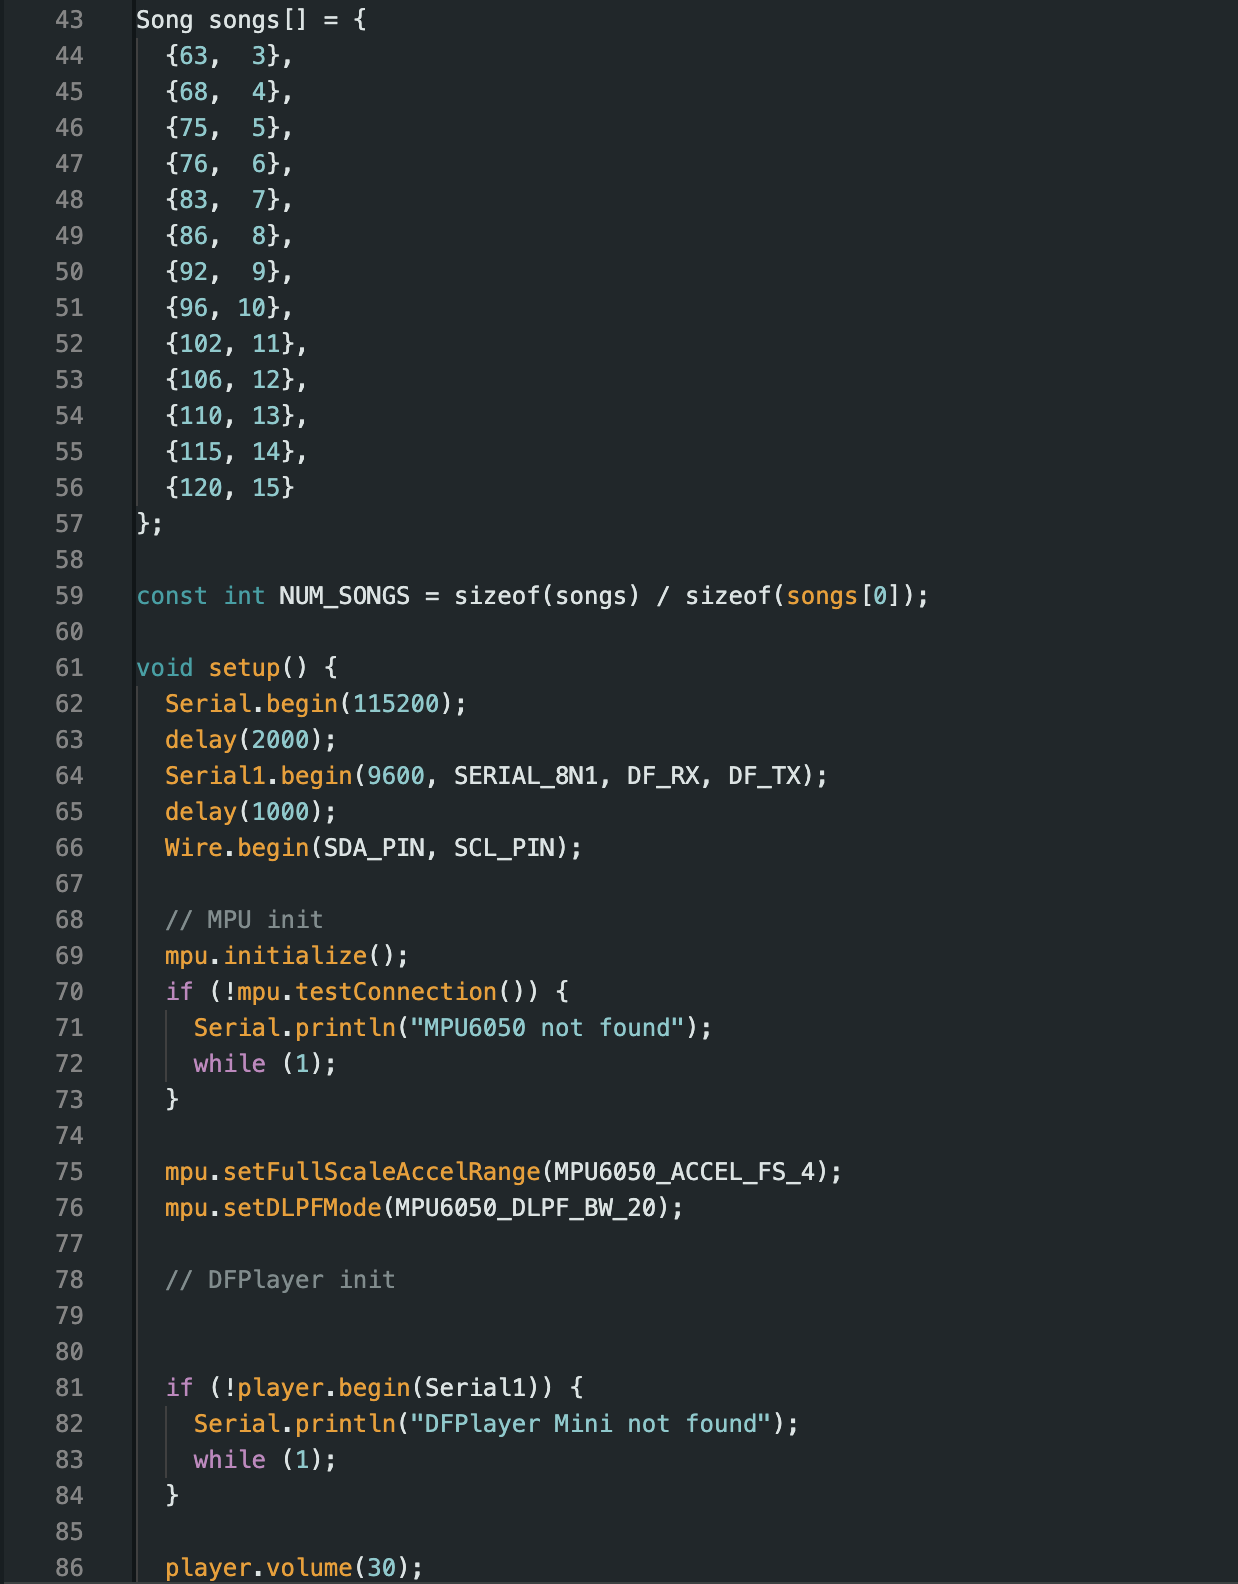
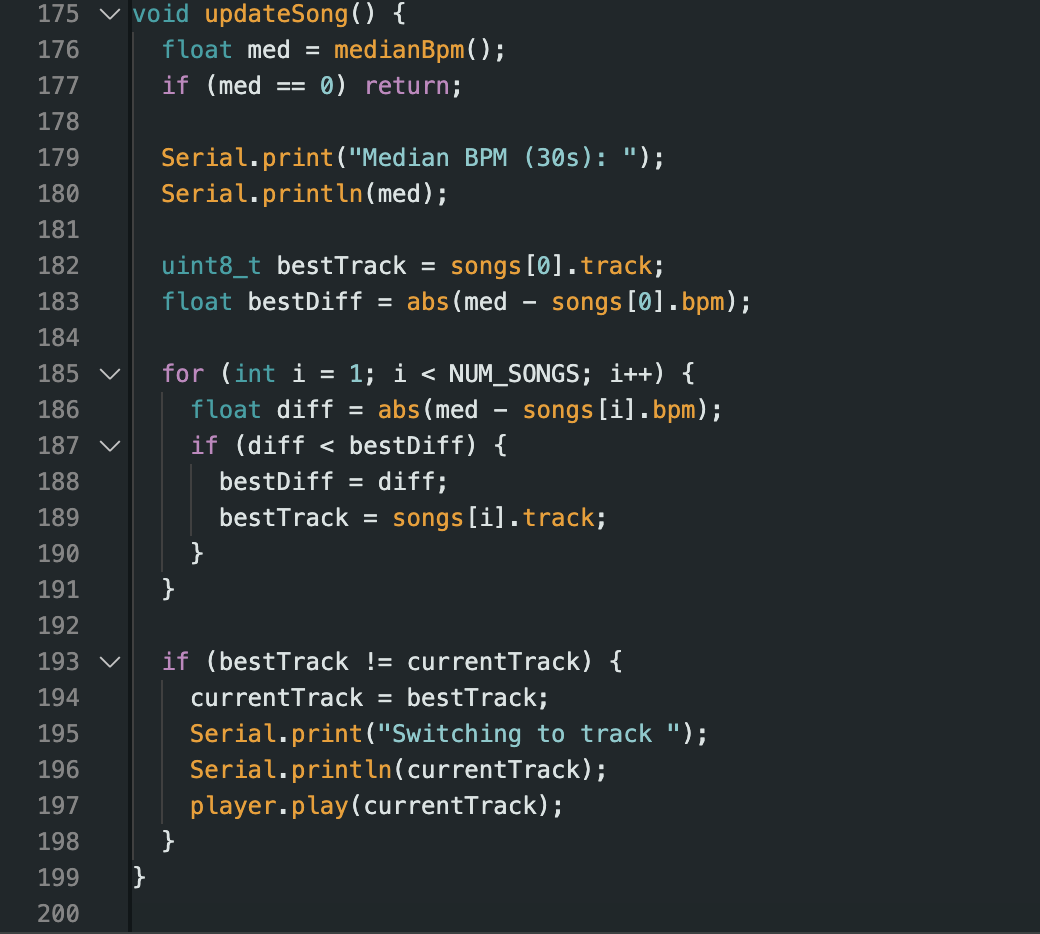
With functional hardware in hand, I spent a significant amount of time on embedded programming. I curated a collection of songs with known BPMs using a database maintained by a University of Waterloo professor: https://cs.uwaterloo.ca/~dtompkin/music/bpm/index.html. I selected tracks spaced roughly 5 BPM apart across a realistic walking-speed range.
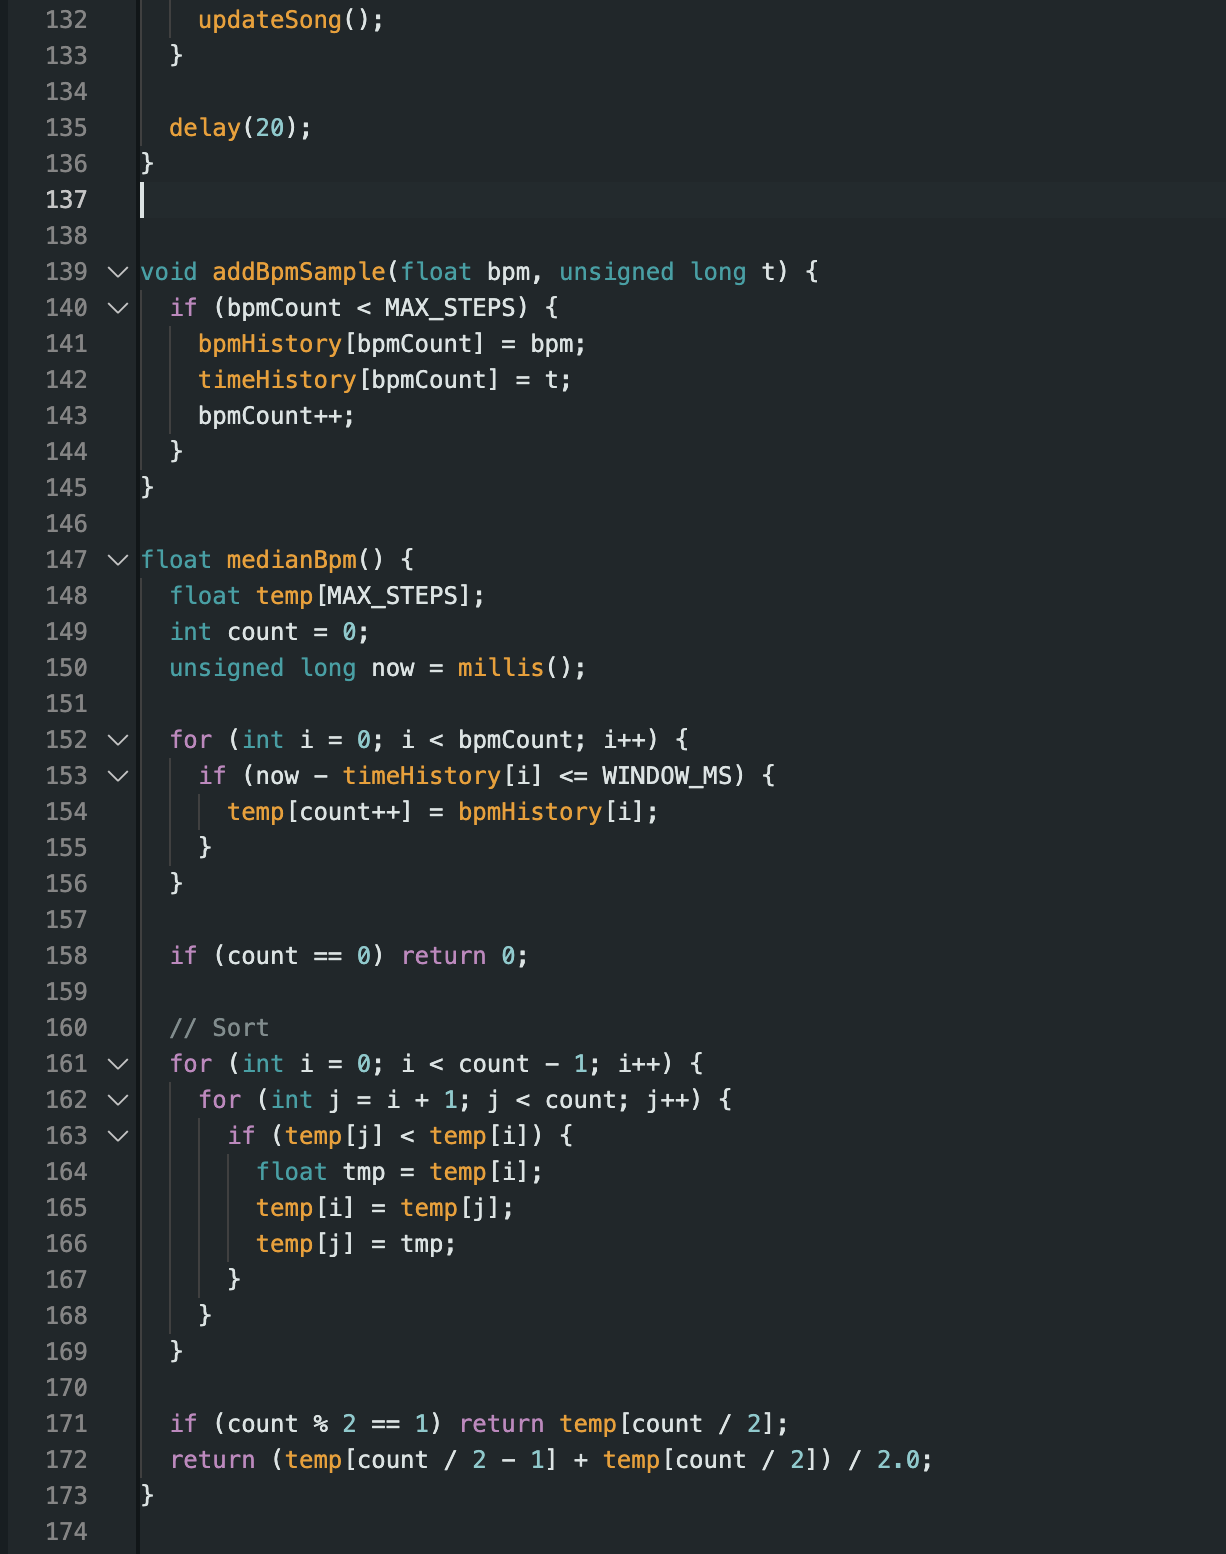
To compute walking speed robustly, I chose to use the median of the past 30 seconds of accelerometer-derived BPM estimates. This approach intentionally ignores brief pauses or irregular steps that would otherwise skew a mean-based calculation.
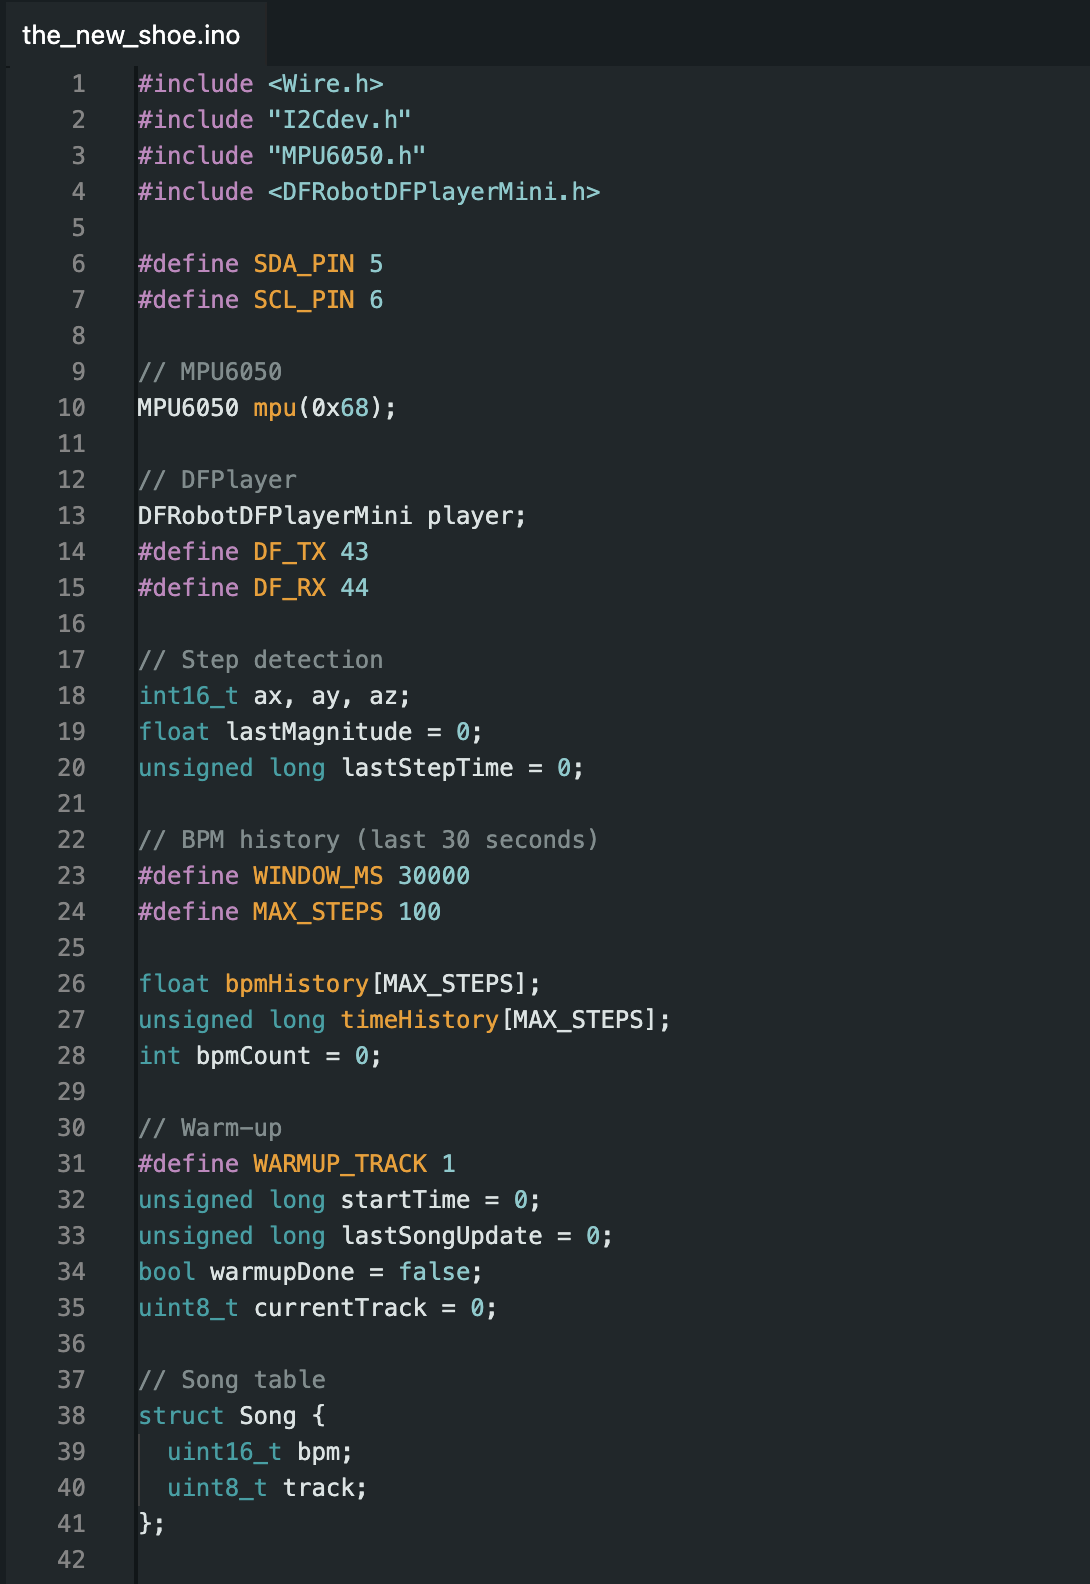
Below is the final code used to integrate sensing, computation, and audio output:
Here is the first successful test of the PCB running the full logic:
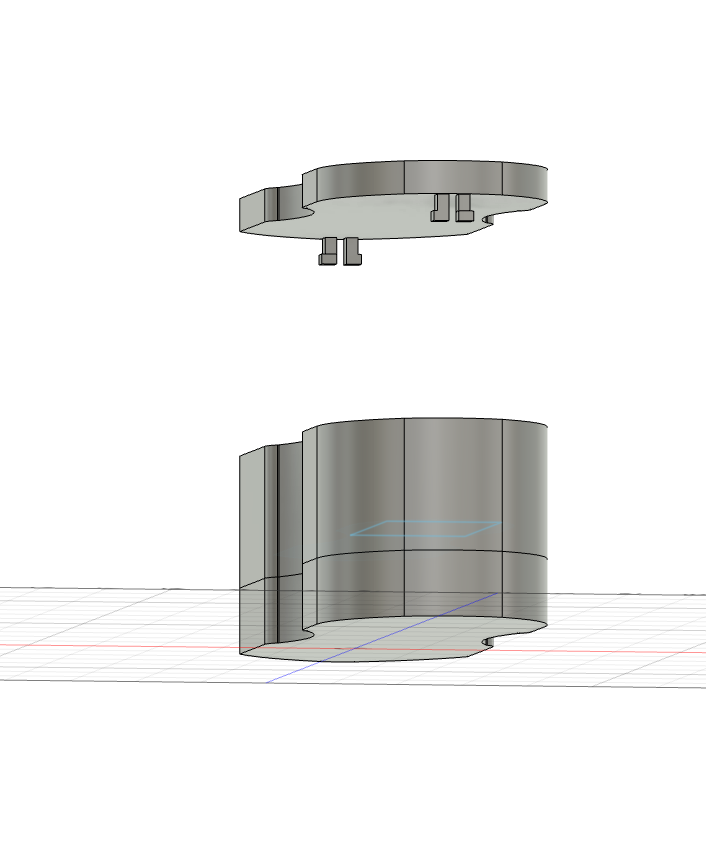
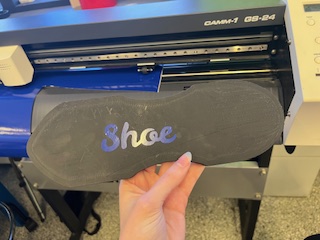
In parallel with electronics development, I designed the physical shoe. I decided early on to create a platform-style shoe secured with ribbon. This design allowed easy access to electronics and flexibility in attachment while still providing a solid protective enclosure.
The shoe was designed in Fusion 360 as three bodies: a main compartment, a flexible base, and a lid. The lid featured interlocking tabs that slotted into the main compartment to maintain alignment while walking.

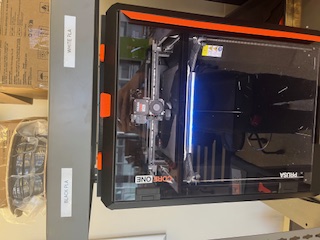
For strength, I printed the compartment and lid in black PETG with 10 horizontal and vertical shells. The base was printed in clear TPU. The compartment took 13 hours to print, the lid 6 hours, and the base initially failed overnight due to a clogged nozzle. I reprinted it thinner, which proved sufficient.
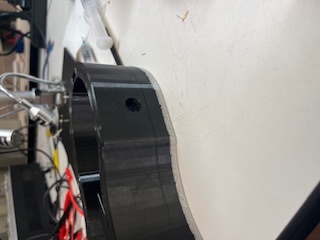
Because PETG was much stiffer than expected, I had to file down several features to allow assembly. Some snap-fit features eventually broke under stress, but alignment was preserved and the ribbon provided additional structural support.
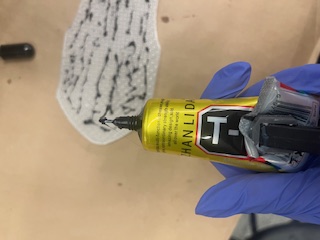
I glued the TPU base using industrial adhesive previously used on CNC machines:
With Anthony’s help, I drilled a hole in the side of the shoe to expose the USB-C port. I intentionally did not include a power switch—this shoe was never meant to be practical. It was designed to be a menace.
When inserting the PCB, I discovered it was slightly too large despite careful CAD measurements. Anthony introduced me to my new favorite tool: the RadioShack nibbler.
I nibbled the PCB until it fit perfectly.


During full system integration, the DFPlayer revealed one final quirk: the system only works if it first plays “Shake It Off” by Taylor Swift as a warm-up track. If any other song is used, nothing plays. I accepted this and reframed the bug as a feature.
First full system test:
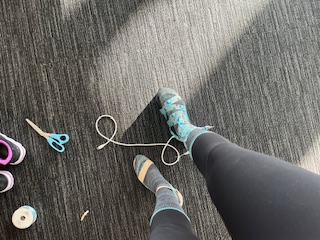
Presentation and wear testing:

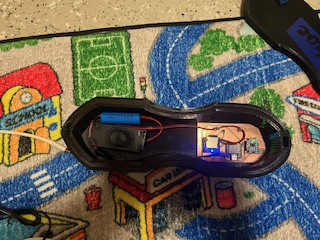
Battery-powered final version:
I am incredibly proud of this project. If you had shown me this in the first week of class, I would never have believed I could build it. Much of the process involved brute-force debugging, iteration, and learning how to make things work when nothing went according to plan.
What does it do?
Plays music based on the median walking speed over the past 30 seconds.
What’s been done before?
Bluetooth speaker shoes exist, but none incorporate step-based BPM mapping.
Sources?
Course staff, accelerometer research, and cumulative class experience.
What did you design?
PCB, shoe platform, vinyl sticker, acrylic buckle.
Materials & Cost:
If you want something badly enough, you can build it—especially with excellent TAs and a lot of persistence.